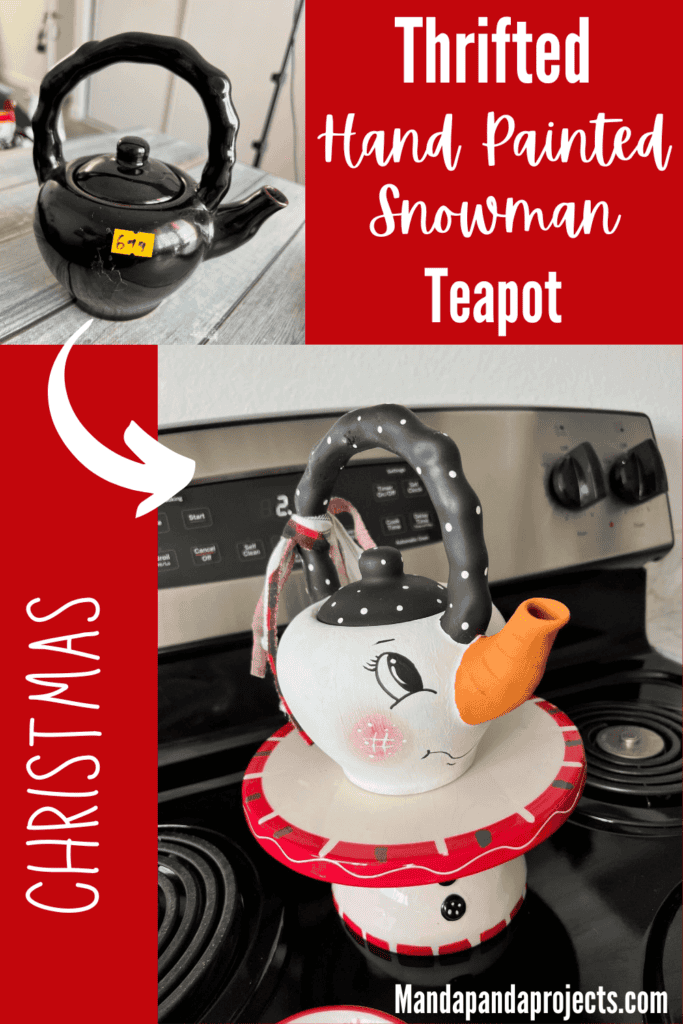
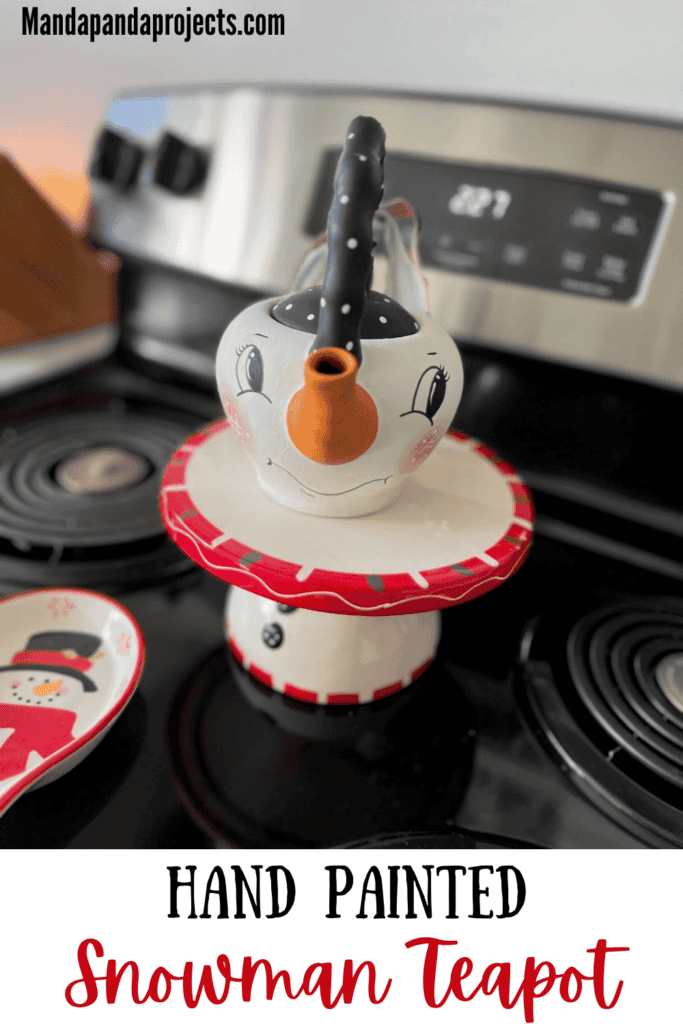
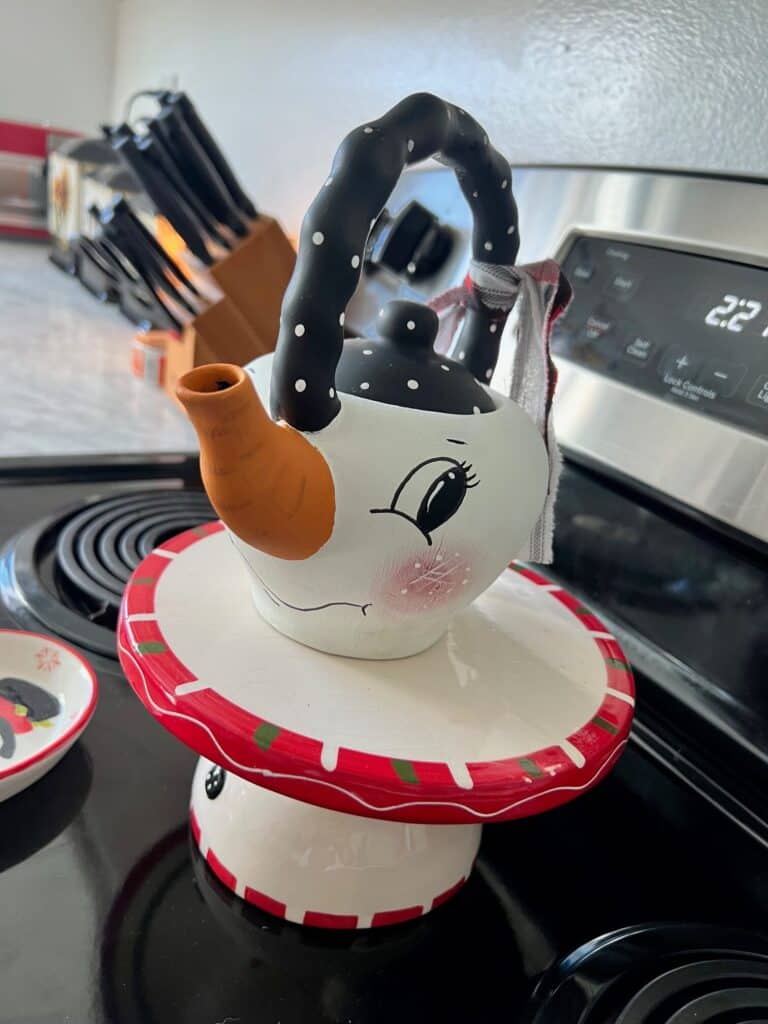
You will never look at a thrift store teapot the same again after you see how I hand painted this one to look like a snowman. Move over Frosty, theres a new guy in town!
Every year, for the past 3 years, I have done a Countdown to Craftmas where I go live on Facebook from 12/1-24 for 24 days of Christmas Crafty Inspo.
And this Hand Painted Snowman Thrifted Teapot was Day 4 of our 2023 countdown!
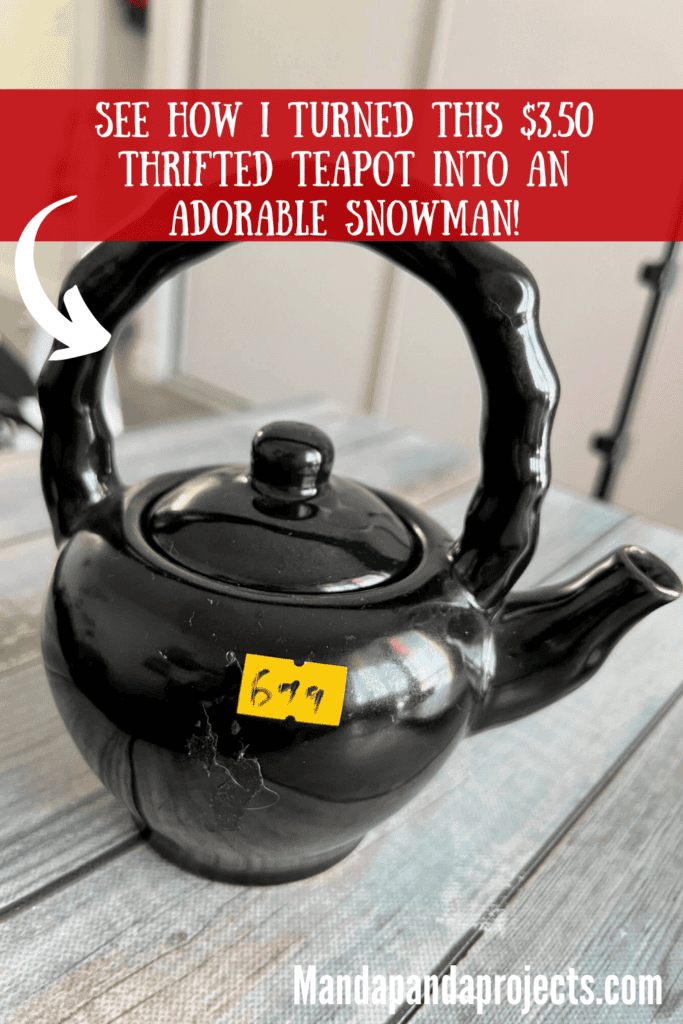
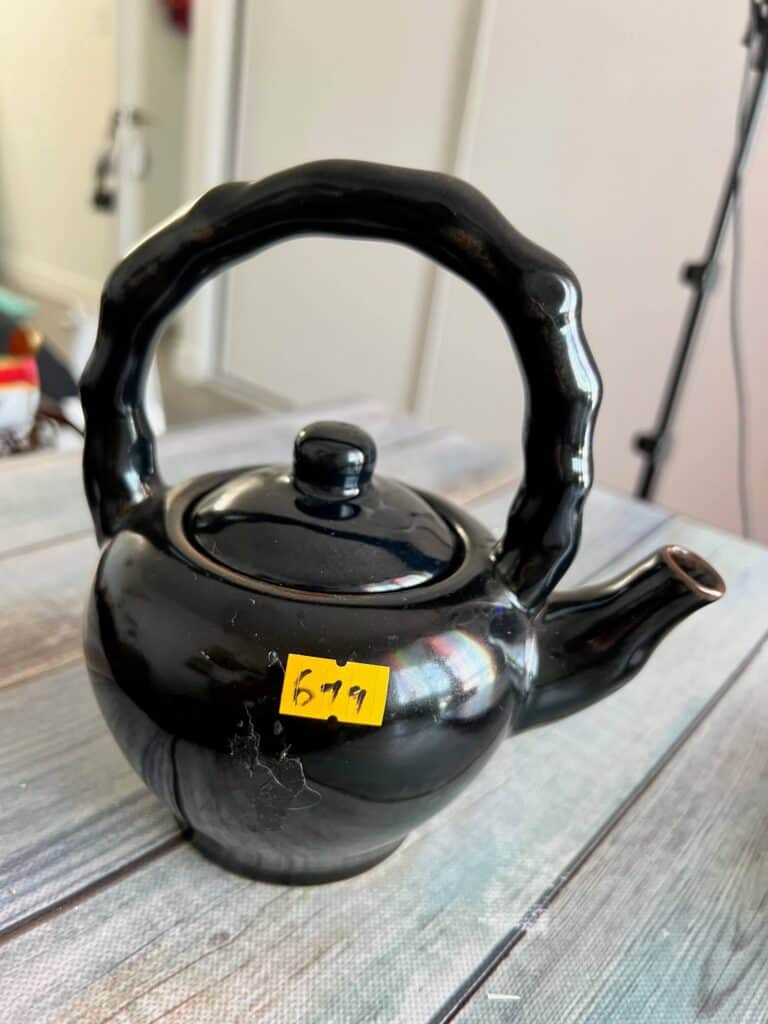
I saw this Teapot for $3.50 at my local thrift store, and I IMMEDIATELY knew what I would do with it. I know, the sticker says $6.99 but everything is 50% off all day everyday so = $3.50.
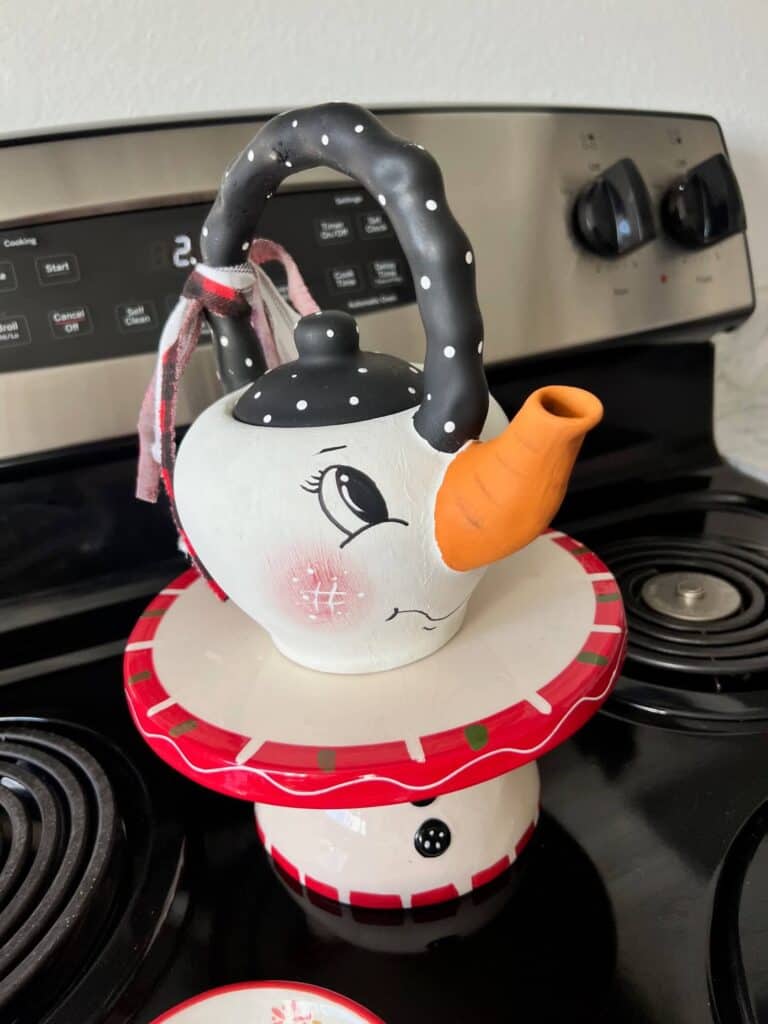
For as adorable as this Thrifted Snowman Teapot is, it was actually pretty easy to paint!
Don’t let the “hand painted” title intimidate you, I CANNOT paint, but I show you how to do it step by step in this blog.
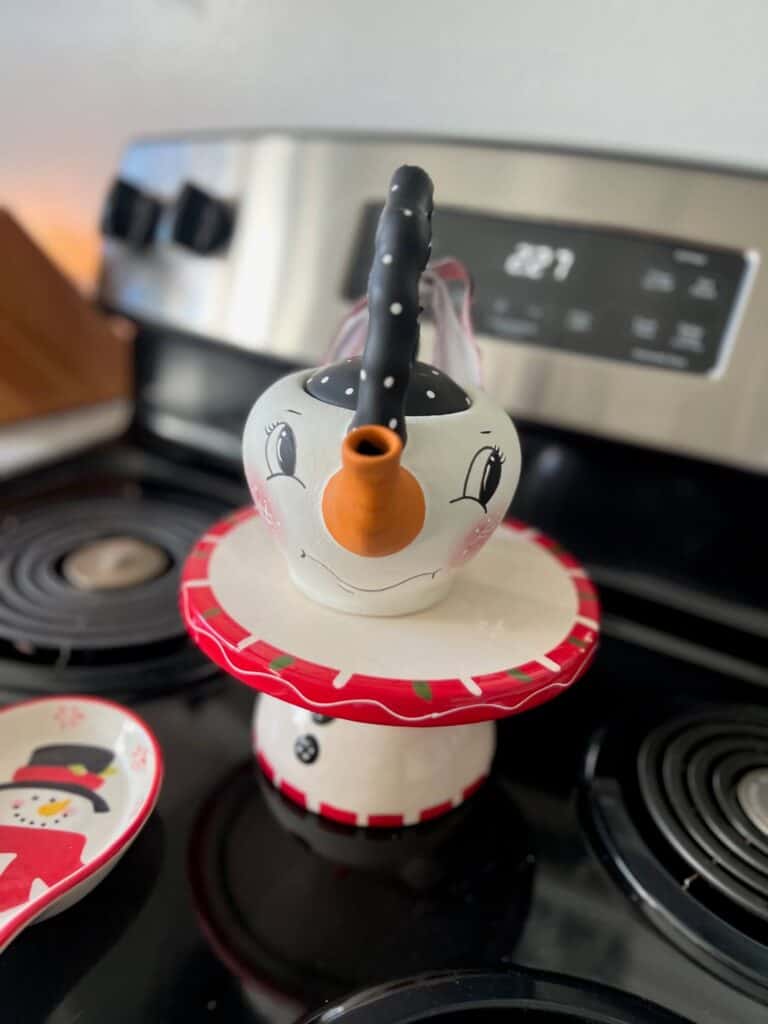
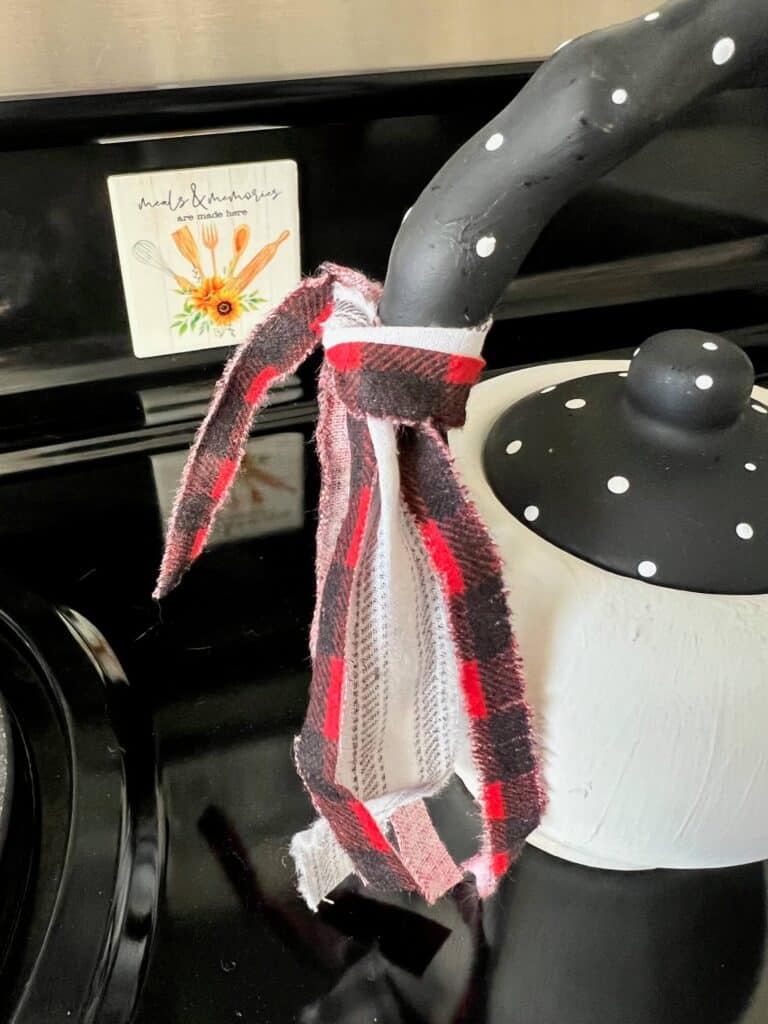
I wasn’t 100% happy with the bow on the handle, which you will see if you watch the Live replay tutorial, but it grew on me and was cute enough.
This post may contain affiliate links for your convenience (which means if you make a purchase after clicking a link I will earn a small commission but it won’t cost you a cent more!)
Supplies Needed to Hand Paint a Thrifted Snowman Teapot
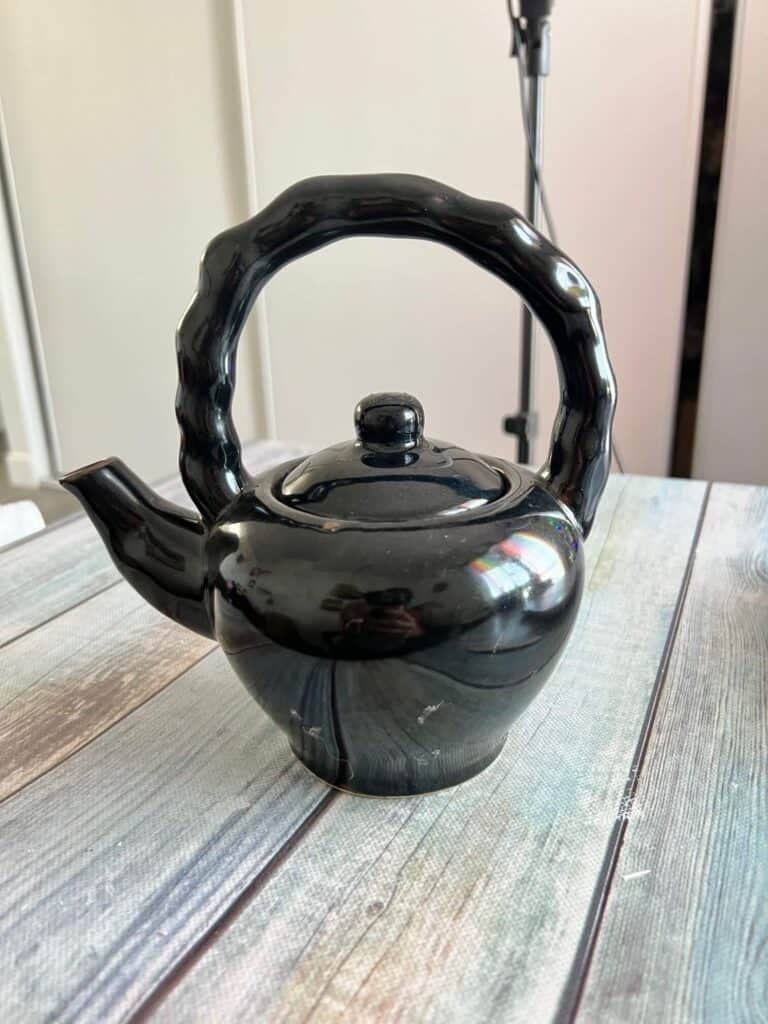
- Thrifted Teapot
- Black fine tip Sharpie
- Paint: Black, White, Orange, Pink
- Fabric of your choice
- Hot glue gun
How to Turn a Thrifted Teapot into a Snowman
I painted this Thrifted Teapot on video. So you can WATCH the tutorial by clicking below.

First things first, I gave the bottom of the Teapot a good 2 coats of white chalk paint with Waverly “Plaster”. Then I painted the handle black. (I know the handle was already black, but it was shiny and I wanted it to be matte, so I went over it with the black chalk paint).

Next, I painted the “spout” with Waverly “Pumpkin” chalk paint, and then added light lines with Antique Wax to make it look more “realistic” carrot.
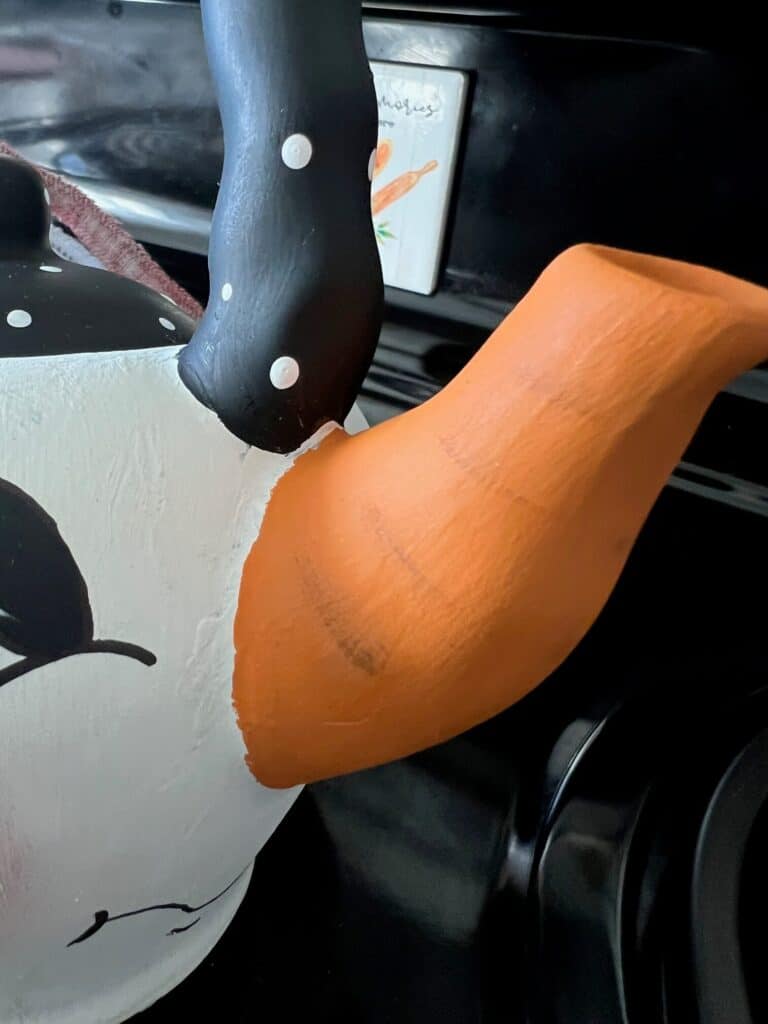
For the eyes, I drew the outline with a pencil FIRST so that if I messed the shape up, I could just erase and fix it. This took a LOT of pressure off! The outline shape looks like this…

Then I traced over the pencil with black Sharpie.

Your eyes will look something like this after you have outlined them…

Remember, progress over perfection! Don’t get too hung up on whether they are perfectly even or the exact same size. Just do your best and it will be cute, even if it’s wonky.
Next, I used a small paint brush and painted sort of half circles on the left sides of each eye like you see below…

The hard part is over! Now, add a small white dot with a line under it on the inside edge of each black part of the eye.

Finish the eyes off with 3 small eyelashes on the outer upper eye “lid” and a small line above for the eyebrow.
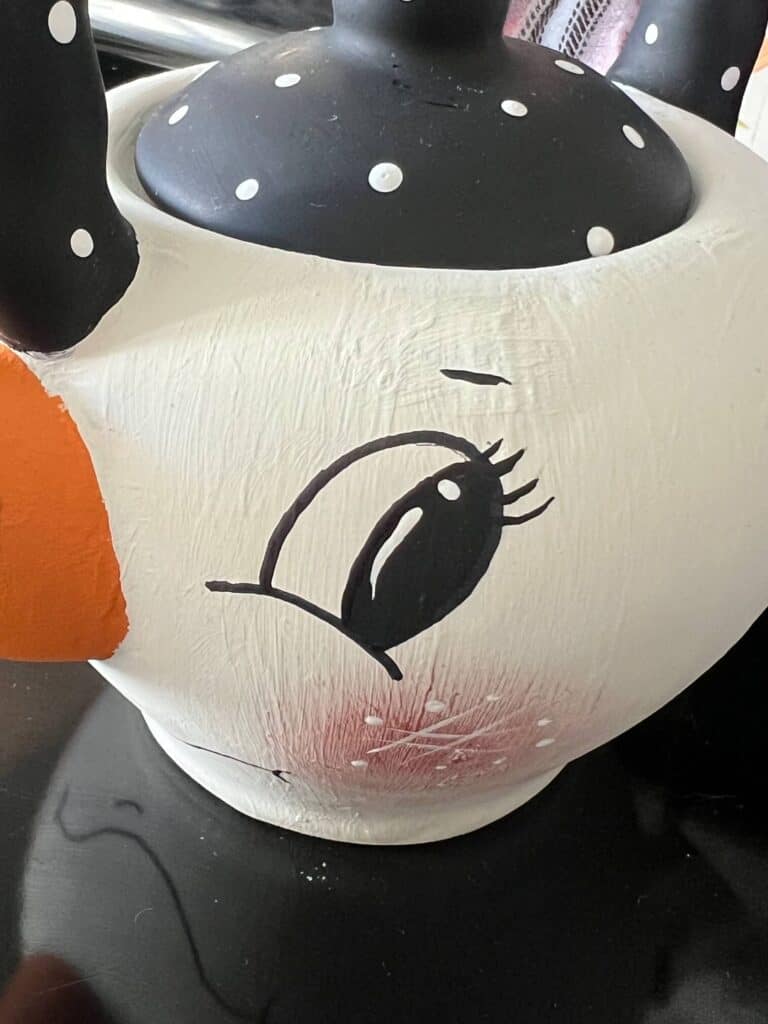
For the rosy cheeks, I dry brushed some pink paint in large circles. You want hardly any paint on the brush, so wipe almost all of it off on a separate piece of paper before doing your cheeks. You could use actual blush as well. If I were to do it over I would do that instead of the paint.
On top of the blush I added a white hashtag and some random white dots for character. I used the end of a paint brush to make the dots.
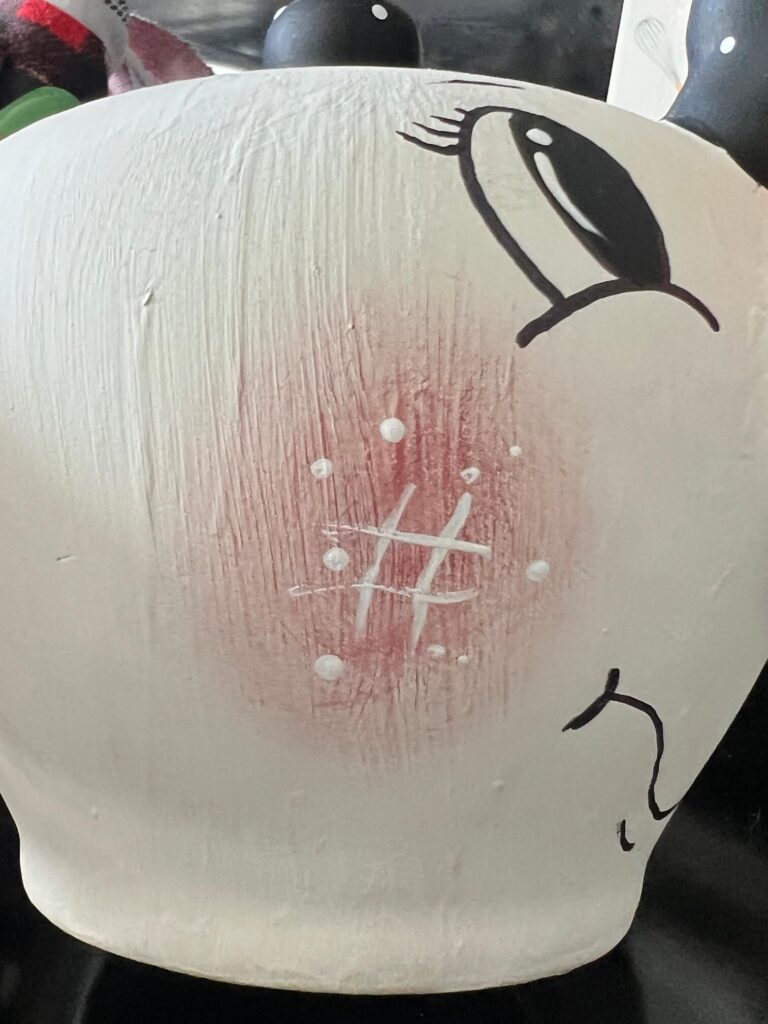
For his mouth, I did the same thing as the eyes and used a pencil to draw the wavy simple mouth. Once I was happy with it I outlined it with black Sharpie.

I added a small “wrinkle” underneath his mouth for character. (I used an image of another painted snowman for inspo. I told you, I am NOT a painter).

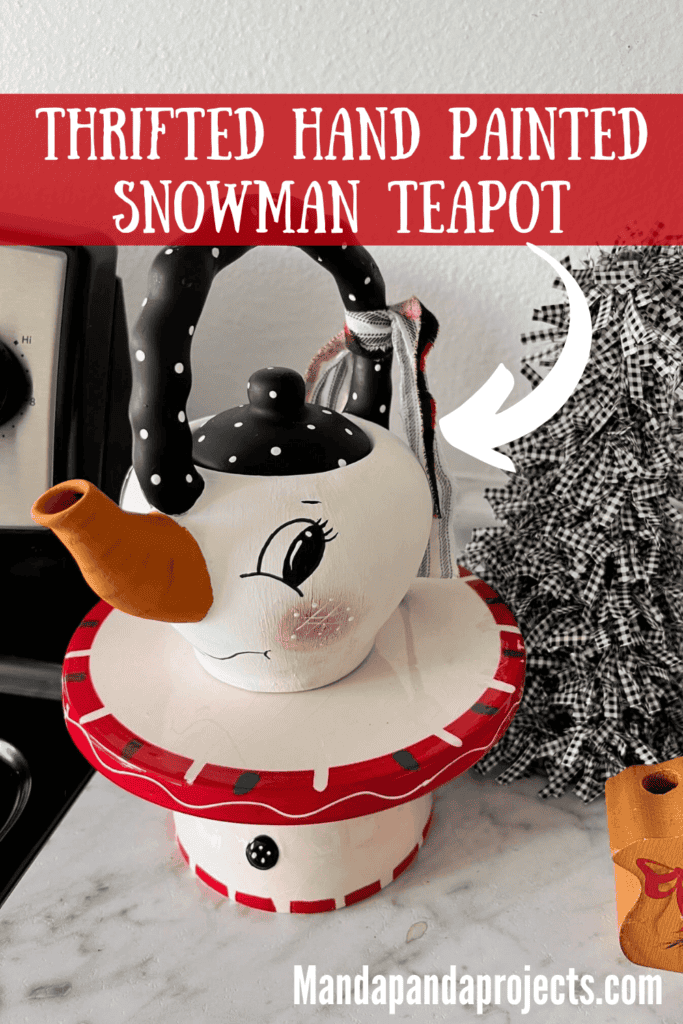
While I was dotting the cheeks, I decided that the black handle and lid needed a little somethin’ somethin’, so I decided to add polka dots to them as well.
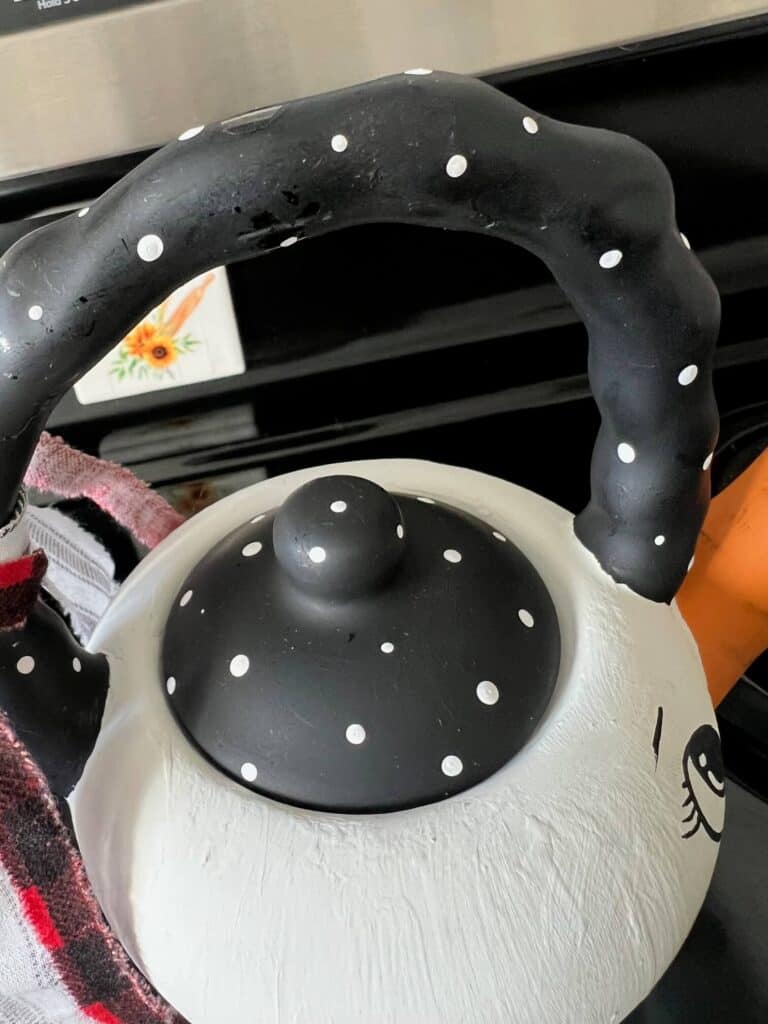
Last but not least, I wanted to add a scrappy fabric bow to the handle so I just simply tied some strips of ripped fabric to it and called it a day.
I just love Day 4 of the 2023 Countdown to Craftmas!
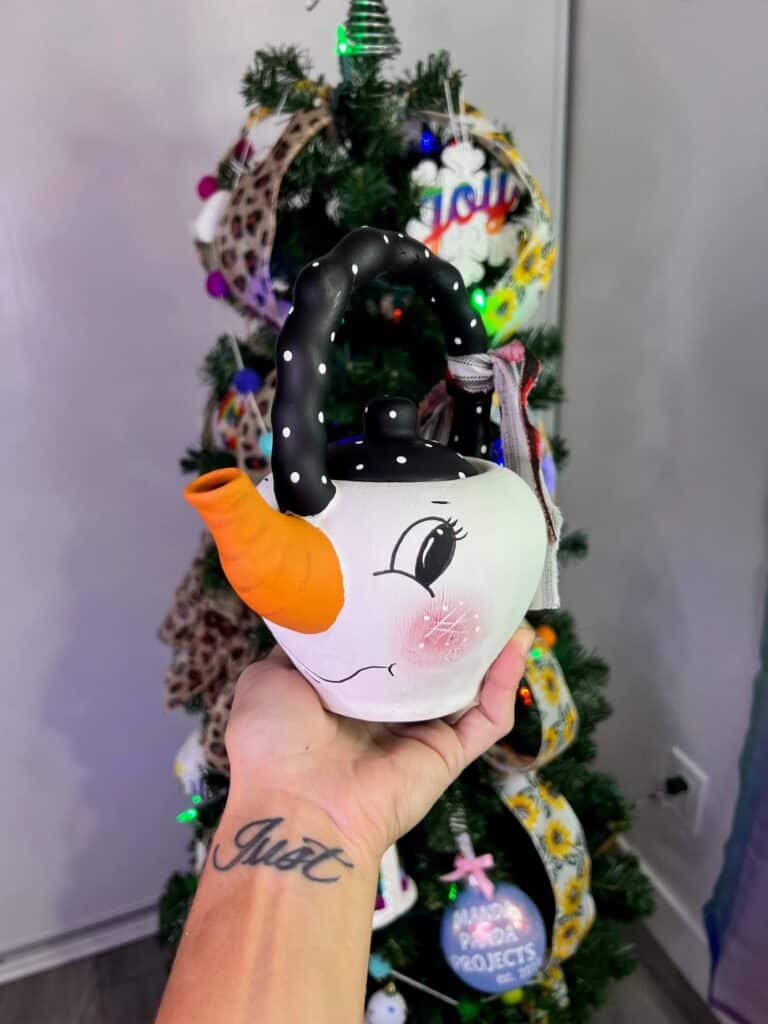
I mean c’mon, how darn cute is this Hand Painted Snowman Teapot!?
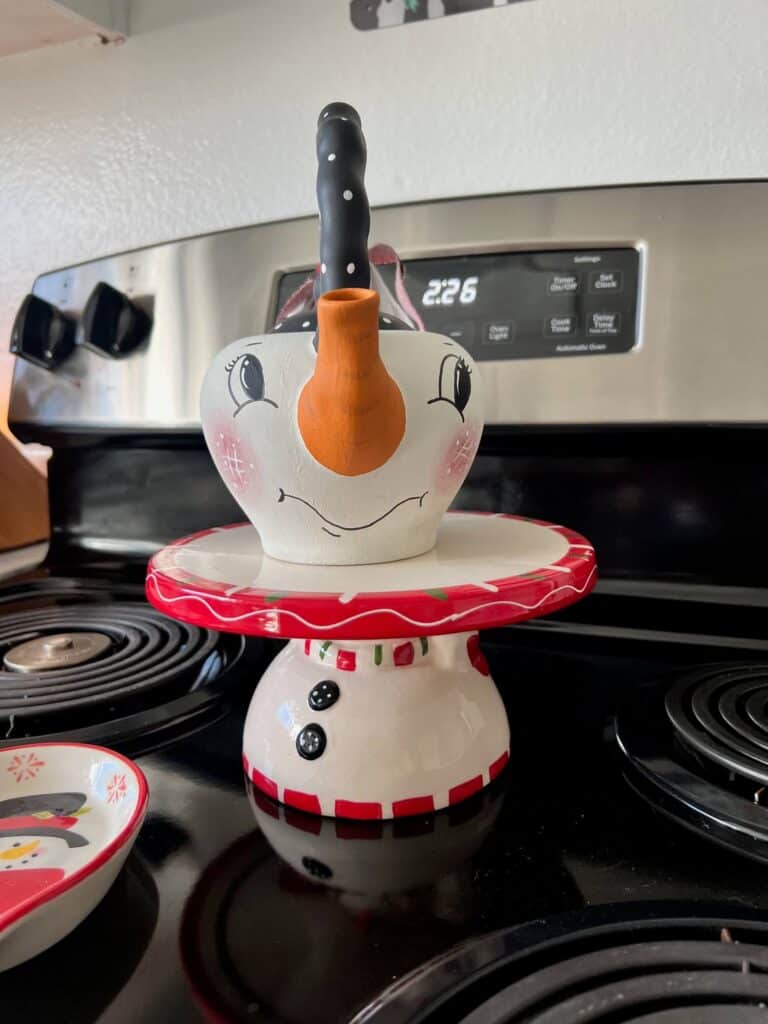
Are you even a crafter if you aren’t RUNNING out to the thrift store to get a teapot right now?
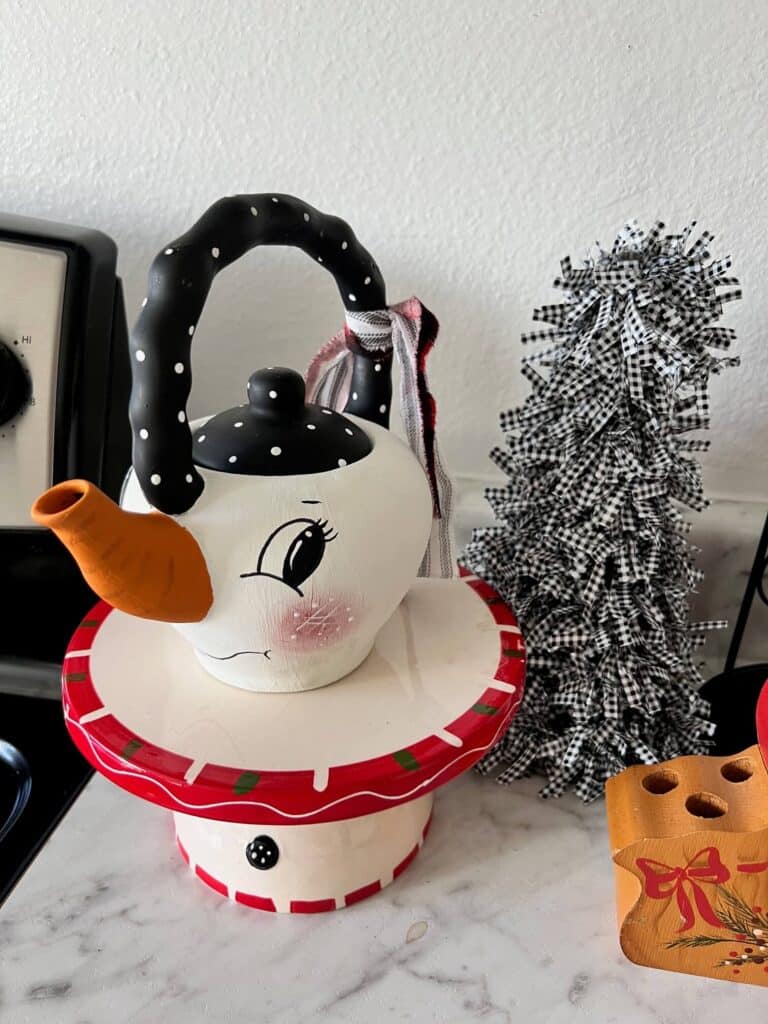
Are you going to hand paint a teapot to look like a Snowman for Winter or Christmas this year? If you do, I’d love to see it! Pop on over to our free Craftspiration Facebook group, and join in on the fun by posting a pic of your Tiered Trays, DIY’s and crafts. I just love to see all your creative and crafty creations.
If you’ve got a million projects on your crafting ‘to-do’ list like I do, than you need my FREE Craft Project Planner so you can plan to make *all the things*! When you sign up for the craft planner, I’ll also send you lot’s of fun, easy, and budget friendly ideas for you to fill it up with!

Free printable Craft Project Planner
Get organized, get inspired, and get crafting, with our free Craft Project Planner!
Until Next Time…
Stay Crafty San Diego!

Love this Hand Painted Thrifted Snowman Teapot? Make sure to PIN it for later!
