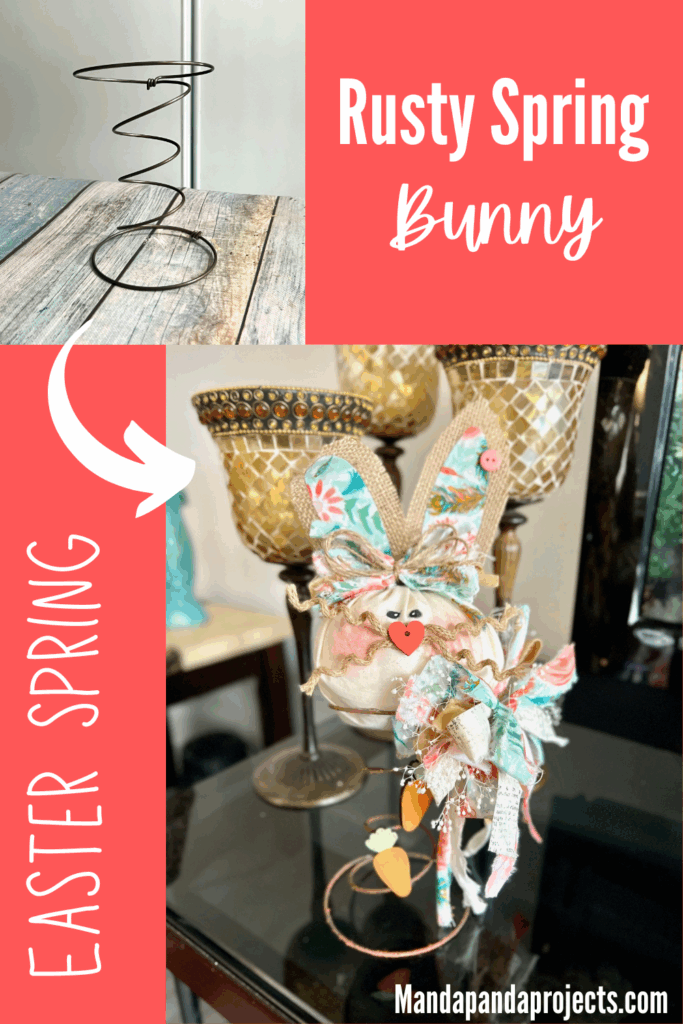
Make an adorable SPRING bunny that’s not just for the spring season, but made with a rusty bedSPRING too! This cute and affordable DIY will have you hopping right into Easter and through Spring!
I am quite literally obsessed with bedspring crafts!
My crafty Facebook friend gave me a bunch to craft with, but you can also get them on Etsy.
This is just another way that you can make an adorable Bunny for spring and Easter.
If you want another adorable Bunny idea, check out this Corrugated Cardboard Bunny I made too. It’s affordable and FUN!
This post may contain affiliate links for your convenience (which means if you make a purchase after clicking a link I will earn a small commission but it won’t cost you a cent more!)
Supplies needed to make a Rusty Spring Bunny
- Bedspring
- Rust Effect Paste
- Muslin
- Coordinating fabric and ribbon
- Black Sharpie
- Wood Carrots
- Dried white flowers
- Twine
- Wired Jute
- Poly-Fil
- Small wood heart
- Floral Fabric
- Burlap
- Paint: Orange, White, Green
- Small pink buttons
- Pink Blush and Finger Dauber
How to Make a Rusty Spring Bunny
I made this Rusty Spring Bunny on video. So you can WATCH the tutorial by clicking below.
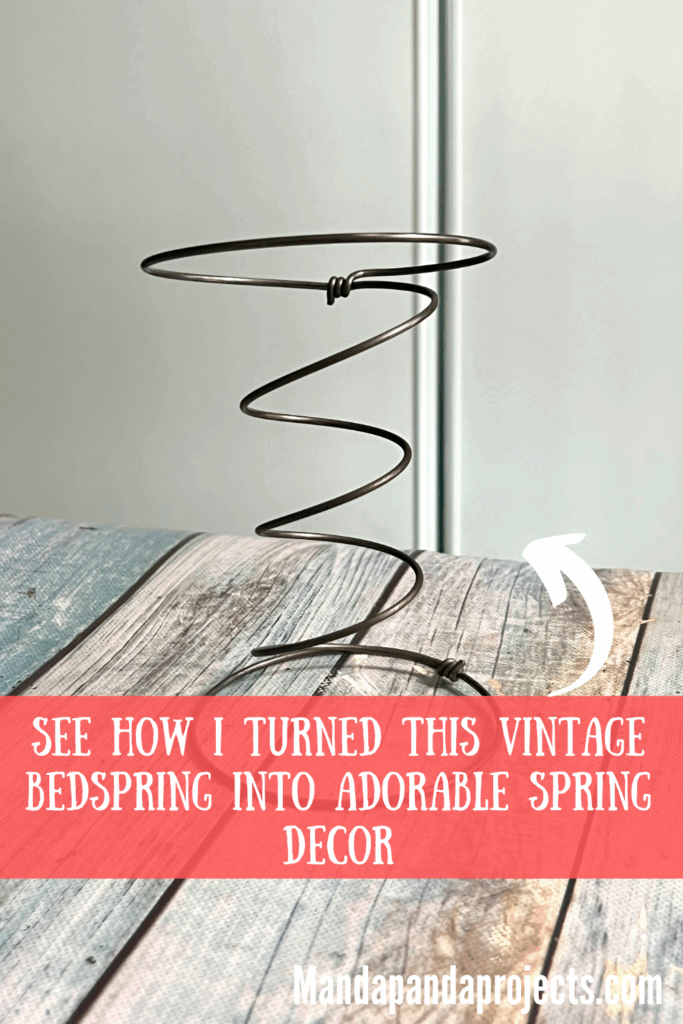
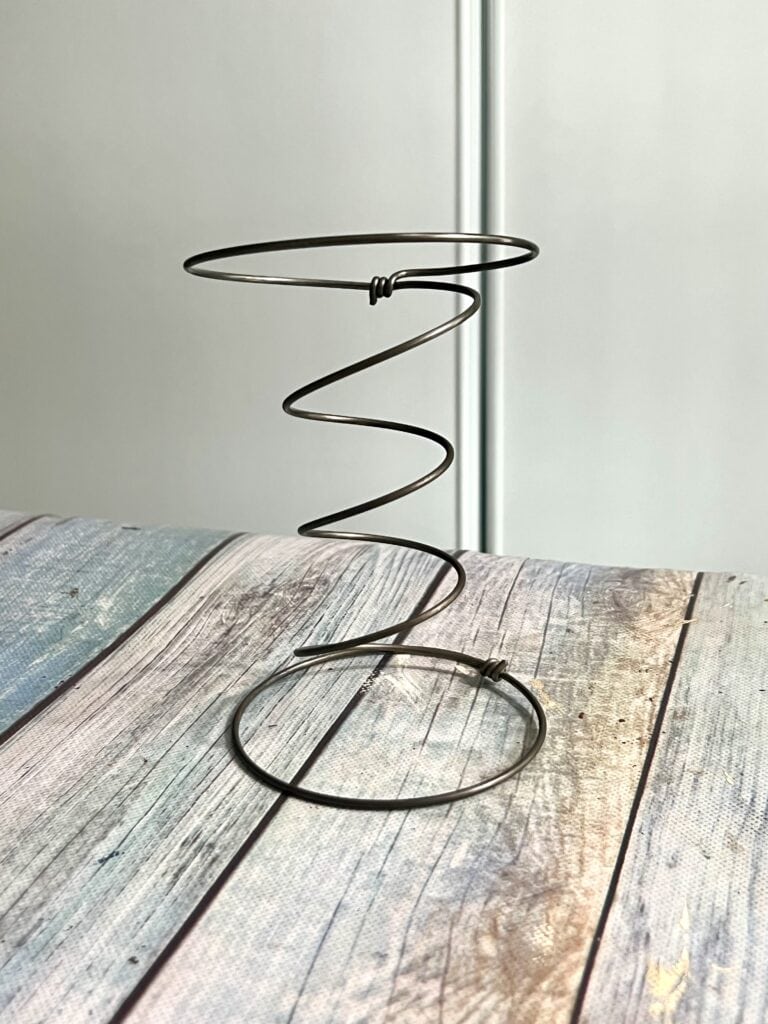
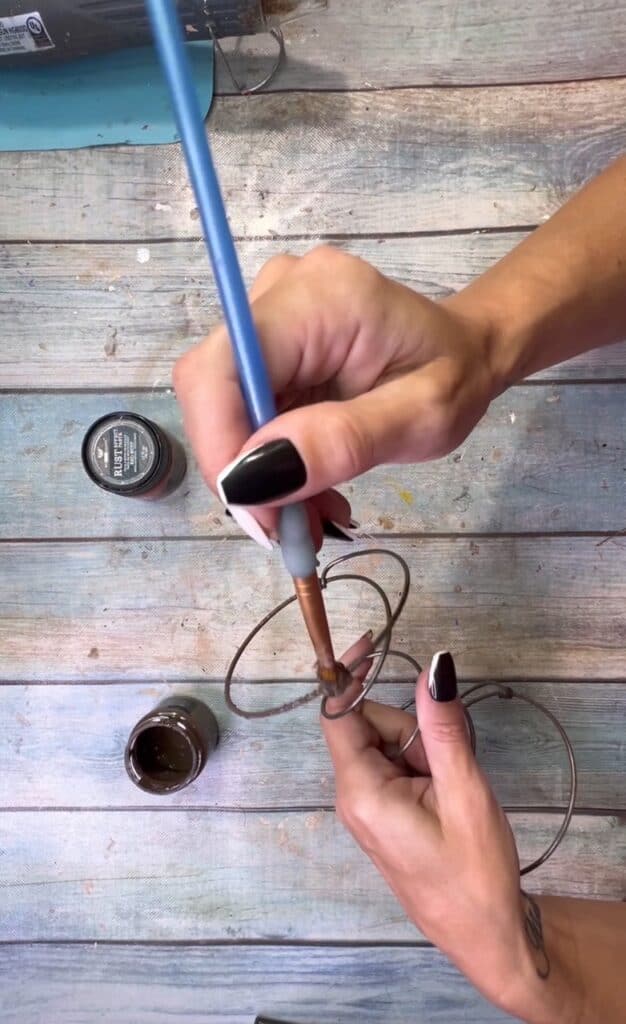
First things first, we have to rust the spring with our Rust Effect Paste. This stuff is pricey, but it is UH-MAZ-ING and so worth it! And, it’s easy to use. Of course you don’t HAVE to rust your spring if it’s not your style.
To use the paste, you first dab on a layer of the brown using a paint brush or foam brush.
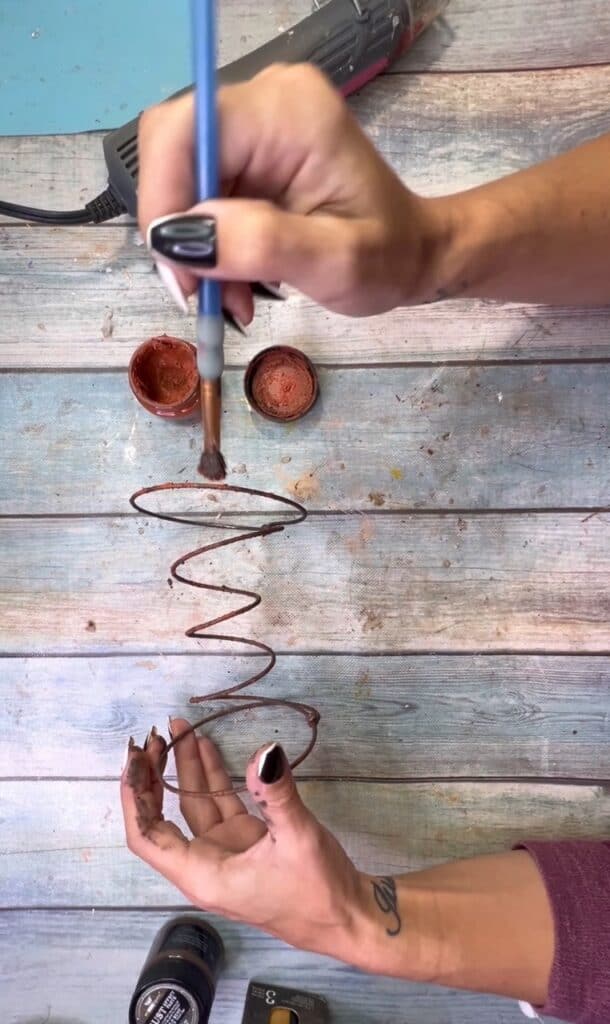
Then dry that, and dab on a layer of the orange on top. You don’t want to cover it entirely in orange, just here and there and heavier in some areas, like natural rust would be.
For the bunny head, take a ball of poly-fil and put it in a square of muslin, then wrap the muslin around it and tie it off.
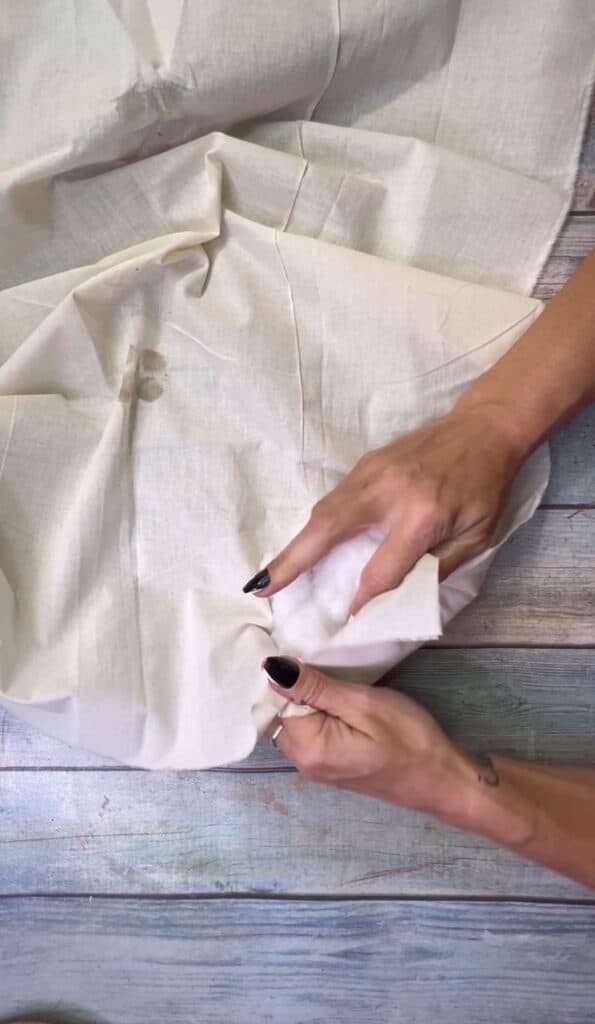
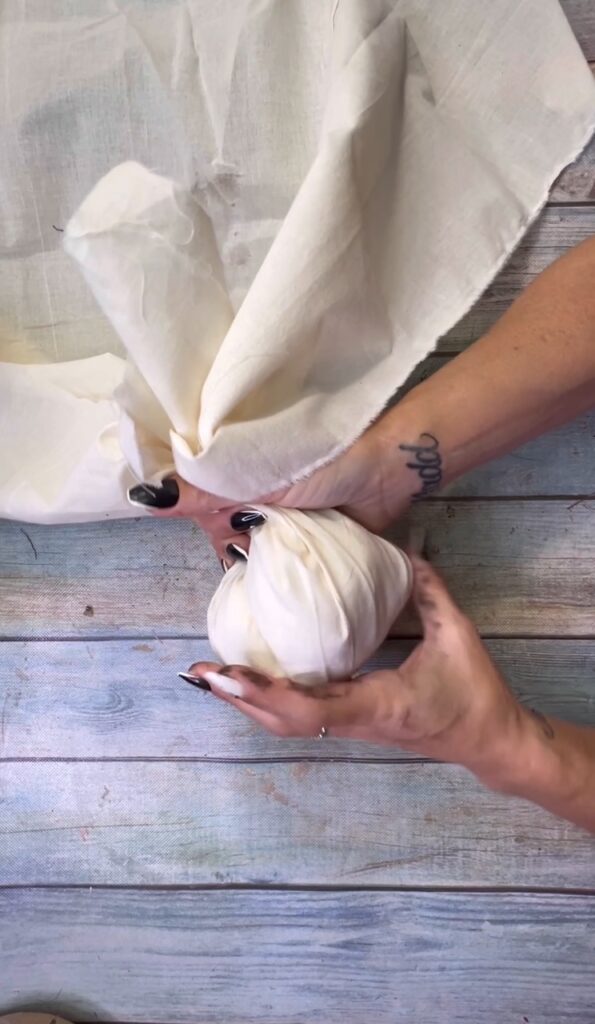
If you have a rubber band or hair tie, it’s much easier then trying to tie twine around it (unless you have an extra set of hands to help!). Once you have the rubber band around it, you can then tie it off with twine.
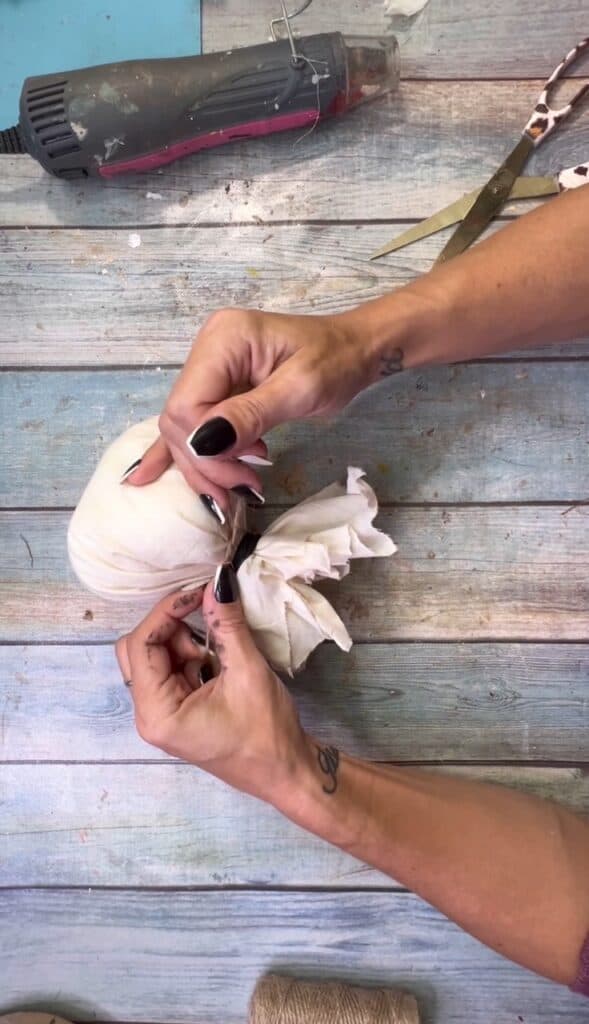
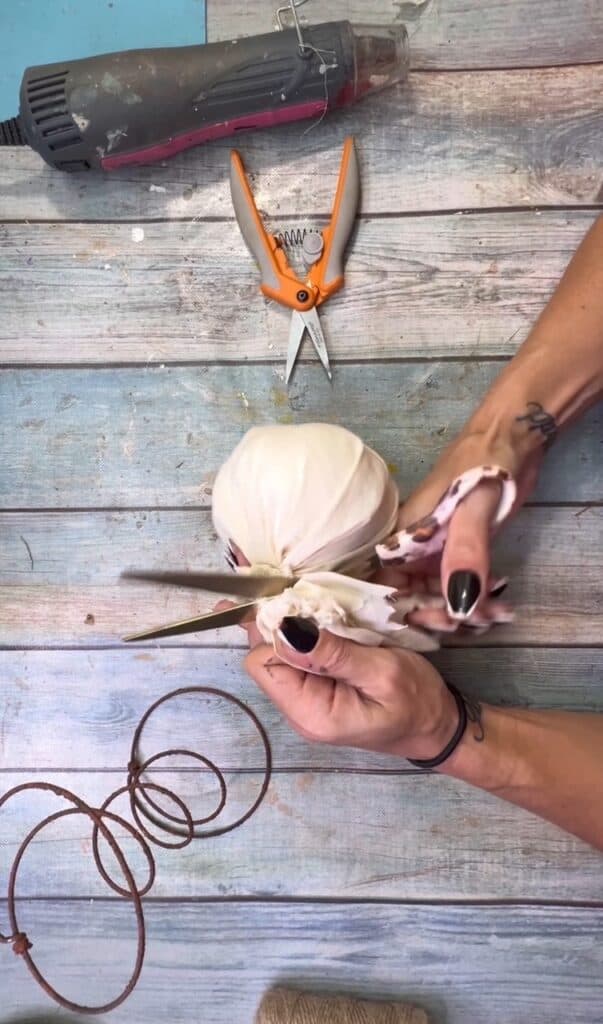
Cut off all the excess muslin.
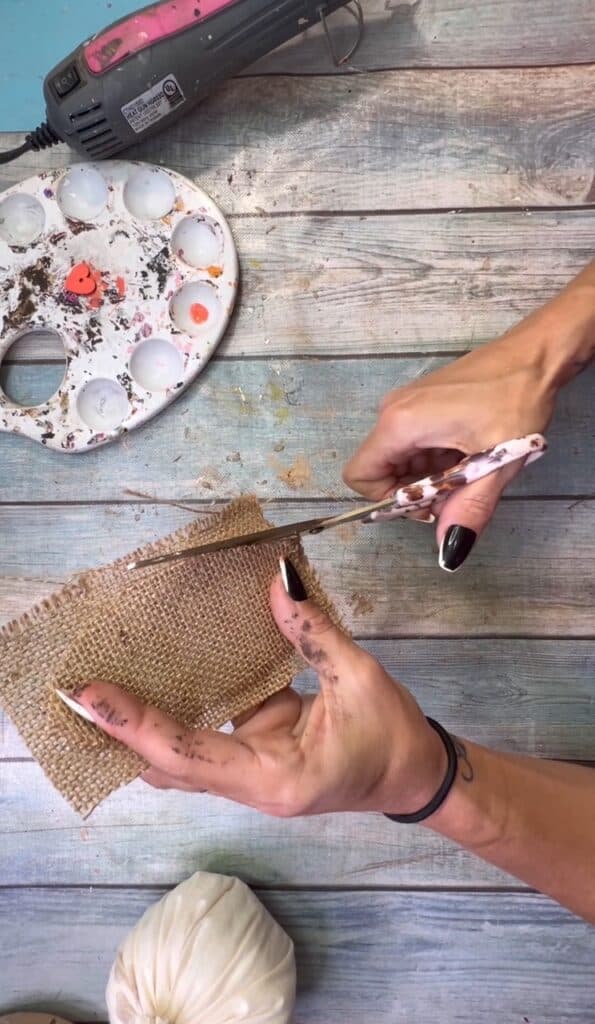
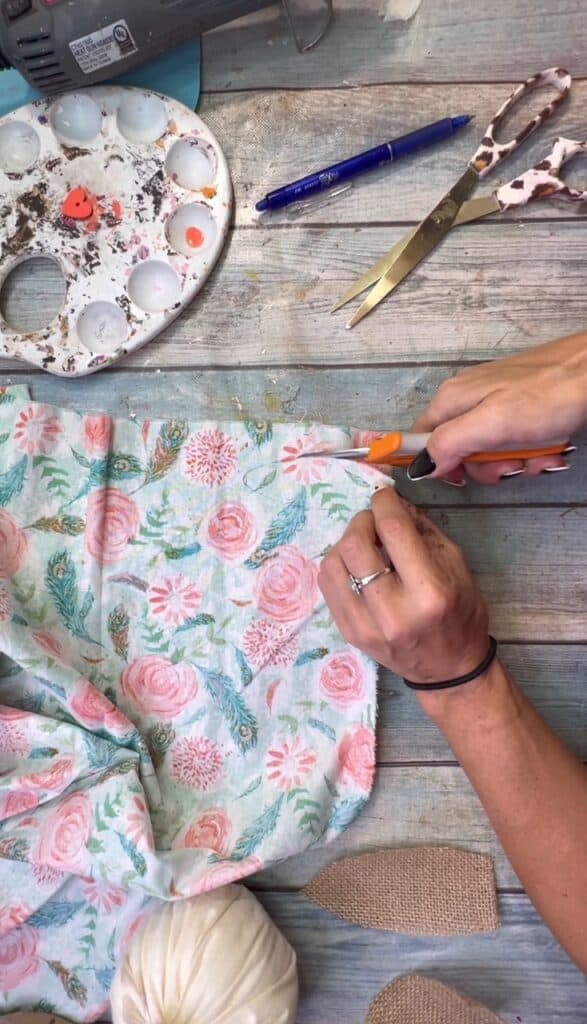
For the bunny ears, freehand cut a large ear on a piece of burlap. Then use that ear as a template to cut the second ear so that they are the same size and shape.
I freehand drew the “inner ear” onto a piece of pretty floral fabric and then cut that out.
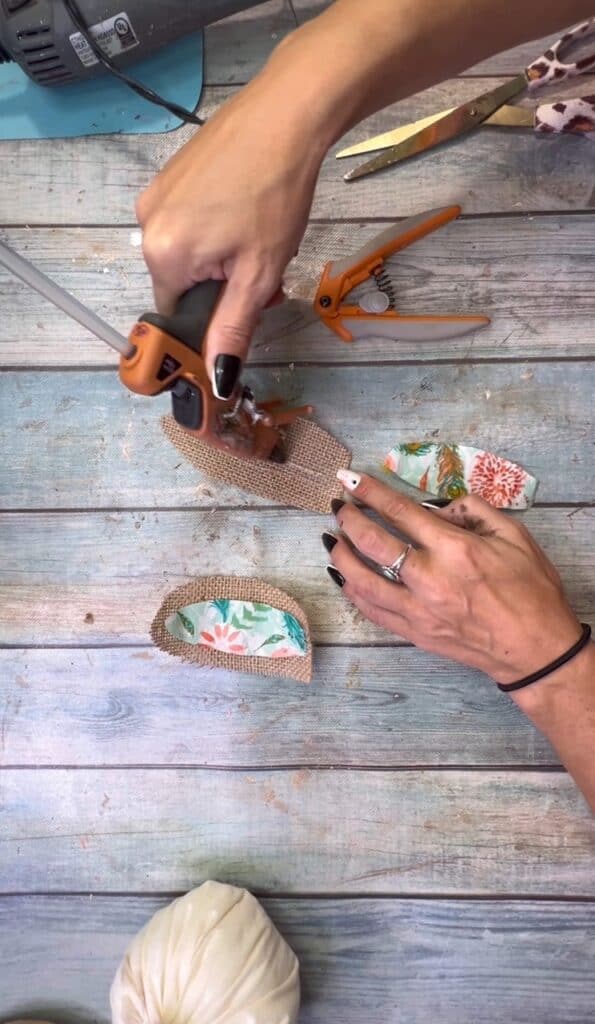
Use hot glue to attach it to the center of the burlap ears.
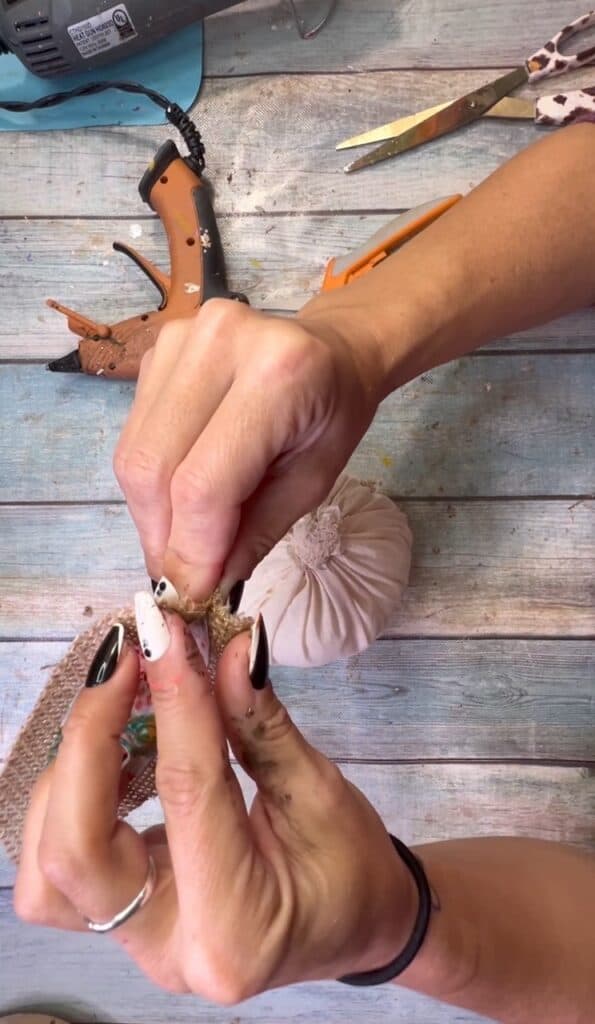
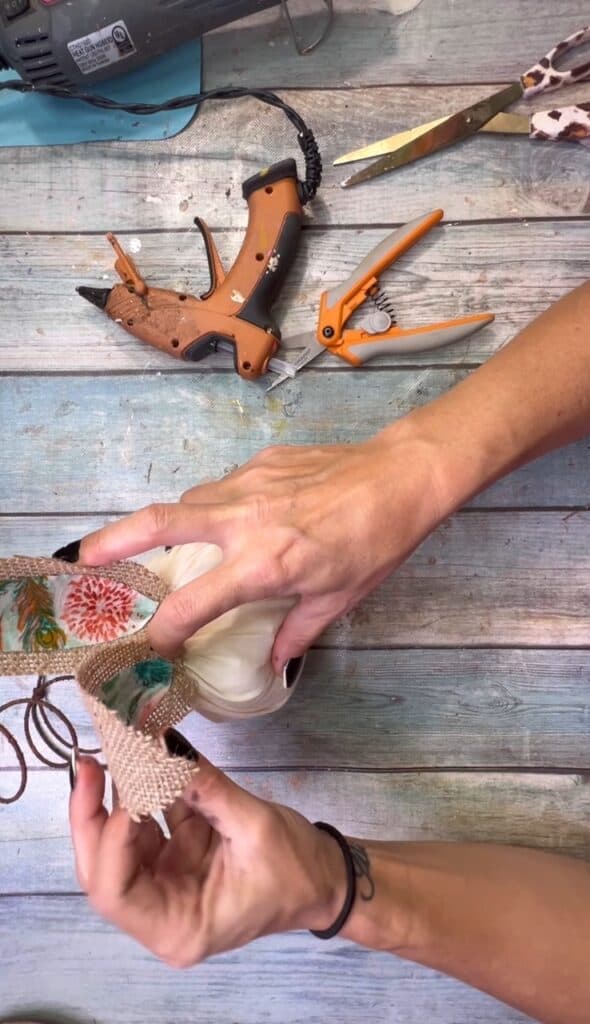
Then, pinch and glue the ears into a kind of accordion fold at the bottom, so that they are ready to glue to the top of the Bunnies head.
Then glue them to the top of the head.
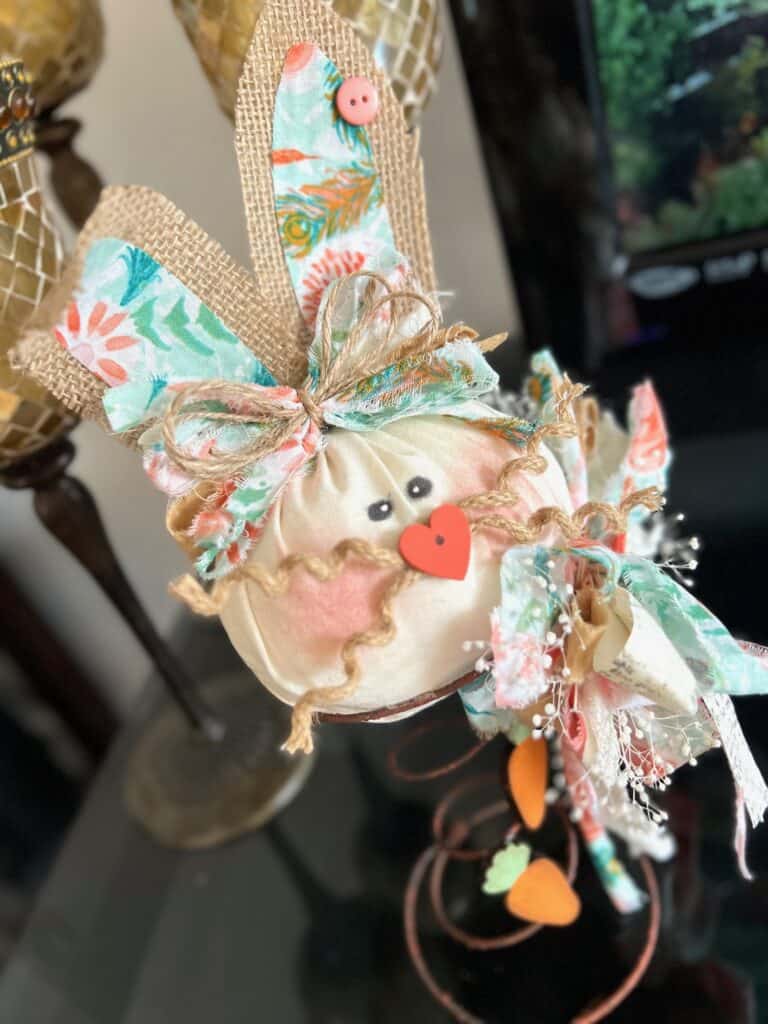
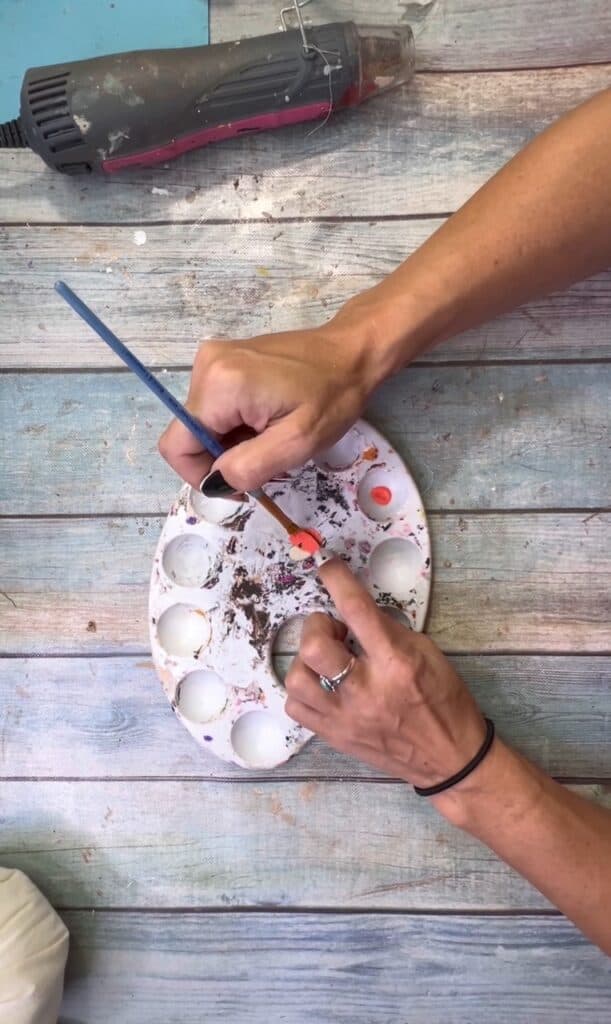
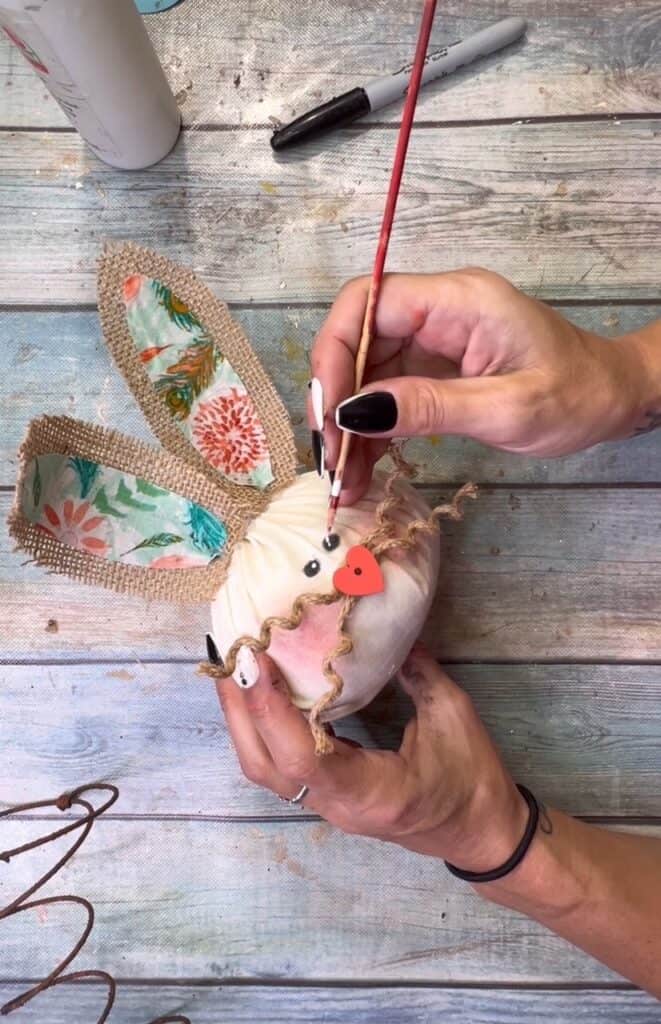
For the nose, paint a small wood heart pink.
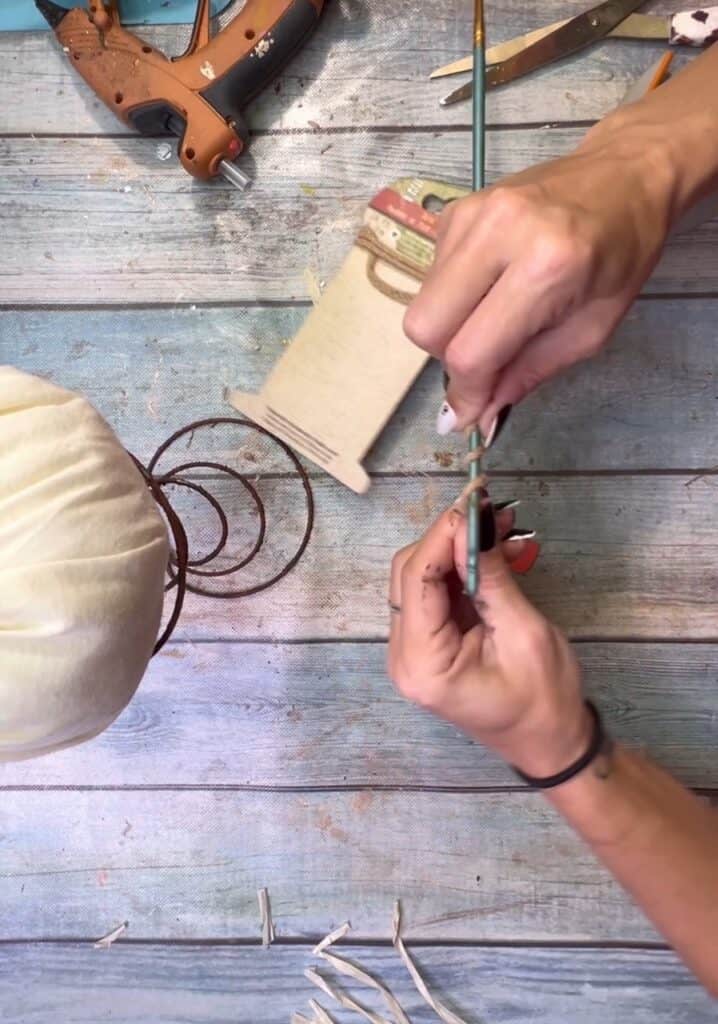
For the whiskers, wrap 4 pieces of wired twine around a paint brush to give them a curly look.
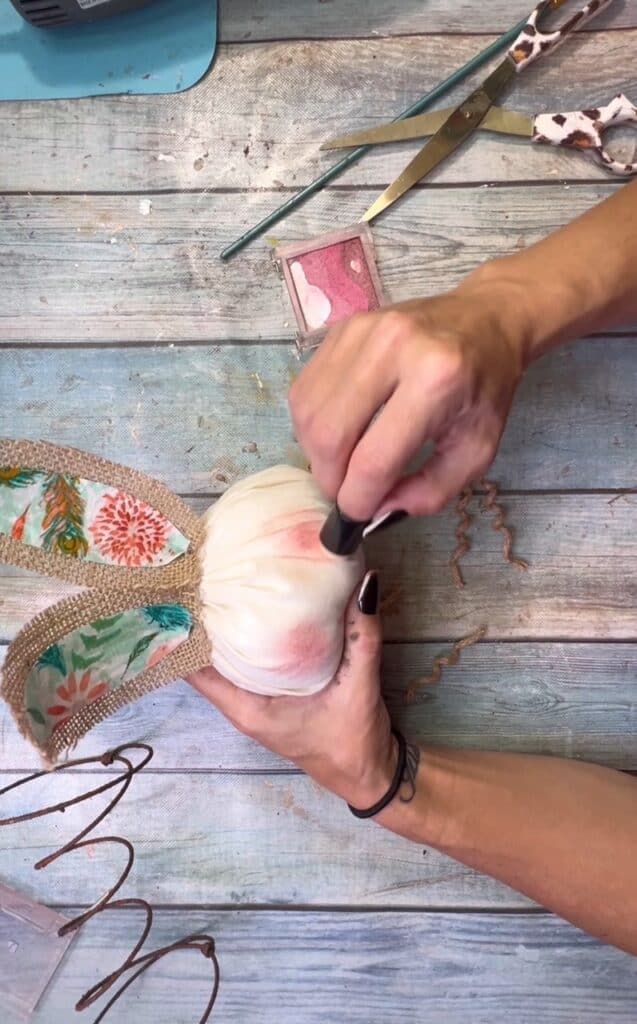
I used some cheap blush to give the bunny pink rosy cheeks using a finger dauber.
Then glue on your whiskers first with your nose on top of them.

Draw on super simple small black circle eyes with a Sharpie.
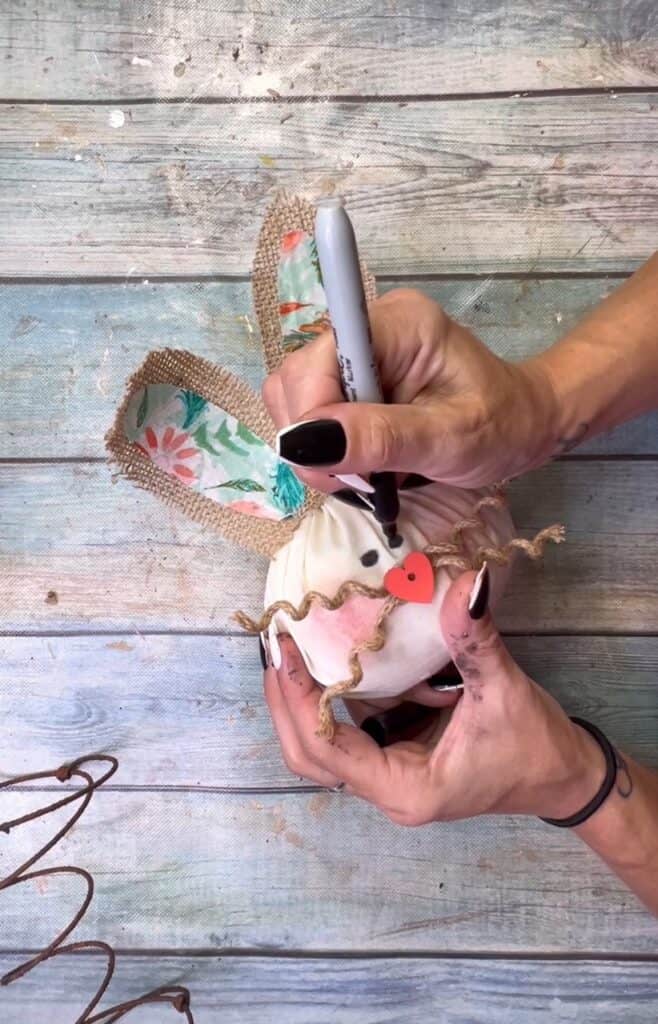
And then give the eyes some life and personality with a tiny white dot in the center. I used the end of a wooden skewer to get the dot small enough.
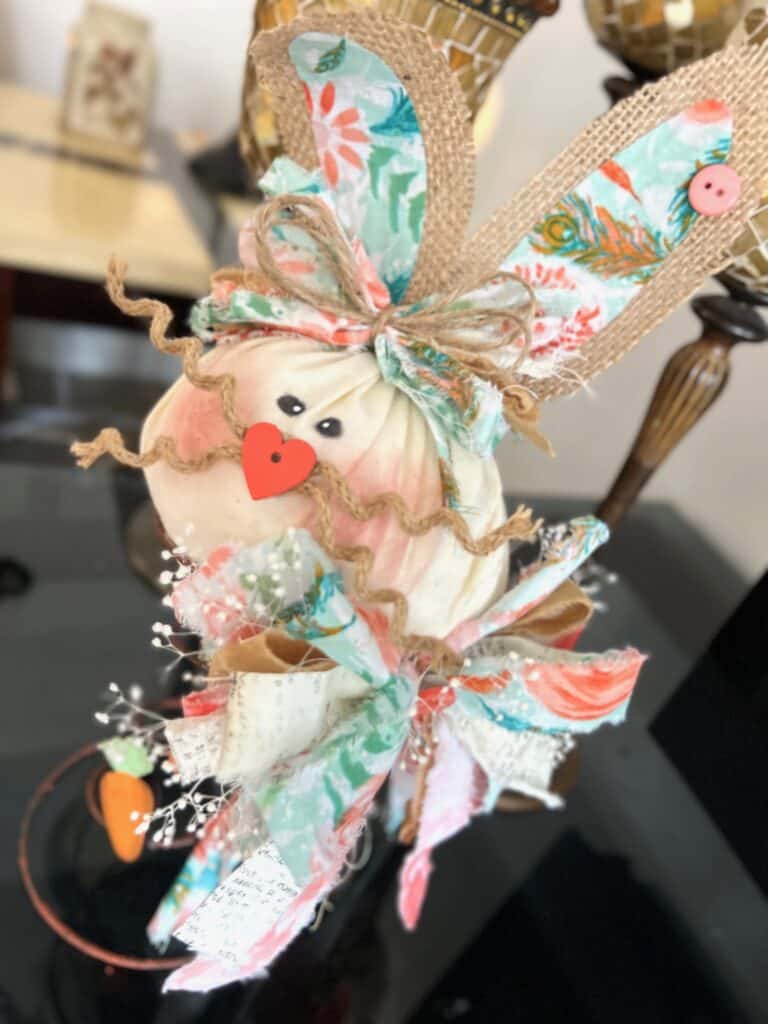
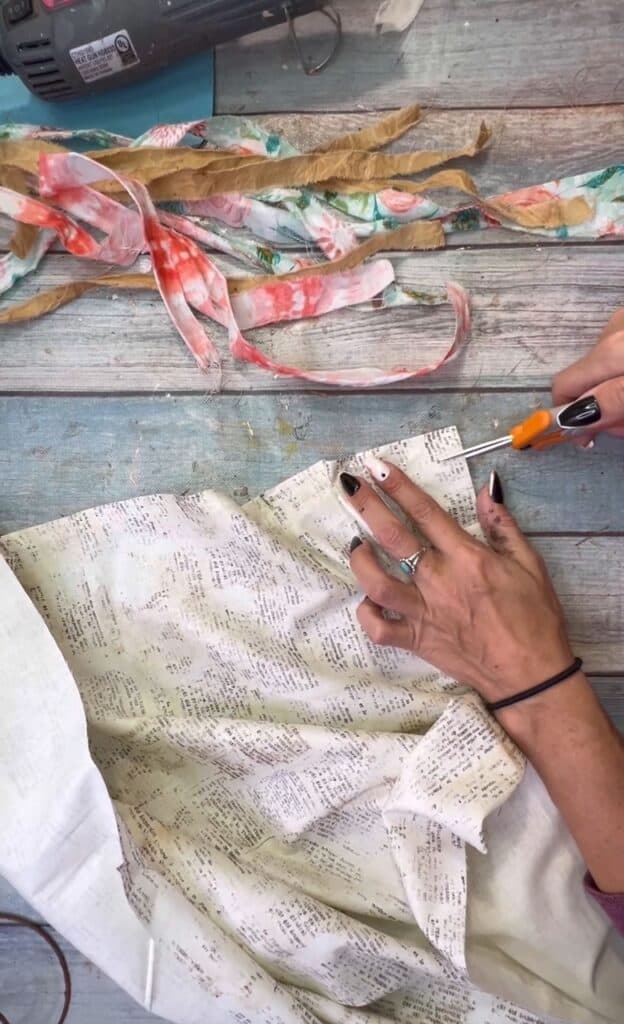
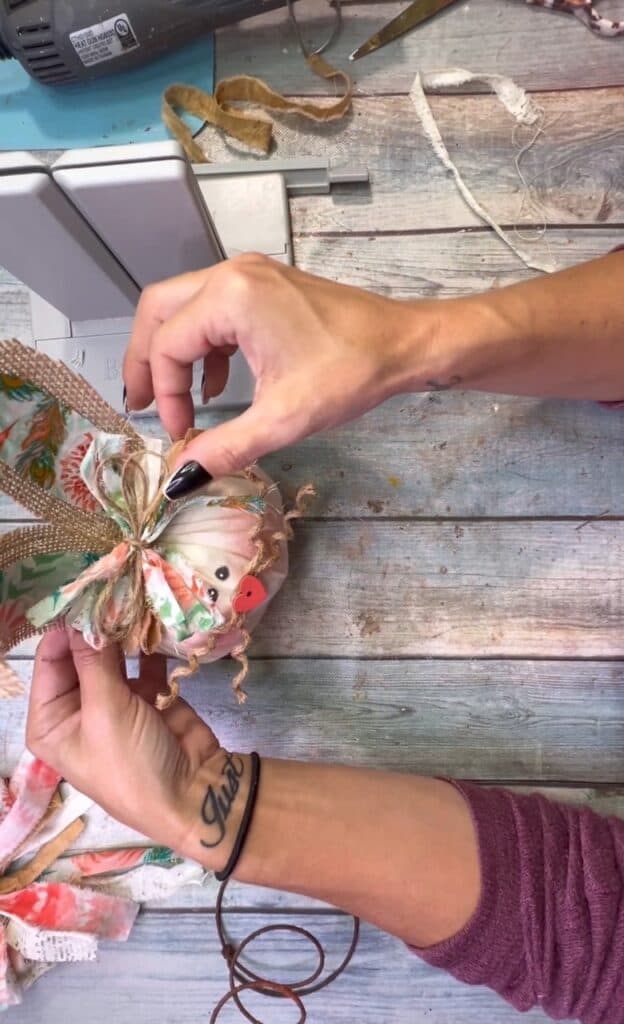
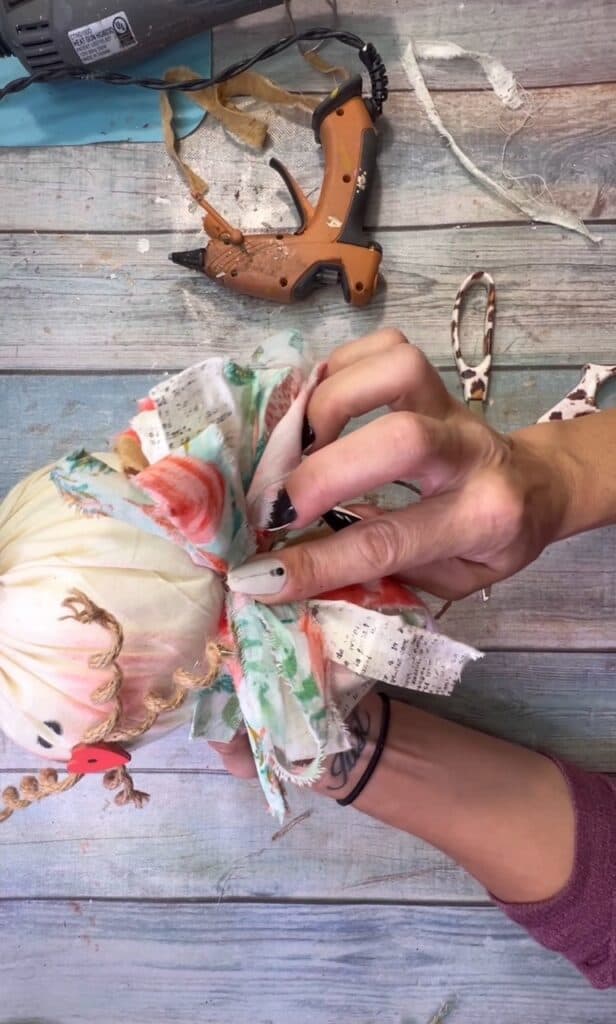
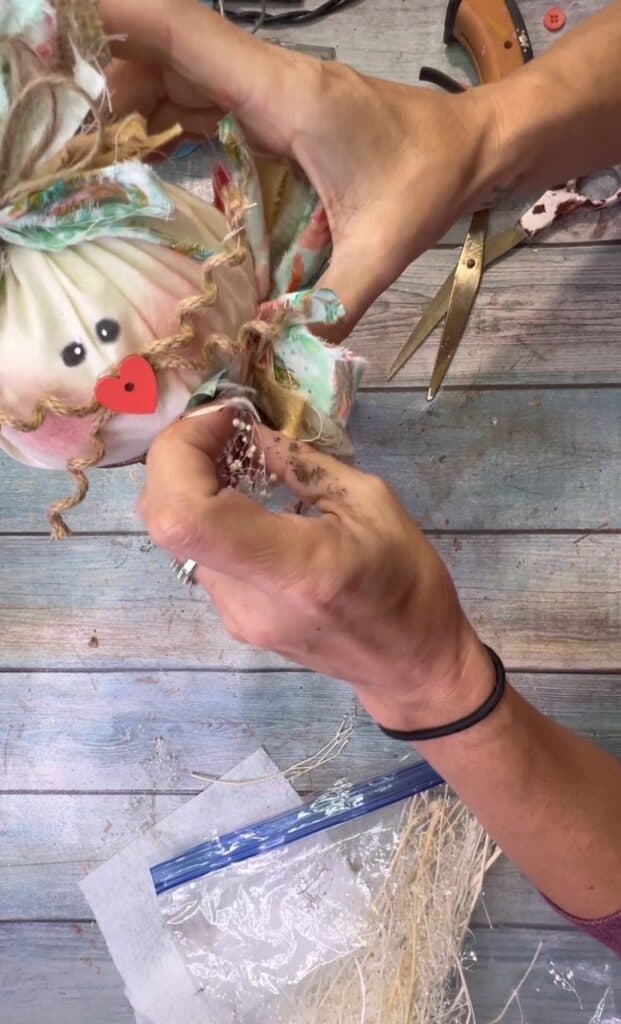
Time for the bow! Rip a bunch of coordinating fabric into about 1″ strips (as long as you like, the longer the fabric the longer the “tails” of the bow will be).
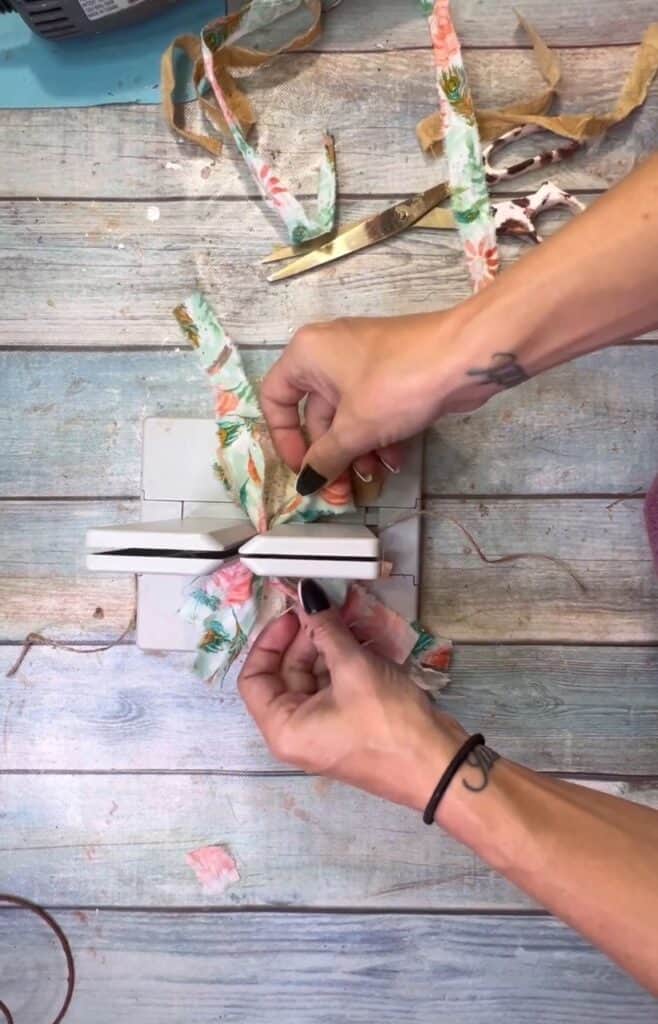
I used some pretty floral that I used for the ears, some tye-dye salmon color, coffee stained muslin, and a creme newspaper fabric. I use a Bowdabra to make my bows and I LOVE it, but you definitely don’t need one to make a bow.
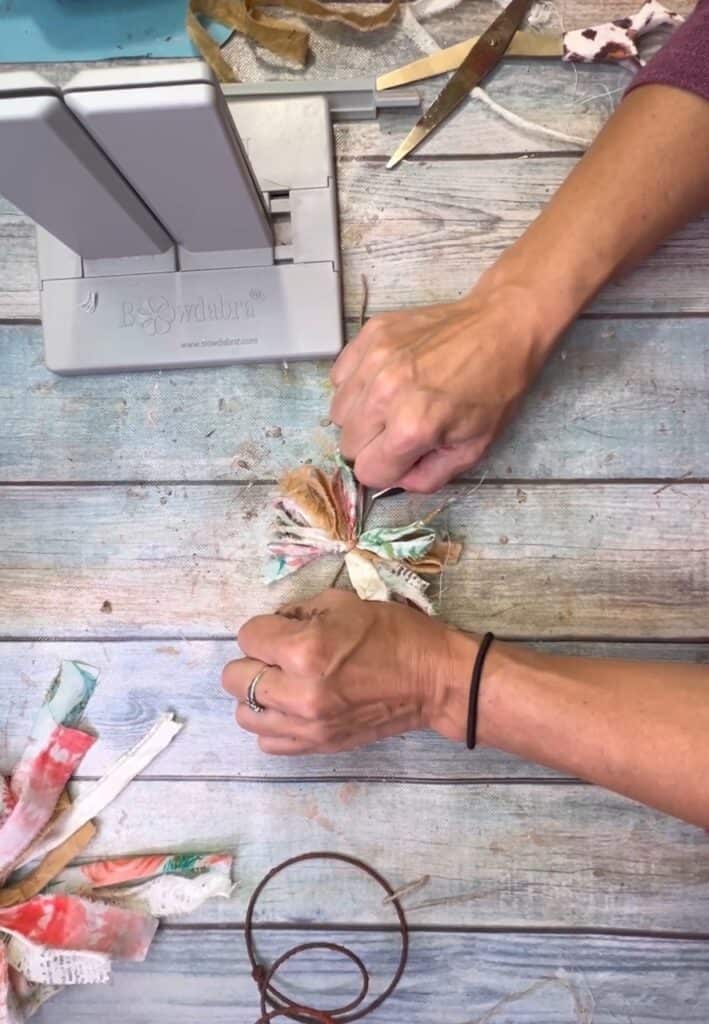
Just start layering them in the Bowdabra, one strip after the other until its as big and full as you like, and then tie it off with twine.
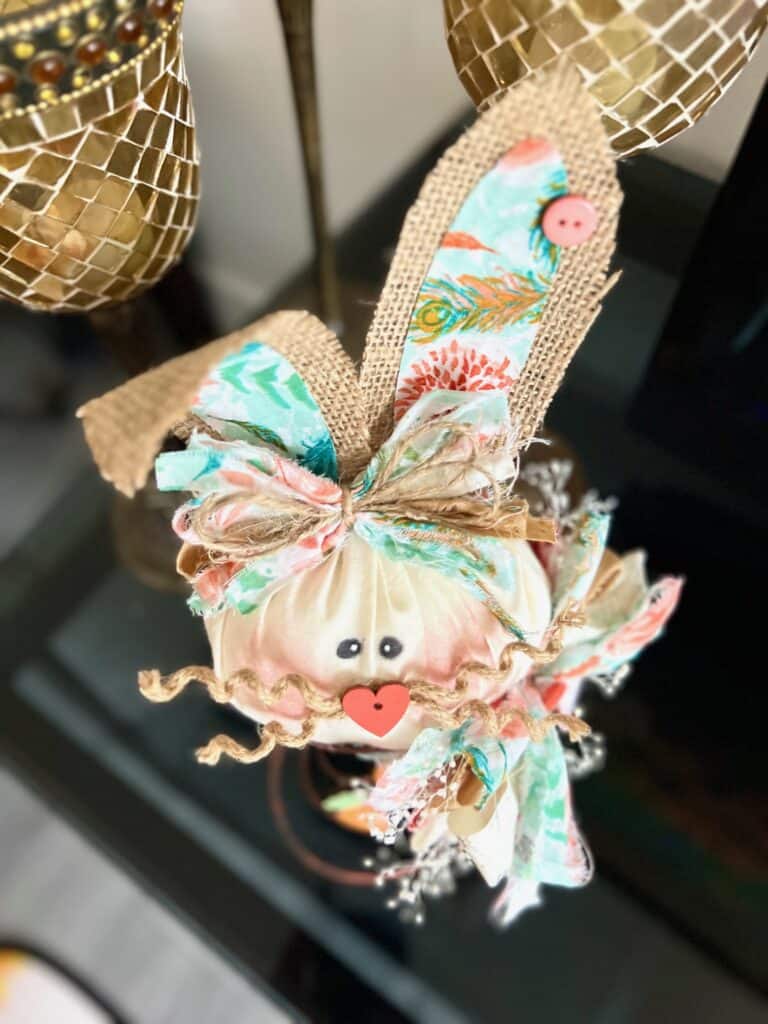
I also made a smaller bow for the bunnies ears.
Glue the small bow to the top of the bunnies head by the base of the ears.
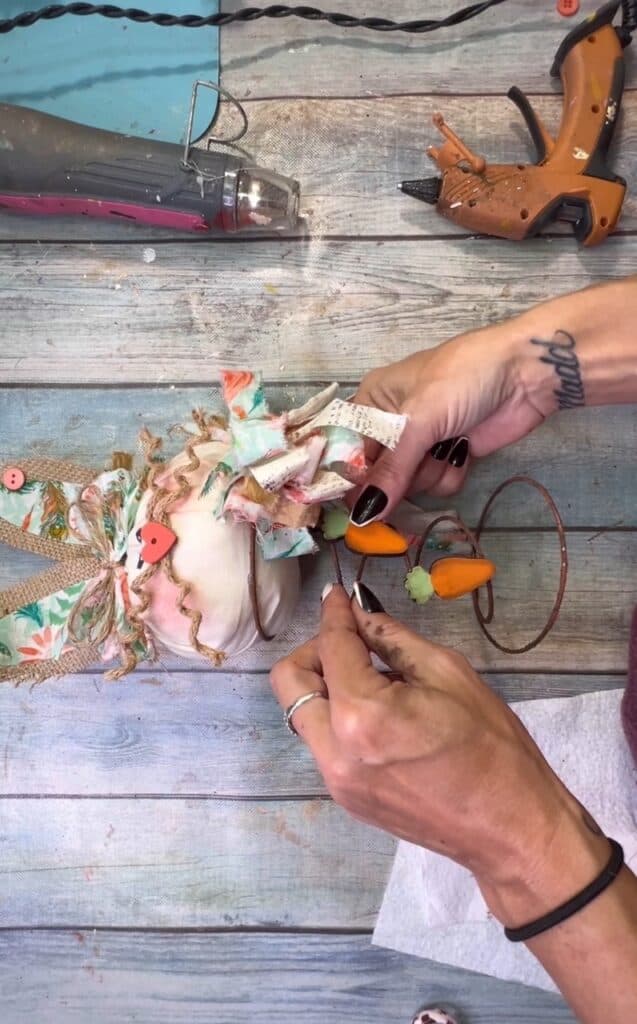
Then glue the bunnies head to the top of the spring, and the bigger bow where the spring meets the head on the left side.
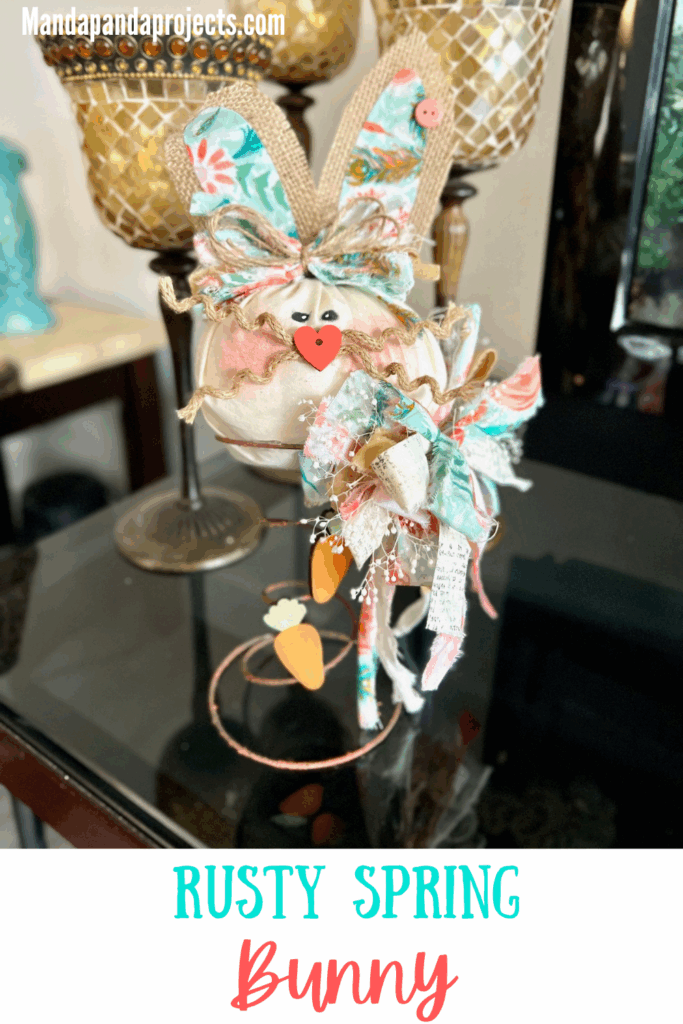
I painted some wood dollar tree carrots for embellishments. I added a bit of Kilz Darl Wax to them to grunge them up.
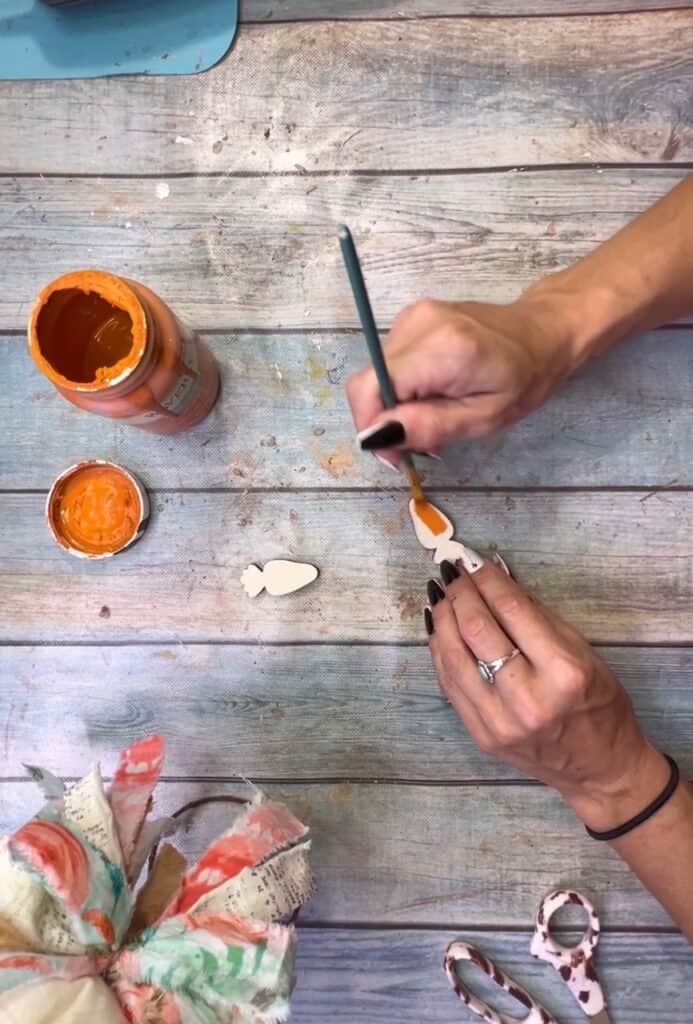
And I glued them to the front of the spring using E6000.
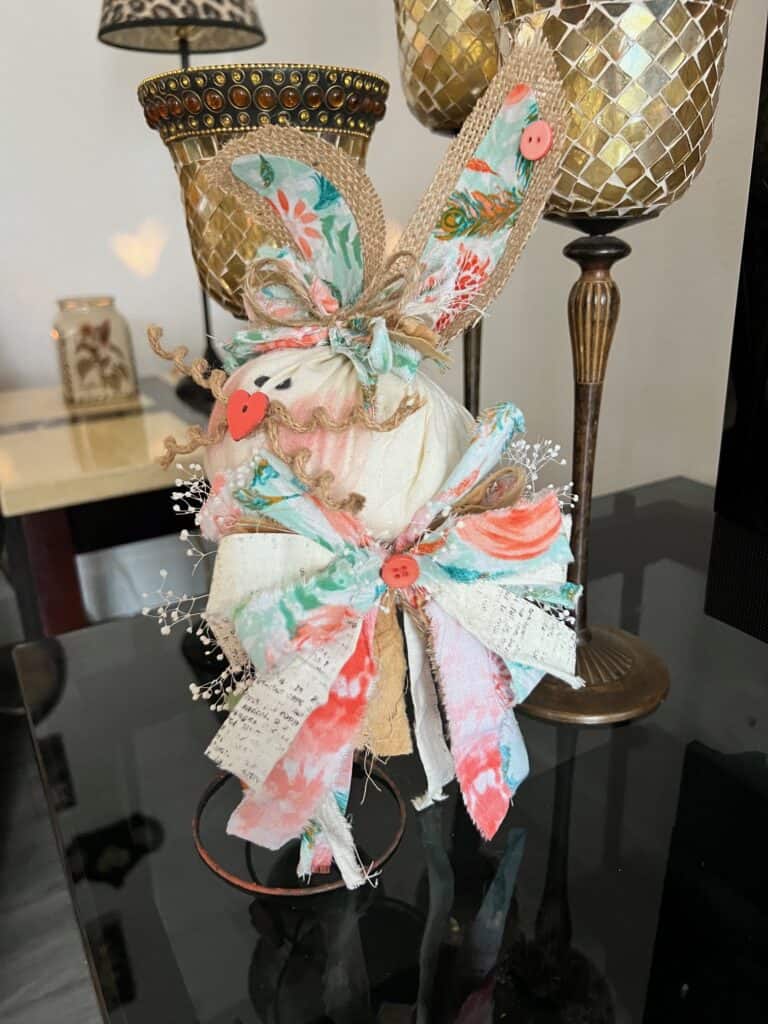
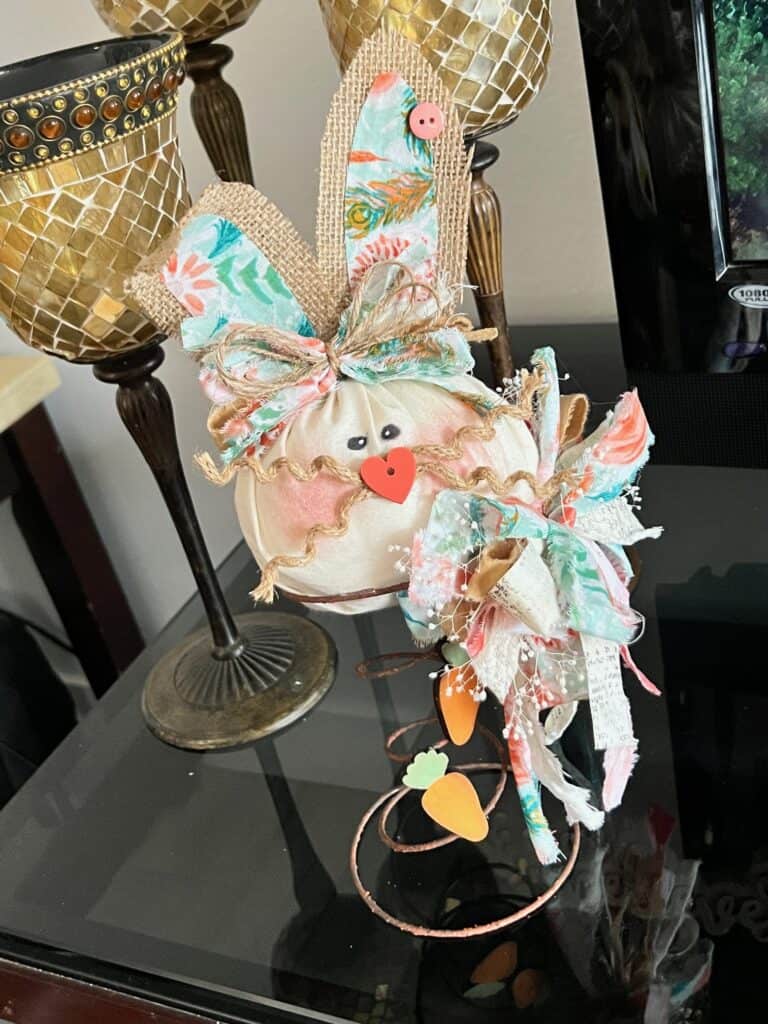
For the finishing touches a glued in a bit of dried white flowers into the bows, and it was just what it needed!
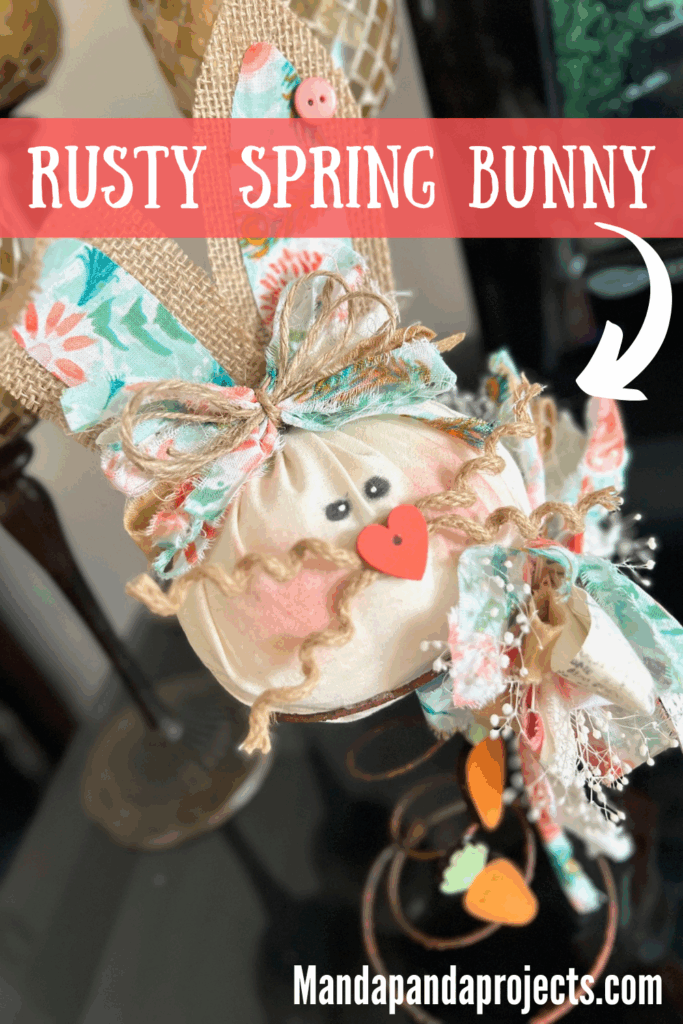
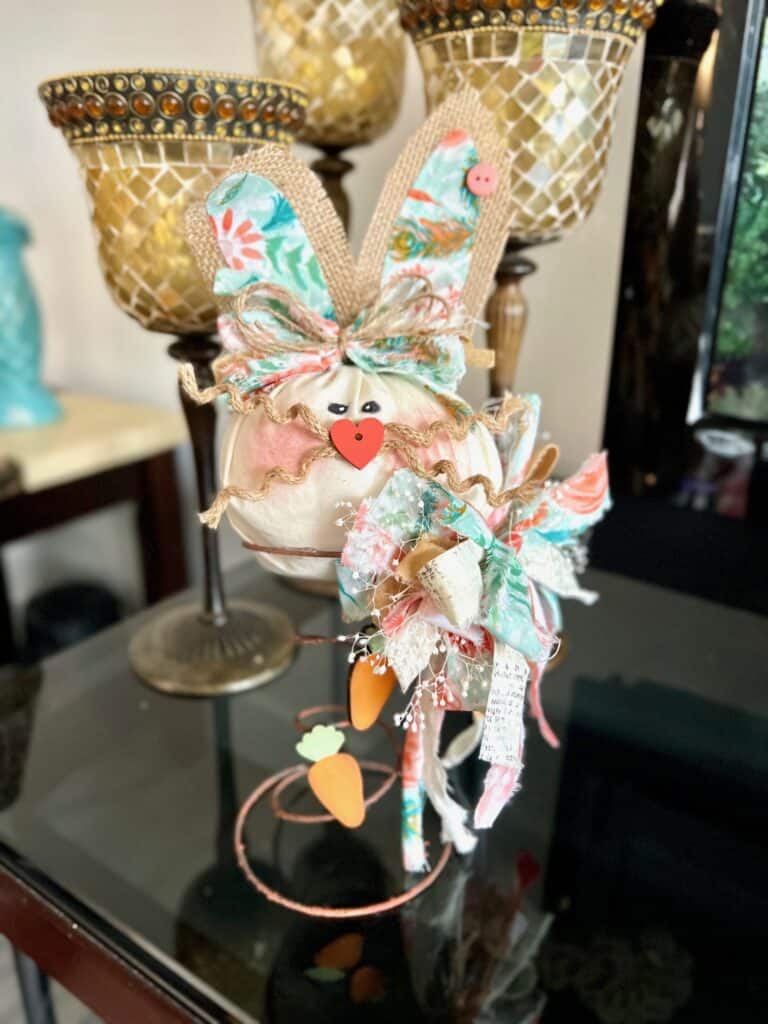
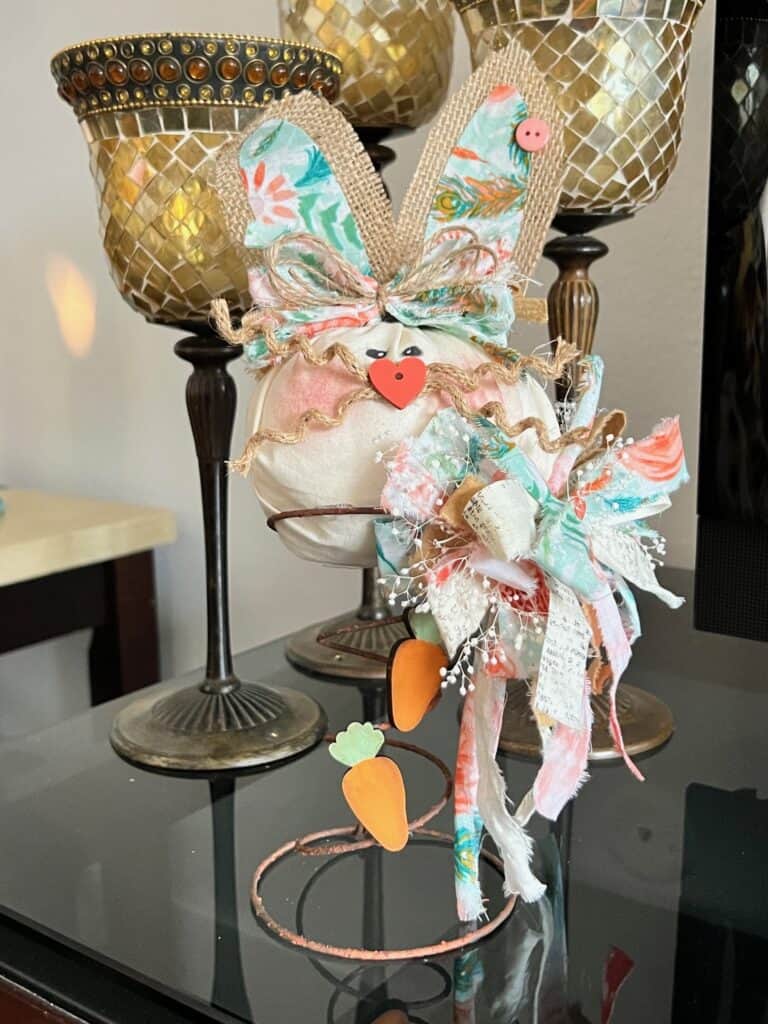
Here she is allllllll done! I am in love with her!
Are you going to make a Rusty Spring Bunny? If you do, I’d love to see it! Pop on over to our free Craftspiration Facebook group, and join in on the fun by posting a pic of your Tiered Trays, DIY’s and crafts. I just love to see all your creative and crafty creations.
If you’ve got a million projects on your crafting ‘to-do’ list like I do, than you need my FREE Craft Project Planner so you can plan to make *all the things*! When you sign up for the craft planner, I’ll also send you lot’s of fun, easy, and budget friendly ideas for you to fill it up with!
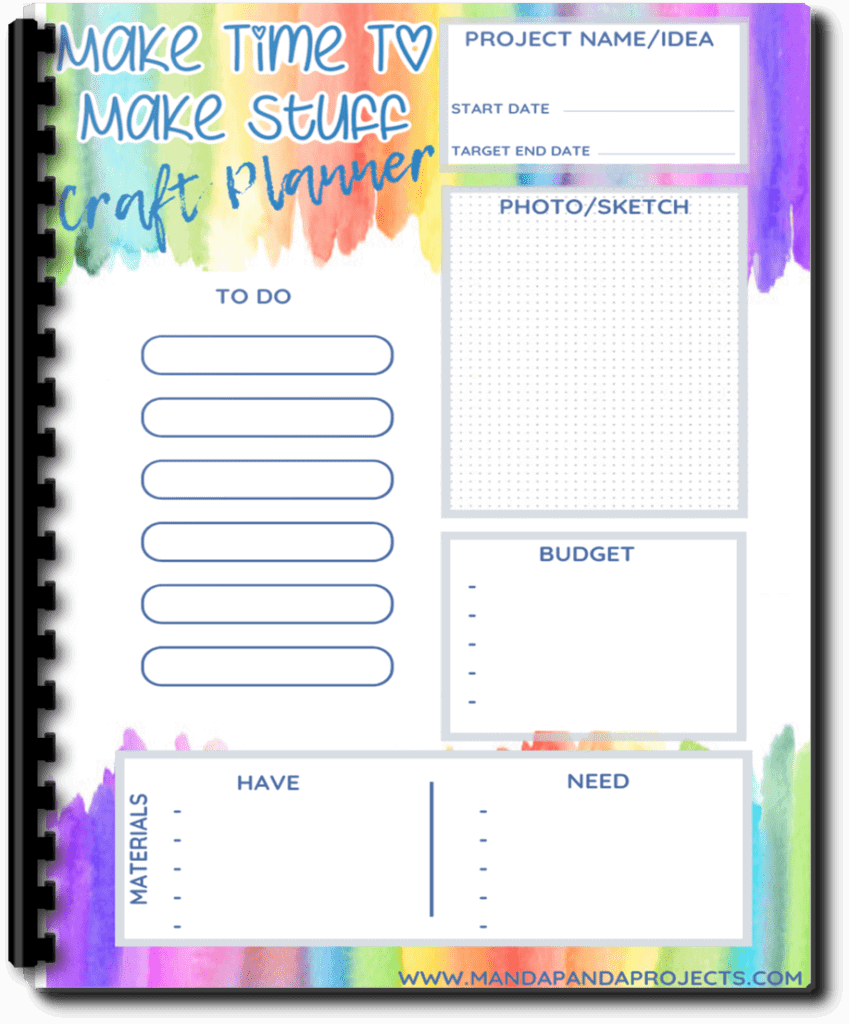
Free printable Craft Project Planner
Get organized, get inspired, and get crafting, with our free Craft Project Planner!
Until Next Time…
Stay Crafty San Diego!
Love this Rusty Spring Bunny? Make sure to PIN it for later!