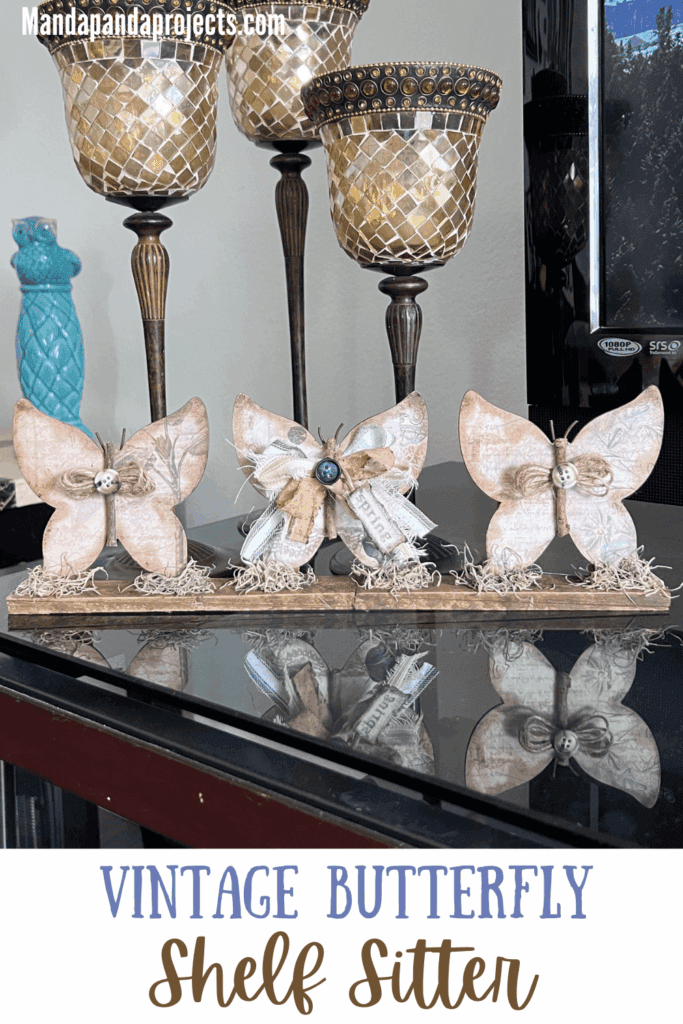
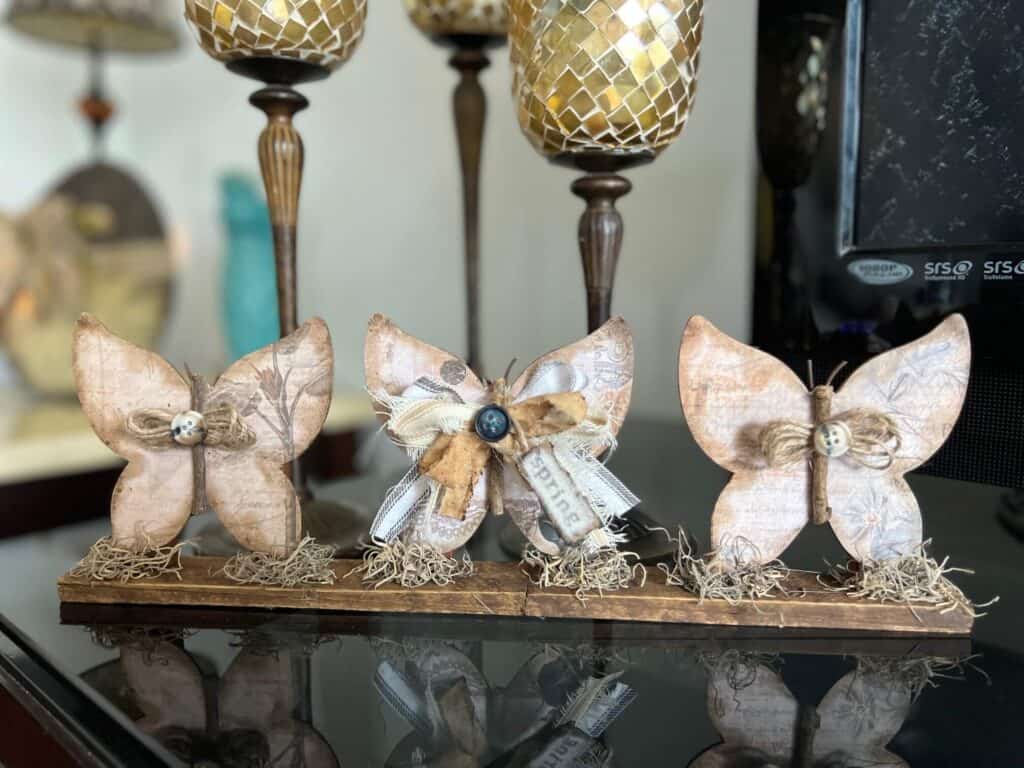
Spread your crafty wings and fly with this adorable DIY wood butterfly shelf sitter with a vintage vibe. This easy to make decor will take you from Spring, right on into your DIY Summer decor!
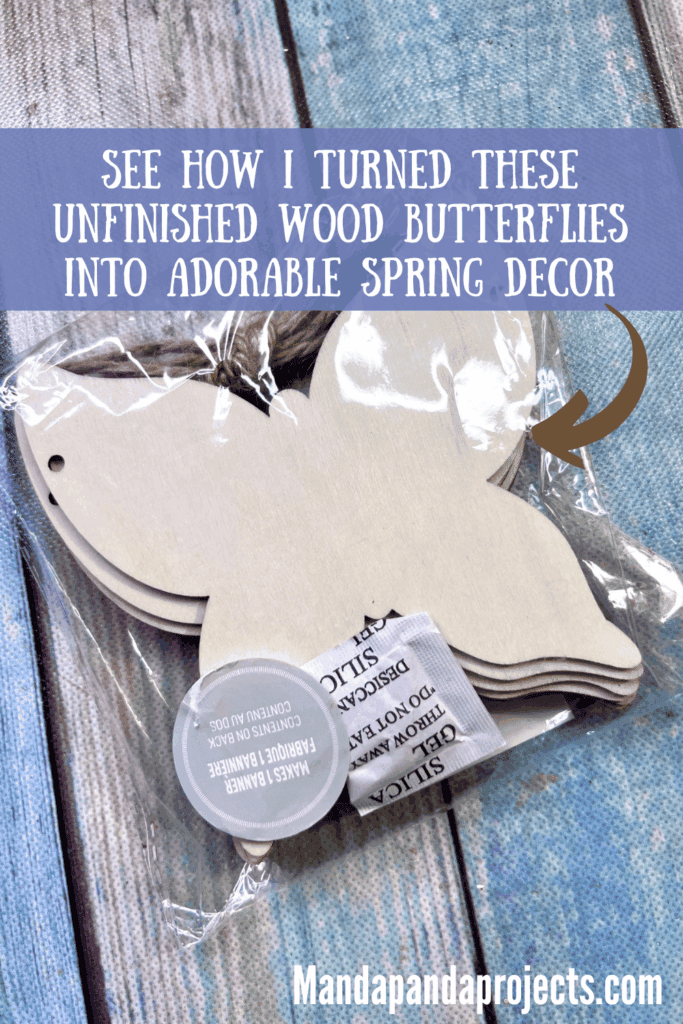
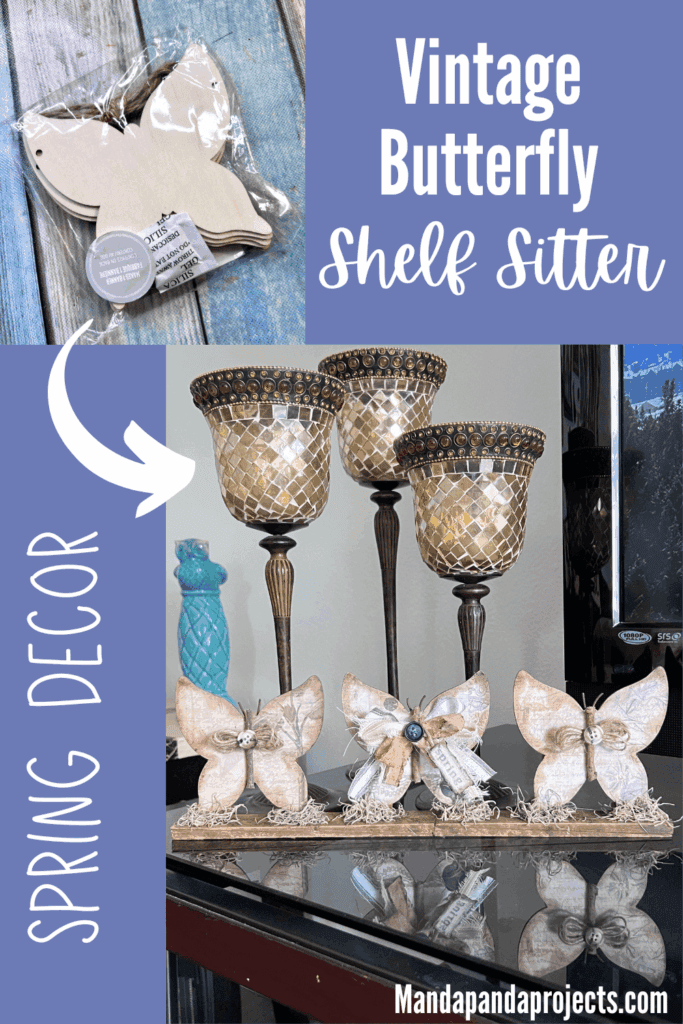
I have had this pack of wood butterflies in my stash for waaaayyyy too long. It’s about darn time that I turn them into something cute!
There are so many directions that you could take with this craft, depending on your style. And if you know me at all, I change my style as much as my underwear!
On this particular day, I was in a more vintage-y vibe, so vintage-y we went.
And I am SOOOO happy that I did! If you aren’t a VVP (Vintage Vibe Person – yes I just made that up), then you could go super fun and bright with typical springy colors and this project would be just as cute.
This post may contain affiliate links for your convenience (which means if you make a purchase after clicking a link I will earn a small commission but it won’t cost you a cent more!)
Supplies needed to make a Vintage Butterfly Shelf Sitter
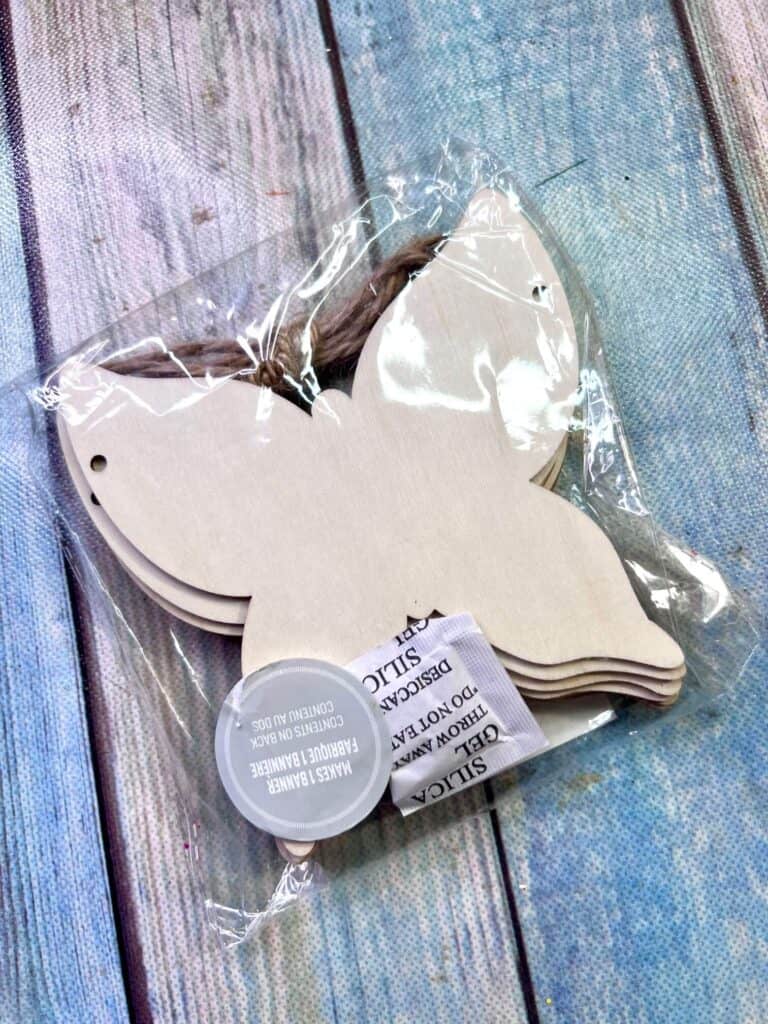
- 3 Wood Butterflies
- Vintage Scrapbook Paper
- Rusty Wire
- Sticks from outside
- 12″ wood shims
- Muslin
- Coordinating fabric and ribbon
- Spanish Moss
- 3 small buttons
- Kraft paper
- Alphabet Acrylic Stamp Set with block
- Tim Holtz Distressed Ink
- Twine
- Antique Wax
- Kilz Dark Wax
- E6000
- Jenga blocks
How to Make a Vintage Butterfly Shelf Sitter
I made this Vintage Butterfly Shelf Sitter on video. So you can WATCH the tutorial by clicking below.
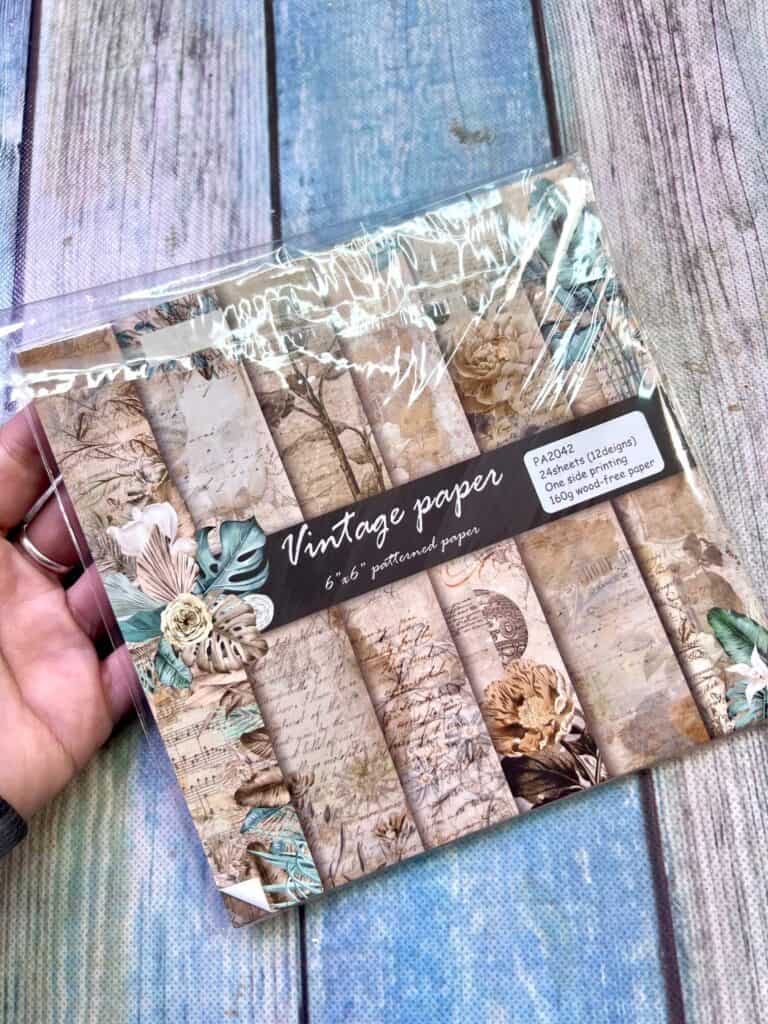
Here is the pack of Vintage Scrapbook paper that I went with to determine the whole vibe of how this project was going to go. Its a small 6×6 book, so perfect for the smaller butterflies.
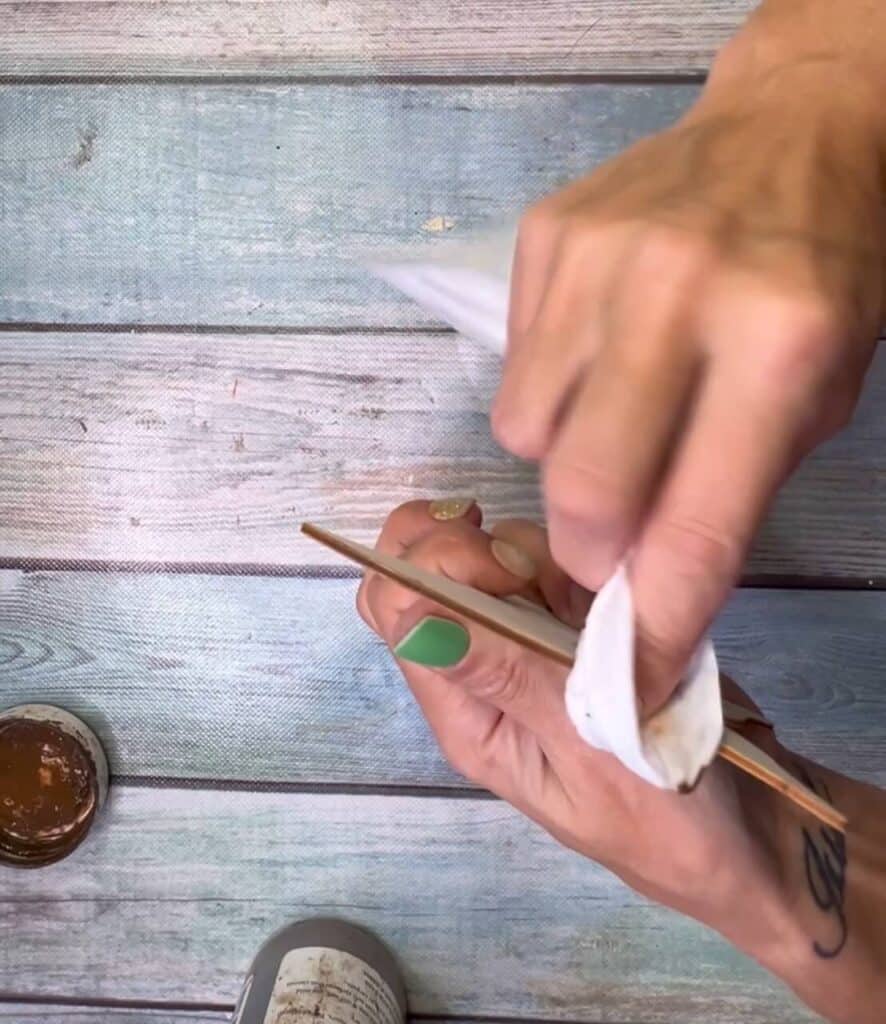
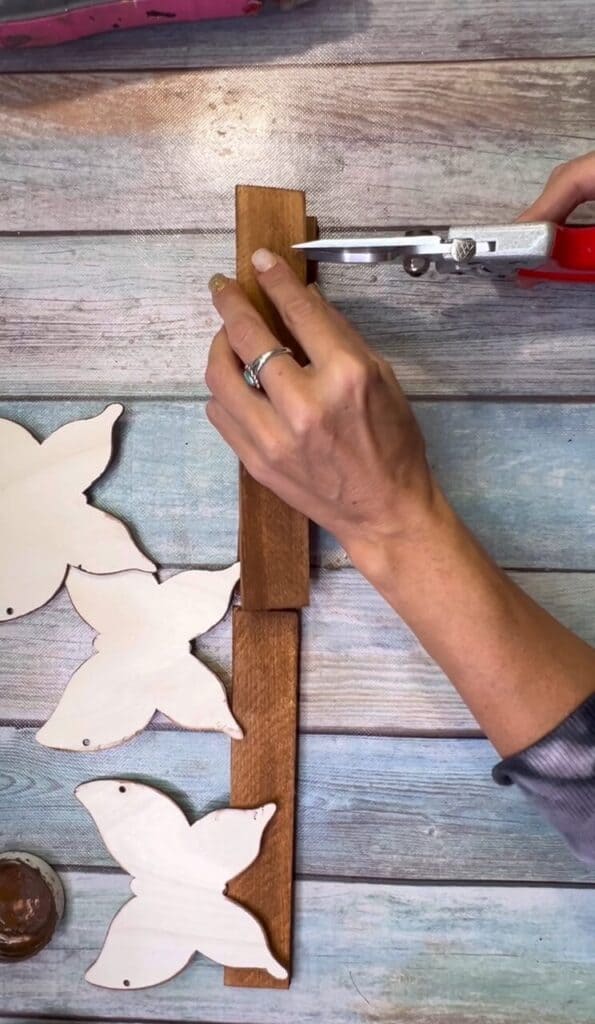
I first stained the back and the outer edges of the 3 butterflies with Waverly Antique Wax and a baby wipe.
I then stained 4 wood shims as well (these were the 8″).
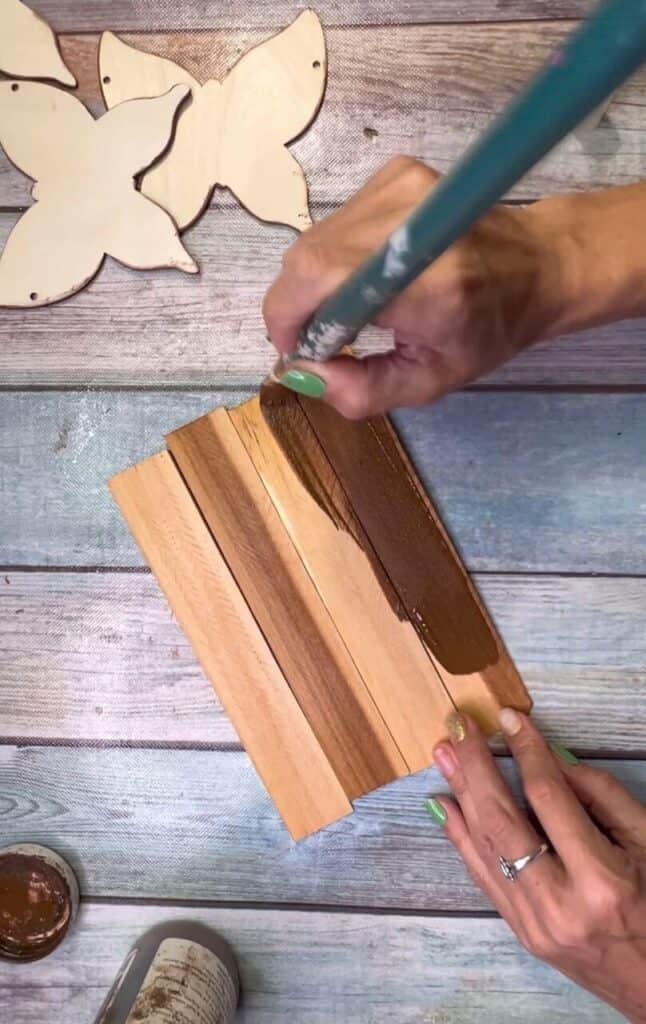
When I lined up the 3 butterflies on the shims, the base ended up being a tad too long, so I trimmed the end of 2 of the shims so that it was the perfect size once I had them glued together.
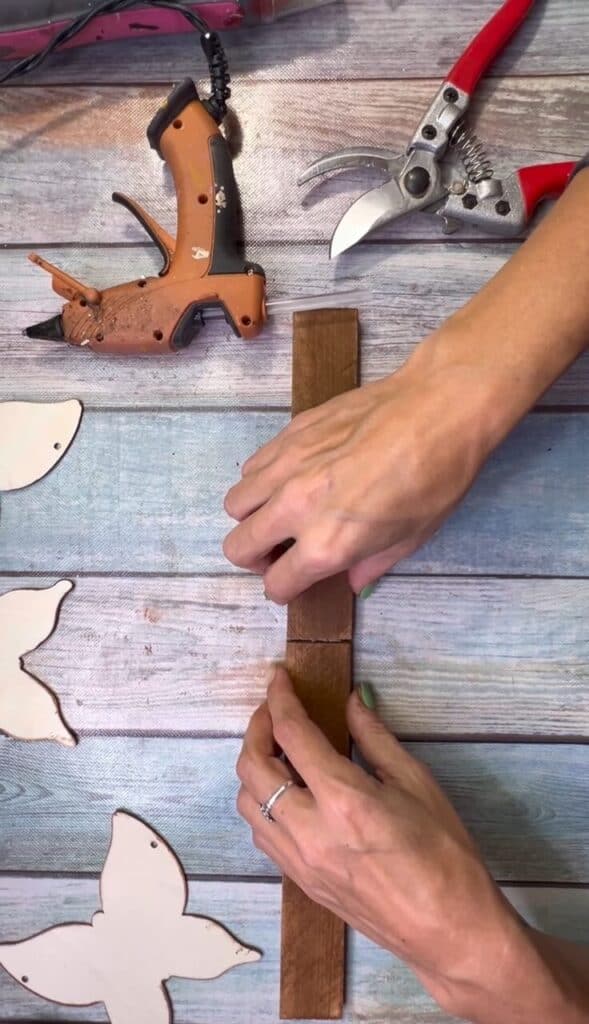
I then glued the shims together in two sets of two.
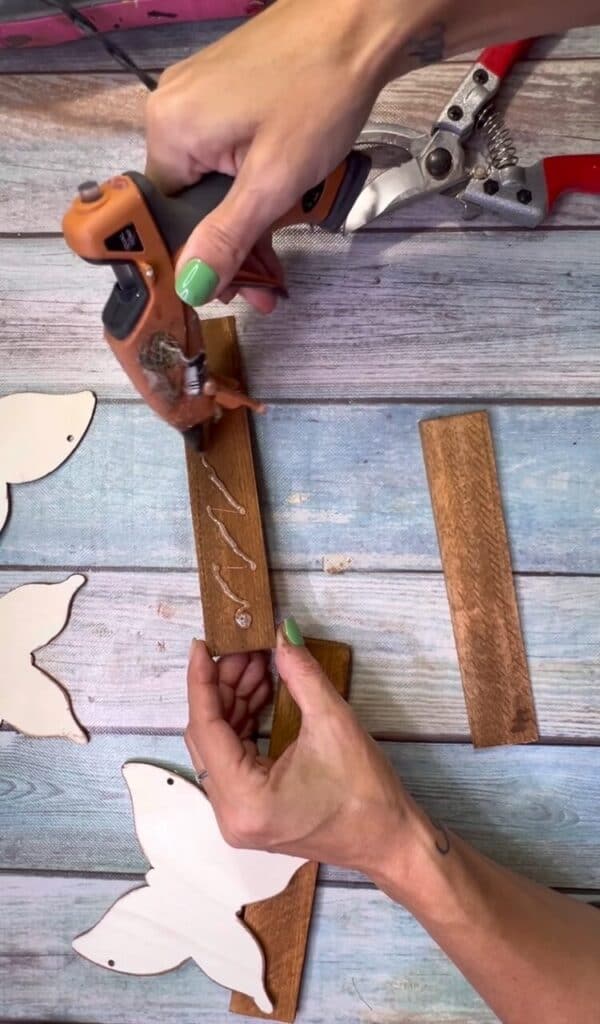
So I applied hot glue to the top of one shim, and glued another on top, making sure the thick end lined up with the thin end, so that it makes one even wood base.

I then glued them together, end to end, to make one long base.
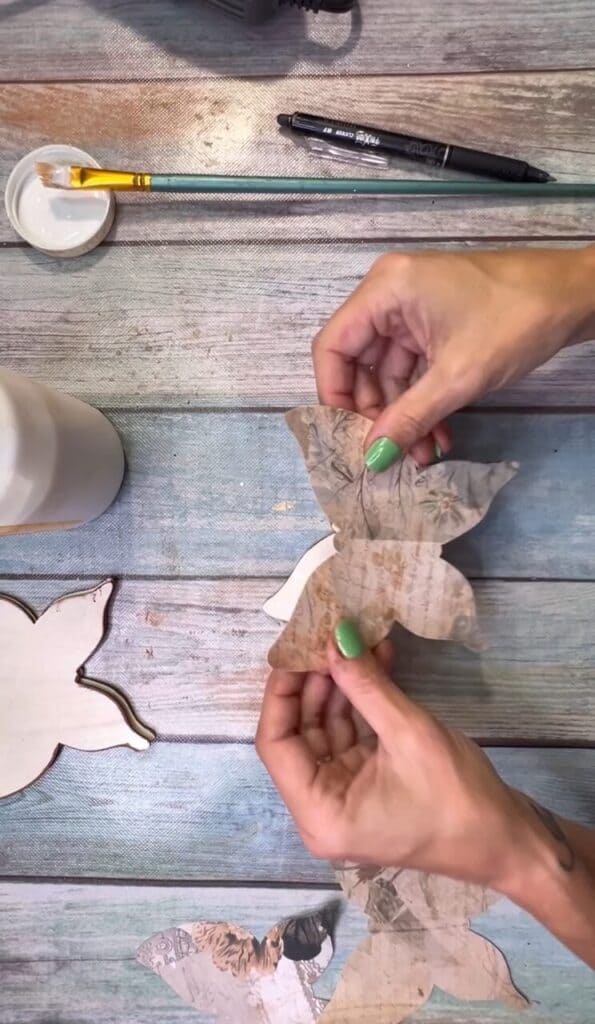
Next, I traced the wood butterflies onto 3 different pieces of scrapbook paper and cut them out.
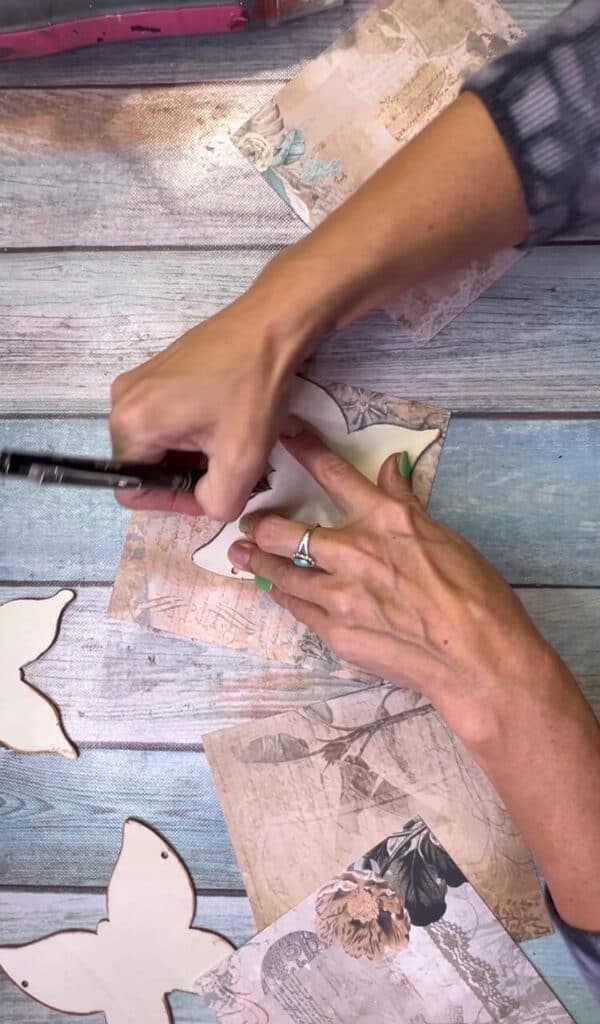
Apply the scrapbook paper to the butterfly using a thin layer of Mod Podge to decoupage it on top.
Sand off any excess paper using the best tool ever….a Gator Sander!
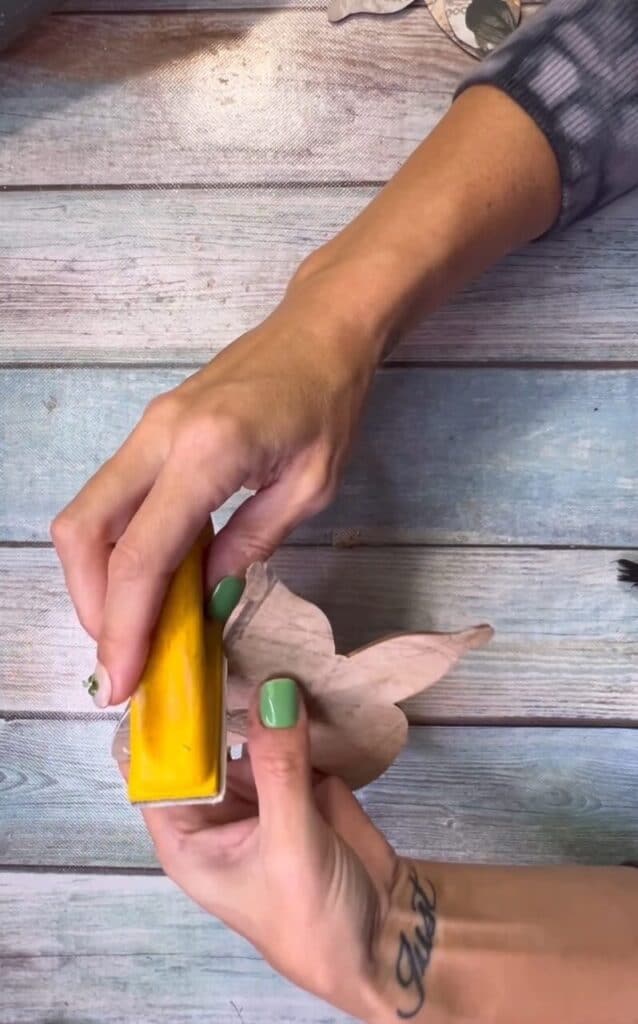
Using a finger dauber, apply the Kilz Dark Wax to the edges of the butterflies to distress and grunge it up.

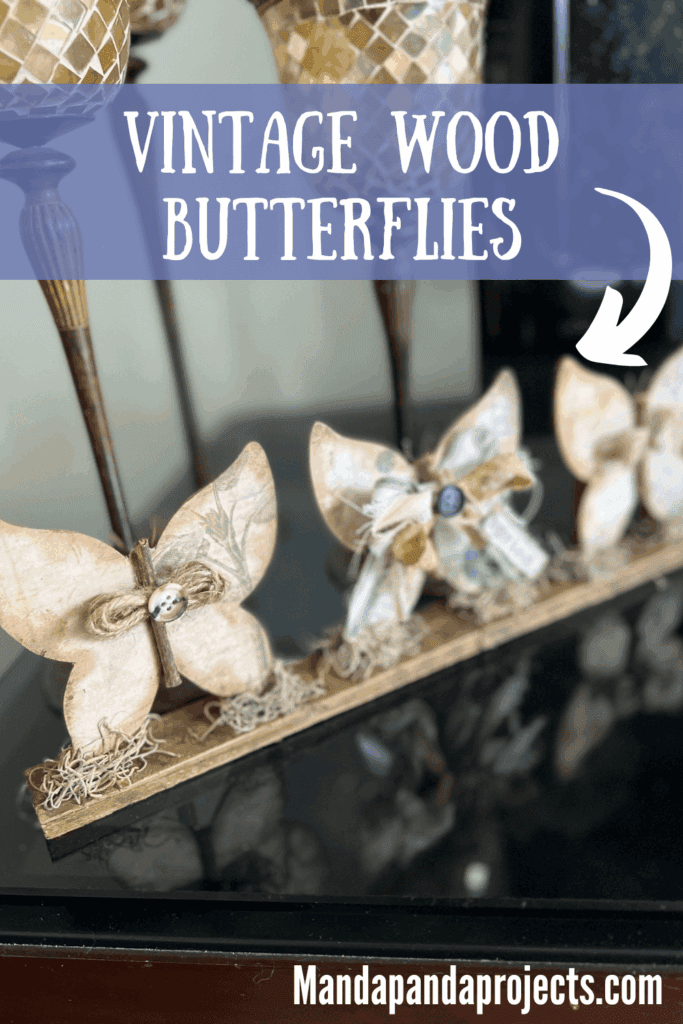
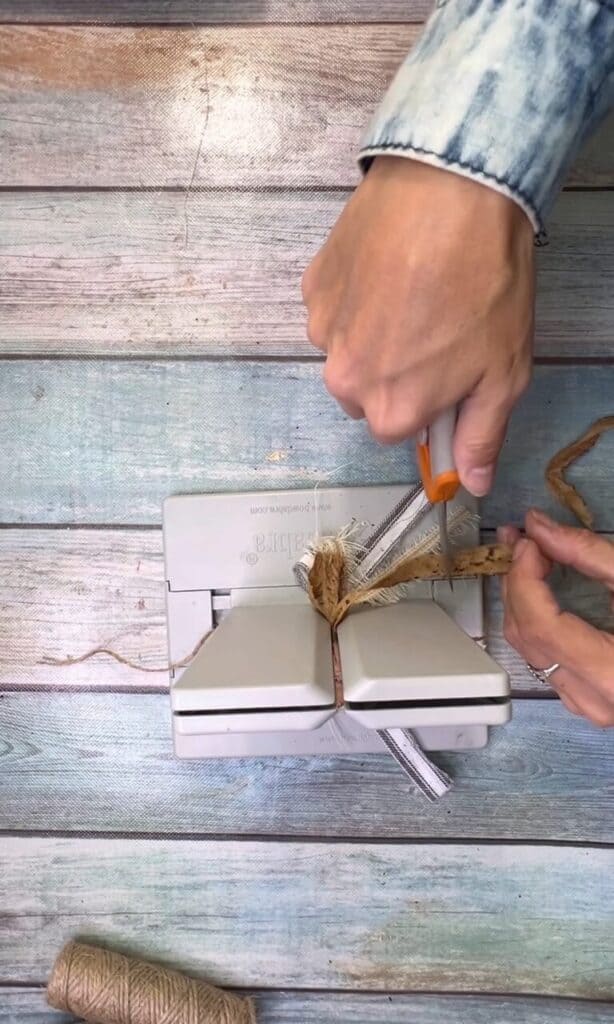
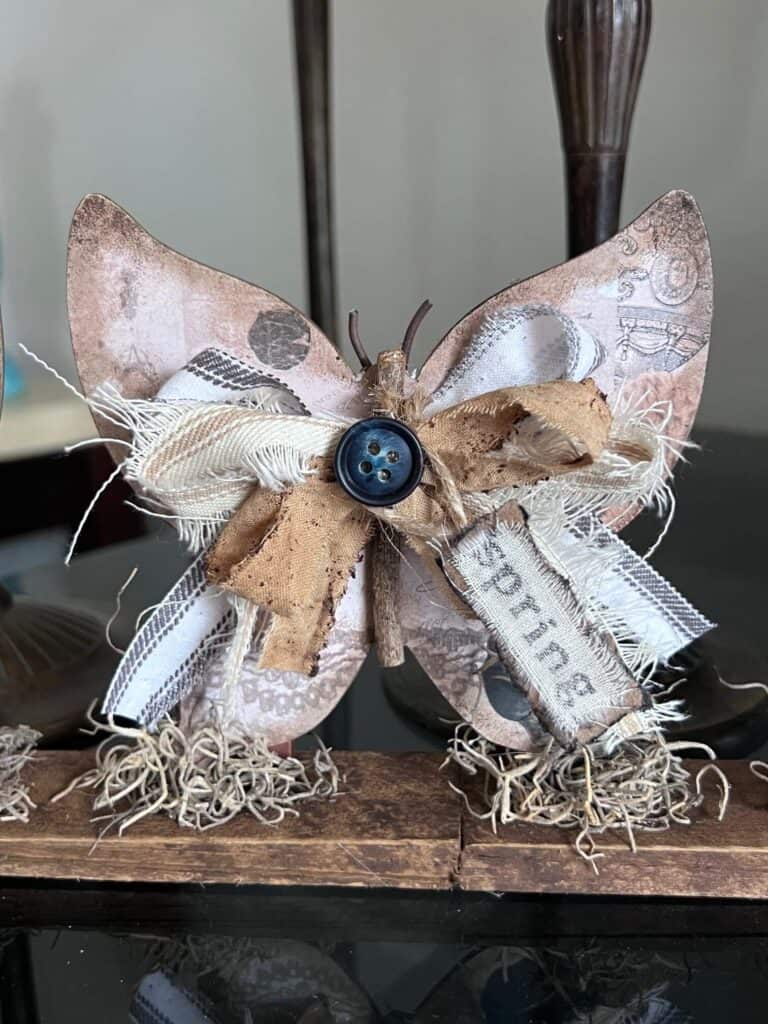
Glue a stick to the center of the butterfly to make the “body”.
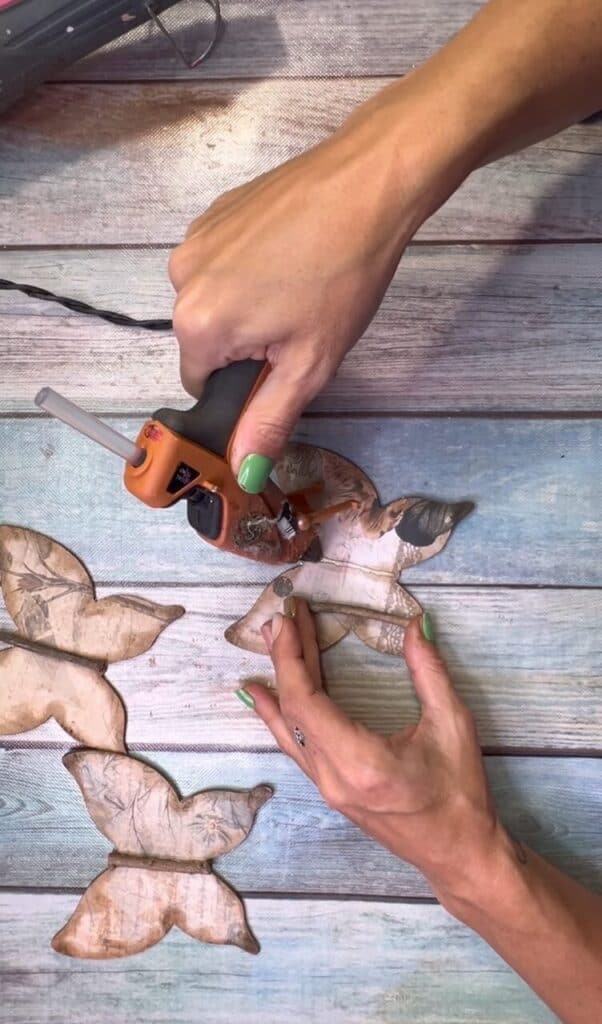
Cut two small pieces of rusty wire for “antennas” and glue them to the top of the butterfly with E6000.
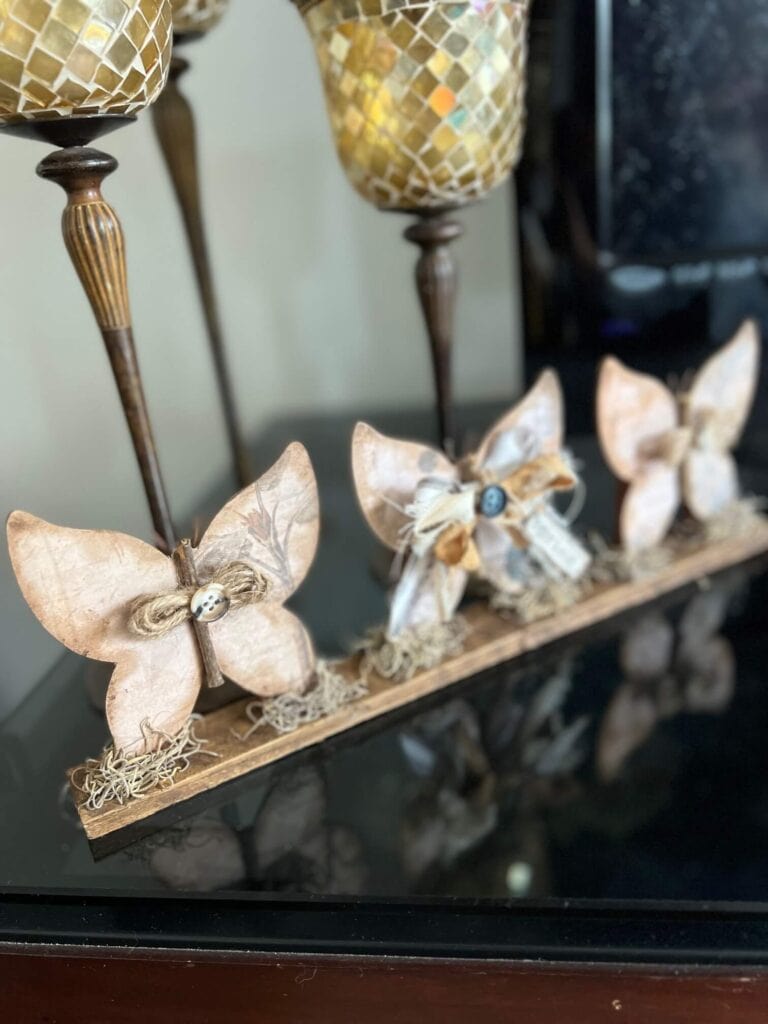
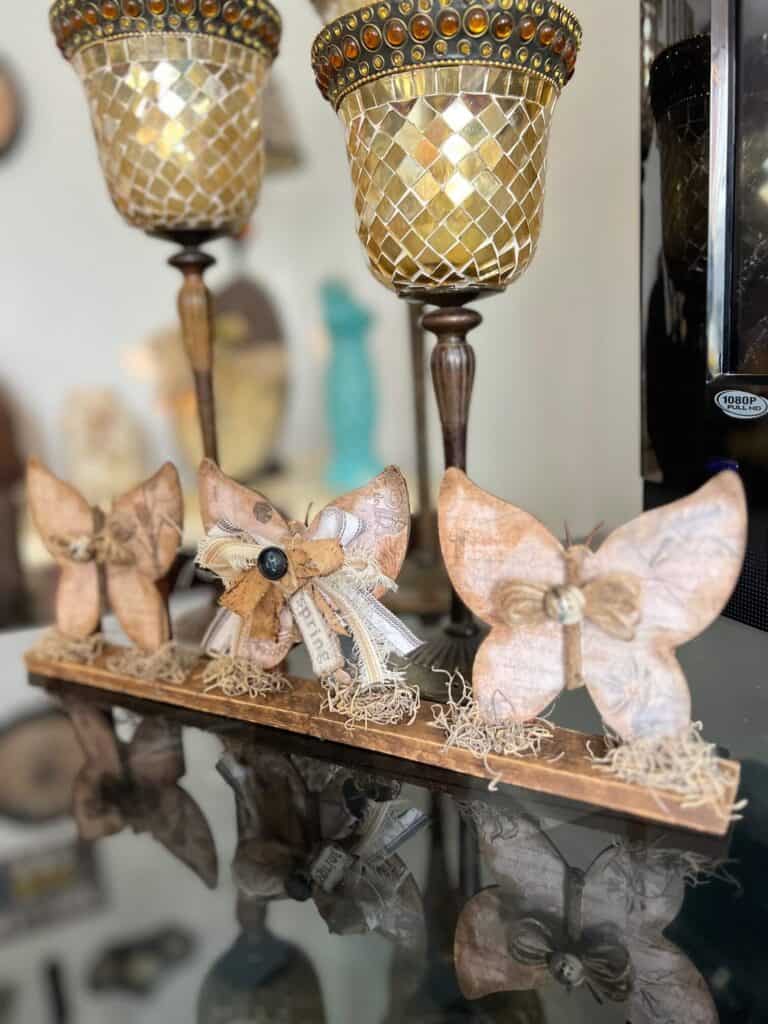
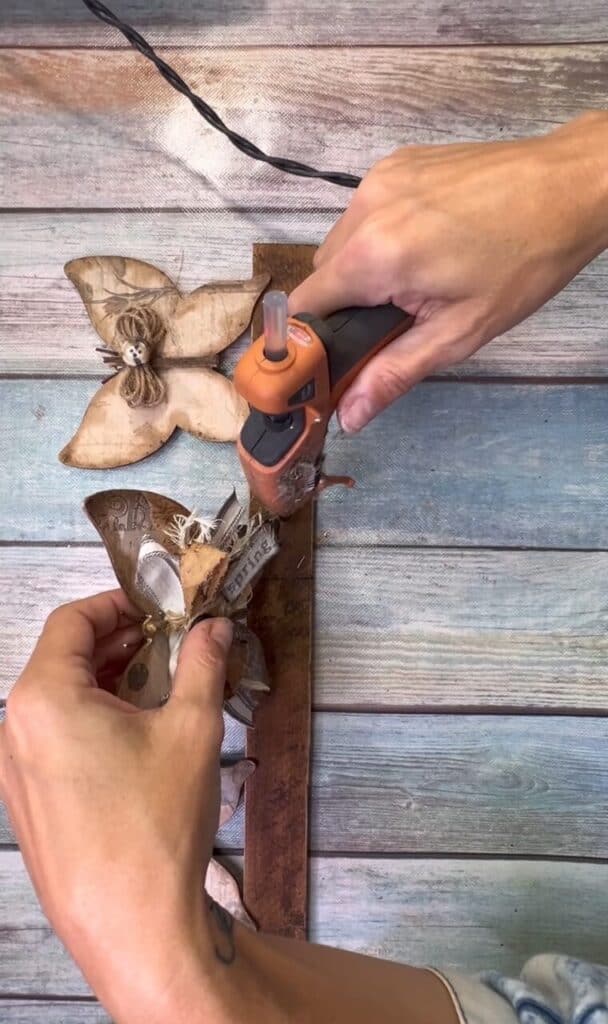
I made a messy fabric bow using my Bowdabra, but you can make any type of bow that you like. This bow is for the center Butterfly, as the main event, so I wanted it a little “more” then the other 2.
For the other 2 butterflies I made what I call my Twine “figure 8 bow”. Just wrap the twine around your fingers a bunch of times until it’s as big as you want.
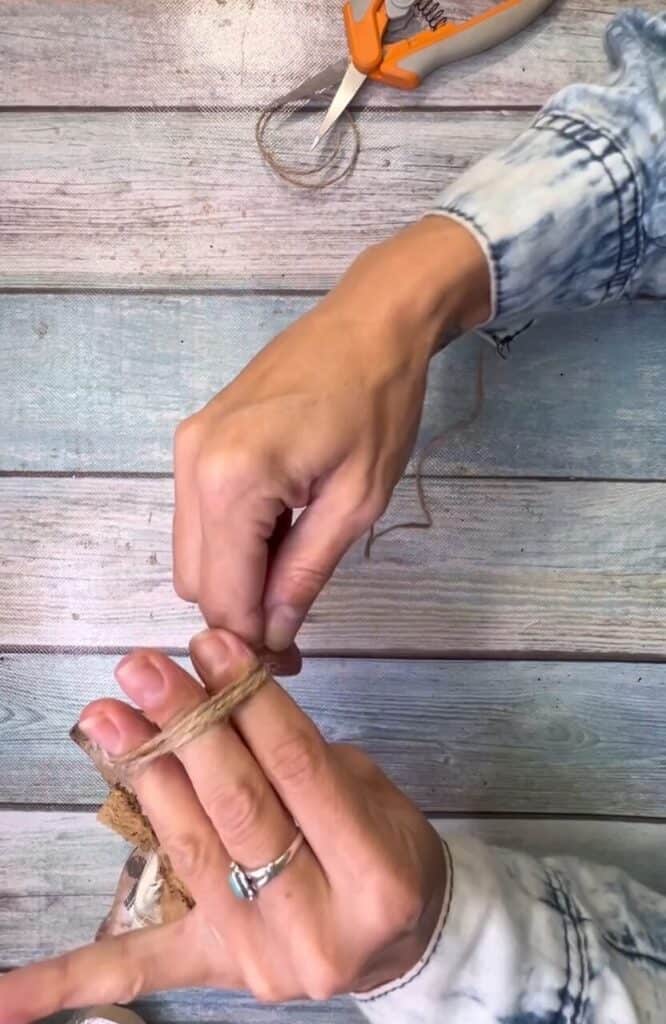
And then tie a piece of twine around the center.
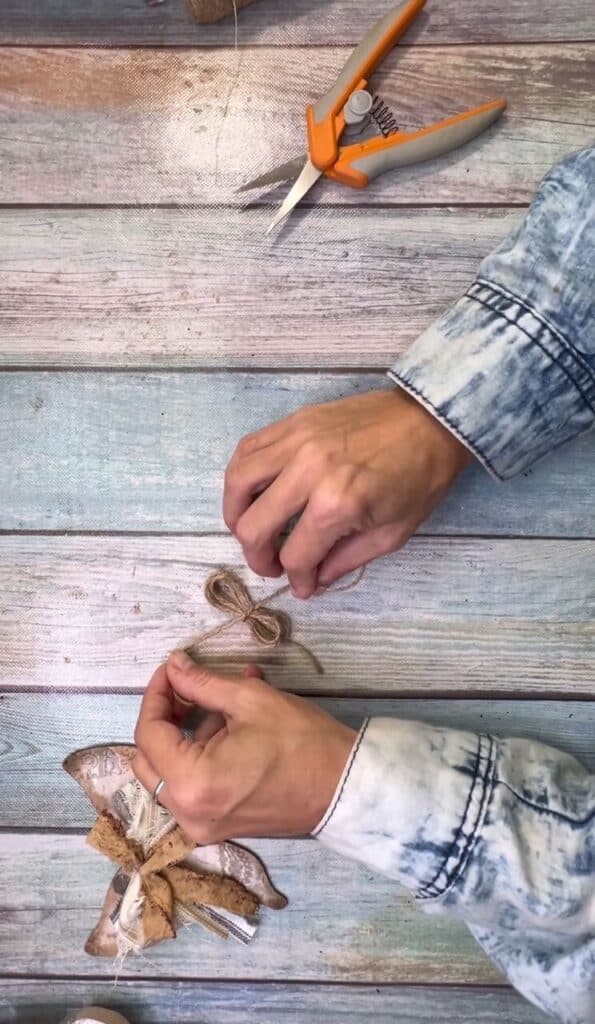
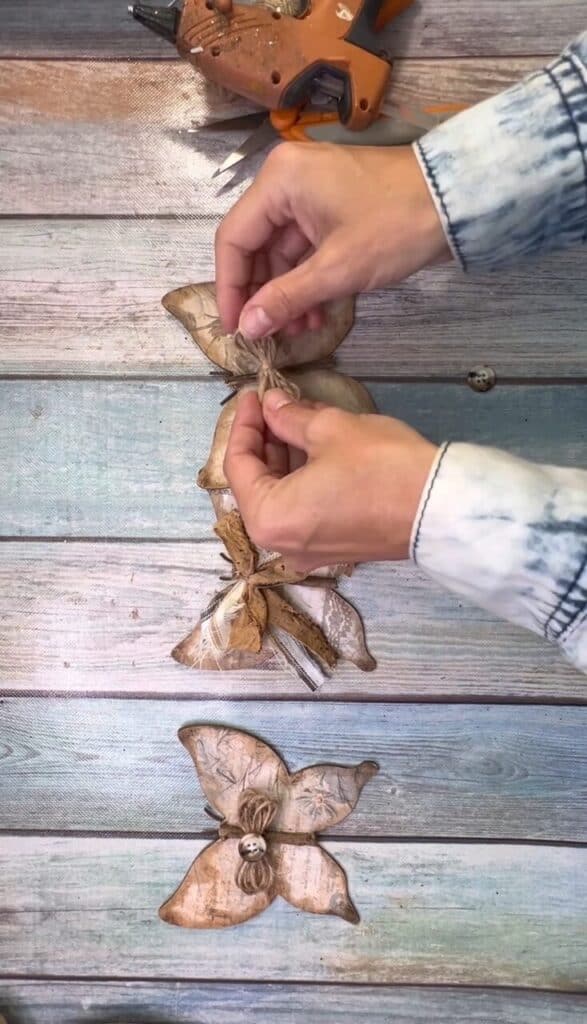
Glue the twine bows to the front center of 2 of the butterflies, and then glue a small button to the center of each.
To make the hangtag I layered muslin on top of kraft paper. I first stamped the word “Spring” onto a piece of muslin and then ripped that out.
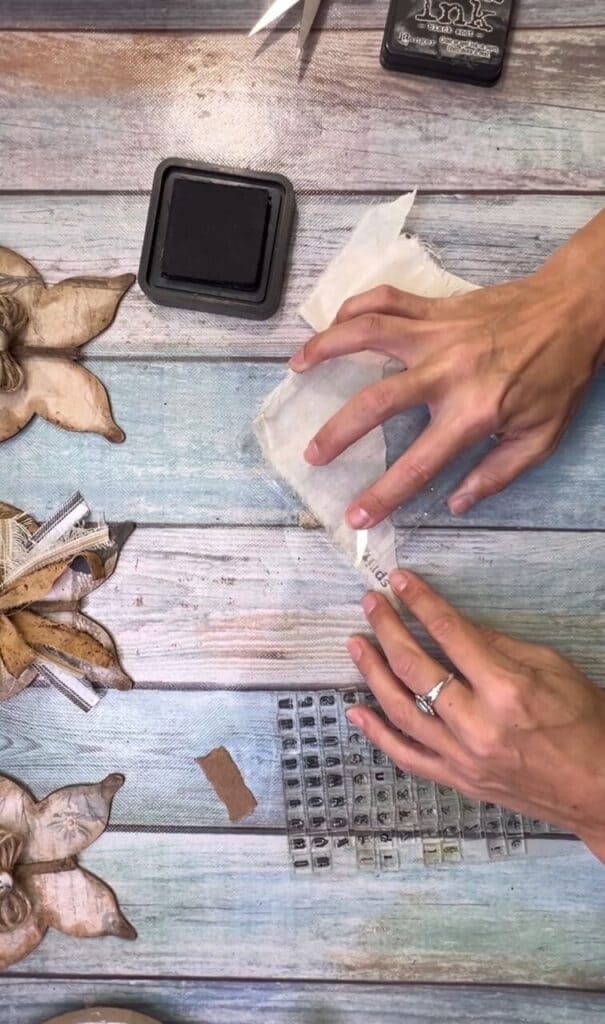
Then glued the muslin to a piece of grunged up Kraft paper.
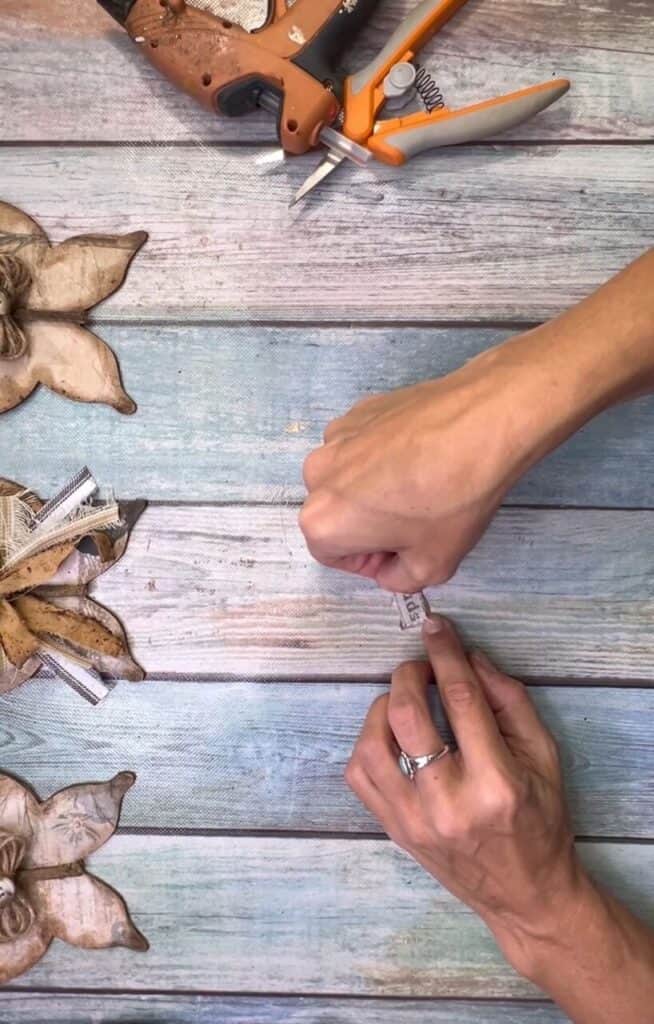
Add a loop of twine and glue the hangtag to the center of the messy fabric bow with a small button on top.

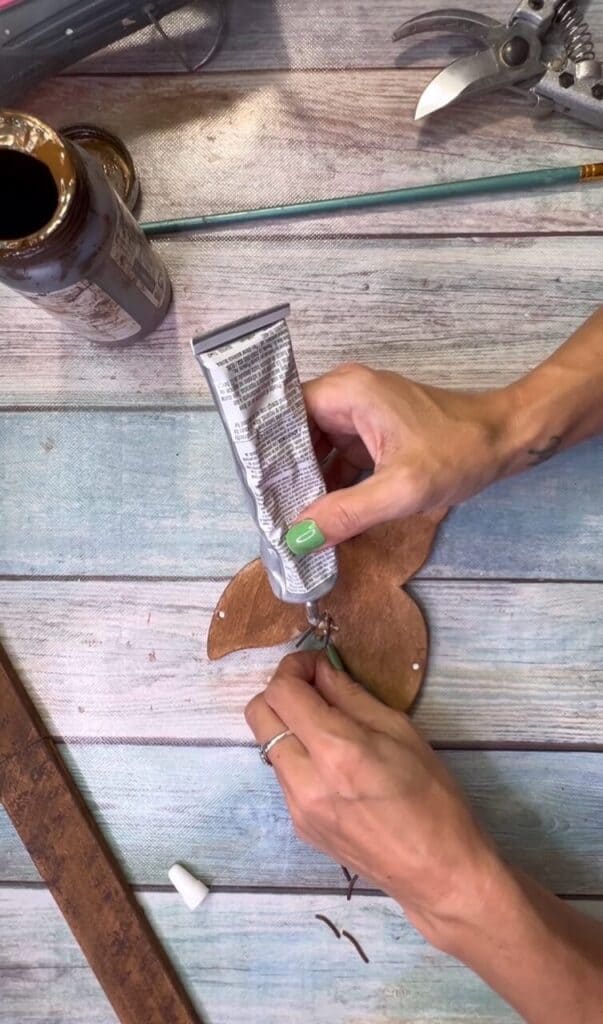
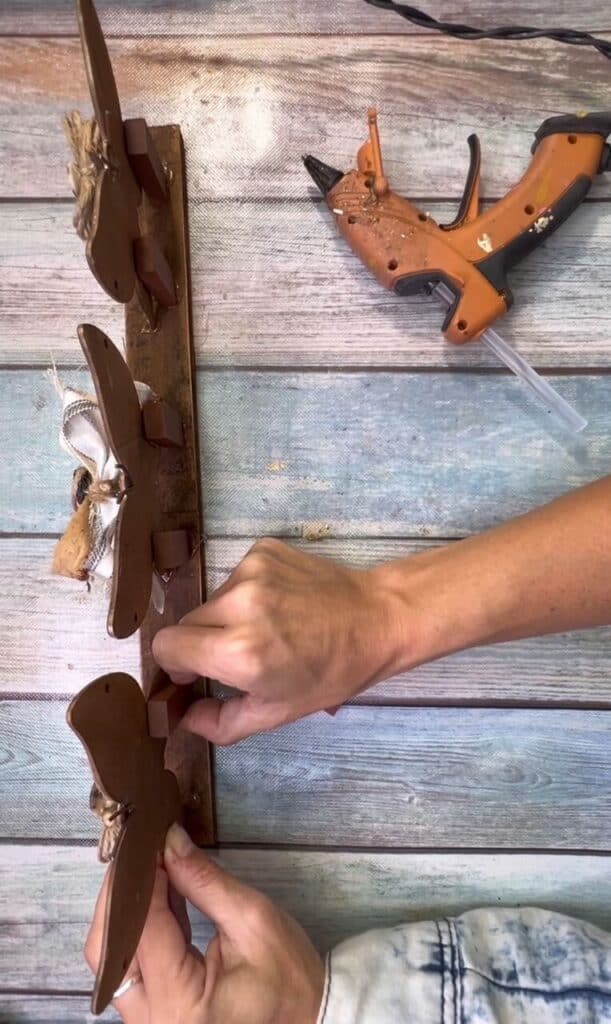
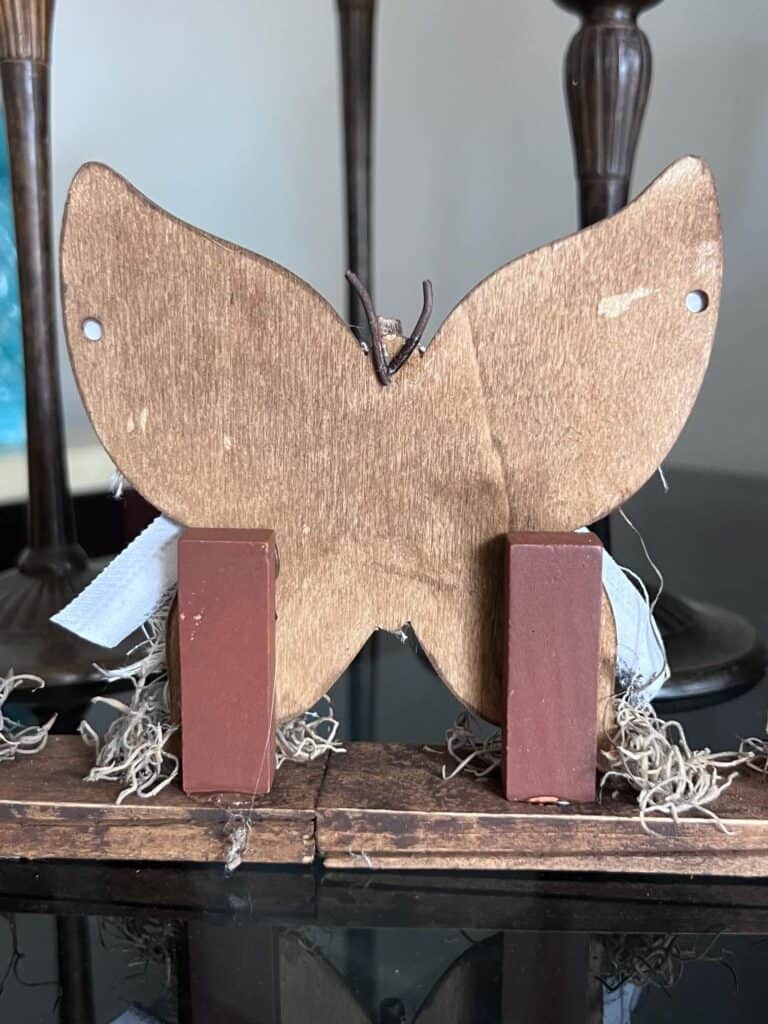
Now to put it together! Glue the butterflies standing up on the wood base lined up. We are going to add jenga blocks for reinforcement so don’t worry about them falling over.
Glue two Jenga blocks to the back of each butterfly to help then stand up and make them nice and sturdy.
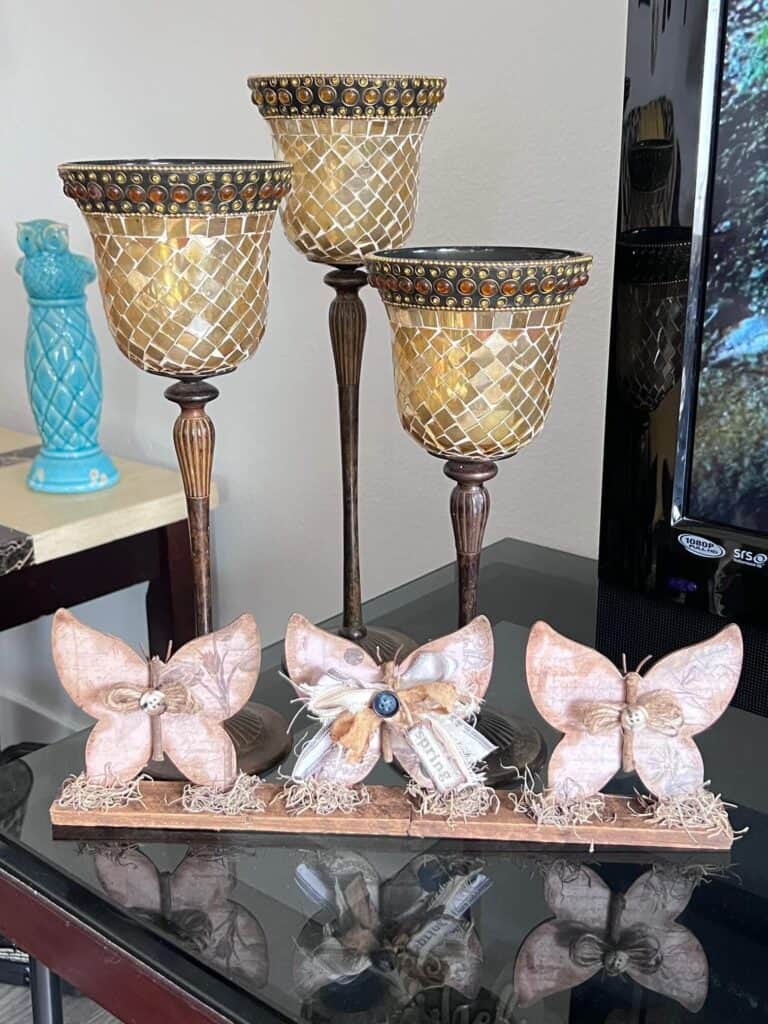
Finish it off by gluing a smidge of Spanish Moss around the bottom of the butterflies on the base.

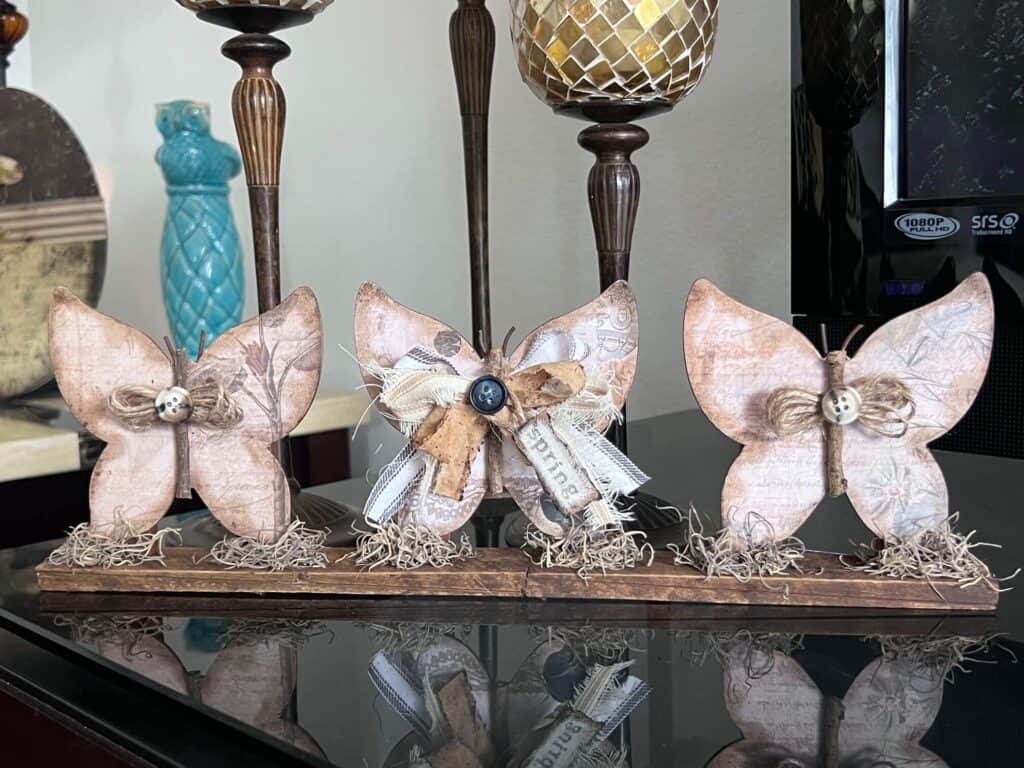
Here is the center butterfly all done!
And a look at one of the outer butterflies too……

Here is a better look at how they are reinforced on the back.
Absolutely in LOVE with how this Vintage Butterfly Shelf Sitter turned out!
Are you going to make a Vintage Butterfly Shelf Sitter ? If you do, I’d love to see it! Pop on over to our free Craftspiration Facebook group, and join in on the fun by posting a pic of your Tiered Trays, DIY’s and crafts. I just love to see all your creative and crafty creations.
If you’ve got a million projects on your crafting ‘to-do’ list like I do, than you need my FREE Craft Project Planner so you can plan to make *all the things*! When you sign up for the craft planner, I’ll also send you lot’s of fun, easy, and budget friendly ideas for you to fill it up with!
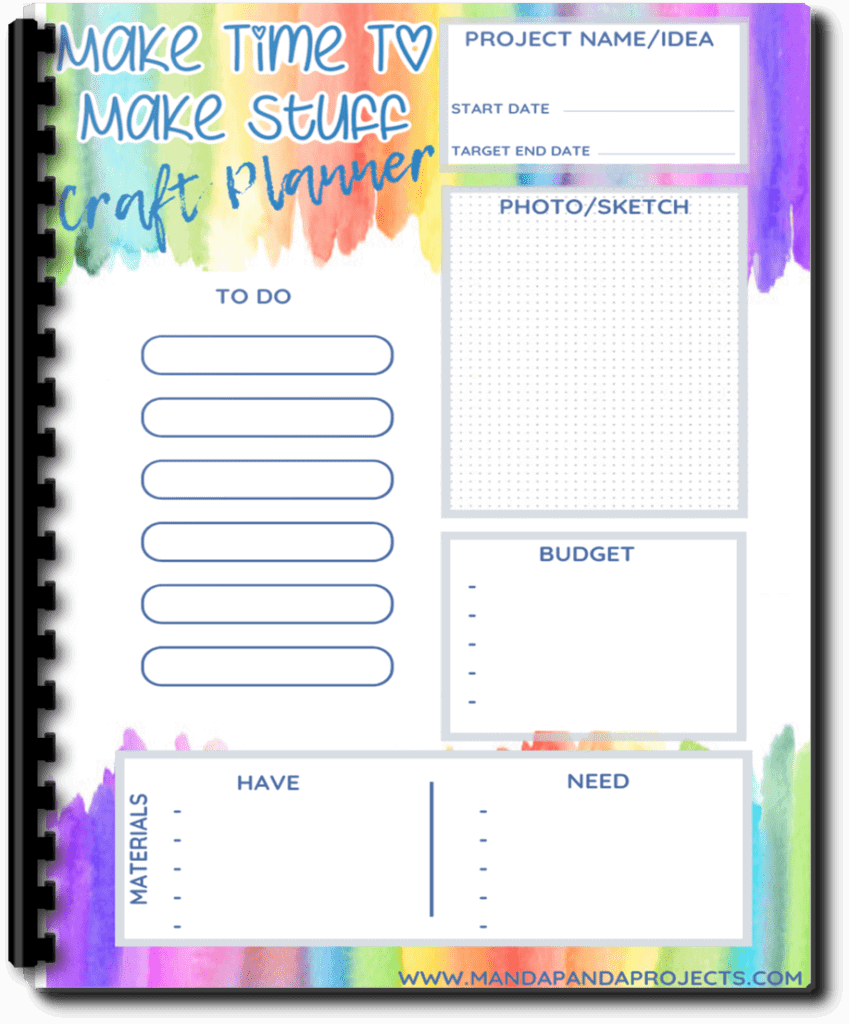
Free printable Craft Project Planner
Get organized, get inspired, and get crafting, with our free Craft Project Planner!
Until Next Time…
Stay Crafty San Diego!

Love this Vintage Butterfly Shelf Sitter ? Make sure to PIN it for later!