Share the Love!
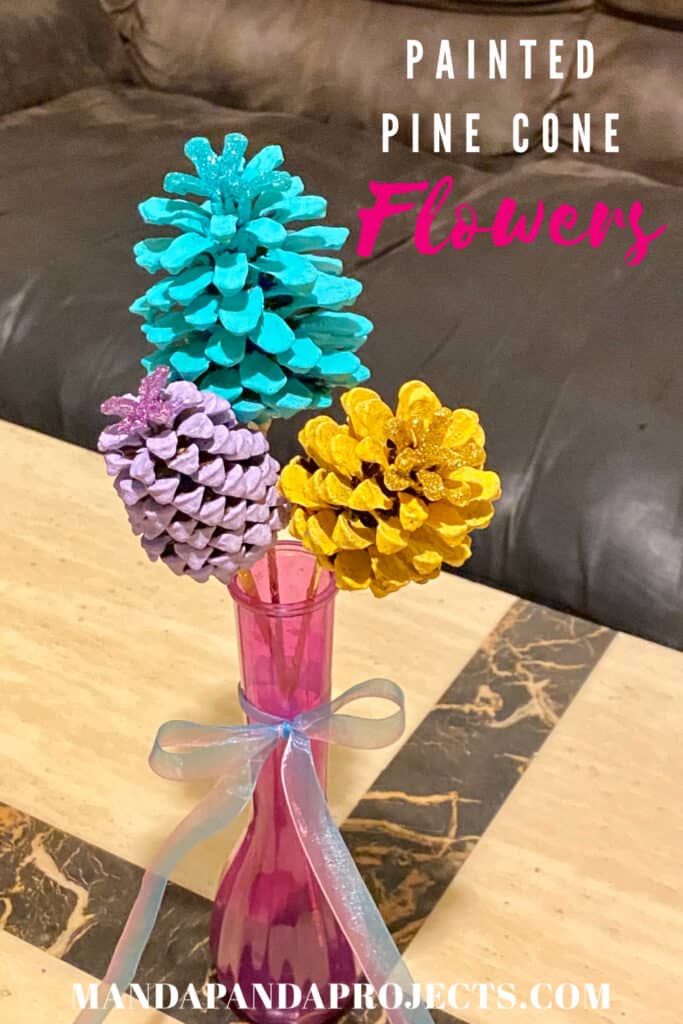
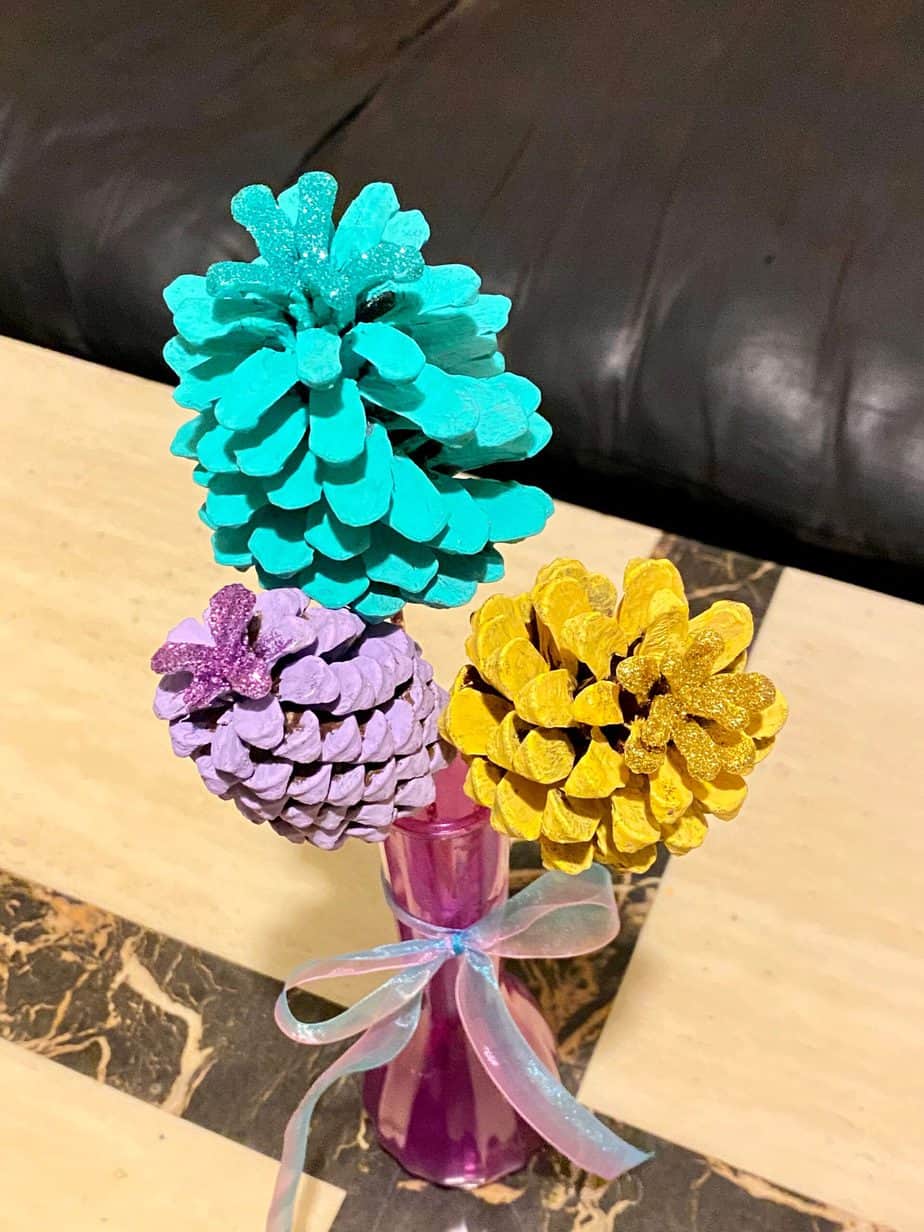
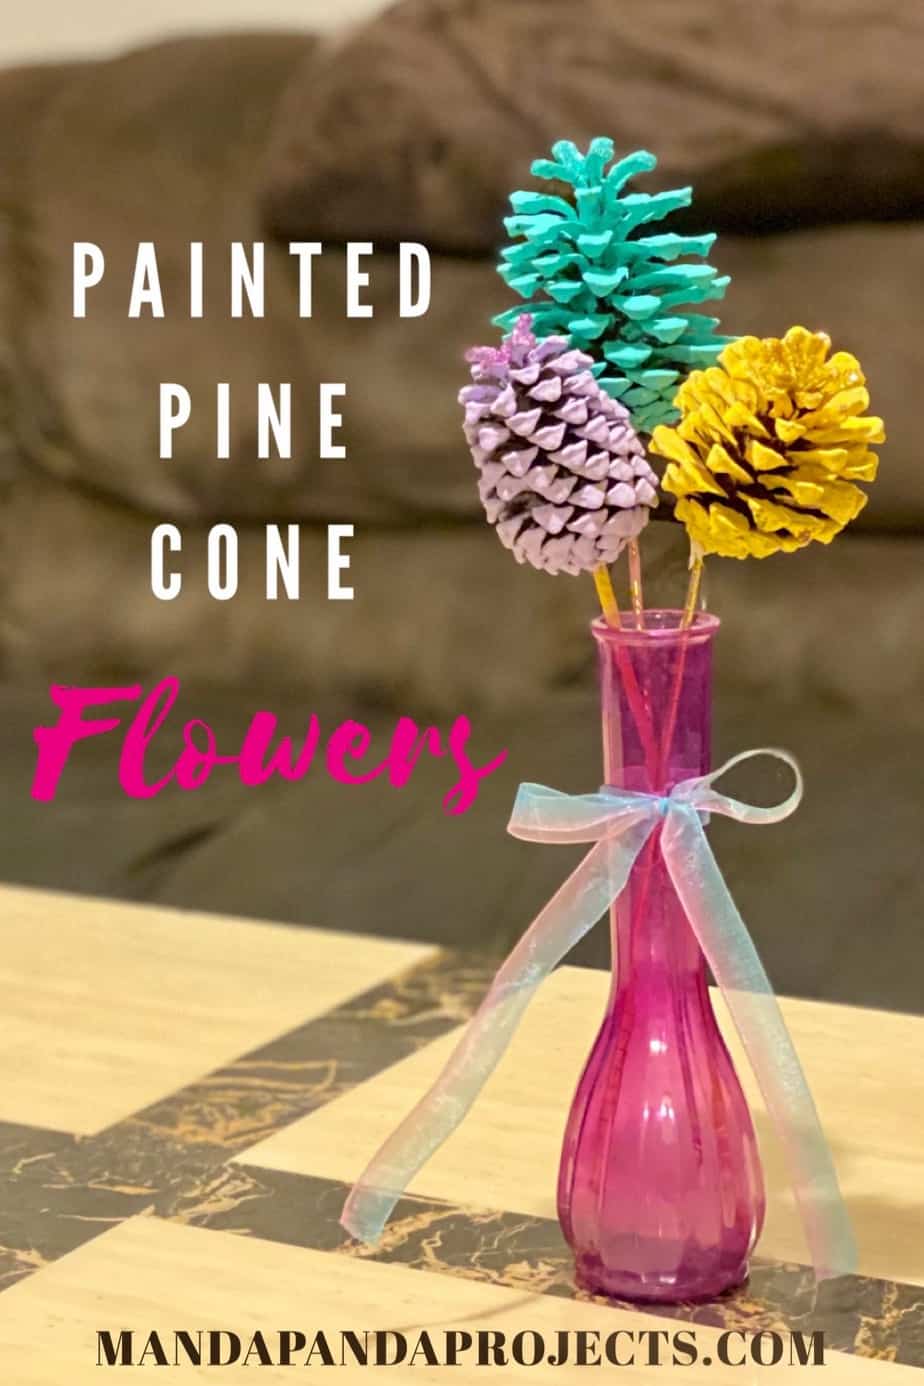
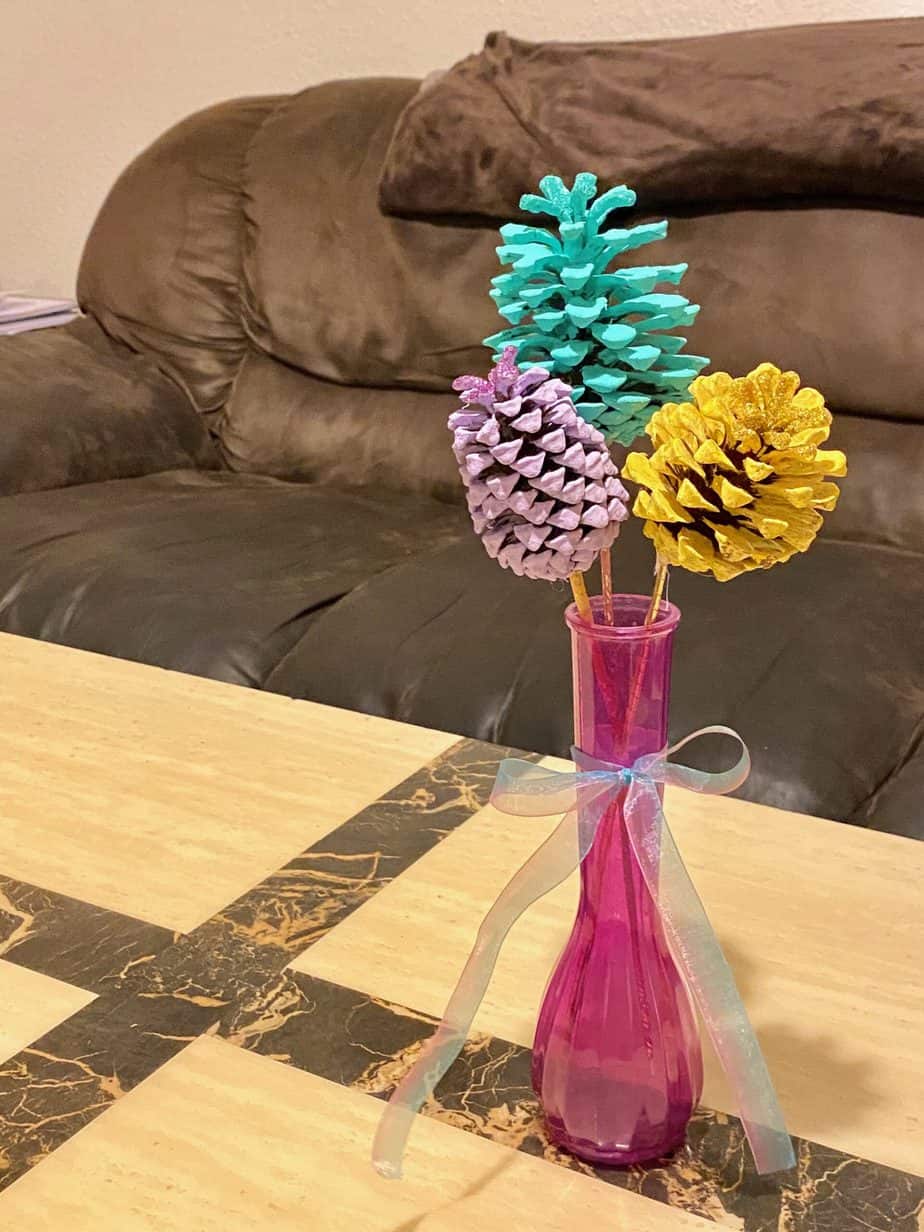
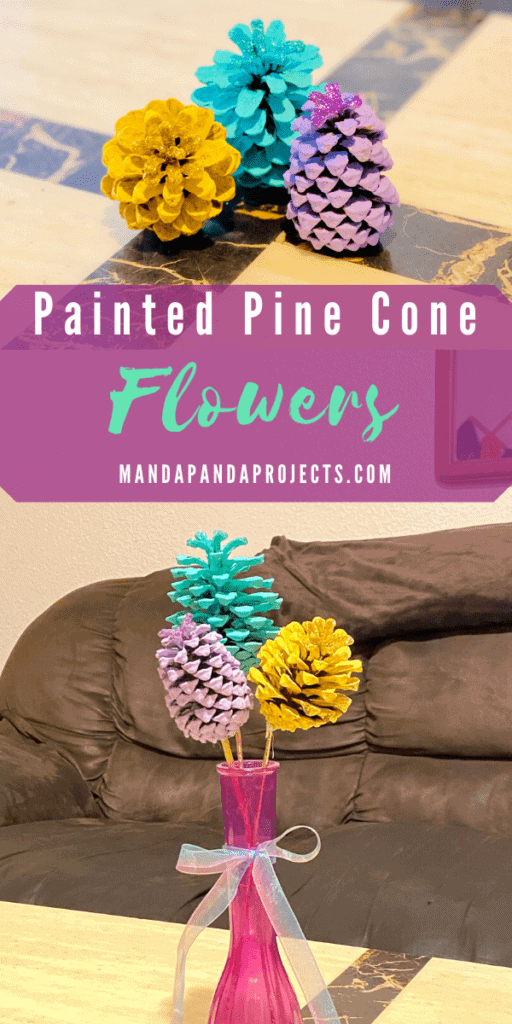
Turn pine cones into a beautiful flower bouquet with these painted pine cone flowers. This nature craft would make a stunning DIY gift for Mother’s Day, a birthday, or even just some nature inspired decor. This quick and easy craft is just as much fun for the grown ups as it is for the kids and the best part…these forever flowers will never die on you!
There is a definite theme to this years Mother’s Day crafts and DIY gifts and I totally didn’t do it intentionally ( I mean I totally planned it I swear)……FOREVER FLOWERS.
We have made not one…not two…but three different types this year with three different mediums. We’ve got the nature aspect covered with these painted pine cone flowers, and we went the recycled material route with our Cupcake Liner Carnations and Egg Carton Tulips.
We are huge fans of crafting with pine cones in this house. We’re lucky enough to live in San Diego where conifers (I think that’s what they are?) are plentiful. I am always picking up the perfect pine cones even though I have so many I can’t craft with them fast enough!. It’s an addiction really… I need to stop. #PineConesAnonymous
If you are as obsessed as we are, you should check out all of our pine cone crafts and put them to good use! If your not as lucky to have pine cones galore, don’t worry you can buy them at any craft store, Etsy, or good ‘ol Amazon.
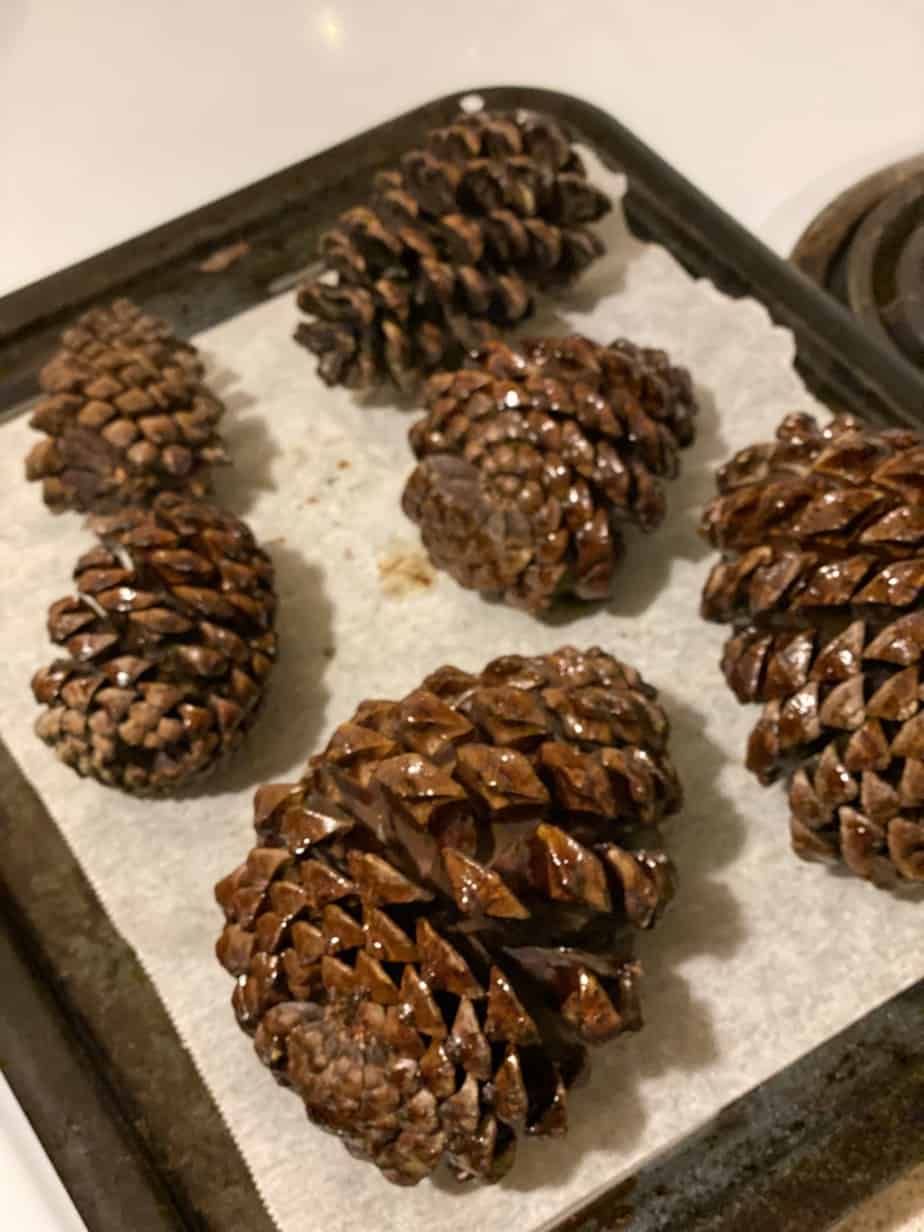
If you do decide to craft with them straight from the great outdoors, please please please make sure to clean and prepare them first! That is unless you want to host a sleepover for a family of Daddy Long Legs. If your not sure how to clean them, you can check out the steps I have used for years to bake the bugs out and as an added bonus, get beautifully bloomed cones!
This post may contain affiliate links for your convenience (which means if you make a purchase after clicking a link I will earn a small commission but it won’t cost you a cent more!)
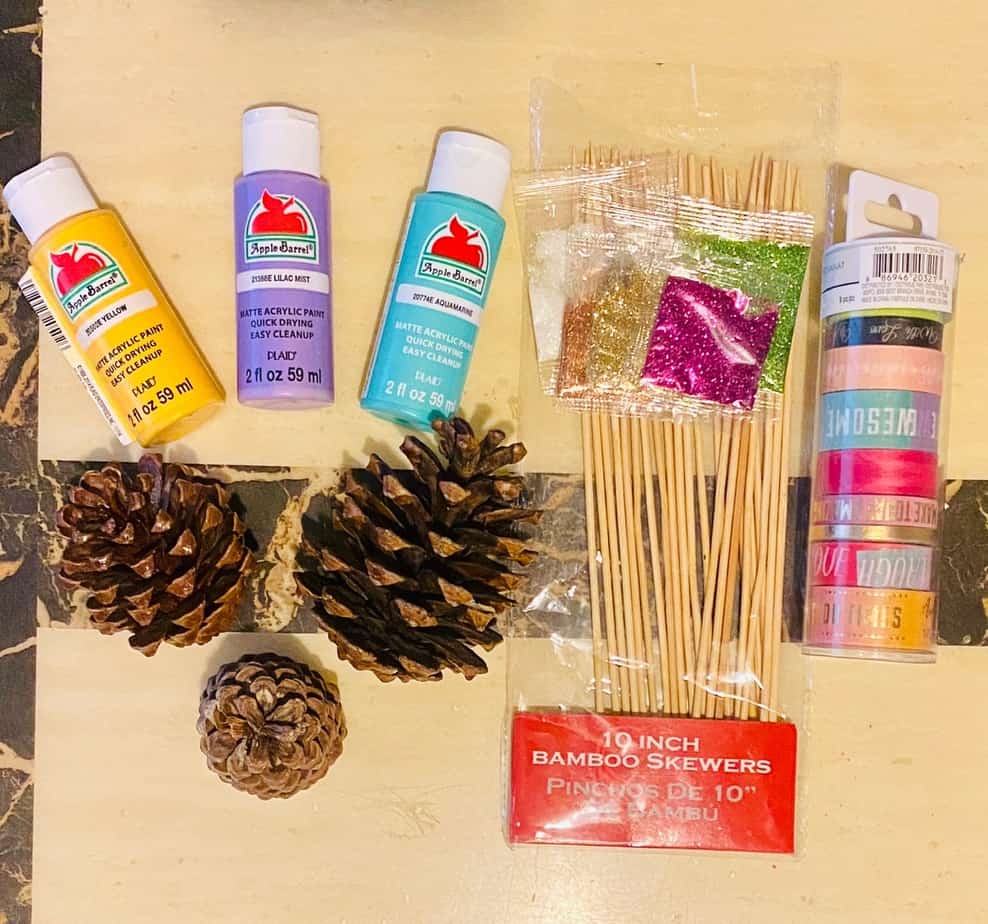
Supplies Needed to Make Painted Pine Cone Flowers
- Pine Cones (Store bought or cleaned and prepared)
- Wooden skewers
- Washi tape
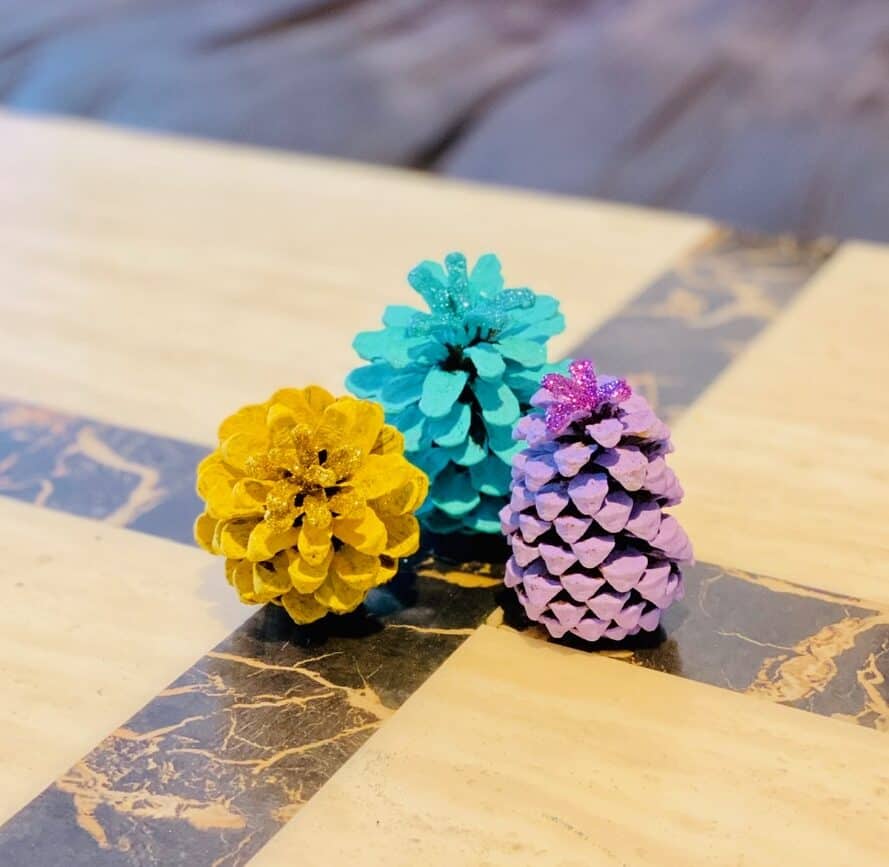
- Paint (we used Yellow, Lilac Mist, Aquamarine)
- Glitter (We chose 3 colors that matched the paint but you can get creative and use any color!)
- Glue – Hot glue and Mod Podge
- Some sort of vase or container (ribbon optional)
How to Make Painted Pine Cone Flowers
Follow the below easy steps to craft yourself a Painted Pine Cone Flower Fancy Forever Bouquet (thats a tongue twister)!
Clean and Prepare the Pine Cones for Crafting
Paint Each Pine Cone and Allow to Dry
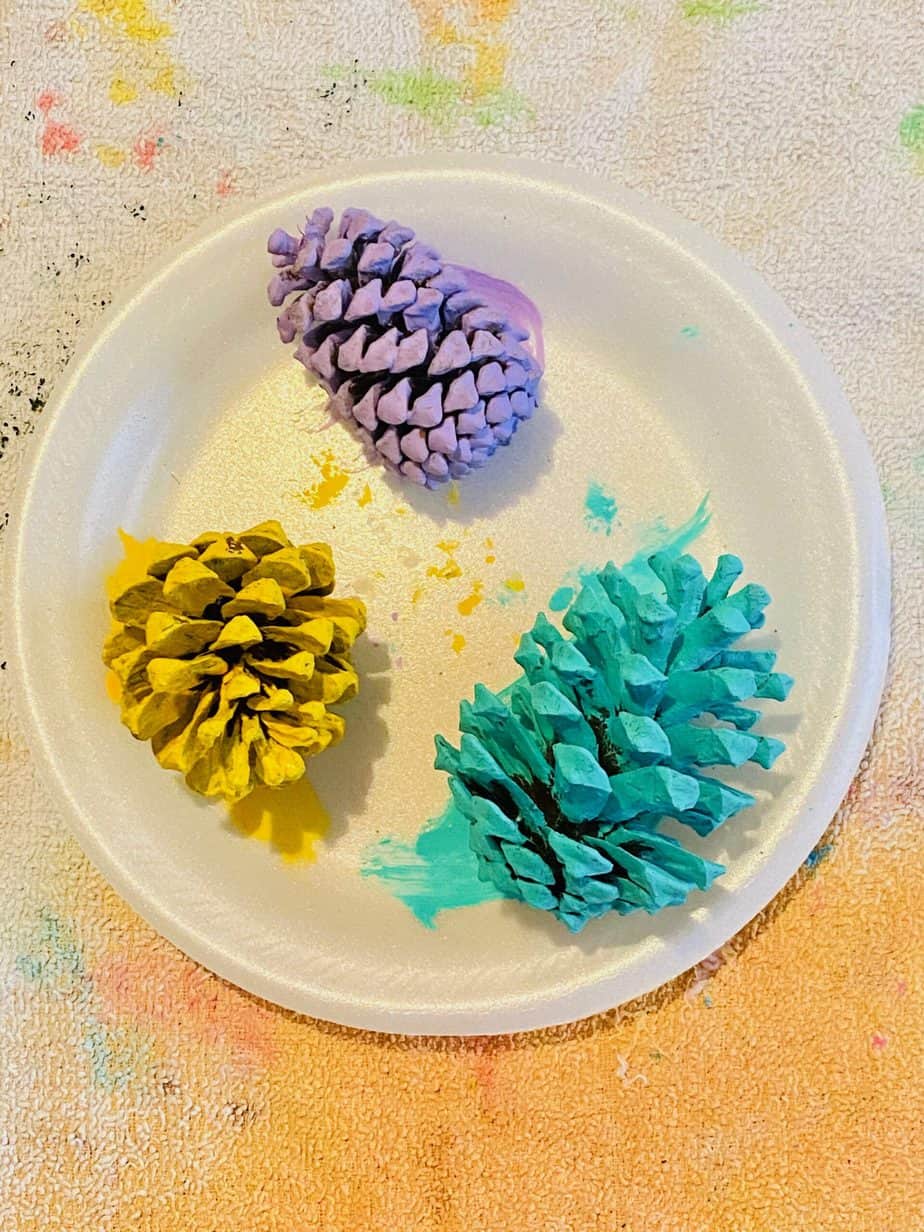
My only tip for this step is not to use one of your good paint brushes. If you want to get the color all up in the crevices, your paint brush WILL be pretty jacked up after. I actually have one paint brush dedicated to painting pine cones. You should only need one coat depending on the type of paint/colors you choose, but you could always add a second coat to make them more vibrant.
Wrap the Wooden Skewers with Washi Tape
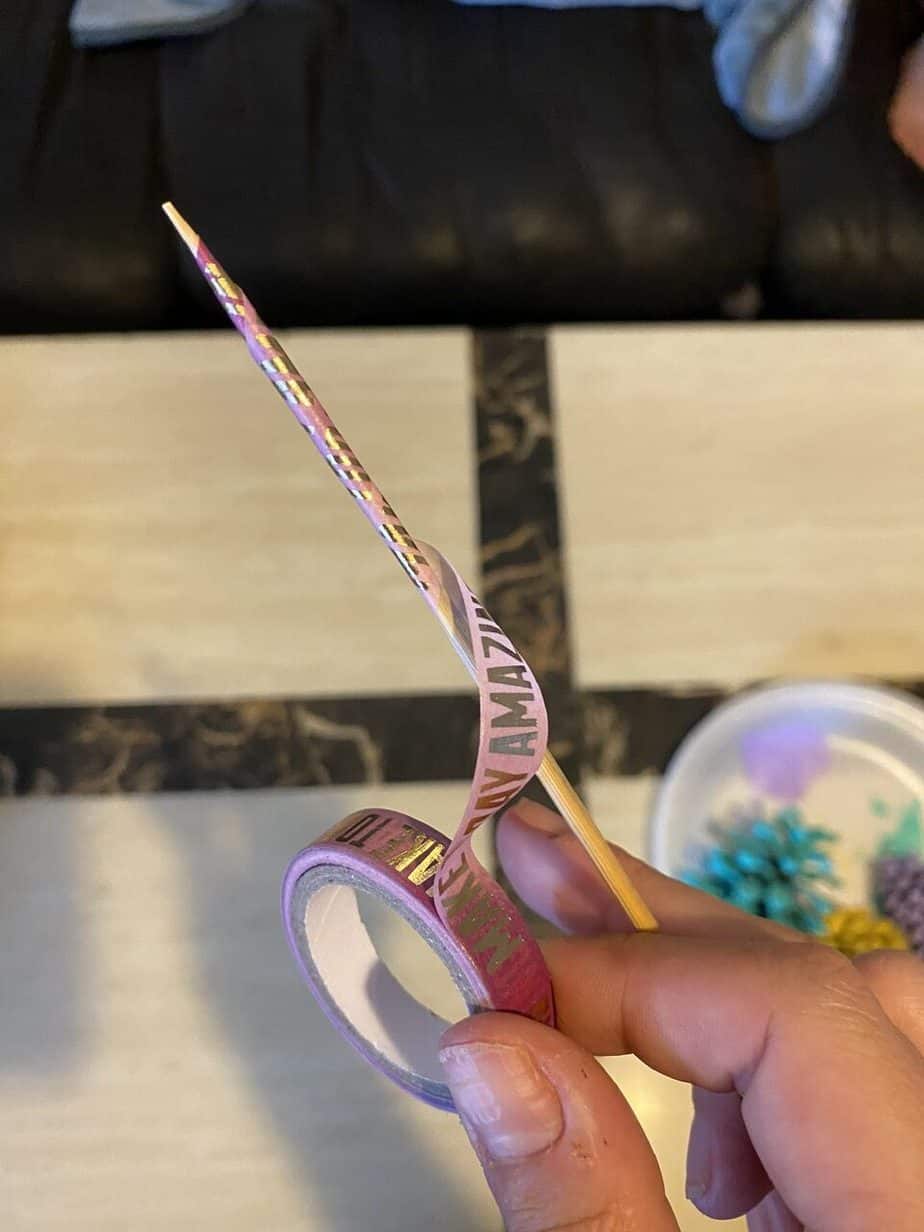
Take the tape and starting at the top, wrap it around the wood in a spiral fashion all the way down to the bottom.
Decorate the Top of the Pine Cones With Glitter
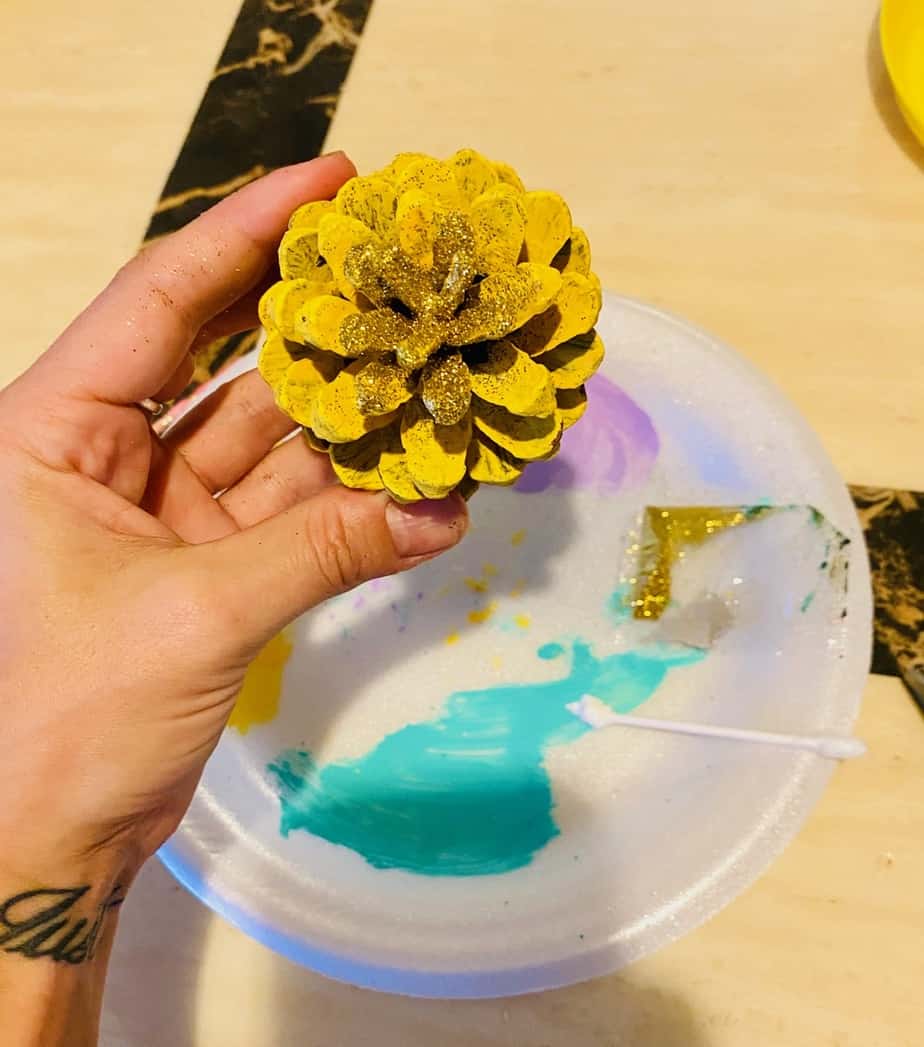
Spread Mod Podge generously on the top layers of the pine cone. Sprinkle as much glitter as you’d like to give them a “fancy” decorated look.
Glue the Wooden Skewer to the bottom of the Pine Cone
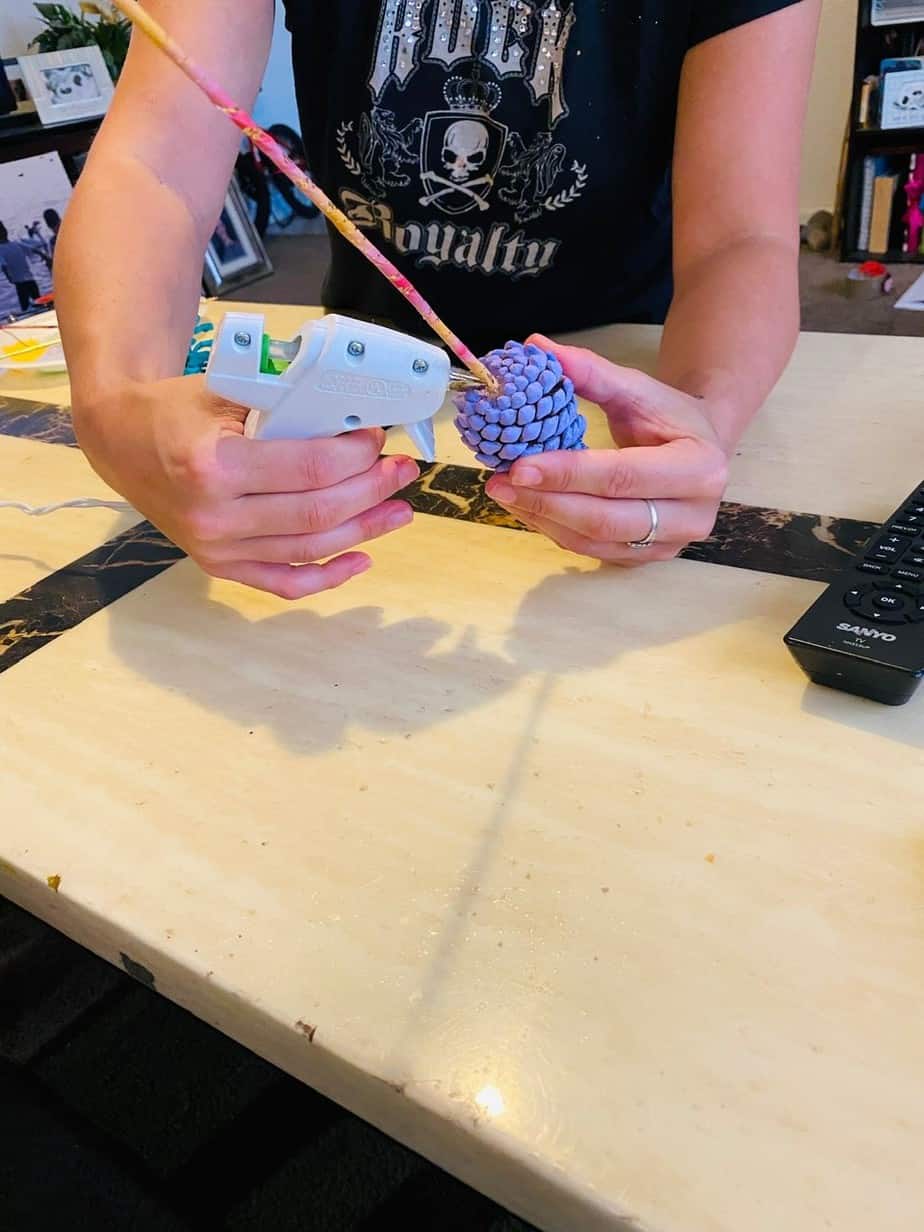
Apply a very large squirt of hot glue, and hold the skewer in place until the glue is completely hardened. Then apply another dollop around the base of the skewer where it meets the pine cone to strengthen the hold. The larger and heavier your pine cone, the more glue you may need.
Arrange in a Vase and Enjoy!
These Painted Pine Cone Flowers make such a beautiful Nature Craft. They are a perfect last minute Mother’s Day gift, Birthday surprise, or even a fun craft for the kids to help make some DIY home decor!
Make sure to Pin this idea for later and if you need some other last minute DIY Mother’s Day gifts, be sure to check out our other Forever Flowers:
Until Next Time…
Stay Crafty San Diego!


