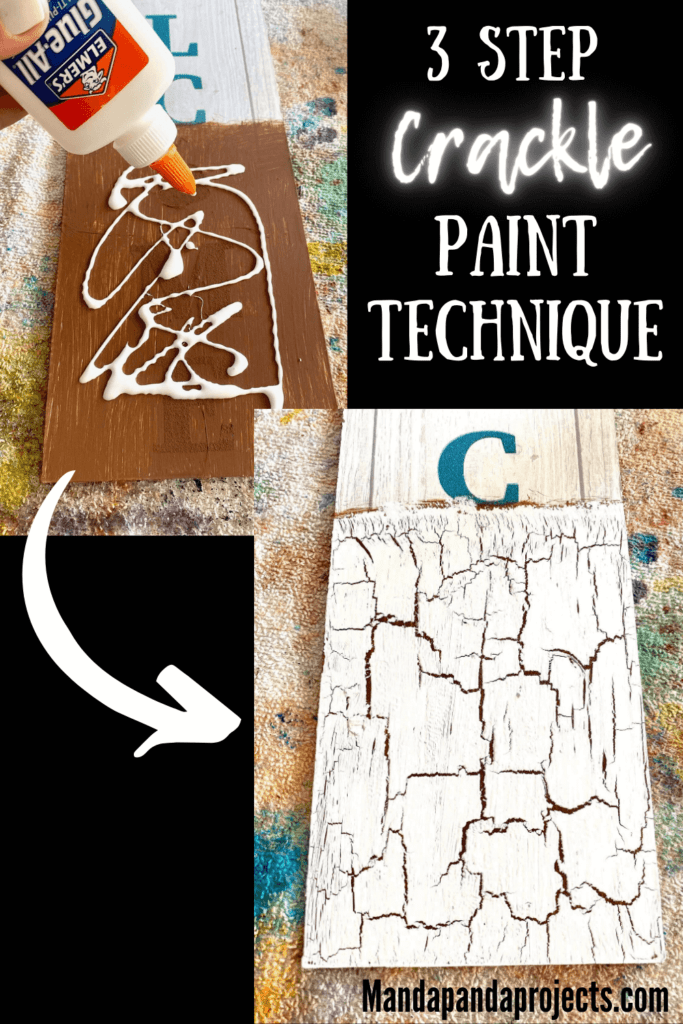
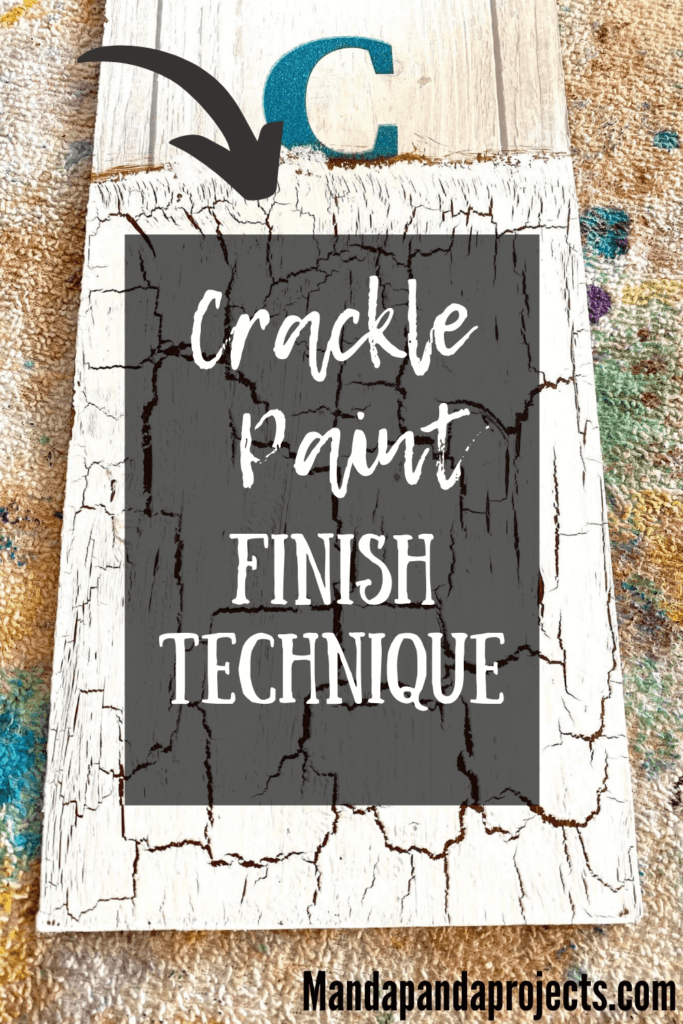
Have you seen that really neat paint finish with the cracks and breaks in the paint? Well you can achieve the crackle paint finish with just white school glue and paint! I’ll show you the easiest way to do this fun DIY paint finish, and you’ll learn how the look of the cracks can be changed depending on the thickness of paint and glue that you use.

I’ve seen the Crackle Paint Technique on many other crafters DIY’s, and I honestly never tried because I assumed it was super hard to do. Any technique that looks that amazing must be damn near impossible, right? Wrong! There is literally no way to mess this up because even if you don’t do it “perfect” you will still end up with a uniquely beautiful look.
I kid you not when I say that with the 3 step process I am about to show you, my 9 year old Twins could pull this off. Seriously, there’s nothing to it! Anyone can master this amazing crackle paint finish and it’s definitely a technique you want in your crafting toolbelt. Now you can buy a Crackle Paint medium, but honestly they are expensive and this glue technique yields the same (if not better) results every time!
I put on my lab coat and became quite the Mad Crafting Scientist for this project while I experimented with different ratios of glue and paint to see how it affected the final outcome. I found that the amount you use definitely changes the appearance, but the moral of the story is thicker layer of glue = deep big crackles, and thinner layer of glue = fine lines and cracks. Below are my detailed results!
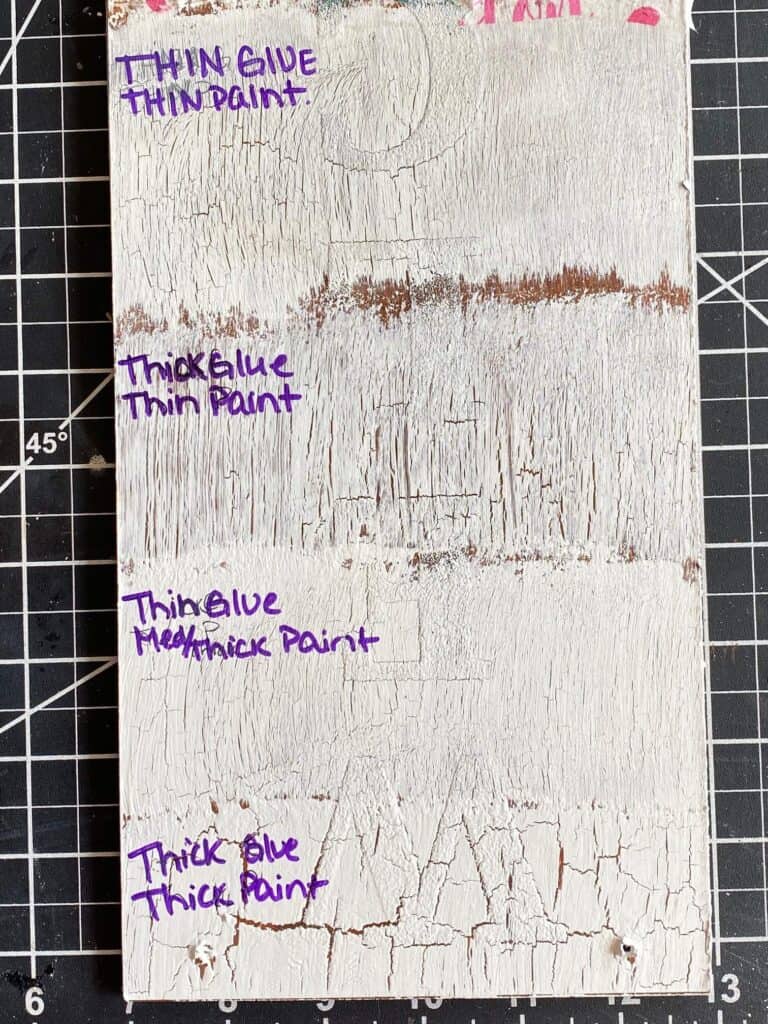
If you’re nervous or hesitant to try this Crackle Paint Finish Technique because you’re just not sure how it’s gonna come out, I suggest putting on your lab coat too! Grab a spare piece of wood or surface, and test out varying thicknesses of glue and paint. Have fun and get a feel for how you want your “real” projects finish to look. I promise that after a little experimenting with the paint and glue, you’ll have tons more confidence when you go to do the real deal.
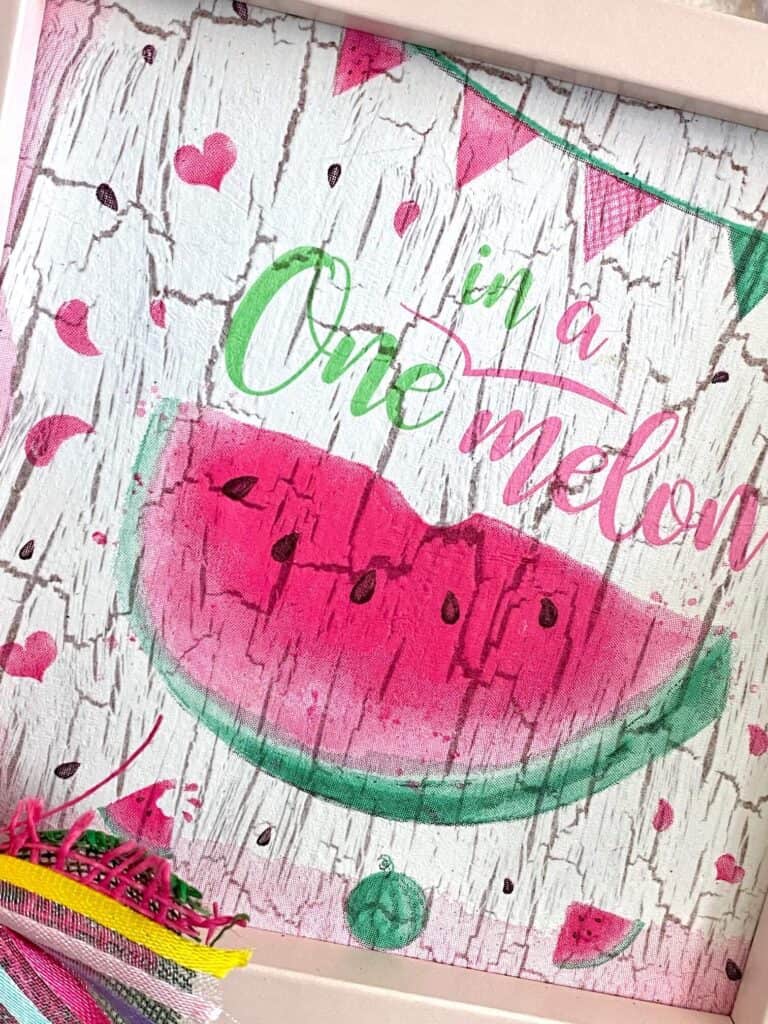
There are so many different ways you can use the crackle paint technique in your DIYs. Last week I tried a new way of Mod Podging a napkin right on top of it, and I’m totally loving the results!
This post may contain affiliate links for your convenience (which means if you make a purchase after clicking a link I will earn a small commission but it won’t cost you a cent more!)
Supplies Needed to Do the Crackle Paint Technique with Glue
- Elmer’s Glue or Wood glue (other glues may work too, but I haven’t tried)
- White chalk paint (or whatever color you want!)
- Paint brush or foam brush
- Heat gun or blow dryer (optional but I recommend it)
3 easy steps to get the Crackle Paint Finish for your DIY Projects
Layer of glue, layer of paint, DRY! That’s all it takes. Of course I am going to provide more detailed steps here, but just know that this is not a complicated process by any means.
Watch the below video to learn the exact steps to create the perfect Crackle Paint finish. I experimented with this technique using 4 different variations of glue to paint ratio, and I’m showing you the results of each!
Time needed: 10 minutes
How to do a Crackle Paint Finish with Glue and Paint
- Apply a generous layer of glue over the entire surface.
You may need to paint or stain your surface first, depending on what you are working with. For the purpose of this experiment, we are assuming that has already been done. If you are working with a very large surface area such as a piece of furniture, you will want to work in smaller manageable sections so that the glue remains wet while you apply the paint in the next step. If the glue dries before you add the paint, you will not get the crackles that we want. Don’t worry so much about how thick or how thin the glue is, it will work no matter what (It’s like magic!), but generally speaking, if you have super think glue you will get super deep thick cracks. If you have super thin glue, you will get super fine thin cracks. You can even mix it up on your surface and have some parts thin and some thick for a more natural crackle finish look.
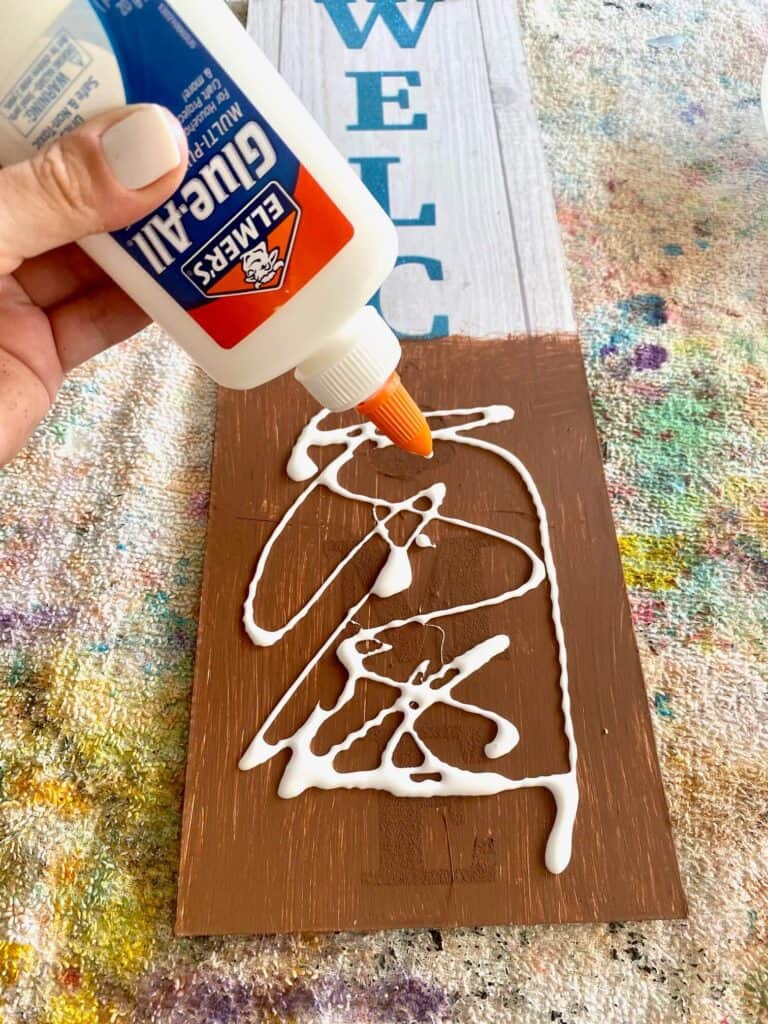
- Spread the glue out with a foam brush.
Again, spread it as thin or think as you like, and feel free to have some parts thicker than others to give it a more natural final look. In this photo I’d say there’s a medium thick layer of glue all over the surface with some thinner areas. Make sure to work fairly quickly so that the glue doesn’t dry in this step, but there is no need to rush. If there is a dried skin on top of the glue that’s ok, but no more dried than that.
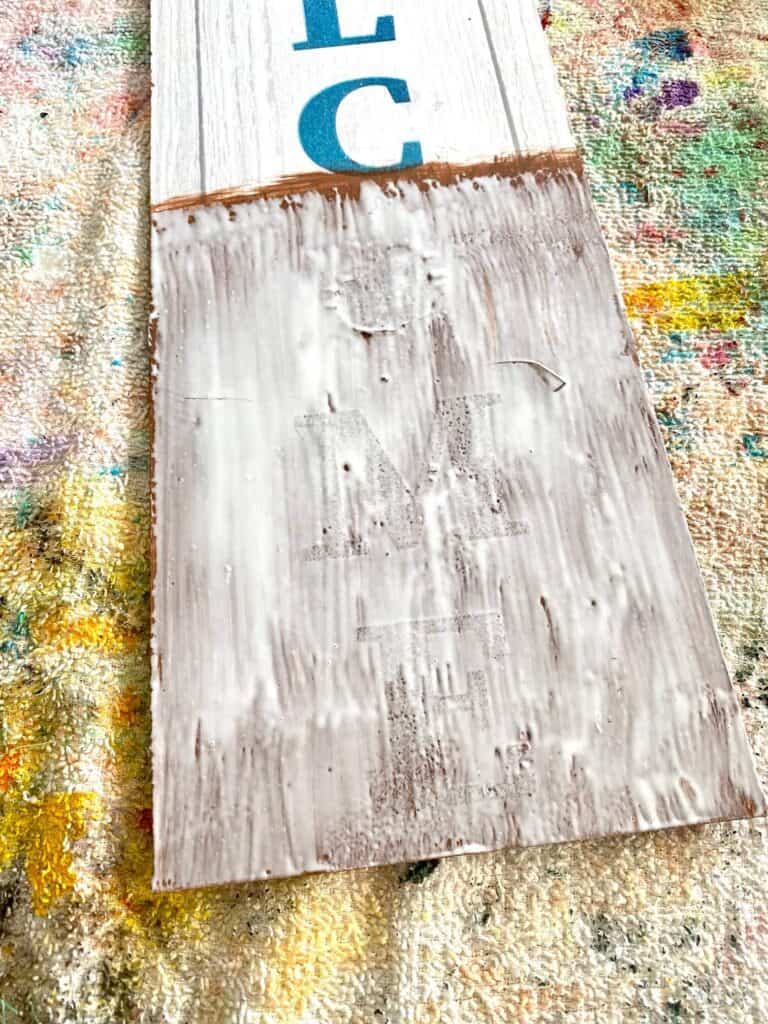
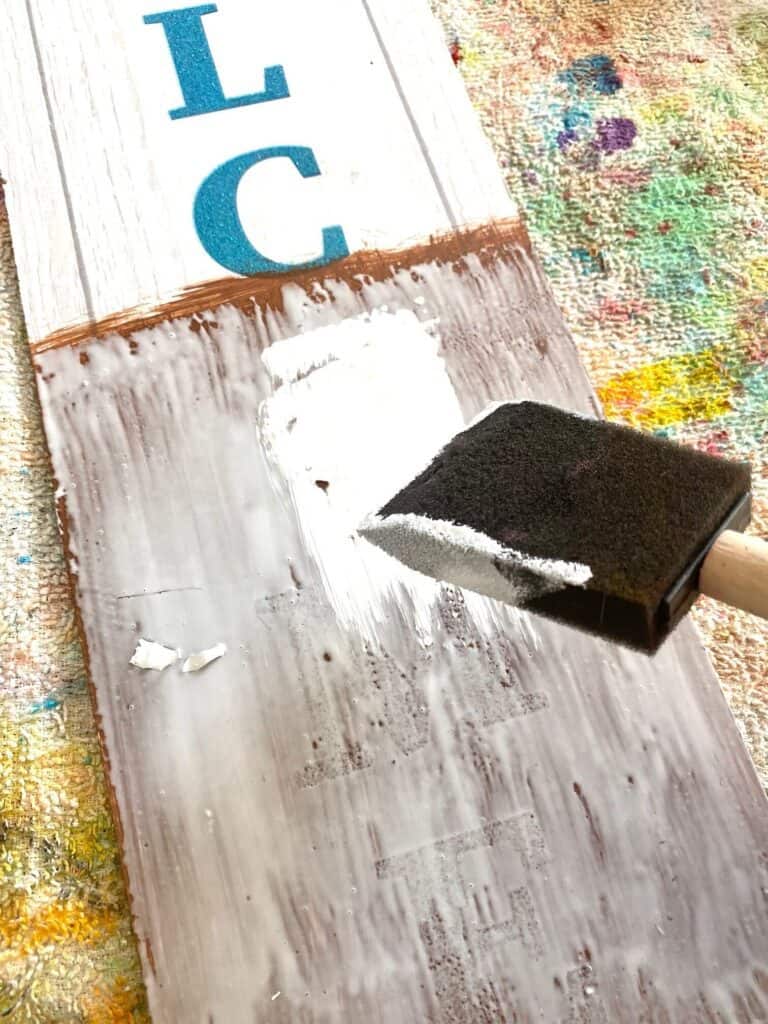
- Apply a layer of paint on top of the wet glue.
Do not allow the glue to dry before applying the paint, however, do not use a heavy hand so that the paint mixes in with the glue. You want to brush it on in long soft strokes so the paint sort of just sits on top of the glue. It’s ok if it mixes a little, remember you can’t mess it up! But generally speaking we don’t want to mix the 2. Same as with the glue, the thicker your paint is, the deeper your cracks will be.
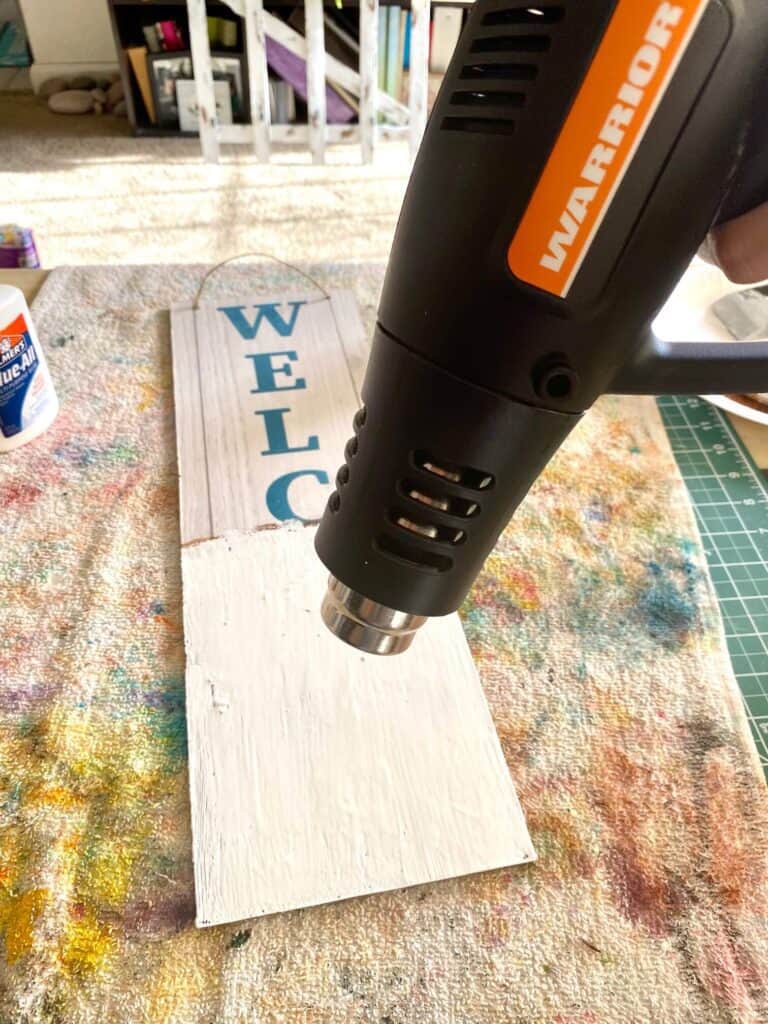
- Dry the paint and glue thoroughly.
Use a heat gun or a blow dryer to dry the paint on top of the glue and the crackles will almost instantly and magically begin to form. You can also allow the surface to dry naturally and although you will achieve the same crackle finish, it will of course take much longer to happen. Make sure that both the glue and the paint are thoroughly and completely dry before continuing on with whatever project you are using this technique for.
- Watch the MAGIC (Crackles) happen!
This is what your surface should begin to look like, isn’t it purrrtttyy?
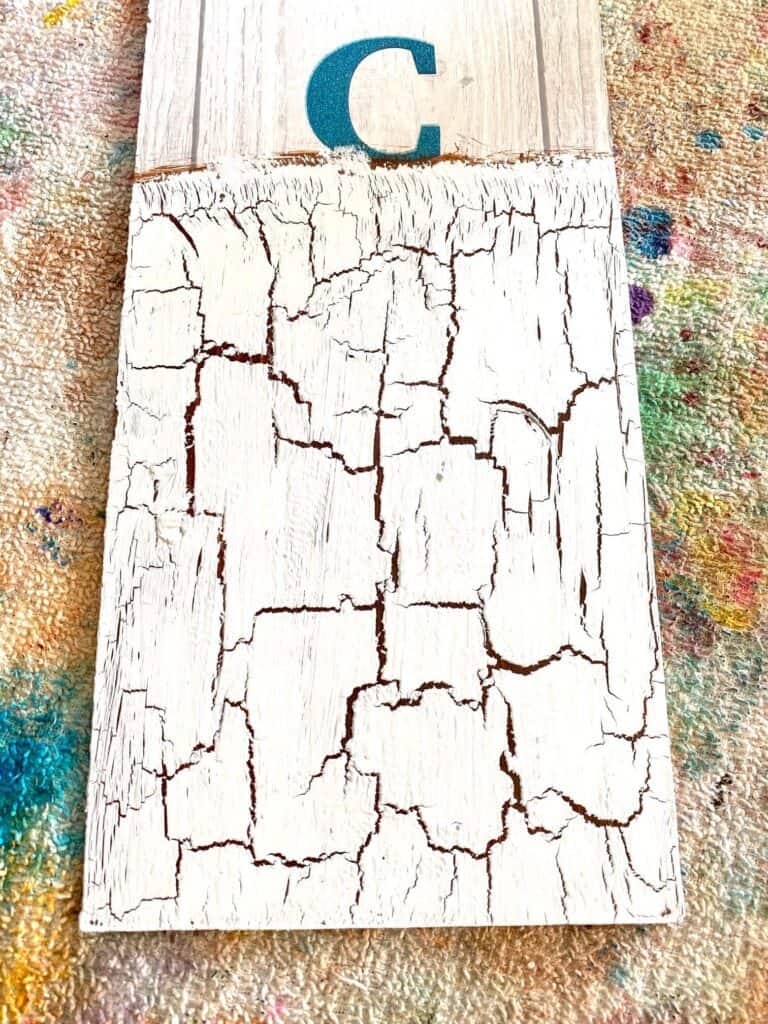
What you decide to do with your Crackle Paint Finish after this is entirely up to you, but one of my favorite things is to Mod Podge a napkin on top! You can use this technique to paint furniture, as the background for DIY signs, and whatever else you can think up.
Are you going to try and experiment with this fun crackle paint technique? If you do, I’d love to see it. If you’re not part of our Craftspiration Facebook group, join in on the fun and post a pic of your completed DIY crafts, I just love to see all your creative and crafty creations!
Until Next Time…
Stay Crafty San Diego!

Love this Crackle Paint Finish Technique? Make sure to PIN it to your favorite Craft board!

