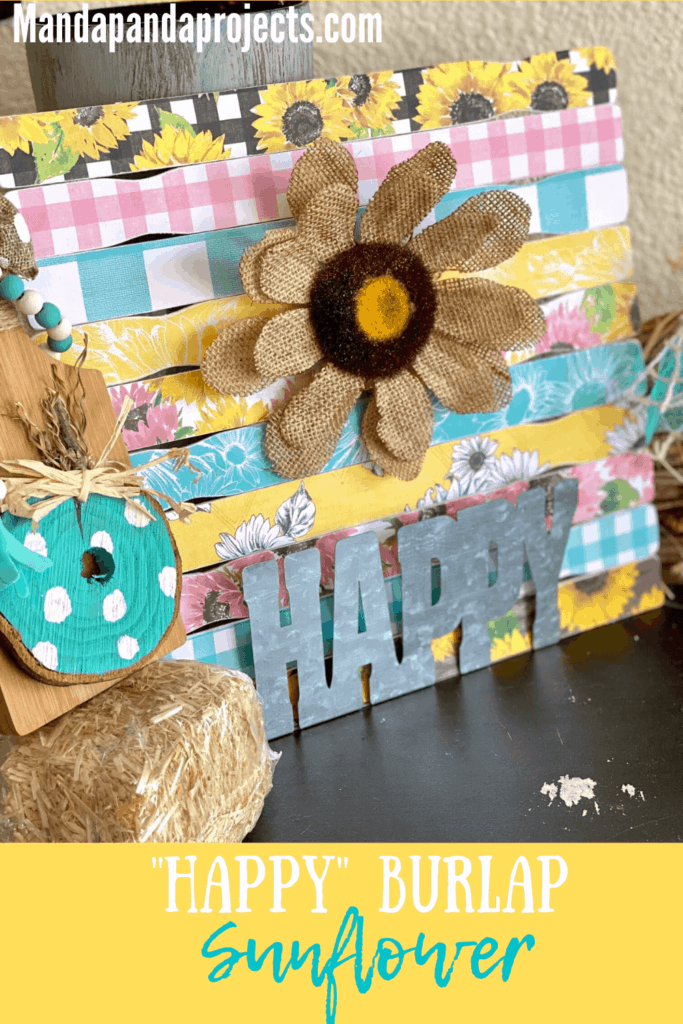
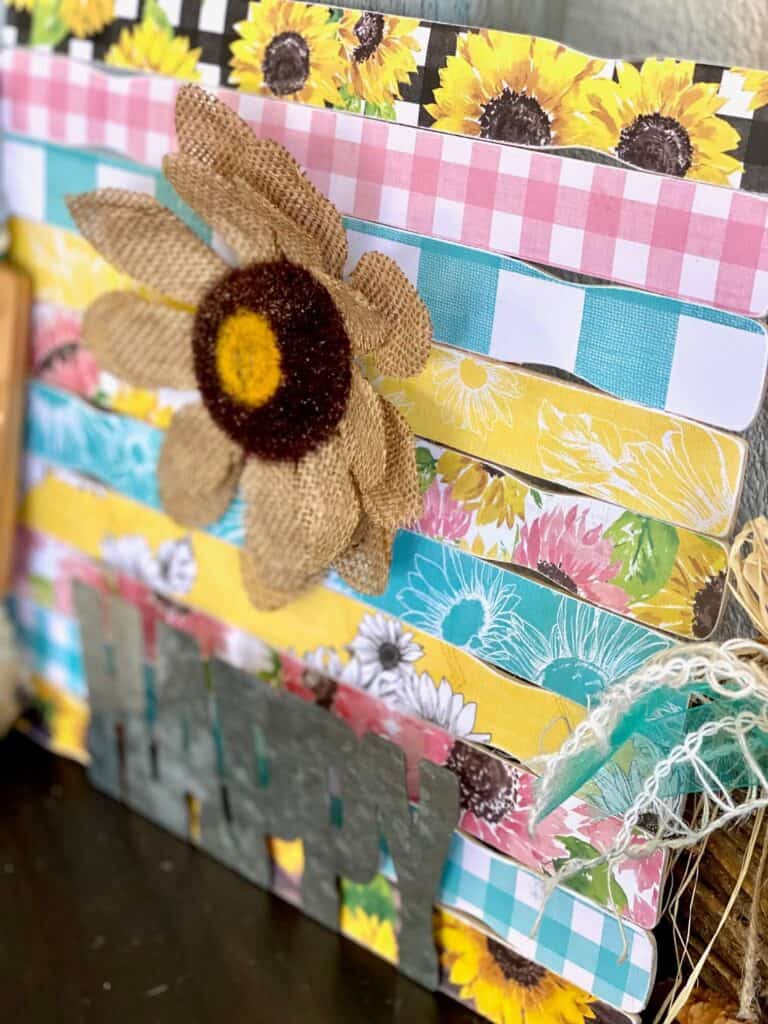
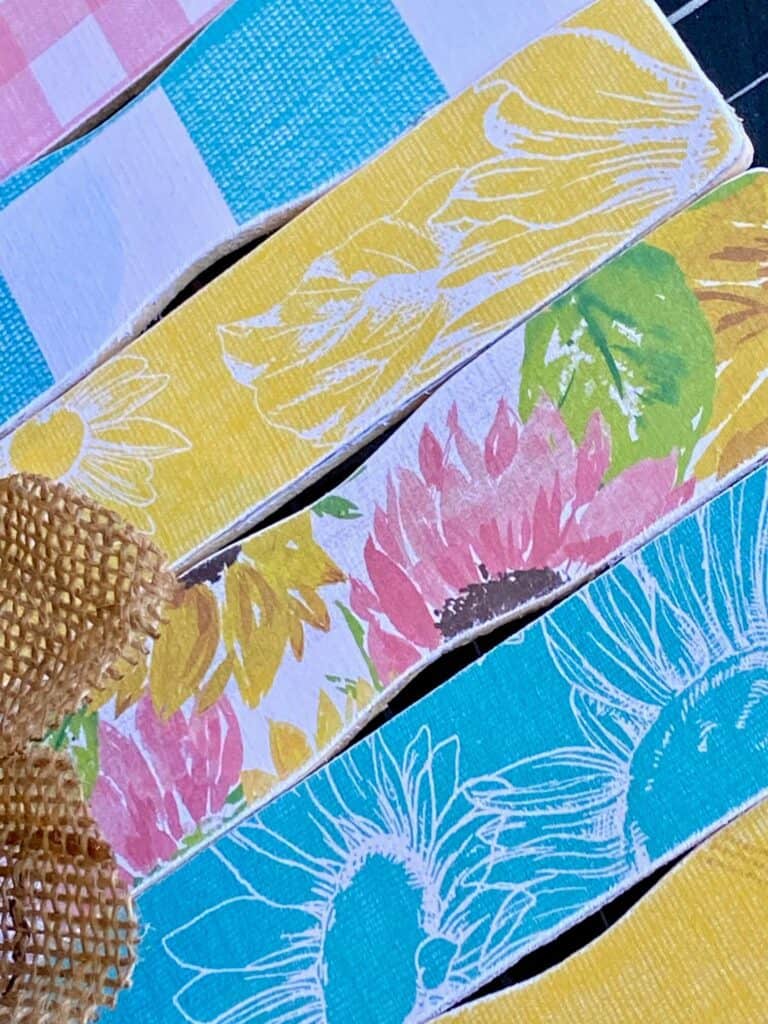
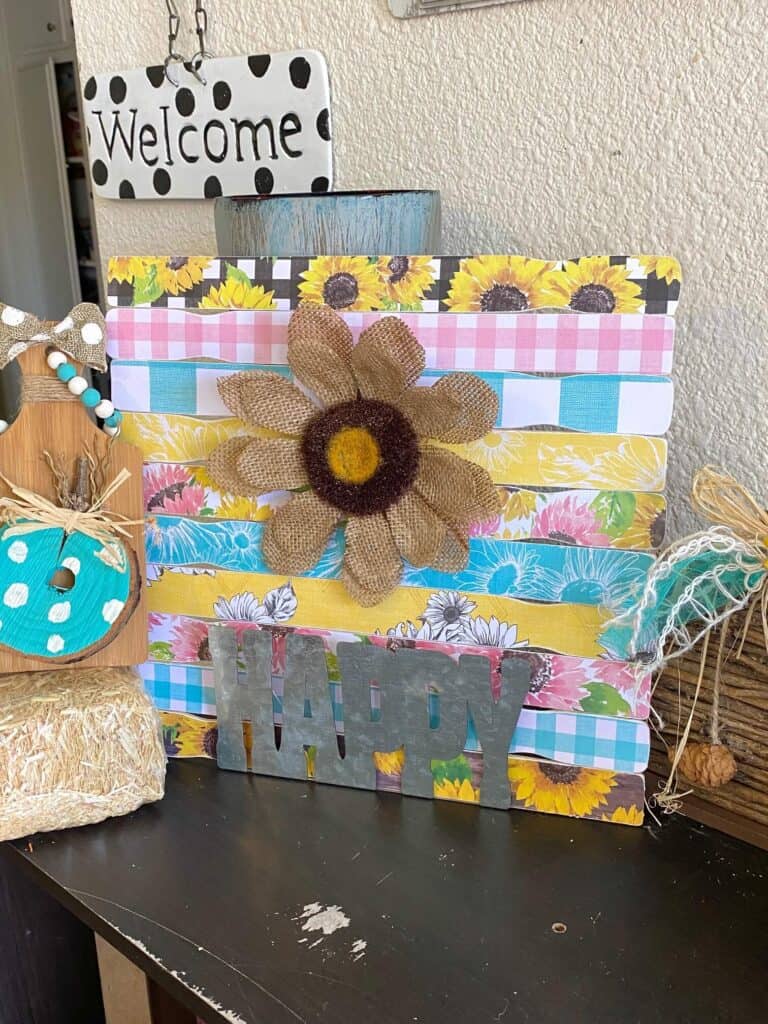
If you love sunflowers as much as I do, you are going to want to run to your nearest Hobby Lobby and pick up this fabulous yellow, teal, and pink themed Sunflower scrapbook paper! Paired with this beautiful “Happy” Burlap Sunflower, you’ve got a match made in Crafty Decor Heaven that can work for Spring, for Fall, and everything in between!
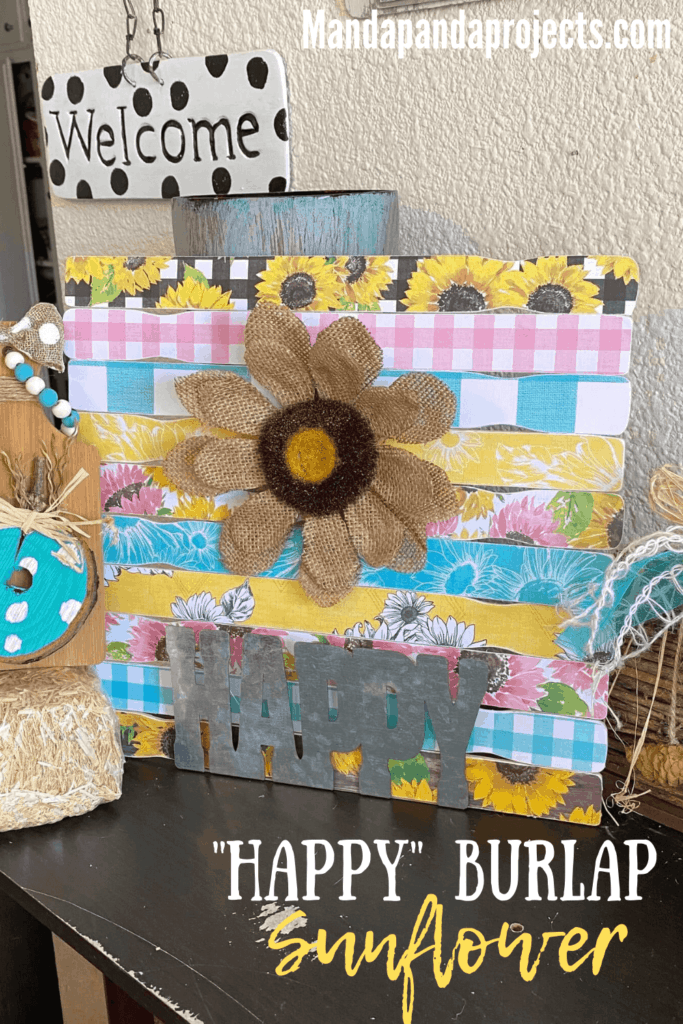
Every now and then I declare that a craft that I made is my “Favorite project ever!” It doesn’t happen often, but this was one of them! I don’t know if it’s my love (eh hem…obsession) for sunflowers, or if it’s the colors with the yellow and pops of pink and teal. Whatever it is, I’m a likin’ it! Even more than the Fabric Sunflower I made last week, which I thought was my favorite until now.
As much as I am obsessed with the sunflower part of this craft, I have to point out that you could use this same concept, with the coordinated scrapbook paper and paint sticks, in any theme and it would be just as amazing.
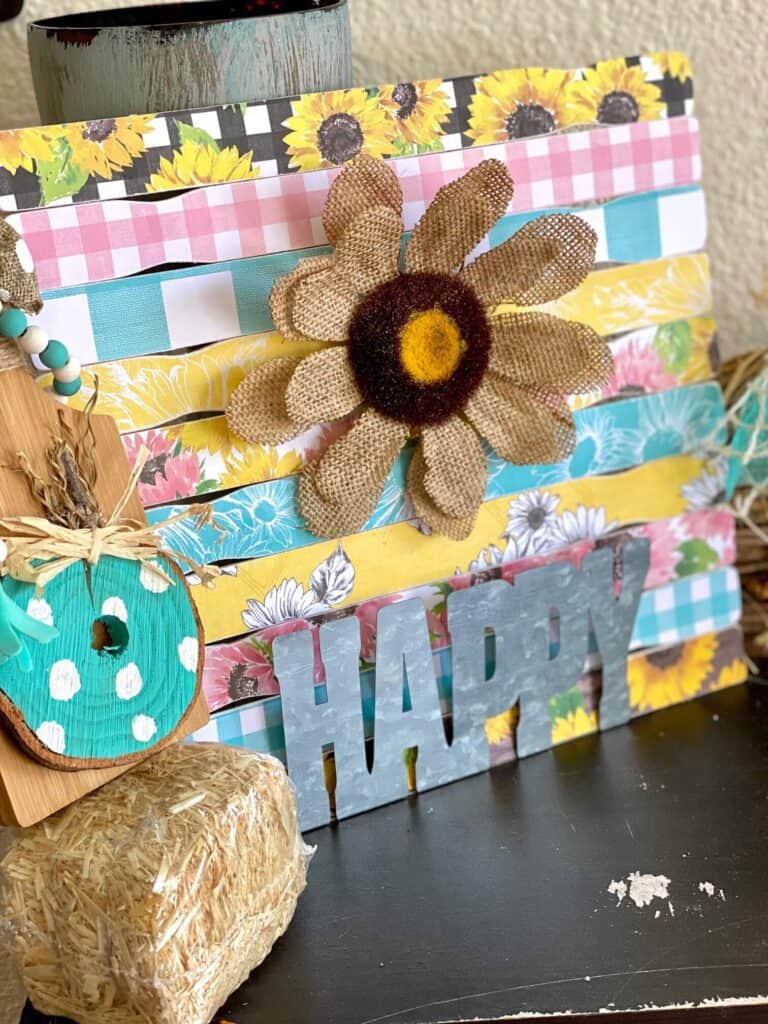
Think a bunch of coordinating Christmas patterns, with a Christmas tree in the middle and “Merry Xmas” at the bottom. Or some fun Halloween scrapbook patterns with a pumpkin in the center. The crafty possibilities are endless!
This post may contain affiliate links for your convenience (which means if you make a purchase after clicking a link I will earn a small commission but it won’t cost you a cent more!)
Supplies Needed to make a “Happy” Burlap Sunflower
I decided to use the word “Happy” instead of “Family” as you see pictured below. Also, you see wood beads that were meant for the hanger, but the project took so long I never ended making the hanger and now I don’t even think it need it!
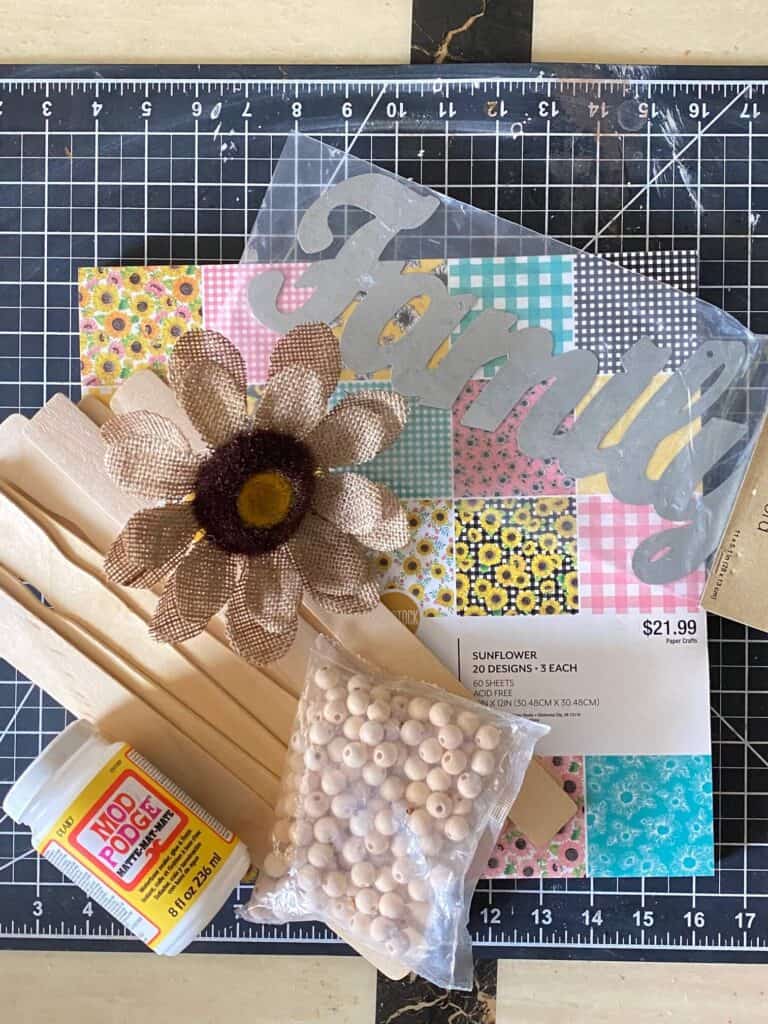
- Paint sticks
- Burlap Sunflower Clip (Mine was from Walmart but Amazon has some pretty White Sunflowers)
- Sunflower scrapbook paper – Mine was “Sunflower” by The Paper Studio from Hobby Lobby
- Sanding sponge
- Mod Podge
- Galvanized metal “Happy” – (I found mine at Dollar Tree)
- E6000
- Flat piece of cardboard
- Glue Gun
How to Make this Dollar Tree Burlap Sunflower Craft
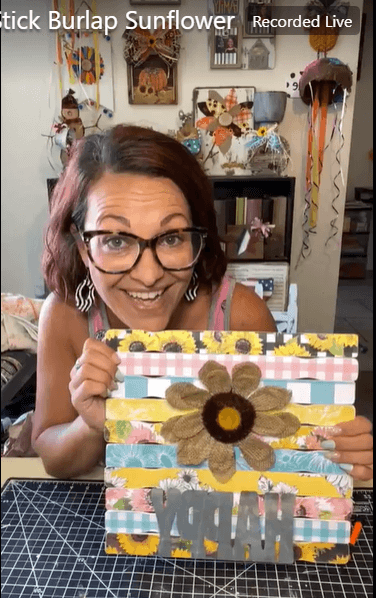
I made this ADORBS “Happy” Burlap Sunflower on video, so you can WATCH the step by step tutorial HERE or click on the picture right below.
Let me walk you through how I made this “Happy” Burlap Sunflower so you can be “Happy” too.
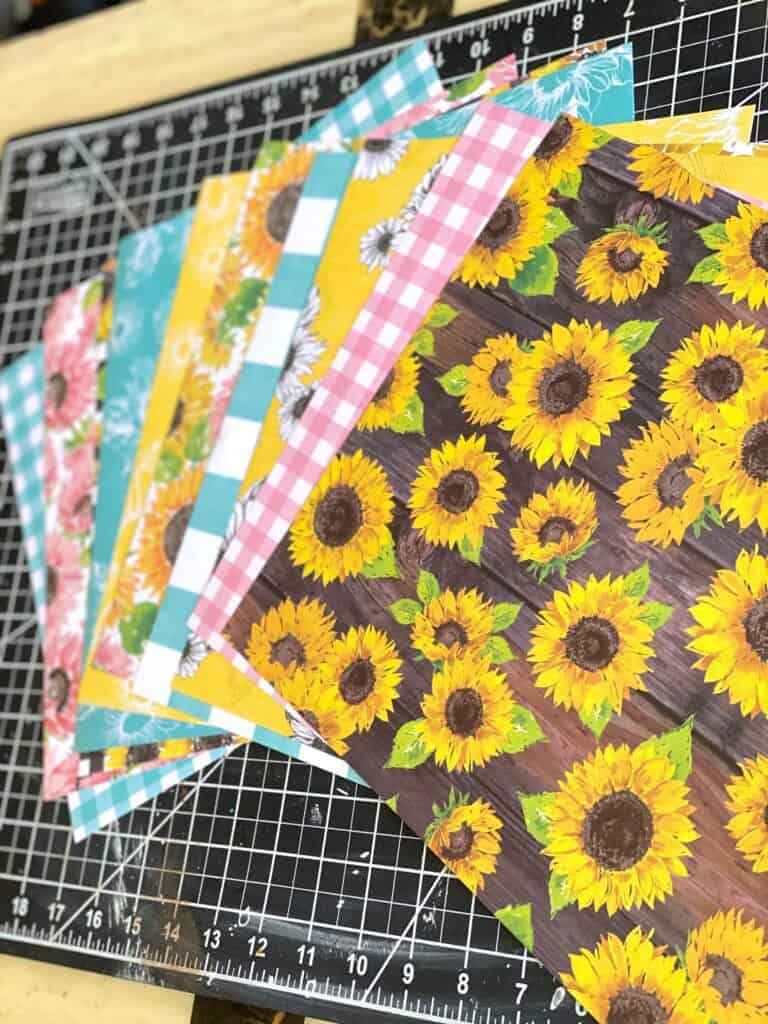
First things first, you need to choose which scrapbook paper you are going to use and cut the scrapbook paper the size of the paint sticks. I went with 10 different coordinating patterns.
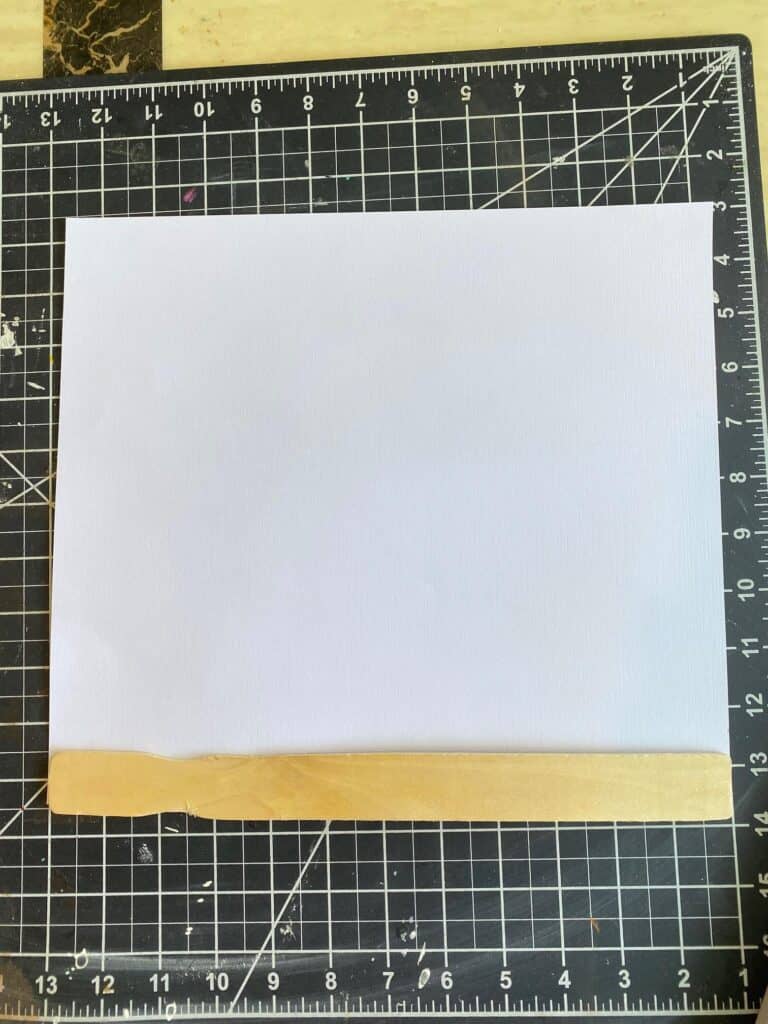
Now just trace the paint stick onto the back and cut each one out.
Once you have them all cut out, it’s time to Mod Podge them to the paint sticks. Make sure not to use too much Mod Podge or you may get wrinkles and just a thin layer is sufficient. Smooth out the paper with your hands, or you can use a brayer which I personally love to use when Mod Podging scrapbook paper (versus napkins).
The next part is time consuming and it’ll give your arm a workout but it’s necessary to give this project the look we want it to. Use a sanding sponge and sand all the edges of the scrapbook paper off of the paint sticks. This will make it look like the paint sticks came that way!
Next is to cut your cardboard backing so that it’s big enough to hold the paint sticks, but thin enough that you don’t see the cardboard through the gap that’s created in the curves of the paint sticks. Glue the paint sticks to the cardboard making sure you alternate the curves being on the left and right, like the below pic.
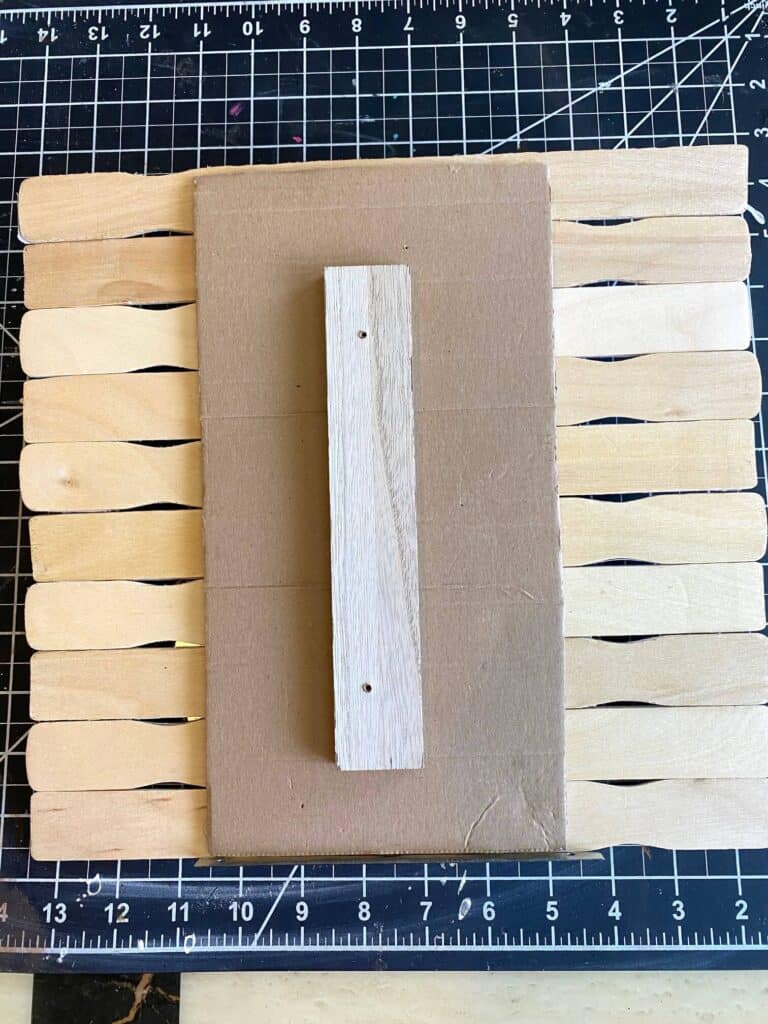
If your cardboard is not super sturdy, you can use another paint stick on the back as a brace like I did above.
Now let’s add the Burlap Sunflower and the galvanized metal “Happy” and finish this bad boy off! I would use E6000 to glue the “Happy” as it works much better and more permanent than hot glue.
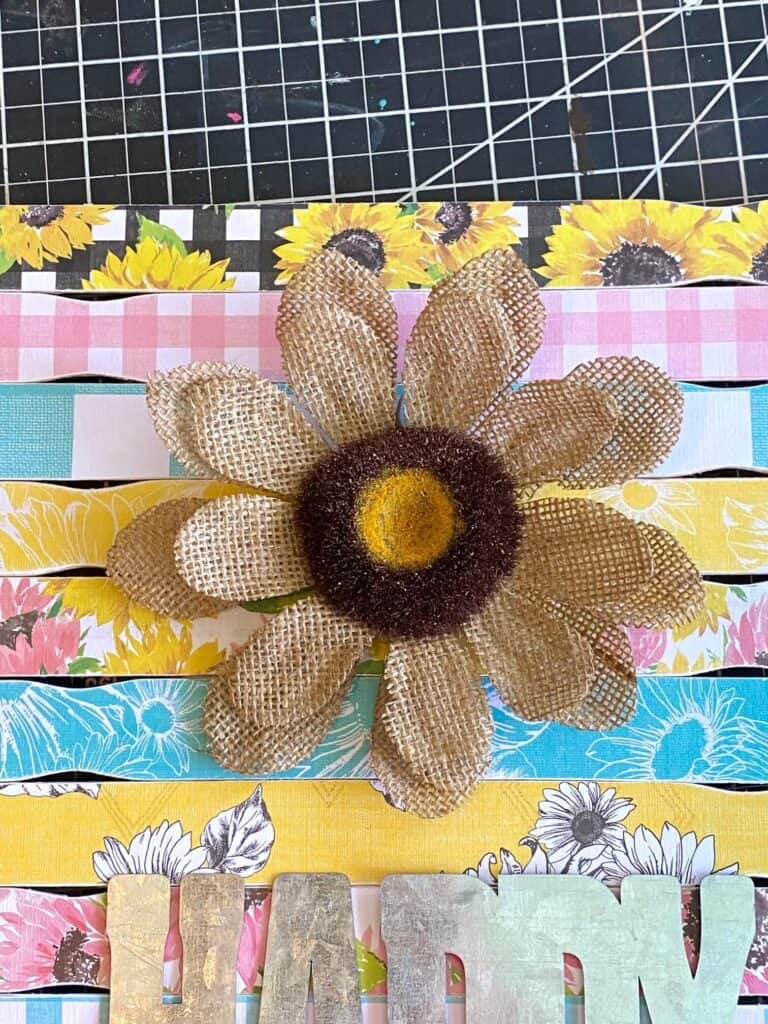
My particular “Happy” word came on a wooden stand/base, so I had to remove it with a small screwdriver (I used the base as the brace for the cardboard above). If you have the same Dollar Tree galvanized word as me, you may need to remove your base as well. It was super easy though!
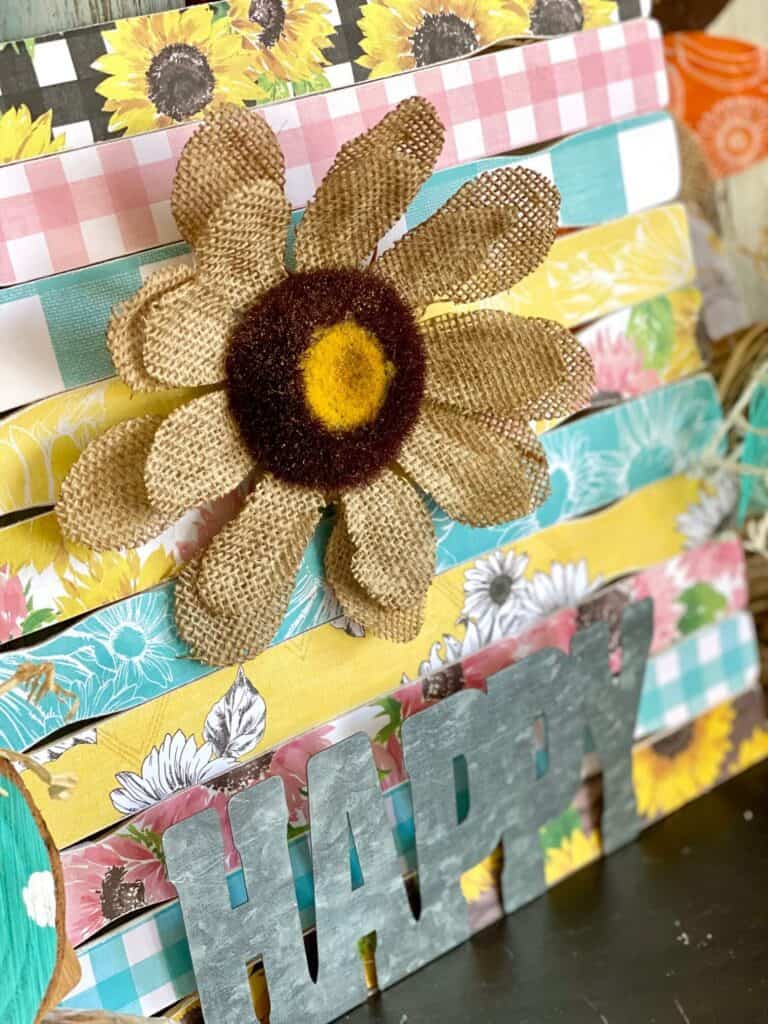
There we have it! You’ve got yourself a super cute Burlap Sunflower DIY! You could choose a different word like “Grateful” of “Blessed”, or you could even leave the word off all together and let the Burlap Sunflower speak for itself. Whatever you choose i to do it’s not going to look any less cute!
Are you going to make a craft like this with Scrapbook paper and paint sticks? If you do, I’d love to see it! Pop on over to our free Craftspiration Facebook group, and join in on the fun by posting a pic of your completed DIY’s and crafts. I just love to see all your creative and crafty creations!
If you’ve got a million projects on your crafting ‘to-do’ list like I do, than you need my FREE Craft Project Planner so you can plan to make *all the things*! When you sign up for the craft planner, I’ll also send you lot’s of fun, easy, and budget friendly ideas for you to fill it up with!

Free printable Craft Project Planner
Get organized, get inspired, and get crafting, with our free Craft Project Planner!
Until Next Time…
Stay Crafty San Diego!

Love this “Happy” Burlap Sunflower Decor? Make sure to PIN it for later!
