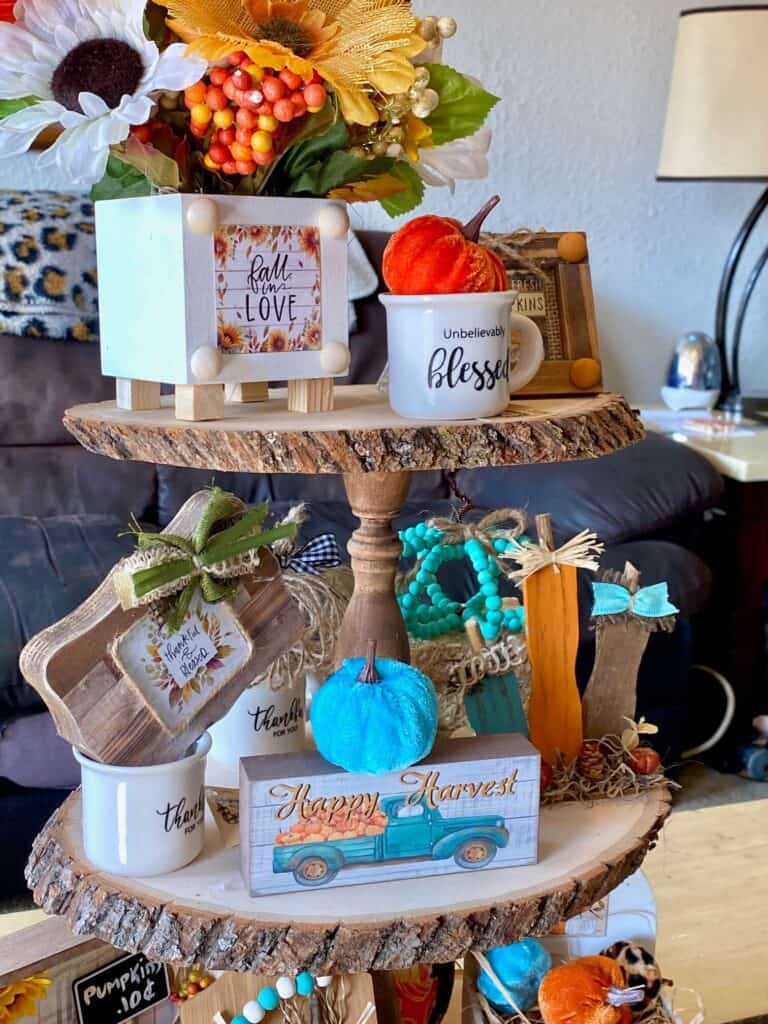
Save your crafty scraps from the trash by turning some paint stick ends into an adorable pumpkin patch for fall this year! This Paint Stick Pumpkin Patch makes for the perfect fall tiered tray decor, and the best part is it cost close to $0 to make since you probably have most the supplies on hand.

We make a lot of projects around here using the 12″ paint stir sticks. For some of them I use the entire stick, but a few of them I had to cut the ends off like the Sunflower Pumpkin Reverse Canvas or the Sunflower Truck Frame. Did I throw the paint stick ends away you ask? Of course not!
That’s how this recycled Pumpkin Patch idea was born. If you’re anything like me, than you don’t throw anything away that you “might” be able to craft with at a later date. The only problem with that is my craft space becomes very hoarder-ish, very quickly.
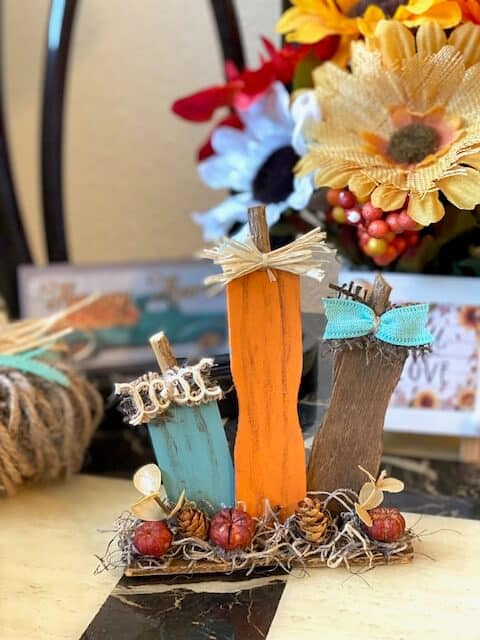
Every once in a while I go through and organize and try to throw away some of the things that I’ve been hanging on to for a while and haven’t used. I pulled out these paint stick ends, gave myself one week to craft with them, or they were going in the garbage! Challenge accepted!
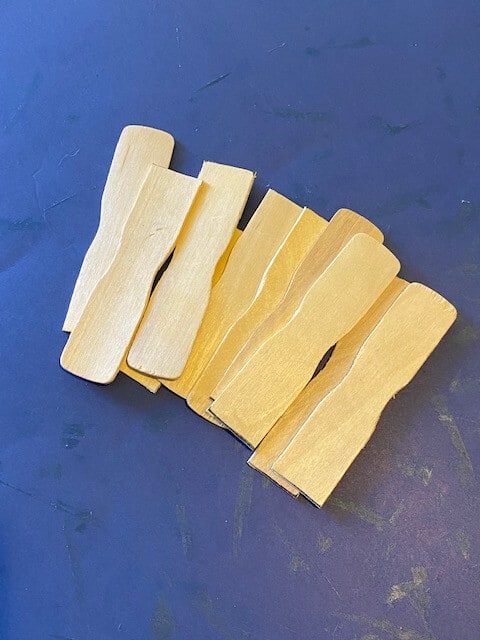
If you’ve got things you’ve been hanging on to for awhile, I challenge you to get crafty with them. You may just be amazed with what you can come up with. Let’s call this the “Paint Stick Challenge”! And I’m so happy I accepted the challenge because this little recycled DIY looks adorable on my Fall Tiered Tray!
This post may contain affiliate links for your convenience (which means if you make a purchase after clicking a link I will earn a small commission but it won’t cost you a cent more!)
Supplies Needed to make a Paint Stick Pumpkin Patch
- Paint stick scrap “ends”
- Raffia
- Spanish moss
- Mini pine cones
- Stick or something for the pumpkin stems
- Teal burlap ribbon and other coordinating ribbon for mini bows
- Burlap
- White paint
- Teal paint
- Waverly Antique Wax or stain
- Glue Gun
How to Make a Pumpkin Patch out of Paint Stick Scraps
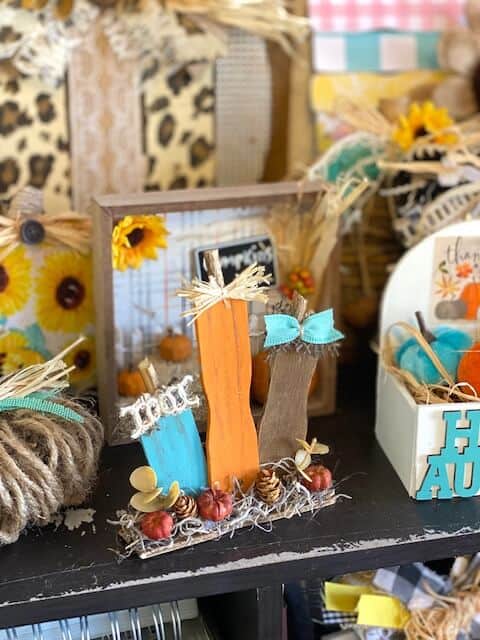
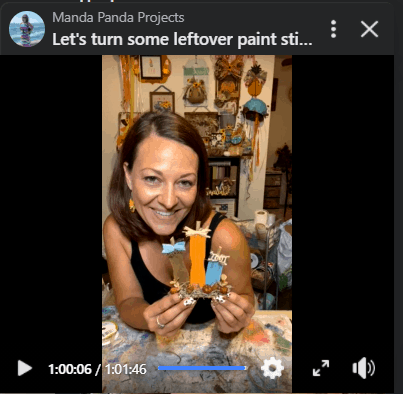
I made this clever little Paint Stick Pumpkin Patch on video, so you can WATCH the step by step tutorial HERE or click on the picture right below.
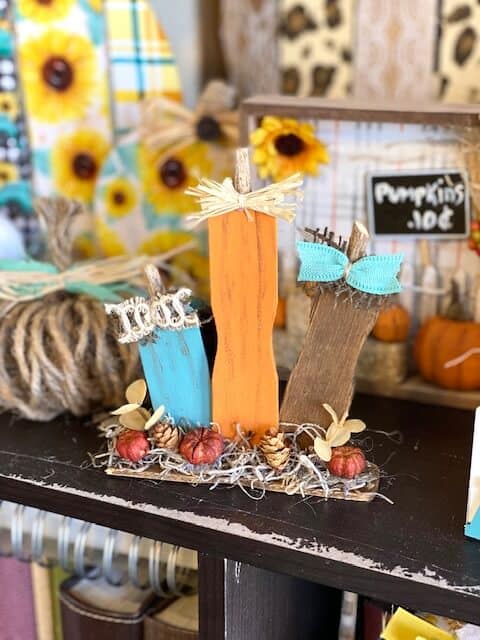
Since this Paint Stick Pumpkin Patch was made live on my Facebook page, I don’t have step by step photos showing you exactly how to make this, so I encourage you to watch the REPLAY.
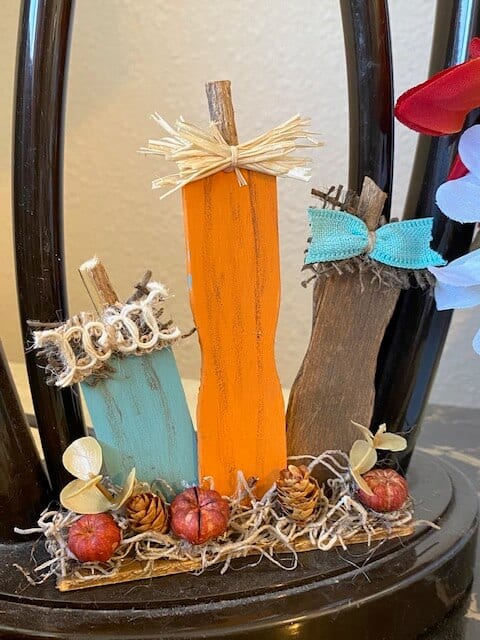
I think this little Paint Stick Pumpkin Patch looks just adorable on my Fall Tiered Tray! So much better than it would look in the garbage if I’d had thrown these paint sticks out!
Are you going to make a Pumpkin Patch with your paint stick scraps? If you do, I’d love to see it! Pop on over to our free Craftspiration Facebook group, and join in on the fun by posting a pic of your completed DIY’s and crafts. I just love to see all your creative and crafty creations!
If you’ve got a million projects on your crafting ‘to-do’ list like I do, than you need my FREE Craft Project Planner so you can plan to make *all the things*! When you sign up for the craft planner, I’ll also send you lot’s of fun, easy, and budget friendly ideas for you to fill it up with!

Free printable Craft Project Planner
Get organized, get inspired, and get crafting, with our free Craft Project Planner!
Until Next Time…
Stay Crafty San Diego!

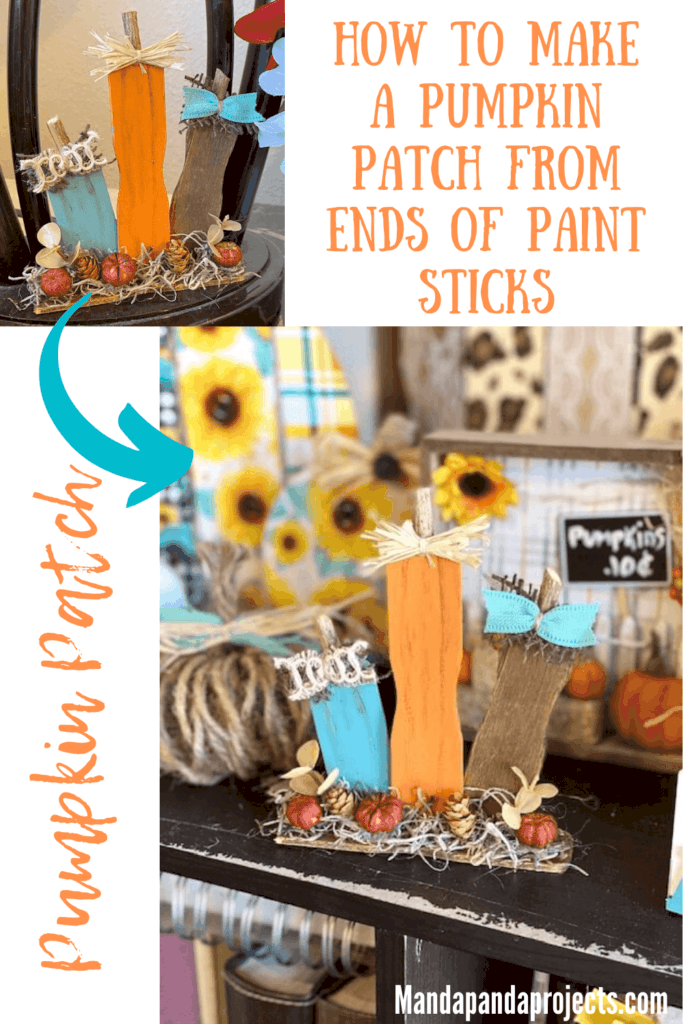
Love this Paint Stick Scrap Pumpkin Patch? Make sure to PIN it for later!

