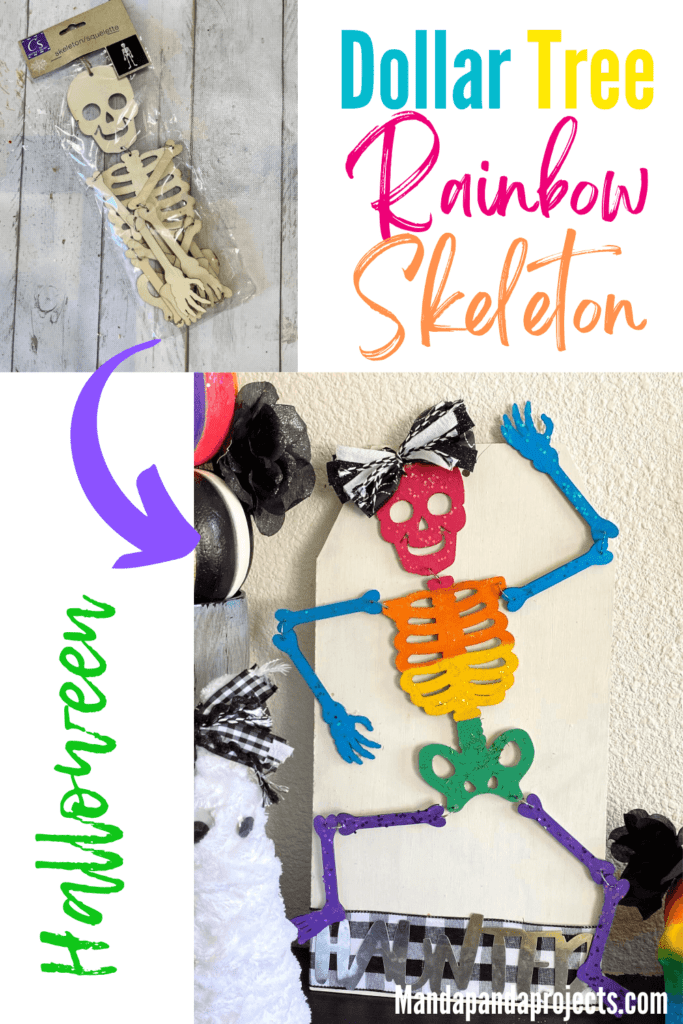
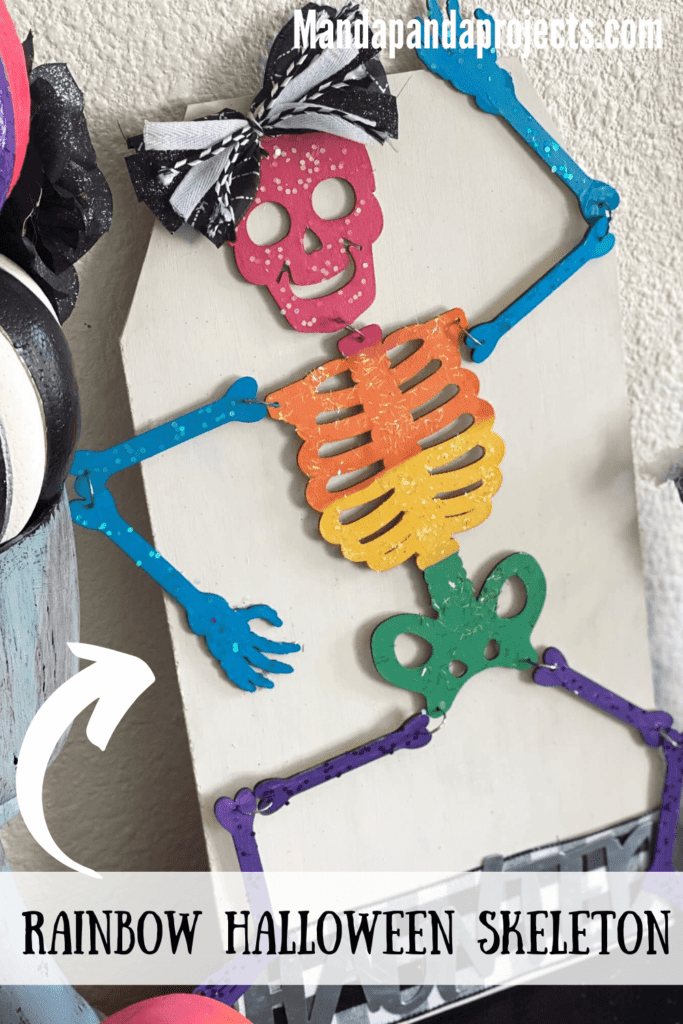
Rainbow may not be the first thing you think of when you think about DIYing your Halloween decorations, but this Dollar Tree Rainbow Skeleton may just change your mind about that. Step out of the orange and black box this Halloween season, and step into the rainbow!

I’m a sucker for a fun and unique color palette for Halloween (and other Holidays too). Heck, I did an entire rainbow Halloween theme 2 years ago and made an adorable Rainbow Bling Coffin banner, Ombre Rainbow Skull, and Rainbow Pumpkin Topiary, so this Rainbow Skeleton goes right along with it!
I know it takes a special kind of extra to do a rainbow Halloween theme, but what can I say….I’m as extra as extra gets!
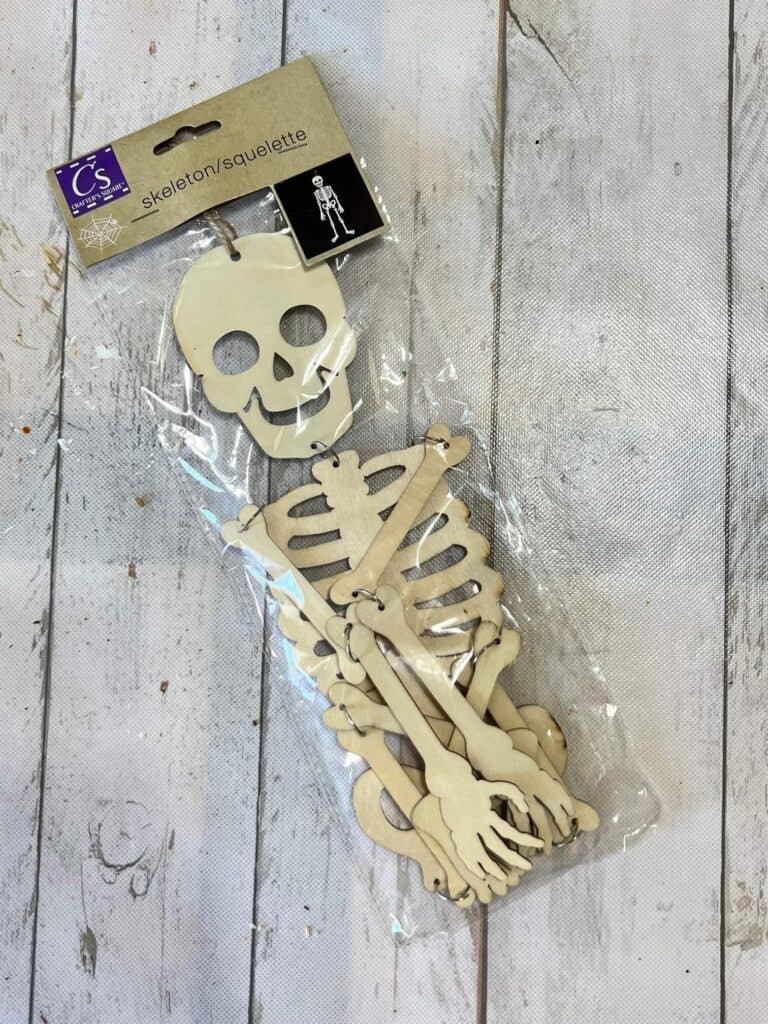
I searched high and low for this Dollar Tree wooden skeleton, and thank goodness for my amazing Facebook friends, someone sent me one in Happy Mail. Actually a few people sent me some so now I have extra to craft with next year.
The “Haunted” word was also a Dollar Tree find and it came in a package of three, along with “Spooky” and “Beware”.
But for now, we’re making this Rainbow Skeleton!
This post may contain affiliate links for your convenience (which means if you make a purchase after clicking a link I will earn a small commission but it won’t cost you a cent more!)
Supplies Needed to Make a Rainbow Dollar Tree Skeleton
- Large wooden tag sign (back of a Dollar Tree sign works great)
- Wooden Skeleton (Dollar Tree)
- Rainbow paint – Pink, Orange, Yellow, Green, Blue, Purple
- Rainbow chunky glitter
- White paint
- 2.5″ Buffalo Check ribbon
- Galvanized Metal “Haunted” word (Dollar Tree)
- Black and white coordinating ribbon for bow
- Mod Podge
- Hot glue gun
How to Make Rainbow Skeleton for Halloween
I made this super cute Dollar Tree Rainbow Skeleton on video, so you can WATCH it or click on the picture right below.
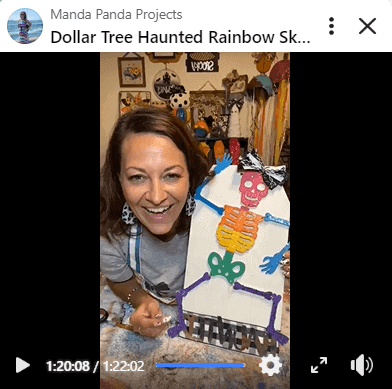
For as cute as this Dollar Tree Rainbow Halloween Skeleton is, you’d be surprised how EASY it is to make!
First things first, paint the entire wooden tag shaped surface all white. Mine took a good two coats to get it nice.
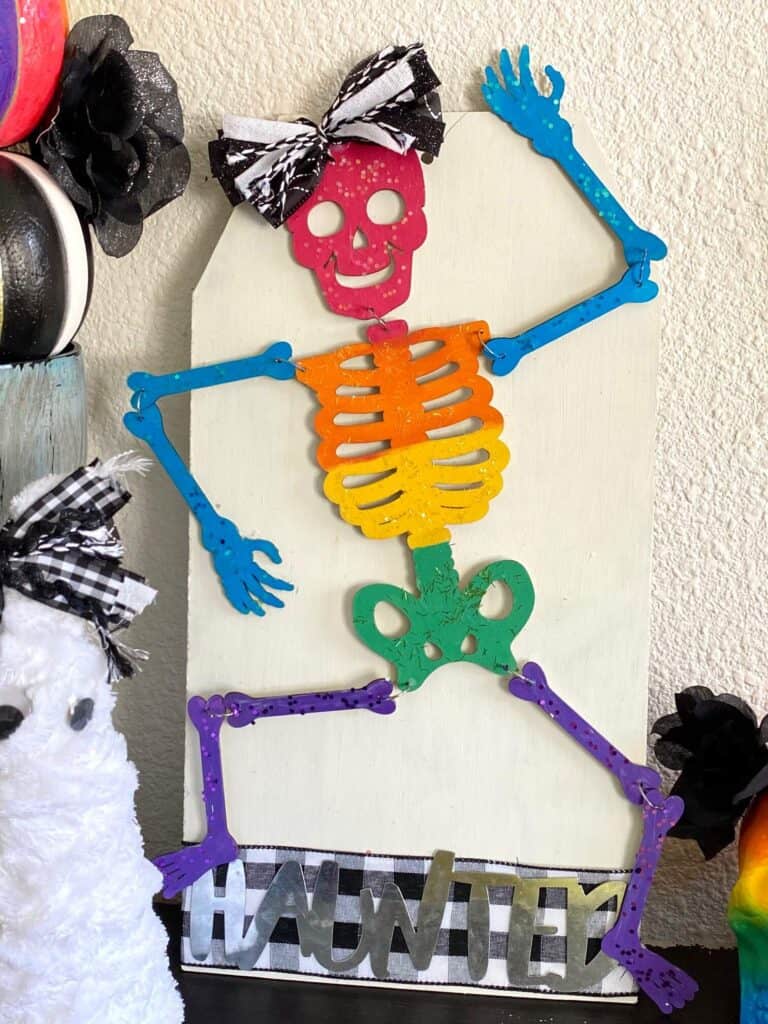
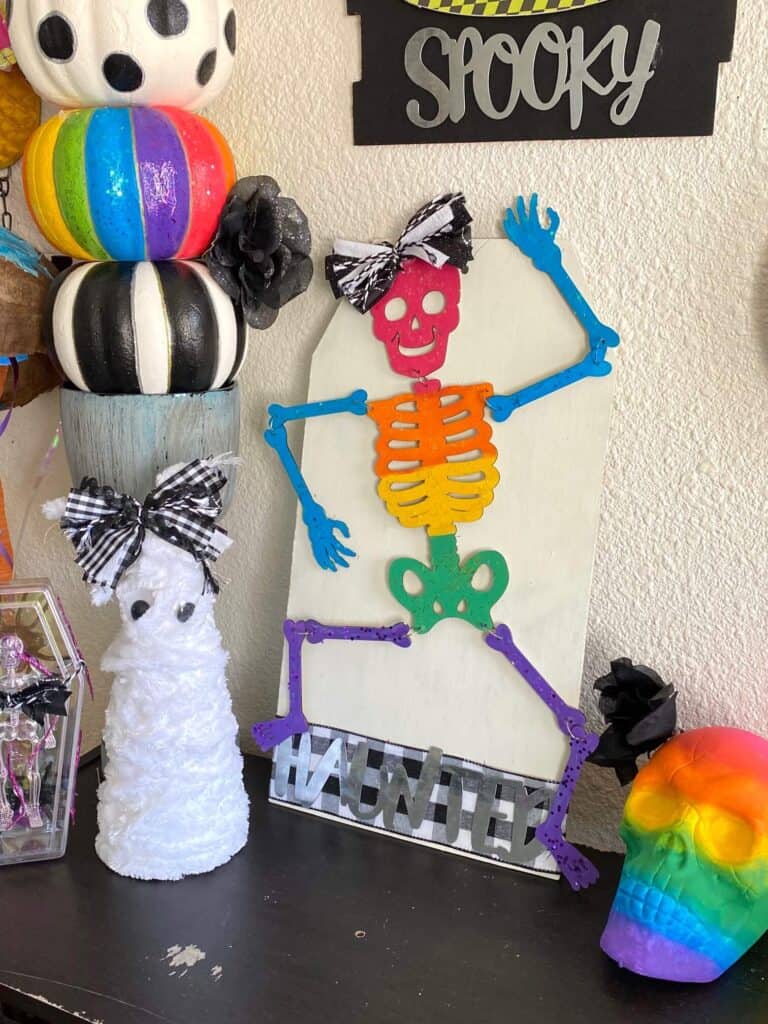
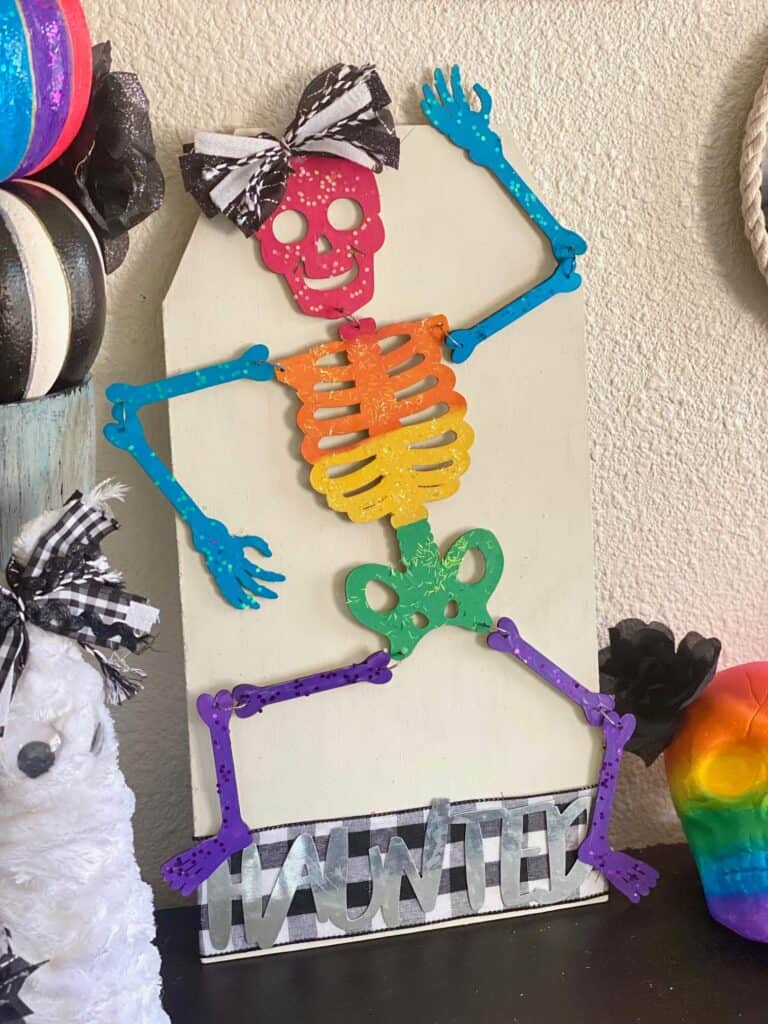
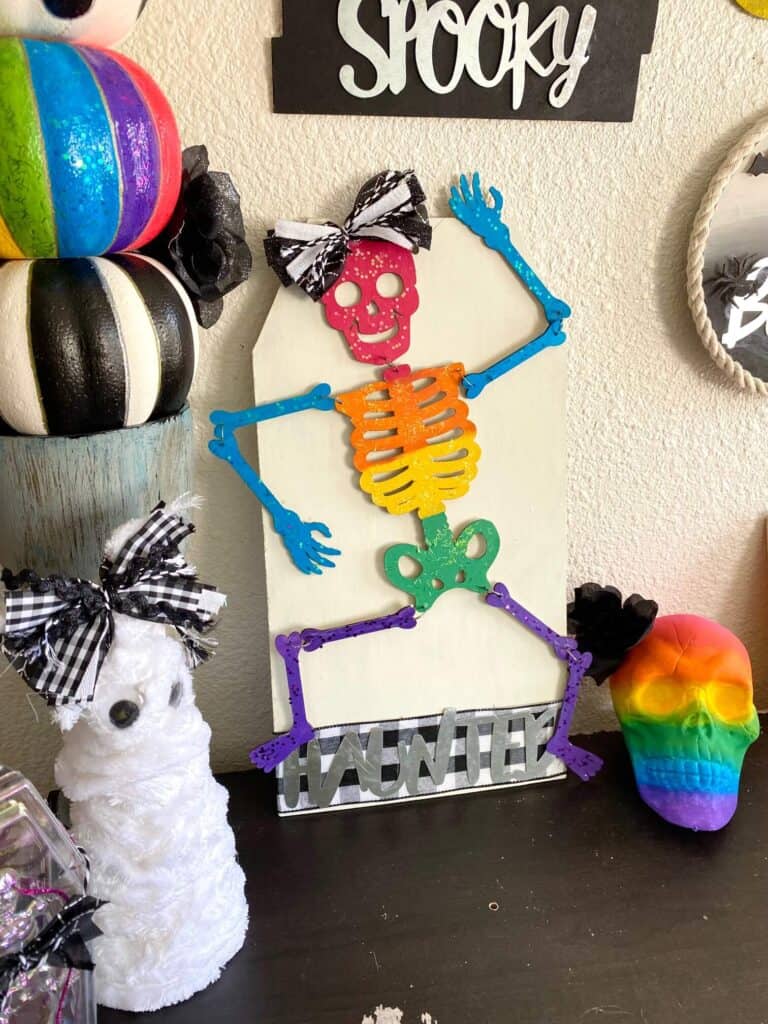
Next, paint your wooden skeleton rainbow. I did her head (yes, its a girl…duh), pink, chest orange, stomach yellow, pelvis green, arms blue, and legs purple.
Then, use your trusty Mod Podge to add glitter for each respective color. I chose pink glitter for the pink painted head, orange glitter for the orange painted chest, and so on. You get the gist!
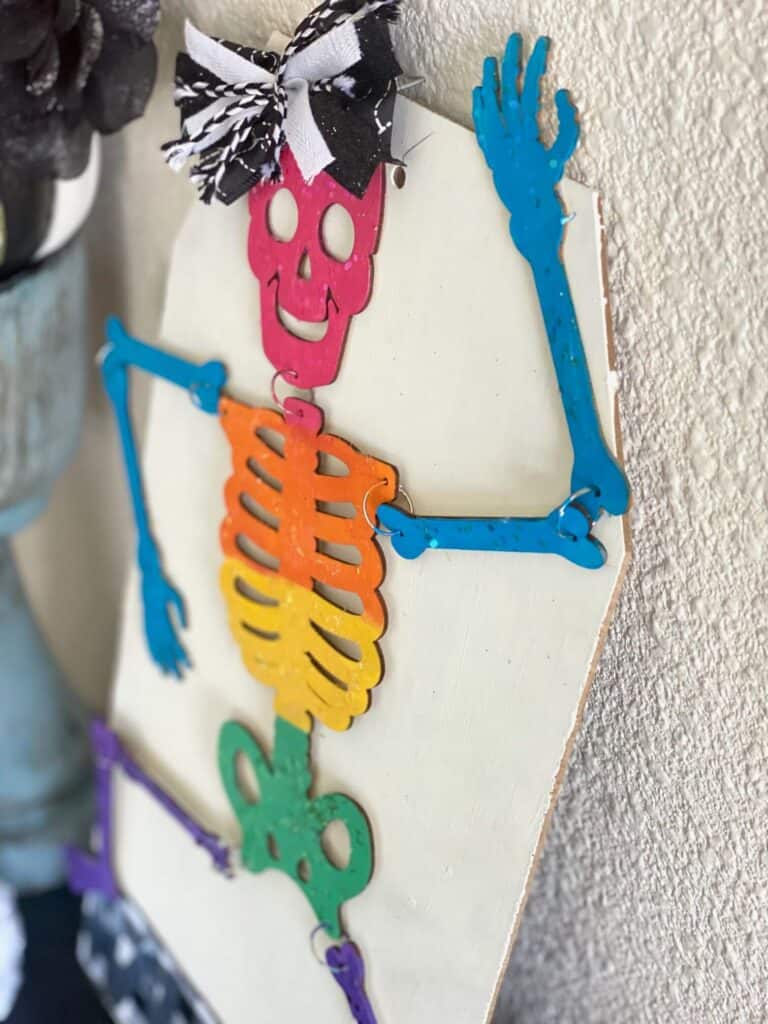
Of course, our Rainbow Skeleton girl needs a bow. Cut some strips of black and white ribbon about 4 inches long, and layer them on top of each other in an X formation, then tie a piece of string or twine around the center.
Glue the bow to the top of the skull, off center just a tab for extra cuteness.
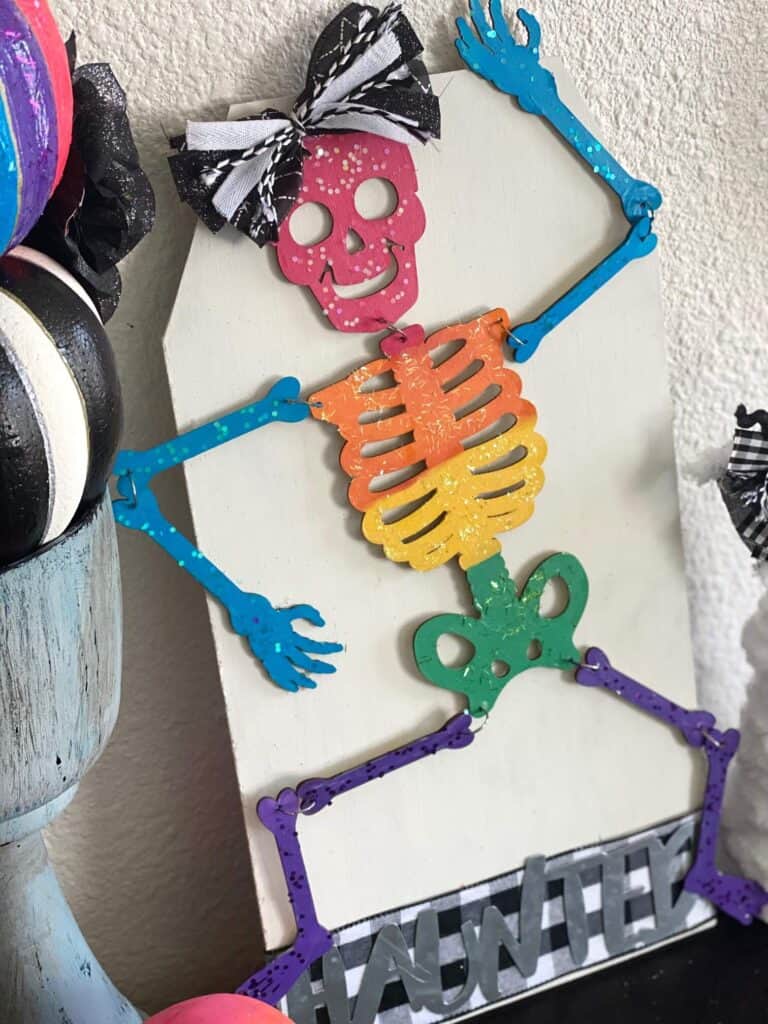
I finished this bad boy up by gluing a piece of buffalo check ribbon across the entire bottom, along with the galvanized metal “Haunted”. The glue the Rainbow Skeleton to the surface in a fun and funky position like I did below.
Are you going to make a Dollar Tree Rainbow Skeleton for Halloween? Shoot…are you gonna make anything for Halloween?! Or anything Rainbow for that matter!? If you do, I’d love to see it! Pop on over to our free Craftspiration Facebook group, and join in on the fun by posting a pic of your Tiered Trays, DIY’s and crafts. I just love to see all your creative and crafty creations.
If you need some more rainbow Halloween Inspo for this year, then you may love the Dollar Tree Ombre Rainbow Skull I made last year.
If you’ve got a million projects on your crafting ‘to-do’ list like I do, than you need my FREE Craft Project Planner so you can plan to make *all the things*! When you sign up for the craft planner, I’ll also send you lot’s of fun, easy, and budget friendly ideas for you to fill it up with!

Free printable Craft Project Planner
Get organized, get inspired, and get crafting, with our free Craft Project Planner!
Until Next Time…
Stay Crafty San Diego!

Love this Dollar Tree Rainbow Halloween Skeleton? Make sure to PIN it for later!
