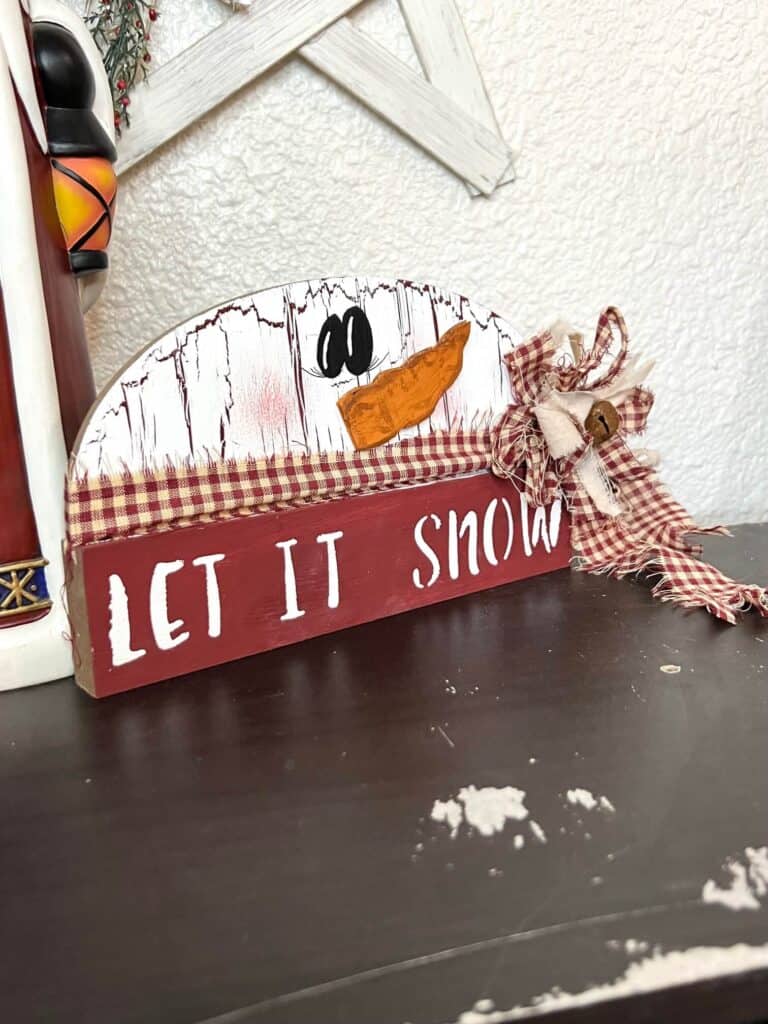
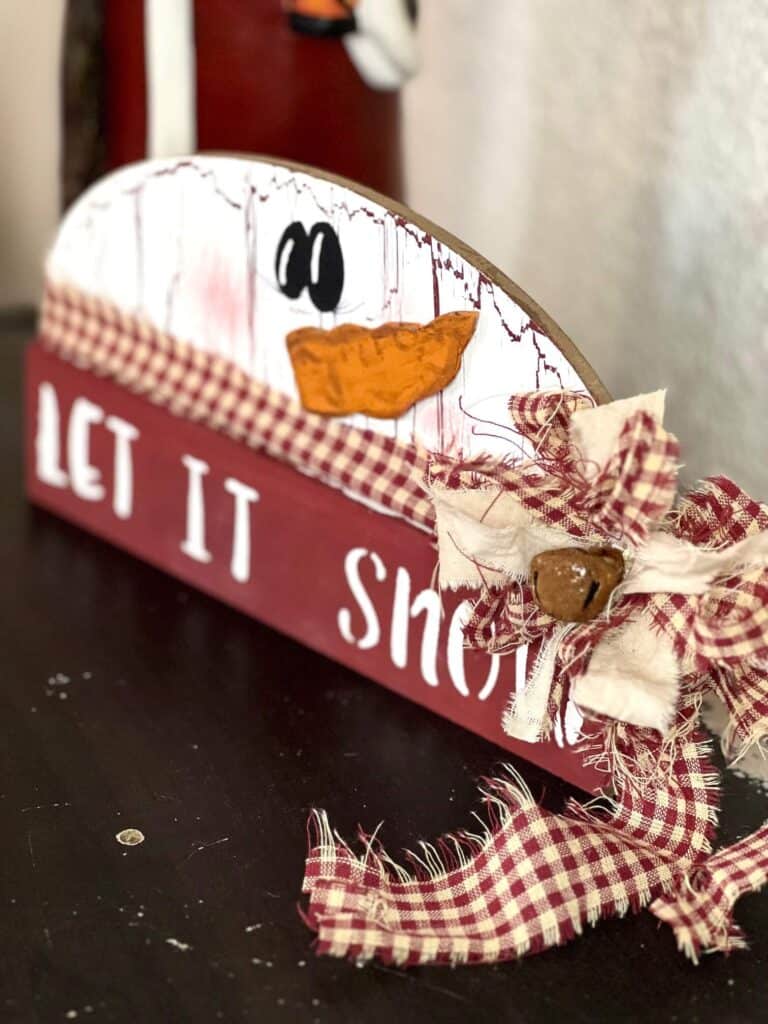
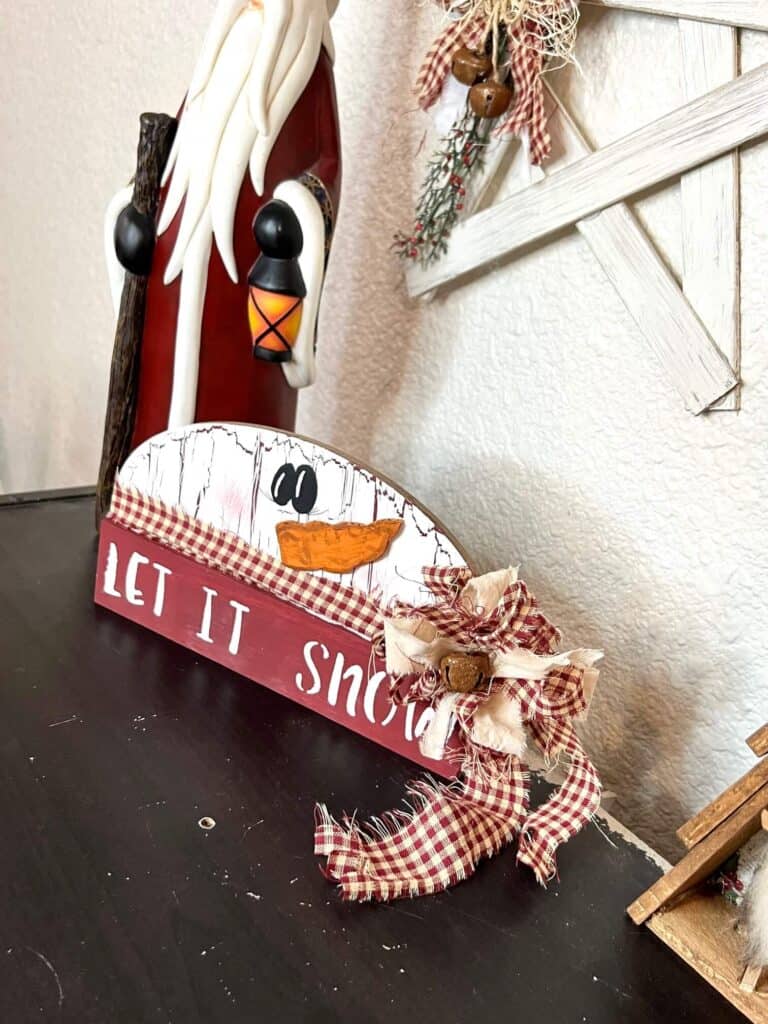
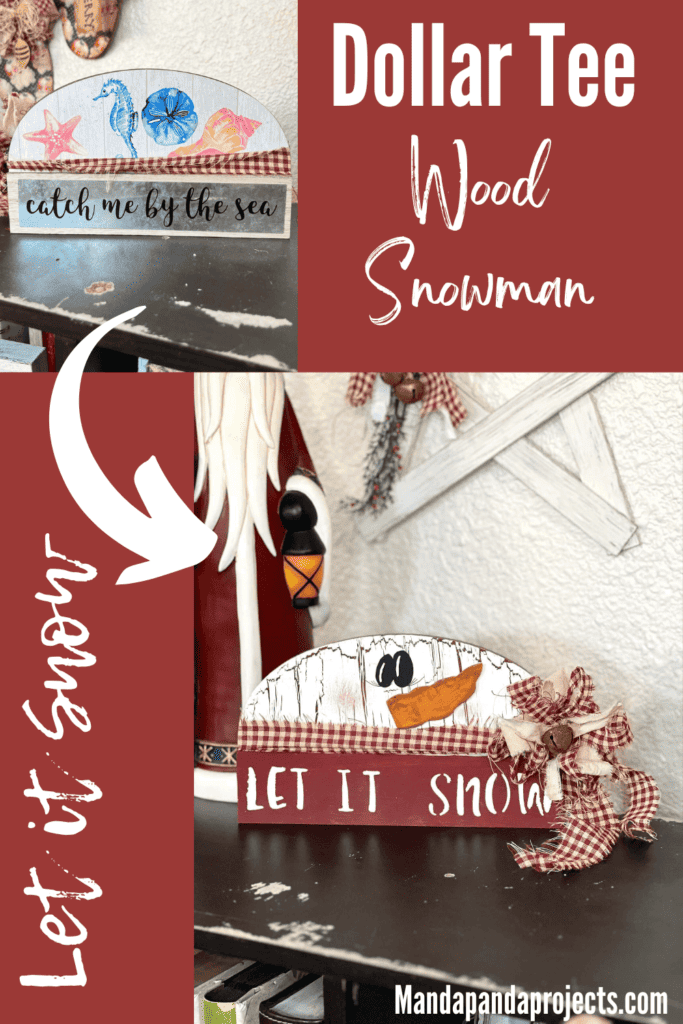
You can turn just about anything into a Snowman these days, just like this piece of Dollar Tree half wood decor. With a coat of white paint, the crackle technique, a scarf, and a cardboard carrot nose, this DIY Dollar Tree Half Wood Snowman will give you all the *Frosty Feels* this Christmas or Winter!
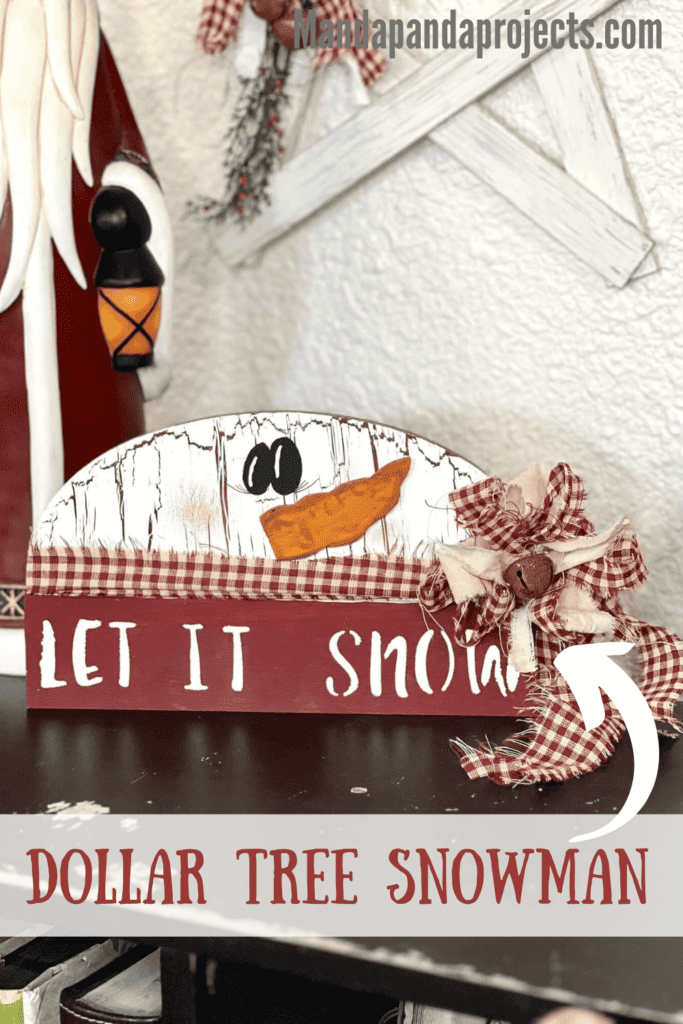
I literally said the other day, “You can make a snowman out of anything”, and it sprung the idea to have a snowman challenge! This project isn’t part of the snowman challenge, but it totally could be!
For some reason when I saw this “Catch me by the Sea” half wood decor at Dollar Tree, the first thing I thought was SNOWMAN! I don’t know, maybe I just have snowmen on the brain.
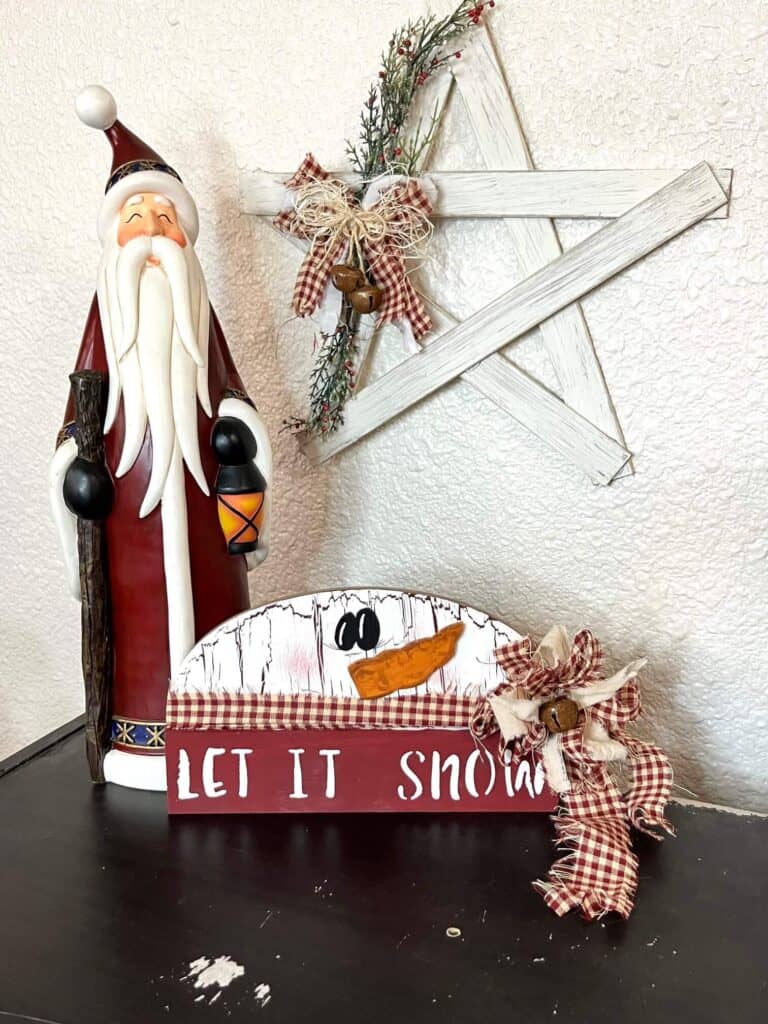
You could take this Dollar Tree Half Wood Snowman in so many different directions. You could go whimsy with fun pink and blue colors. You could go traditional with a red and black check scarf. Or you can go the way I did, with a more old school, primitive-ish feel.
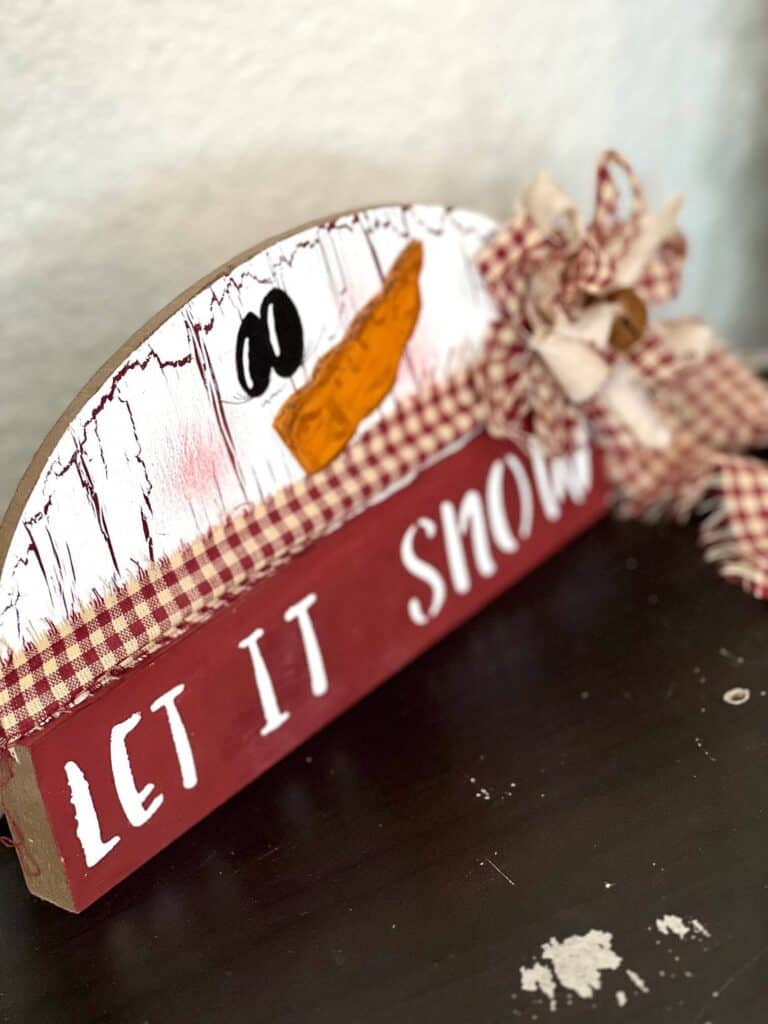
Whichever way you choose to decorate this half wood snowman, it’s sure to be adorbs!
This post may contain affiliate links for your convenience (which means if you make a purchase after clicking a link I will earn a small commission but it won’t cost you a cent more!)
Supplies Needed to Make a Dollar Tree Half Wood Snowman
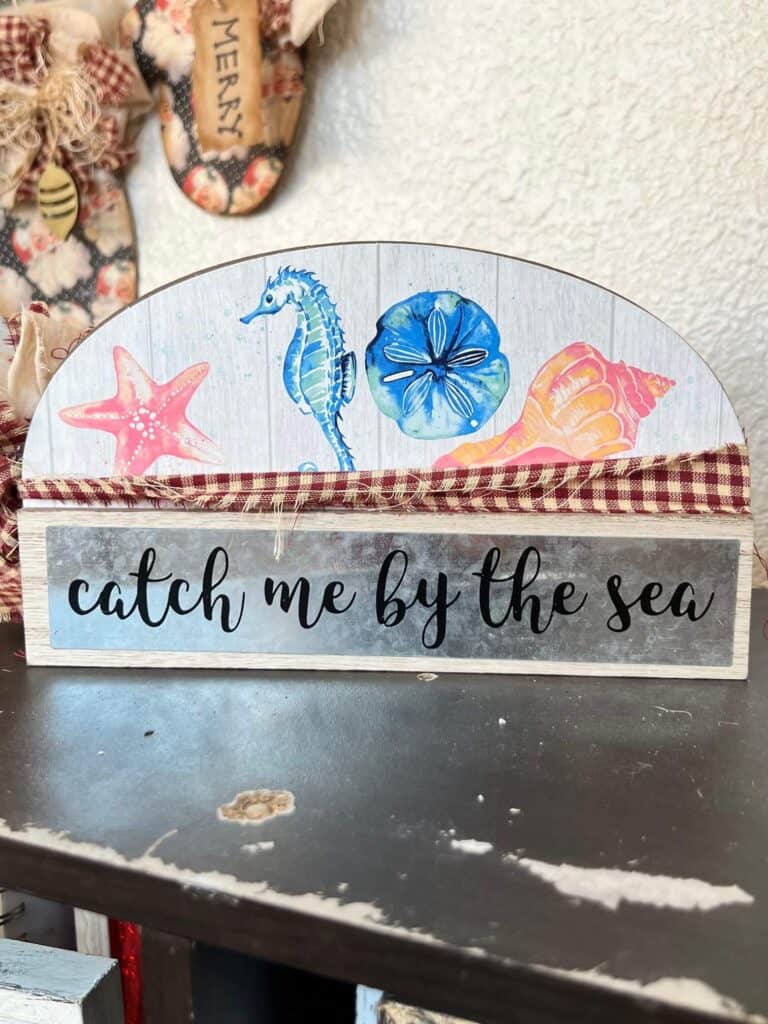
- Dollar Tree half wood “catch me by the sea” decor
- Alphabet stencil
- Spouncer/stencil brush
- Twine
- Rusty bell
- Fabric for scarf/bow
- White paint
- Barn red paint
- Orange paint
- Cardboard
- Antique wax
- Black Sharpie
- Blush or pink paint
- Elmers school glue
- Hot glue gun
How to Make a Dollar Tree Half Wood Snowman
I made this Dollar Tree Half Wood Snowman on video, so you can WATCH it or click on the picture right below.

First things first, paint the entire snowman allllllll Barn Red. Yes, the whole thing is red because we are going to crackle over it and we want the red to show through. I have a full step by step tutorial on exactly how to do the Crackle Technique with Glue, but I will explain briefly below.
Then, on the top half circle part only, paint a light to medium coat of Elmers glue. While the glue is still wet, use a foam brush to lightly coat a thick layer of white paint right over the top, making sure not to work the paint into the wet glue.
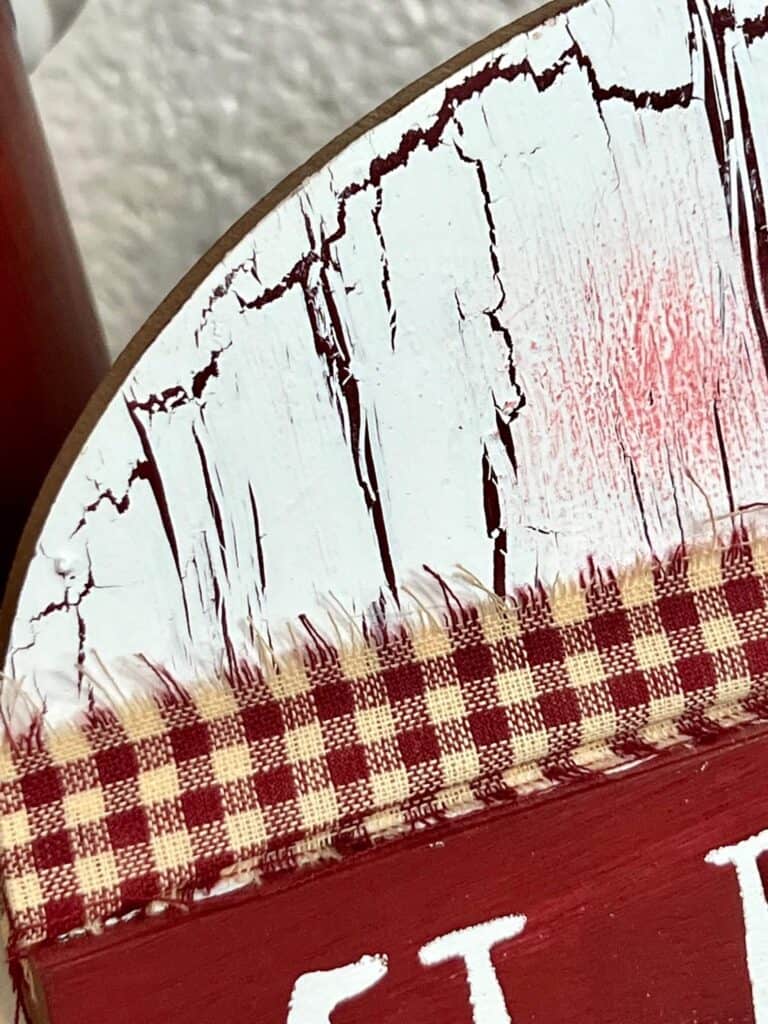
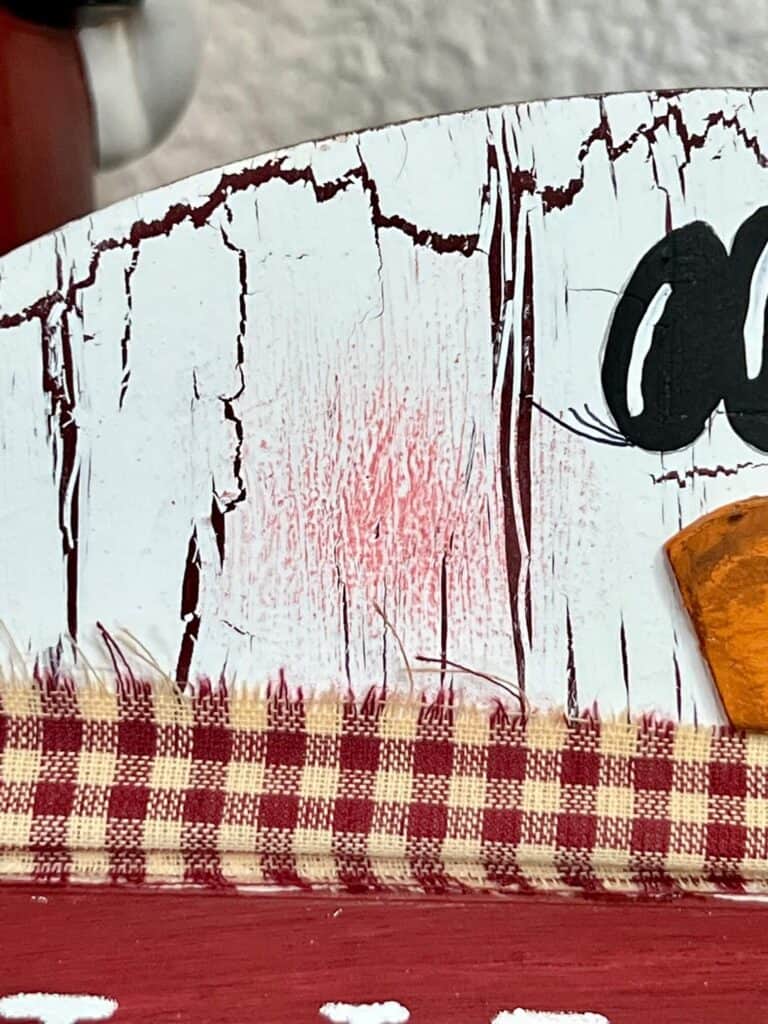
Dry it with your heat gun and you will be left with this gorgeous crackle effect with the Barn Red paint showing through the cracks like you see below.
Draw the snowman eyes using sharpie and/or black paint. I like to do my eyes as two oval shaped, tilting in towards each other and slightly different sizes. I show you exactly how I draw my eyes in the FB Live Replay.
Use an even finer tip Sharpie to give “her” some wispy eyelashes on the bottom of the eyes.
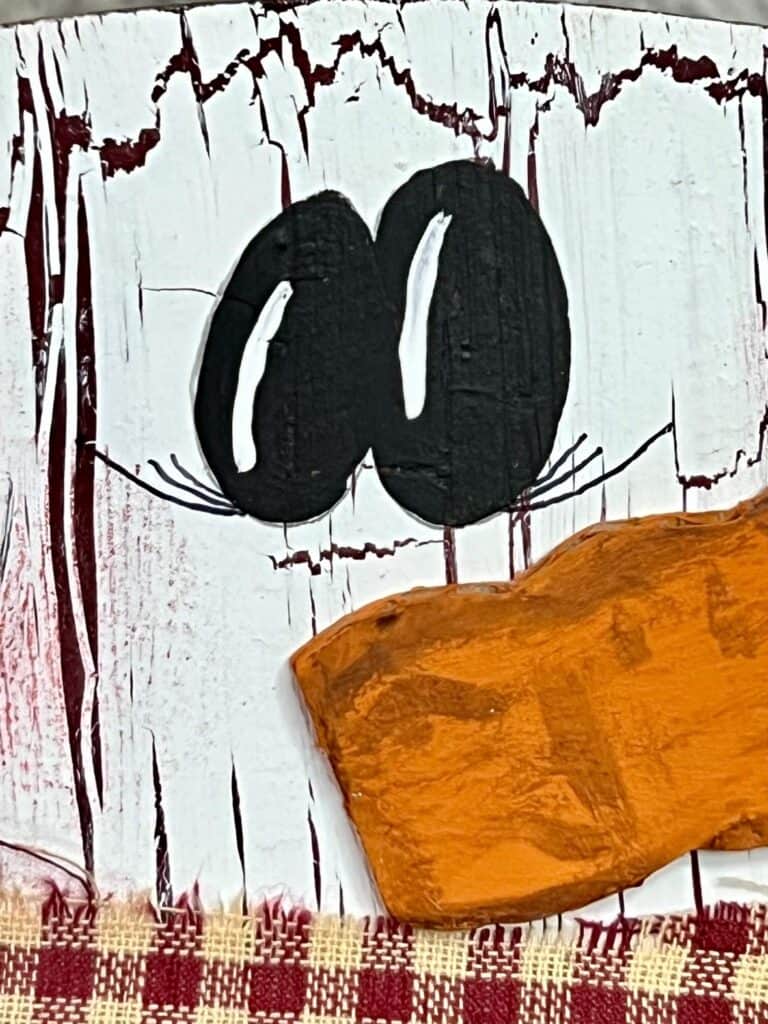
Roughly sketch out the carrot nose onto cardboard, and cut it out and paint the entire thing orange. Then, use Antique Wax to dirty it up and make some lines to look more real.
Glue the nose to the half wood snowman.
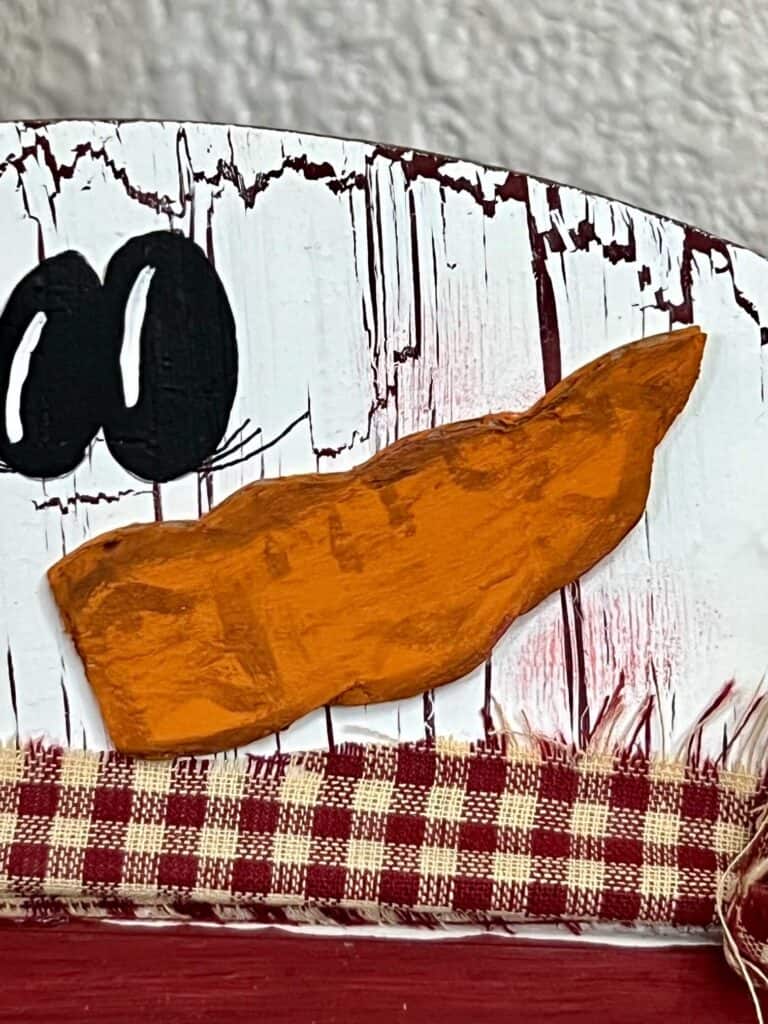
Finish off her face by using a spritz of water in some old blush and giving your snowman some pink rosy cheeks.
Use an alphabet stencil to write “Let It Snow” across the bottom part of the wood piece. If you have stickers, or even have a cricut to cut letters from vinyl, that would totally work too!
The best way to get the stencil to look good is to use just a small amount of paint on a spouncer or stencil brush and dab dab dab. You’ll have to dry each letter in between so that the stencil doesn’t smear the letters.
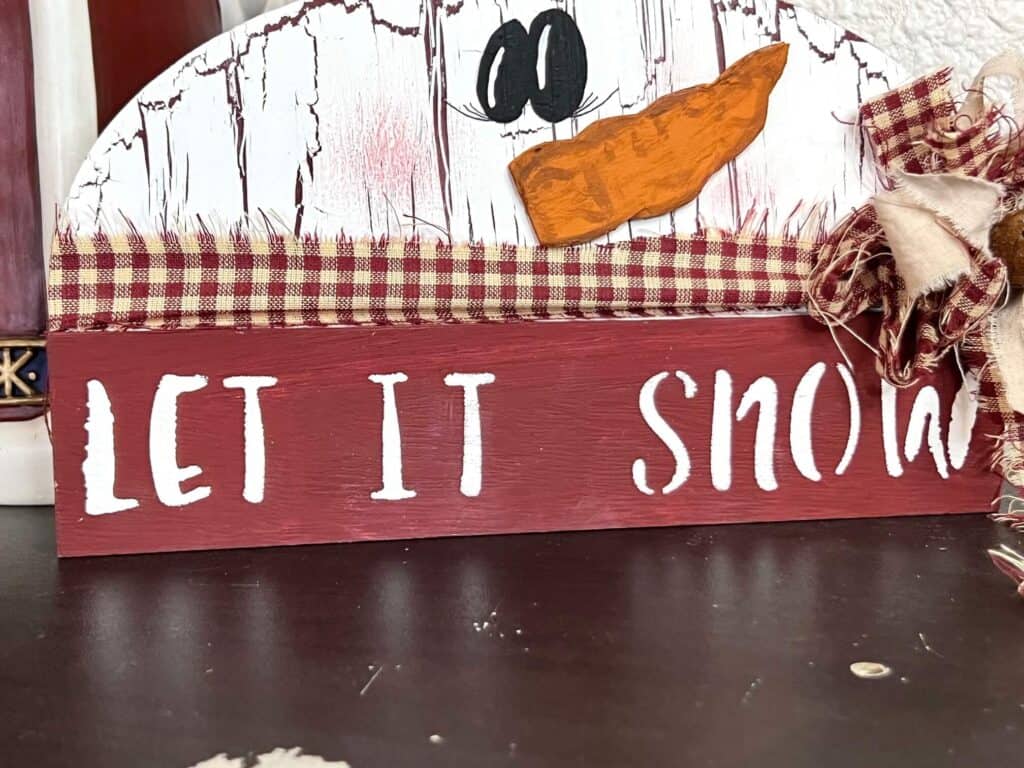
Last, tie a piece of fabric around the “neck” as a scarf, and finish it off with a scrappy fabric bow. This bow is super easy to make, just loop some strips of fabric in circles and tie a piece of twine around the center.
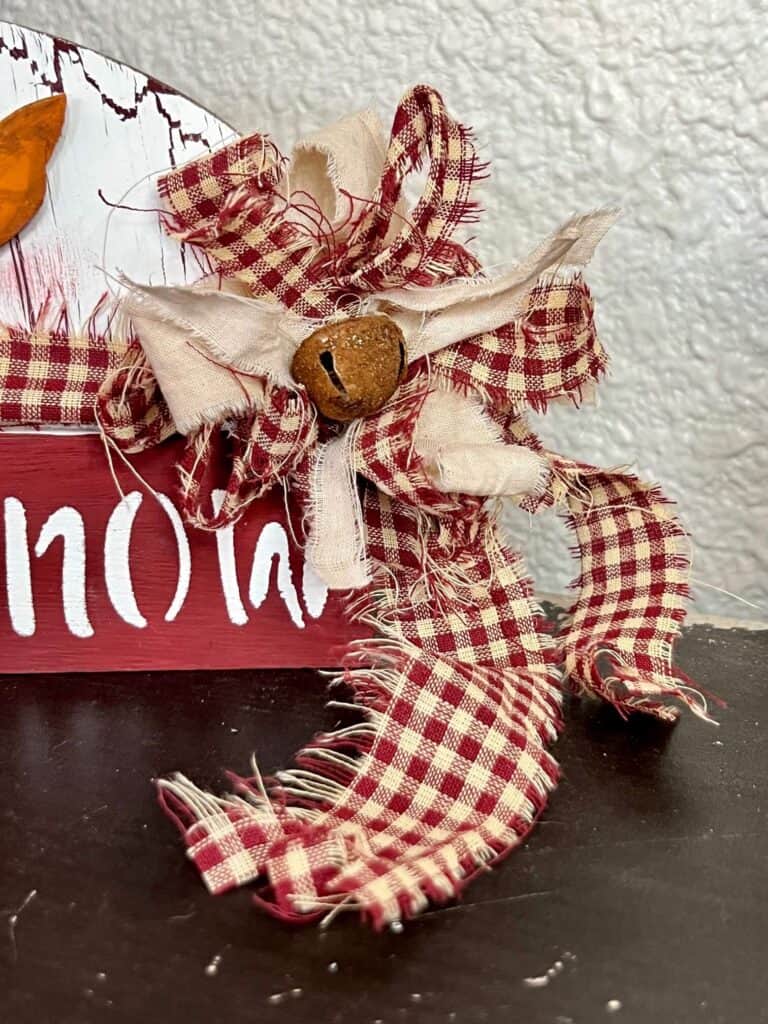
Take a rusty silver bell and glue it front and center of the bow for decoration. If you don’t have a bell that is already rusted, no problem! Just coat the bell in Mod Podge, and then sprinkle generously with cinnamon and voila!
If you need more Christmas Inspo, make sure to check out the gorgeous Vintage Red Cardinal Sled we made this Christmas as well.
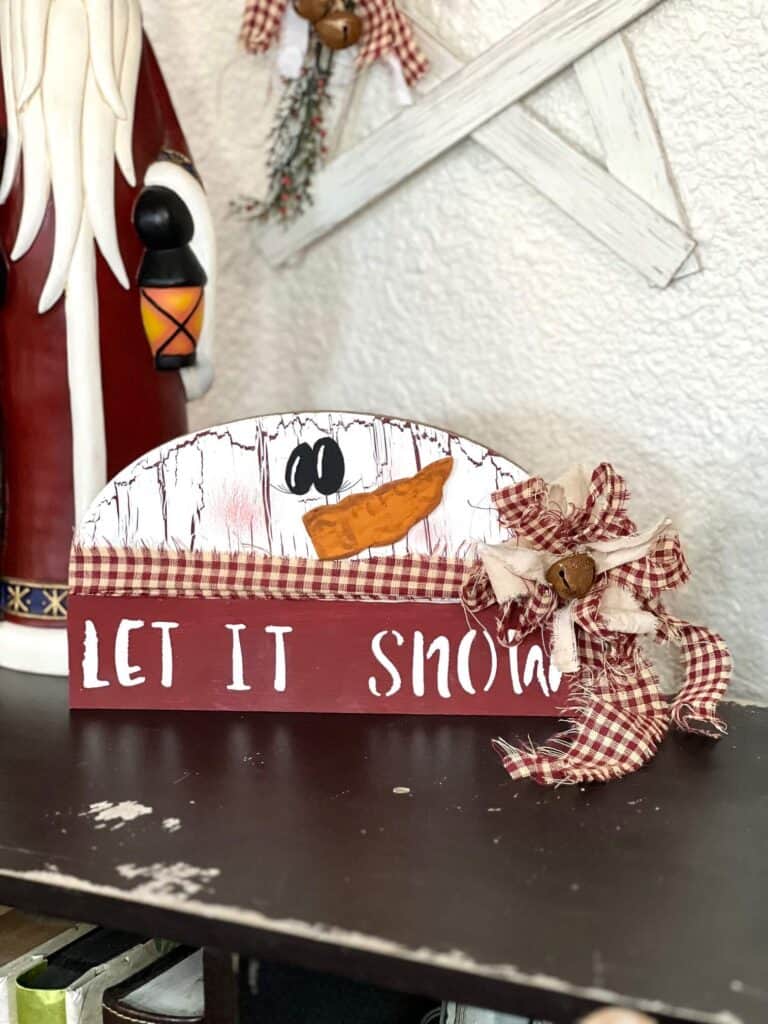
How cute is this Dollar Tree Half Wood Snowman? The best part is you can keep him out past Christmas all winter long!
Are you going to make a Dollar Tree Half Wood Snowman year? Shoot…are you gonna make anything for Christmas?! If you do, I’d love to see it! Pop on over to our free Craftspiration Facebook group, and join in on the fun by posting a pic of your Tiered Trays, DIY’s and crafts. I just love to see all your creative and crafty creations.
If you’ve got a million projects on your crafting ‘to-do’ list like I do, than you need my FREE Craft Project Planner so you can plan to make *all the things*! When you sign up for the craft planner, I’ll also send you lot’s of fun, easy, and budget friendly ideas for you to fill it up with!

Free printable Craft Project Planner
Get organized, get inspired, and get crafting, with our free Craft Project Planner!
Until Next Time…
Stay Crafty San Diego!

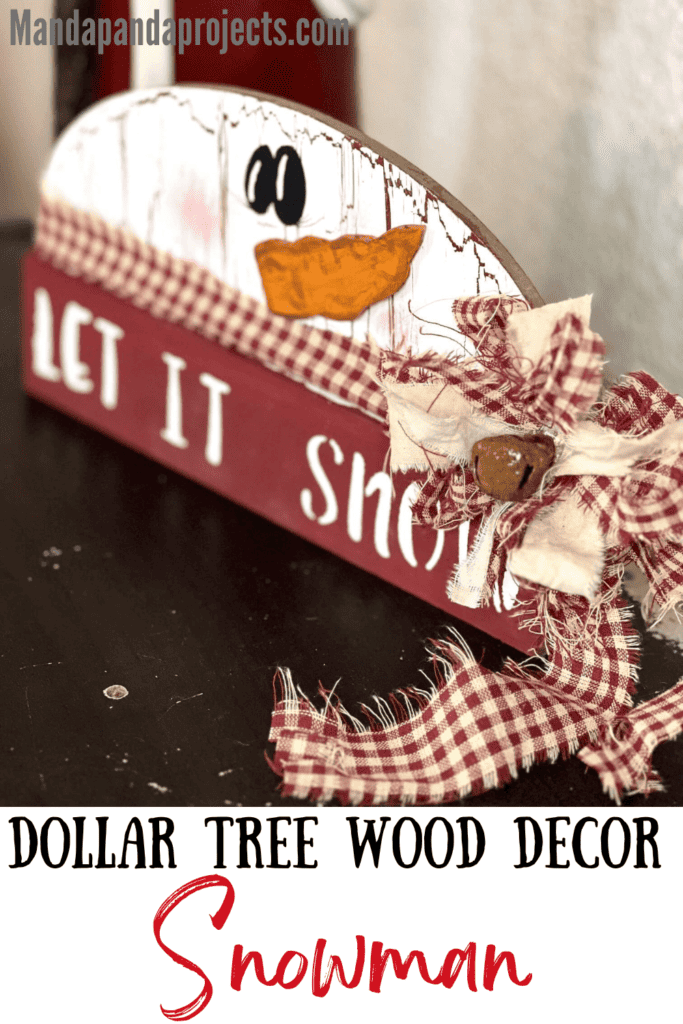
Love this Dollar Tree Half Wood Snowman? Make sure to PIN it for later!


December 22, 2022 @ 4:32 pm
This is so creative. I’ve been following u for about 1 year & u never cease to amaze me of the crafts u come up with. I Love Snowmen ⛄️ for Christmas & winter decor. I Love this one.
January 5, 2023 @ 8:18 am
WOW has it been a whole year!? Feels like ages! So happy you love the snowmen, they are def super cute all through winter!