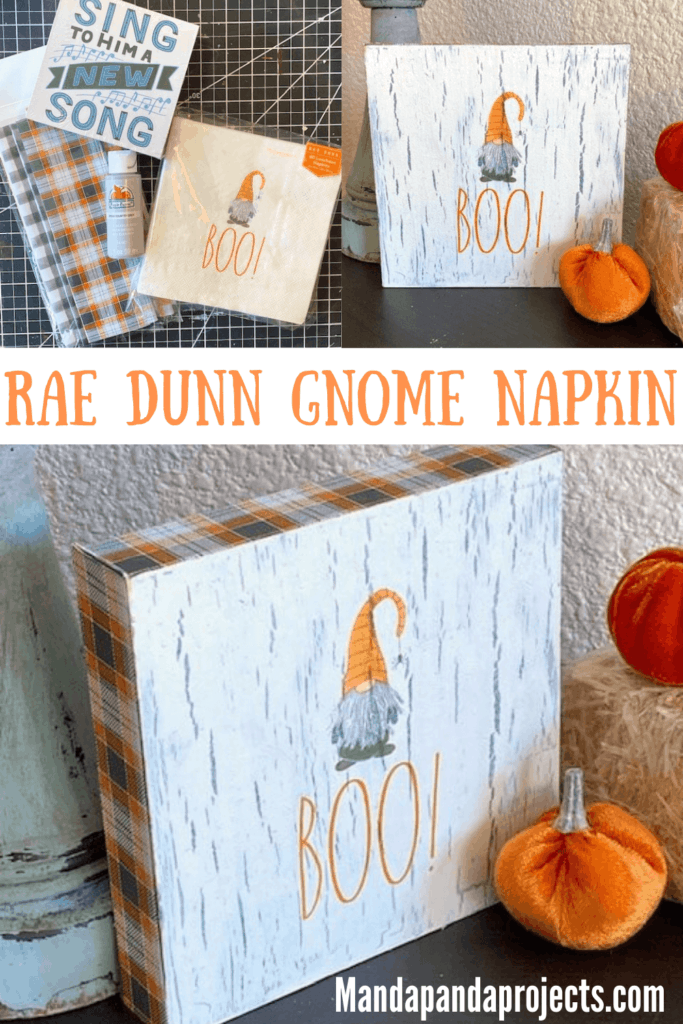
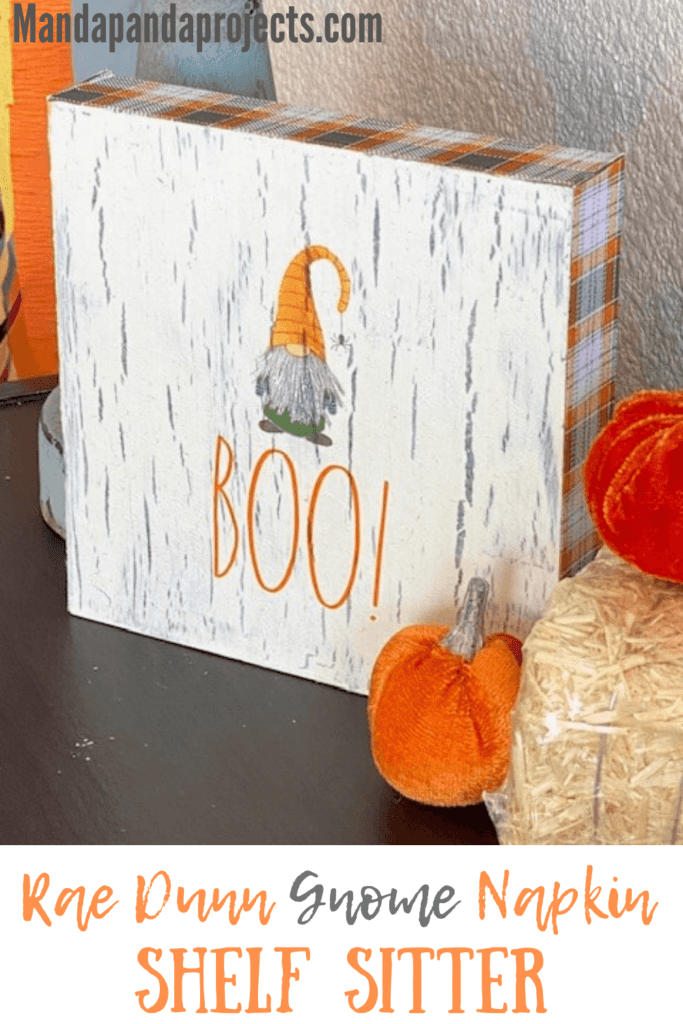
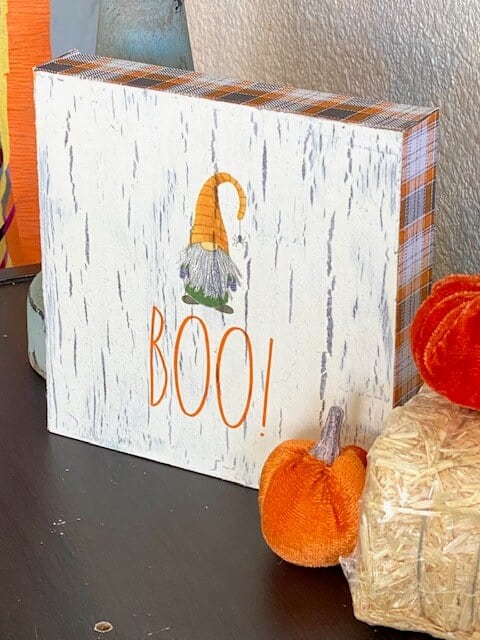
Gnomebody will ever believe that this started as a Rae Dunn Gnome napkin! This adorable Halloween Gnome Shelf Sitter combines the crackle method with decoupaging for an incredibly fun fall festive effect!

Napkins are one of my very favorite craft supplies and if you haven’t started crafting with them yet, you’re missing out! Seriously, would you ever know that this adorable BOO Gnome image started as a Rae Dunn napkin from Marshalls!? Yup!
You can use this same method I use here with any napkin imaginable, this is just one option I’m showing you! The crackle finish + napkin decoupage gives you the distressed look you see on this BOO Gnome, but just know that a light colored napkin with a lot of white space works best.
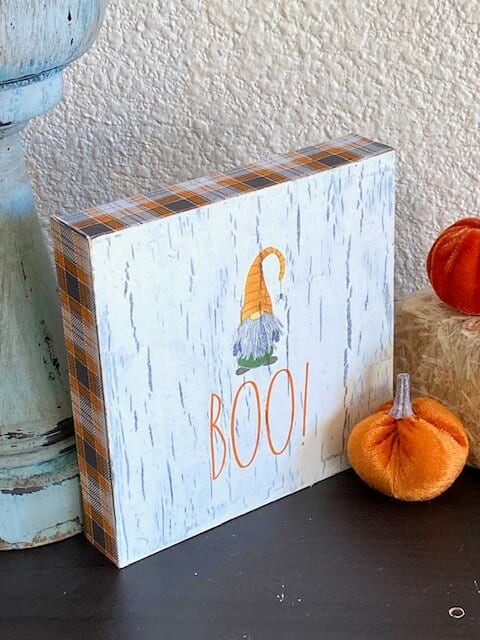
The first time I did the crackle + decoupage was over the summer with the One in a Melon napkin frame and let me tell ya I was instantly hooked! I’ve since been crackle napkining (is that a thing?) everything I can get my hands on.
Now let’s show you how to make this cutie!
This post may contain affiliate links for your convenience (which means if you make a purchase after clicking a link I will earn a small commission but it won’t cost you a cent more!)
Supplies Needed to make a BOO Halloween Gnome Shelf Sitter
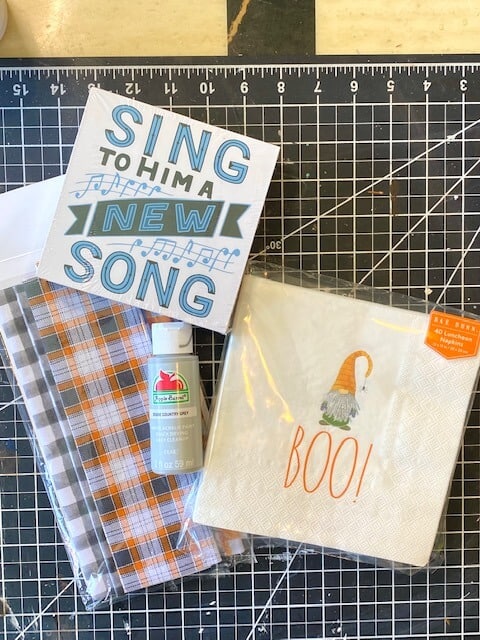
- Rae Dunn “Boo” Gnome Napkin (or whatever napkin you choose)
- Fabric of your choice – I chose iron on grey and orange plaid that matched the napkin, but it can be any type of regular fabric
- Wooden box shelf sitter – I got mine from Dollar Tree
- Elmer’s school glue
- Grey paint
- White paint
- Mod Podge
How to Make a Halloween Shelf Sitter with a Gnome Napkin
I made this adorable BOO Gnome Napkin Shelf Sitter on video, so you can WATCH the step by step tutorial HERE or click on the picture right below.
First things first, paint your entire wooden box all grey. You want to make sure you cover most, if not all of the image on the box so that it doesn’t show through the napkin.
Now to do the crackle method, this is seriously SO easy! I have an in depth tutorial on exactly how to do this HERE, but I’ll give you the quick run down. Cover the entire front surface of the box with a decent layer of Elmer’s School Glue. While the glue is still wet, paint a layer of white paint right over the top, being careful not to work the paint into the glue. Basically just glide the paint brush right over the top. Then dry with a heat gun or let air dry, and voila! Crackle!
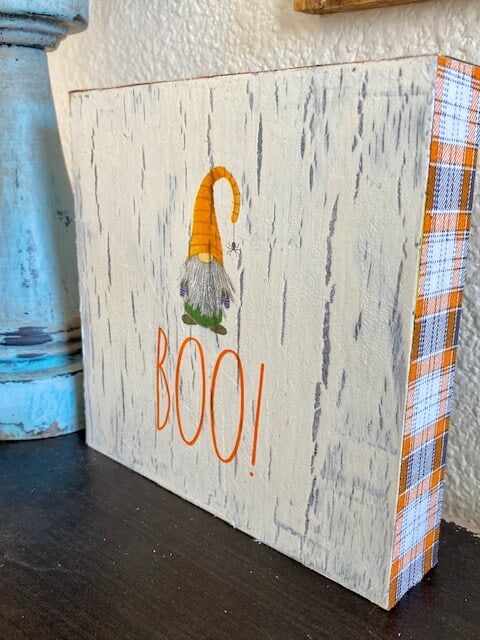
Now you’re going to separate the layers of plys of the napkin so that you have only the thinnest part with the image, and you’re just going to Mod Podge the napkin right over the top of the crackle.
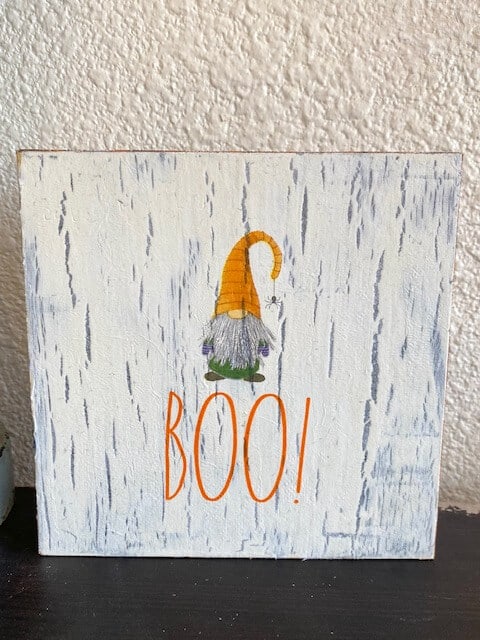
Make sure that the Mod Podge is completely dry and sand the excess napkin off with a sanding block.
Last thing to do is to cut your fabric the same size as the sides of the box, and Mod Podge those babies down. Chances are you are not going to be using the iron on fabric like I had, but if you are, you’ll just follow the directions on the package for that and iron it on.
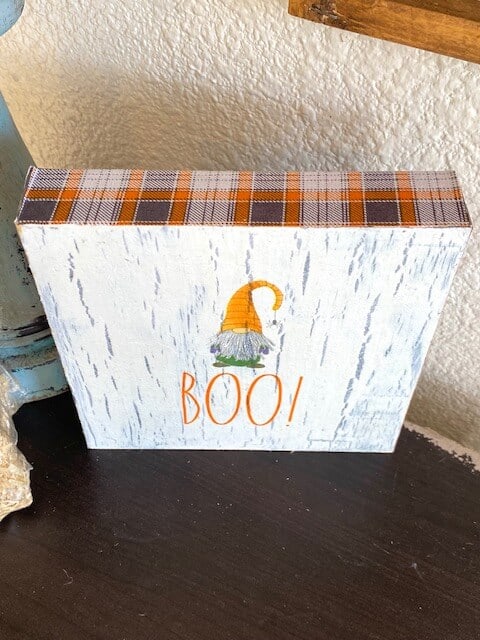
Are you going to try the crackle + decoupage method with an adorable napkin like this BOO Gnome one? If you do, I’d love to see it! Pop on over to our free Craftspiration Facebook group, and join in on the fun by posting a pic of your completed DIY’s and crafts. I just love to see all your creative and crafty creations!
If you’ve got a million projects on your crafting ‘to-do’ list like I do, than you need my FREE Craft Project Planner so you can plan to make *all the things*! When you sign up for the craft planner, I’ll also send you lot’s of fun, easy, and budget friendly ideas for you to fill it up with!

Free printable Craft Project Planner
Get organized, get inspired, and get crafting, with our free Craft Project Planner!
Until Next Time…
Stay Crafty San Diego!

Love this Halloween BOO Gnome Napkin Shelf Sitter? Make sure to PIN it for later!


