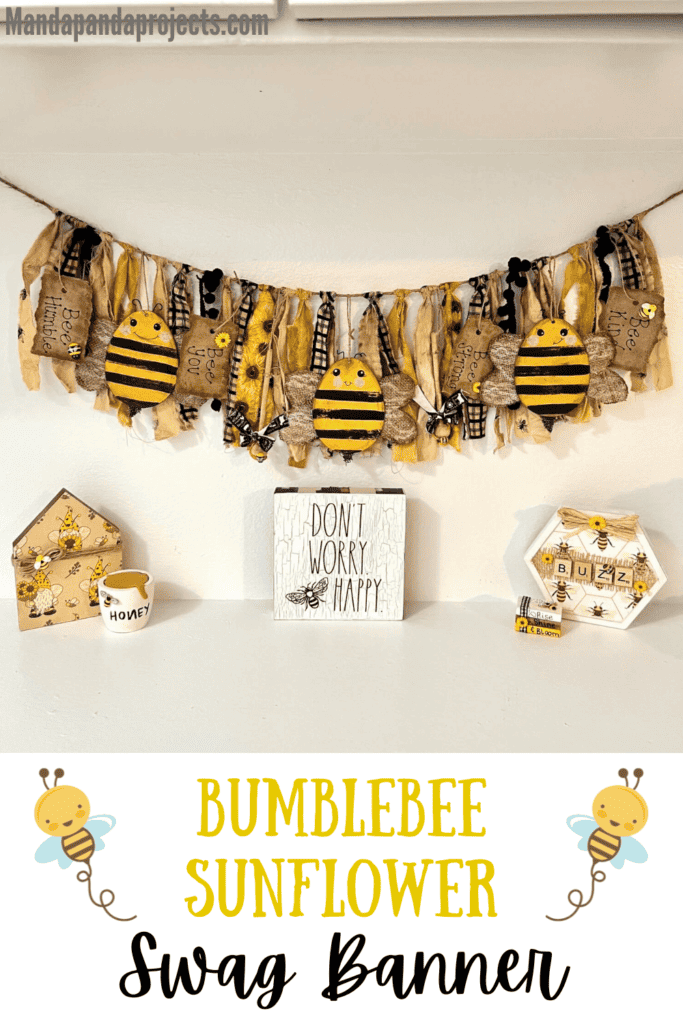
Nothing quite says Spring and Summer are in the air like some sunflowers and a bright yellow and black bumblebee! Craft those 2 together into an adorable Bumblebee Sunflower Swag Banner to decorate your home and bring in all the Spring and Summer vibes!
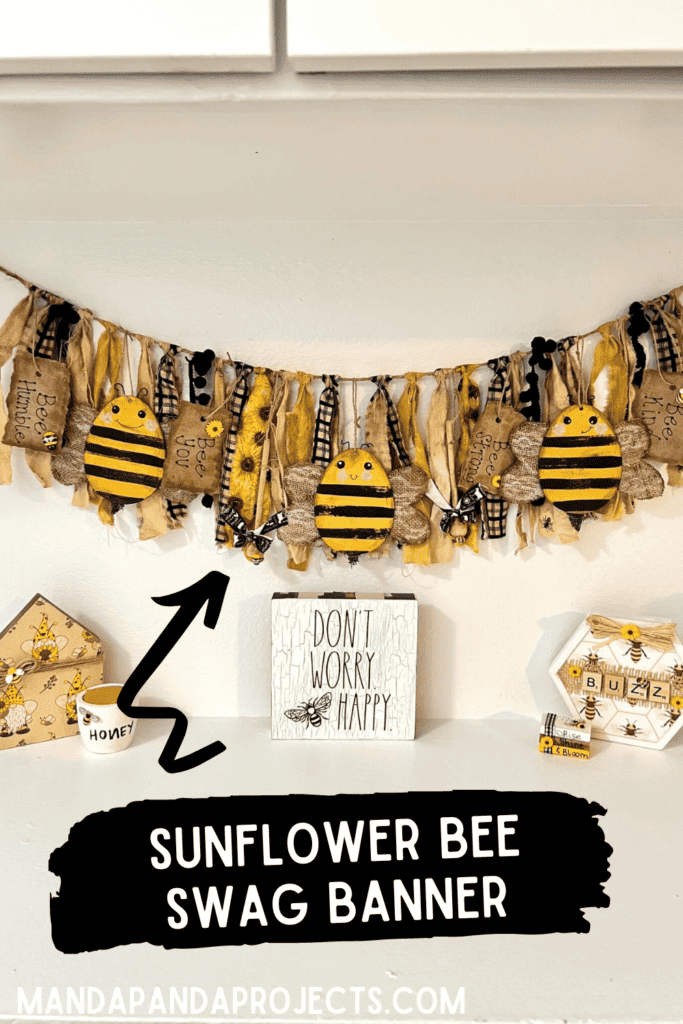
If you have been around for ANY amount of time then you know that I am sunflower obsessed. And what goes better with Sunflowers in Summer, then BEES!
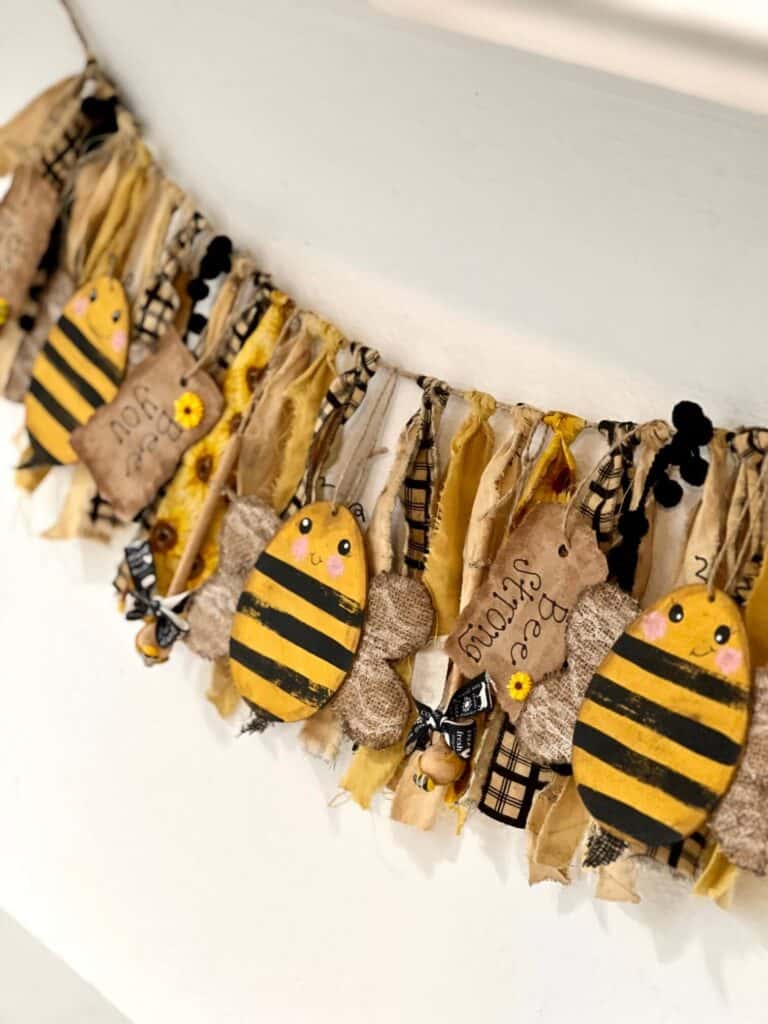
I first made the Bees when I was figuring out what to do with all the leftover Dollar Tree Easter Eggs. But of course I couldn’t just leave the Bees alone, I had to turn them onto something cute. So that’s exactly what I did!
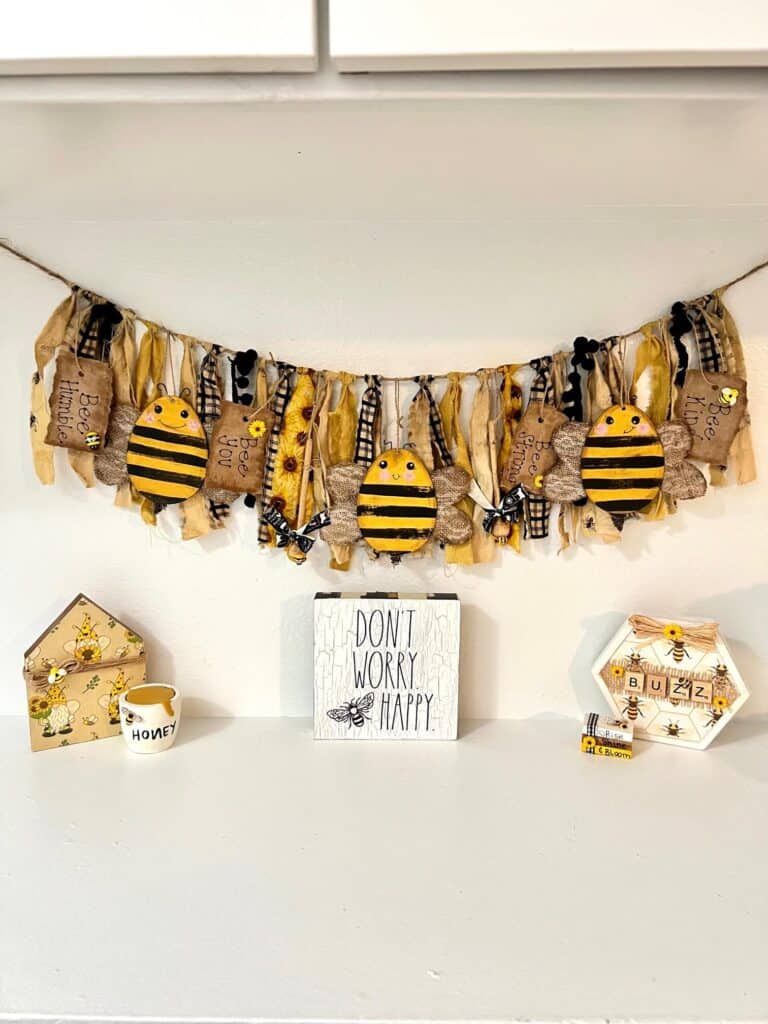
If you love the whole Sunflower Bee thing as much as me, then definitely check out my Sunflower Bee Tiered Tray I decorated it to go right along with this banner, it’s NEXT level amazing!
This post may contain affiliate links for your convenience (which means if you make a purchase after clicking a link I will earn a small commission but it won’t cost you a cent more!)
Supplies Needed to Make a Bumblebee Sunflower Swag Banner
- 4″ Wood Easter Eggs
- Lace covered burlap
- Several patterns of coordinating bumblebee sunflower fabric
- Black Pom Pom trim
- Twine
- Kraft paper
- Golden sunset paint
- Black paint
- White paint
- Light pink paint
- Antique wax
- Small paper sunflower embellishments (or you can use resin sunflowers)
- Small Bumblebee embellishments
- 6″ Wood dowels
- 20 mm wood beads
- Black Sharpie
- Mod Podge
- Hot glue gun
How to Make a Bumblebee Sunflower Swag Banner
I made this Bumblebee Swag on video, over the course of TWO FB Lives. One for the Easter Egg Bumblebees themselves, and the other to put the actual Sunflower Bee Banner together. So you can WATCH those by clicking below.
Watch the video of the Bumblebees here

Watch the video of the Banner here

The video tutorials are extremely detailed and helpful, but I will walk you through the steps to make this Bee Banner as well.
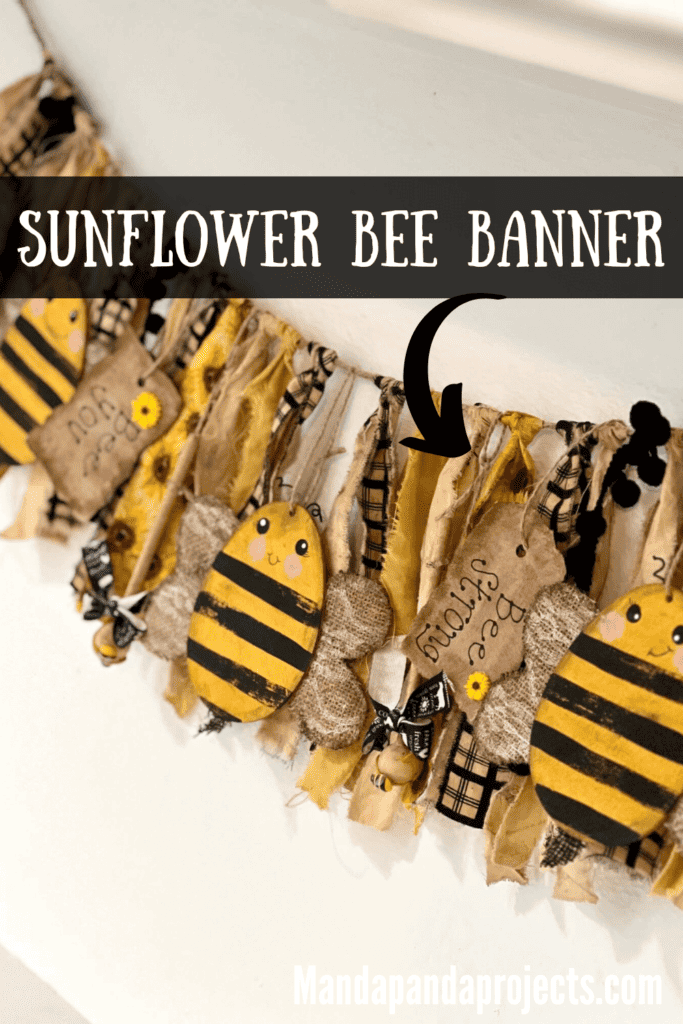
First, you need to make the 3 Easter Egg Bumblebees with leftover Dollar Tree eggs. Paint them all yellow and then grunge them up with some Antique Wax. Paint stripes on the egg by using a flat paint brush, and just swiping them on quickly not worrying about if the lines are perfect or straight. We’re going for distressed and wonky here. I didn’t even load my paint brush with black paint in between every stripe because I wanted it to “run out” to give that worn look.
I used the end of a foam brush to make the circular big eyes, and a super fine tip Sharpie for the eyelashes and mouth. Of course you have to add some pink with a small spouncer or stencil brush to stipple it on and make the cutesy rosy cheeks.
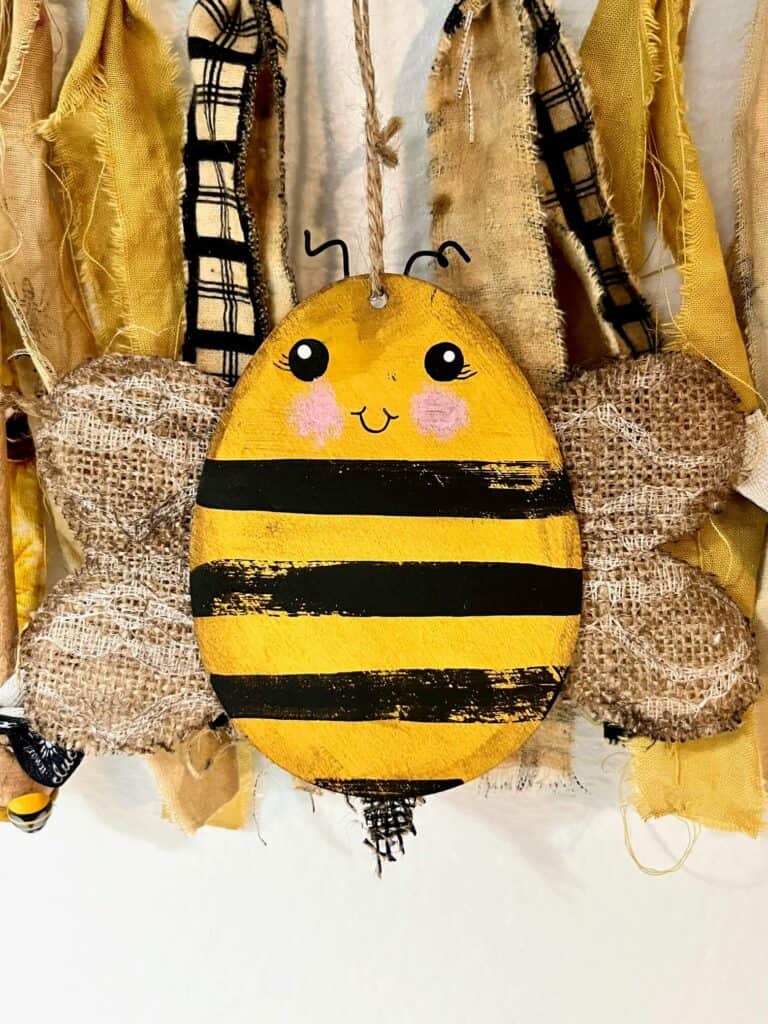
For the wings and the stinger, draw the shape onto the lacy burlap and then cut one out and use it as a stencil to trace the rest so that they are all the same size. Paint the stingers black and then glue them all on to the back of the eggs. You will need 6 wings and 3 stingers for this banner, if you are making 3 Bees like I did.
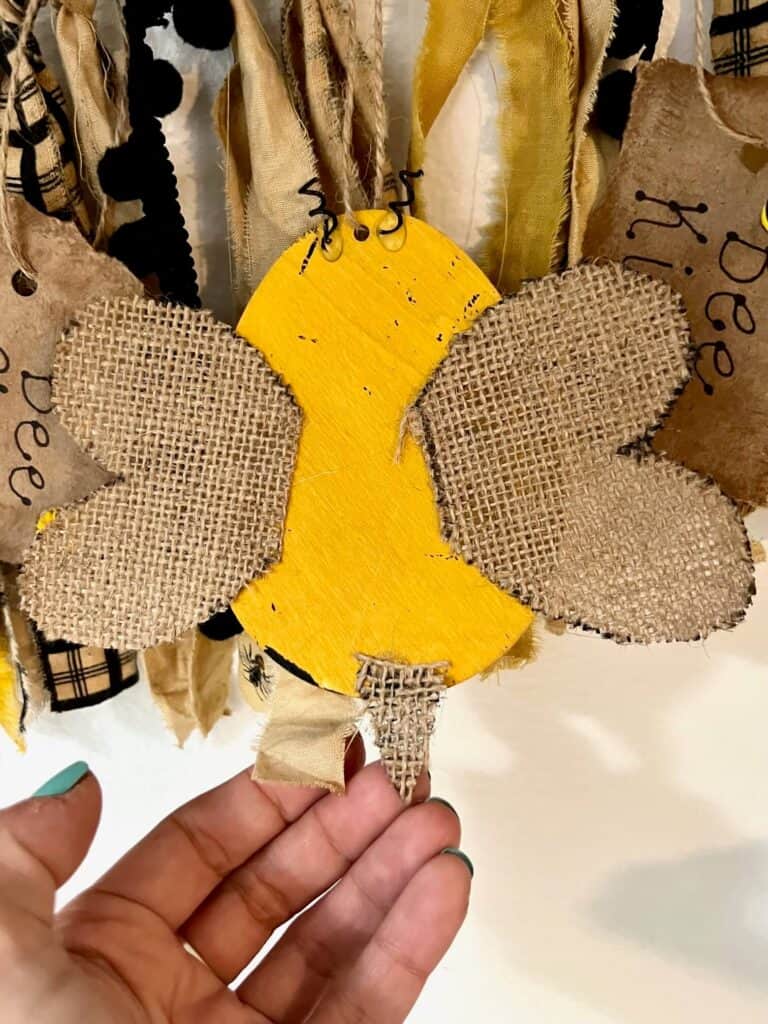
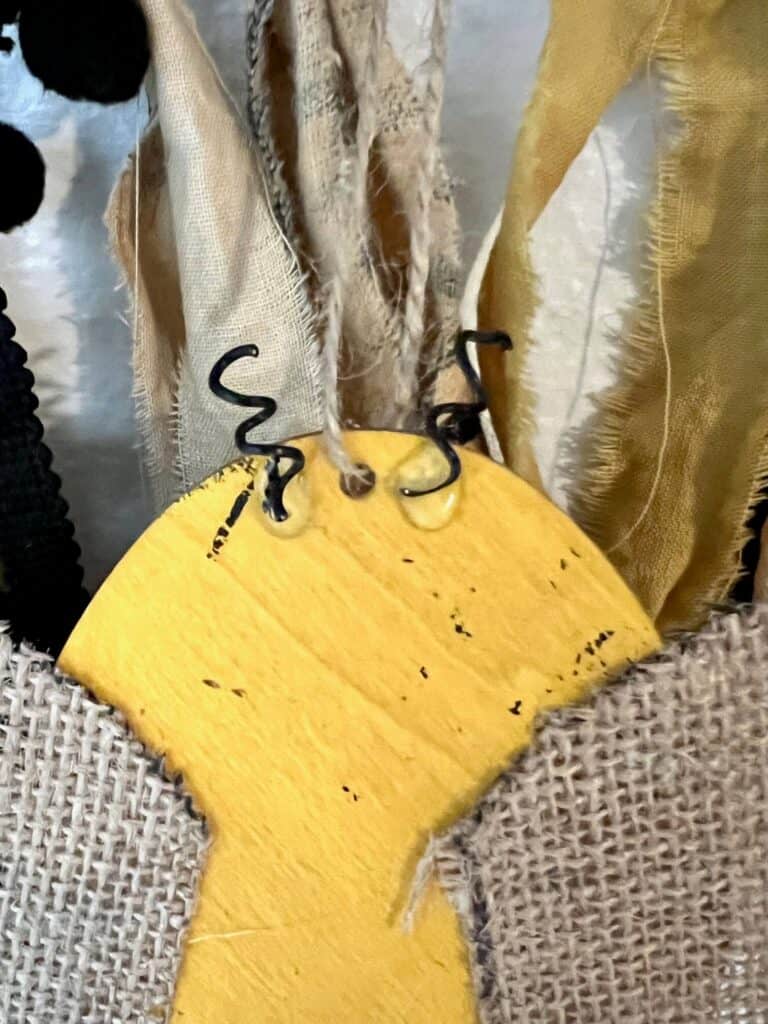
Use some floral wire, and curl it around the end of a small paint brush to make the antennae, and then glue them on top of the Bee eggs.
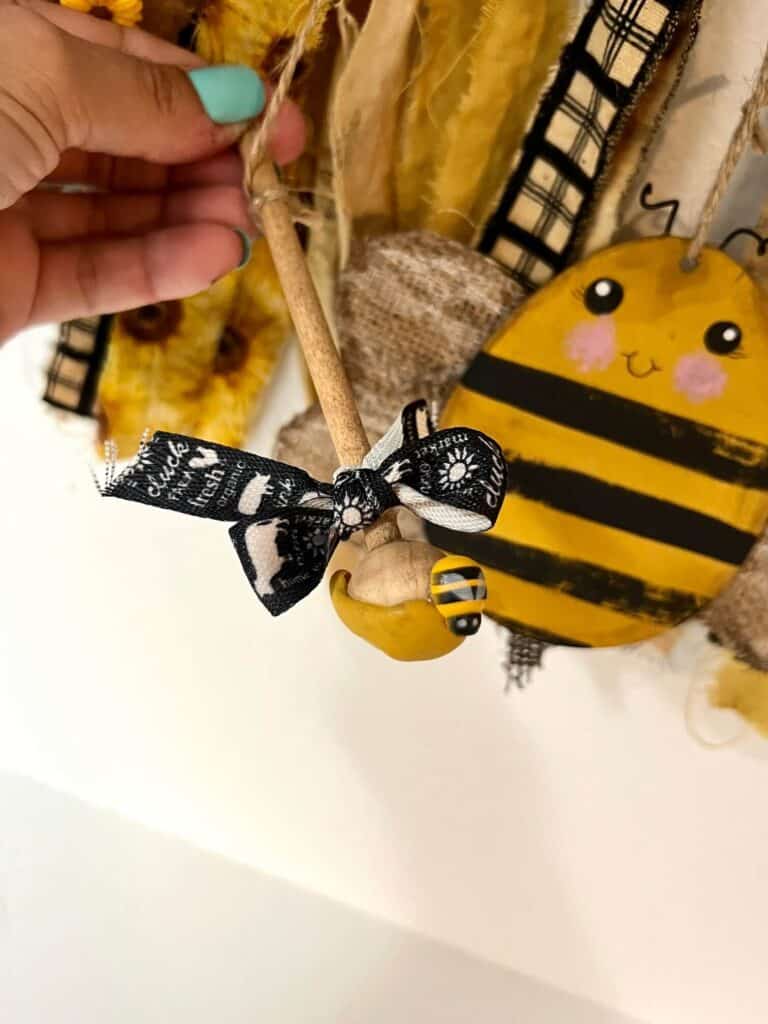
Next, make a couple of Honey Dippers by staining 3 six inch dowels and 3 wood beads with Antique Wax. Then glue the bead to the end of the dowel. Add some Hot glue as “Honey” and once it has dried completely, paint it yellow.
Add a mini bee embellishment and a small shoestring bow to finish it off. I made 2 Honey Dippers for my whole banner, one for each end.
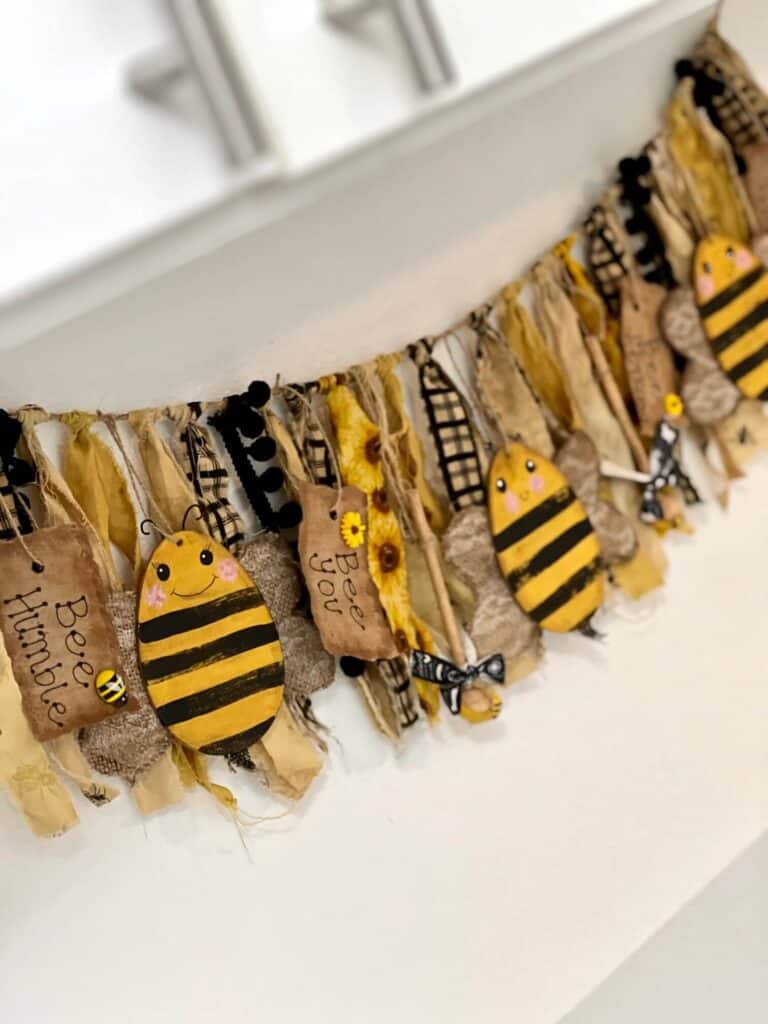
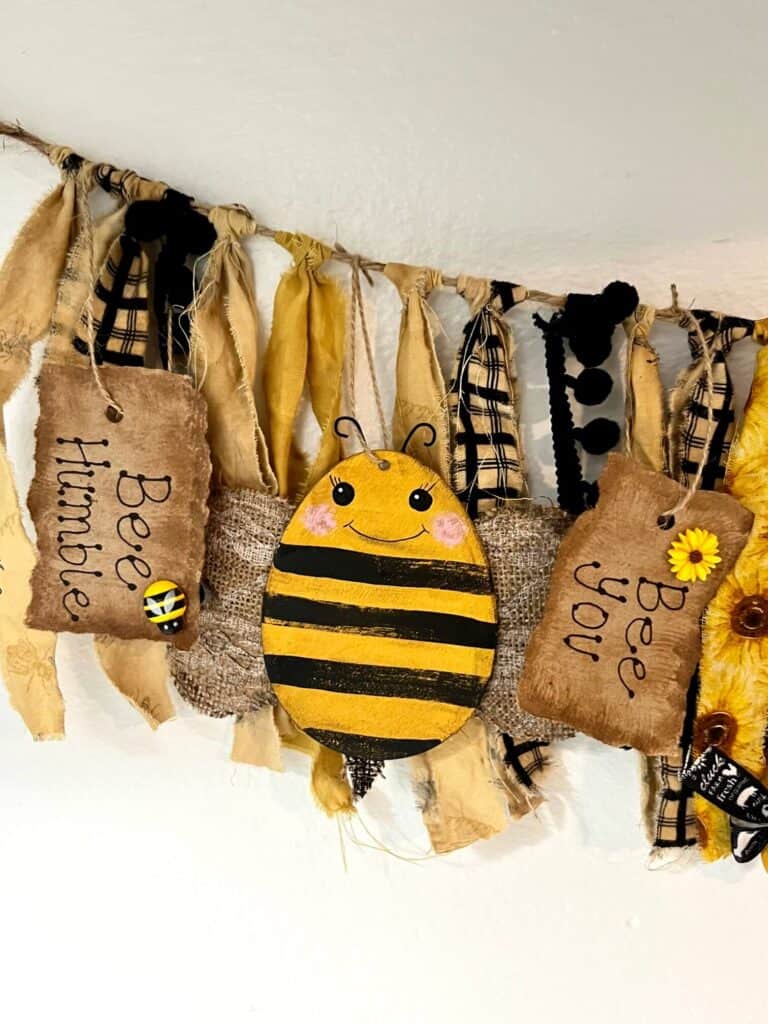
Now for our Hangtags, I made 4 of these. Start by ripping 4 rectangles of Kraft Paper, and then grunge them up with Antique Wax (this whole project is grunged up!). Use a Sharpie and write “Bee XXXX” on each of them. You can choose whatever sayings you want, but I chose “Bee Humble”, Bee You”, “Bee Strong”, and “Bee Kind”. Glue on a Sunflower and/or Bee on each.
Punch a hole in the top, and add a piece of twine to hang.
Now for the banner itself! First, I coffee stained a bunch of coordinating Sunflower, Bee, and Black and White fabric to go along with the vibe I wanted. I have a detailed workshop on exactly how I coffee stain my fabric inside of my Subscription group, The CRafterparty, but if you are not in there you can find lots of tutorials on Google too!
Then rip the fabric up into strips. You can make them as long as you want, but mine were about 10″. You can trim them up once they are all tied on as well.
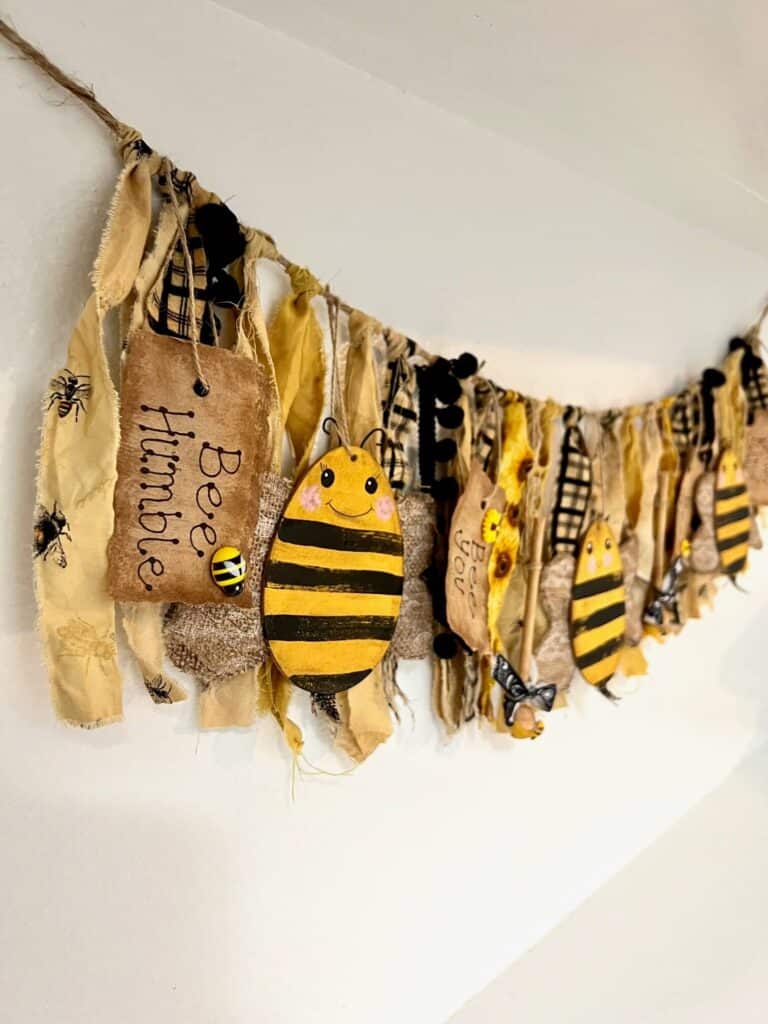
Then just start to tie those bad boys on, one by one. To tie them on you fold the fabric strip in half then take the two ends and fold them around the twine, putting them through the loop in the fabric strip, then pull tight. This is definitely hard to explain without a photo, but I was live when I made this so I don’t have in progress pics. But I do have the video tutorial HERE.
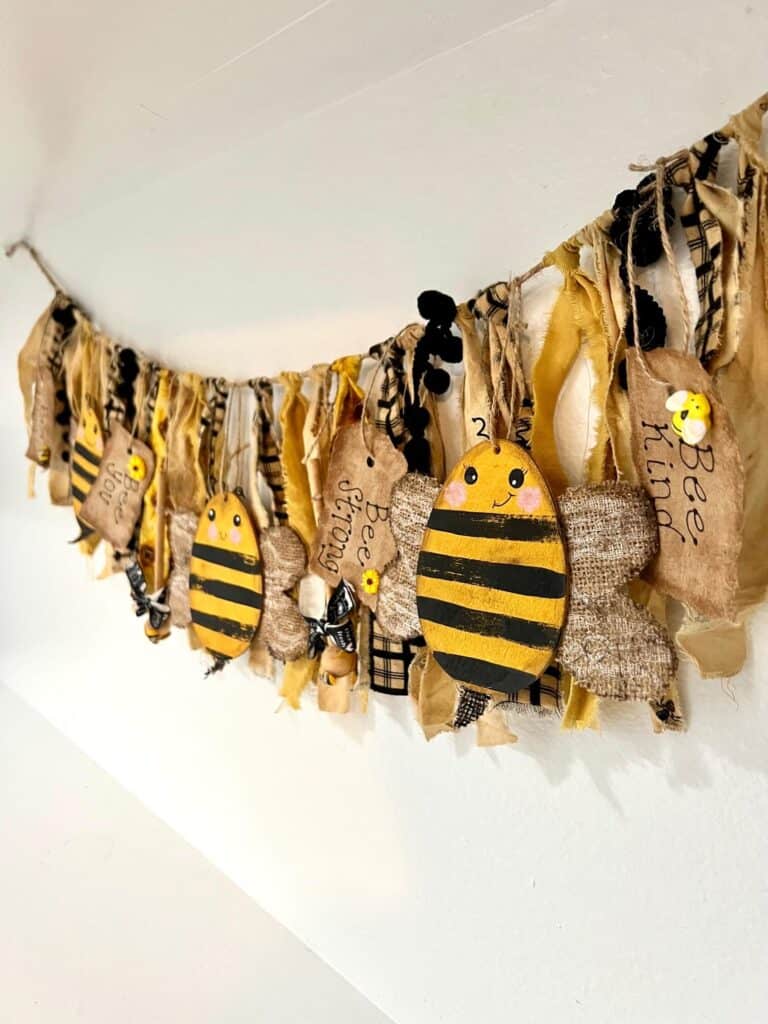
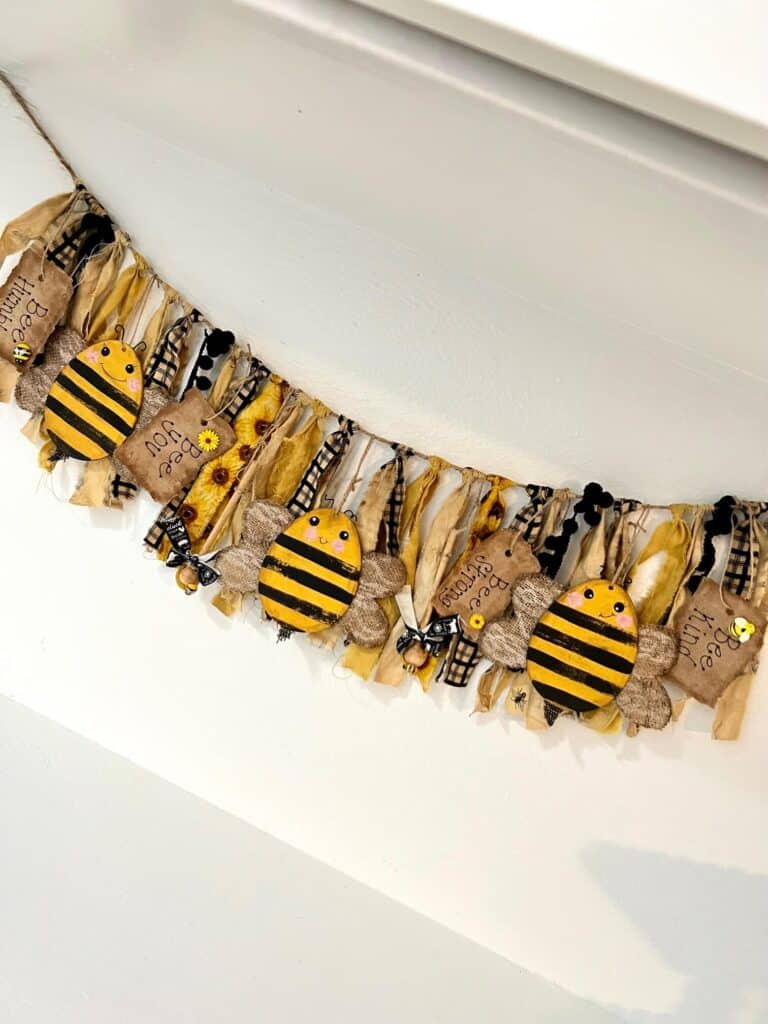
I didn’t do any particular pattern, but as I went I added in some black pom pom trim, and spread out the Bees, Hangtags, and Honey Dippers somewhat evenly.
I am SOOOOOO super happy with how this turned out! It looks just adorbs with the rest of my Sunflower Bee Decor, especially my Tiered Tray!
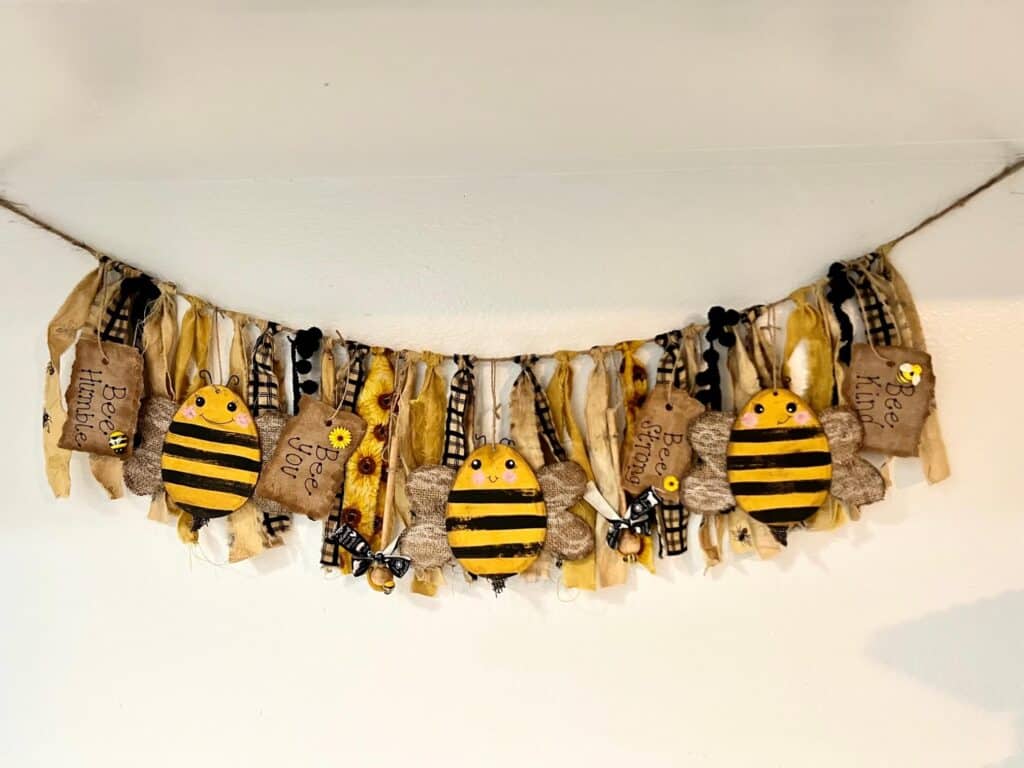
Are you going to make a Sunflower Bumblebee Swag Banner? Shoot…are you gonna make any type of banner?! If you do, I’d love to see it! Pop on over to our free Craftspiration Facebook group, and join in on the fun by posting a pic of your Tiered Trays, DIY’s and crafts. I just love to see all your creative and crafty creations.
If you’ve got a million projects on your crafting ‘to-do’ list like I do, than you need my FREE Craft Project Planner so you can plan to make *all the things*! When you sign up for the craft planner, I’ll also send you lot’s of fun, easy, and budget friendly ideas for you to fill it up with!

Free printable Craft Project Planner
Get organized, get inspired, and get crafting, with our free Craft Project Planner!
Until Next Time…
Stay Crafty San Diego!

Love this Bumblebee Sunflower Swag Banner? Make sure to PIN it for later!
