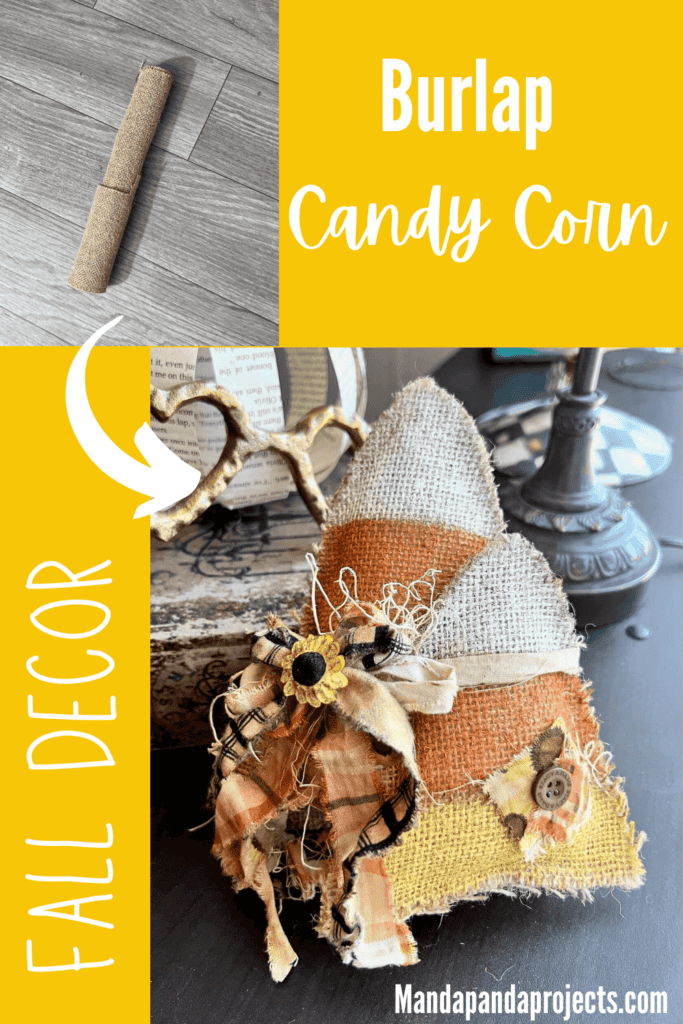
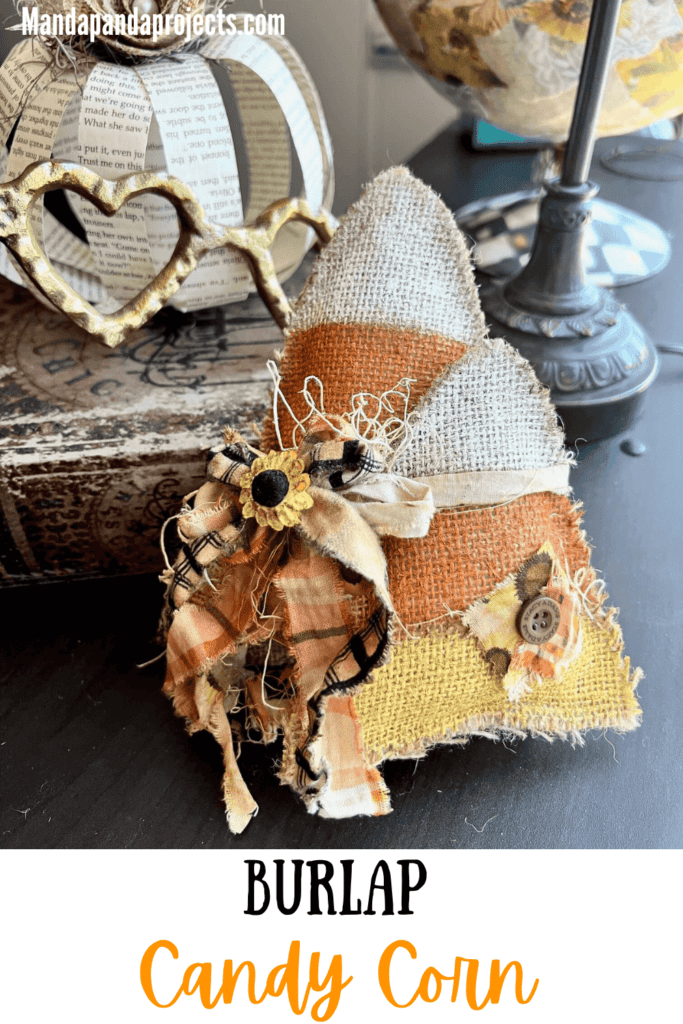
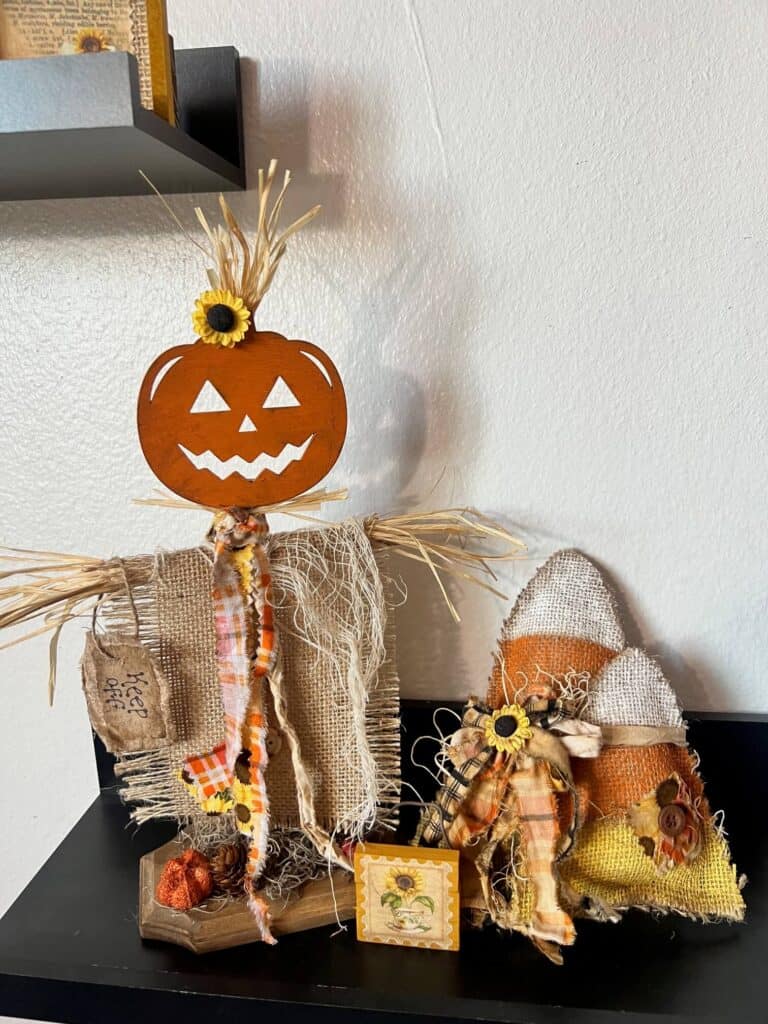
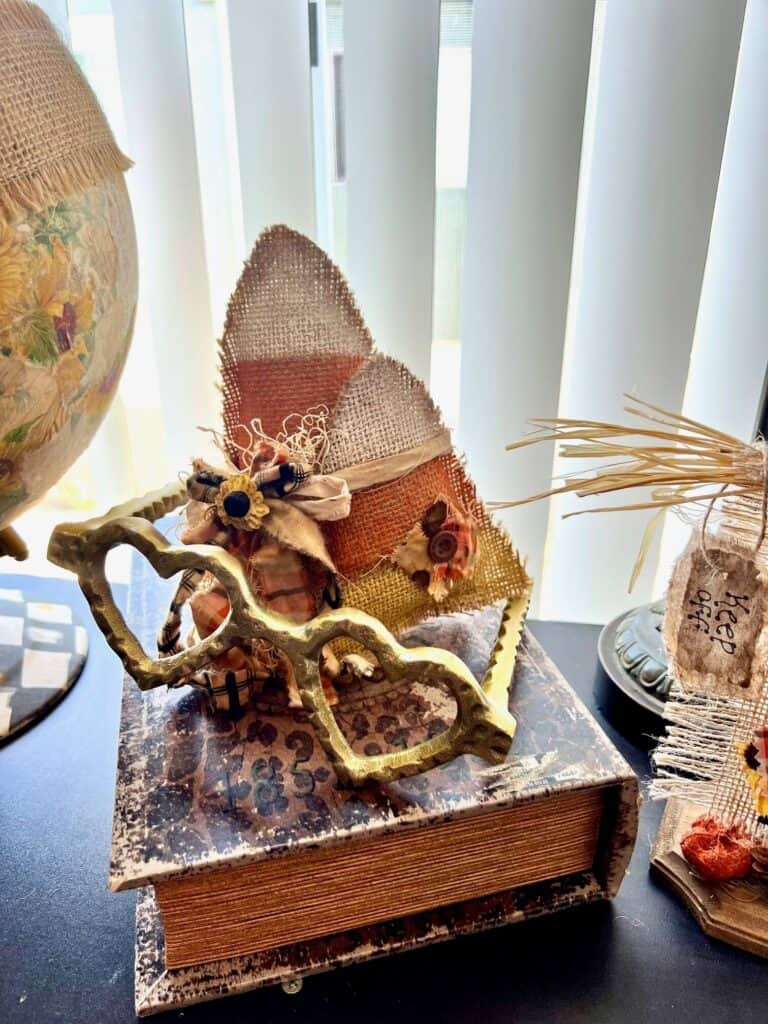
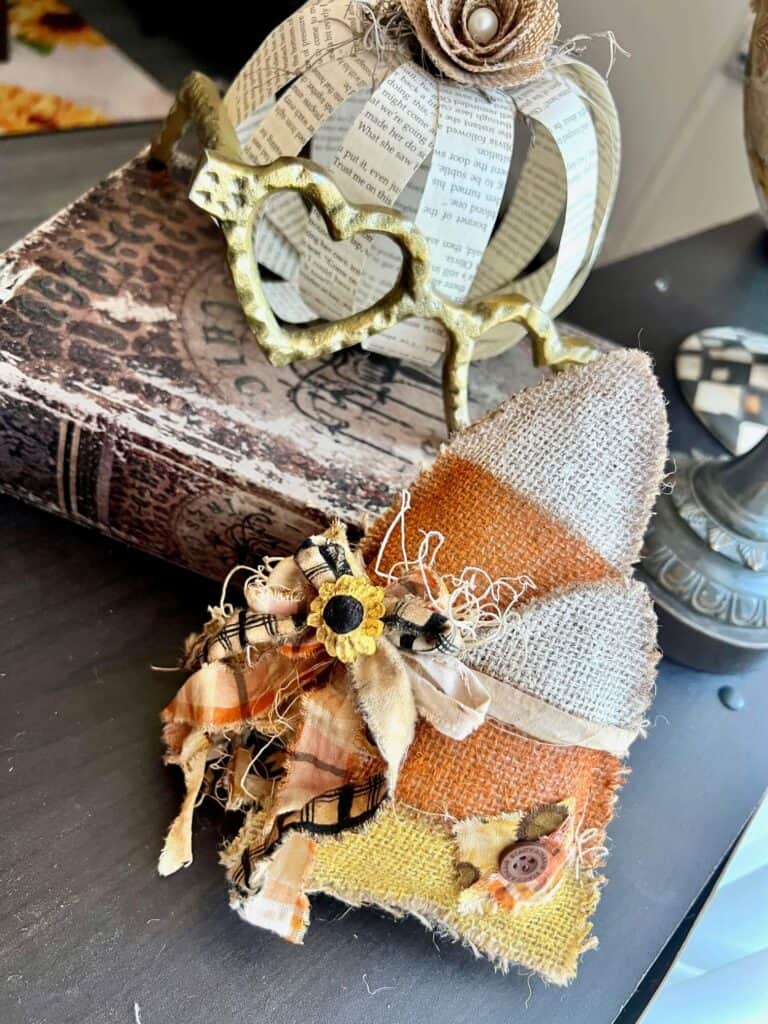
Candy Corn is a staple for Fall and Halloween crafts and decor, so of course we had to make a Burlap Candy Corn to decorate our home this Holiday season! You don’t have to love to eat the yellow, orange, and white treat, but you’ve gotta love to craft it!

Fall and Halloween are some of the best crafting occasions, and what screams Fall and Halloween the most? Candy Corn!
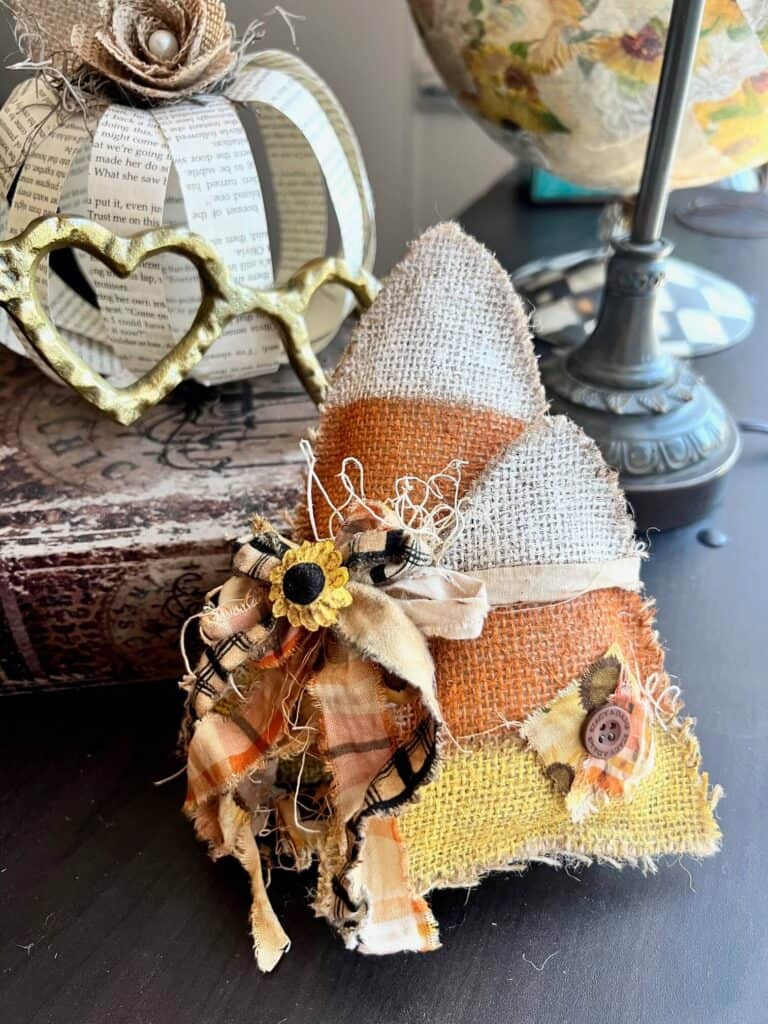
I made a Kraft Paper Candy Corn last fall and it got me thinking, what else can we make a candy corn with? I know….BURLAP!
So that we did! Doesn’t it look just adorbs with the Jack-O-Lantern Scarecrow we made in my VIP subscription group, The CRafterparty?
If you want more deets on how to learn to make cute things on a budget, you can read all about the group HERE.
This post may contain affiliate links for your convenience (which means if you make a purchase after clicking a link I will earn a small commission but it won’t cost you a cent more!)
Supplies Needed to Make a Burlap Candy Corn
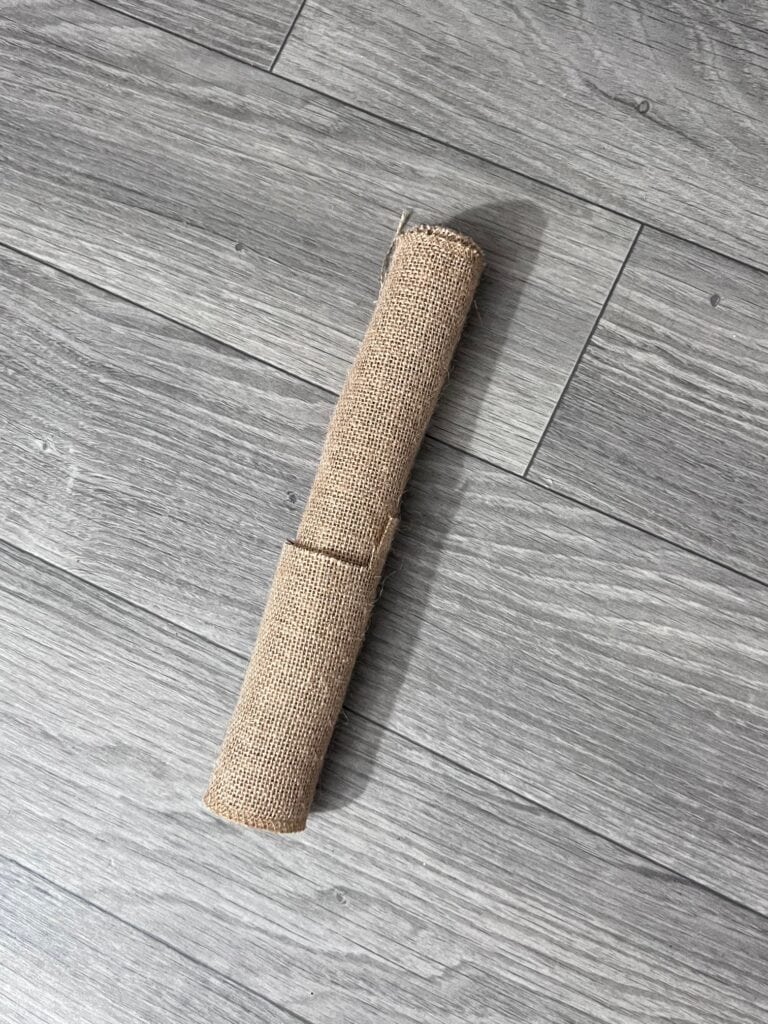
- Burlap
- Muslin
- Coordinating fabric/ribbon
- Polyfil
- Excelsior
- Paint: Orange, Yellow, White
- Antique Wax
- Twine
- Small button
- Paper sunflower embellishment
- Mod Podge
- Hot glue gun
How to Make a Make a Burlap Candy Corn
I made this Burlap Candy Corn on video. So you can WATCH the tutorial by clicking below. (You can find the Kraft Paper one here)

Believe it or not, you can actually PAINT burlap. And that is exactly what we did here!
First, you will cut out the candy corn shape from a piece of burlap. You can make this any size you want, big or small. Then use that piece to trace out another piece the exact same size and shape. Just freehand the shape! It doesn’t have to be perfect.
I made two candy corns, so I did one bigger and one a little bit smaller. 4 pieces of burlap total.
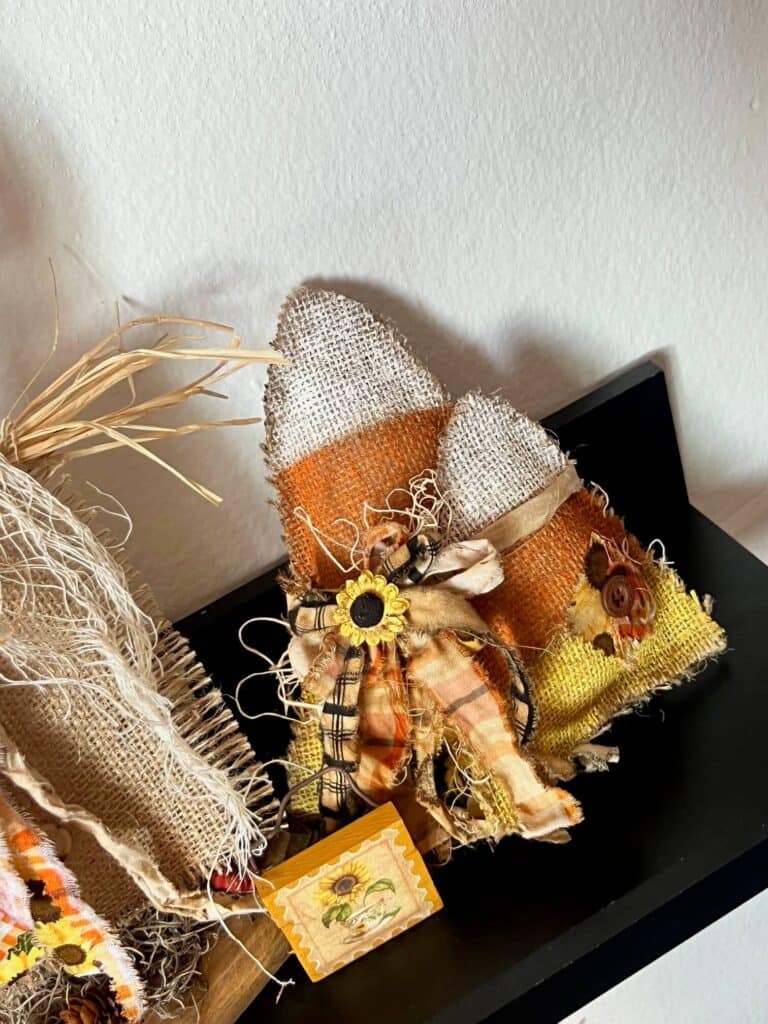
Next, paint the burlap yellow, orange, and white, be careful not to saturate the burlap with a ton of heavy paint. Paint it with several light coats so that it doesn’t soak through the burlap.
Then, use hot glue to glue the two pieces of burlap together around the edges, but leave about 2 inches open so that you can stuff it with polyfil.
Then stuff it as much as you can with the polyfil (you can use the inside of a thrifted pillow for a budget friendly option), and glue it shut.
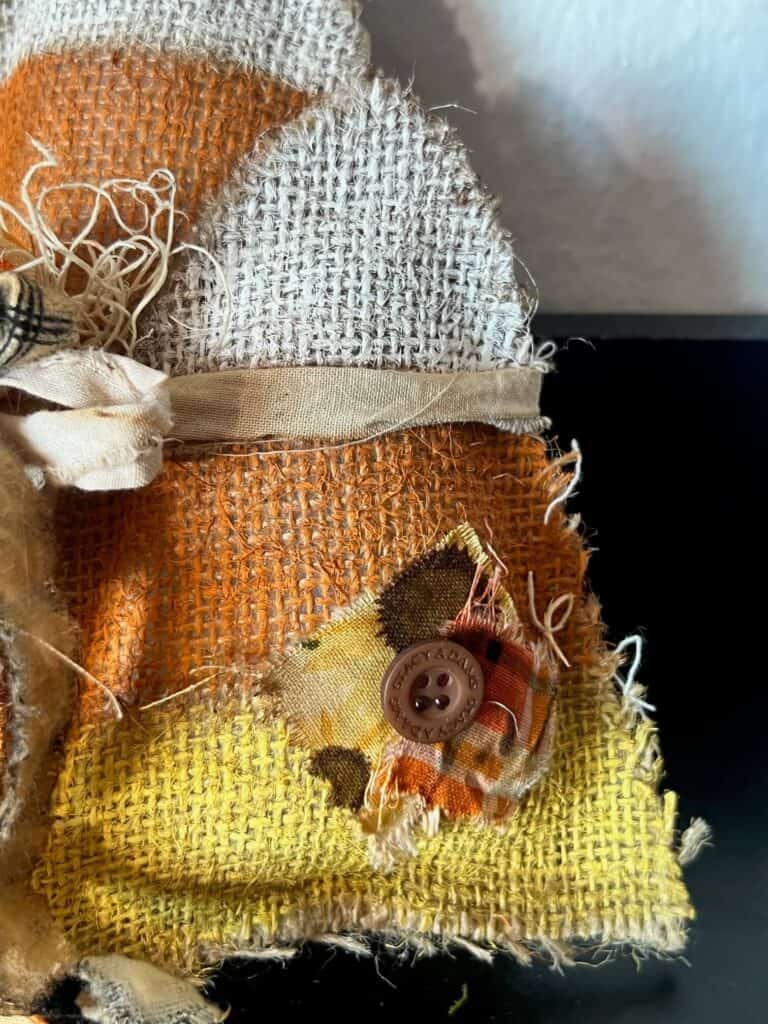
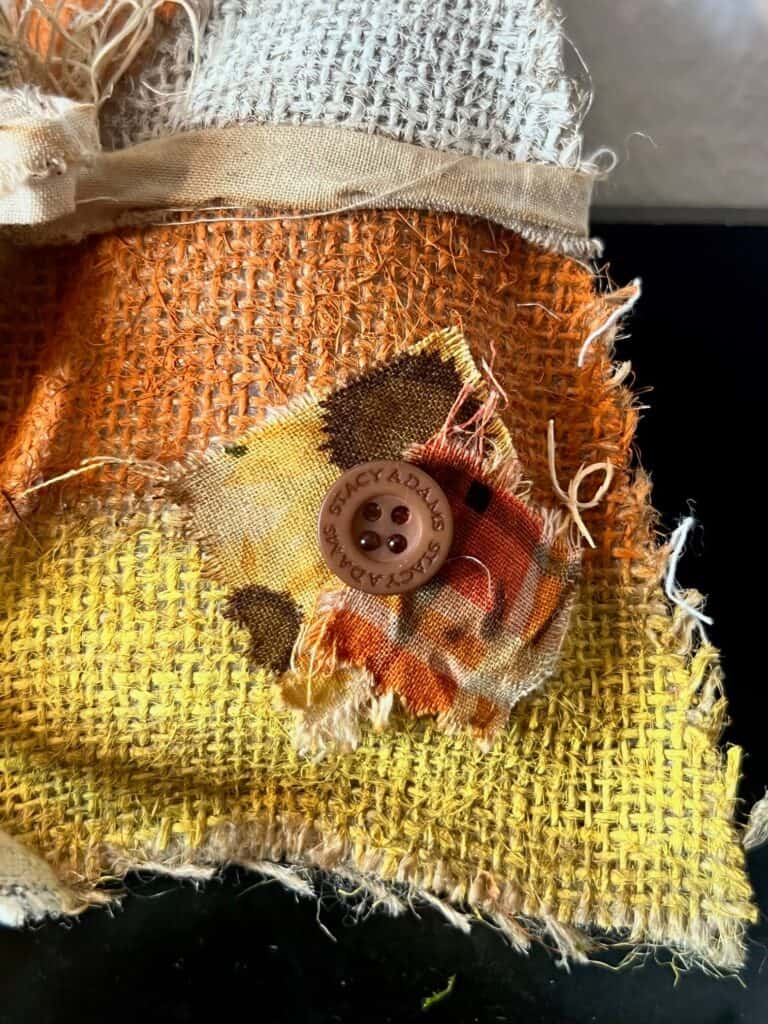
Cut a couple of coordinating squares of fabric, and glue them to the front of the smaller candy corn with a mall button on top.
Glue the two completed burlap candy corns together and then tie a piece of coffee stained muslin around them to make it look like the muslin is holding them together (the glue is just for good measure).
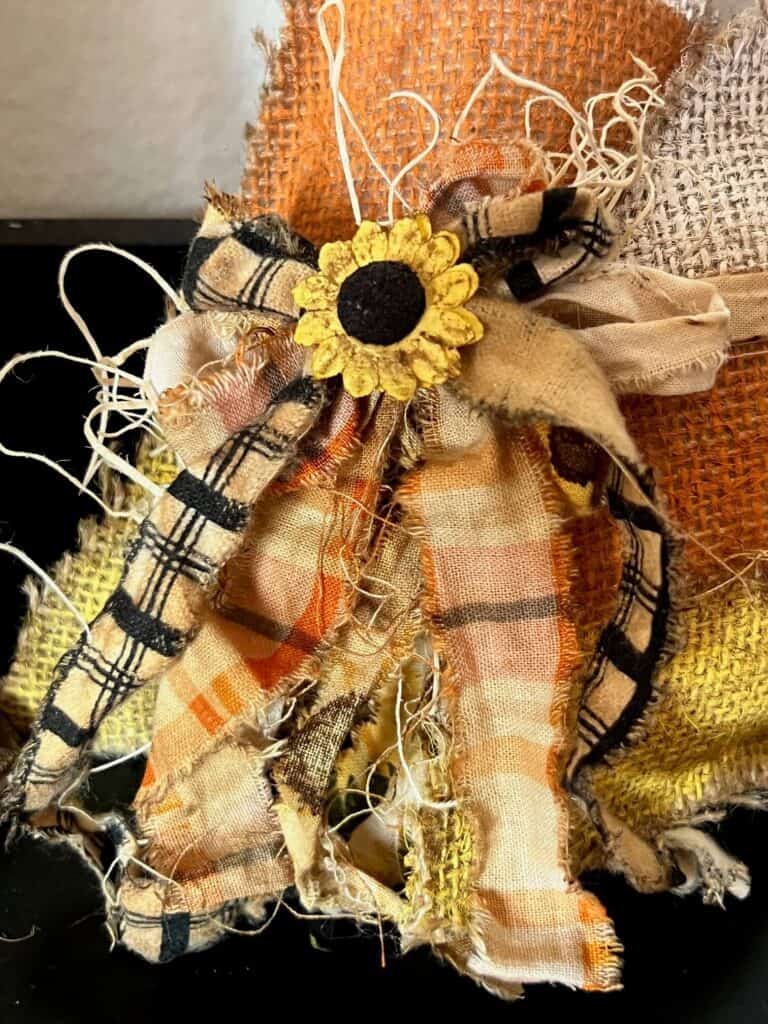
Make a simple scrappy fabric bow with some coordinating fabric (I like to coffee stain mine first). Then glue it to the front with a paper sunflower in the center.
I also chose to stick some excelsior into the bow to jazz it up, but that is totally up to you.
Last, I grunged and antiqued the whole project to give it the vibe I was going for. I did all the outer edges of the candy corn, and the sunflower embellishment too.
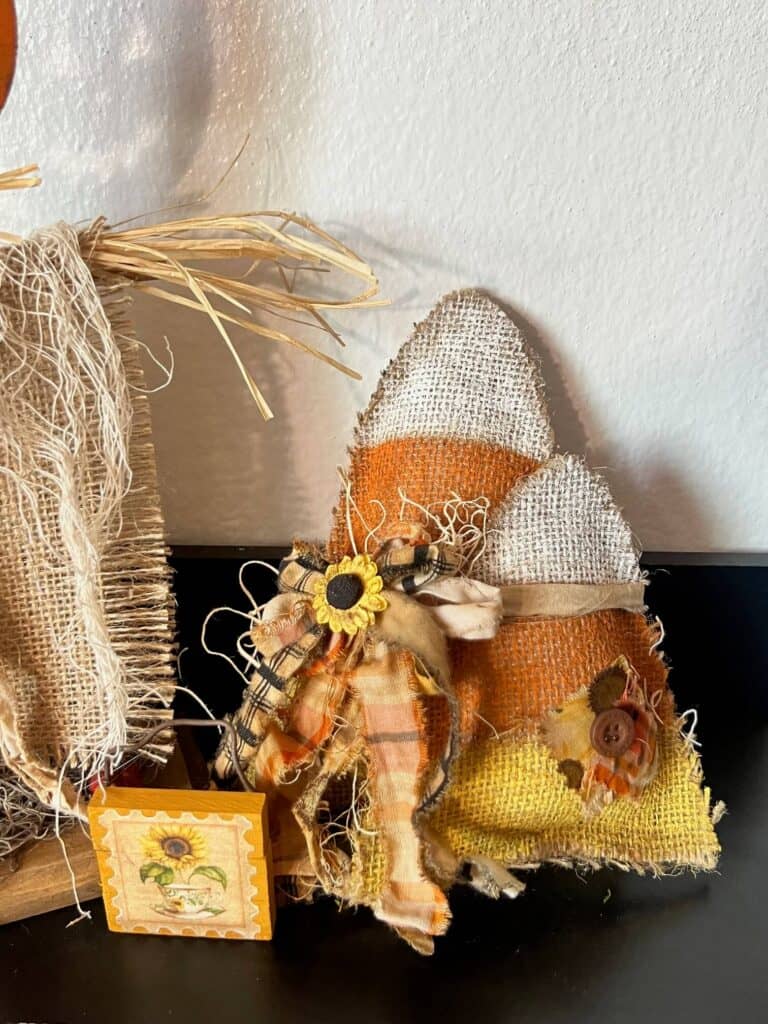
Oh.EM.GEE. I just love how this turned out!
There is also an adorable Scarecrow to go along with it that we made in my subscription group, The CRafterparty! And check out the Kraft Paper Candy Corn too.
Are you going to make a Burlap Candy Corn? If you do, I’d love to see it! Pop on over to our free Craftspiration Facebook group, and join in on the fun by posting a pic of your Tiered Trays, DIY’s and crafts. I just love to see all your creative and crafty creations.
If you’ve got a million projects on your crafting ‘to-do’ list like I do, than you need my FREE Craft Project Planner so you can plan to make *all the things*! When you sign up for the craft planner, I’ll also send you lot’s of fun, easy, and budget friendly ideas for you to fill it up with!

Free printable Craft Project Planner
Get organized, get inspired, and get crafting, with our free Craft Project Planner!
Until Next Time…
Stay Crafty San Diego!

Love this Burlap Candy Corn? Make sure to PIN it for later!
