Let’s create some BUZZ around this budget friendly version of a very expensive Bumblebee Door Hanger. The secret to this adorable copycat summer DIY decor is one thing that I bet you have at home….CARDBOARD!

I do a LIVE crafting series over on good ole’ Facebook called Copycat or Floppycat. This is where people send me pics of things they love that they see either online or in stores, and I see if I can make a copycat version for cheaper.
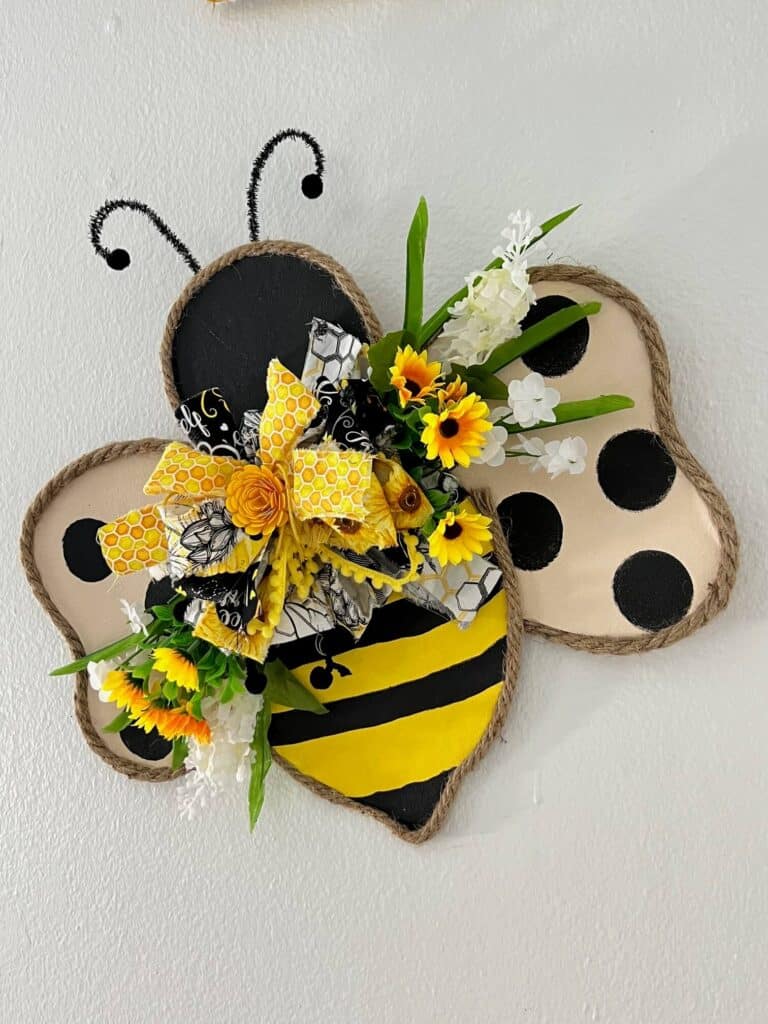
After I make it everyone votes on whether they think I did a good job (copycat), or if it was a FLOP (Floppycat)!
For this one we re-made the VERY expensive Bumblebee Door Hanger that was found on Etsy for $115 (pic below). I was able to make it with CARDBOARD and other supplies from my stash. (This screenshot was sent to me from one of my crafty friends, so I do not have the original Etsy stores name)
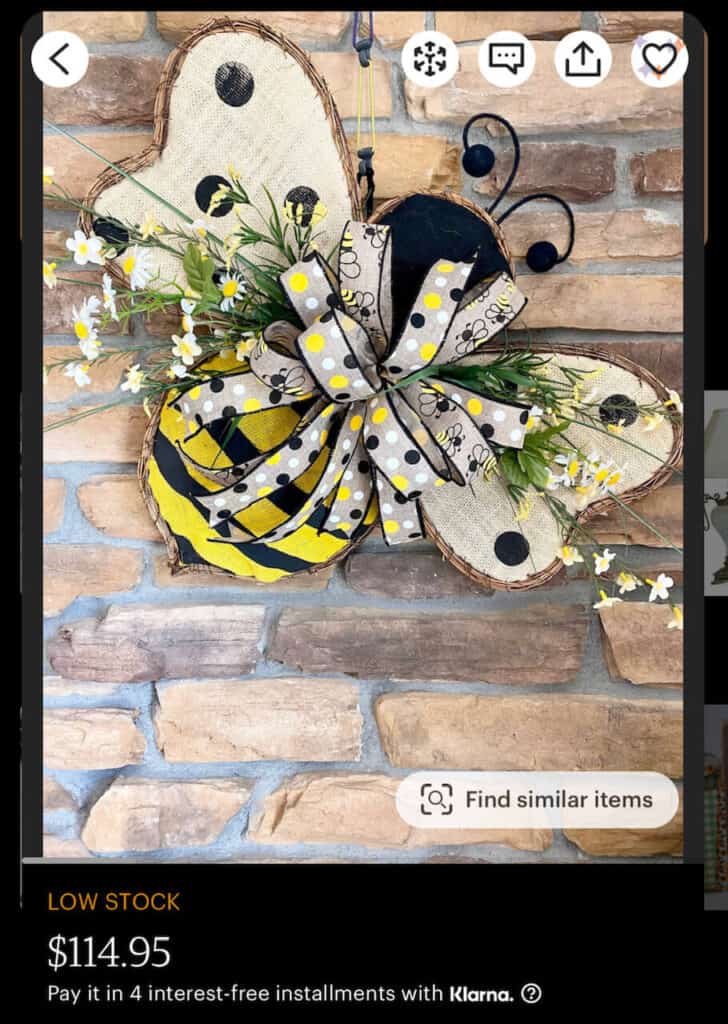
Let me just say, I am ALLL about supporting other crafters and small business owners on Etsy, but there is also absolutely NOTHING wrong with making something yourself for cheaper if you can. I think it WOULD be wrong, however, to go and sell it on Etsy. Jus’ Sayin’
If you had to go and buy the things to make this one, I’d say it would cost you about $5-10 ! All ya need is cardboard (free), paint, fabric for bow, pipe cleaners, and some nautical rope. If you wanna get real fancy like me you can cover your cardboard in canvas for an extra $1.
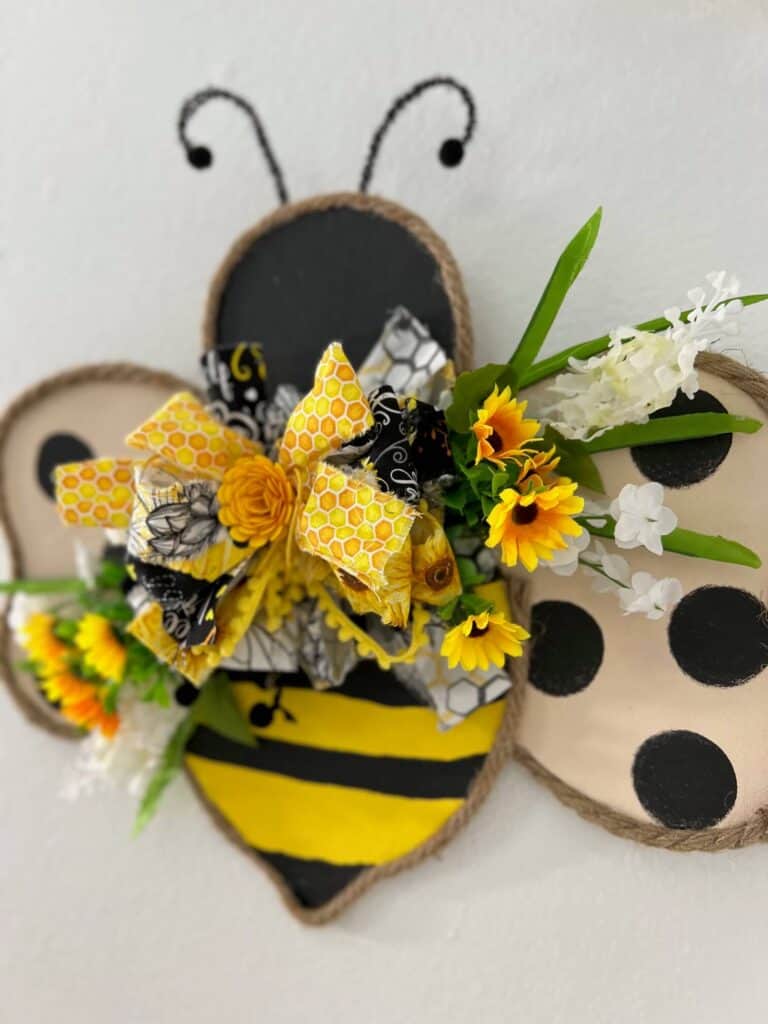
Bada bing, bada BOOM. Copycat success!
This post may contain affiliate links for your convenience (which means if you make a purchase after clicking a link I will earn a small commission but it won’t cost you a cent more!)
Supplies Needed to Make a Cardboard Bumblebee Door Hanger
- Cardboard
- Jute rope
- Coordinating fabric for bow
- Flowers
- Paint: Yellow, Black, Tan
- Black Pipe Cleaners
- 2 Black craft pom poms
- Large spouncer
- Twine
- Mod Podge
- Hot glue gun
How to Make a Bumblebee Door Hanger out of Cardboard
I made this Bumblebee Door Hanger over a two part video. So you can WATCH the tutorial by clicking below.
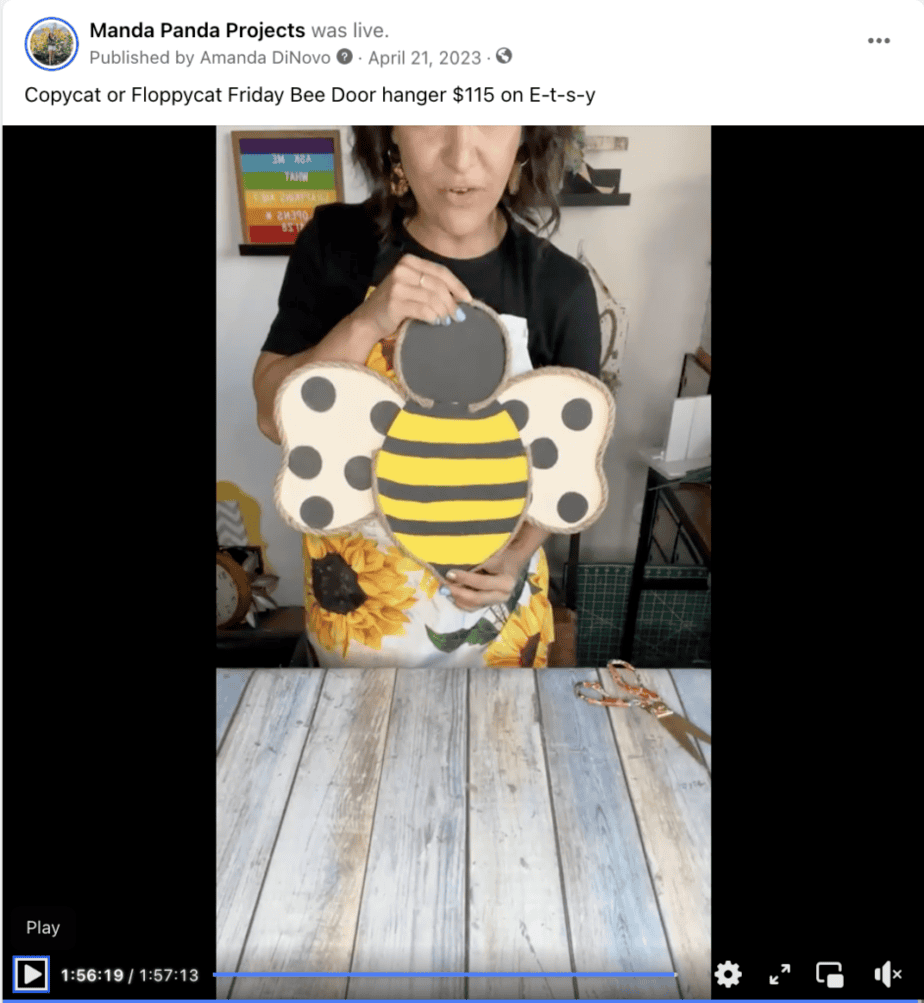
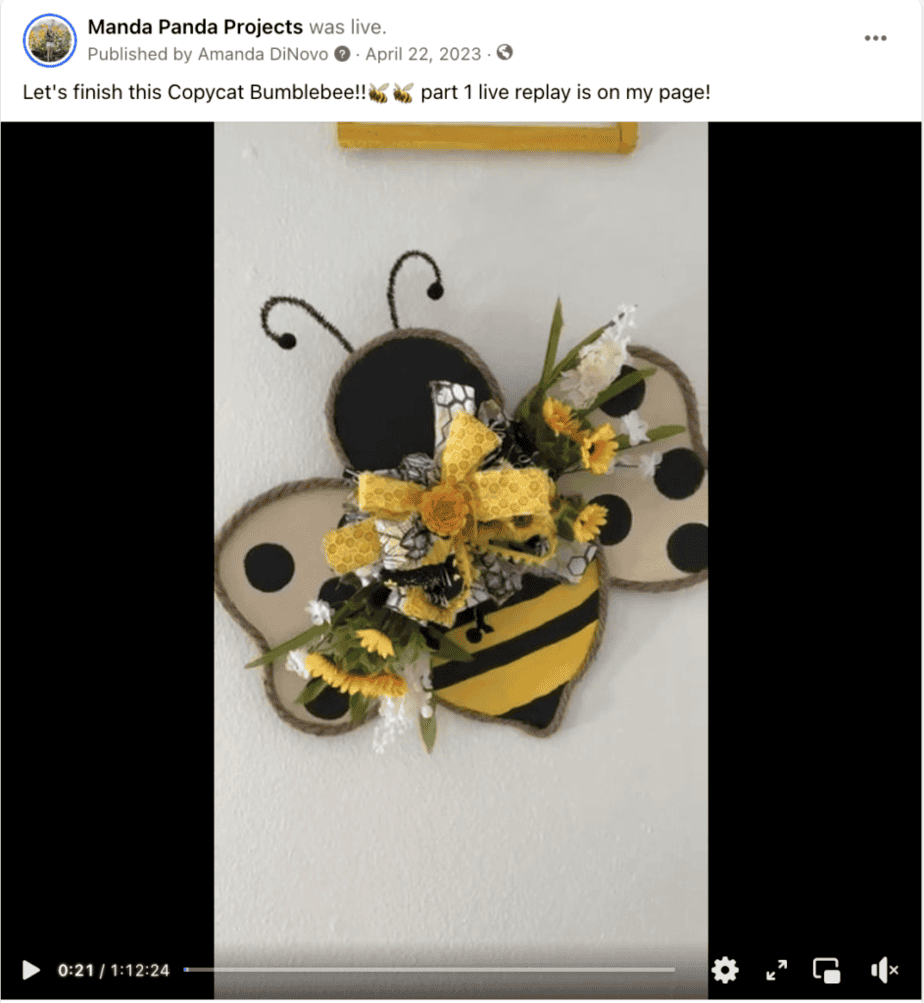
Let me start by saying that since this was done on a TWO PART Facebook Live, I do NOT have step by step photos of the process, so if you want to learn to actually make this step by step, I recommend watching Part ONE and Part TWO for the full tutorial.
Otherwise, read below to get inspired and get the overall idea for what I did!
First, I do have a template for you to make it super easy. All you do is save the below two photos to your phone, and then print them and cut them out to use as tracers on your cardboard.
Here is a template for the Bumblebees head and wings.
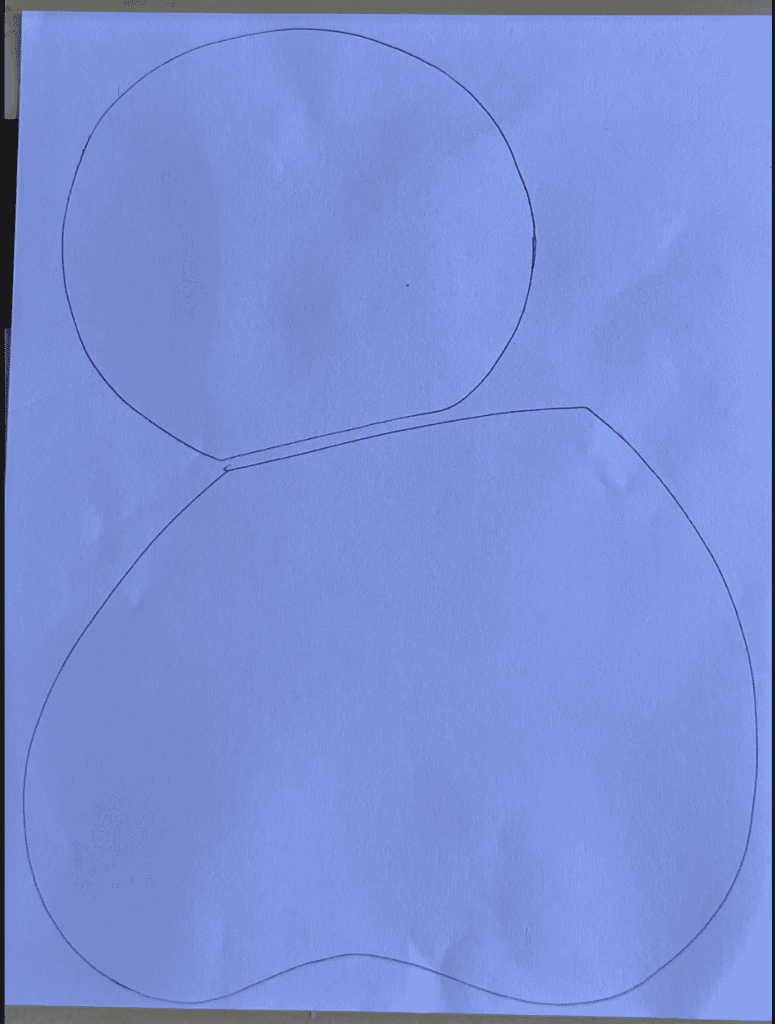
Here is a template for the Bees body (fun fact: it’s actually a lemon wood cutout!)

Once you have the cardboard all cut out, you are going to cover the cardboard with a layer of canvas. Yes, canvas like the white stretch canvas that you get at Dollar Tree. Just take the canvas off and then trace the same shapes and Mod Podge them to your cardboard.
This will really ELEVATE your project so that it doesn’t actually LOOK like it was made with cardboard. It will also stop your cardboard from warping when you start to paint it.
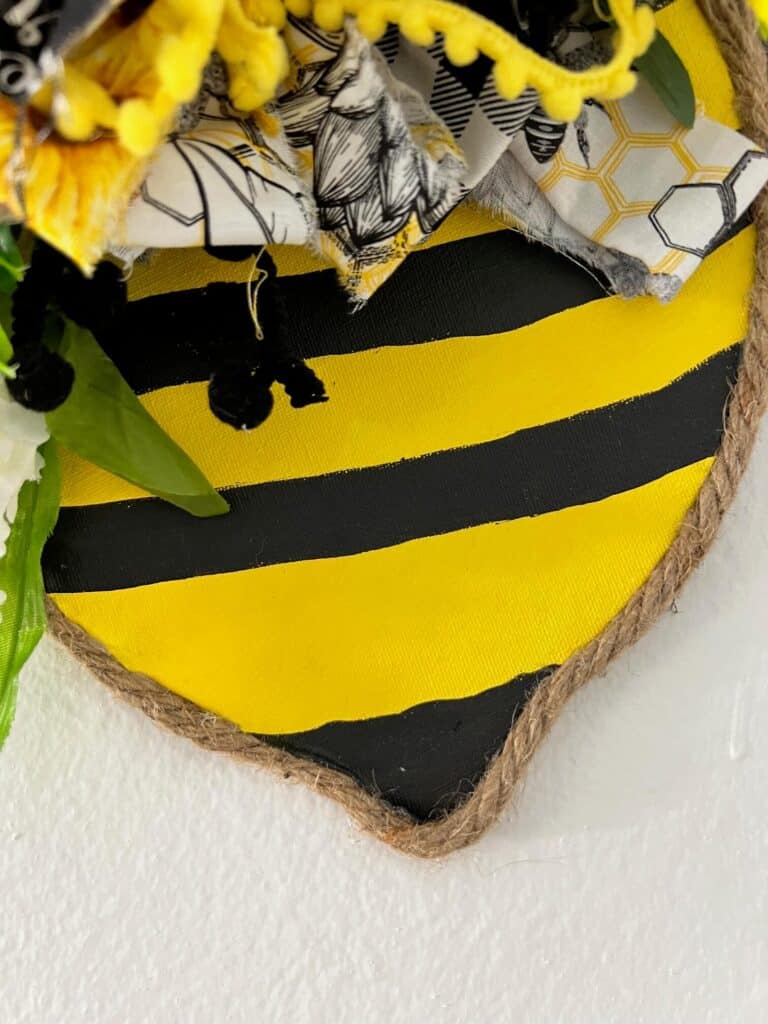
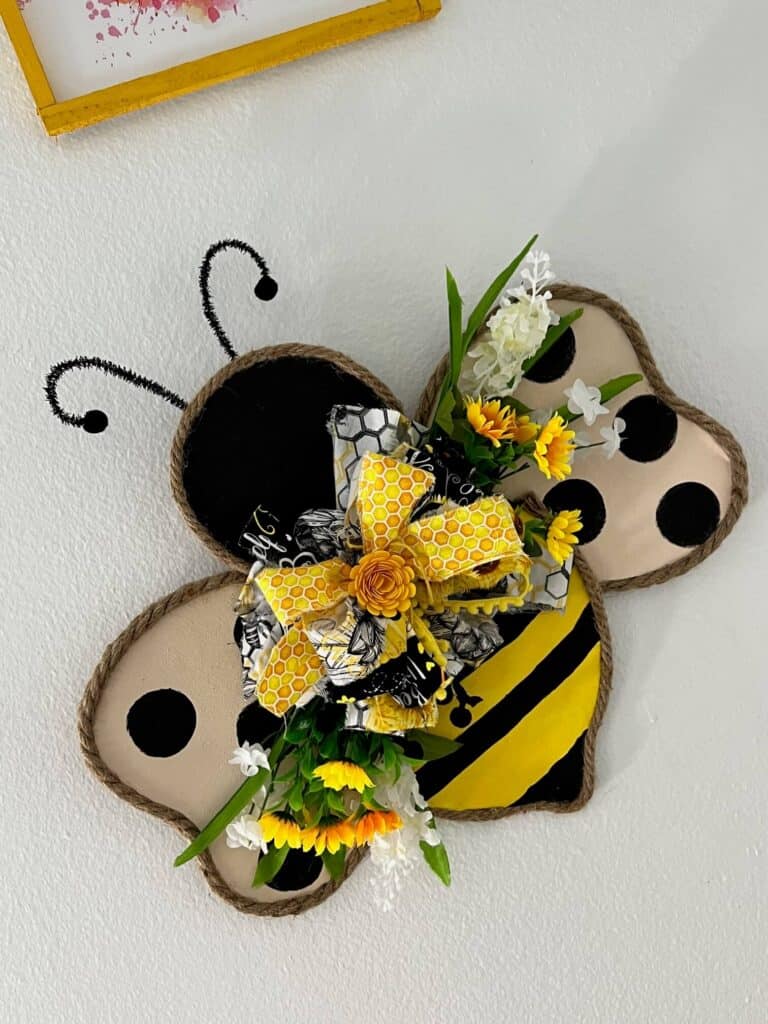
Now, paint your bee head black and your bee body all yellow. Then, paint black stripes onto the yellow body. Don’t worry about the stripes being perfect, as you can see mine are not at all.
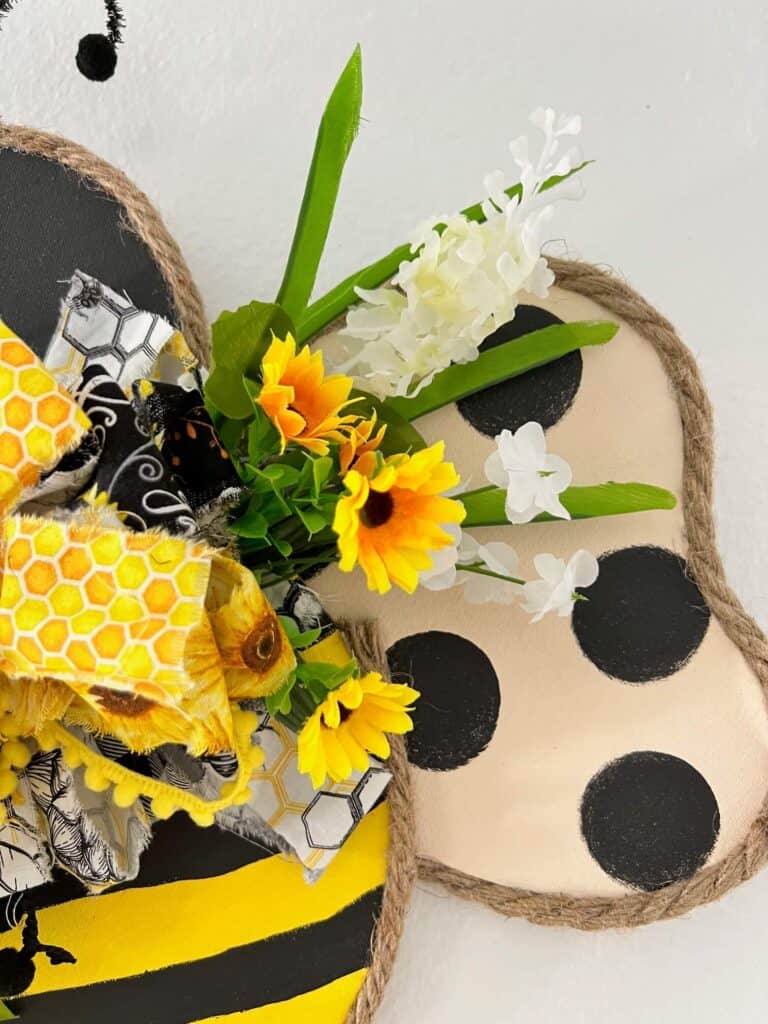
Then, paint your wings with a light khaki tan color, and add black polka dots with a large spouncer.
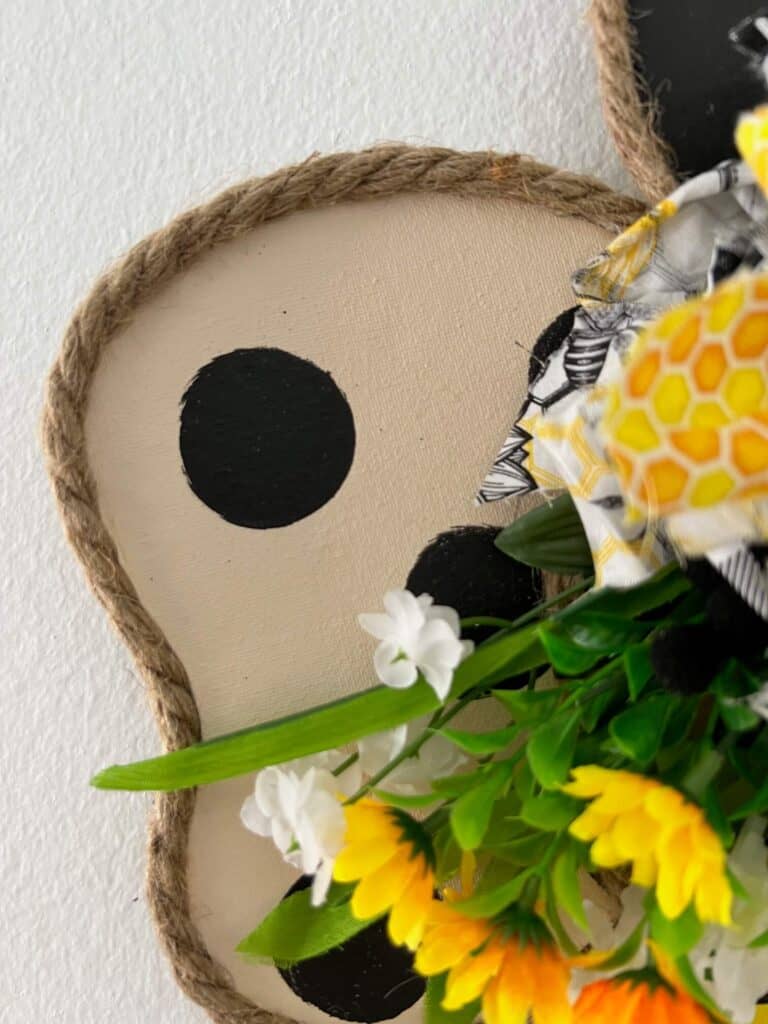
Once everything is painted, glue the head to the top of the body and glue the wings to the side of the body, behind it like you see below.
To give it a more finished look, I used hot glue to line the entire head, wings, and body with jute rope. Don’t worry about the rope on the top sides of the body and the bottom of the head, because thats where the big ole’ bow will go so you won’t see it.

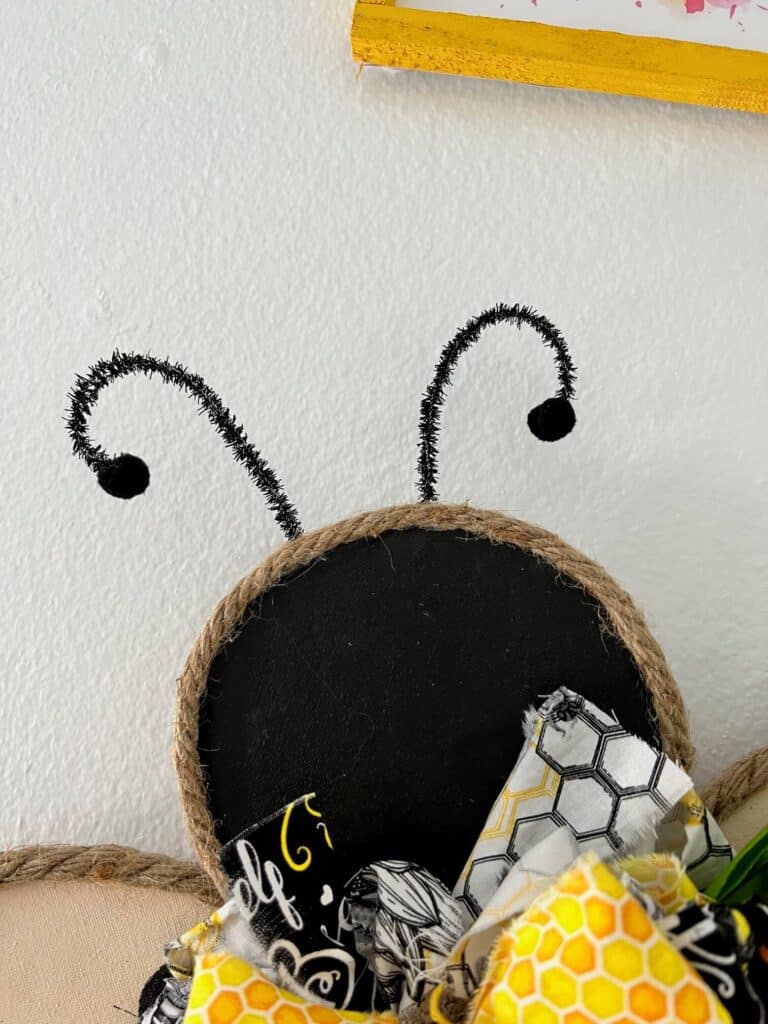
Now for the details and the bow! Glue two pipe cleaners to the top of the bumblebee head as antennas, and glue a small black craft pom pom to the end of each. Curl them outwards to make them more antenna-esque.
For the bow, I ripped up a ton of coordinating yellow, black and white fabric into 1″-1.5″ strips that were about 20 ” long and then made a messy bow with my Bowdabra.
You can make any type of bow you want, as long as it is BIG and beautiful! The bigger the better because I like big bows and I cannot lie! Add a paper flower embellishment to the center of the bow, or you could also add a large button or regular flower head as well.
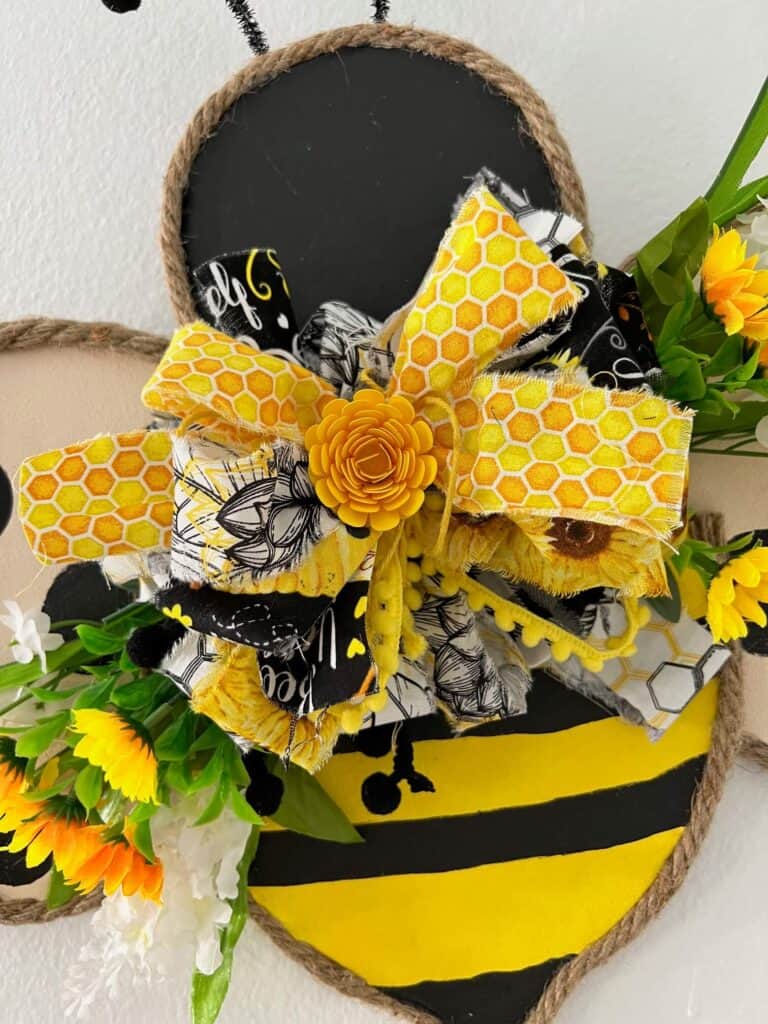
Glue some faux sunflowers and white flowers coming out of the bow on the top right, and on the bottom left, to give the bow even more UMPH. I just kind of tucked them about halfway down the bow, and secured them with hot glue
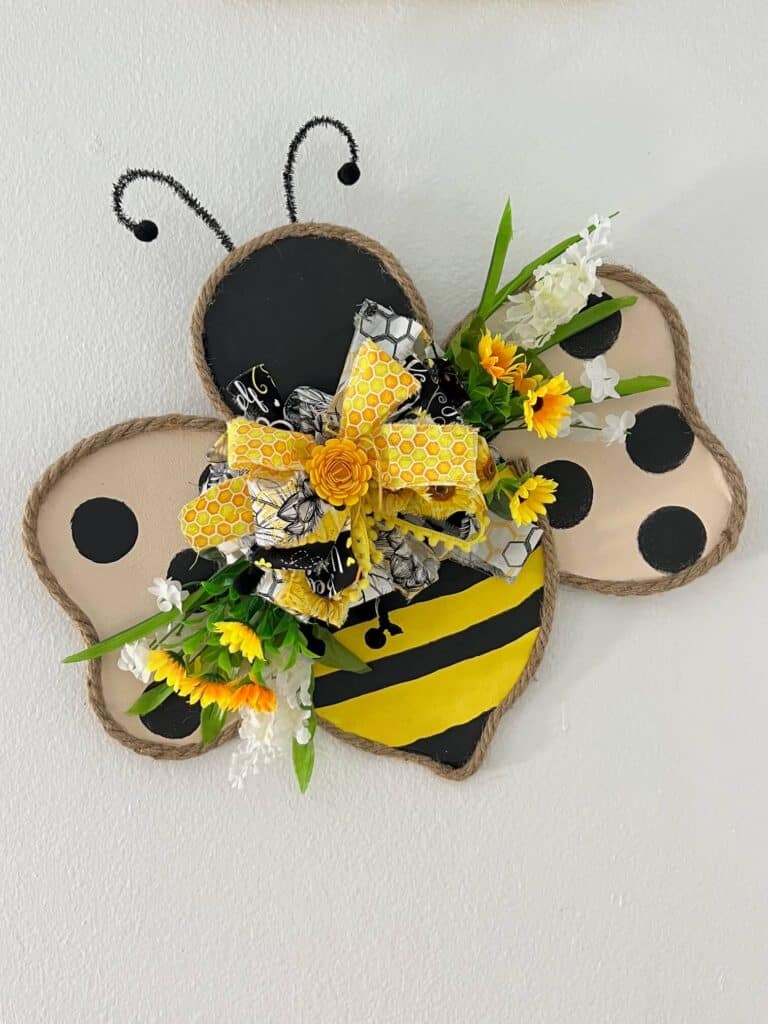
And here she (or he) is in all their glory! I am calling it a HE, I think this one is more of a KING bee, don’t ya think?
This is such a fabulous alternative to paying over $100 for one on Etsy. If you have it in the budget and don’t want to make it, then by all means buy away, but if your on a budget like ya girl here is, then get yourself some cardboard (ahem Amazon boxes) and get to crafting.
Are you going to make a Cardboard Bumblebee Door Hanger? If you do, I’d love to see it! Pop on over to our free Craftspiration Facebook group, and join in on the fun by posting a pic of your Tiered Trays, DIY’s and crafts. I just love to see all your creative and crafty creations.
If you’ve got a million projects on your crafting ‘to-do’ list like I do, than you need my FREE Craft Project Planner so you can plan to make *all the things*! When you sign up for the craft planner, I’ll also send you lot’s of fun, easy, and budget friendly ideas for you to fill it up with!

Free printable Craft Project Planner
Get organized, get inspired, and get crafting, with our free Craft Project Planner!
Until Next Time…
Stay Crafty San Diego!

Love this Cardboard Bumblebee Door Hanger? Make sure to PIN it for later!


