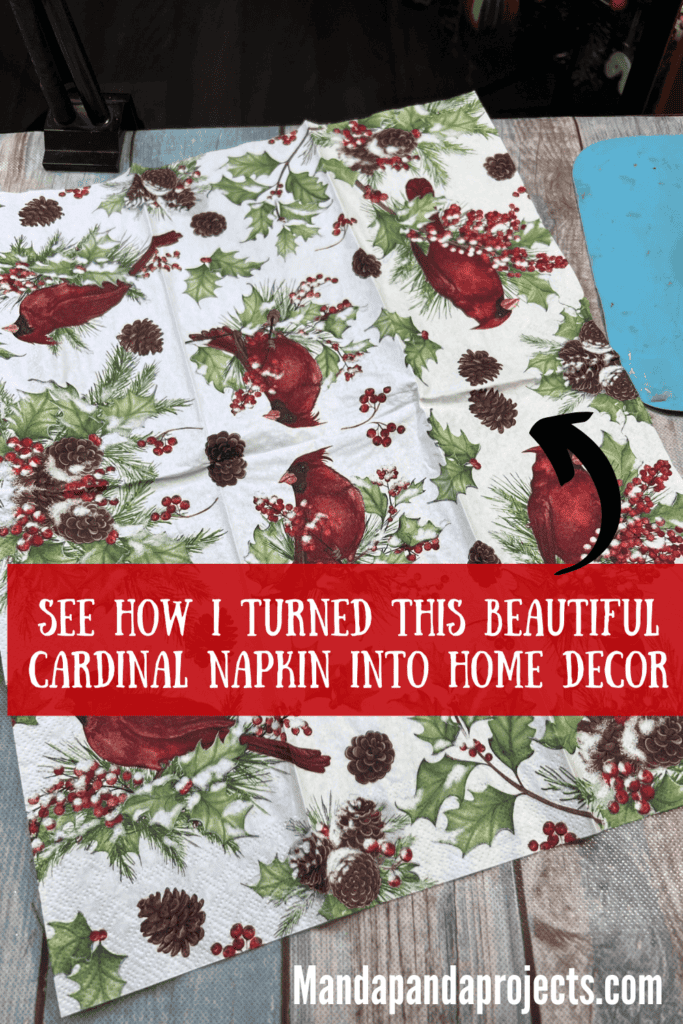
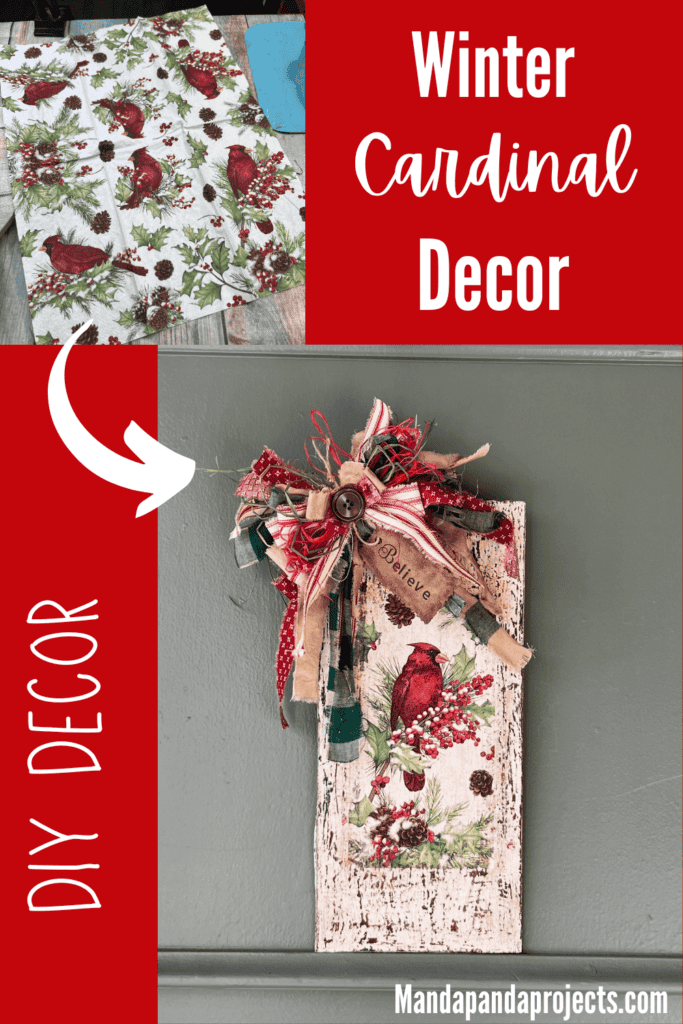
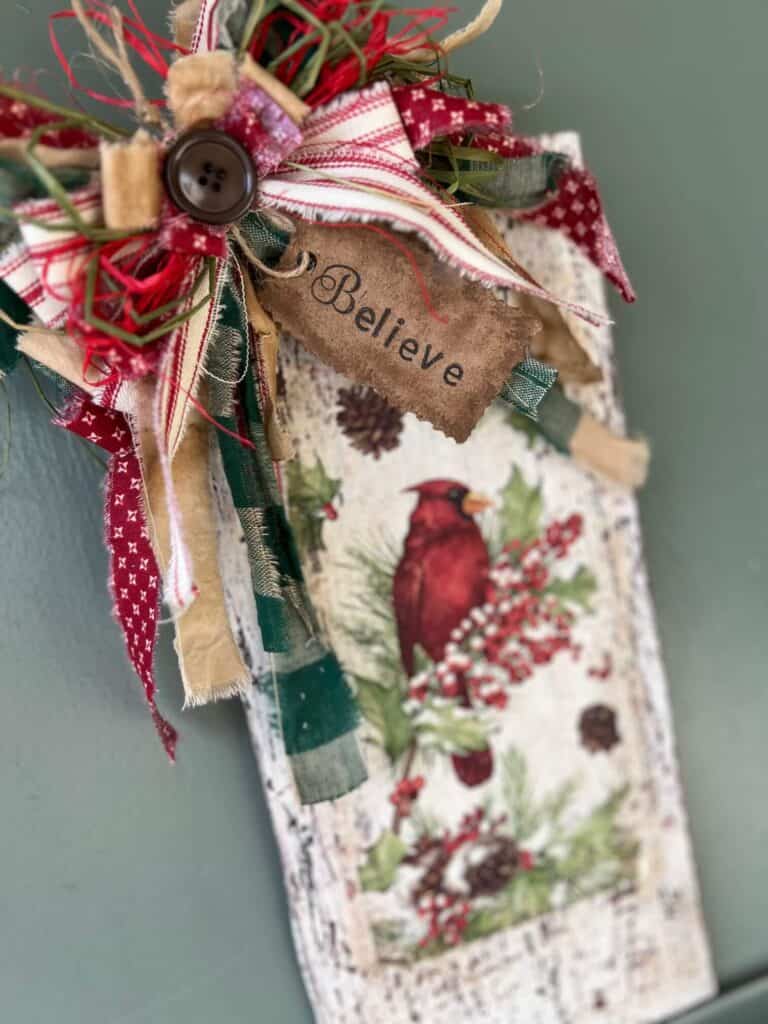
Turn a gorgeous red cardinal decoupage napkin into beautiful DIY home decor. This winter craft is not only cute, but with a cardinal it’s meaningful too!

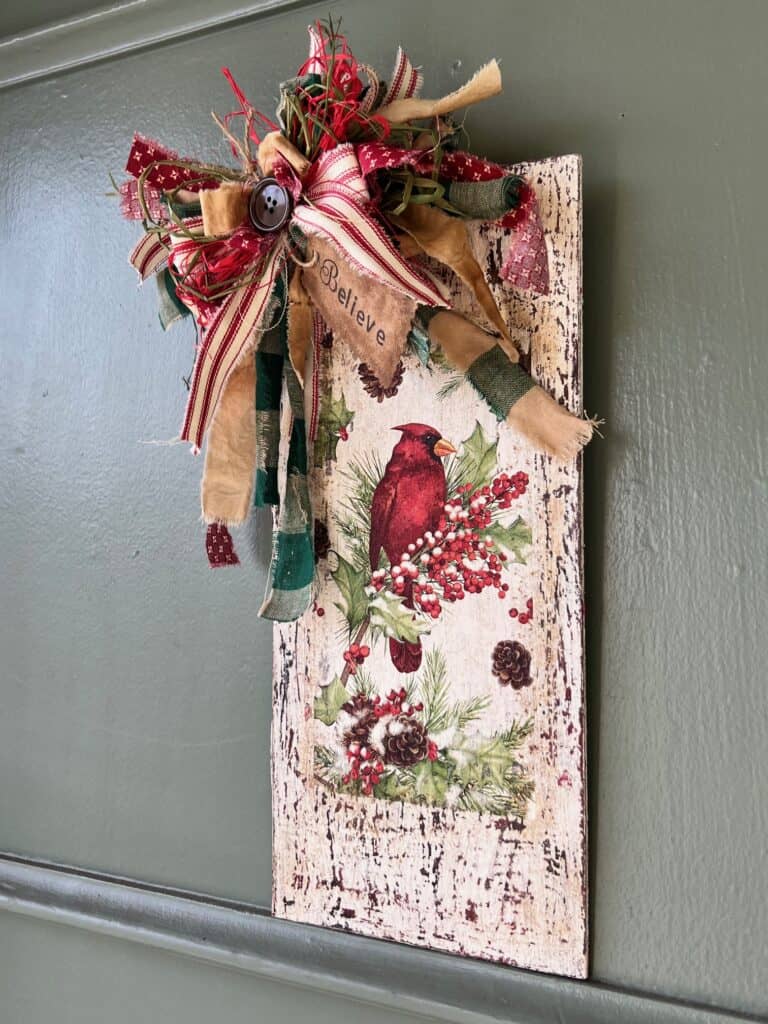
See that gorgeous Cardinal napkin on the sign? That was one of the napkins from my Big Pack of Craftkins napkin subscription!
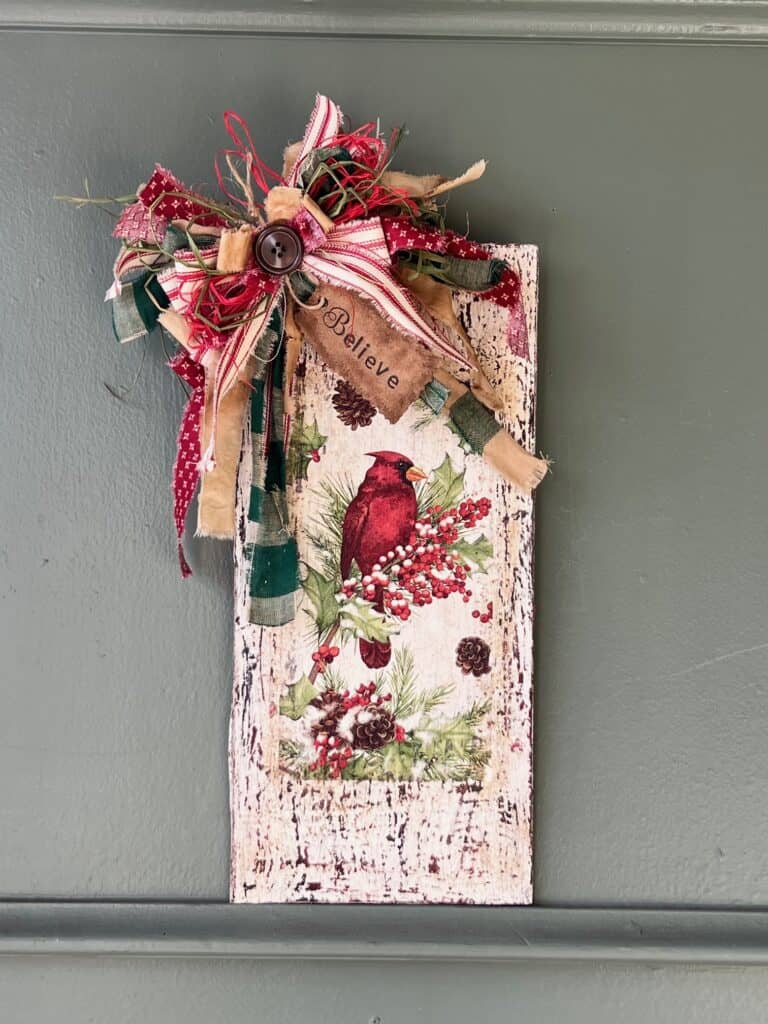
With Craftkins you get 18 seasonal and holiday decoupage napkins sent to you once every 3 months, so that you never have to buy napkins for crafting ever again! Get on the waitlist for when it opens next HERE.
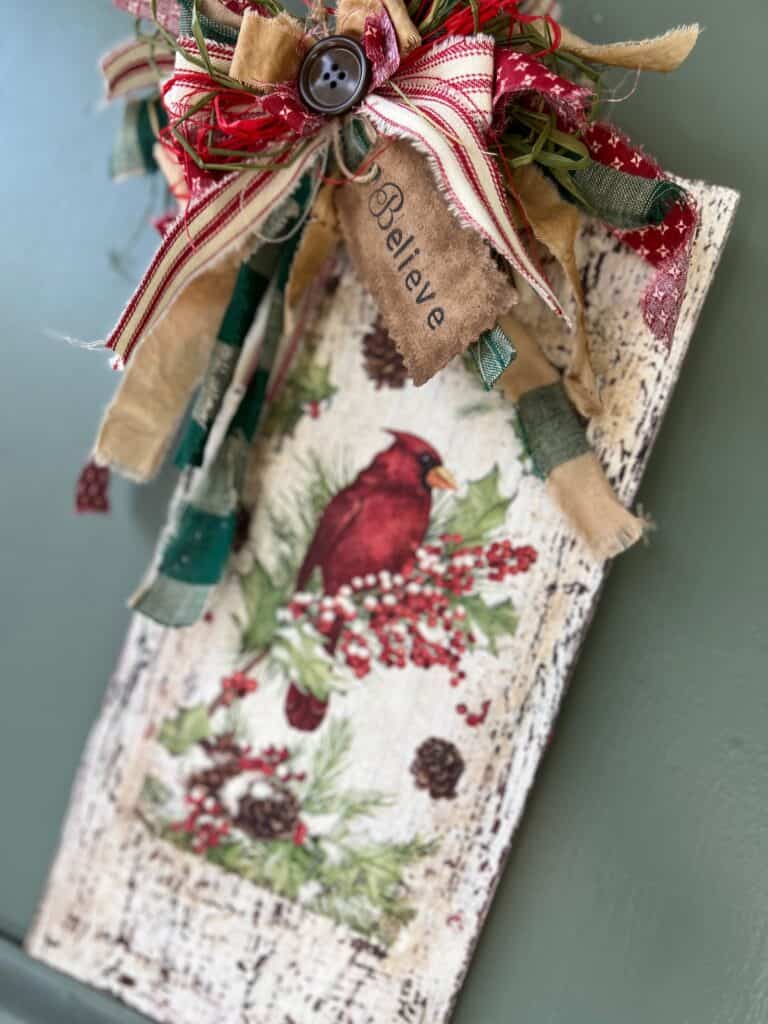
This red cardinal napkin is definitely one of my very fave from the Christmas and Winter bundle last year. But then again, it’s too hard to choose a fave!
This post may contain affiliate links for your convenience (which means if you make a purchase after clicking a link I will earn a small commission but it won’t cost you a cent more!)
Supplies Needed to Make a Cardinal Napkin Sign
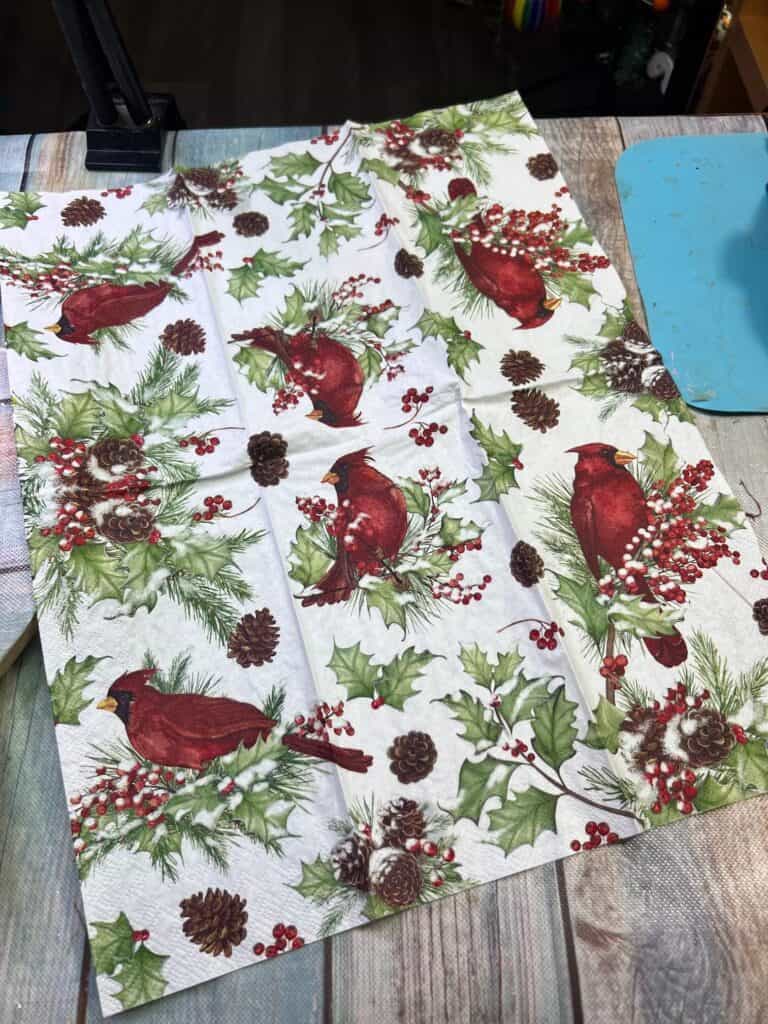
- Cardinal Napkin (Get on the Big Pack of Craftkins Waitlist for cute napkins HERE)
- Rectangular wood surface (I used a Dollar Tree sign)
- Coordinating fabric
- Red and Green raffia
- Paint: Brown, Black, Red, White
- Candlewax
- Paint Scraper
- Button
- Kraft Paper
- Twine
- Acrylic Alphabet Stamps
- Irregular Ruler
- Mod Podge
- Hot glue gun
How to Make a Cardinal Napkin Sign
I made this Cardinal Napkin Sign on video. So you can WATCH the tutorial by clicking below.

I started with a wood surface that I had already used to test out a wood grain tool, so it had that brown wood grain look to begin with. You could simply stain your surface with Antique Wax, and it would look just as good.
Then I used a spouncer to dab on red randomly throughout the surface. I wanted just a little bit of red to peek through after we do the chippy paint method.
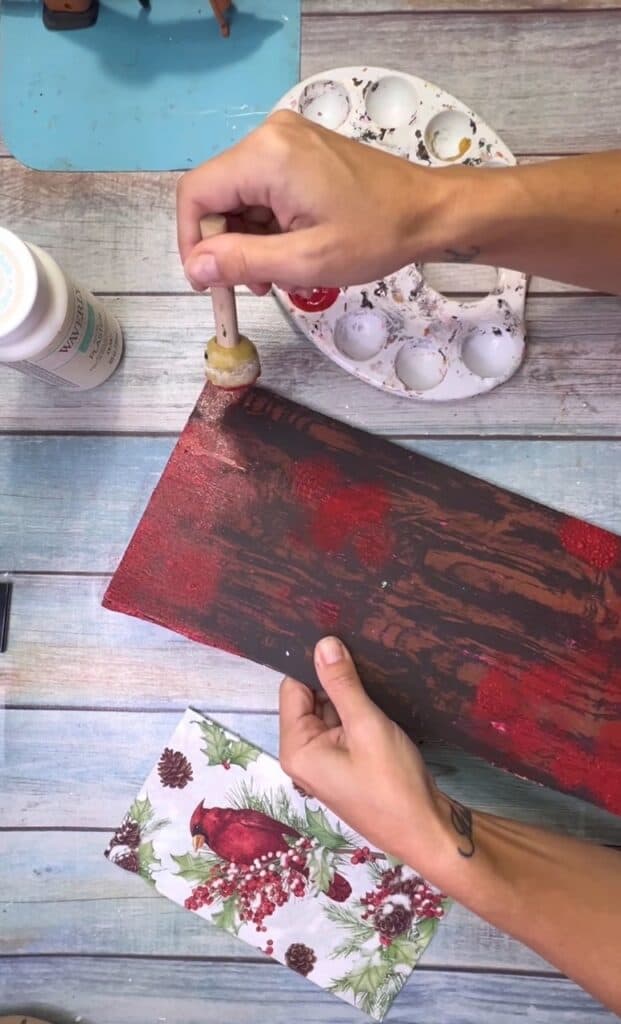
To get the “chippy” look, rub candle wax all over the surface of the wood, right on top of the red and brown. I didn’t cover it completely, but I did cover quite a bit in a total random fashion.
Basically, wherever you have the candle wax is where the paint will chip off in the next step. If you want it super chippy then add more wax, less chippy add less wax.
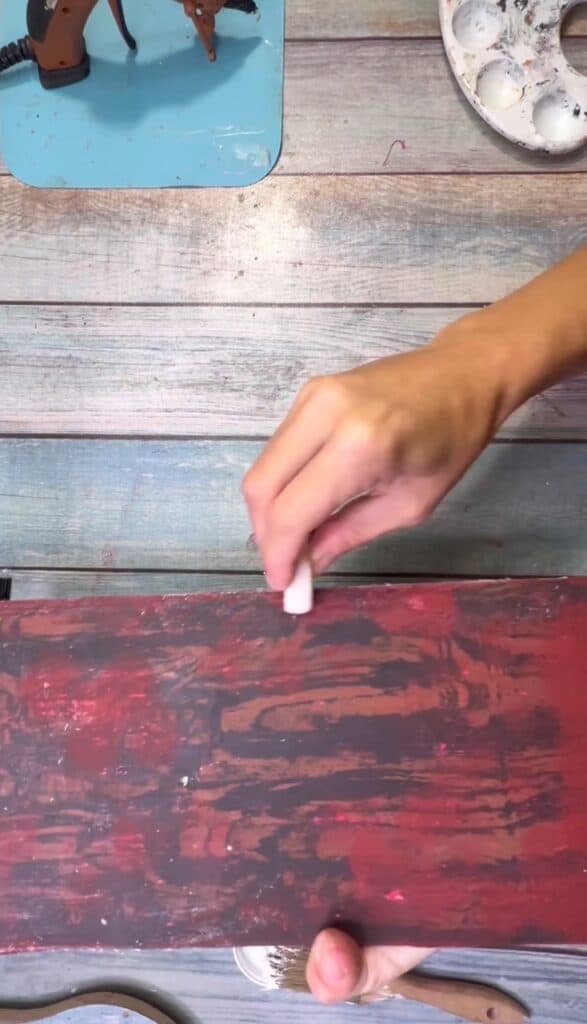
Next, I used a chip brush to paint white chalk paint over the top. I didn’t do a FULL coverage, but it’s not quite a dry brush either.
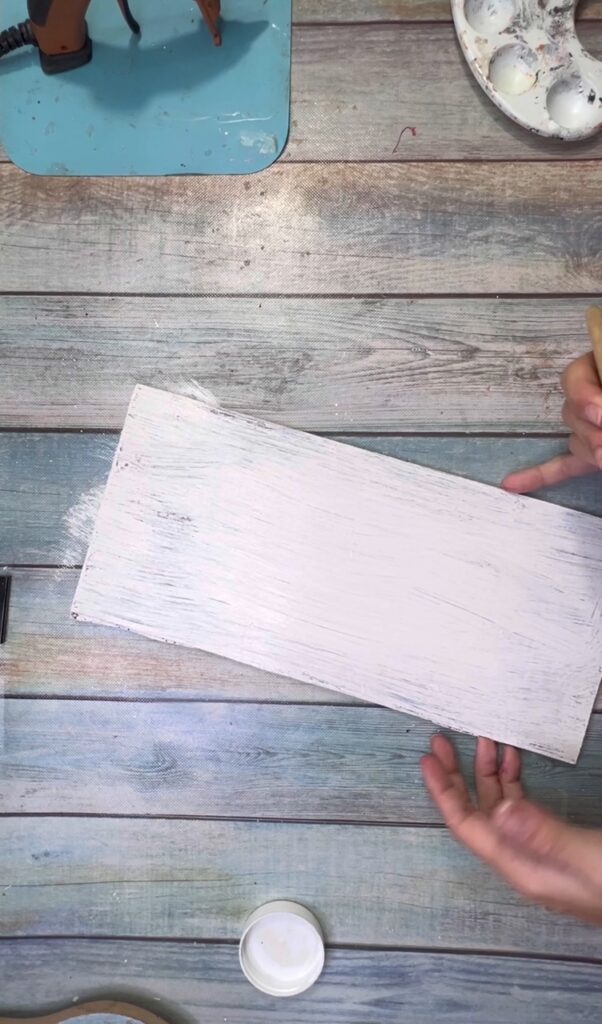
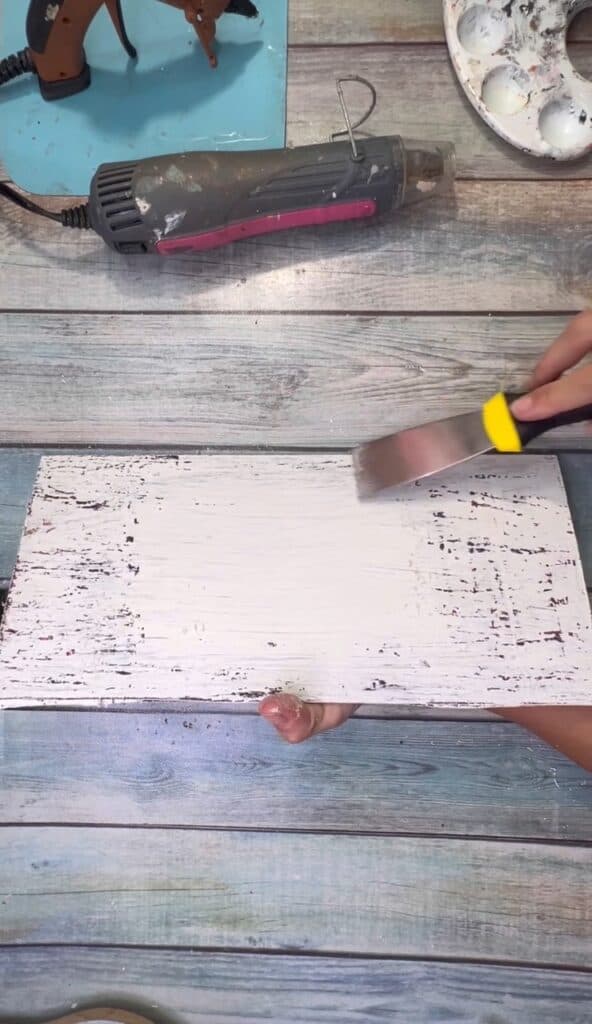
Now for the fun part……chipping it! Use a paint scraper to scrape off as much or as little of the paint as you like. You can also use packing tape to pull up the paint. I like that method better most times, but for this project I decided to just use my scraper.
I cut my napkin down to just the one image, and separated it down to one ply.
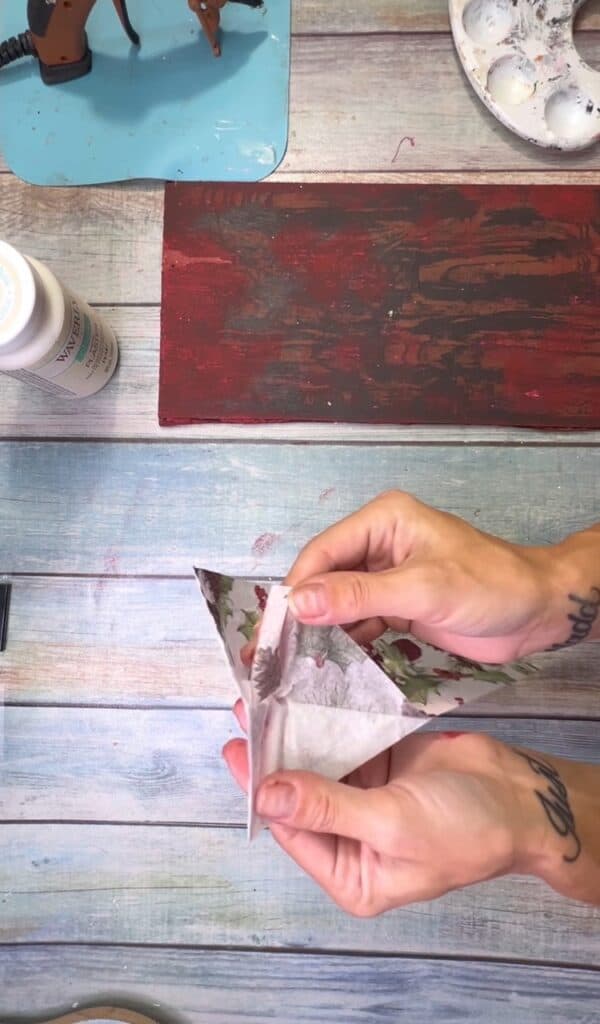
Then, I used Mod Podge to decoupage the napkin front and center on my chippy wood surface. (Apply a thin layer of Mod Podge, then lay your napkin down and smooth it out the best you can. Embrace the wrinkles!)
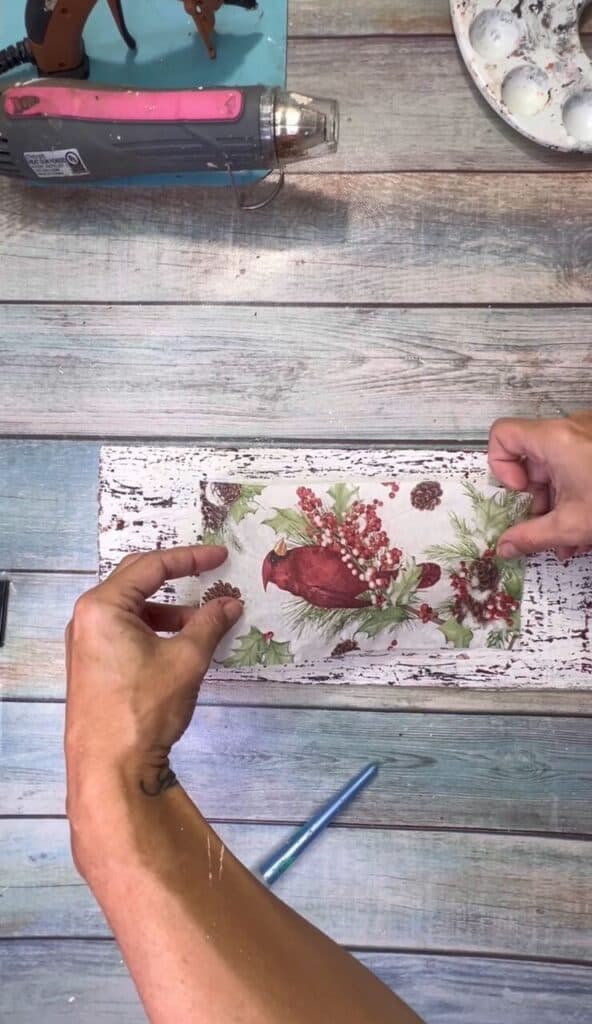
Next, I grunged it up with Waverly Antique Wax. I added the wax all around the edge of my surface, and around the napkin as well.
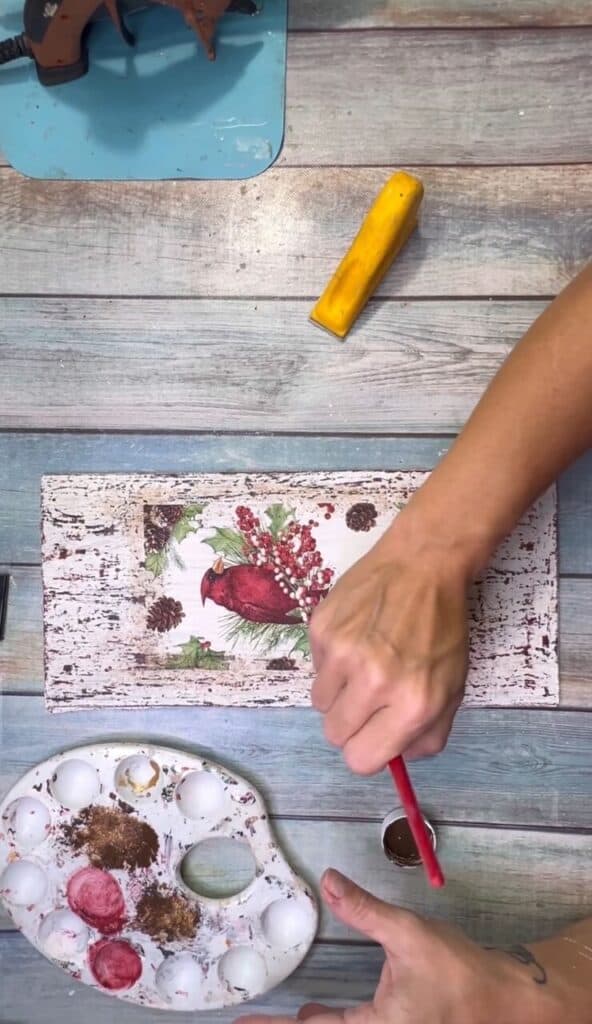
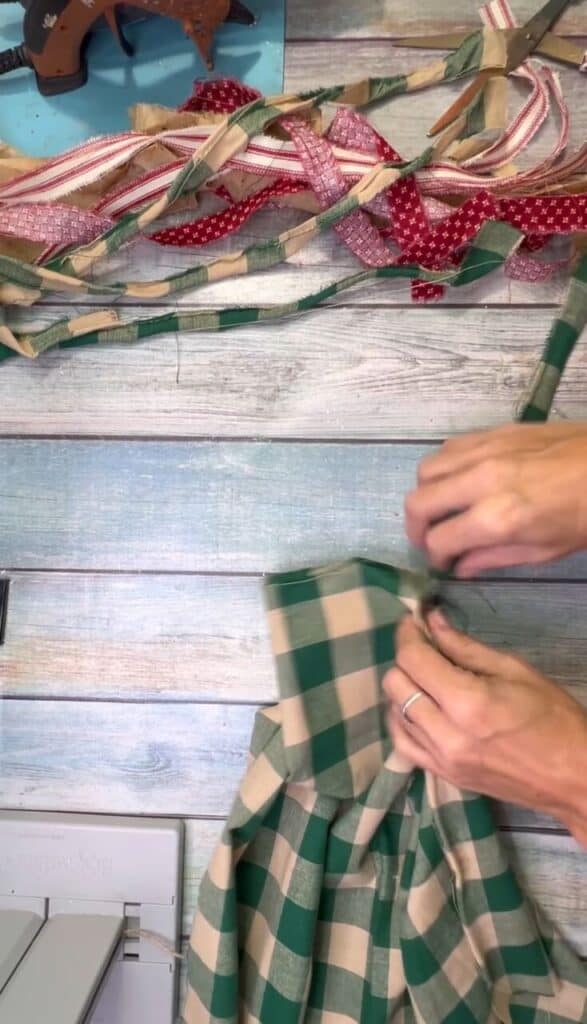
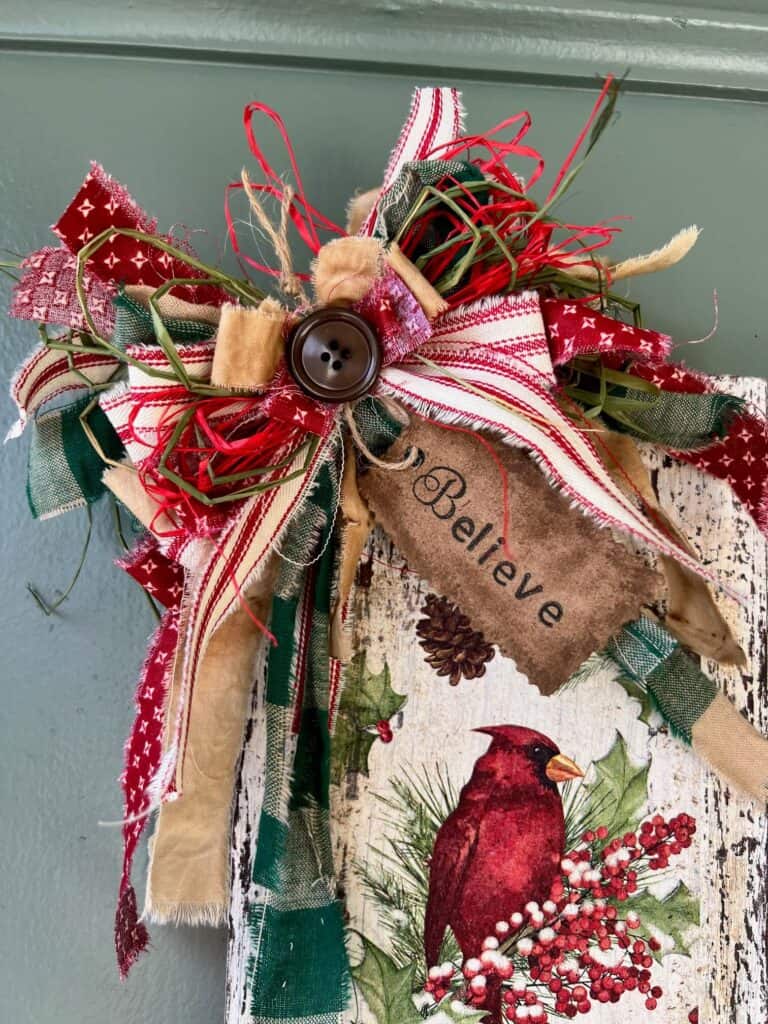
Time for the bow! I ripped up a bunch of red and green coordinating fabric along with some coffee stained muslin into 1 inch wide strips.
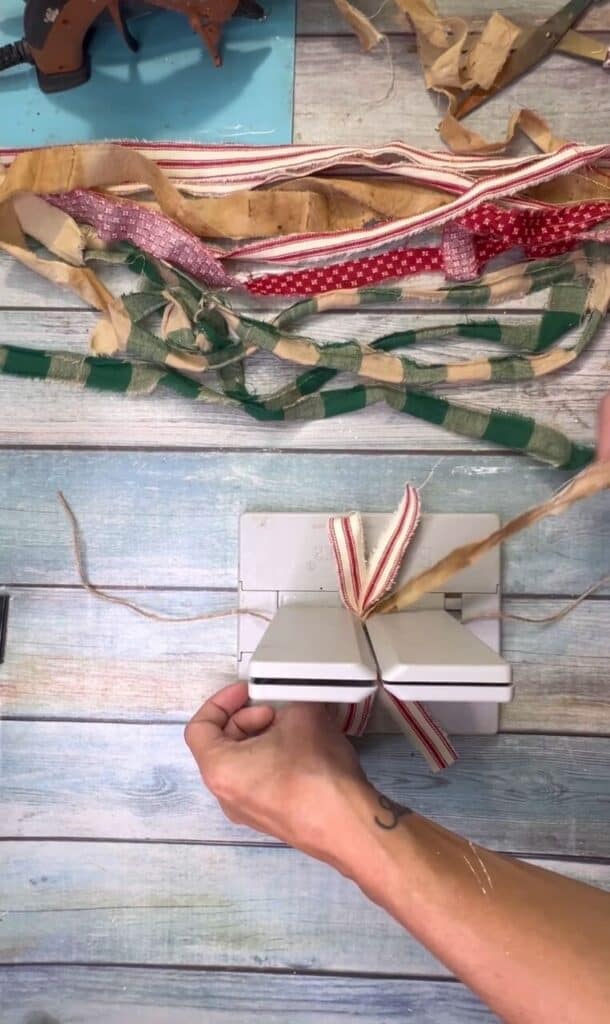
Then I used my Bowdabra to make a big messy bow. I added some red and green raffia into the bow too. You definitely don’t NEED a Bowdabra, but I sure do love mine!
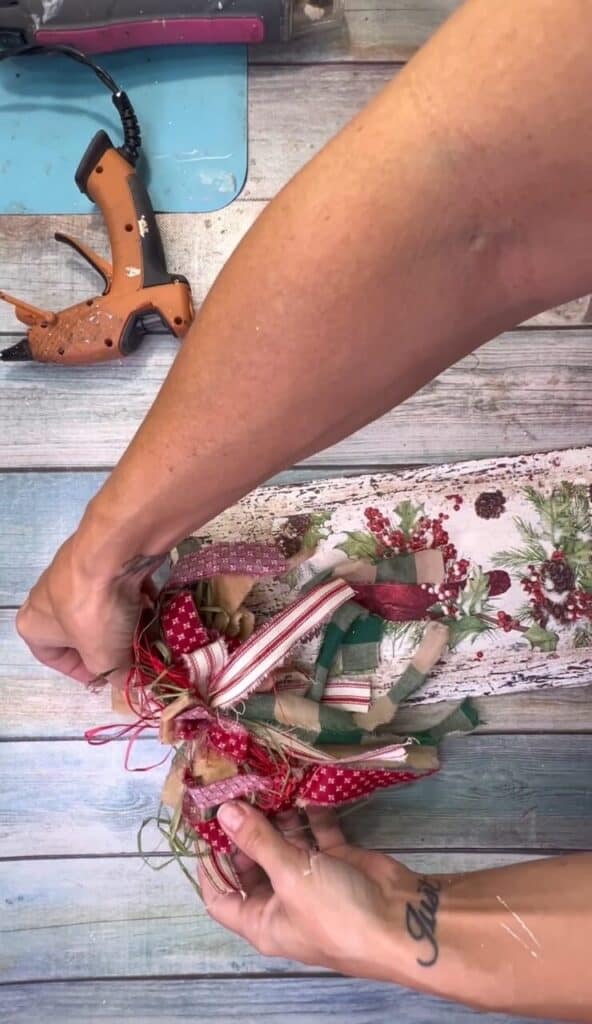
I glued my bow to the top left of the sign, just above the napkin.
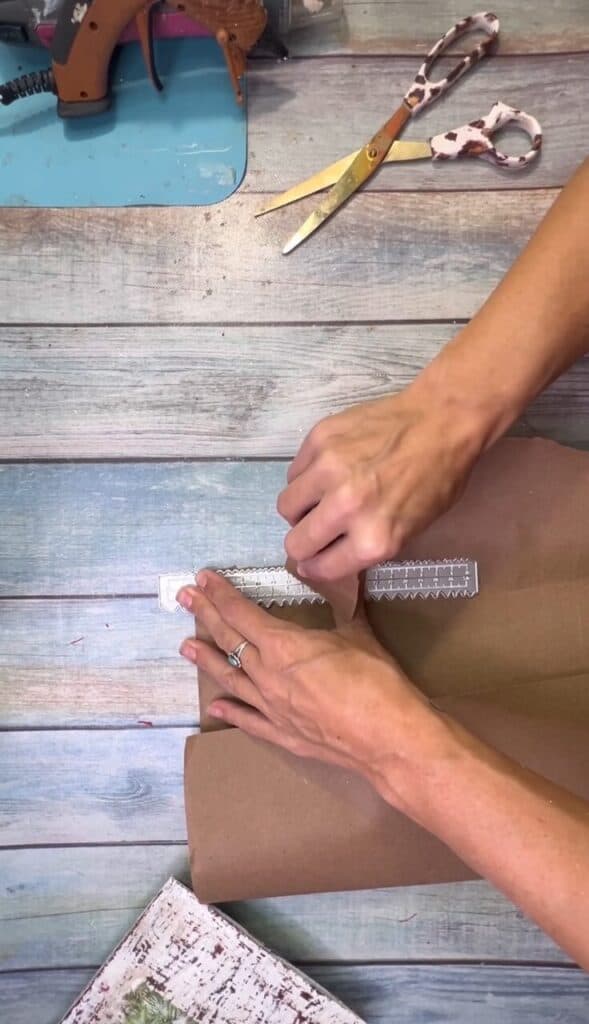
Using an irregular ruler, I ripped some thick Kraft Paper into the shape of a hangtag and punched a hole in the top.
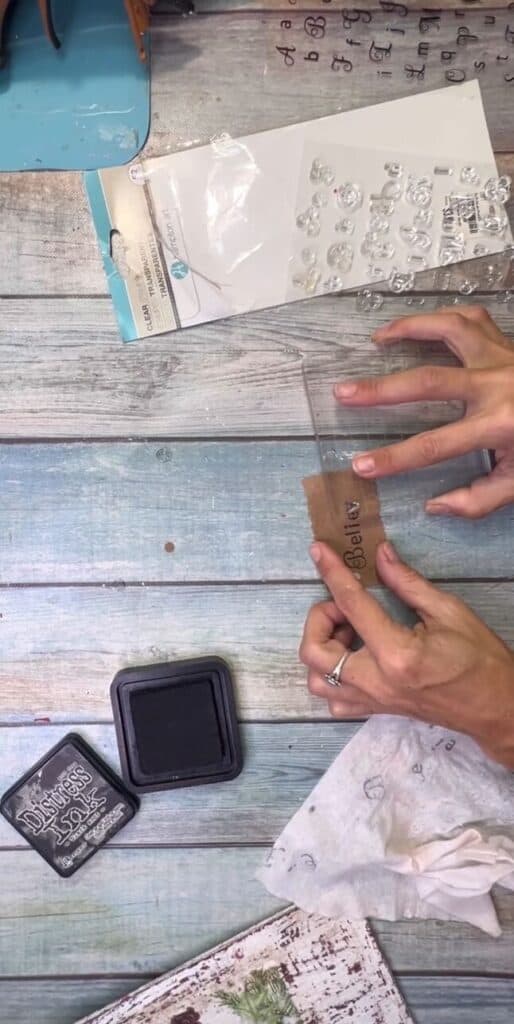
I stamped the word “Believe” with my acrylic alphabet stamps. I chose “believe” because cardinals are reminders of loved ones, and I choose to believe they are here with us when a cardinal is around.
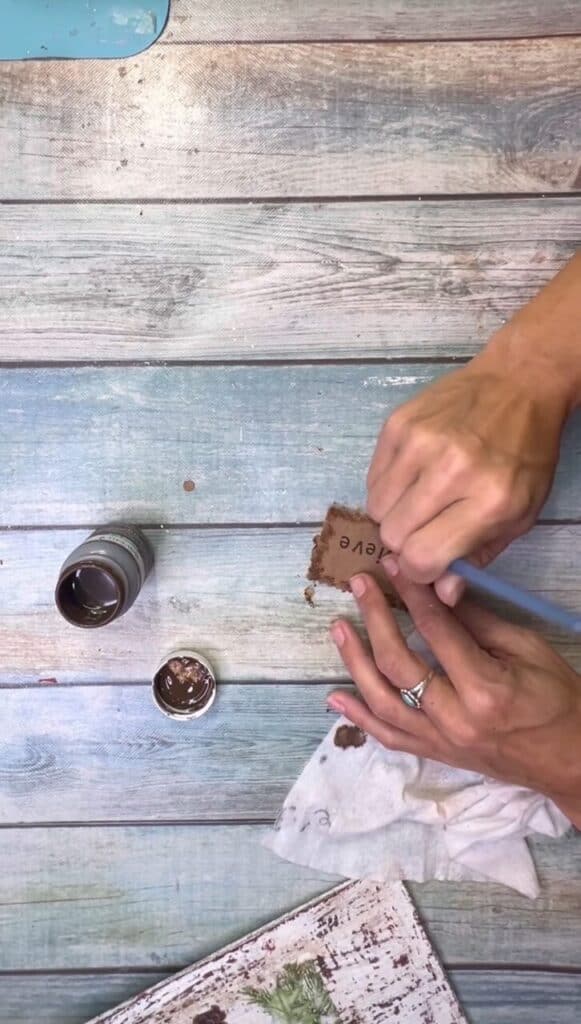
I grunged the tag up with my Antique Wax.
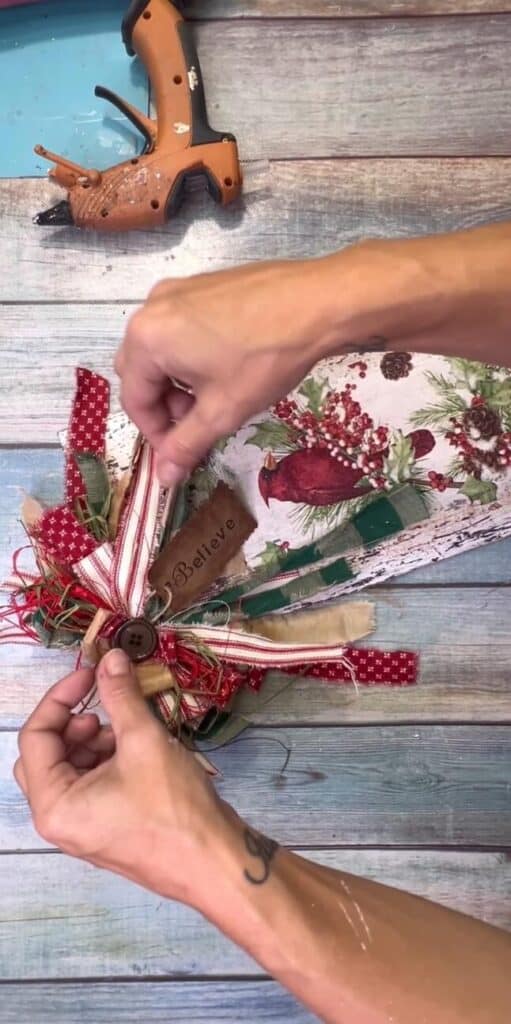
Then glued it to the center of the bow with a big brown button.
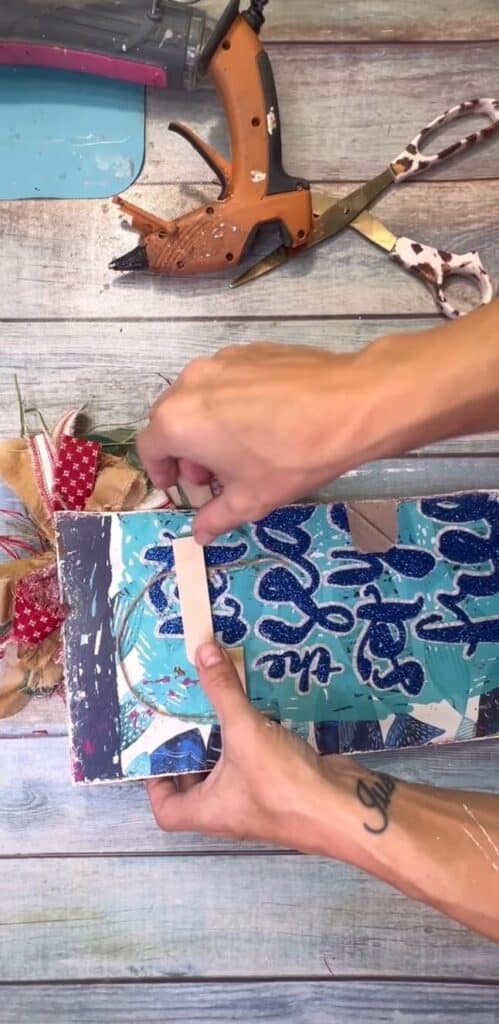
To finish it off I glued a twine hanger across the back, and reinforced it with popsicle sticks.
Can we say GORGEOUS with a capital G!? I just love how this one turned out.
If you love cardinals then you might love the Dollar Tree Cardinal Sled I made as well!
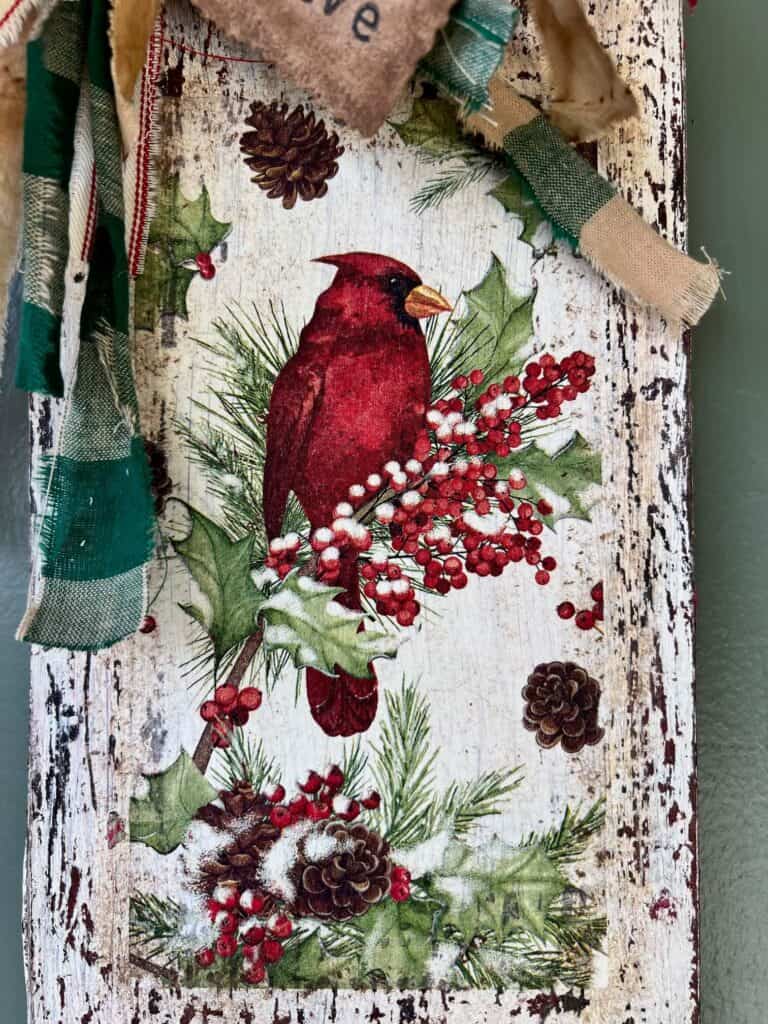
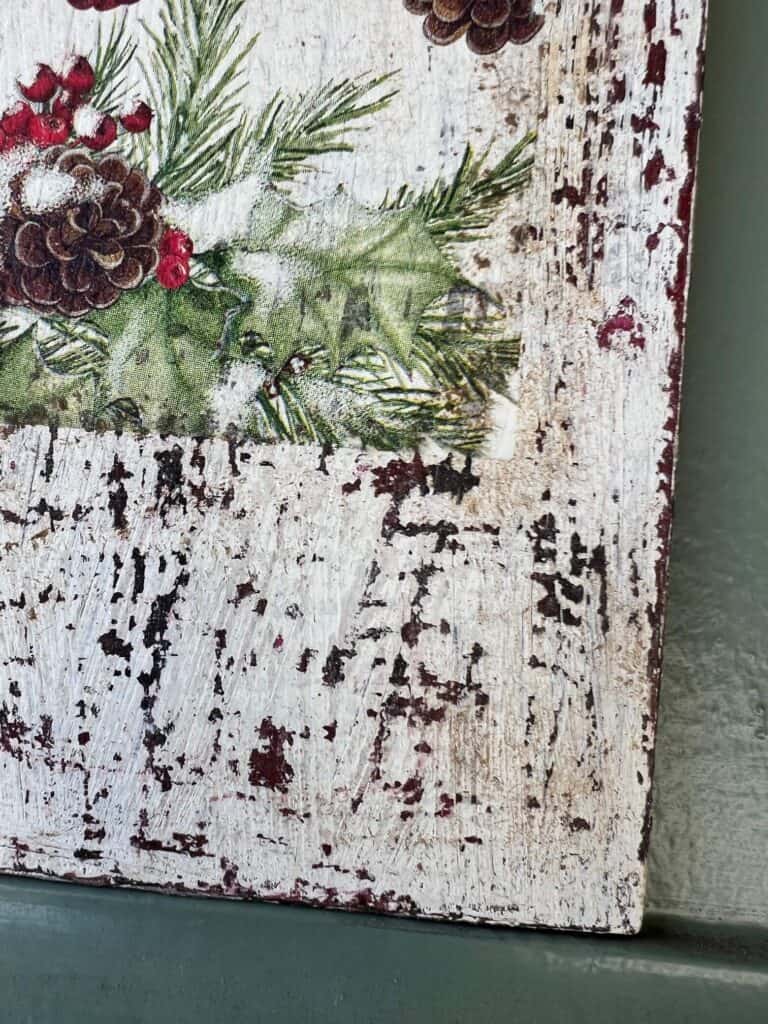
Here’s a closer look at the chippy.
Are you going to make a Cardinal Napkin Sign? If you do, I’d love to see it! Pop on over to our free Craftspiration Facebook group, and join in on the fun by posting a pic of your Tiered Trays, DIY’s and crafts. I just love to see all your creative and crafty creations.
If you’ve got a million projects on your crafting ‘to-do’ list like I do, than you need my FREE Craft Project Planner so you can plan to make *all the things*! When you sign up for the craft planner, I’ll also send you lot’s of fun, easy, and budget friendly ideas for you to fill it up with!

Free printable Craft Project Planner
Get organized, get inspired, and get crafting, with our free Craft Project Planner!
Until Next Time…
Stay Crafty San Diego!

Love this Cardinal Napkin Sign? Make sure to PIN it for later!
