This adorable DIY Valentine’s sign combines two of my very favorite things…Rainbow Color and Dollar Tree! You can make this fun and funky piece of Valentine’s decor for just a few dollars, and a package of napkins, so grab the kiddos and get to DIYing this fun “Love” sign for Valentine’s Day!

If you’ve followed me for any amount of time, then you know how incredibly obsessed I am with all things funky and colorful. Well this Dollar Tree DIY Conversation Heart “Love” sign just screams Manda Panda Projects in all it’s glory!
I started off crafting with the traditional Red Valentine’s colors this year with, but quickly pivoted to the rainbow conversation heart colors when I found these adorbs napkins. Seriously, I went a little crazy finding things to make with them because I loved them so much, and came up with a Conversation Heart Wreath that matches this sign and is just as cute!
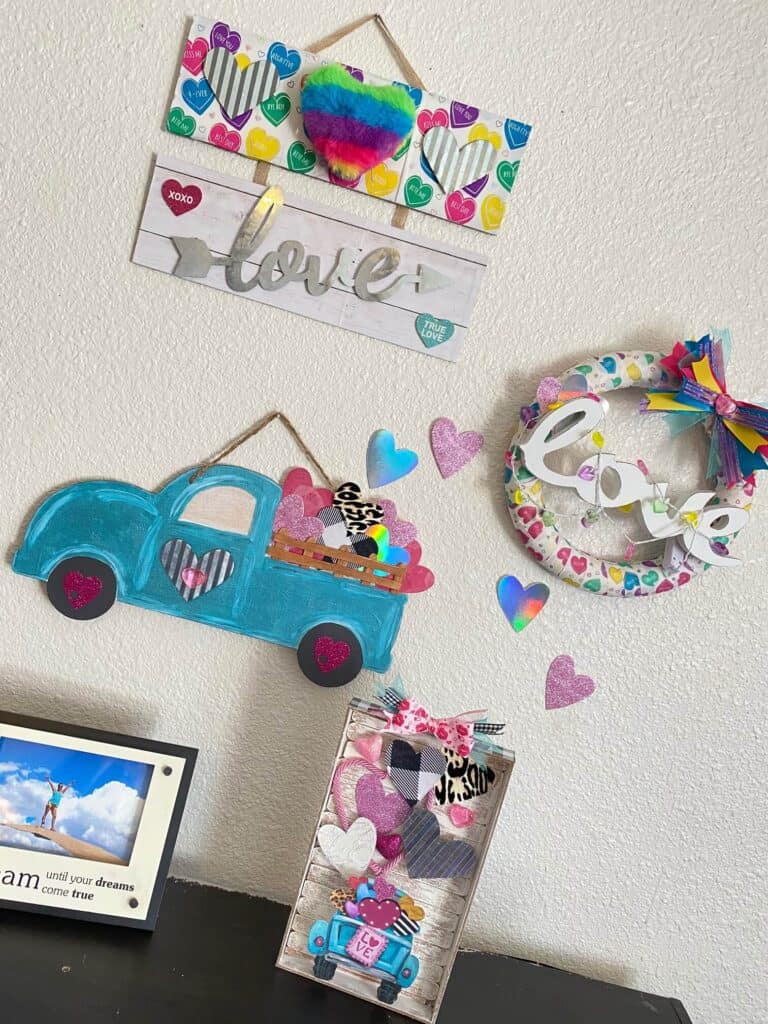
I found the adorable Conversation Heart napkins at Walmart, along with some “Wine is My Valentine” napkins that I used for another DIY napkin sign. I’m just all about craftin’ wit’ napkin’s this Valentine’s Day season!
Go HERE to watch the Facebook Live video of me making this fun Conversation Heart Napkin Sign!
This post may contain affiliate links for your convenience (which means if you make a purchase after clicking a link I will earn a small commission but it won’t cost you a cent more!)
Supplies Needed to make a Dollar Tree Conversation Heart Napkin “Love” Sign
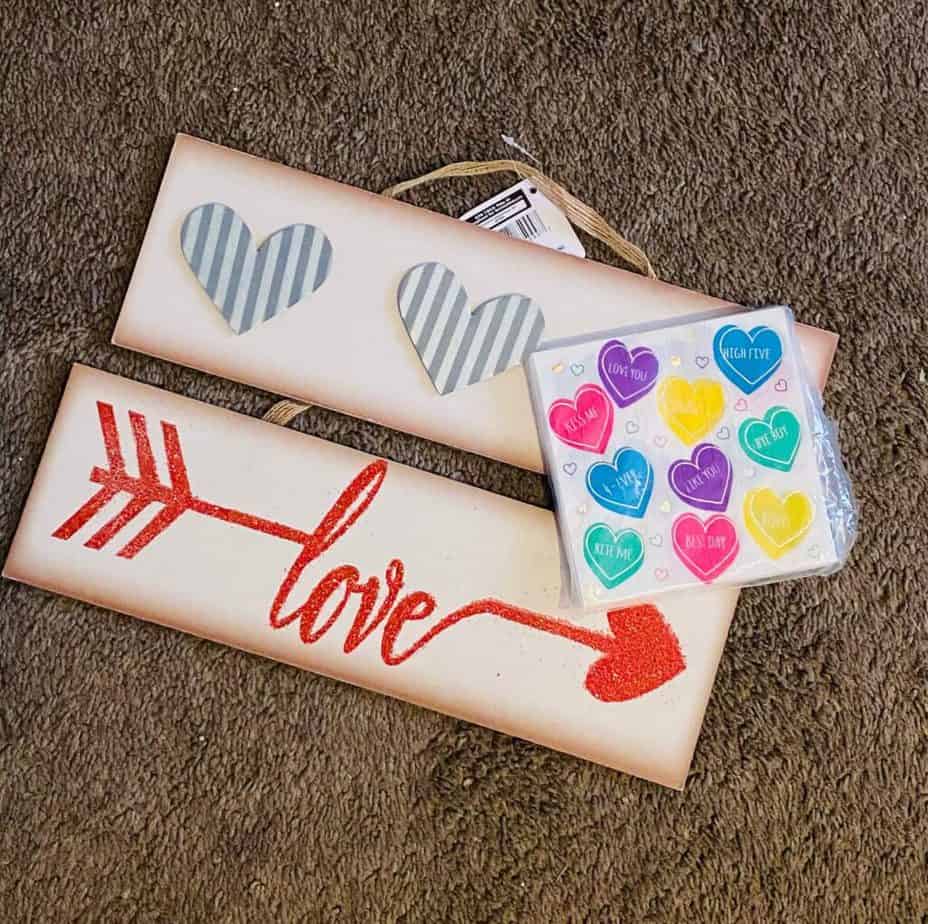
- Dollar Tree “love” double planked sign (the sign had the galvanized metal hearts and “love” already but you can purchase them on Amazon too)
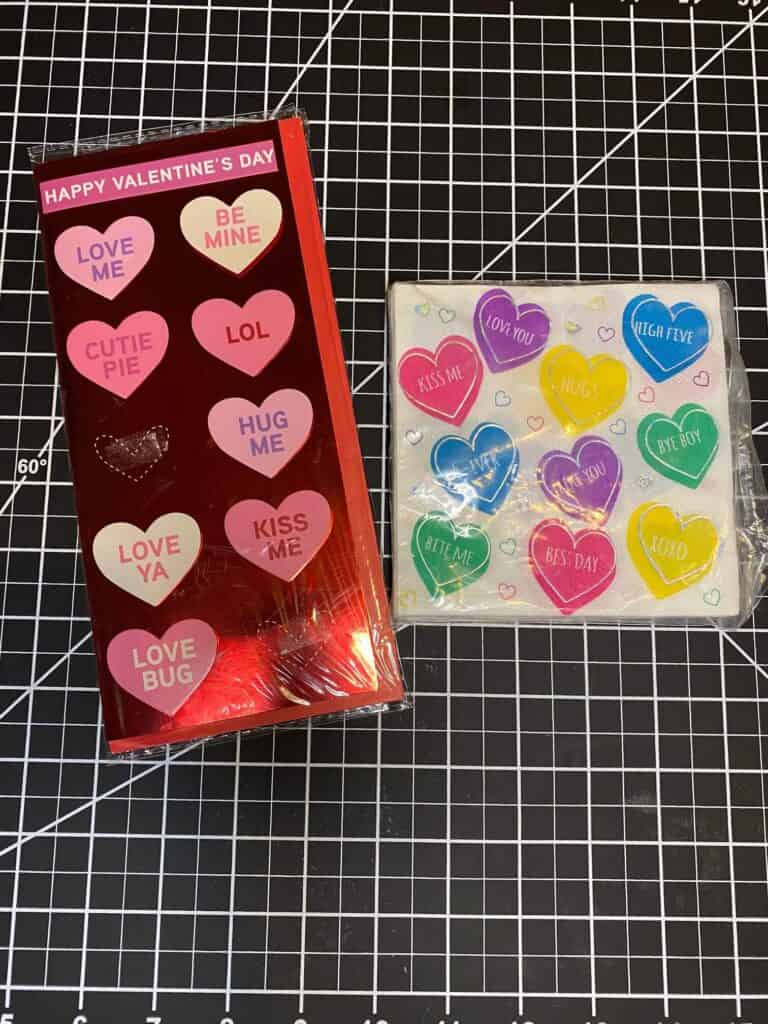
- Conversation Heart napkins
- Furry rainbow heart keychain
- White wooden plank scrapbook paper (you could also use white paint)
- Mod podge
- Conversation heart stickers
How to make a DIY Dollar Tree Conversation Heart Napkin “Love” Sign
Follow the below easy steps to make this Conversation Heart sign, or you can watch the Facebook Live tutorial here!

Sand the entire sign to remove as much of the glitter and lettering as possible.
Cut the napkin into 1-ply squares and Mod Podge them to the top portion of the sign. To get a nice smooth application, the best way to do this is to apply a small but decent amount of Mod Podge to the surface of the wooden sign. You want it to be nice and fully covered, but not thick and chunky. Then lay the napkin on top and pat lightly with your finger. Lay a piece of saran wrap over the top and use something flat and hard (like a credit card) to smooth the napkin out and get rid of all the bubbles. If you are displaying your sign indoors, there is no need to Mod Podge on the top of the napkin to seal it, but you can if you’d like.
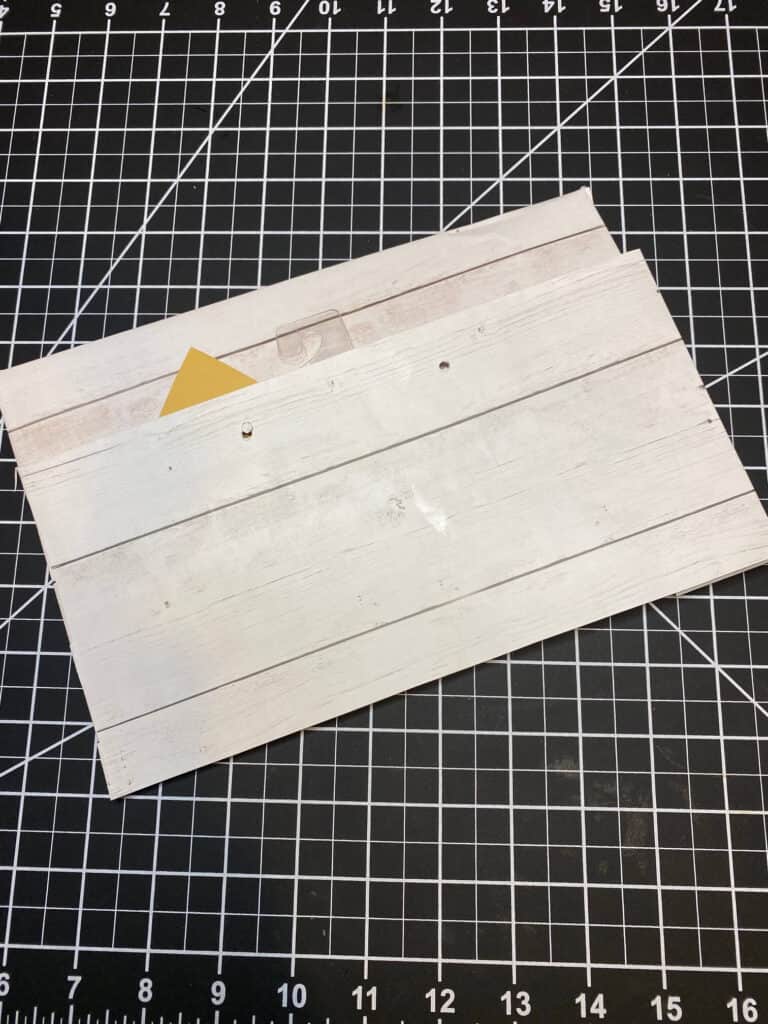
Cut a portion of the White “Wooden” gift bag the same size as the bottom rectangle on the sign, and Mod Podge that on top. (You could also paint the bottom portion of the sign with white chalk paint for full coverage).
Next, glue your Rainbow Fuzzy Heart to the center of the top portion of the sign, and glue a metal heart to the left and to the right of it. If your galvanized metal hearts do not already have a small cardboard block behind it to raise it up off the sign, you may want to glue one onto the back to give it depth and dimension so it’s not flat on your sign.
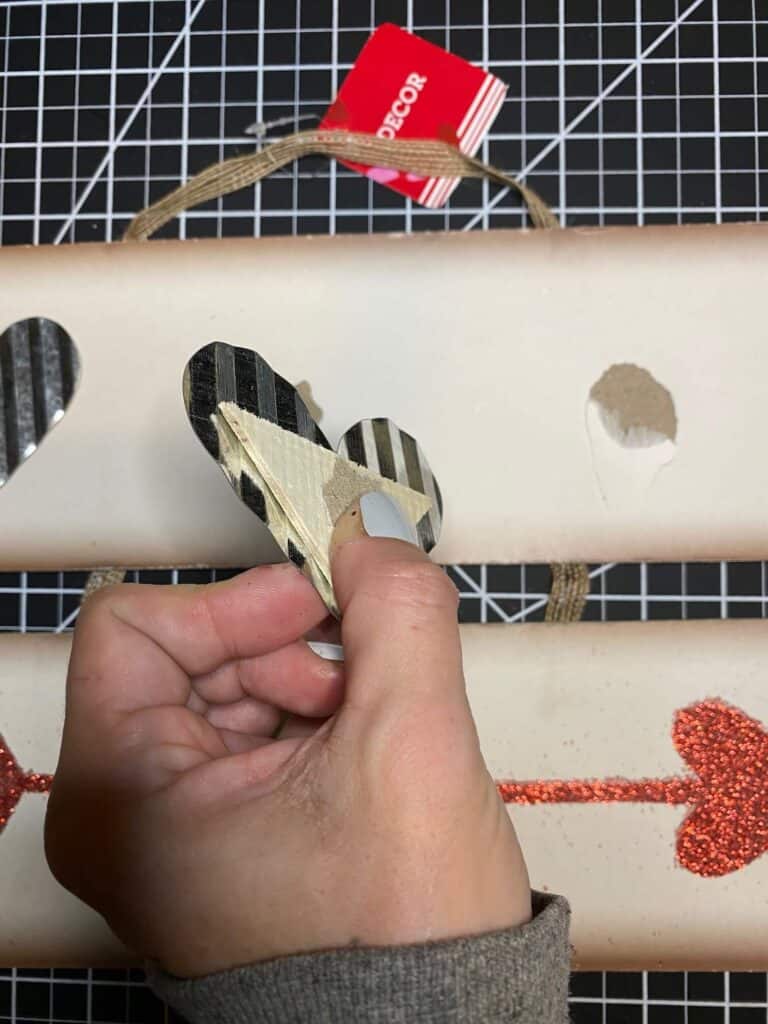
Same thing goes for your metal “Love”, glue some small pieces of cardboard or foam board to the back, and then glue the “Love” to the bottom portion of the sign.
Glue a couple of Conversation Heart stickers on each side of the “Love” if you want some extra flare.
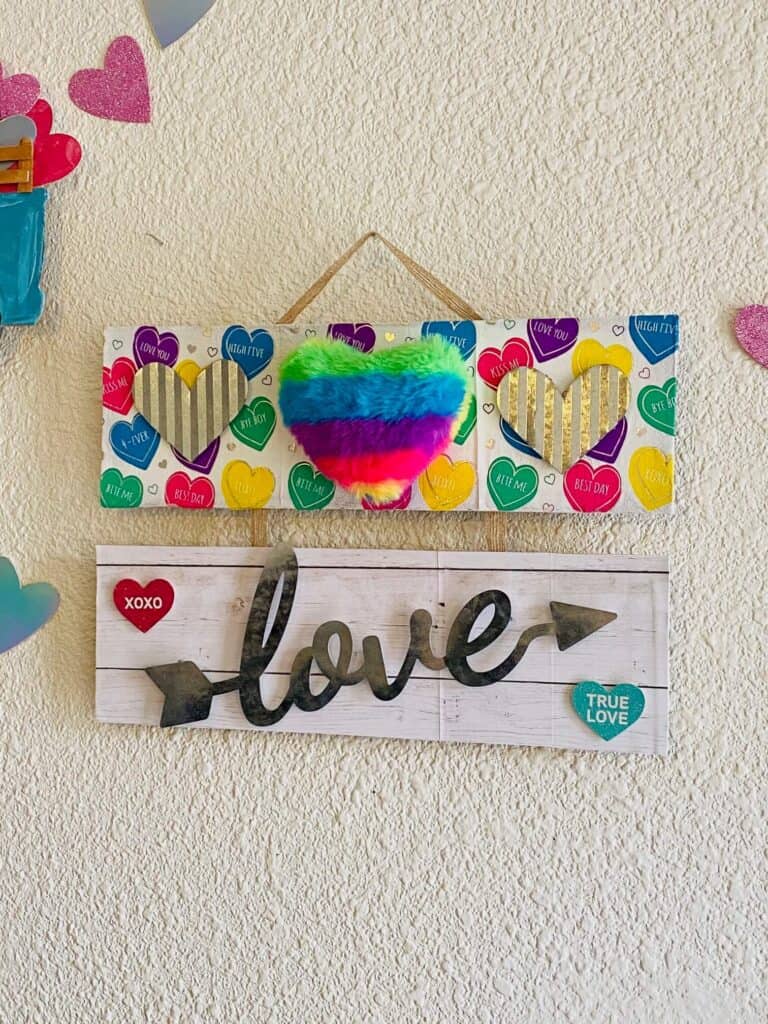
How cute and fun and colorful is this Dollar Tree Conversation Heart Sign “Love” sign makeover!? Would you ever know this was made with napkins?
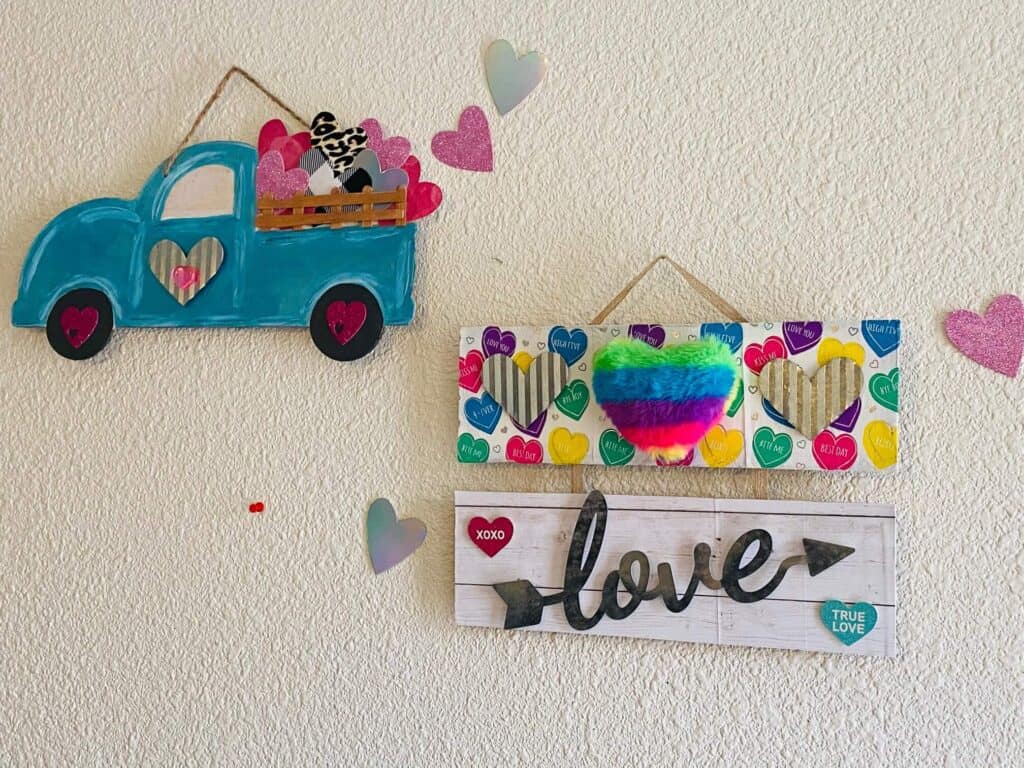
I went all out with the Valentine’s this year, more than any year before, so be sure to check out some of our other fun and colorful V-Day crafts to go along with this Conversation Heart Wreath. If you love this one, you’ll L💗VE the Dollar Tree Red Truck Makeover and Pink Ombre Pine Cone Heart Wreath too.
Are you going to make this Dollar Tree Conversation Heart “Love” sign for Valentine’s Day this year? If you do, Id love to see it. If you’re not part of our Craftspiration Facebook group, join in on the fun and post a pic of your completed DIY crafts, I just love to see all your creative and crafty creations!
Until Next Time…
Stay Crafty San Diego!


