Share the Love!
I do love a fresh bouquet of flowers. The smell. The vibrancy. The livelihood they bring to a room.
I don’t like the cost. The maintenance. Or the lifespan.
As far as I’m concerned, the purpose of giving flowers to your Mama on her big day is in the meaning. It’s to say “I Love You”, “I Appreciate You”, or for my Mommy, its to say “Thanks for being you”.
Now I’d dare to say that I speak for ALL Mama’s out there when I say that a handmade gift trumps even the most beautiful, most expensive bouquet any day!
So why not give the woman who gave you life the best of both worlds this Mother’s Day……a Handmade Bouquet!
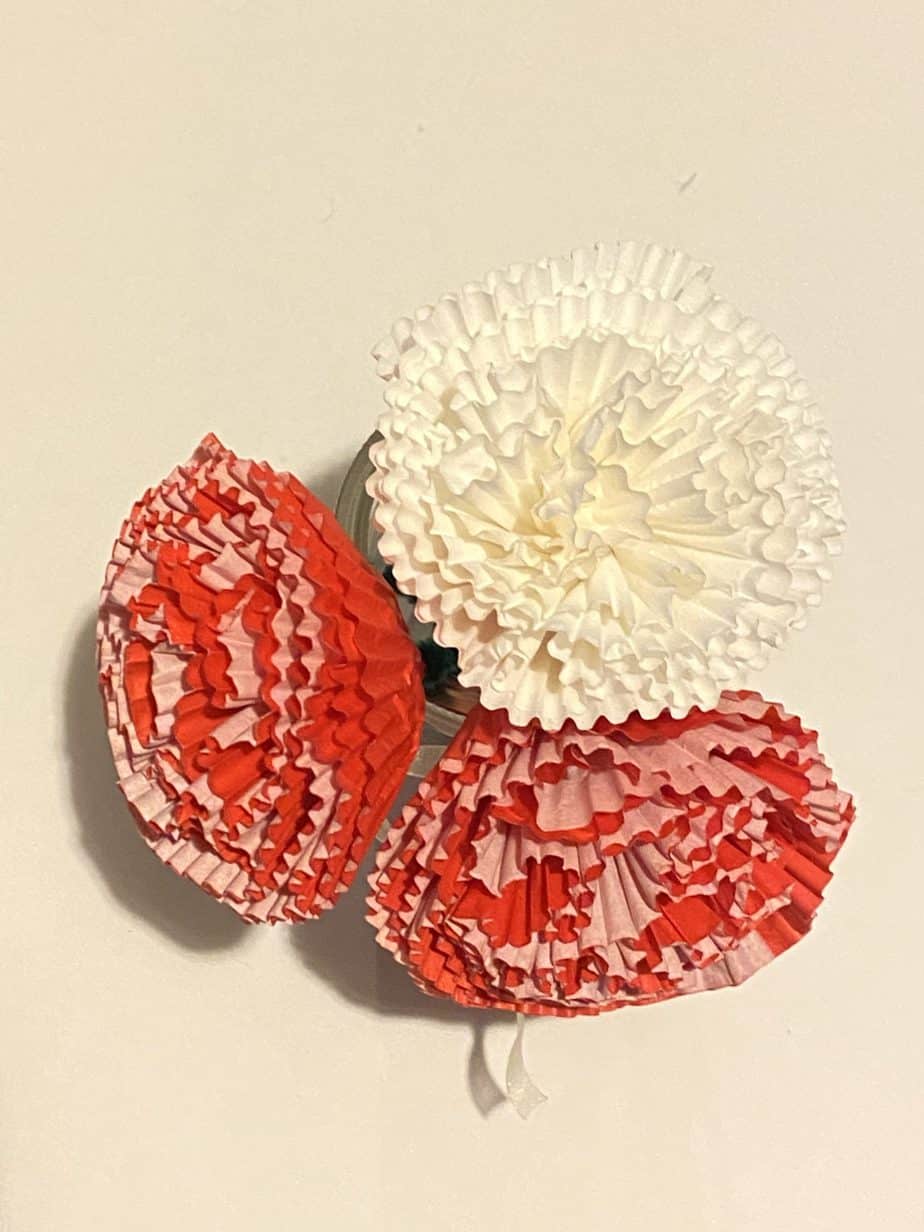
The Carnation is the “traditional” flower for “M” day. I actually didn’t know that until this year, did you?
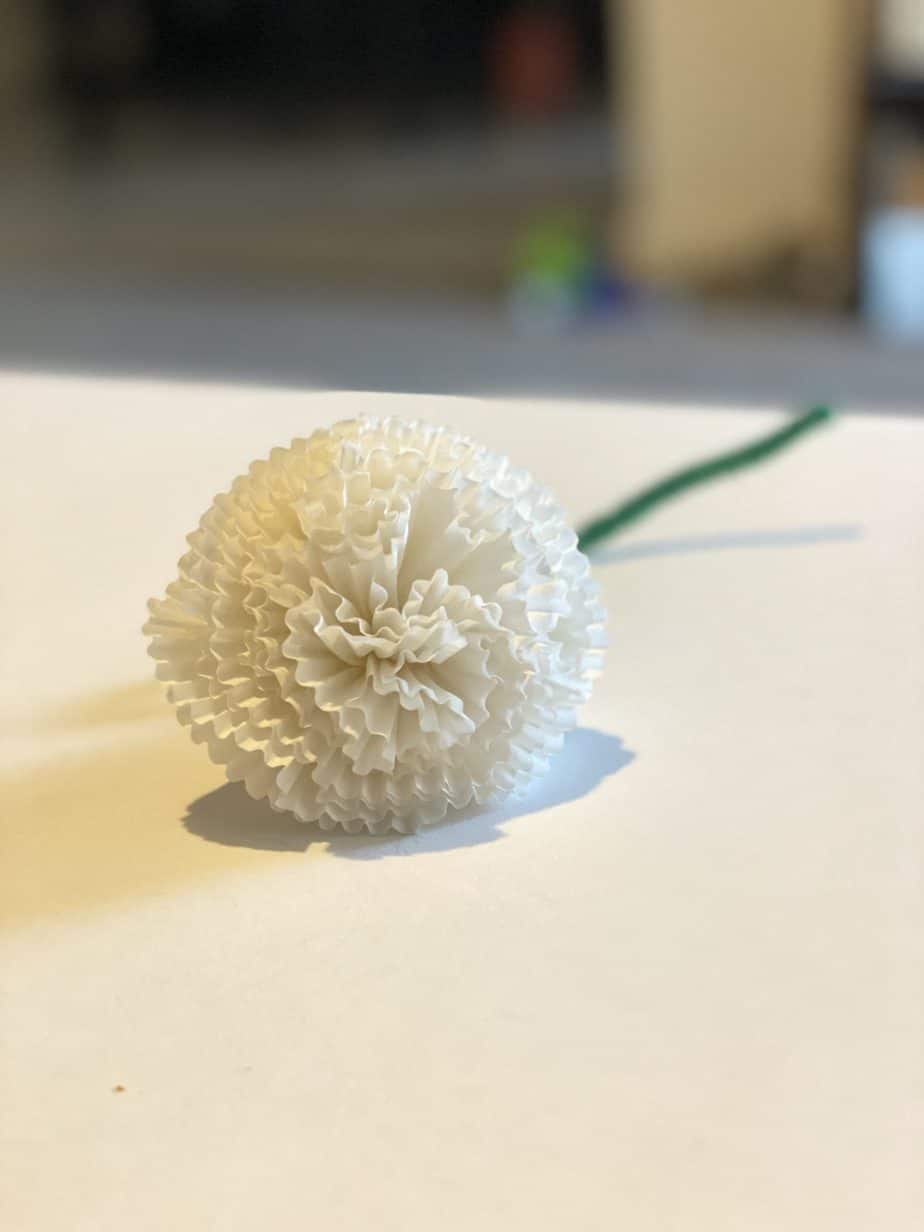
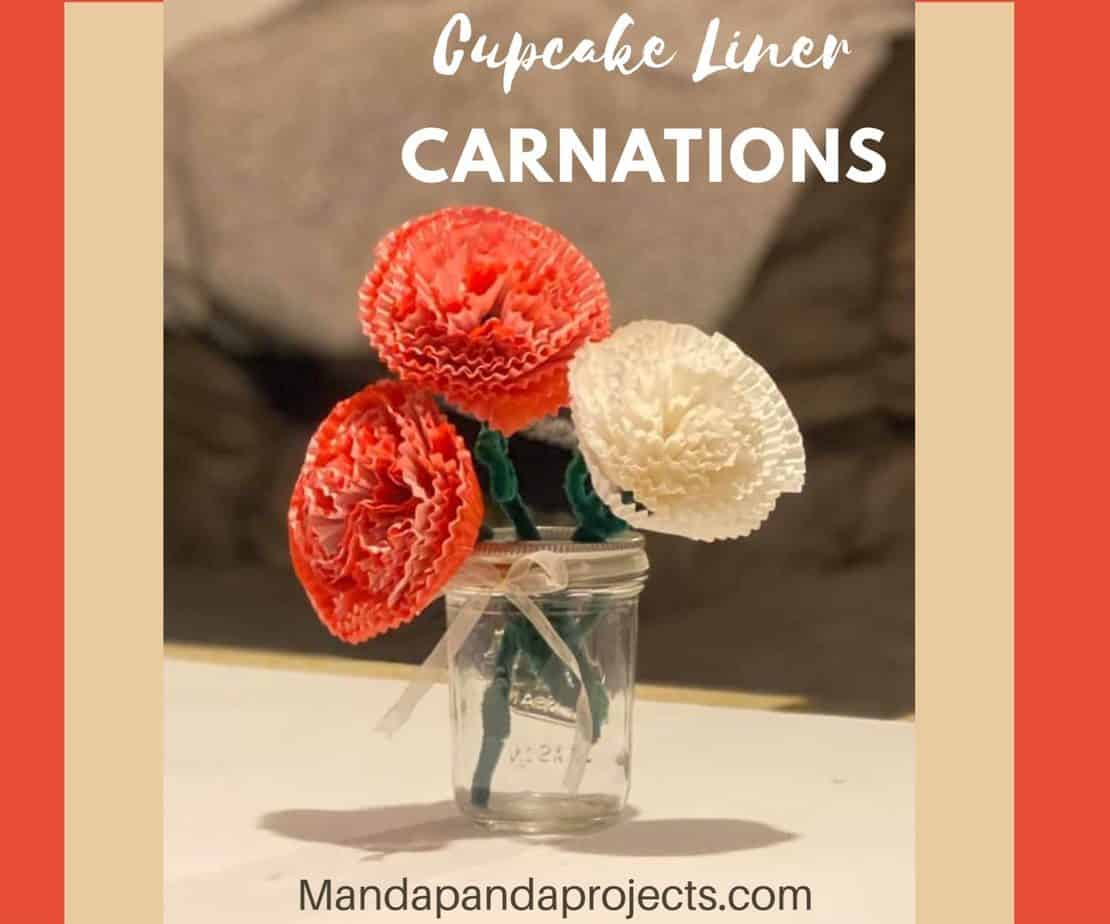
These handmade Cupcake Liner Carnations not only look scarily like the real thing, but they are super easy to make and you most likely have everything you need to make them at home (because we know the whole getting to the store thing these days is difficult).
Of course, if you (or Mom) prefers the real thing, can always order a gorgeous Bouquet of Real Rainbow Carnations for delivery!
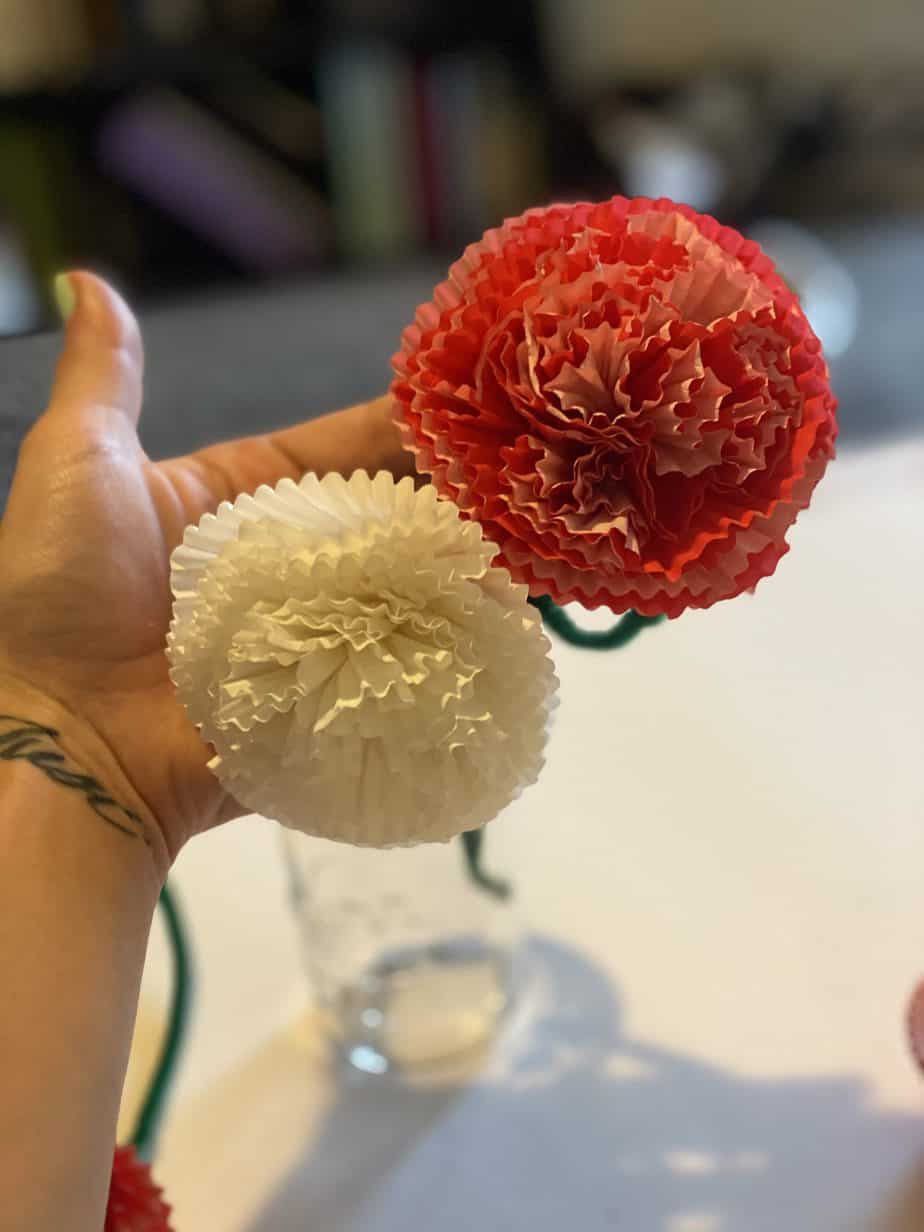
We made two variations here, one that requires a glue gun, and one without. Both equally easy. I am only offering both techniques because I tested them each in an effort to offer you the most simplistic one…but I couldn’t decide they were both SOOO easy.
Can you even tell the difference?
This post may contain affiliate links for your convenience (which means if you make a purchase after clicking a link I will earn a small commission but it won’t cost you a cent more!)
Supplies Needed for Cupcake Liner Carnations
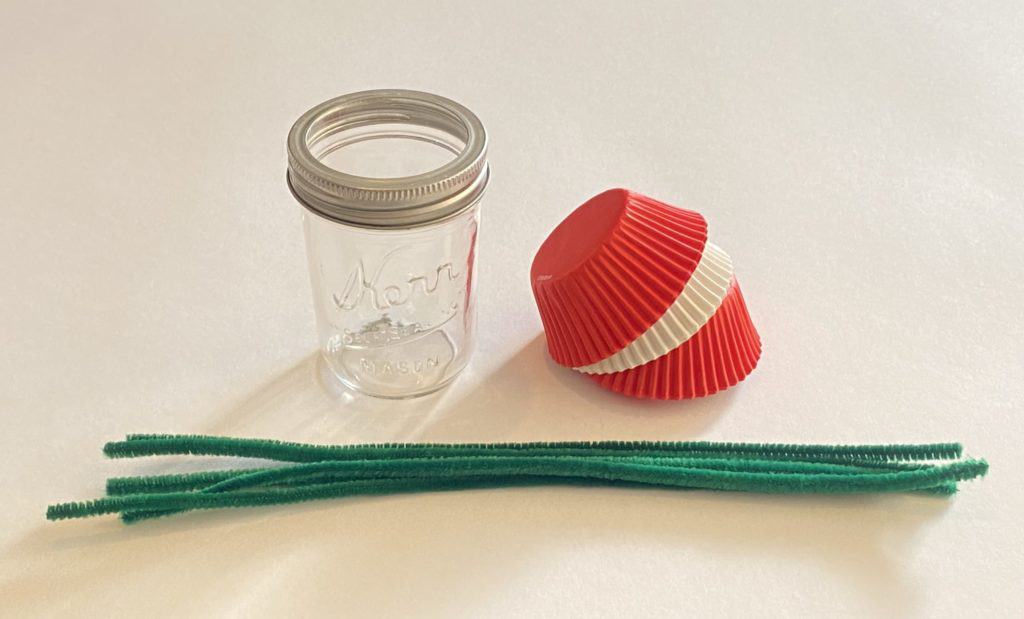
- Cupcake Liners – Regular size (about 8 per flower)
- Green pipe cleaner – (2 per flower)
- Glue (optional- if you don’t know which type will work for this project check out this Guide)
- Mason Jar (or any vase you have on hand)
This project will work with any color cupcake liners, even patterned ones. I only had red and white on hand, but I’d love to see a RAINBOW bouquet!
How to Make Cupcake Liner Carnations
I already mentioned that I’ve got 2 different ways for you to make these, equally quick and simple but if I had to pick one I’d go with the glue way.
So I’ll show you that way first and then I’ll show you the glueless way in case you either don’t have any or just don’t feel like using it.
How to make them with glue
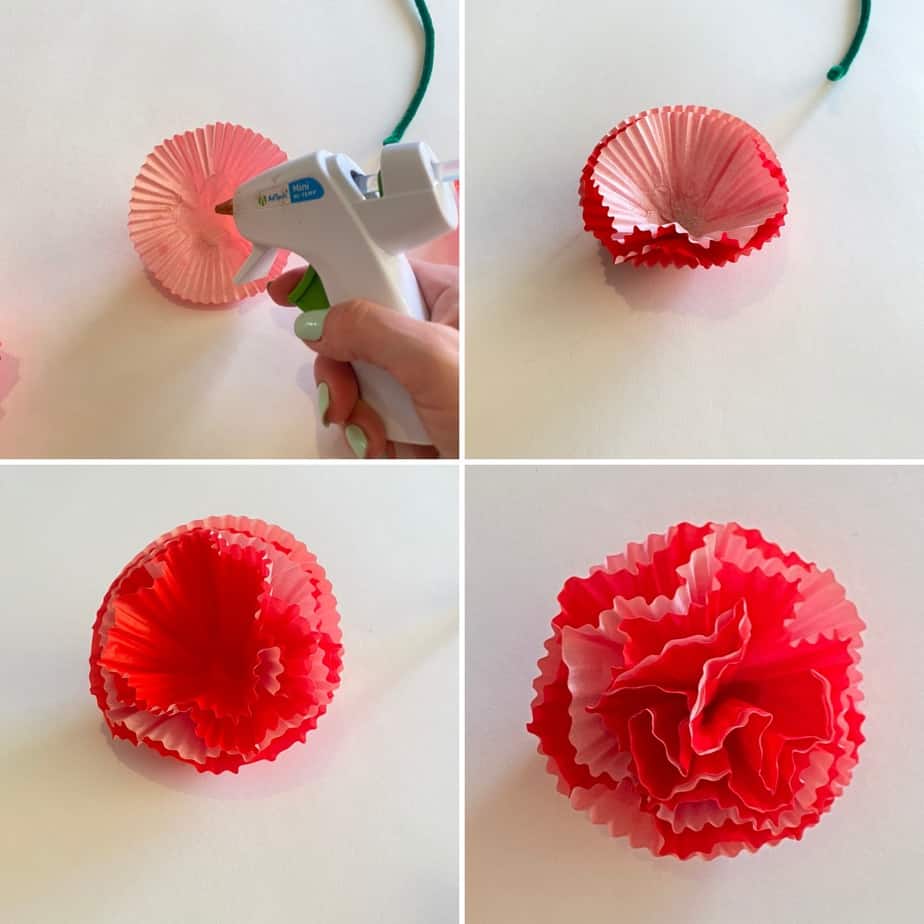
First, fold the cupcake liner in half and smooth it out just a bit. Then open it and fold it in half the other way. This makes it a bit easier to work with it.
Next, stick your finger into the center of the liner, and twist the bottom around your finger.
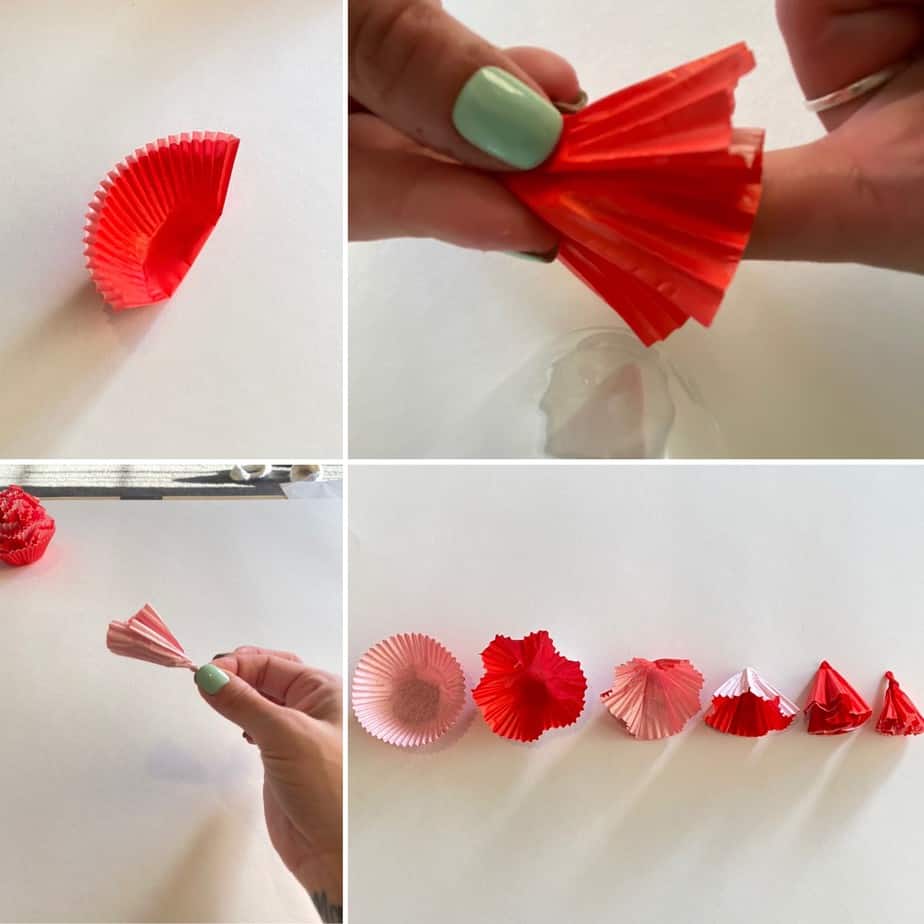
The first one you will twist only very loosely, and each one after that you will twist increasingly tighter until the last is almost completely twisted. Your liners should look something like the bottom right (4th) in the pic above.
Put a dab of glue onto the center of the first (most loosely twisted) liner and place the second one on top. Continue to stack each liner onto the next with a dab of glue in between each one.
Next, take your pipe cleaner and bend a loop on the middle to form a “leaf”, and twist at the bottom of the loop to secure.
Bend a small portion of the top of the pipe cleaner and glue to the bottom of the cupcake liner flower.
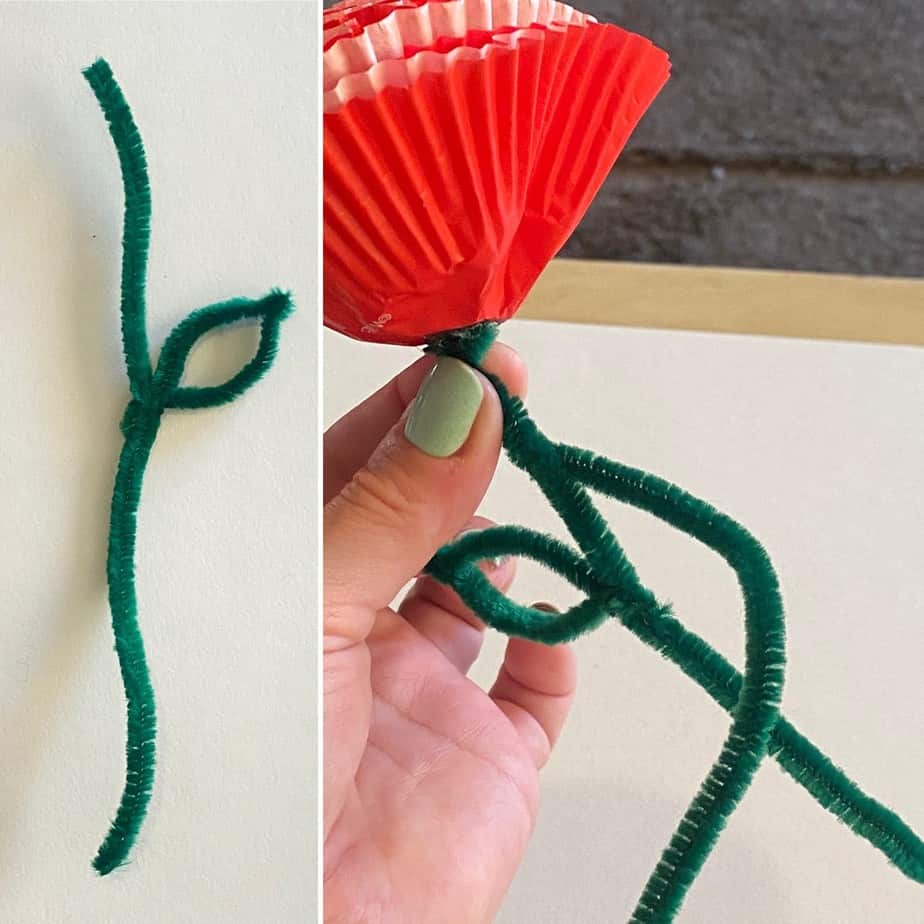
Take a second (and possibly third) pipe cleaner and twist it around the stem from the top to bottom to reinforce it. You may need to do that again with an extra pipe cleaner depending on how upright you want them to stand in the mason jar or vase.
You’ve made yourself a beautiful Carnation!
How to make them without glue
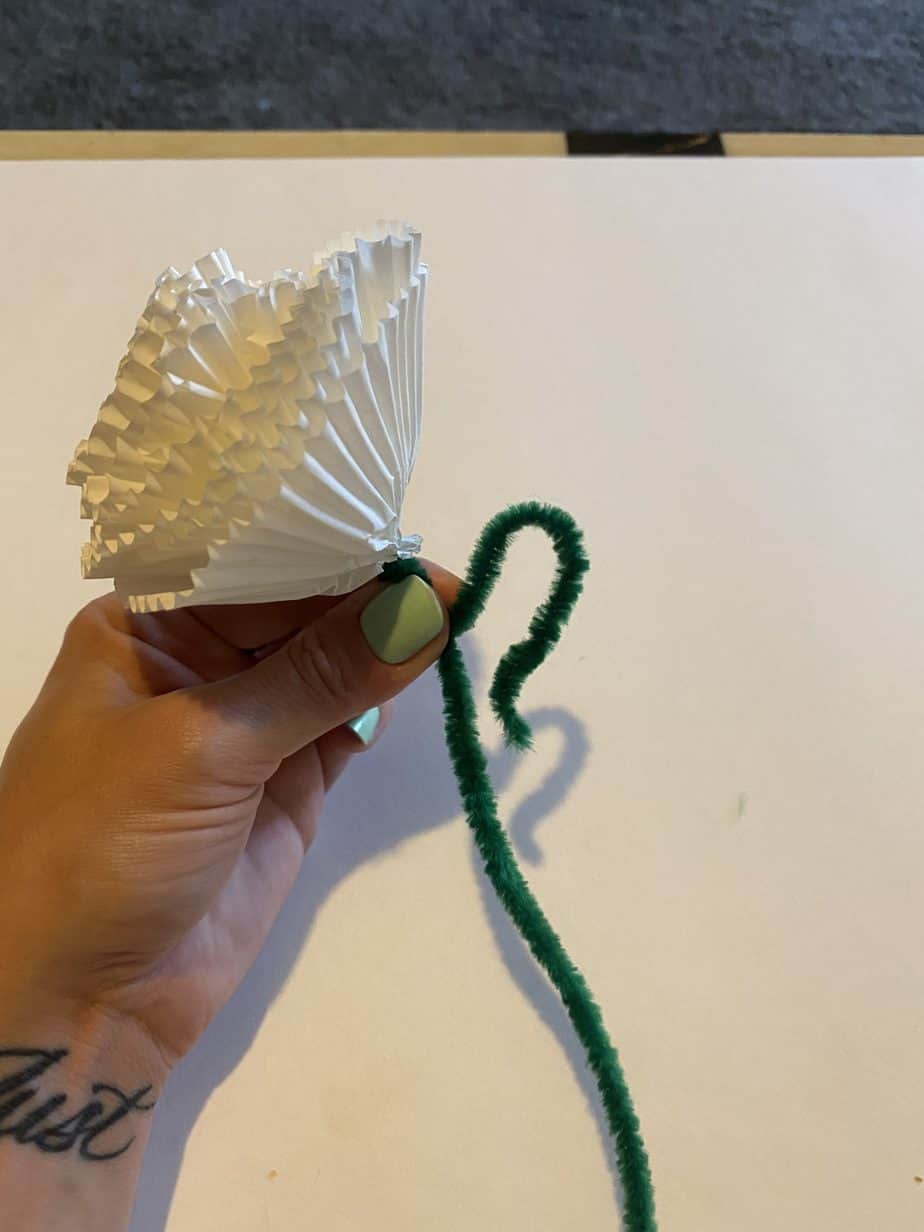
First, poke a hole in the bottom of 8 cupcake liners with the pointy part of the pipe cleaner. You will probably need to do 2 or 3 at a time.
Bend the top of pipe cleaner and poke a hole right next to the first hole and string the pipe cleaner back through and out the bottom. Leave about 4 inches extra pipe cleaner on the bottom to make the leaf on the stem.
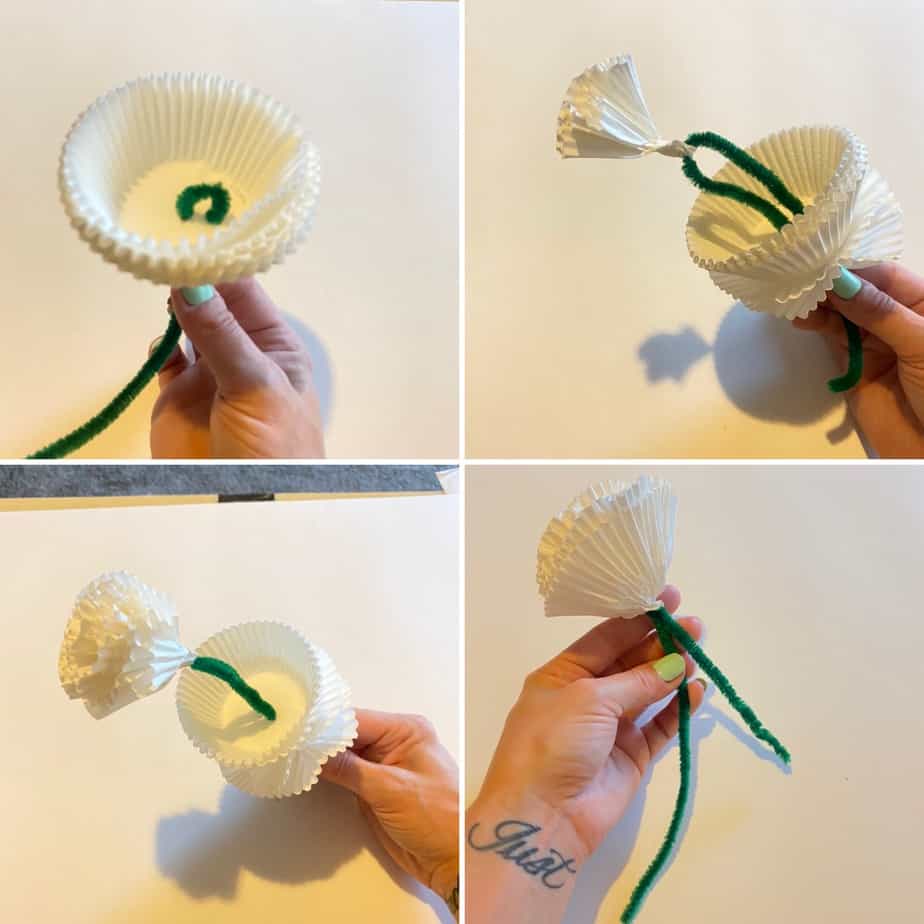
Next, begin to twist the bottom of each cupcake liner starting with the one on the top. The first one you will twist very tightly, and each one below that you will twist decreasingly tighter until the last is only very loosely twisted.
As you twist each, slide it up the pipe cleaner to fit into the one before it until you have completed the flower. Twist, and sliiiiiideeeee. Twist, and sliiiidddeeeee. (Now I have the song Twist and Shout stuck in my head!)
Now take the extra pipe cleaner at the bottom of the flower and bend it into a loop and then twist around the stem to secure.
Mom will just LOVE these Cupcake Liner Carnations! Now, I dare you to make one each way and let me know which way you think is easier.
If you want to step outside the “flowers” box for Mom this year, be sure to check out these other super cute DIY gift ideas from some of my Blogger Friends!

Cricut Tealight Holder – A Mandatory Activity
4-in-1 Mother’s Day Gift – Thirty Minute Maker
Gifts Mom Will Love – Victori’s Creations
How to Make a Mother’s Day Card on Cricut – Pocket Wonders
Until Next Time…
Stay Crafty San Diego!





Painted Pine Cone Flowers Bouquet: Fancy Forever Flowers
May 8, 2020 @ 8:12 pm
[…] covered with these painted pine cone flowers, and we went the recycled material route with our Cupcake Liner Carnations and Egg Carton […]
Mother's Day Word Search Activity- FREE Printable! - Manda Panda Projects
May 10, 2020 @ 12:40 pm
[…] Getting out to get a gift this year may not be as easy as usual, that’s why we created these Cupcake Liner Carnations to give to Mom that can be made with supplies you have in the […]
Thumbprint Heart and Fingerprint Flower: Kids Keepsake Magnets -
May 10, 2020 @ 1:06 pm
[…] If your looking for some other Mother’s Day gifts check out the two different types of Forever Flowers we made…Egg Carton Tulips, and Cupcake Liner Carnations! […]
How to turn an egg carton into a bouquet of Tulips: A Mother's Day Spring Craft - Manda Panda Projects
May 10, 2020 @ 1:10 pm
[…] Bouquet!! We love this idea so much that not only did we make these Tulips, but we created some Cupcake Liner Carnations as […]
How to make a Mother’s Day card on Cricut
May 12, 2020 @ 5:11 pm
[…] Cupcake Liner Carnations – Manda Panda Projects […]