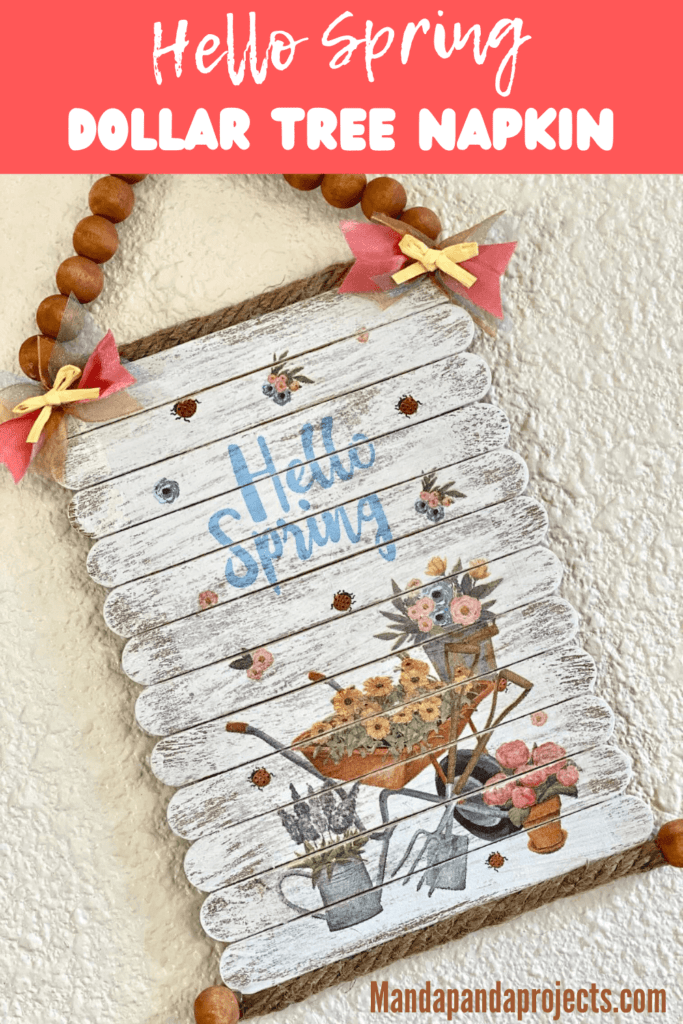
You can never go wrong with a good ‘ole napkin craft, and this Dollar Tree “Hello Spring” Napkin sign is no exception. So grab your Mod Podge, and get to decoupaging this adorable napkin with Sunflowers and a wheelbarrow that just screams, “Spring is in the air!”

I grabbed these “Hello Spring” napkins during one of my Dollar Tree Spring and Easter Hauls, when they fiiiiiiirrrrrst put that stuff out. If you’ve been crafting for any amount of time, than you know how essential the Dollar Tree is for seasonal decor and supplies. You also know how quickly the items come and go, so being first on the scene is critical to get your share of the goods!
Keep your eye out for cute napkins wherever you go though, because the Craftibilities are endless when it comes to Napkin Crafting! I’ve recently found out that you can get small amounts of napkins (like sets of 2-3) for super cheap on Etsy, which allows you to get more of a variety and more bang for your buck, rather than spending $7 on a full pack when you need just 1 napkin. I just grabbed myself these “Beach Rules” ones that should be here tomorrow!
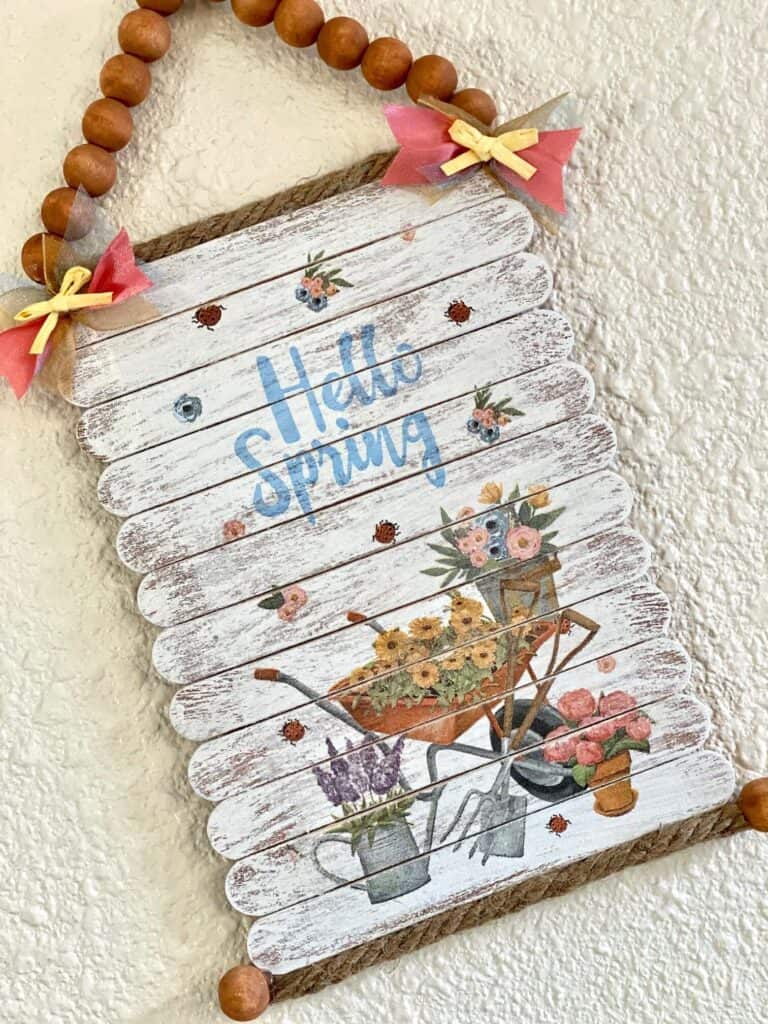
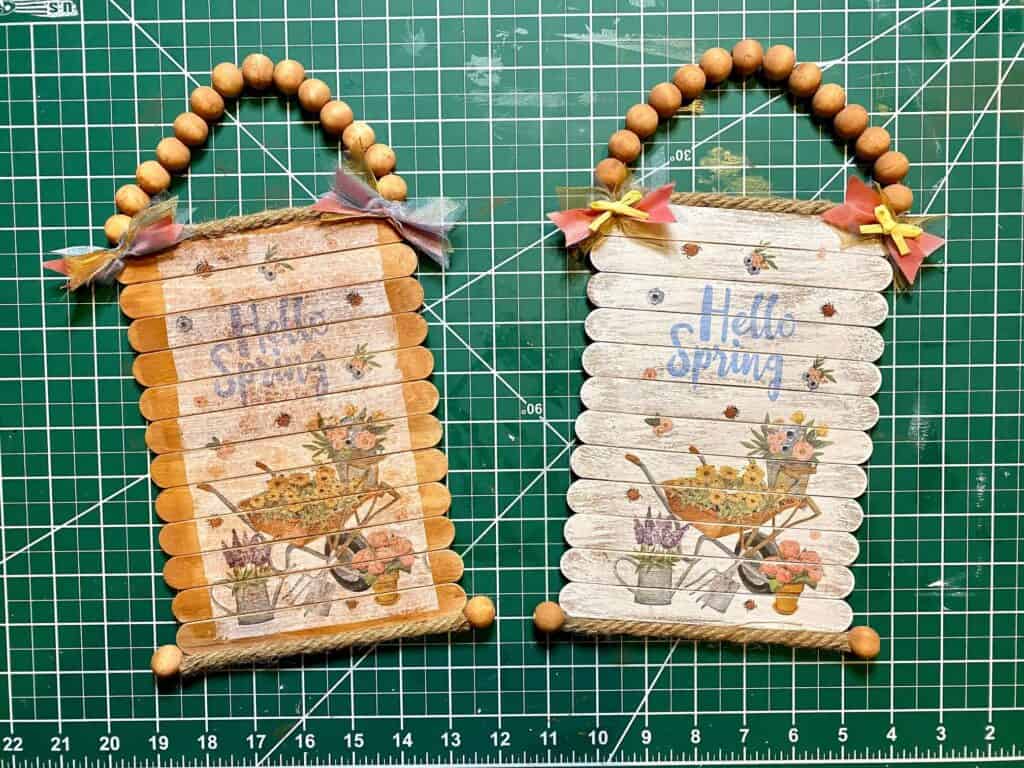
The first time around making this, which I just happened to be Live over on Facebook, I totally forgot to paint the popsicle sticks white first! Epic fail! And it didn’t necessarily come out bad, it just wasn’t the look I was expecting and you could barely see the pretty image on the front. Maddox (my 9 year old) said it looked Vintage. Sure, we’ll go with that.
This post may contain affiliate links for your convenience (which means if you make a purchase after clicking a link I will earn a small commission but it won’t cost you a cent more!)
Supplies Needed to Mod Podge a Dollar Tree “Hello Spring” Napkin Sign
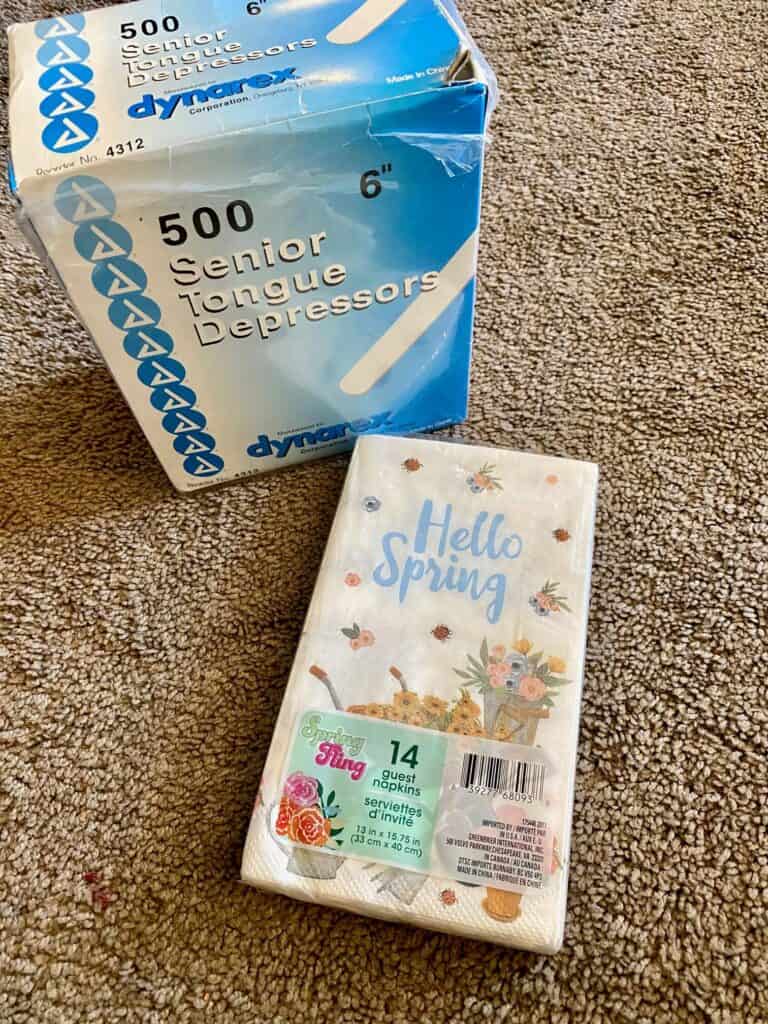
- Dollar Tree “Hello Spring” Napkin
- Giant popsicle sticks
- Brown paint or stain
- White paint
- Nautical rope
- Wood beads
- Twine
- Mod Podge
- Ribbon of your choice
- Flat piece of cardboard
- Hot glue – (I love and recommend this one)
- X-acto knife
- Sanding sponge
How to Make a Dollar Tree “Hello Spring” Napkin Sign
This DIY Dollar Tree “Hello Spring” Napkin decor was so much fun to make, and I’ve got a video showing you exactly how I made it! You can learn exactly how I decoupaged the napkin to the sign by going HERE, or watching the video below.
Time needed: 1 hour
Instructions on how to make a DIY Dollar Tree “Hello Spring” Napkin Sign
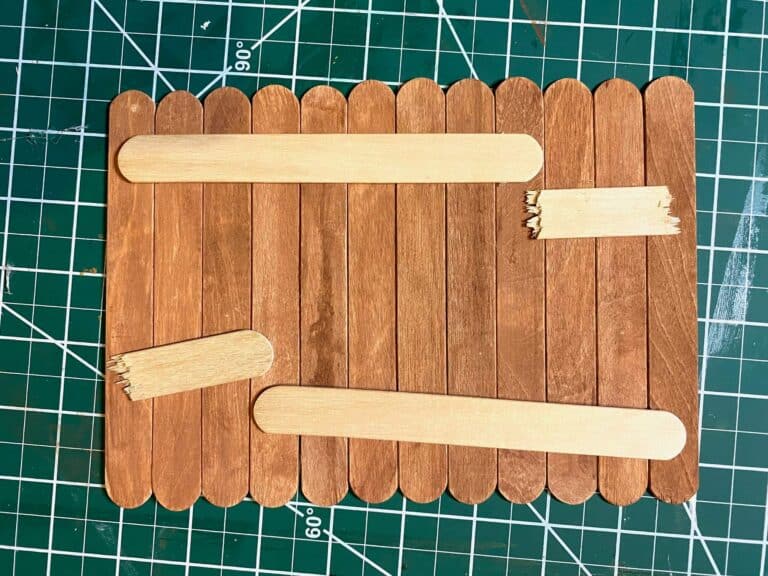
- Stain the popsicle sticks brown and attach them together temporarily
You can use watered down brown paint, or you can use a wax or stain and rub all over the sticks with a baby wipe or paper towel. Line them up, and using just a tiny bit of glue, attach another popsicle stick to the back to hold them together while you complete the next steps. We are going to take them apart before gluing to the cardboard, so do not use so much glue that you can’t pull them apart.
- Paint the popsicle sticks white
Dry brush the sticks with a chip brush to give them a white wash look.
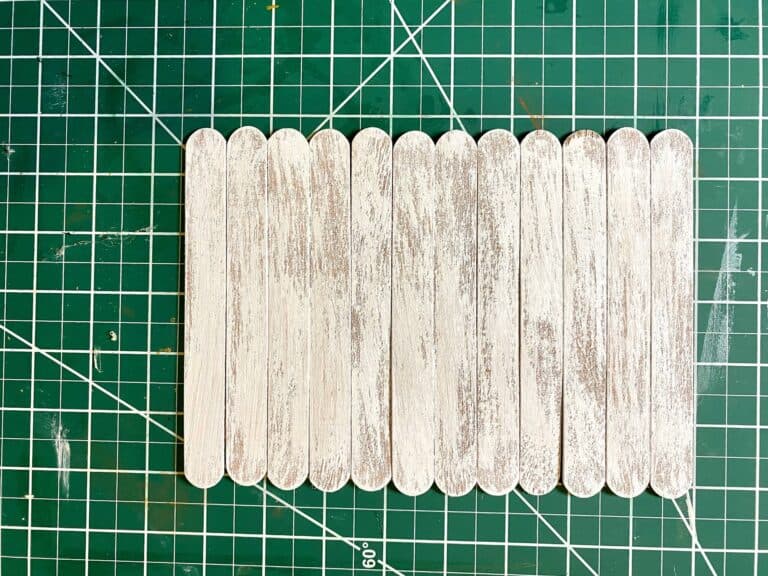
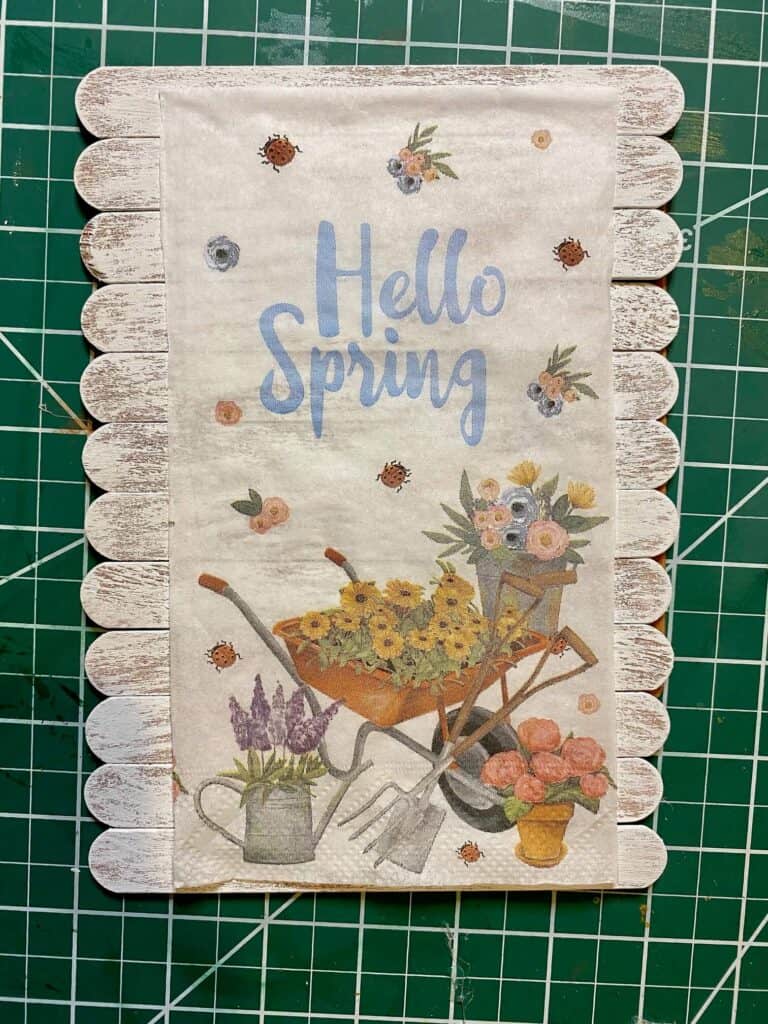
- Mod Podge the “Hello Spring” napkin to the top of the white popsicle sticks
Cut out the front of the napkin so that you have a one ply rectangle with the image. Apply a thin layer of Mod Podge to the top of the sticks, and gently lay the napkin on top. You can use saran wrap to lay over the top, and smooth out as many wrinkles as possible, but don’t worry about it being perfect!
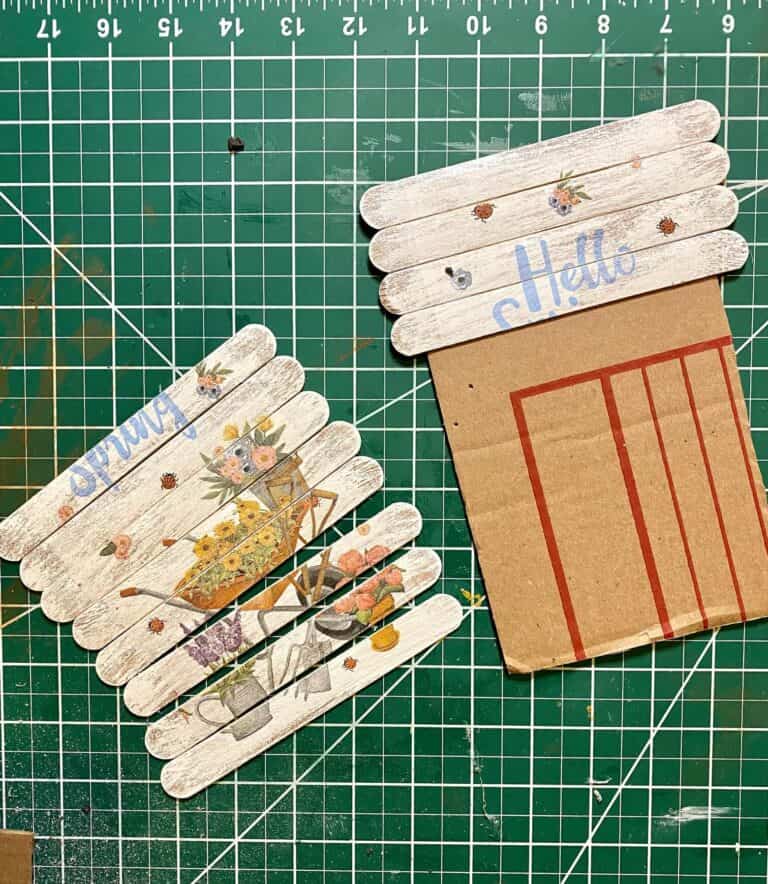
- Separate the popsicle sticks, and sand the edges to prepare to attach them back together
Using an X-acto knife, make a slit in between each popsicle stick to separate them into planks. Gently pull the popsicle sticks off the back that are holding them together until they are all separated as you see below. Using a sanding sponge, sand the edges in between each popsicle stick, making sure to sand in a downward direction so that you don’t lift the napkin up off of the sticks. Use hot glue to glue them back together on a flat sturdy piece of cardboard.
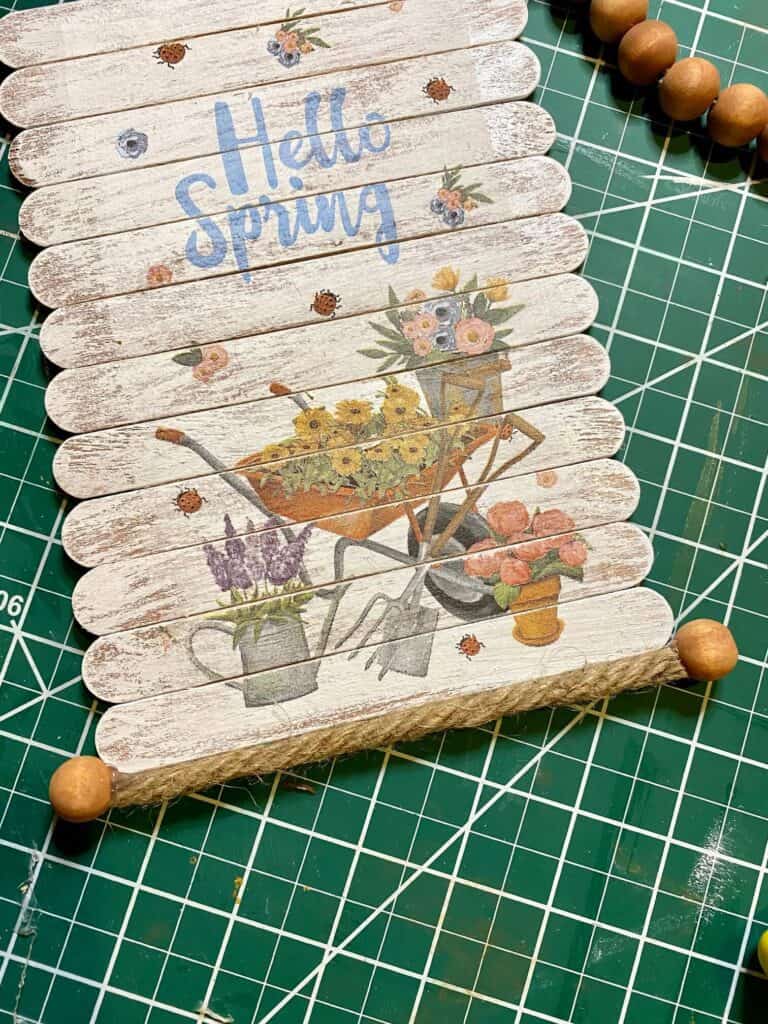
- Glue a piece of rope to the top and bottom to embellish and add a wood bead to each end.
- Make a wood bead hanger
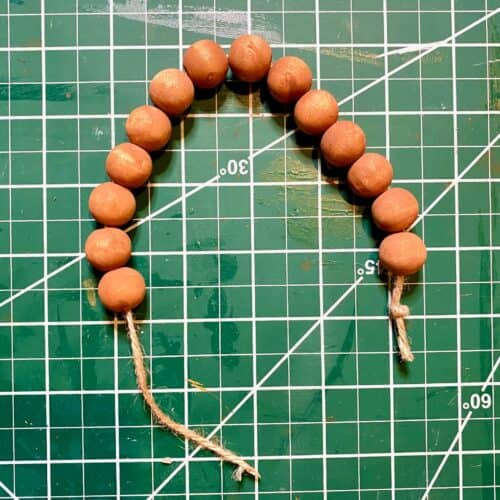
Stain the wood beads brown with paint and water, or an actual stain. The best way to do this is to put them into a small cup or bowl with the water and paint, and twirl them around until fully coated. String the wood beads onto a piece of twine, and secure to the back of the sign with hot glue.
- Make a couple of mini bows to add to the top of the sign as decoration
This step is optional, but I think it’s the perfectly cute finishing touch! To make these bows, you can literally just layer 2-3 pieces of ribbon on top of one another, pinch in the middle, and secure with a piece of string or even glue. You could also just make a small shoelace bow.
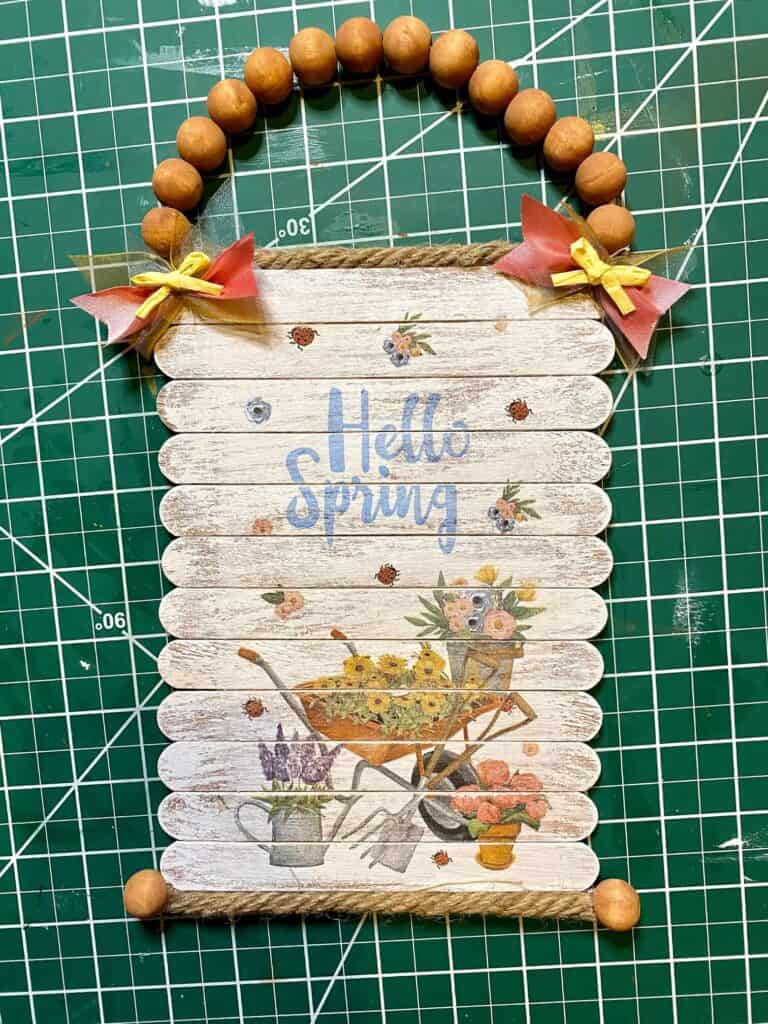
Wanna hear something funny about this Dollar Tree “Hello Spring” napkin sign? Well I actually had to make this TWICE! The first time around, I accidentally forgot to paint the popsicle sticks white. I couldn’t figure out at first why it didn’t seem to look right, and then it dawned on me. So I remade it the “right way”. It’s not that it necessarily looks bad the other way, it kind of gives it a vintage feel says Maddox (my 9 year old boy). What do you think?
Are you going to make this DIY Dollar Tree “Hello Spring” Napkin Sign this year? If you do, I’d love to see it. If you’re not part of our Craftspiration Facebook group, join in on the fun and post a pic of your completed DIY crafts, I just love to see all your creative and crafty creations!
Until Next Time…
Stay Crafty San Diego!


