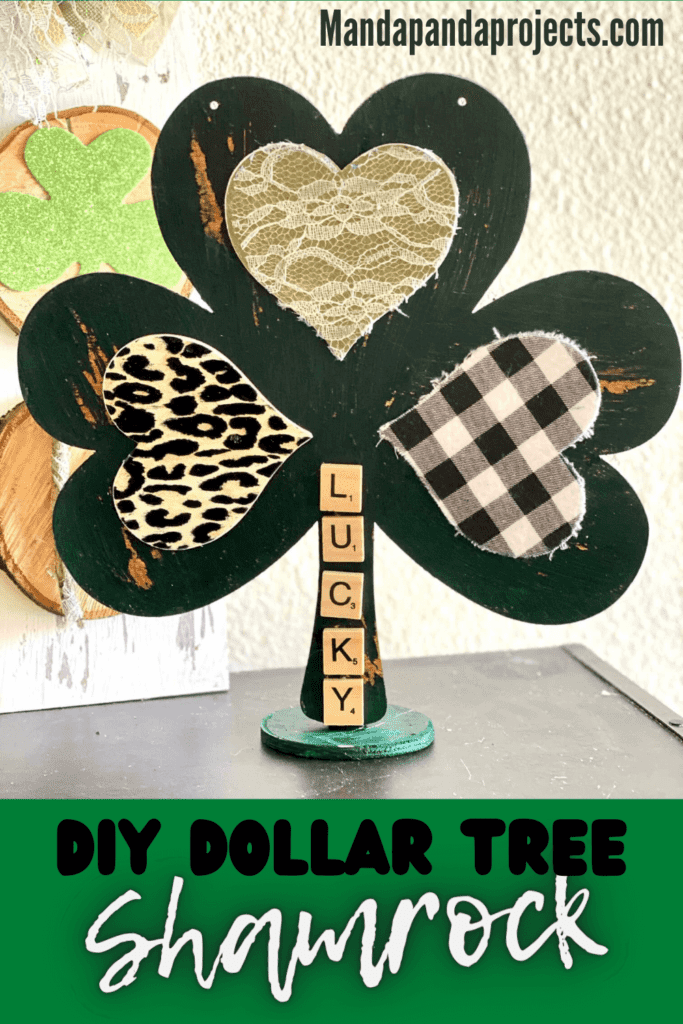
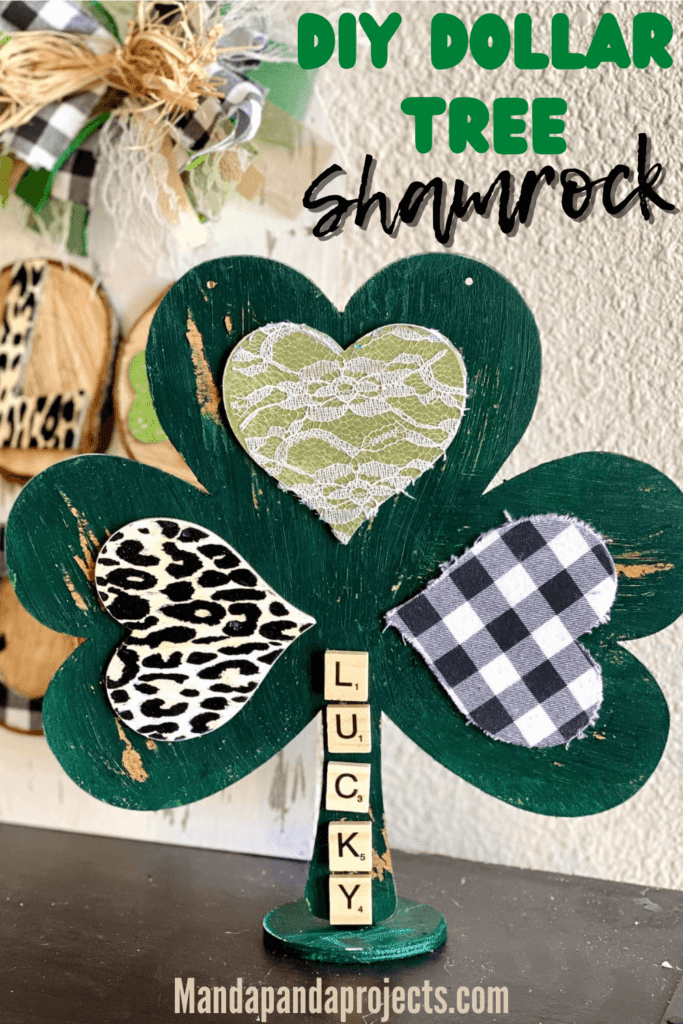
Luck O’ the Irish! Dollar Tree is the go-to for Holiday craft supplies and decor, so of course they have a wooden Shamrock in preparation for St. Patrick’s Day. This DIY Dollar Tree Shamrock is super easy to makeover, and why not have some fun by adding Leopard print into the mix! The best part of this project is that it only costs $1, and the rest of the supplies you just may already have on hand!
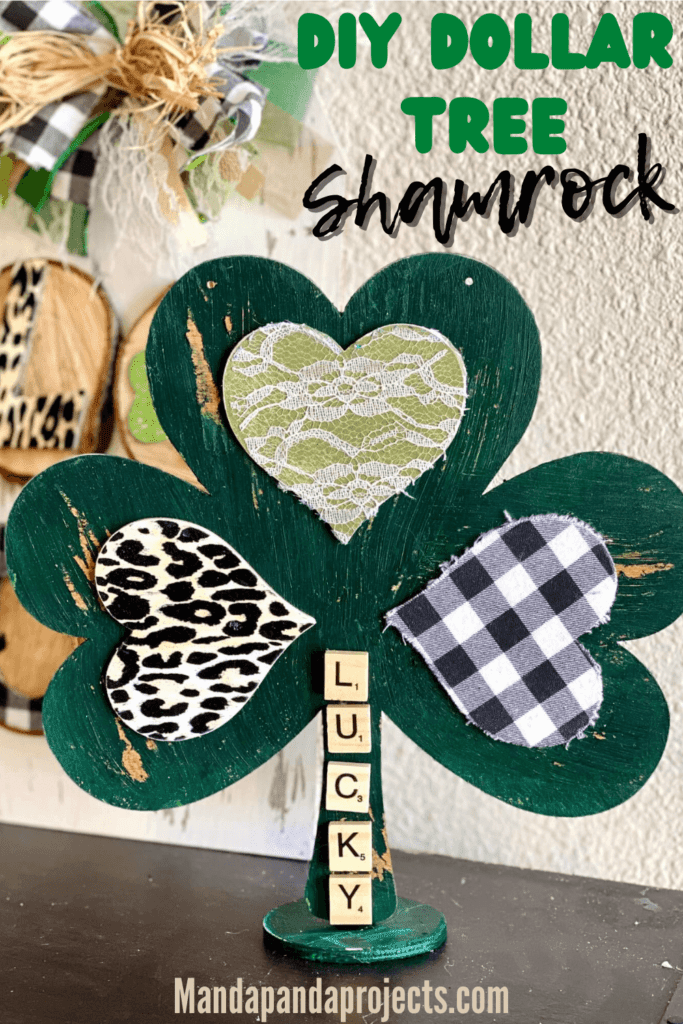
St. Patrick’s Day is just around the corner and the Shamrock crafts are in full effect! The only thing is, the St. Patty’s Day DIYS are looking a little bit different this year than usual. Why you ask? Leopard print!!
I’m just a little bit obsessed with leopard print right now, and it’s spilling over into my Holiday crafts and decor. It started with a fun Valentine Truck Shelf Sitter I made for V Day, and carried right on over to the St. Patrick’s Day Door Hanger we made to kick off the Holiday!
If you’re feeling a little more traditional and don’t want to have the funkyness of the Leopard, feel free to swap it out with some Burlap, or whatever color or pattern you love. Either way, this DIY Dollar Tree Shamrock is a breeze to make, and costs just a few bucks. Which is just the way we all love our DIY crafts to be, cheap and easy!
This DIY Dollar Tree “Lucky” Shamrock was made Live over on Facebook and it was a blast to make! You can watch the replay of how I made this fun piece in the video below, or you can go HERE to watch the replay right on Facebook.
This post may contain affiliate links for your convenience (which means if you make a purchase after clicking a link I will earn a small commission but it won’t cost you a cent more!)
Supplies Needed to Make a DIY Dollar Tree Shamrock for St. Patty’s Day
- Wooden Shamrock
- Green paint – (I used Artists Loft Deep Green)
- Brown paint or stain
- Vaseline
- Buffalo check fabric or scrapbook paper
- Leopard print scrapbook paper
- Green camo scrapbook paper
- Lace
- Scrabble tiles – “Lucky”
- Mod Podge
- Hot glue gun – (I highly recommend the Surebonder cordless!)
- Paint scraper
- Wooden base- I used a round wooden picture frame from Dollar Tree and pulled the round part off, leaving the base
How to Makeover a Dollar Tree Wooden Shamrock
Follow the below written steps to makeover a DIY Dollar Tree Shamrock or you can go here to watch the Facebook Live Replay. I don’t have any in progress photos since this was done Live, but I’ll do my best to write detailed instructions.
Pull the 3 wooden hearts off of the Shamrock
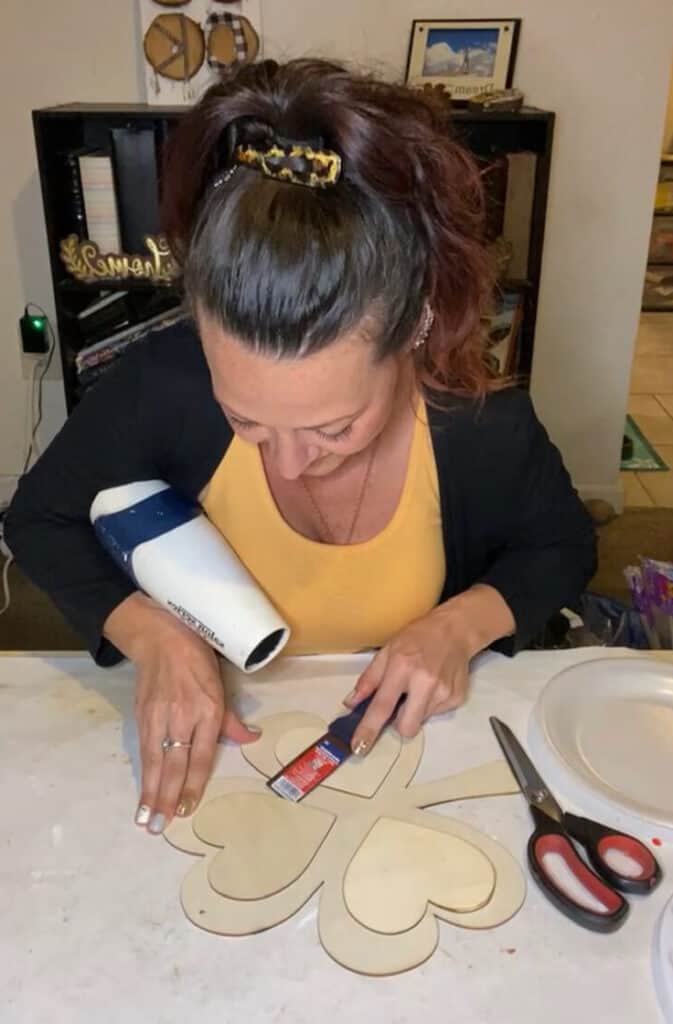
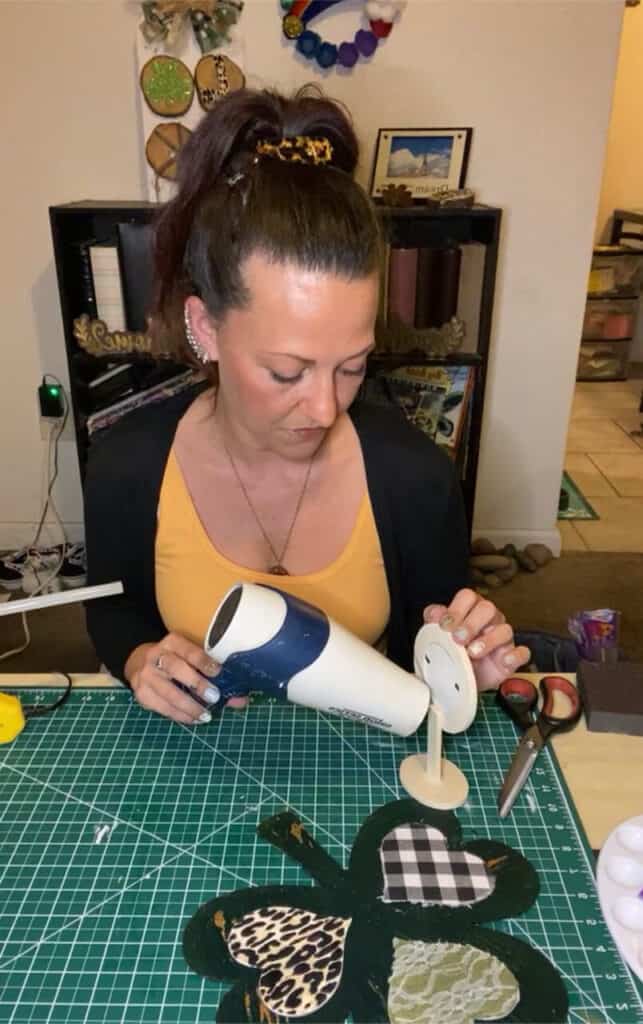
The best way to do this is to heat up the surface with a blow dryer or heat gun, and use a paint scraper to gently pull the wooden heart up and off of the Shamrock. This may take a little bit of playing and shimmying the paint scraper underneath, and some of them seem to come off easier than others.
Prepare and paint the Shamrock
Use watered down brown paint and a baby wipe to stain the Shamrock brown. You could also use actual stain, but watered down paint is cheaper and works just as good for this project.
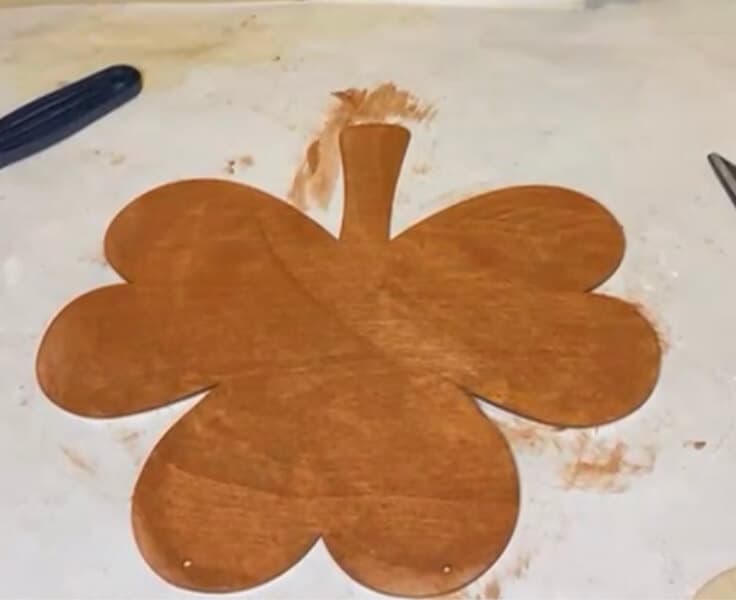
Now were going to make it look “chippy”, using Vaseline and green paint. Use an old paint brush to brush Vaseline along the surface of the stained wood, applying it haphazardly in random places, but do NOT cover the entire surface. Make some spots a little thicker covered, some just a thin amount of Vaseline, and then some spots have none. Think of it this way, wherever the Vaseline is, the paint will “chip” in the next step. This doesn’t have to be perfect, just play around with it. It takes some practice to get it just right, but don’t worry well be covering most of the sign anyway, just have fun!
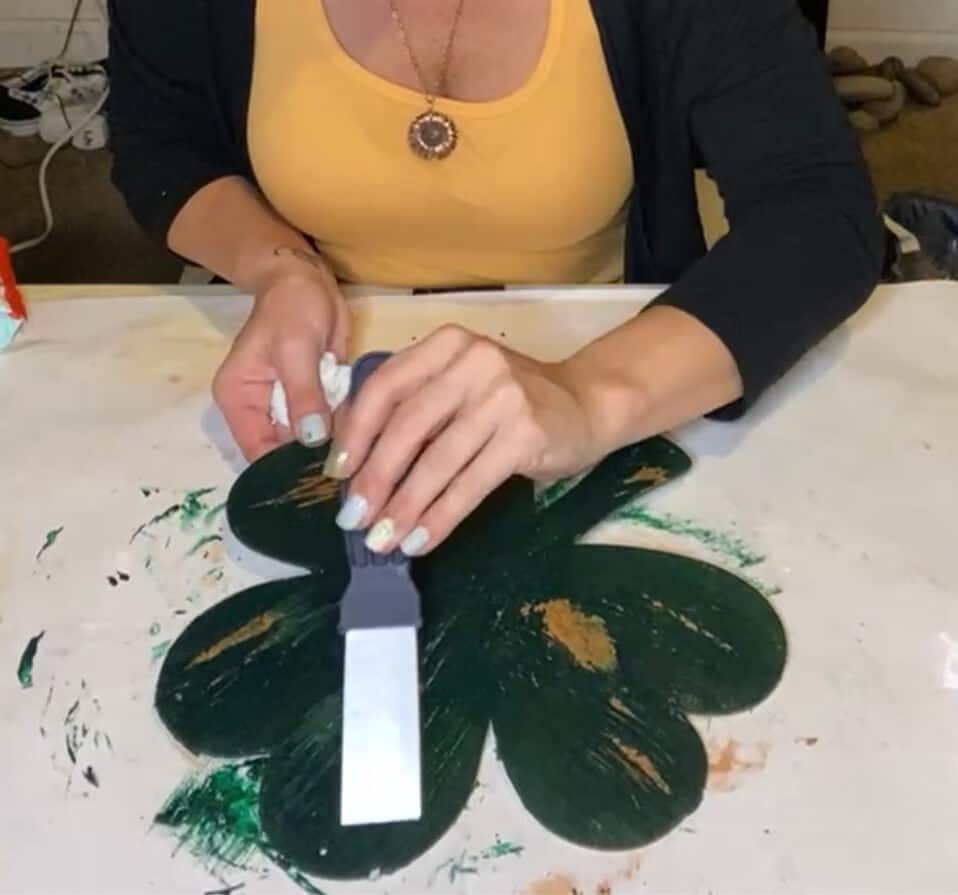
Paint a thick coat of green paint over the entire sign, right on top of the Vaseline. Now, take a heat gun or blow-dryer and dry the top coat of the green paint until its mostly dry, but the underside of the paint is still wet. It should be dry to the touch so that when you touch it with your finger, your finger does not get green paint on it. Now, take a paint scraper, and drag it lightly across the surface, focusing on the spots that had the Vaseline. Adjust the pressure you use as you go depending on if it’s “chipping” to your liking. Do this as little or as much as you like until it has the look your going for.
Cover the 3 wooden hearts with patterned papers
Trace the heart shape onto the patterned paper that you want to use, and cut each one out. Mod Podge each one to the top of the heart by applying a thin layer of Mod Podge to each. Don’t worry if the paper heart hangs off the edge or is a little bit bigger than the wooden heart, we’ll take care of that next.
Using a sanding sponge, or sanding block, sand off the edges of the heart to remove any extra scrapbook paper. Make sure to sand in a downward direction so that you don’t lift the paper up off of the heart.
Put the Shamrock together and add the “Lucky” Scrabble Tiles
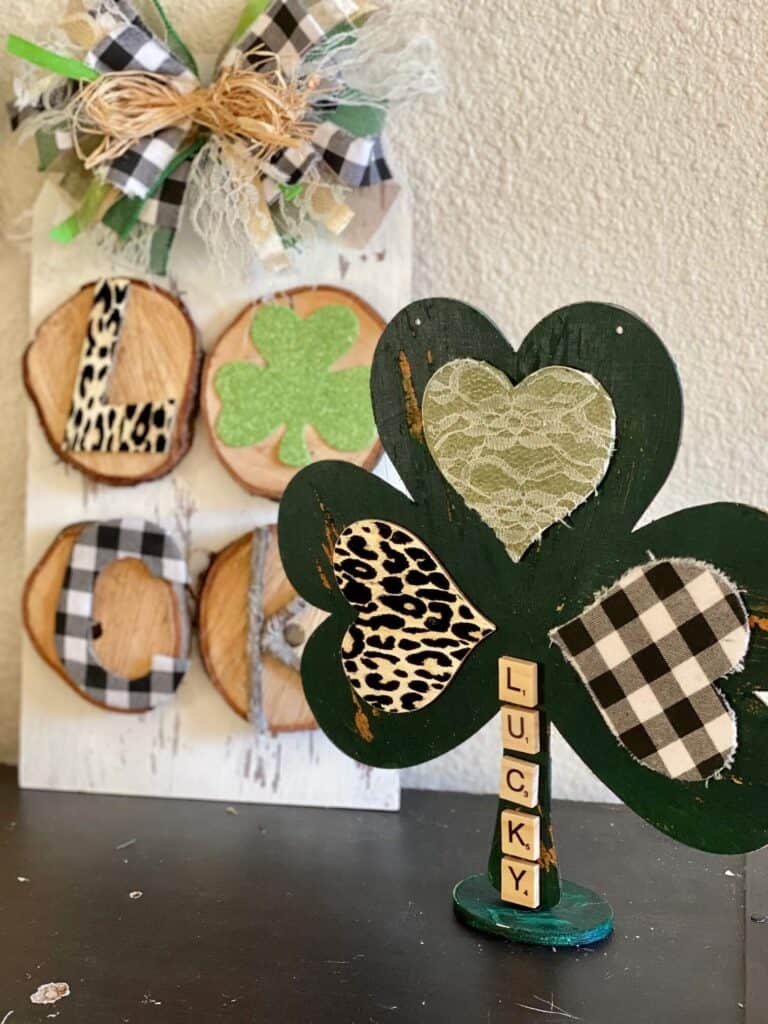
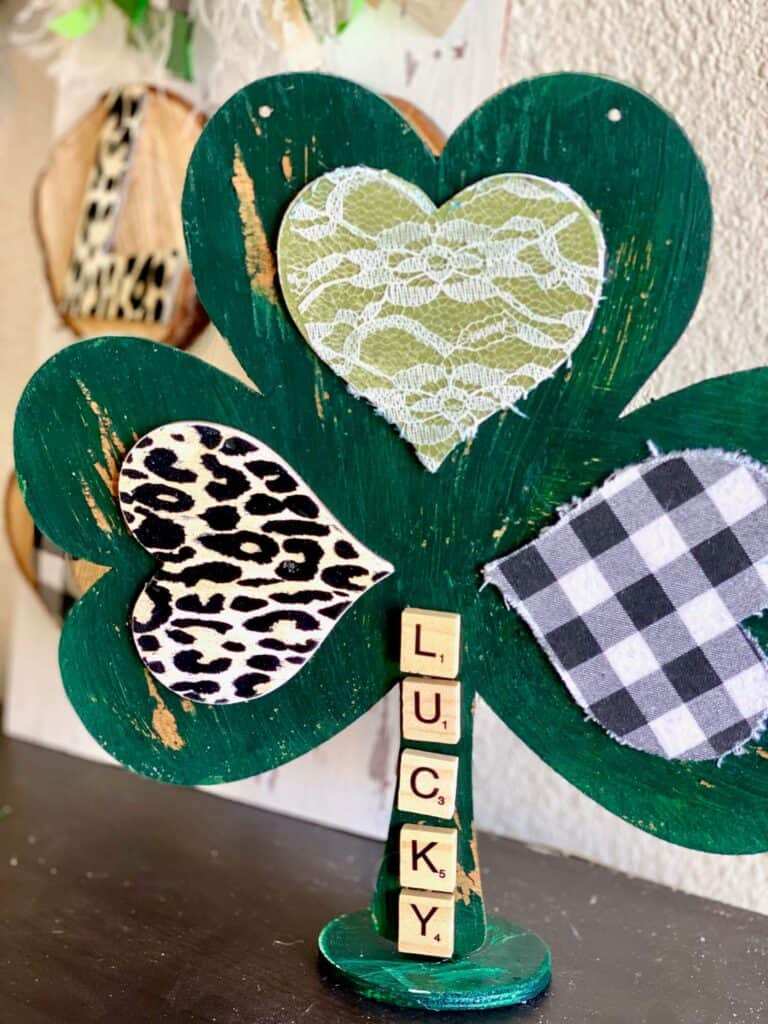
Glue the wooden hearts to the inside of the Shamrock in whatever order that you like, but I chose to do the green camo/lace in the middle.
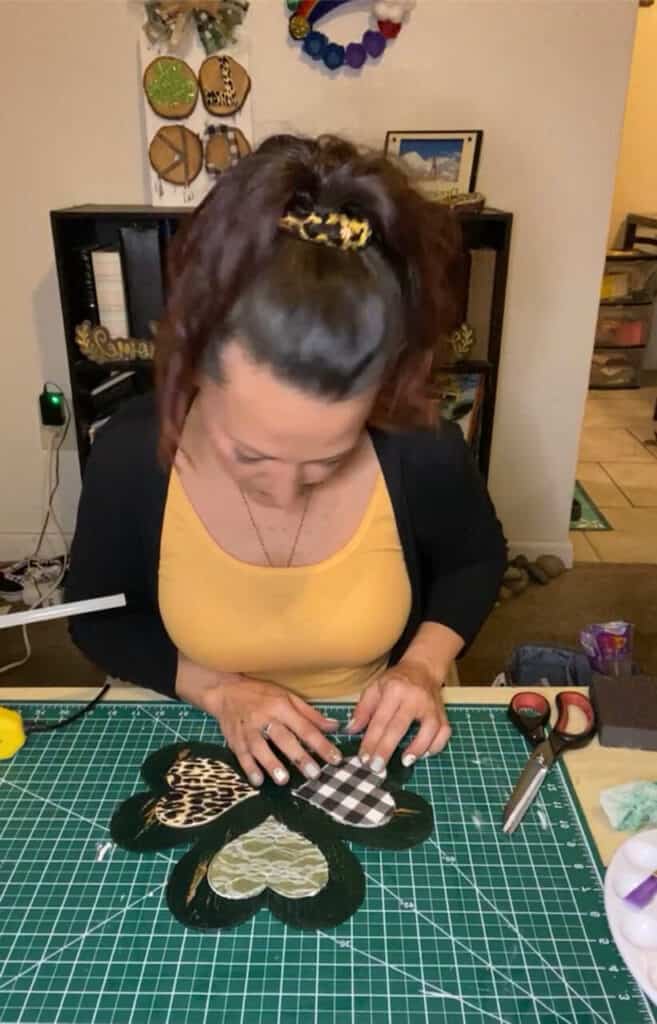
Glue the stem of the Shamrock to the wooden base. You could also skip this step if you want to hang it on a door or wall, or if you don’t have anything to use as a base. I just used a wooden picture frame from Dollar Tree that I pulled apart and the Shamrock is glued to the bottom base like you see below.
Glue the “LUCKY” scrabble tiles downward on the Shamrock stem. How cute is this!?
Are you going to make this DIY Dollar Tree Shamrock for St. Patrick’s Day this year? If you do, I’d love to see it. If you’re not part of our Craftspiration Facebook group, join in on the fun and post a pic of your completed DIY crafts, I just love to see all your creative and crafty creations!
Until Next Time…
Stay Crafty San Diego!


