DIY your own Edward Scissorhands Halloween costumes using only thrift store clothes and not only will you have the best handmade costumes out there, but you’ll save a ton of money in the process too! As soon as they see that iconic black belted suit and wild black hair they’ll think they are seeing the real Edward!
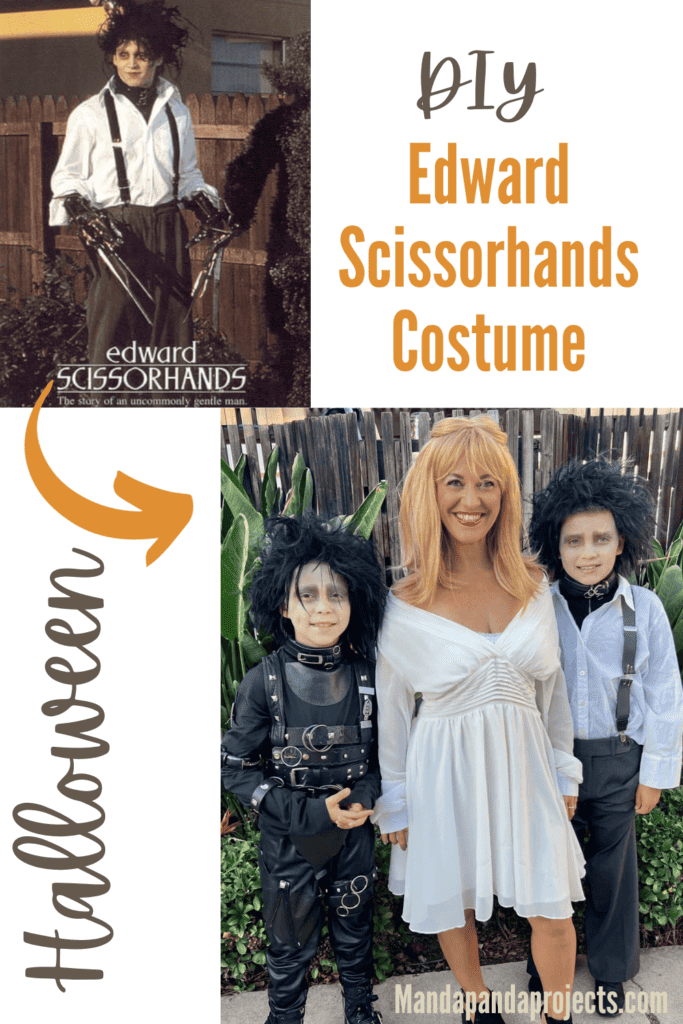
I have this thing with DIY’ing costumes from classic movies that I watched ENDLESSLY as a kid. In 2021 we made DIY Beetlejuice (and Lydia) costumes, and 2022 was even better…..EDWARD SCISSORHANDS!! (Before Beetlejuice in 2019 we made epic Pennywise ones- both the old AND the new clown!)
I’m not gonna lie, my kiddos were not thrilled about any of my ideas when I first proposed them. In fact, I believe their responses were “Who the heck is Beetlejuice and Edward Scissorhands?!”
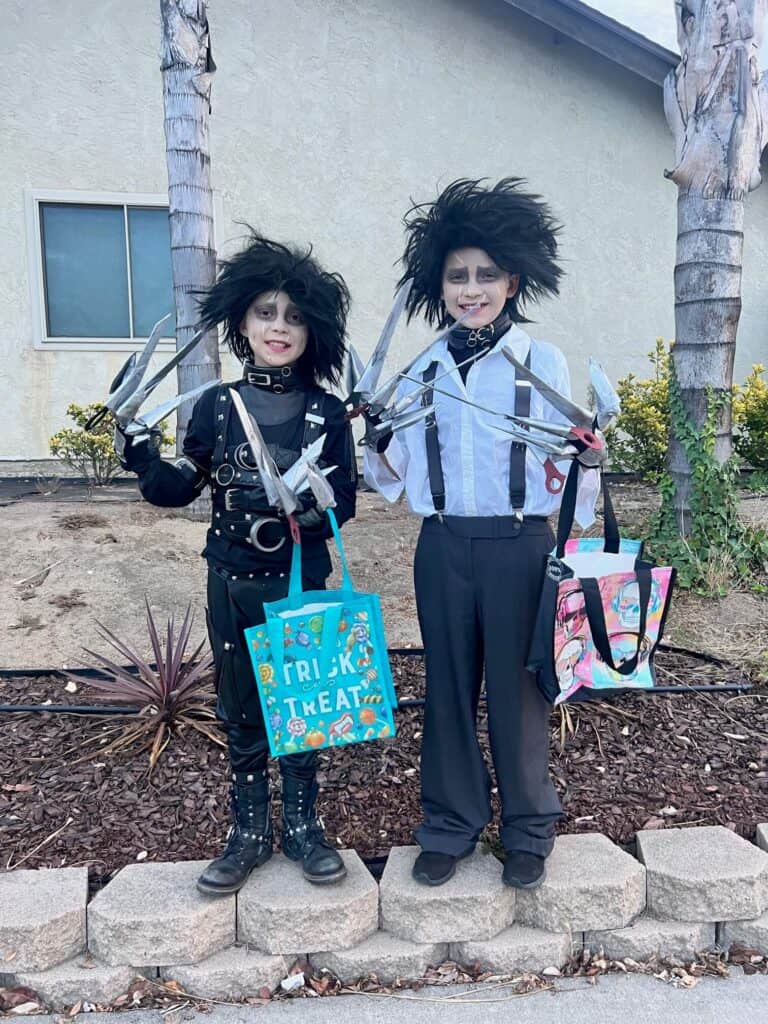
But after a few movie nights, not only were they on board, but they were as excited as me.
Now, I always like for the 3 of us to dress up and coordinate together, and in the past I have been forced to get pretty creative with how to do that.
First it was Beetlejuice and Lydia, and this year its Edward and Kim (Winona Ryder). But that’s only TWO characters? And I didn’t want the Twins to dress exactly the same!
*Side note: How funny is it that BOTH movies have Winona as one of the characters that I dress up as?!
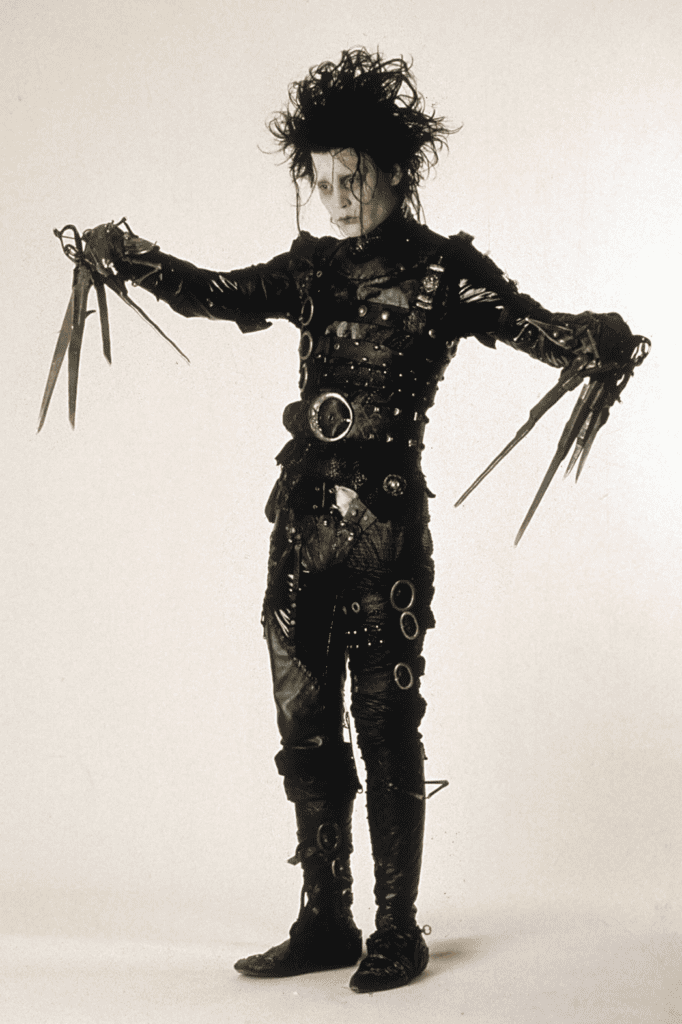
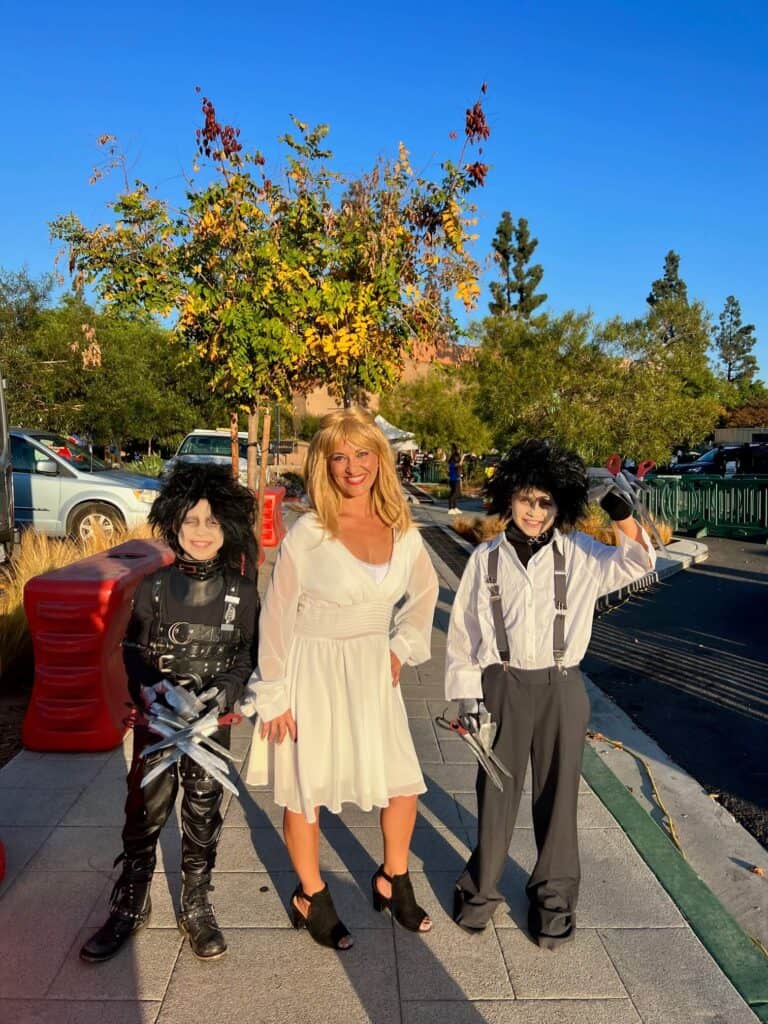
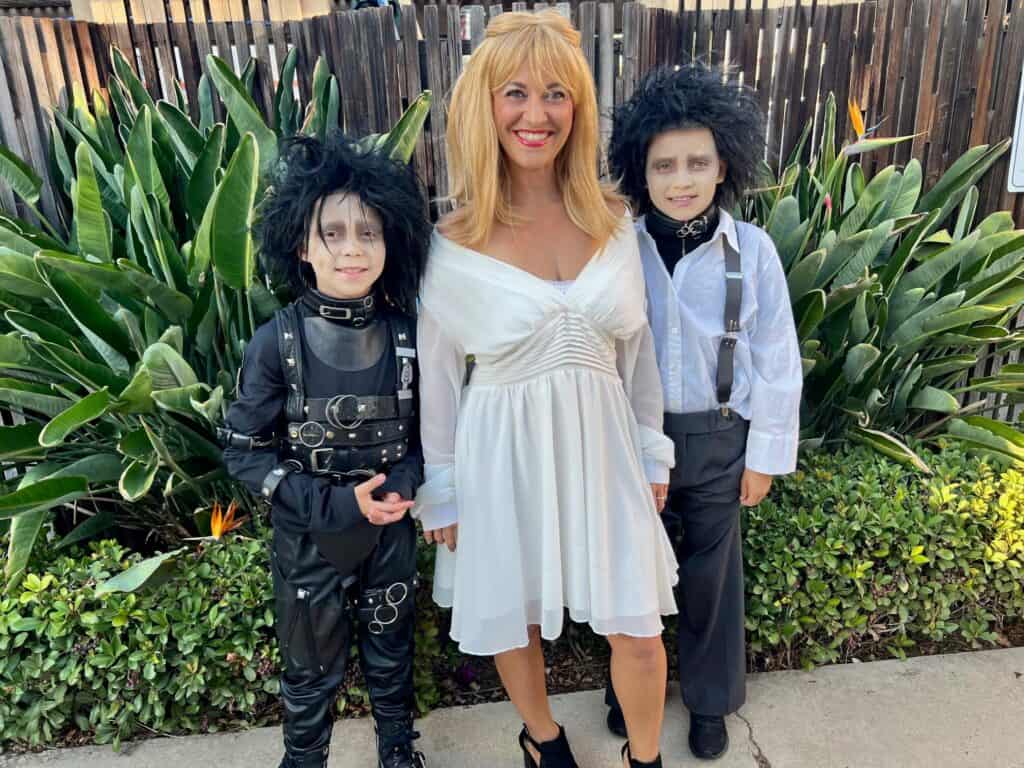
My solution was to do TWO different movie versions of each character! So for Edward we made one version with the classic black belted suit that he has on when Peg first found him in the mansion.
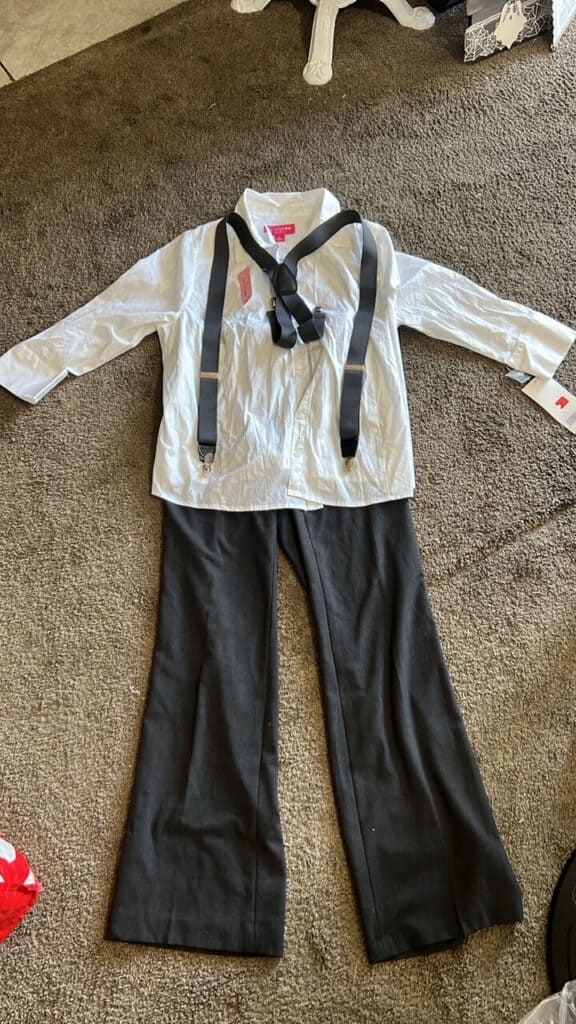
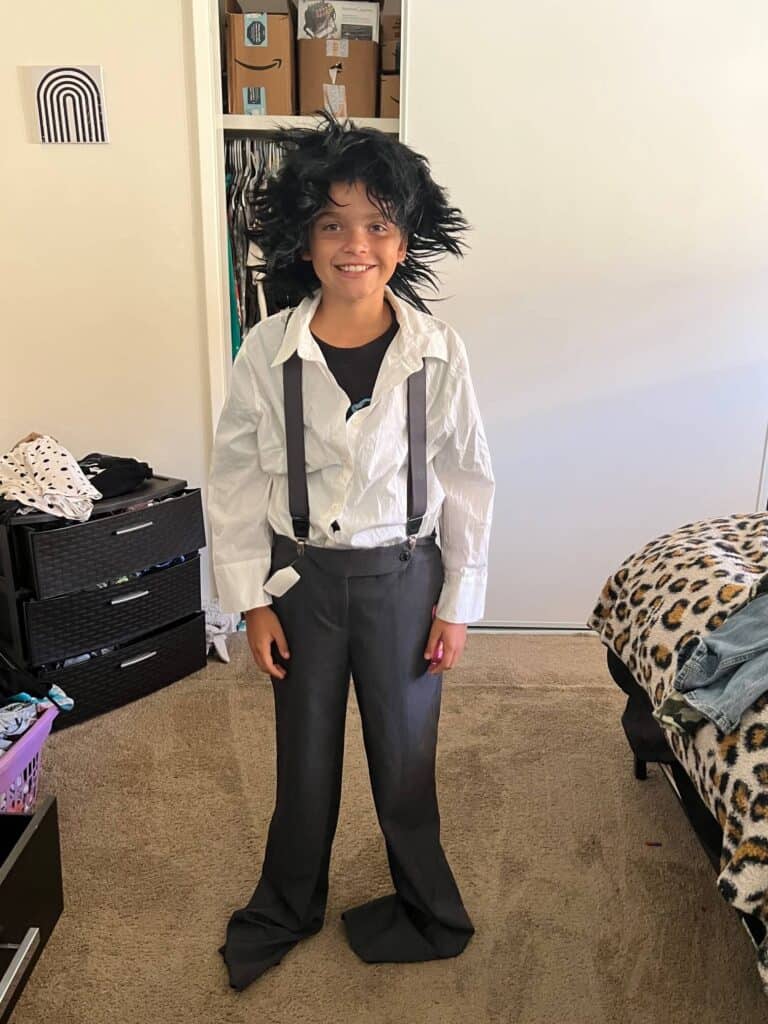
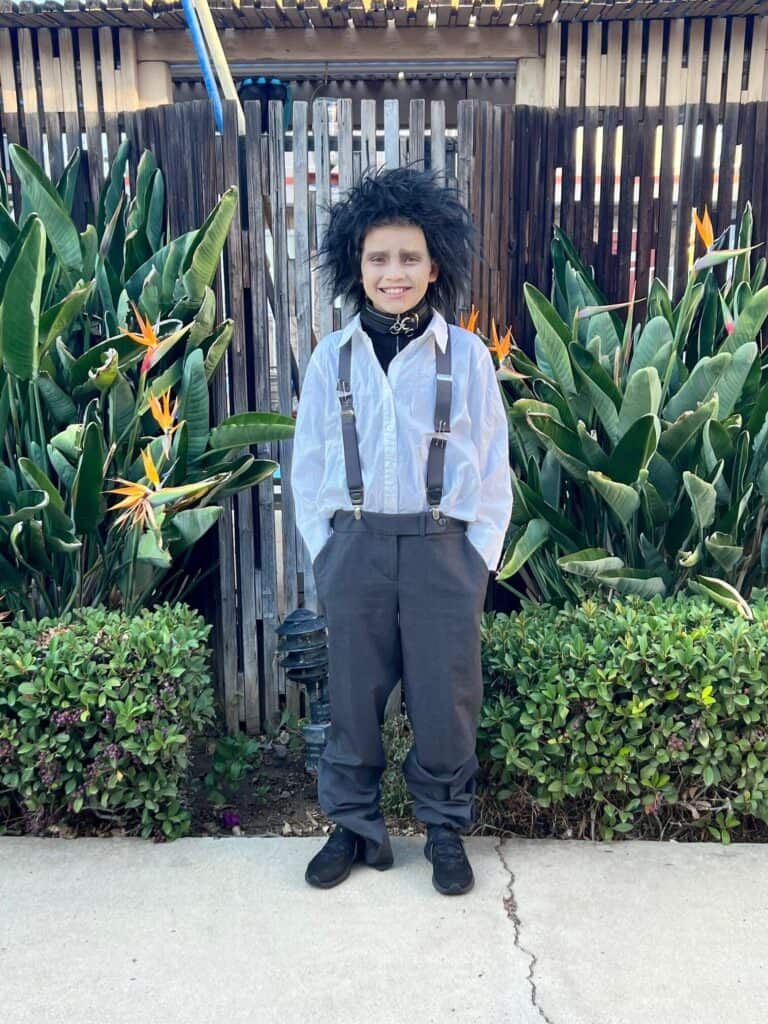
The other one was the oversize grey pants, white tailored shirt and suspenders.
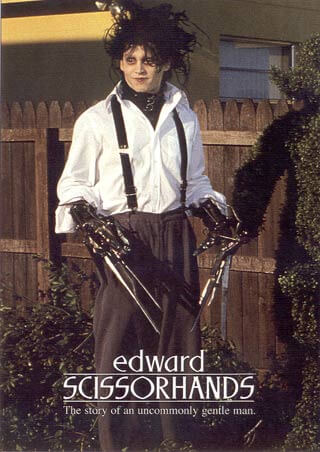
Fair warning, there are a LOT of pics in this post! My hopes is that if you want to make these DIY Edward Scissorhands Halloween Costumes that you’ll have as much info here as possible to do it as easily as possible!
Now you may not have the exact items that I used to make these Edward Scissorhands costumes, but hopefully with this inspiration you can find things that are similar and can make do.
This post may contain affiliate links for your convenience (which means if you make a purchase after clicking a link I will earn a small commission but it won’t cost you a cent more!)
How to Shop for DIY Edward Scissorhands Costumes
The best way to find what you need is to save a bunch of Google images to your phone so that you have them as reference photos to take with you thrifting.
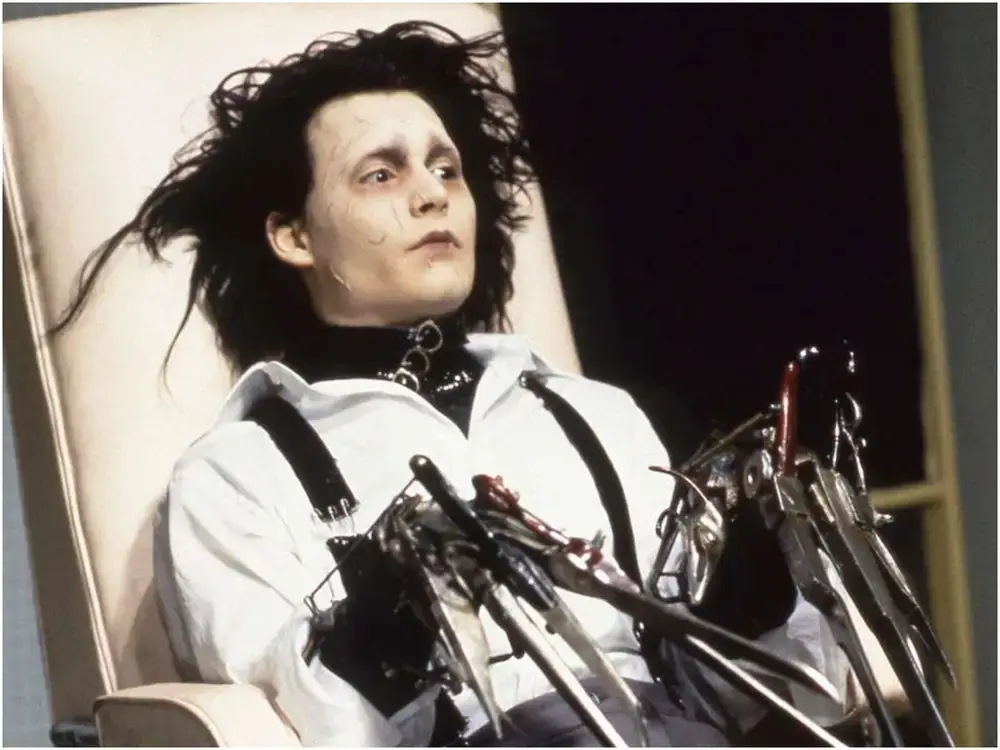
Now don’t go saving photos of other peoples DIY Edward Scissorhands costumes, save photos from the actual movie so that your inspiration is coming straight form the source and you can get as close to the real deal as possible. My main inspiration came from the movie photos above (Kim is below).
When you are at the thrift store, keep an open mind! Remember that things can be cut, sewn, dyed, torn, pieced together and altered to make it what you need! I’m not gonna lie, for these DIY Edward Scissorhands costumes, I ABSOLUTELY lucked out on what I found.
Justice was the “original” Edward Scissorhands, with the black belted leather suit so his was pretty easy to shop for, but not so easy to construct. I think I bought out EVERY black belt from EVERY thrift store in a 3 mile radius to make this!
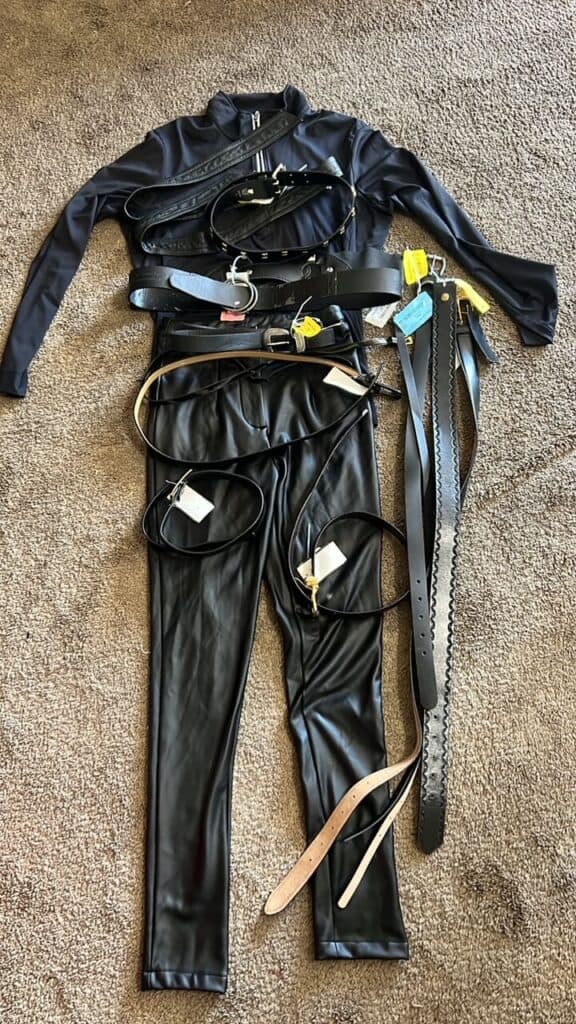
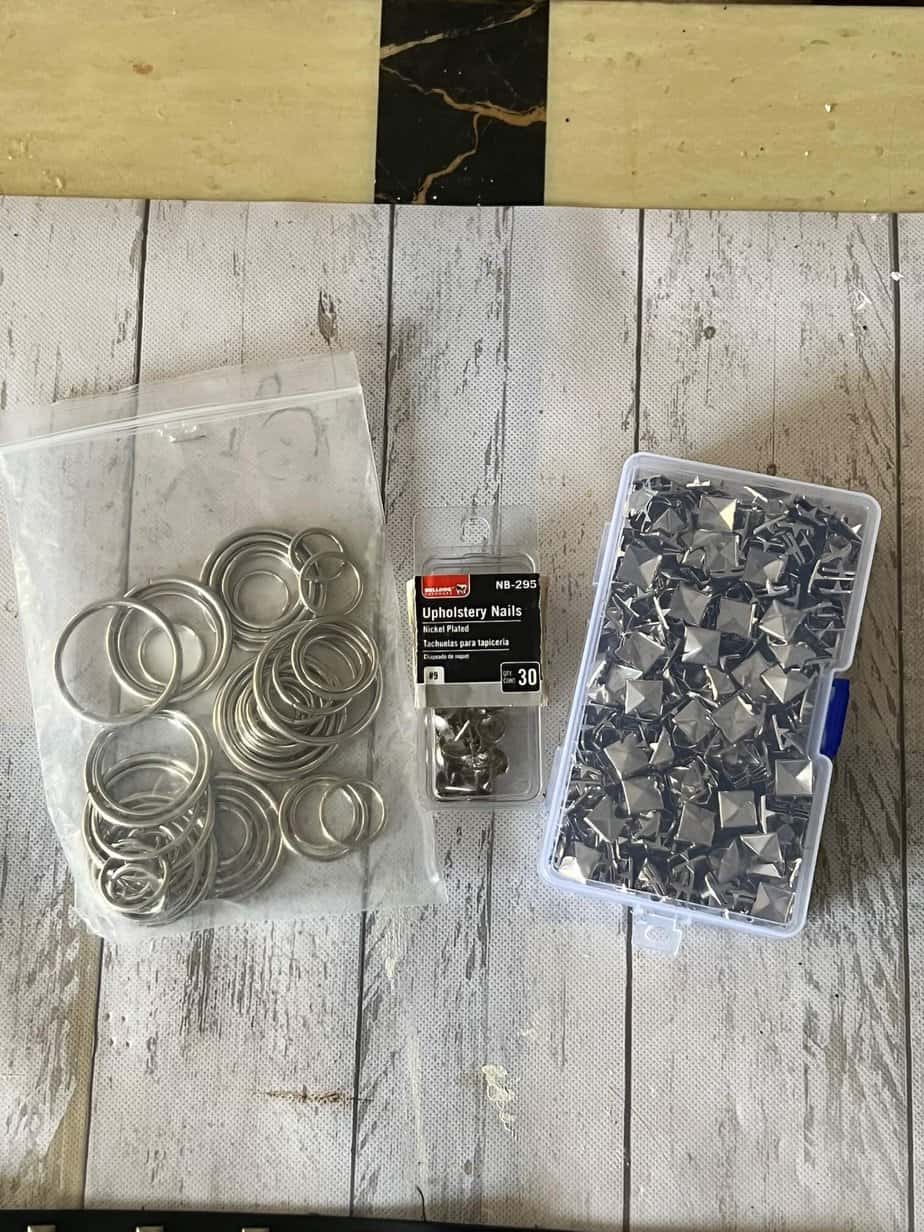
I wanted it to be as close as possible, so I did purchase some buckles and metal studs on Amazon that I could add to the suit to give it more metal, just like Edward has in the movie.
Maddox was even simpler to shop for and super easy to make. Everything was a bit big on him, but thats totally ok because Edwards clothes in the movie are big as well.
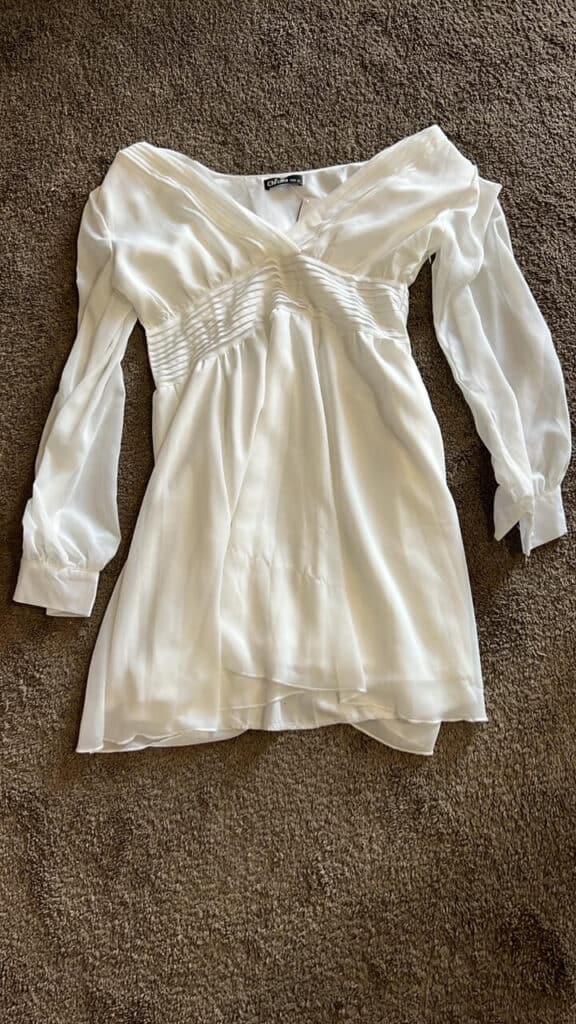
For myself, I found the perfect white dress. Who cares that it didn’t quite fit? I only had to wear it for a night!
Here is the inspiration:

And here is what I found:
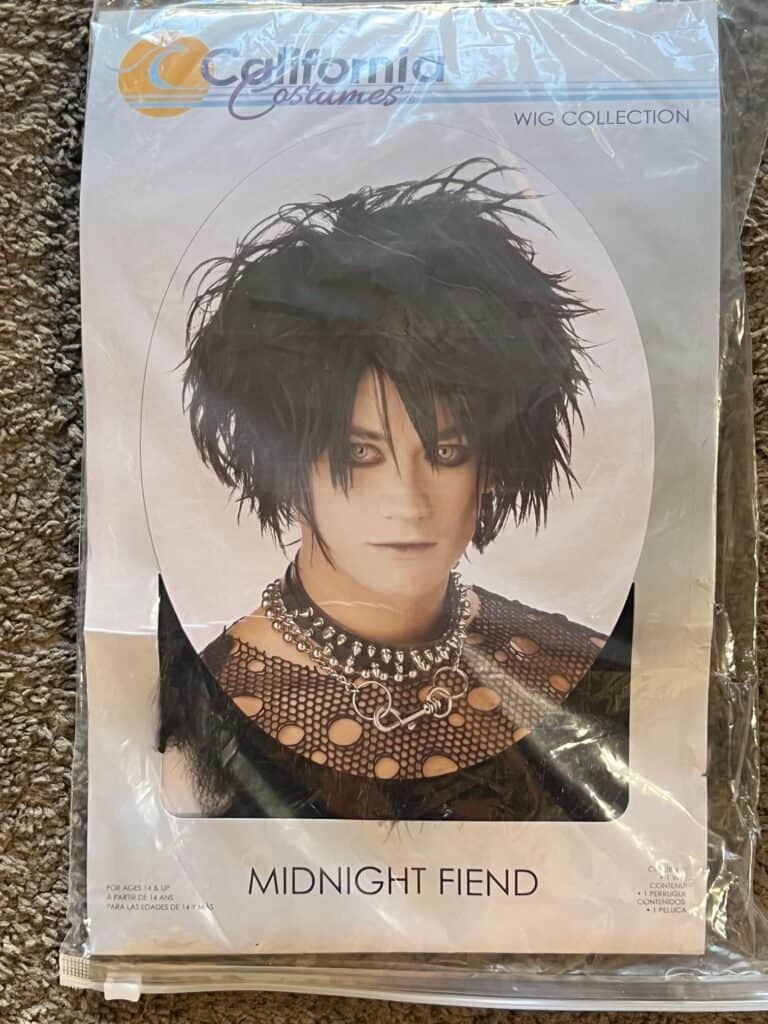
For the wigs, I had to spring for new ones on Amazon because I just wasn’t able to find anything thrifting. I got 2 “Midnight Feign” Wigs for the Edwards, and then styled them up from there.
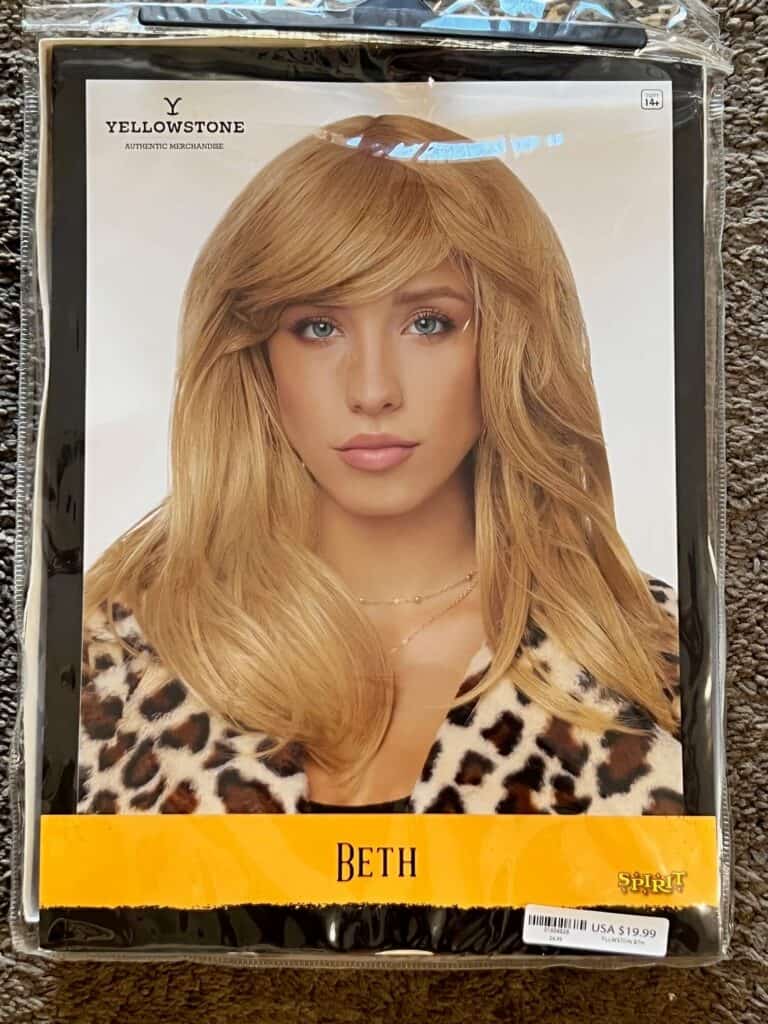
I got a “Beth” from Yellowstone wig for myself (Kim). And I am using this one for my Barbie Costume this year as well, so I am getting my moneys worth.
How to make your own DIY Edward Scissorhands Costumes from Thrift Store Materials
Let me show you how I pulled this all together. This post of course will not be a step-by-step tutorial because the items that I used you most likely will not be able to find at your local thrift stores. But use this as inspiration and for ideas of how YOU can make your own DIY Edward Scissorhands and Kim costumes for Halloween!
Original Black Leather Belted Suit
This one is NOT for the faint of heart. Now I know why these go for $150 online! But it was so worth it in the end.
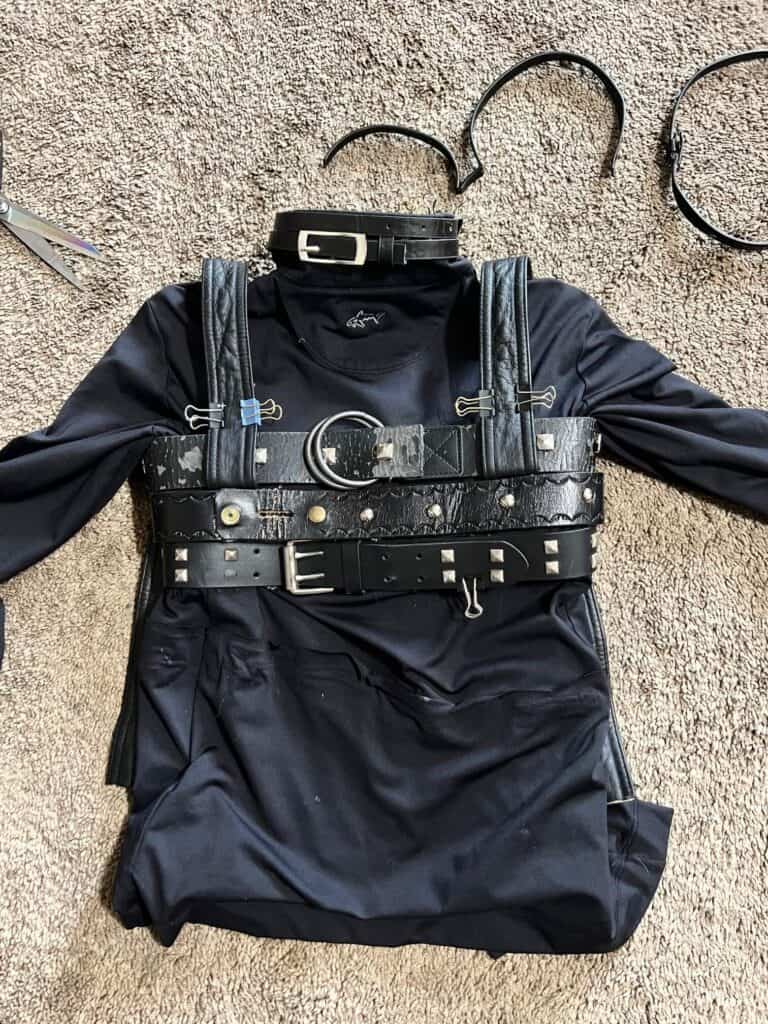
My biggest question was how the heck was he going to get in and out of this suit once the belts were all glued on? I determined that he would need to put it on with his arms through it, and the back open the way that you would put a hospital gown on. It was way too long too, so I just chopped about 8 inches off the bottom (Justice is TINY).
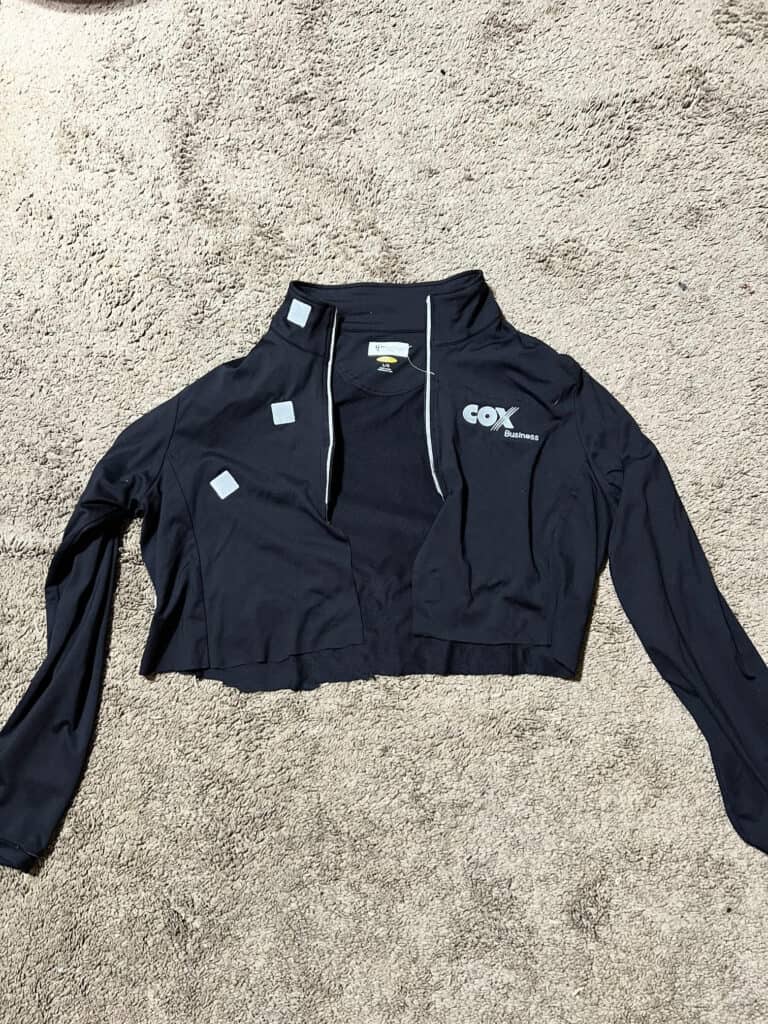
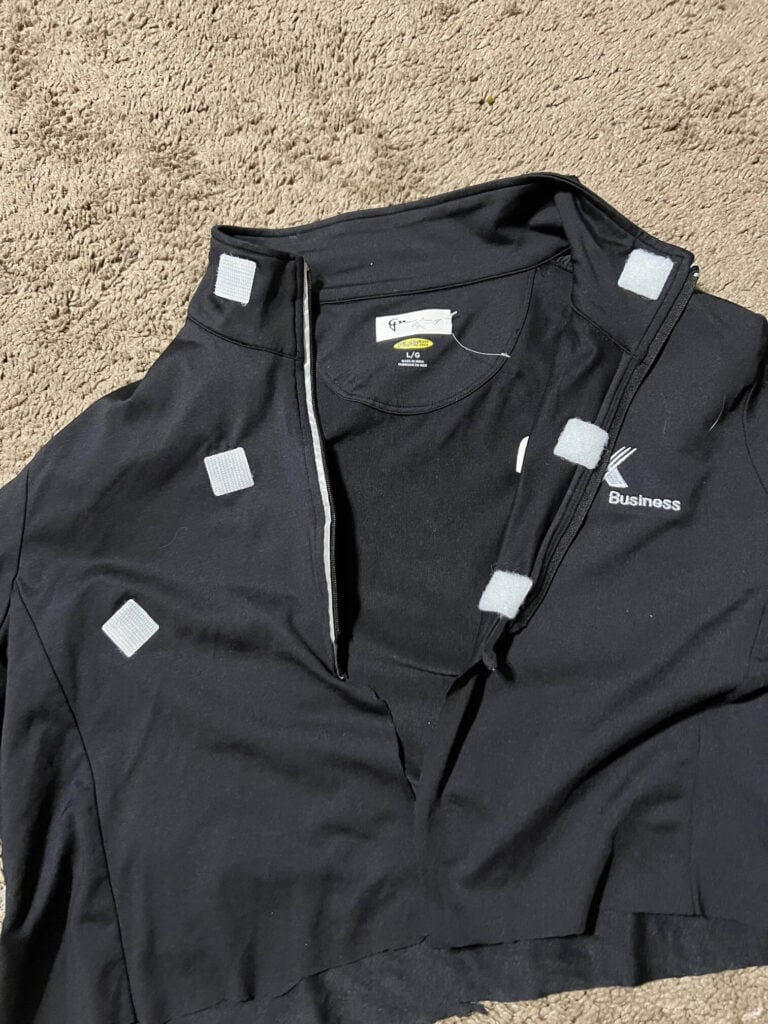
I wanted it to come up to his neck in the front, so I actually turned the shirt around backwards and made the front of the shirt be the back of the suit. I cut the front open and made it so that it could close using velcro. This worked FABULOUSLY!
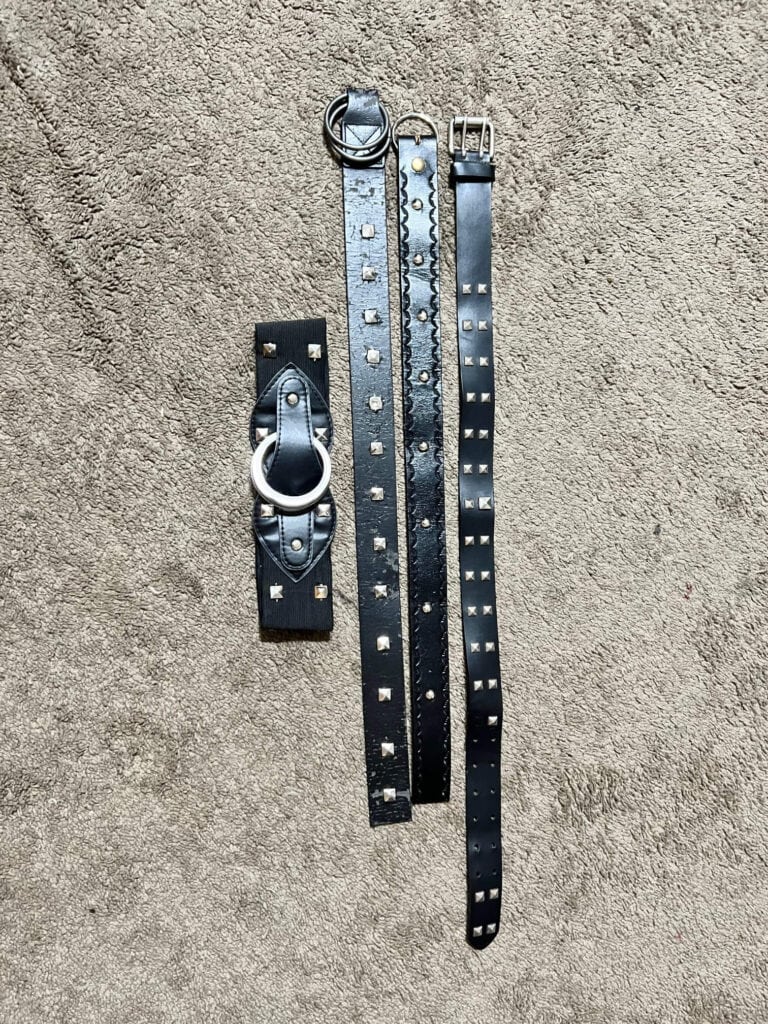
I started with the biggest most metal belts that I had. I needed one to be the main focus that Edward has right around his midsection, so I chose the thickest one and luckily for me that one came on and off and was stretchy around his waist (the one on the left) so we took that one on and off with the costume and didn’t have to glue it.
Then I just glued all the rest of those bad boys on using E6000 and Hot Glue.
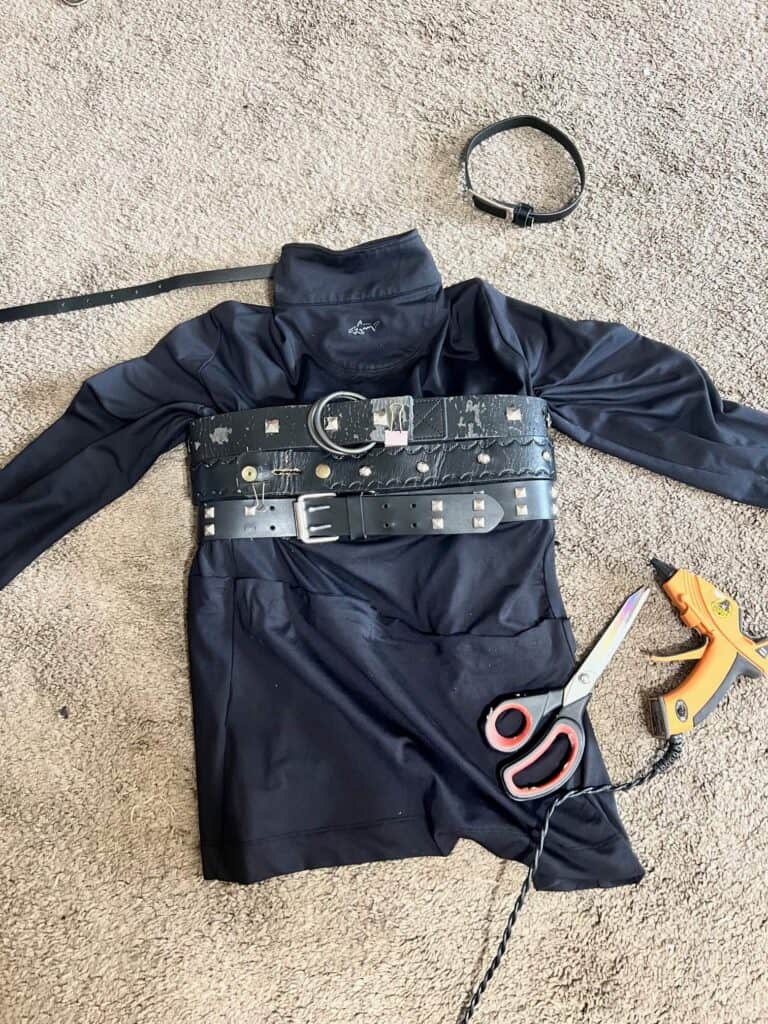
I took the thinnest belts that I had and glued those around the collar, making them open and close in the back with velcro as well, so that he didn’t choke.
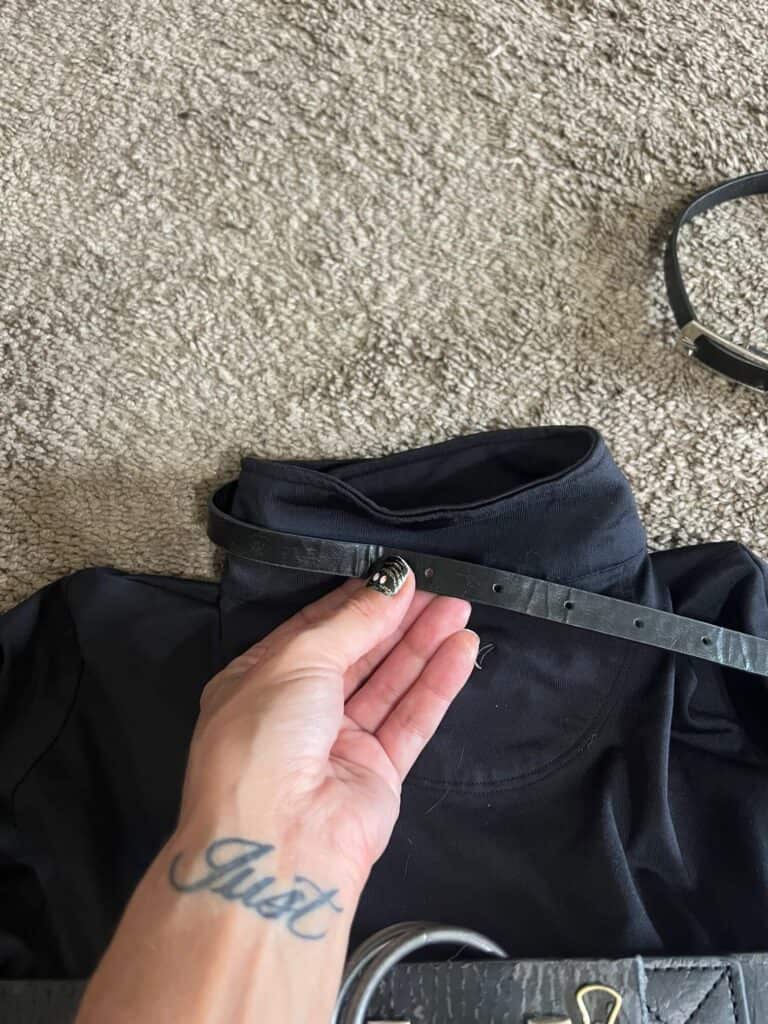
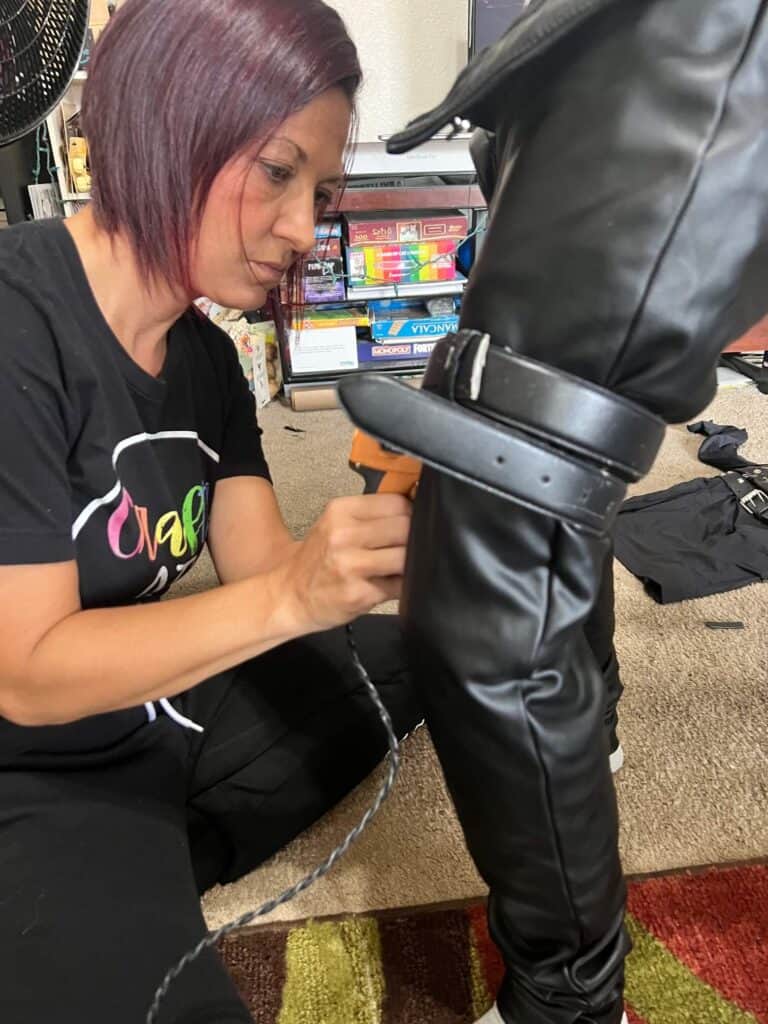
I found the pants were easier to do while he was IN the pants, so that I could determine how tight I needed them to be, so that he could get them on and off. Be REALLY careful with the hot glue gun if you do this! There were definitely a few minor burns in the process #whoops.
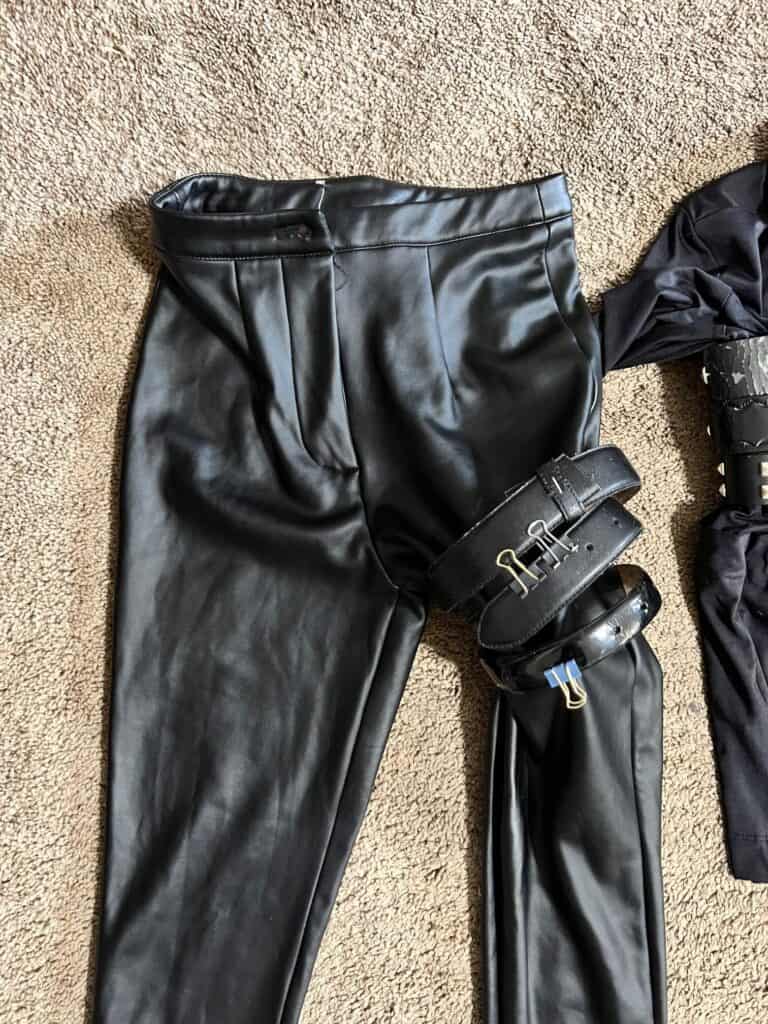
I used E6000 as well since thats a much more permanent hold, and then held them in place with binder clips until that completely dried in 24 hours.
I glued on the metal rings and studs all over once everything was dried.
Now for the shoulder straps. I wrapped them around the chest belts and glued them in place, and then glued them over the shoulders and connected them to the same belts on his back.
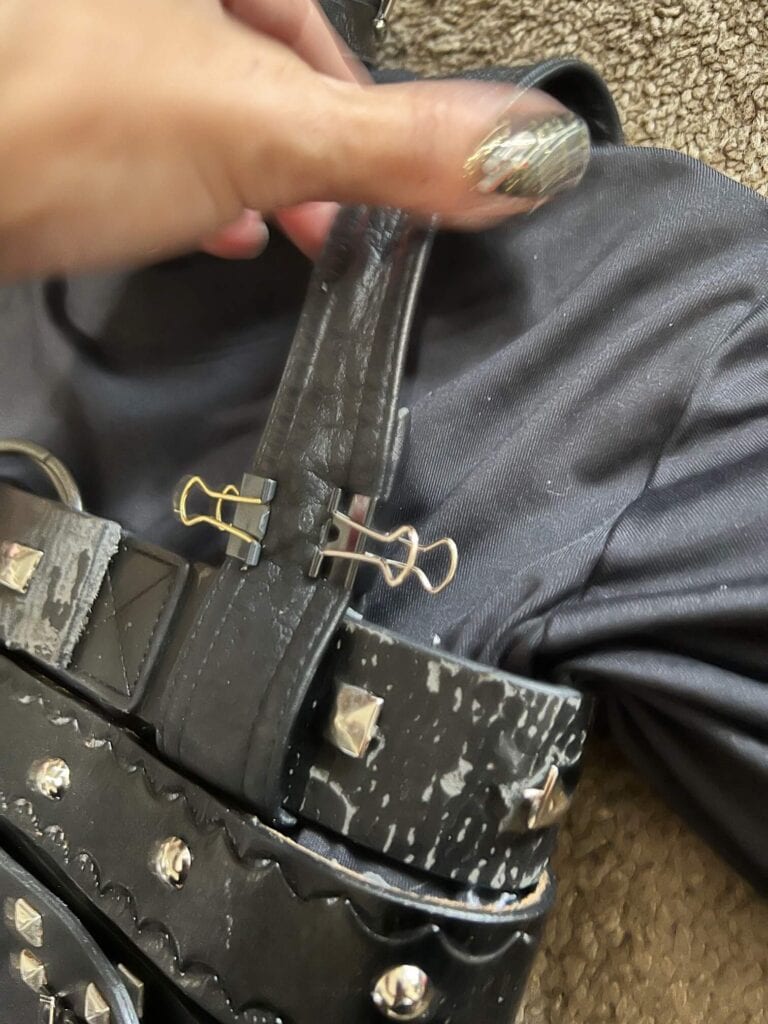
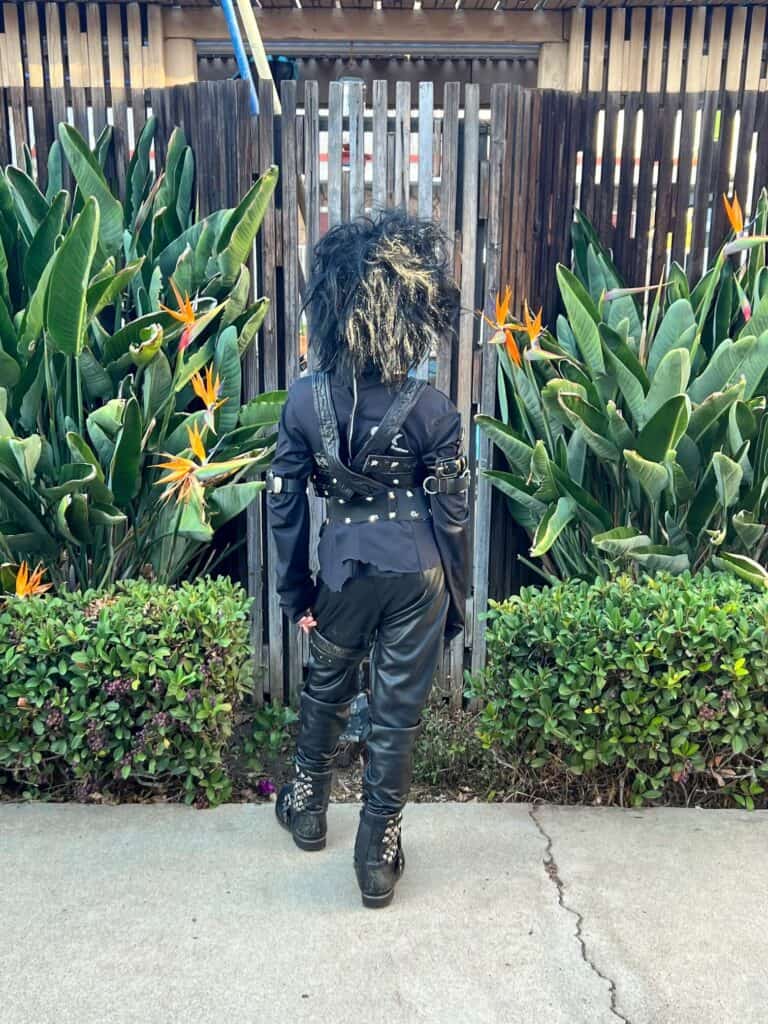
On the back they criss crossed and connected with velcro and not glue, so he could get the shirt on and off (there is a pic of Justice from the back down below). Basically we had to velcro this shirt in place once it was all said and done.
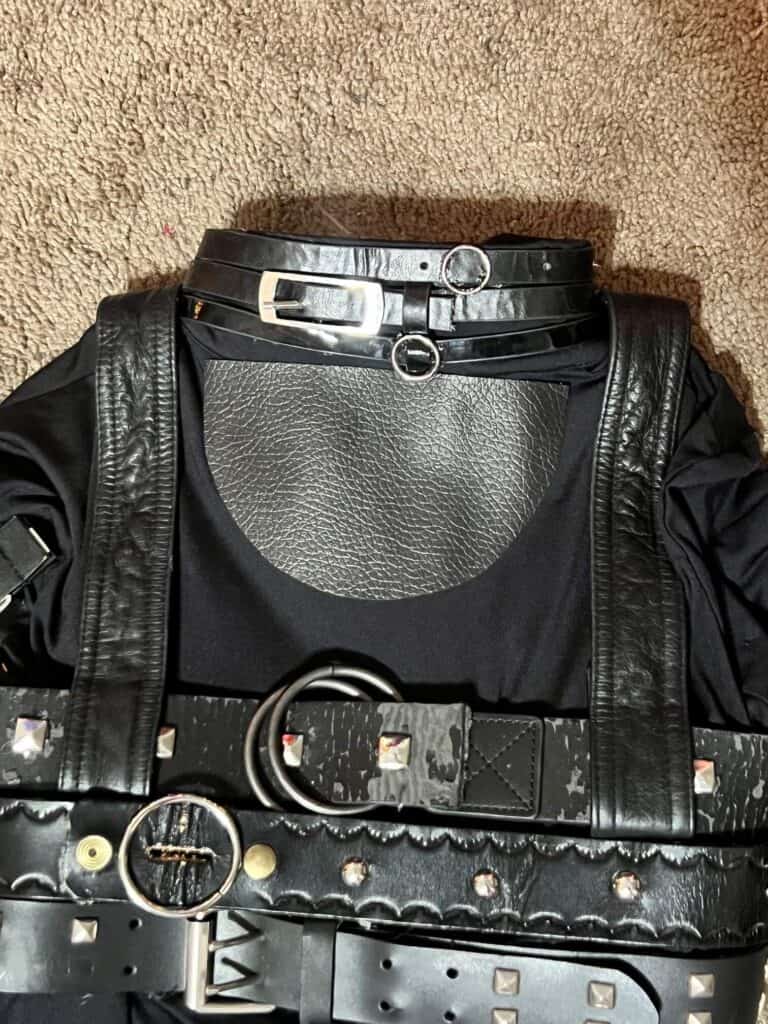
In the movie, Edward has these pleather patches, so I purchased some Faux Leather from Dollar Tree and added one to the neck/chest…
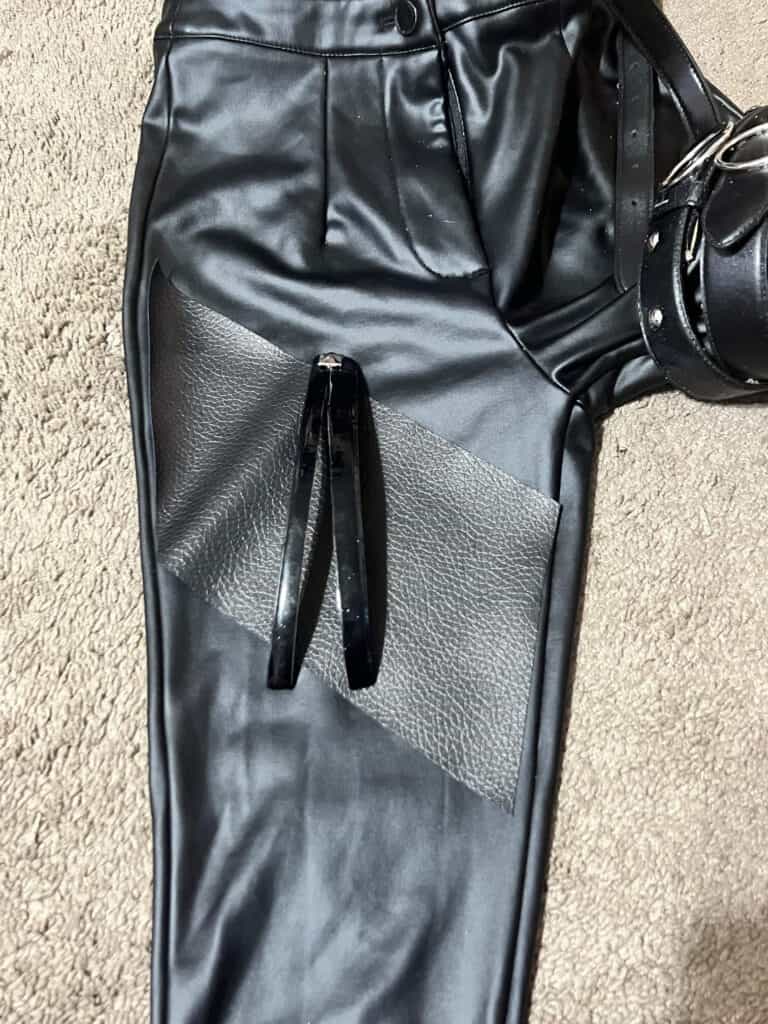
And to the pants….
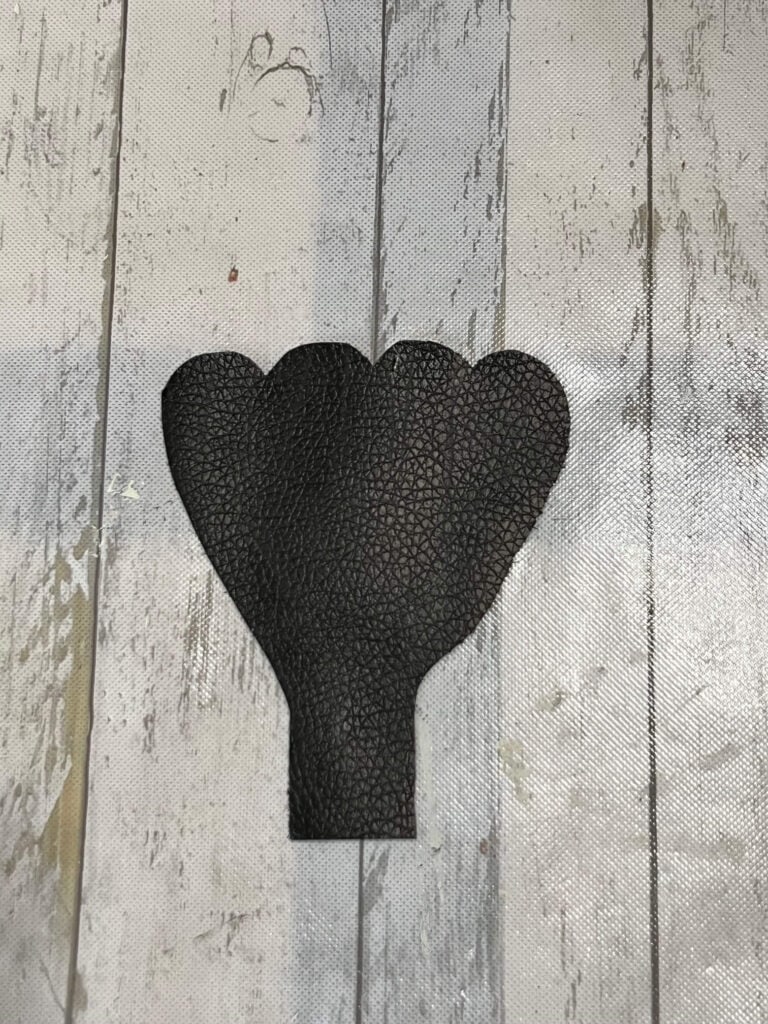
He even had this weird crotch patch that we strapped onto him as well LOL!
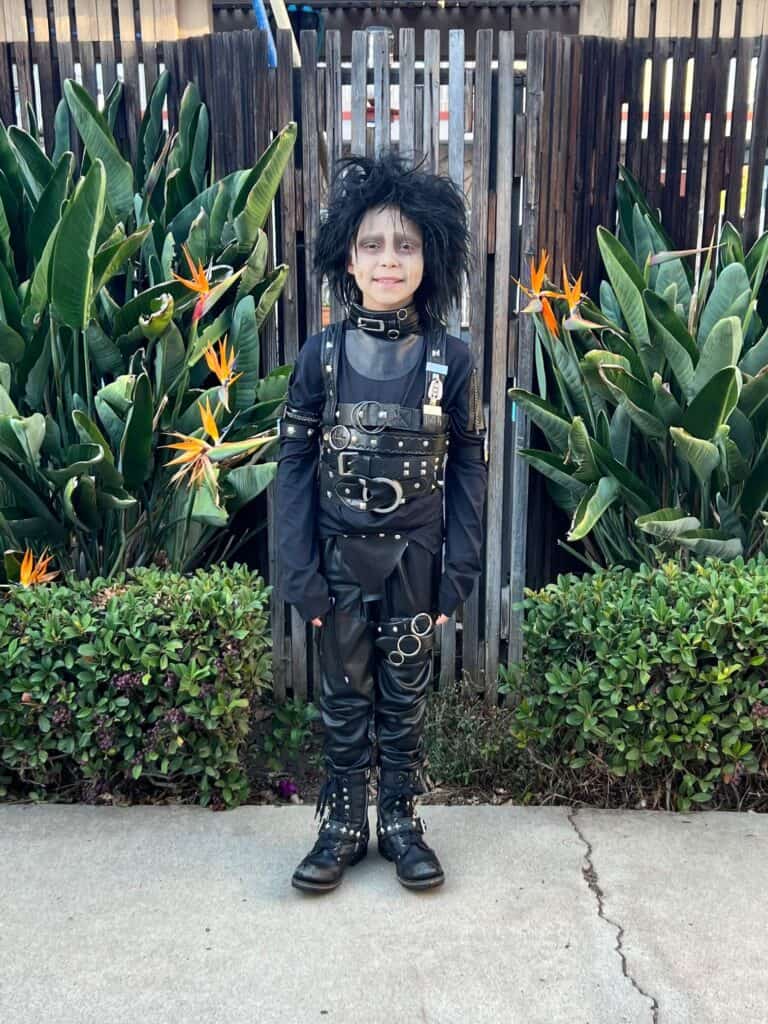
After several days and lots of patience, here is the completed Black Pleather Belted Edwards Scissorhands Suit!
As you can see I added some chains and pleather to the arms along with some more belts. And as much metal as I could possibly glue on here!
PS: He is wearing MY boots that are huge
You have got to see his Sassy stance from the back LOL…
Thats pretty much all the DIYing involved to make this original Black Belted Leather Edward Scissorhands suit. Like I said, a lot of work but totally #WorthIt. Now for the Grey pants and white shirt with suspenders!
Grey Pants and White Shirt With Suspenders Edwards Scissorhands
Maddox’s DIY Edward Scissorhands costume was far easier to make than Justice’s.
I had him get dressed in what I bought, and determined all I had to do was make the black leather suit show from under his white shirt, and cut his suspenders and add some safety pins to keep them together (remember Edward accidentally cut them getting dressed).
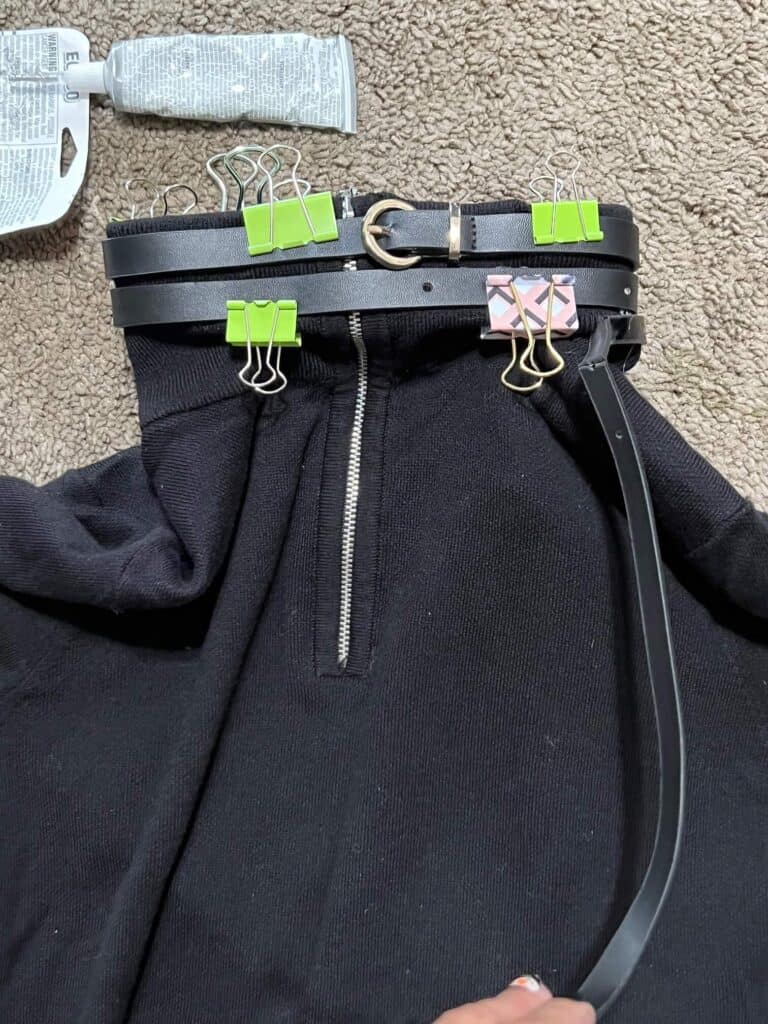
I used E6000 glue to secure the belts around the collar of this black sweater, and used binder clips to hold them in place until it dried. The belts are cut in the back, and I added velcro to open and close so that he could easily get in and out of the shirt and so that it didn’t choke him of course.
Here I just cut the suspenders and then put them back together using safety pins.
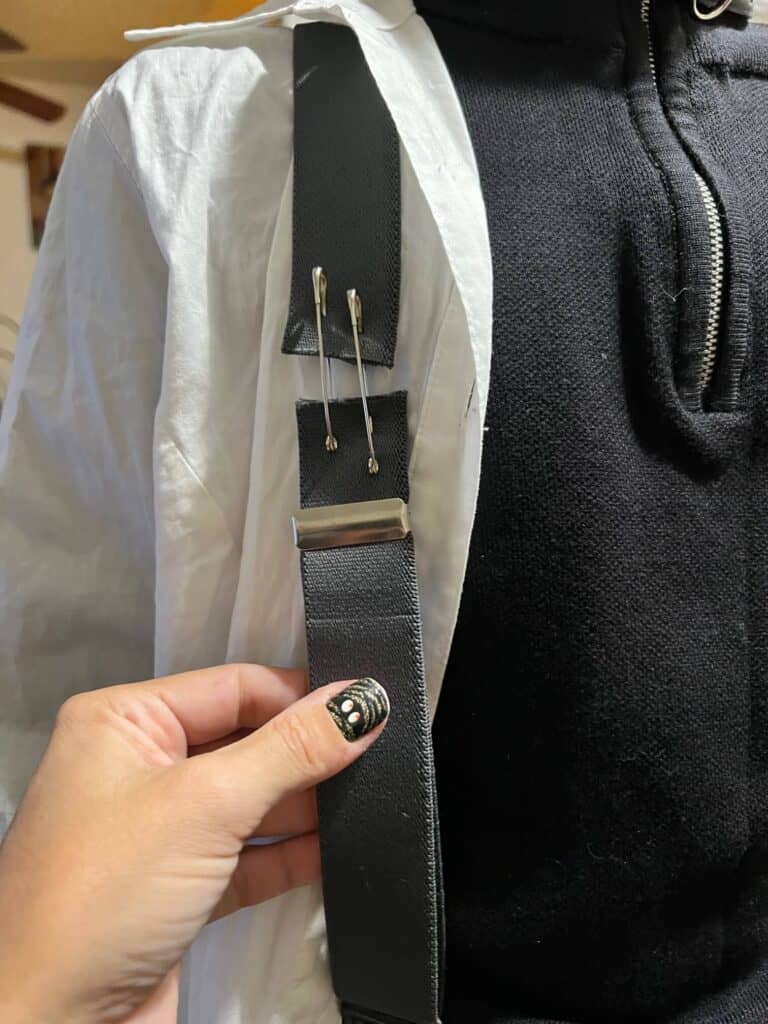
Thats about all we had to do to accomplish the Grey Pants and White Shirt with Suspenders look!
DIY Edwards Scissorhands Gloves
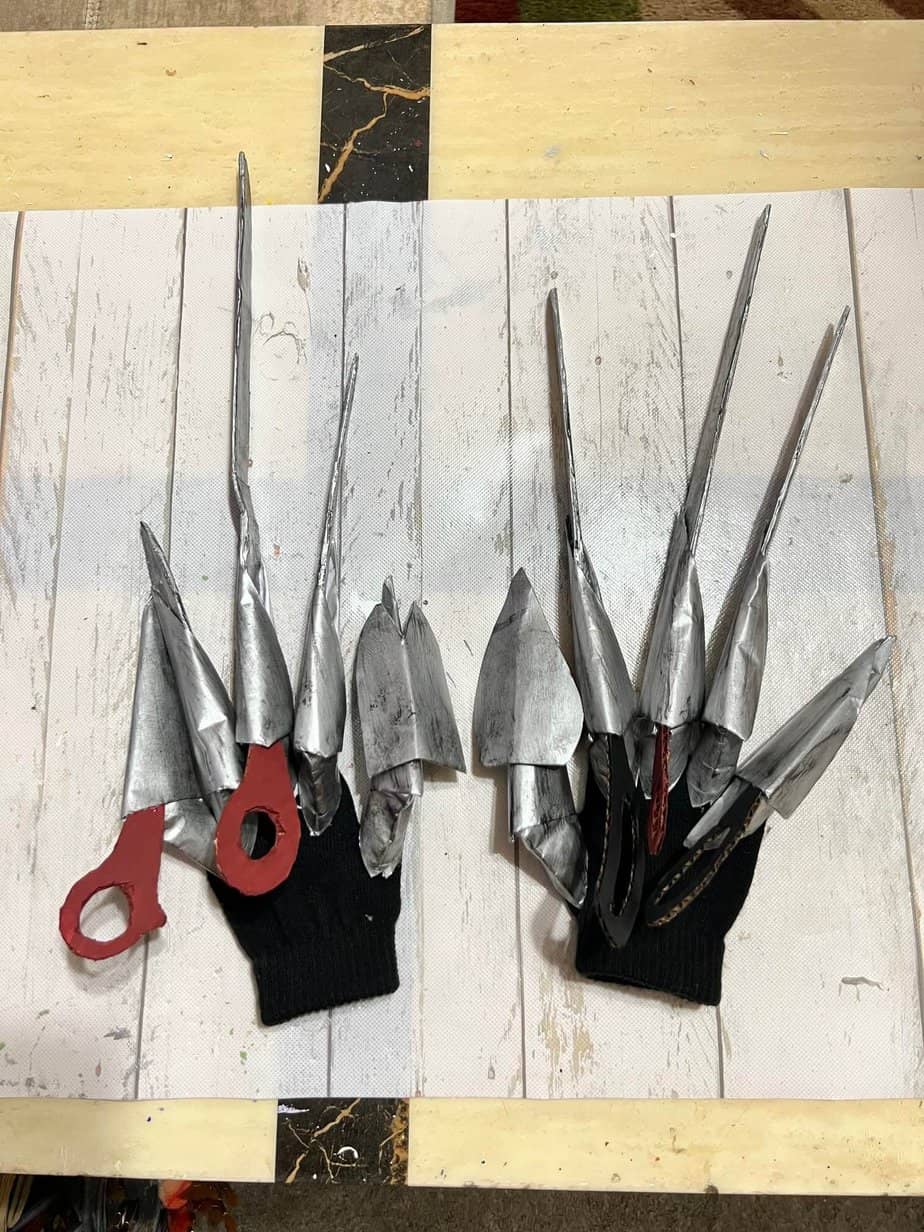
I definitely combined a few elements here to make these and I’m not gonna lie, this was THE most time consuming and painful part of the whole process. So much so that I almost made only one glove for each twin! In the end, I don’t know how to half-a** anything so I ended up doing both but it took HOURS and I say HOURS.
I’ll do my best to show and explain, but I would recommend buying costume prop hands if you can afford it! This is something I really should have recorded so you could SEE how to do, because I just don’t think these steps will be enough to actually make these, but I’ll try!
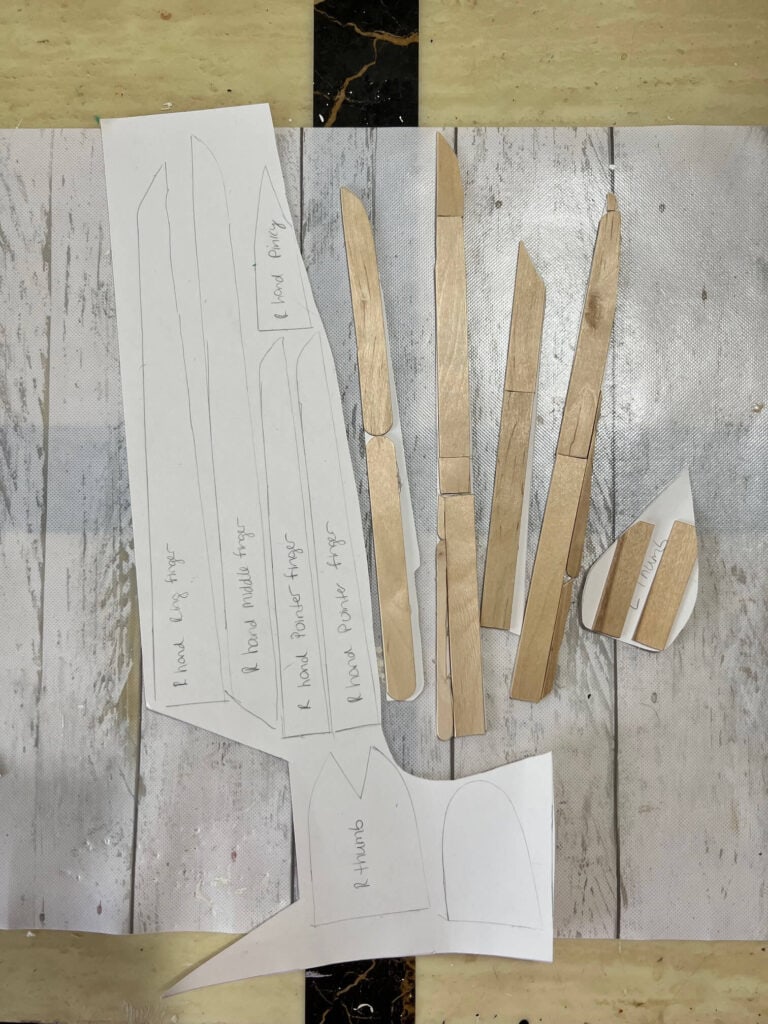
I found a template on YouTube that I paid $1 for (thank you to the CosPlay fans!) and that def cut down on the thinking portion. I cut the templates out of cardstock, and then cut and glued jumbo popsicle sticks to them to make them stiff. Then covered the popsicle sticks with more cardstock, sandwiching them inside.
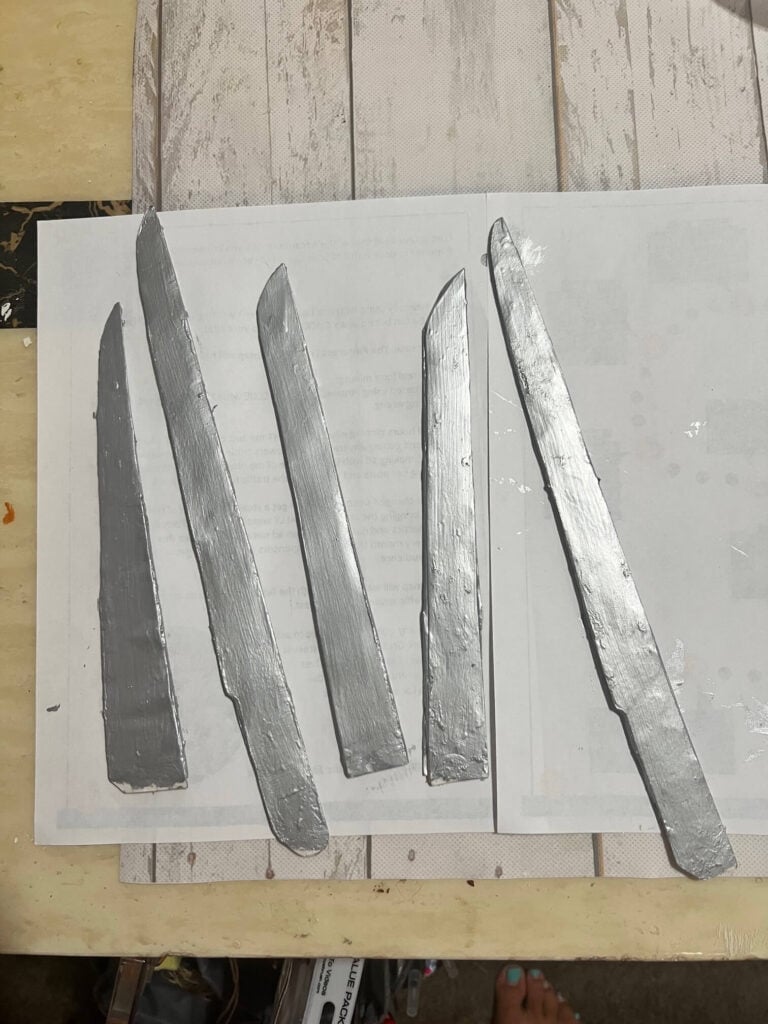
I then painted them with Silver Metallic paint.
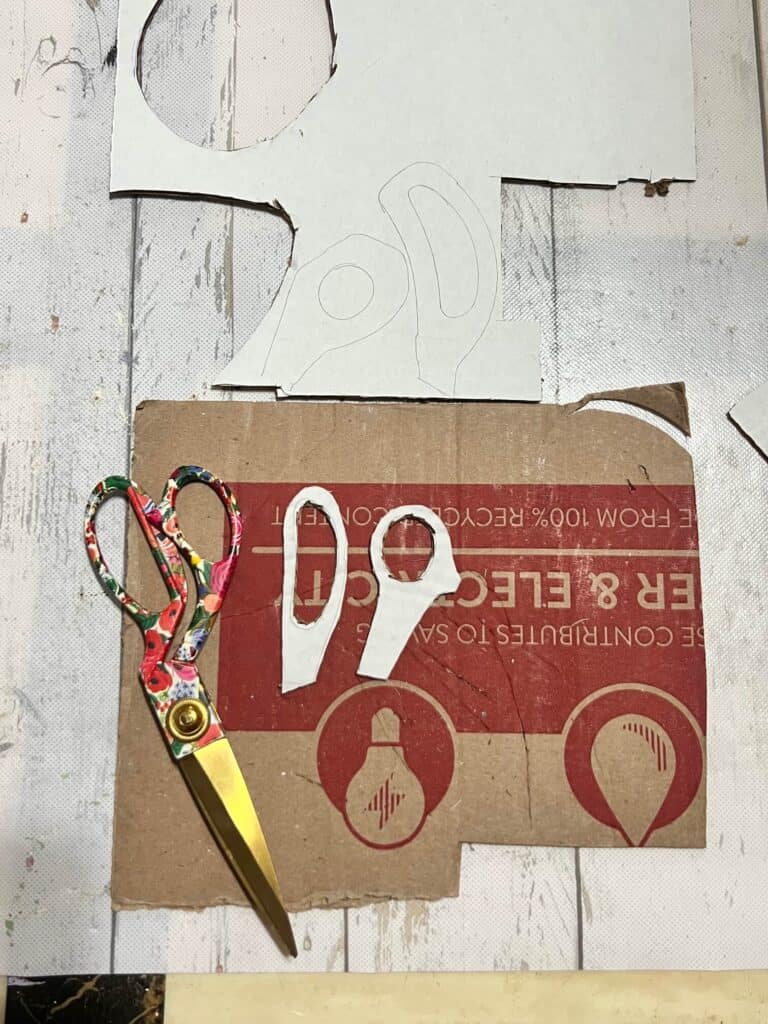
I traced the handles of my scissors onto cardboard and cut them out, a total of 3 for each hand. I used different pairs of scissors for different shapes for more authenticity.
Ok, this is where things got complicated. The boys make these things called “Paper Claws”, you will have to Google how to make them, but they worked perfectly! They slip right onto your fingers and they have a little slit in them that you can slide the “Scissorhands” into to hold them.
So I painted them silver as well. I also dry brushed some black and white to make it look more like actual old metal.
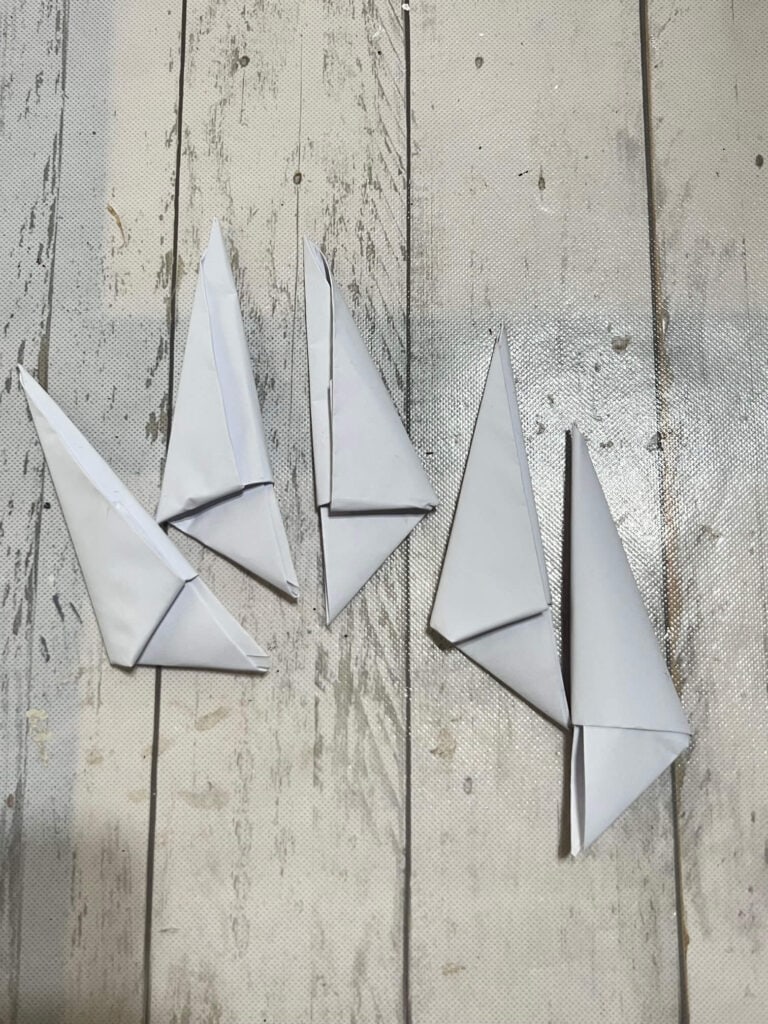
Then just slide the popsicle stick/cardstock “Scissors” into the claws like so.
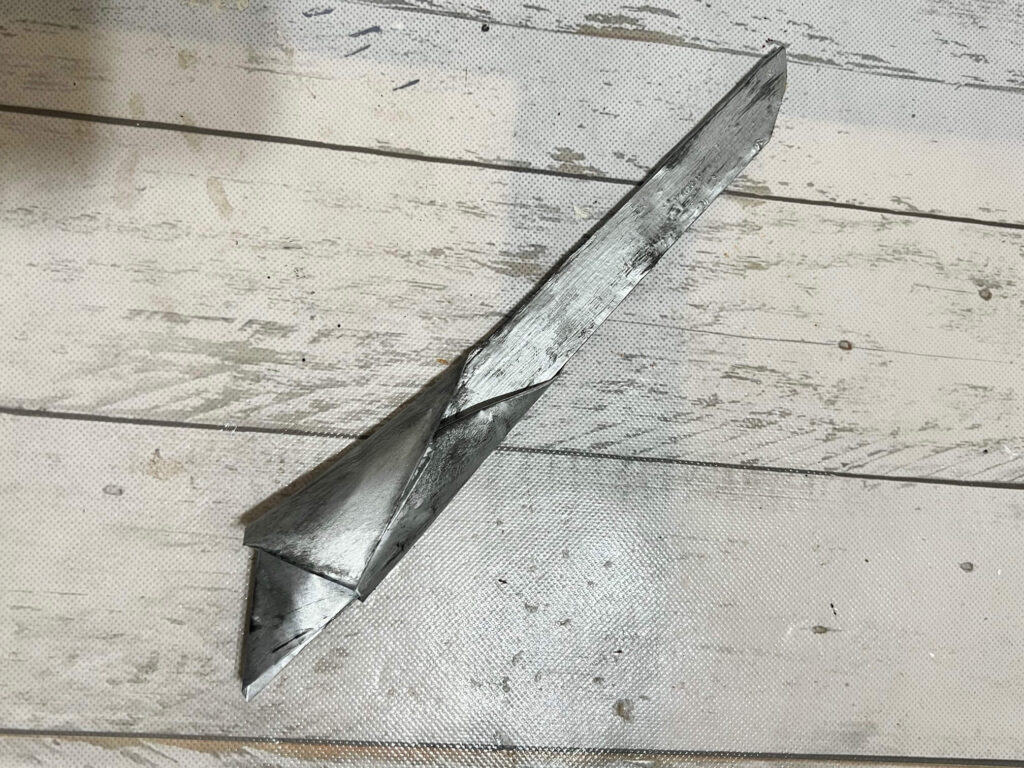
See how it just slides right onto your finger!
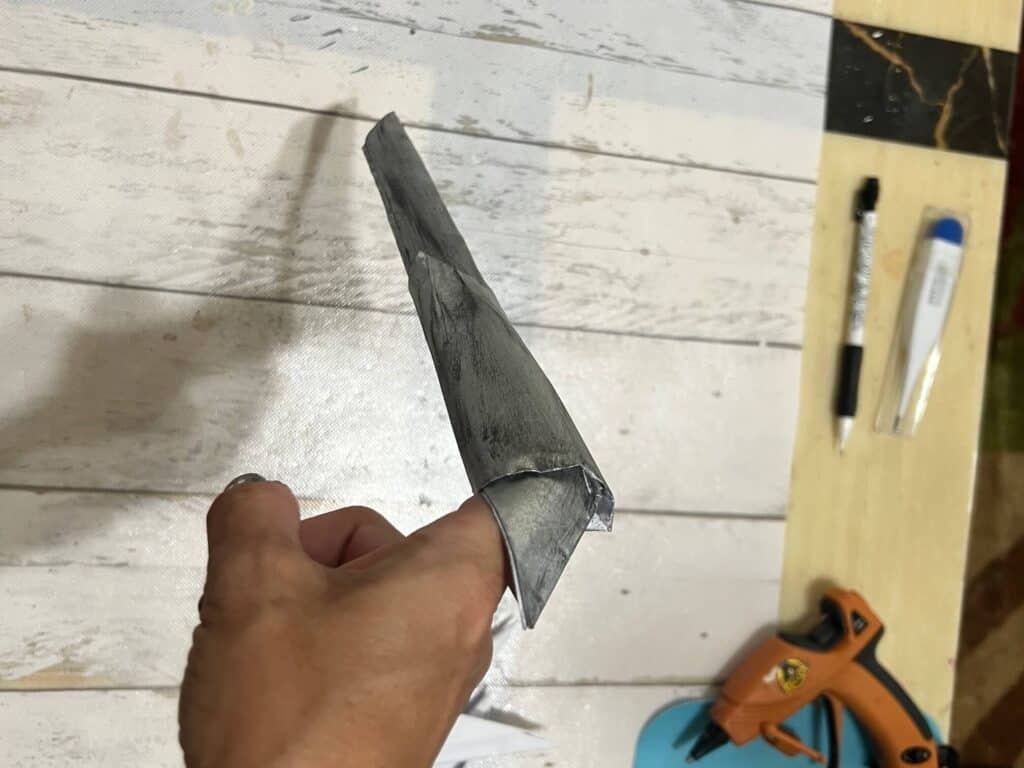
I then glued the cardboard scissor handles to the tops.
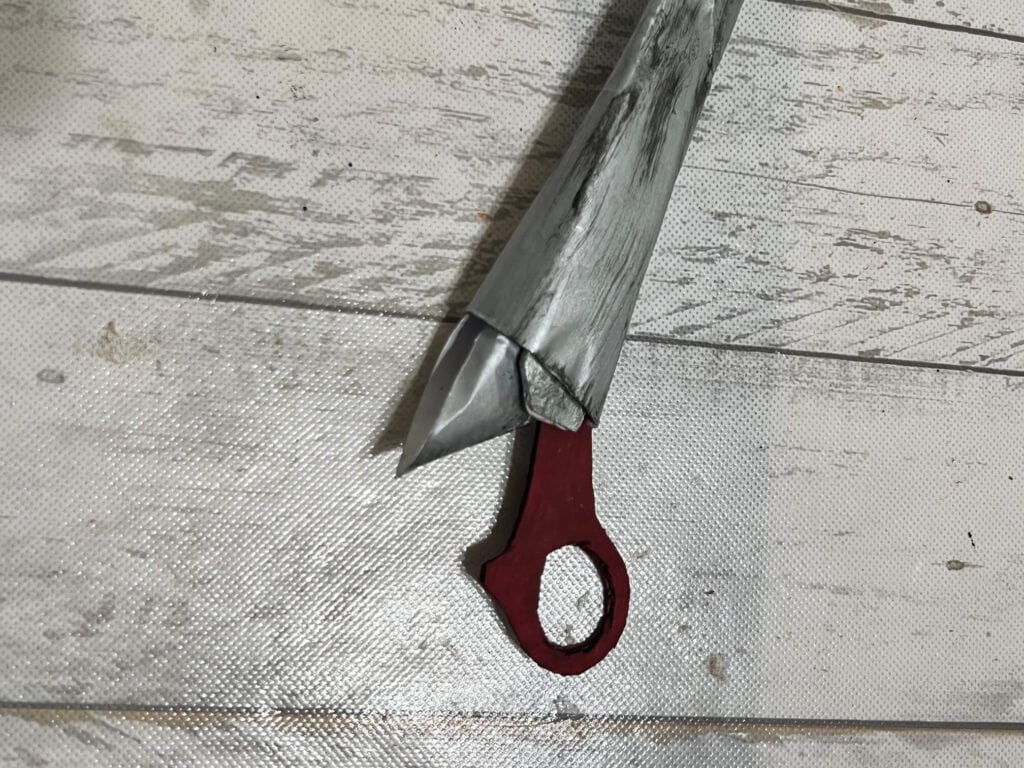
And then started gluing them onto a pair of plain black winter gloves. The easiest way to do this was to put the glove on, and then put hot glue in the claw and stick your hand in to get it nice and snug. Again, be careful not to burn yourself!
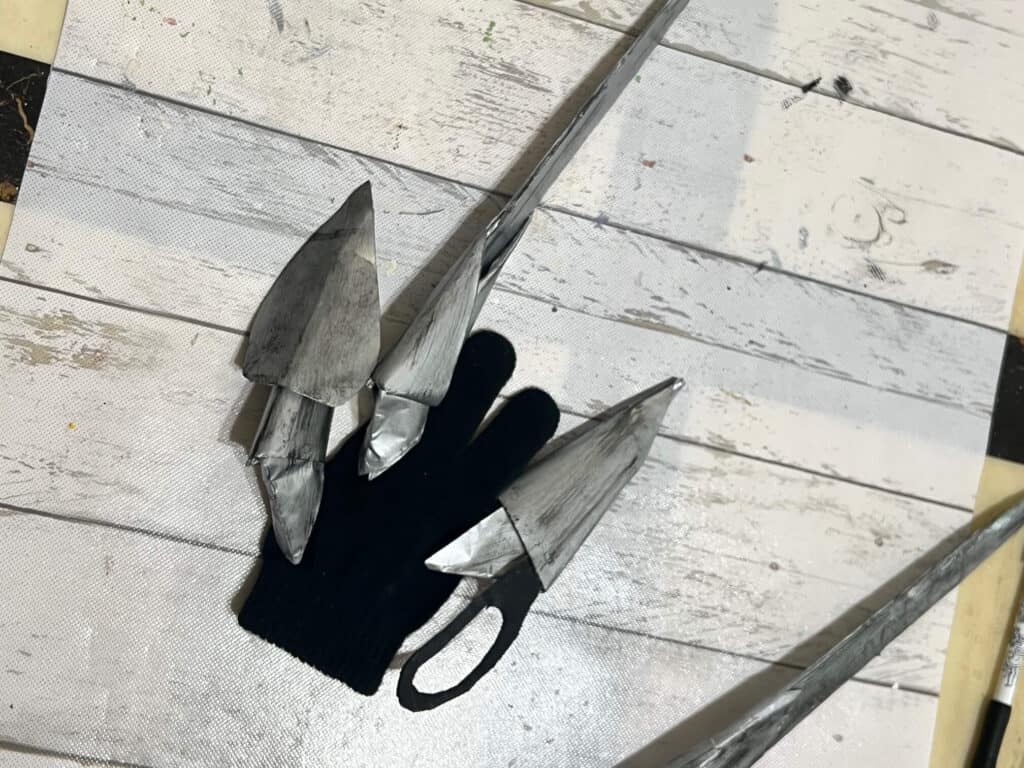
They are starting to look like the actual Scissorhands!
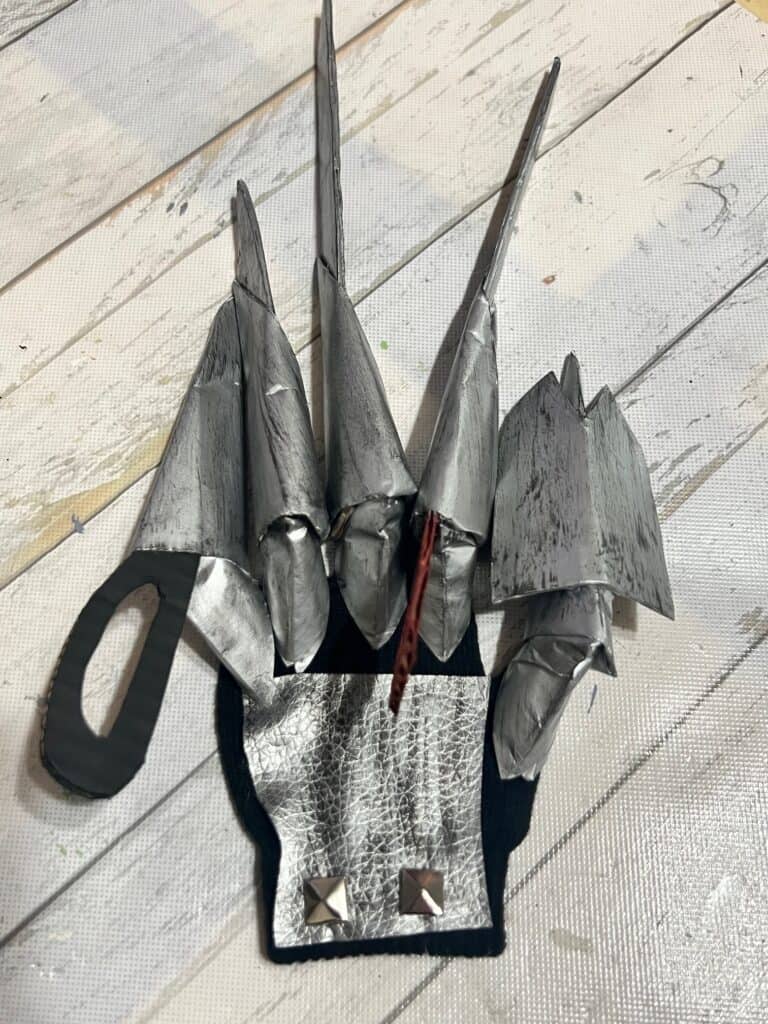
The last thing I did was take some of the Dollar Tree black faux leather and paint it silver and add to the top of the glove with some silver studs.
DIY Edward Scissorhands Face Makeup
This was pretty easy to accomplish. I got the absolute lightest fairest foundation I could find in the Wet n’ Wild cheapo brand, it was called “Porcelain”.
Then for the scars, I used a kids glue stick and took it and mashed it up into a thick paste, and then applied it onto their faces in lines. I tried liquid latex too, but the glue stick worked MUCH better.
The foundation glided right over it leaving a scar look underneath.
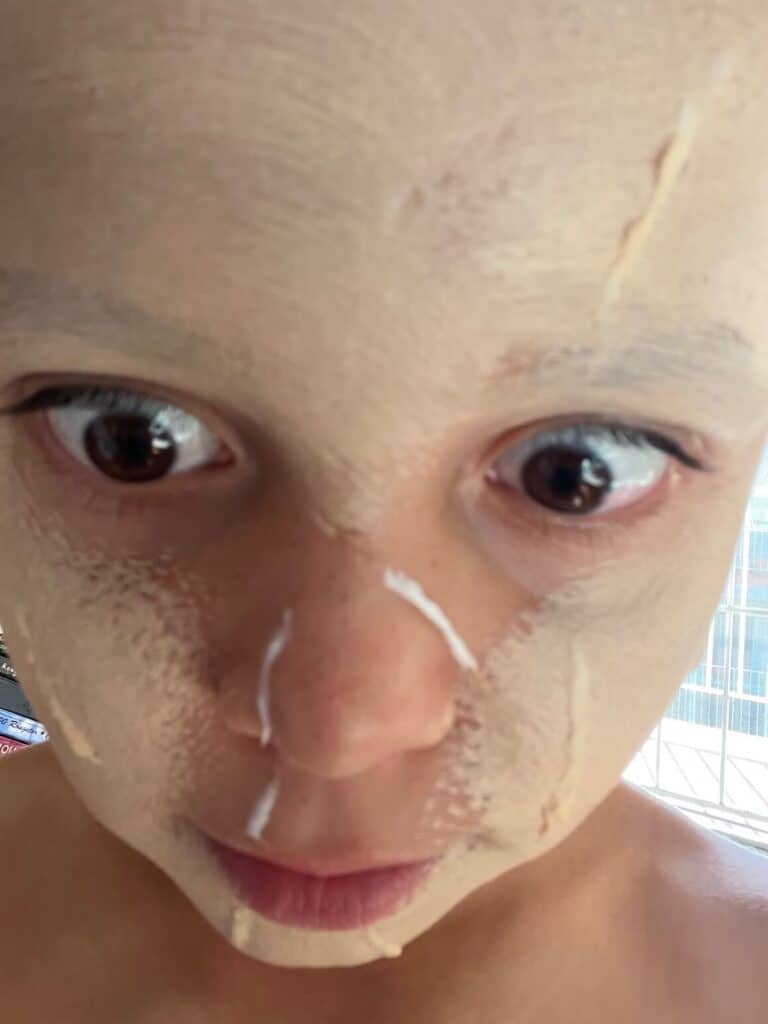
I used some dark purple eye shadow around the eyes all the way up to the eyebrows to give the look of the dark sunken eyes.
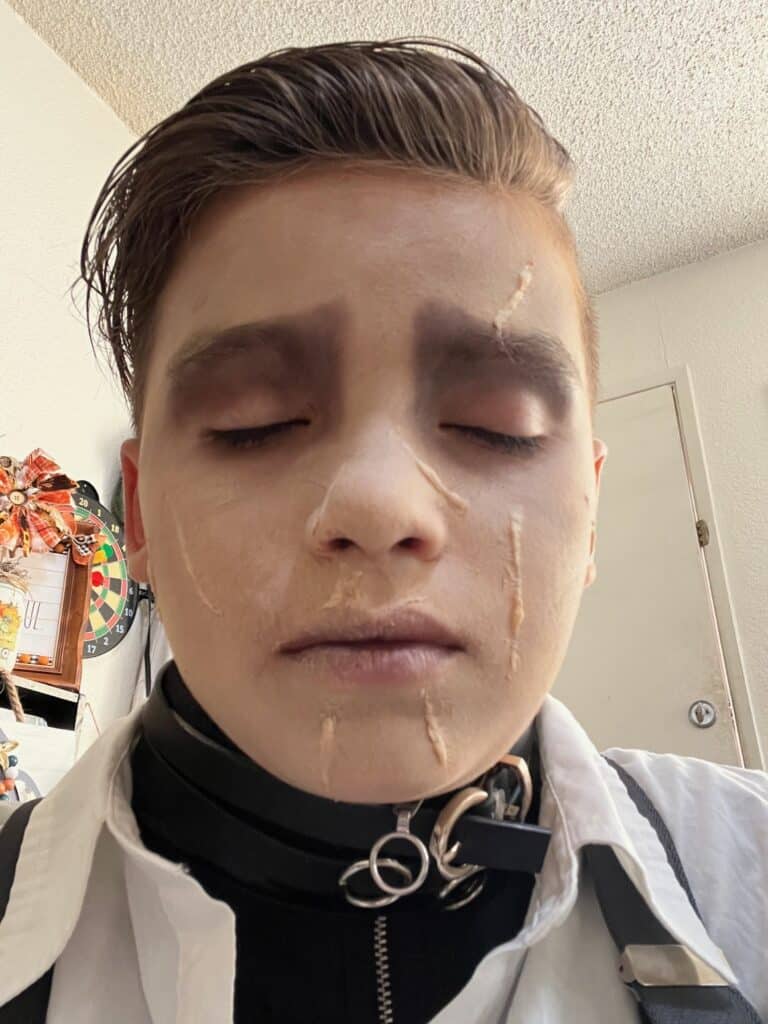
The completed Handmade Edward Scissorhands Halloween Costumes
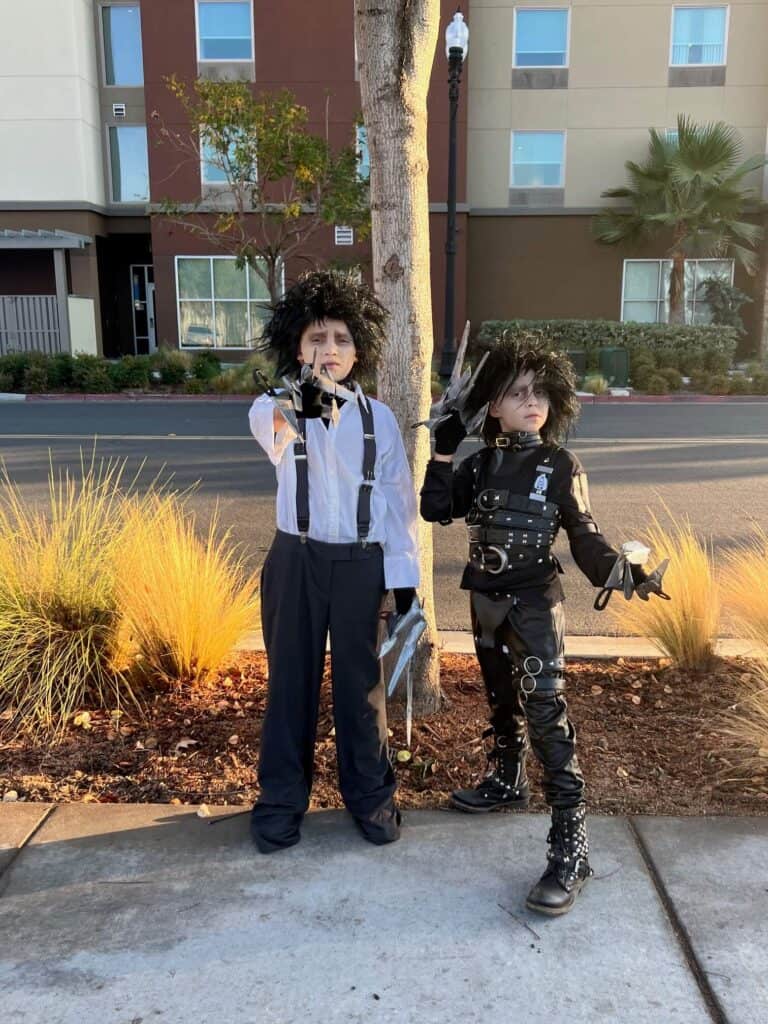
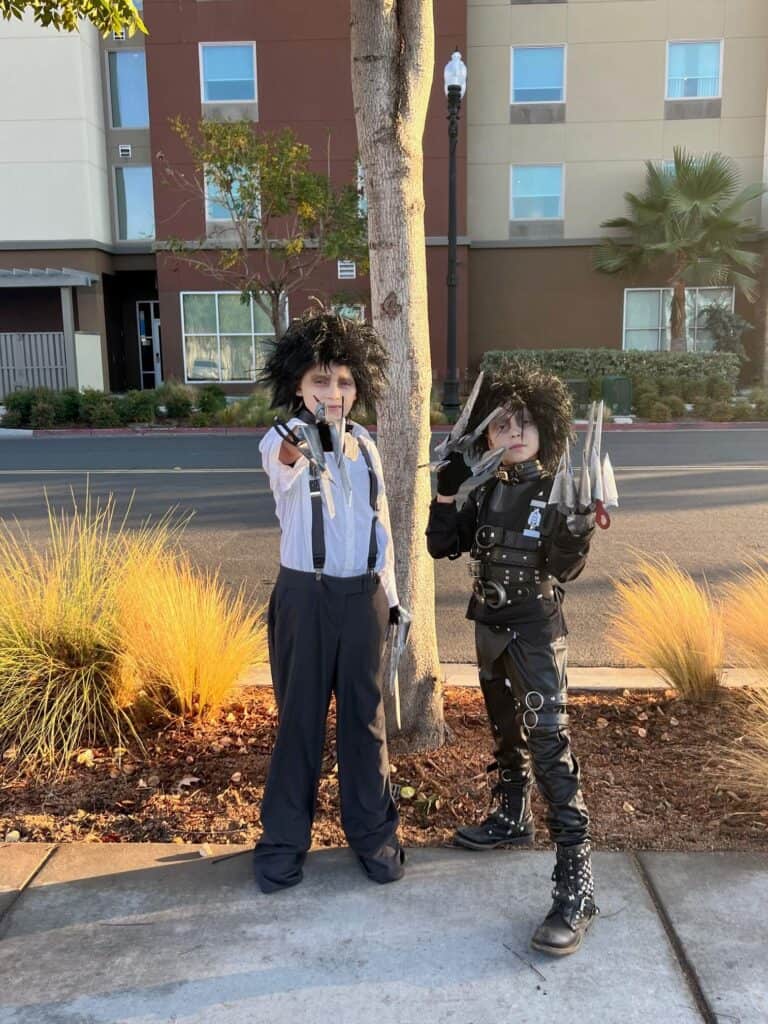
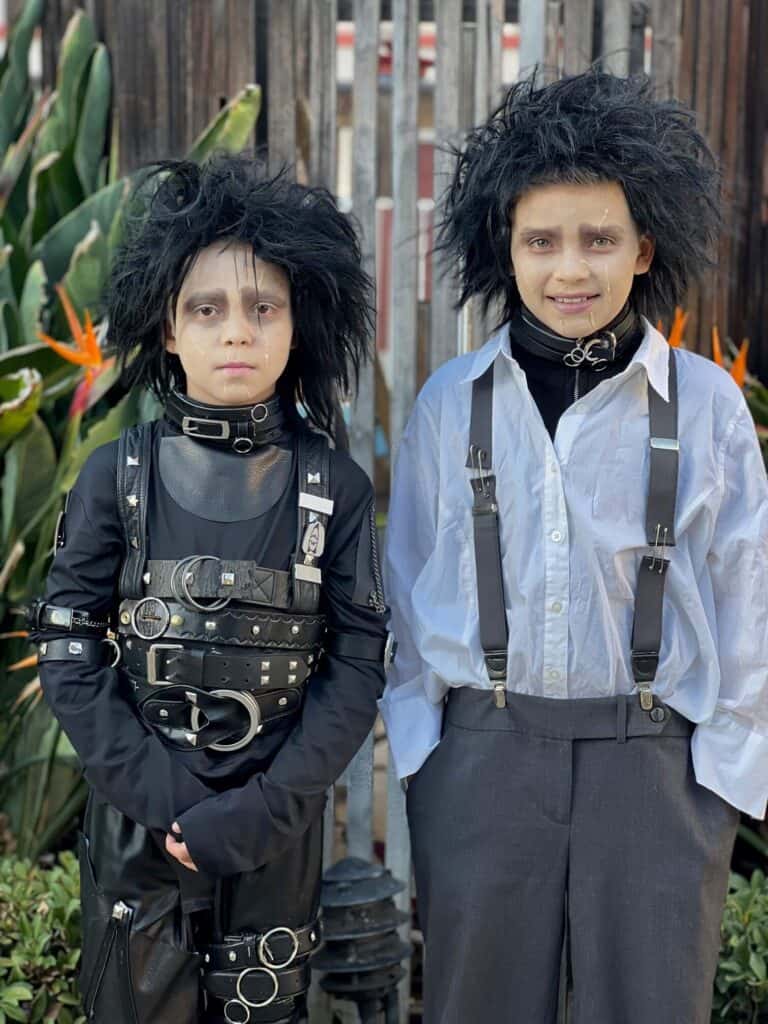
Here they are! BOTH DIY Edwards Scissorhands versions!
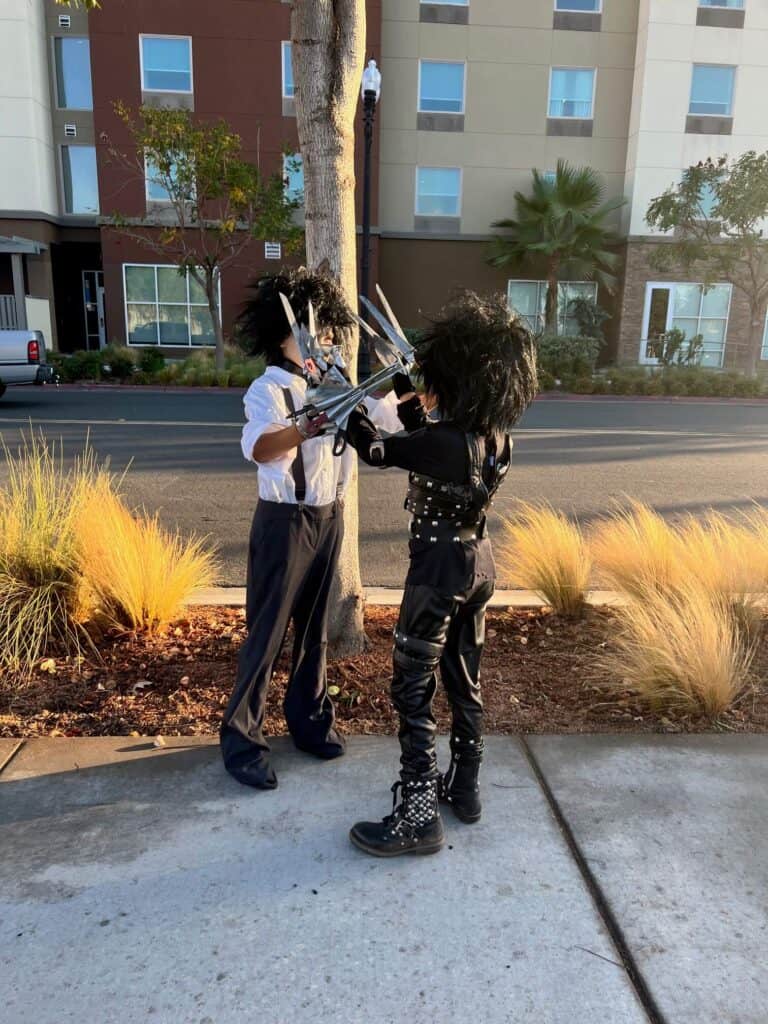
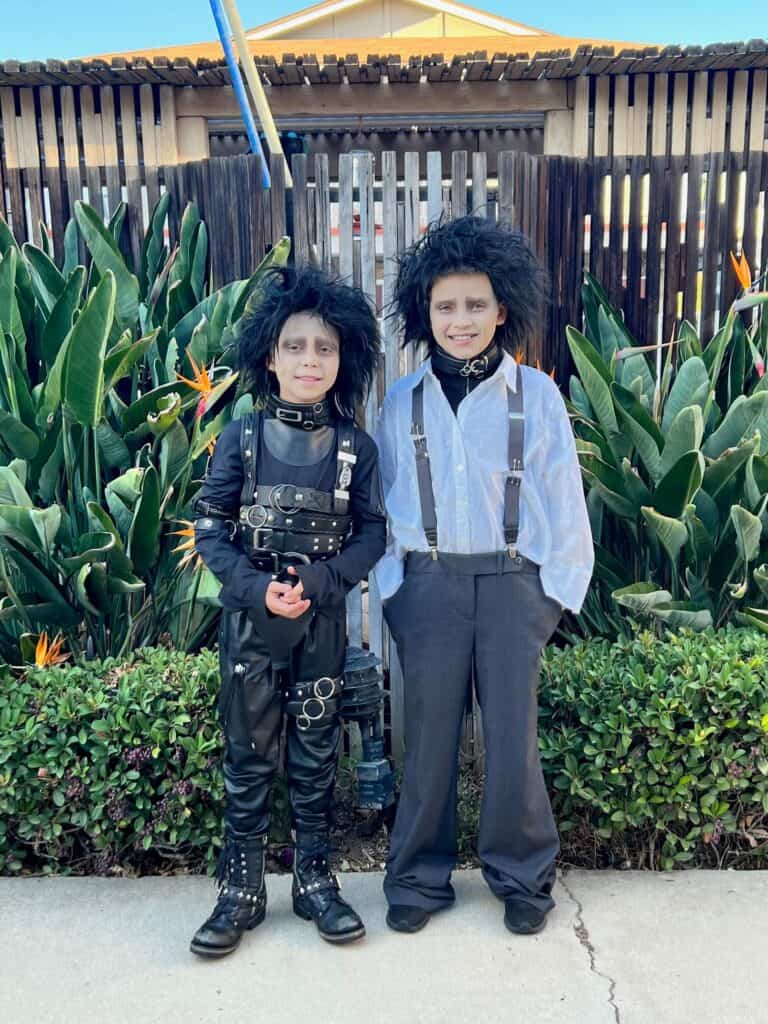
You can’t see the scars until you are up close but boy do they look cool!
This was the 2nd year that we entered a Costume Contest at the El Cajon Halloween Haunt Fest!
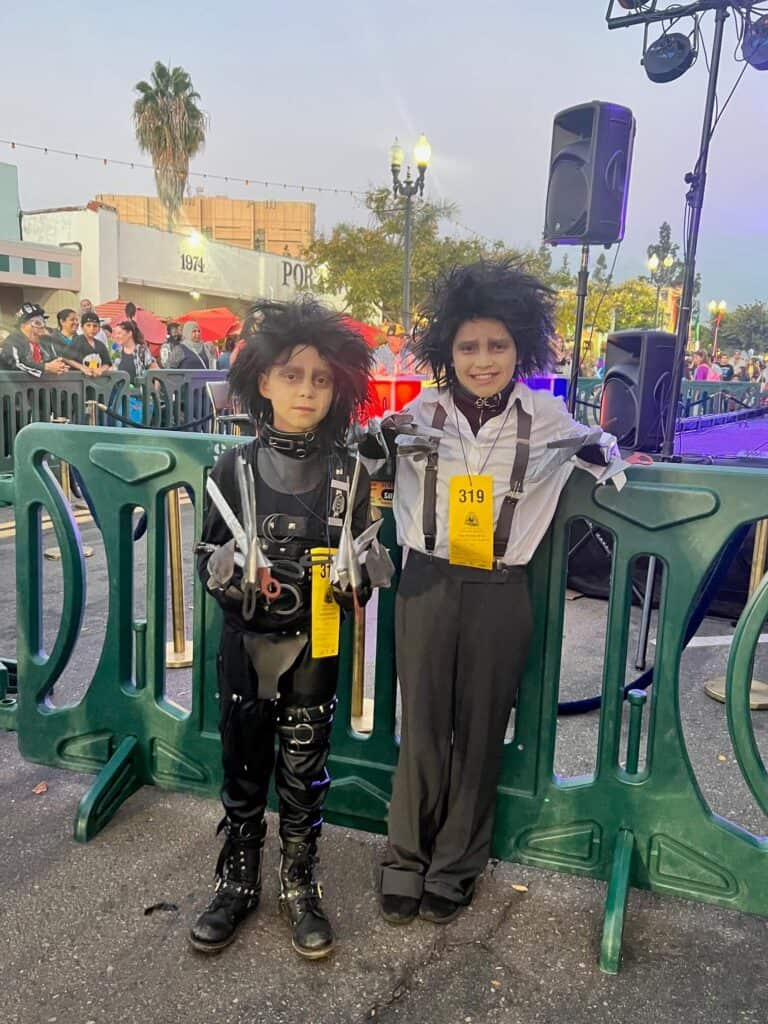
And we won THIRD PLACE! $25! It wasn’t first place like we won with our Beetlejuice Costumes, but hey, at least we won! Honestly EVERYONE was telling us we should have won first! This random bride girl (don’t even know who she was!?) won second (we were totally better), and a Handmade Instapot won 1st. She was pretty cool, she deserved her win!
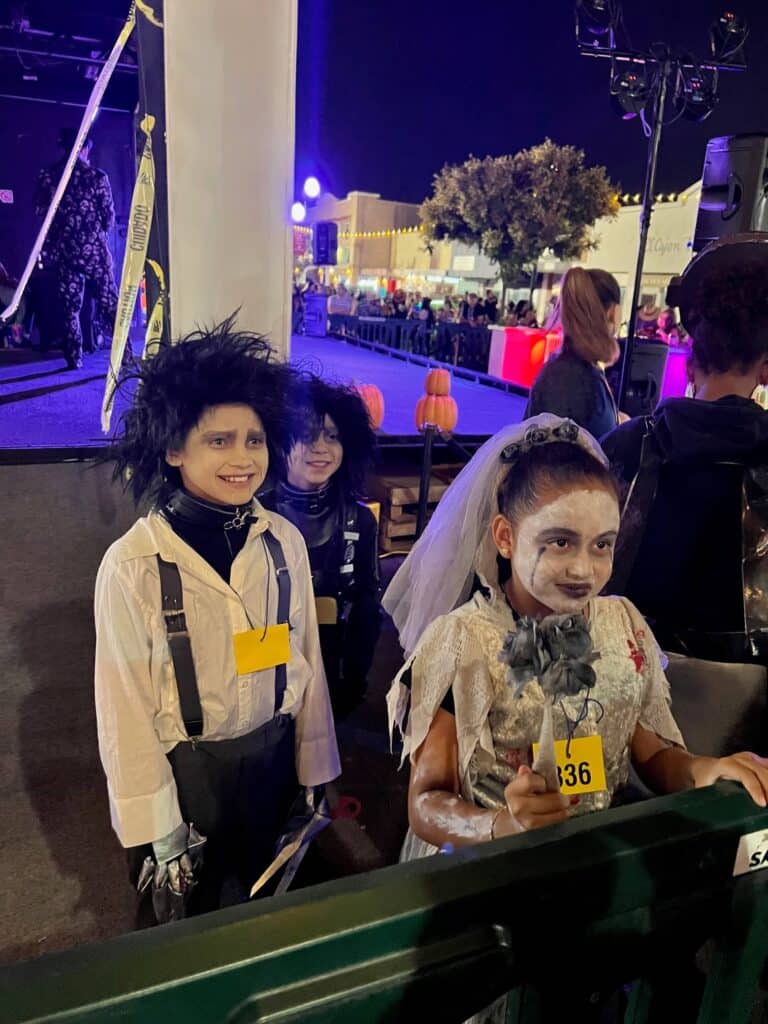
We were a total HIT! Random strangers were literally stopping us and asking if they could take the boys pictures like they were little celebrities!
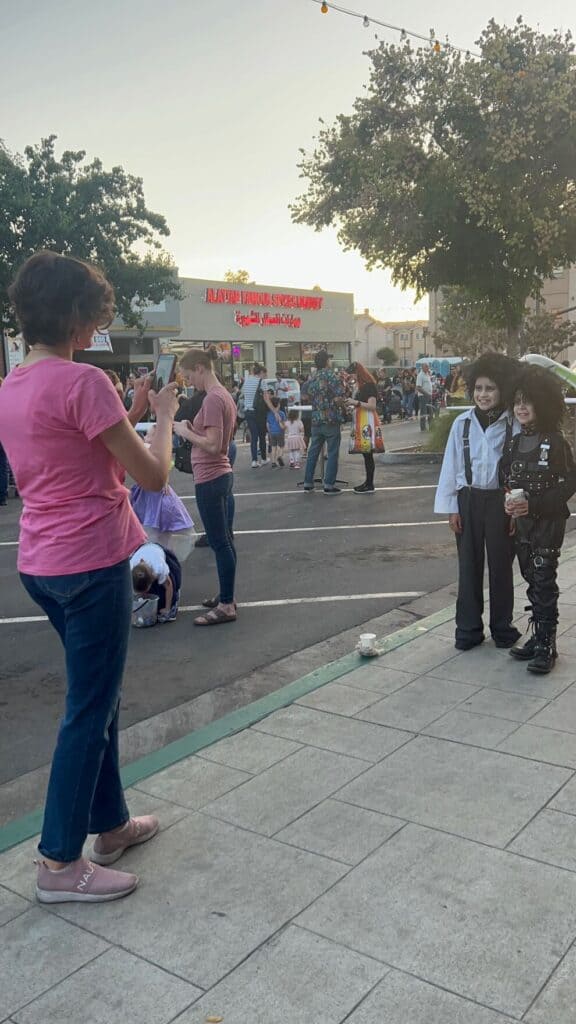
We had such a blast this Halloween! I didn’t think I could ever top the DIY Pennywise or DIY Beetlejuice ones, but we did. I truly did amaze myself! This year…Aloha Barbie in a Box and Aloha Ken (*coming soon*)
Are you going to hand make your Edward Scissorhands Halloween Costumes this year? Shoot…are you gonna make your Halloween costumes at all?! If you do, I’d love to see it! Pop on over to our free Craftspiration Facebook group, and join in on the fun by posting a pic of your Tiered Trays, DIY’s and crafts. I just love to see all your creative and crafty creations!
If you’ve got a million projects on your crafting ‘to-do’ list like I do, than you need my FREE Craft Project Planner so you can plan to make *all the things*! When you sign up for the craft planner, I’ll also send you lot’s of fun, easy, and budget friendly ideas for you to fill it up with!

Free printable Craft Project Planner
Get organized, get inspired, and get crafting, with our free Craft Project Planner!
Until Next Time…
Stay Crafty San Diego!

Love these DIY Edward Scissorhands Halloween Costumes? Make sure to PIN them for Halloween!


October 18, 2023 @ 2:22 pm
Wow! You did an absolutely fabulous job on the boys’ costumes!!
October 20, 2023 @ 9:01 am
Thank you Andrea!! We were such a hit this year and had so much fun!