If you want to add some Rustic Charm to your Christmas decor this year, than you’ve absolutely got to make this adorable DIY Wooden Snowman. You can give him a top hat, or a snow hat like I did here, but either way he is sure to make the perfect addition to your Christmas crafts and decor this year. The best part is, you can keep him up past the Holiday through winter!

It doesn’t matter what your Christmas decor style is, this DIY Rustic Wooden Snowman is going to make a statement! We scored a whole lot of these wooden rounds from the Christmas Tree Farm last Christmas when we got our tree, and I’ve been crafting up a storm with them ever since.
But don’t be fooled, wooden rounds aren’t just for Christmas Crafting, they make great craft supplies year round! Like this “Luck and Leopard” Door Hanger for St. Patty’s, or these Rustic Wooden Bunnies for Easter. The wooden possibilities are endless.
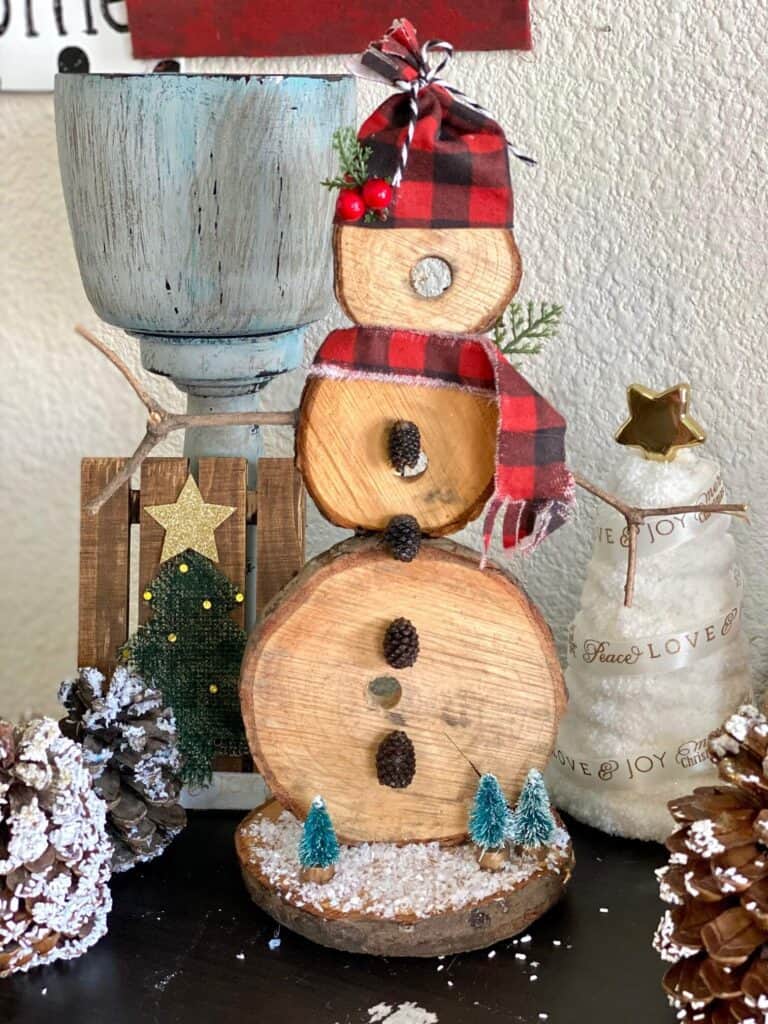
If you weren’t as lucky as we were to score a ton of these free rounds from the Christmas Tree farm, no fear! You can get them on Amazon or at any craft store. But make sure to keep your eye out when you get your next tree, because most places will give them out for free since they just throw them away.
This post may contain affiliate links for your convenience (which means if you make a purchase after clicking a link I will earn a small commission but it won’t cost you a cent more!)
Supplies Needed to Make a DIY Wooden Rounds Snowman
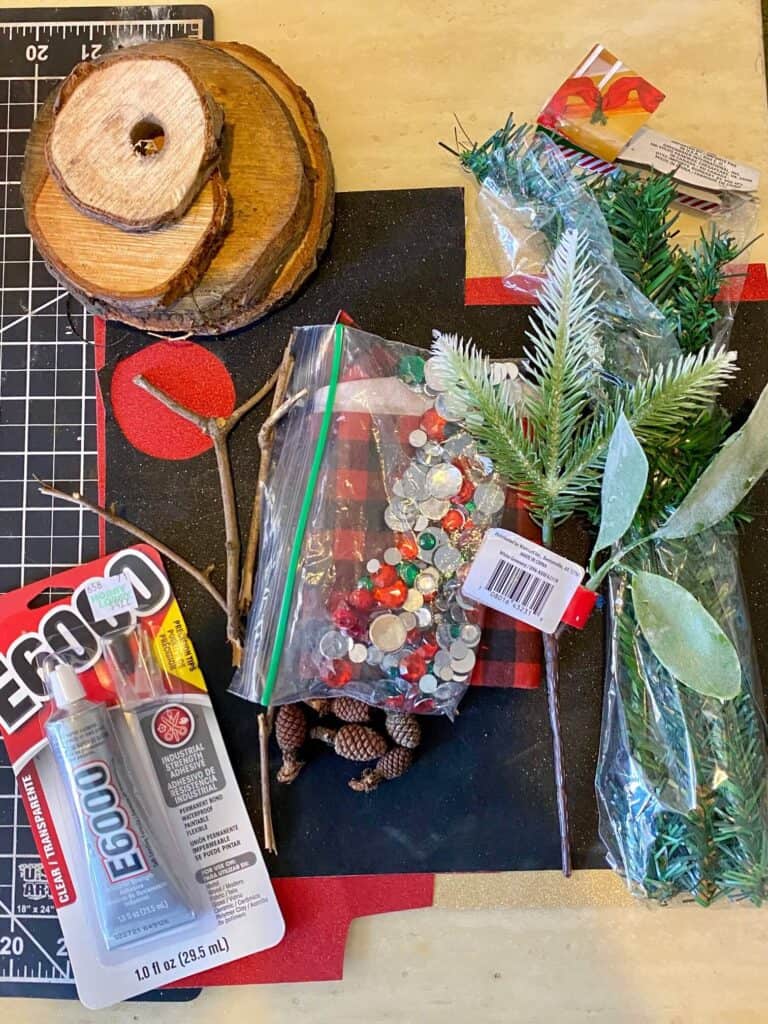
- 4 Wooden rounds
- Sticks/Twigs from outside
- Red and Black buffalo check fabric
- Bakers Twine
- Holly berry sprig
- Mini pine cones (Or you could just use regular buttons)
- E6000 glue
- Hot glue gun
- Faux Snow (optional)
- Mini bottle brush trees (optional)
How to Turn Wooden Rounds into a Rustic DIY Snowman
Follow the below super easy steps to make DIY Rustic Wooden Snowman for your Christmas decor this year!
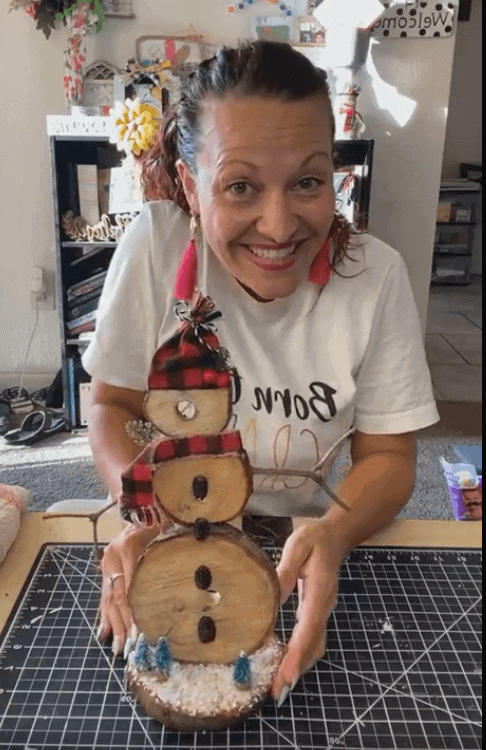
I made this “Woodman” on video, so you can WATCH the step by step tutorial HERE or by clicking the pic below.
Watch the video tutorial here.
The first thing you’re going to need to do is to use the E6000 glue AND the hot glue to attach the 3 wooden rounds together. You will want to do this laying the rounds flat on the table rather than standing up.
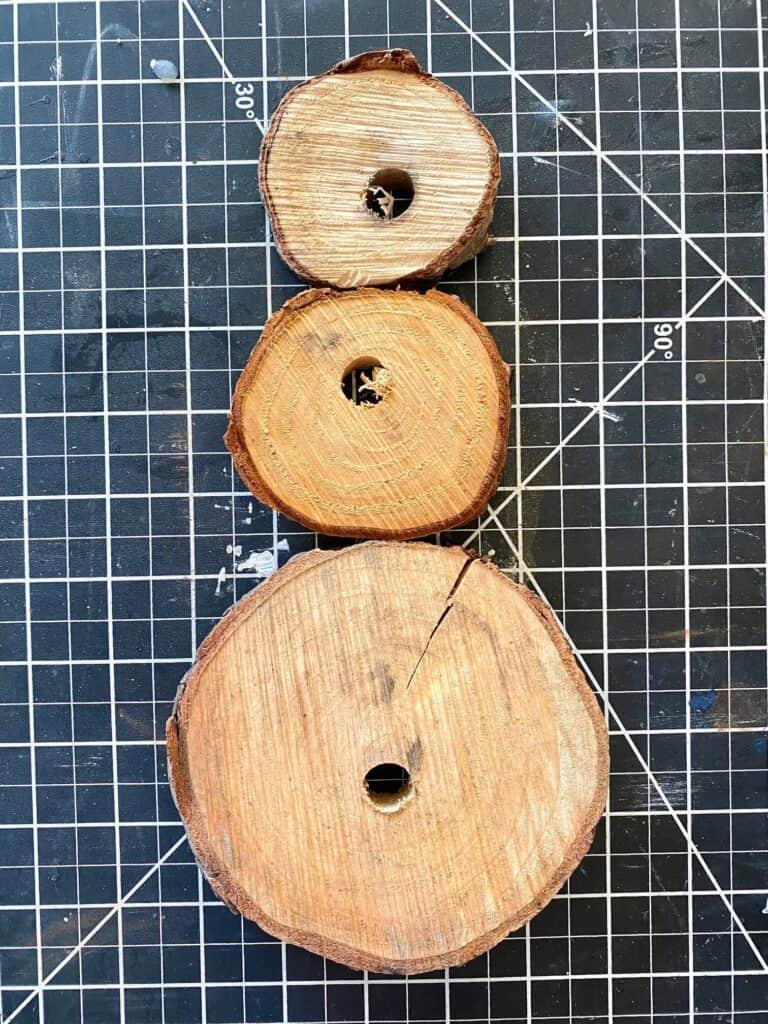
The E6000 will act as a permanent hold, and the hot glue will act as a more temporary hold to keep the rounds together until the E6000 cures, which takes about 24 hours. When using both glues, make sure that you are not mixing them or they will cancel each other out! I did a glob of hot glue in the middle, and then 2 dots of the E6000 on each side of it.
Next, glue some sticks to each side of the middle wooden round as Snowman arms. I used hot glue for the sticks since they’re so light the hot glue will hold them.
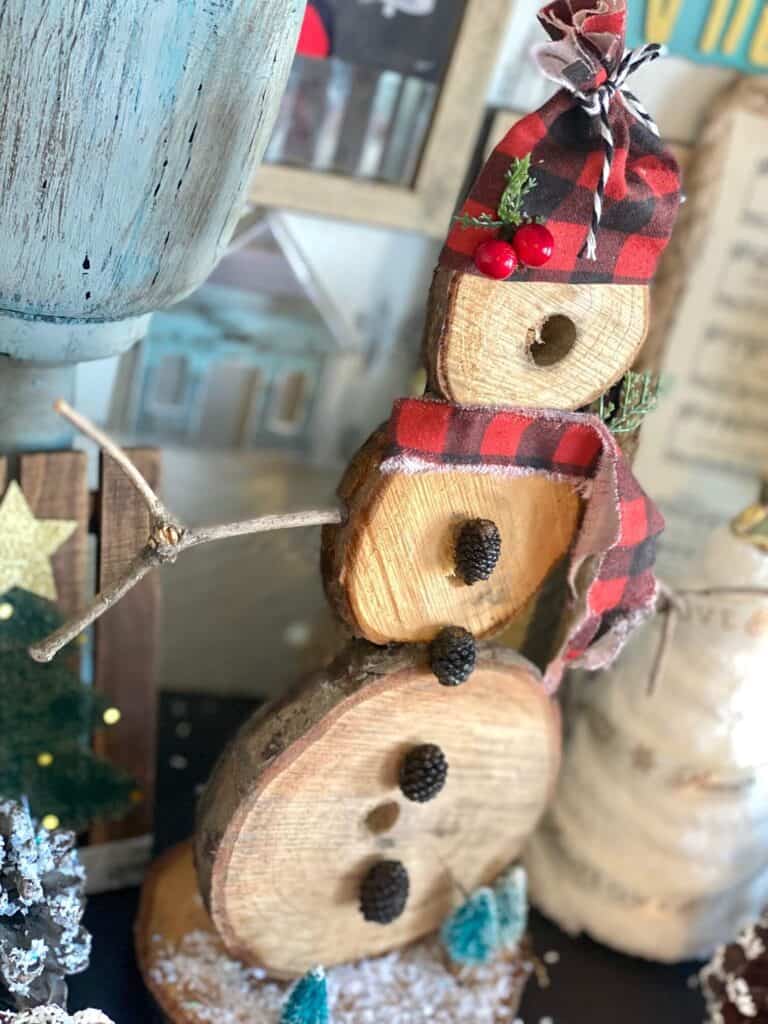
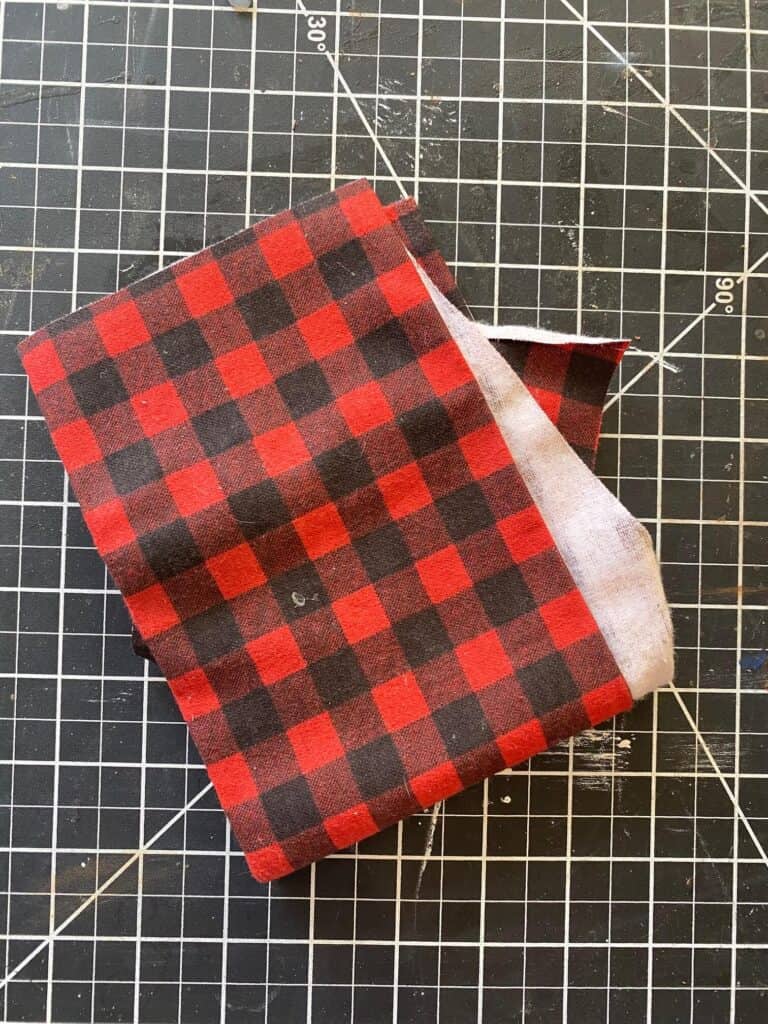
While the glue dries, let’s make the scarf! Cut a strip of fabric and fold it in half. Cut some little fringe on the ends and glue the little scarf to the Wooden Snowman.
Now glue the mini pine cones (or buttons) to the front of the Wooden Snowman underneath this scarf.
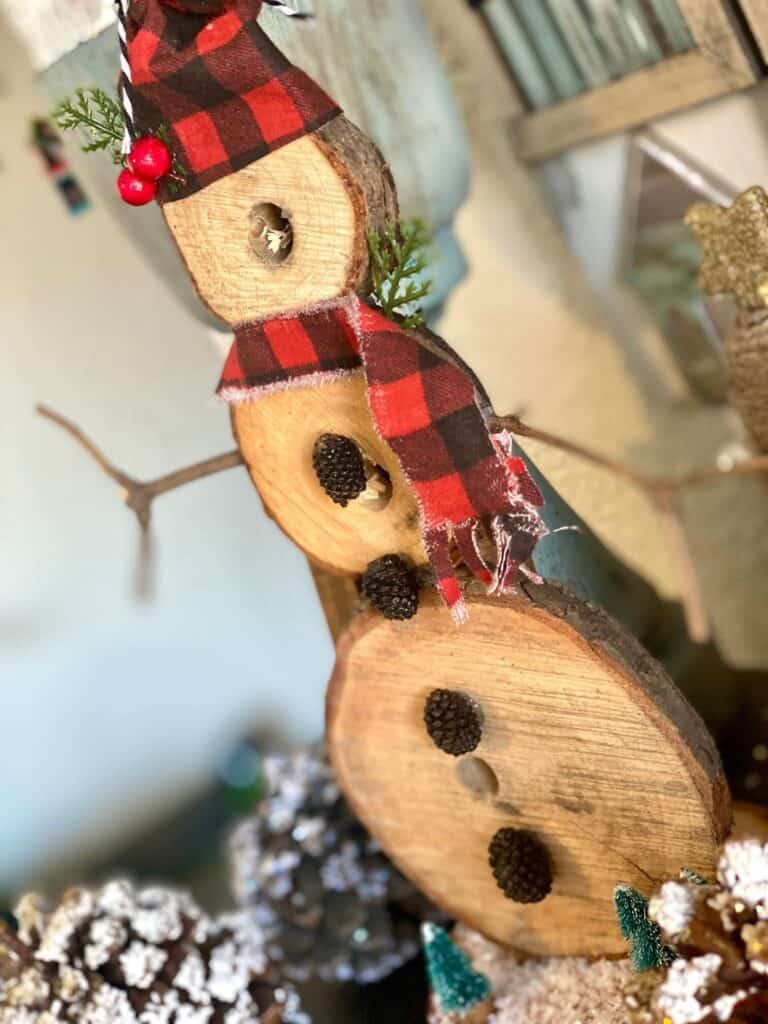
Time to make the Snowman hat! Cut a rectangle about 4″x 6″ (it doesn’t have to be exact we will cut the top off after. Wrap the fabric around his “head” and glue it on the back. Tie a piece of bakers twine around the top to make the hat shape, and cut off any extra fabric. You can add little fringe to the top of the hat as well if you want. I did!
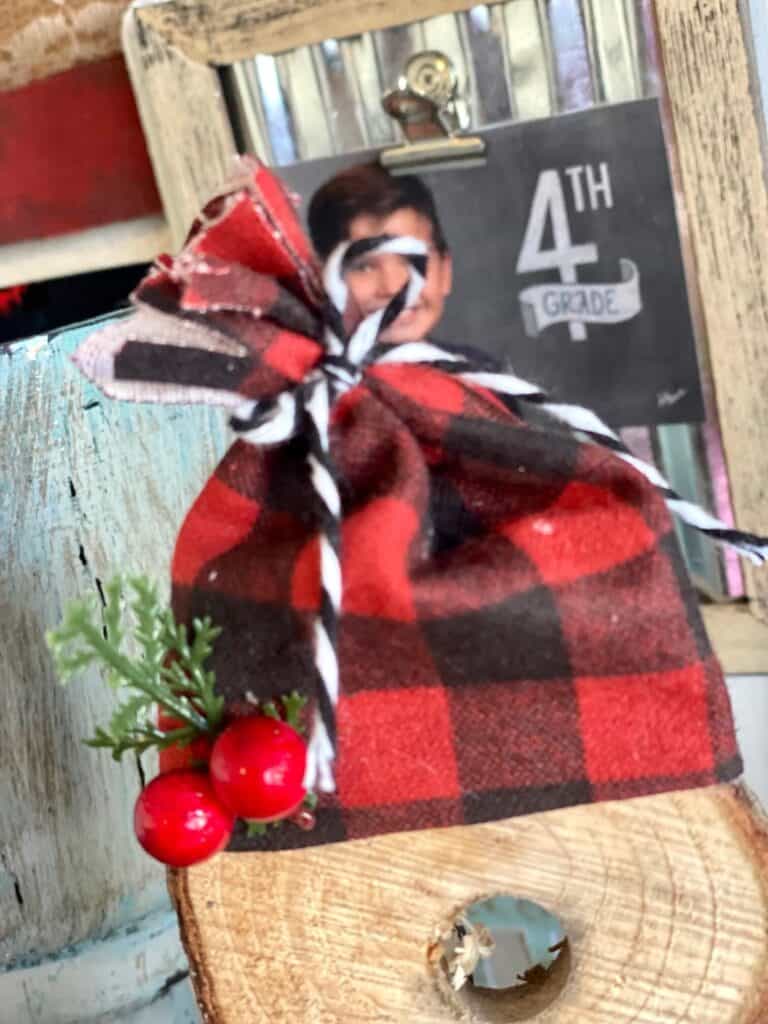
Don’t forget to add a little Holly and Berry for decoration!
Now the E6000 from the first step should be dry enough to hold the Wooden Snowman up and glue him to the base. Using both the E6000 and hot glue like we did in the first step, glue the wooden snowman down to the large wooden round base.
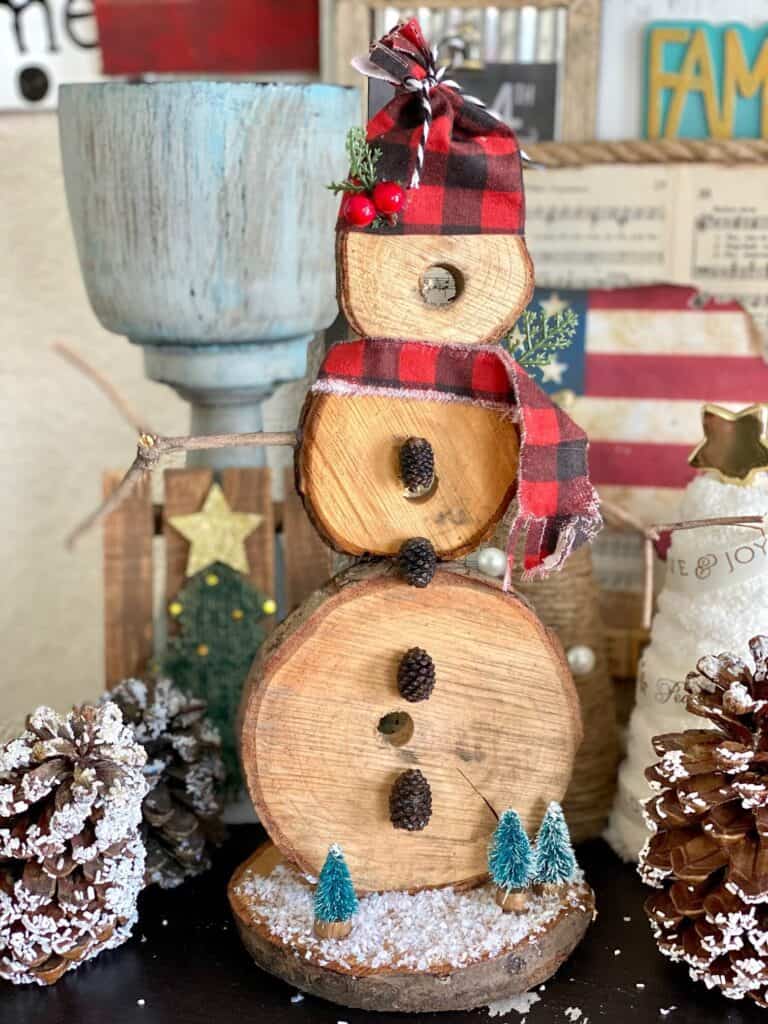
The next part is optional but highly encouraged as it really ups the charm factor of this Rustic piece. Using Mod Podge, add some faux snow to the wooden round base, and glue a couple of mini bottle brush Christmas Trees around him as well. ADORBS!
You could make this little guy your own by mixing up the pattern of fabric for his scarf, or giving him a top hat instead. Whatever you decide to do with your Rustic Wooden Snowman, it’s sure to be a hit!
If you’ve got a million projects on your crafting ‘to-do’ list like I do, than you need my FREE Craft Project Planner so you can plan to make *all the things*! When you sign up for the craft planner, I’ll also send you lot’s of fun, easy, and budget friendly ideas for you to fill it up with!

Free printable Craft Project Planner
Get organized, get inspired, and get crafting, with our free Craft Project Planner!
Are you going to make this Rustic Wooden Tiered Tray? If you do, I’d love to see it! Pop on over to our free Craftspiration Facebook group, and join in on the fun by posting a pic of your completed DIY’s and crafts. I just love to see all your creative and crafty creations!
Until Next Time…
Stay Crafty San Diego!

Love this DIY Rustic Wooden Snowman? Make sure to PIN it for later!

