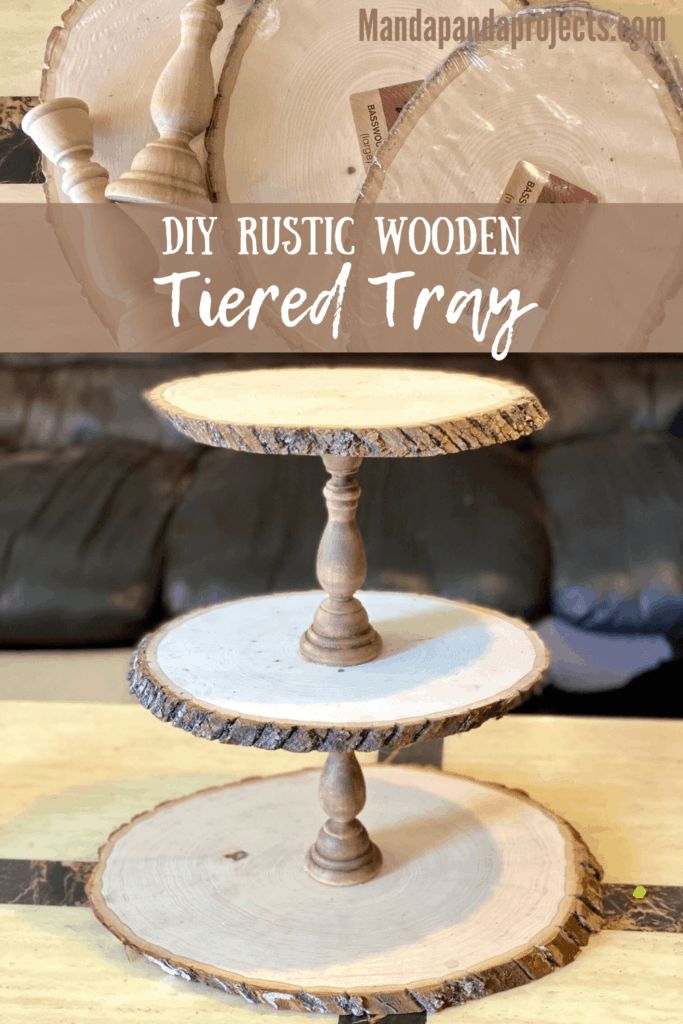
If you ‘re looking for a decorative tiered tray, but want something unique or specific to match you’re rustic decor, look no further! This DIY Rustic Wooden Round Tiered Tray looks like a million bucks, but can be made for just $40. Best of all, you can get every single supply that you need to make this right on Amazon! Run….Don’t walk to make this!

Believe it or not, I’m not the biggest fan of Tiered Tray’s (*gasp*). It’s not that I dislike them, it’s more that I tend to not like things that everrryooonneeeee else and and their mother likes. I like to be different, what can I say. So this DIY Rustic Wooden Tiered Tray idea was born.
Since I still really wanted some sort of tiered tray, I figured why not make one! This Rustic Wooden Tiered Tray is definitely not your average piece of decor, and if you decide to make this you’re sure to stand out from the crowd. I know, I know, I should have a photo of this bad boy all decorated in this post, but I just couldn’t wait to share it so they’ll be more pics of the tray all decorated *coming soon*!
When I was doing a bit of research for this type of tiered tray, I found that they sell on Etsy for $170!! Oh EM GeE! The supplies for this DIY Wooden Round Tray cost $40 total on Amazon, and only took about 30 min to make. So if you’re deciding whether to make or to buy, that’s a no brainer!
**More pics of fully decorated DIY Rustic Tiered Tray to come!**
Now if you wanted to stain the wooden rounds as well as the candlesticks, you could totally do that. Just learn from my mistake (you’ll see in the video), and make sure to prepare your wood first! I attempted to stain the rounds with Waverly Antique Wax and the wood soaked up the stain so much, even after wetting the wood with water, that it looked like it was painted black. If you decide to go this route, you will 100% want to use a Wood Conditioner on the rounds first.
This post may contain affiliate links for your convenience (which means if you make a purchase after clicking a link I will earn a small commission but it won’t cost you a cent more!)
Supplies Needed for a DIY Wooden Round Tiered Tray
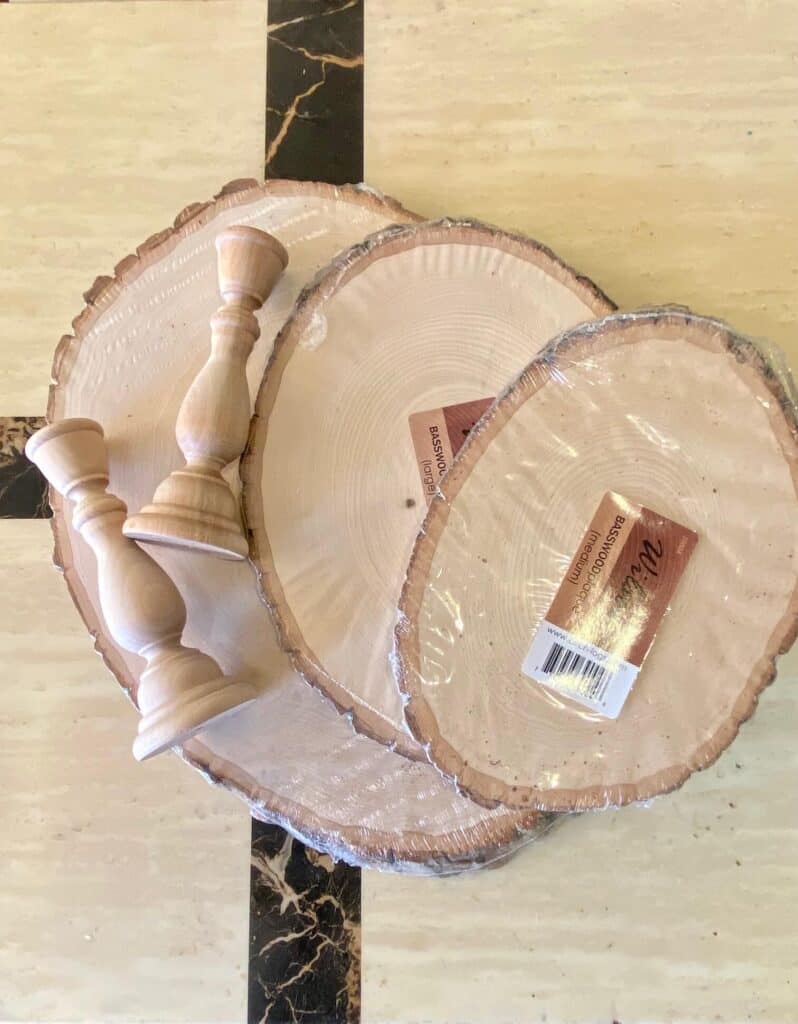
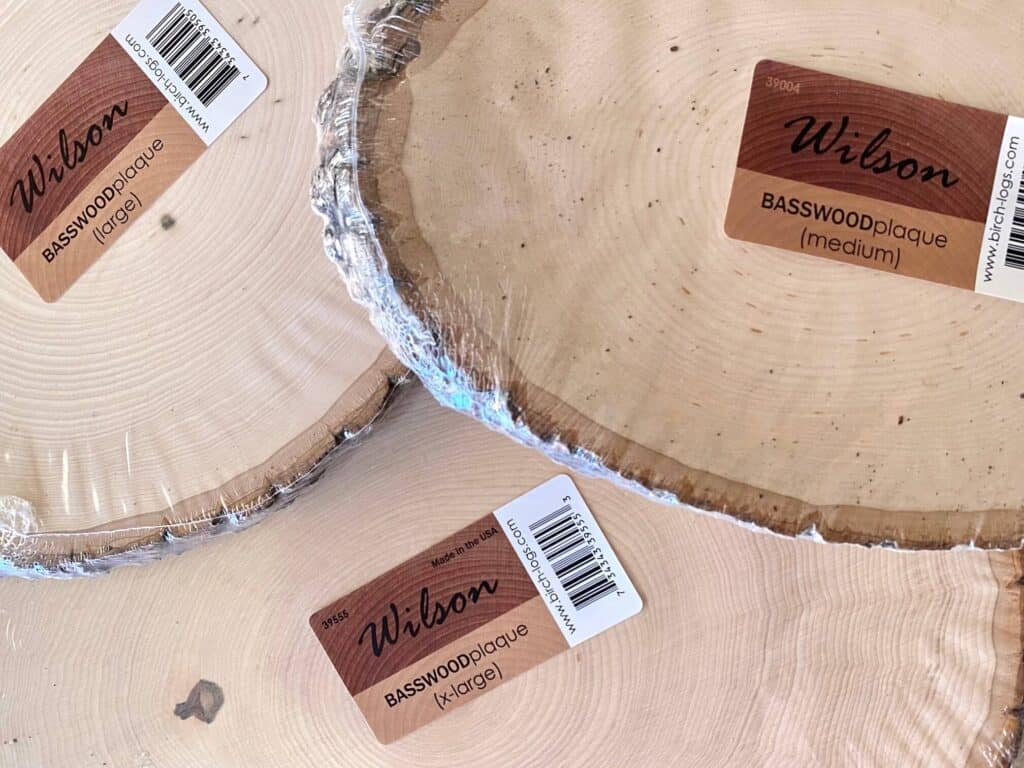
- 7″ Wooden round (Med)
- 9″ Wooden Round (Large)
- 11″ Wooden round (X-Large)
- 6″ Raw wooden candlesticks (Pack of 2)
- E6000
- Waverly Antique Wax or Stain
- Wood Conditioner (optional if you choose to stain your wooden rounds)
How to Make a Rustic Wooden Tiered Tray
I made this Uh-maz-ing Wooden Round Rustic Tiered Tray on video, so you can WATCH the step by step tutorial HERE or right below.
Watch the video tutorial here.
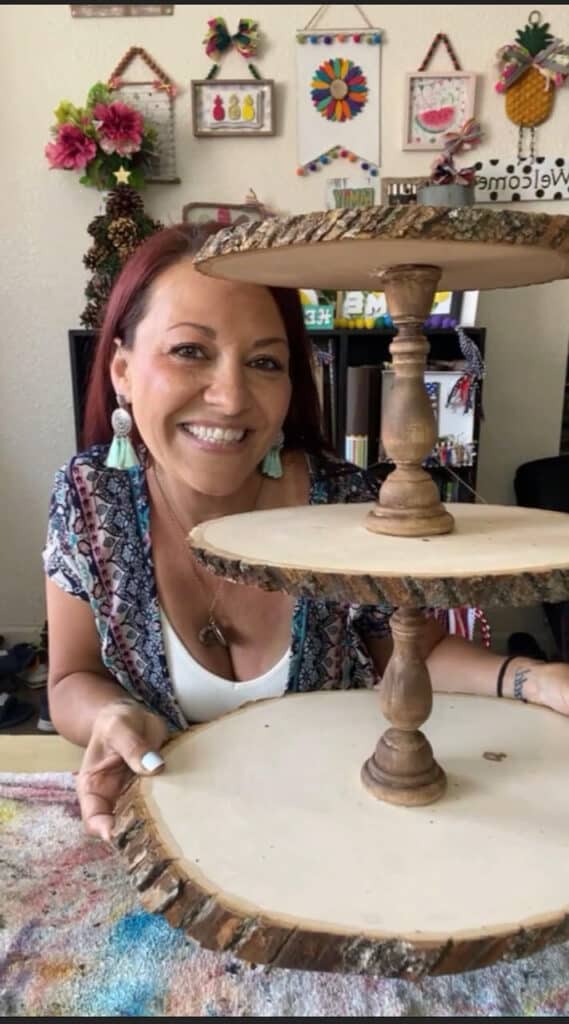
How to Make a DIY Rustic Wooden Round Tiered Tray
- Stain the wooden candlesticks with Waverly Antique Wax.
Using an old paint brush, cover the candlesticks in the Antique Wax and the wipe off the excess with a paper towel. Do NOT stain the wooden rounds with this same method as the wood will soak up the stain. If you want to stain the rounds, you will need to use a wood conditioner first, and follow the directions on the back of that. I did NOT stain my wooden rounds, as I preferred the natural wood look.
- Using E6000, glue the candlestick to the center of the largest wooden round, and then glue the middle sized round on top.
The E6000 glue will take 24 hours to cure, so don’t worry if you don’t feel like it is sturdy and stable, after the glue is fully bonded that sucker will be good to go.
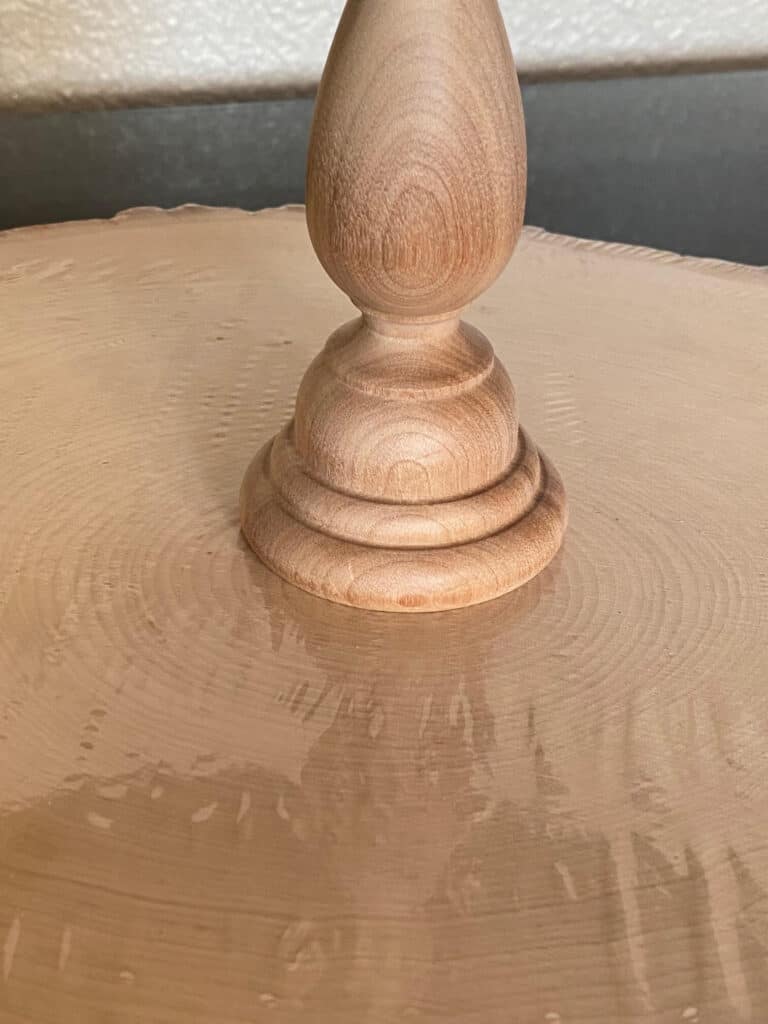
- Repeat the process with the second candlestick and the top/smallest round.
- Let the E6000 glue cure for a full 24 hours before decorating or moving the wooden round tiered tray.
I promise to update this post with pics of this beautiful Wooden Round Tiered Tray fully decorated as soon as I have them! I did an entire week of lemon themed tiered tray crafts, so I will definitely be throwing the Mini Pallet Burlap Lemon, as well as the Dollar Tree Lemon Napkin on there for Summer.
And for fall, it’s going to look fantabulous with little pumpkins and sunflowers, I just can’t wait! For now, here is the final tiered tray-naked.
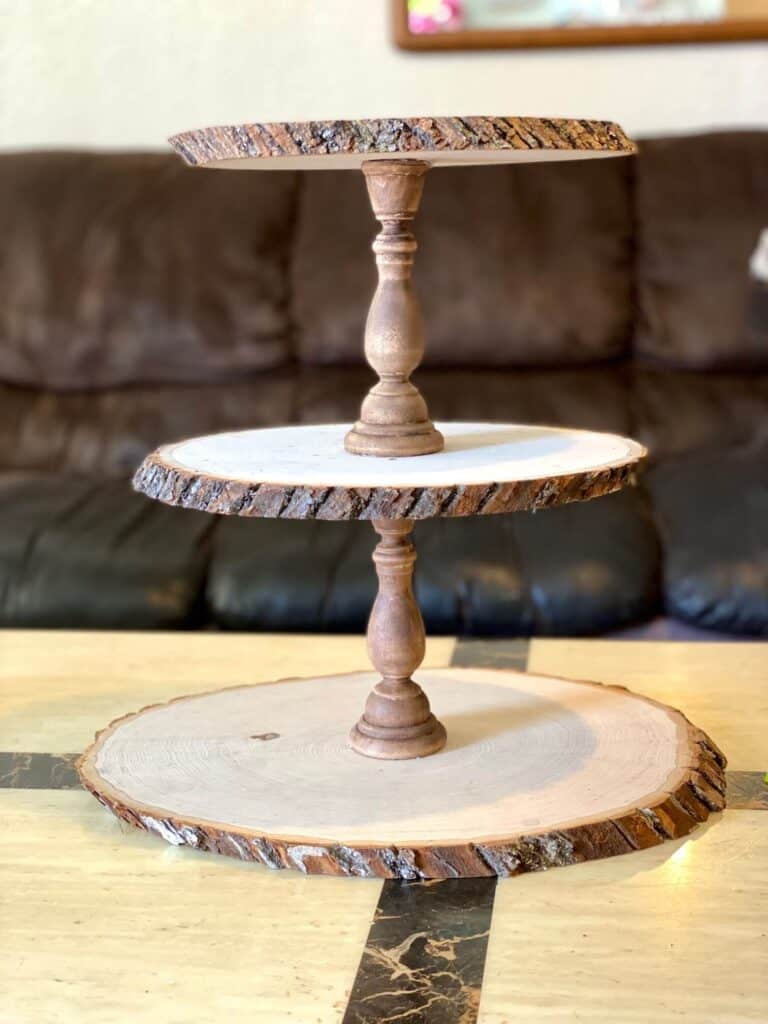
Are you going to make this Rustic Wooden Tiered Tray? If you do, I’d love to see it! Pop on over to our free Craftspiration Facebook group, and join in on the fun by posting a pic of your completed DIY’s and crafts. I just love to see all your creative and crafty creations!
If you’ve got a million projects on your crafting ‘to-do’ list like I do, than you need my FREE Craft Project Planner so you can plan to make *all the things*! When you sign up for the craft planner, I’ll also send you lot’s of fun, easy, and budget friendly ideas for you to fill it up with!

Free printable Craft Project Planner
Get organized, get inspired, and get crafting, with our free Craft Project Planner!
Until Next Time…
Stay Crafty San Diego!

Love this DIY Rustic Wooden Round Tiered Tray? Make sure to PIN it to your DIY Decor board!
