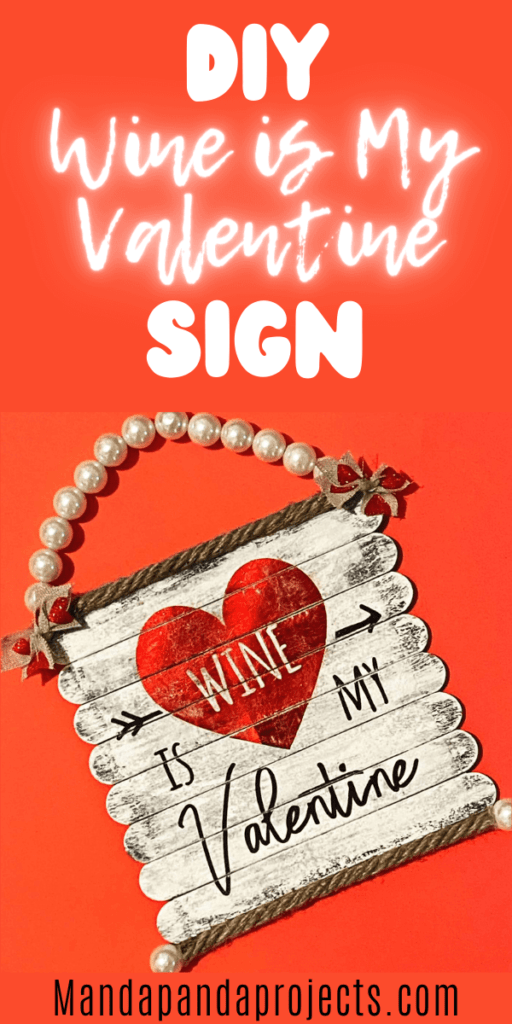
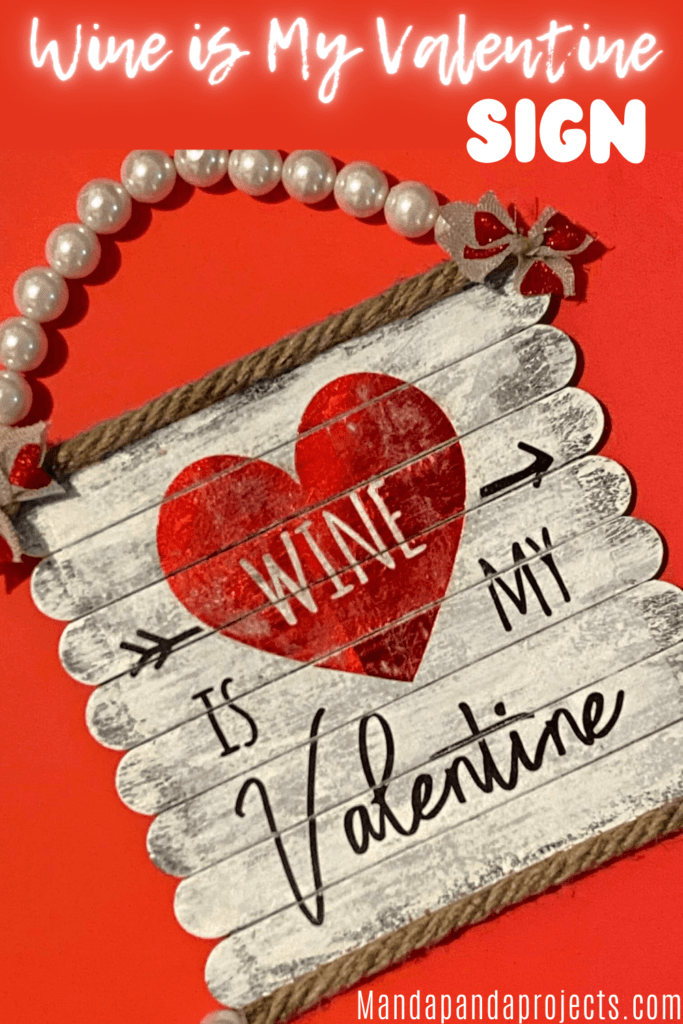
Turn a super cute “Wine is my Valentine” napkin into an Adorable little sign for Valentine’s Day using some Mod Podge and popsicle sticks. This is a super quick and easy craft that packs a big punch, because who doesn’t need a little Vino this V-Day!?
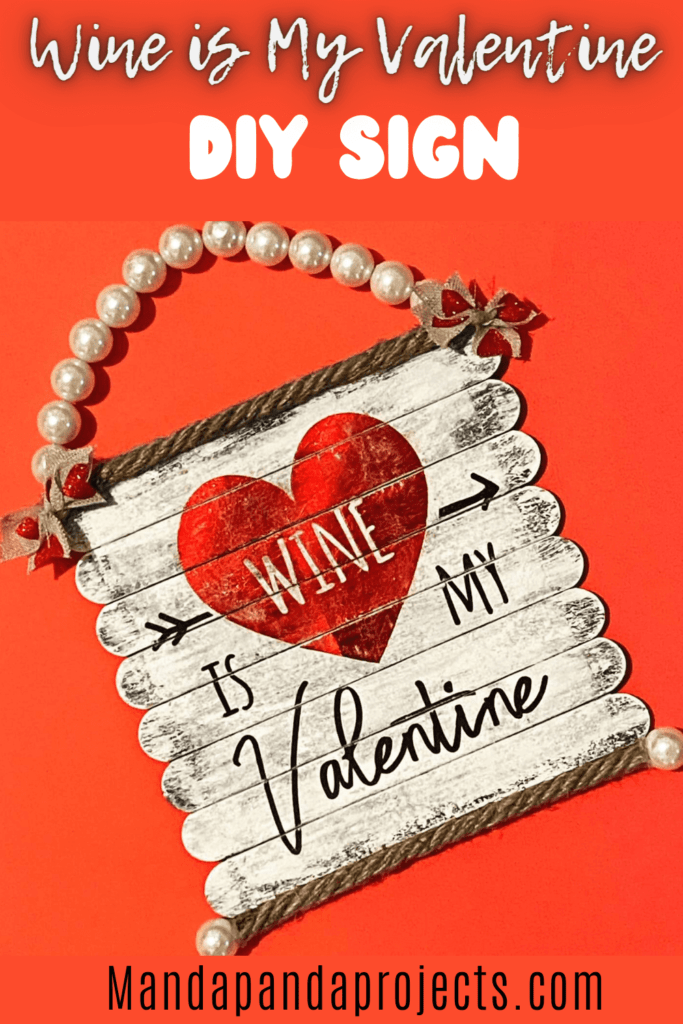
I don’t know about you, but Wine is definitely my Valentine this year and every year! When I saw these Adorbs napkins at Walmart, I just had to scoop them up. Normally I get my Valentine’s crafts and decor at good ‘ole Dollar Tree, but the past few years Walmart has really stepped up their supply game!
I’m not gonna lie, this may just be the first of a series of projects I make using these darling “Wine is My Valentine” napkins. Although sometimes my eyes are bigger than my craft room when it comes to the amount of crafts I want/think I can make for any given occasion. I swear my Craft Planner is the only reason I get anything actually completed these days. You can grab the exact Crafty Planner I use for free too!

Free printable Craft Project Planner
Get organized, get inspired, and get crafting, with our free Craft Project Planner!
I am totally loving the Heart Valentine’s Day crafty decor this year. I kid you not I have so many DIY’s in store for you this year that I cannot wait to make and share with you! Last week I made this Easy Red Glitter Heart Sign with the same Popsicle Stick technique (If you can call it a technique LOL) that I’m gonna show you today. And want to hear a little secret? They are actually Tongue Depressors that a friends gave me! Popsicle Sticks….Tongue Depressors…Tomato Tomoto!
Let’s get cracking with this Adorbs “Wine is My Valentine” Sign!
This post may contain affiliate links for your convenience (which means if you make a purchase after clicking a link I will earn a small commission but it won’t cost you a cent more!)
Supplies Needed to Make an Easy “Wine is My Valentine” Napkin Sign
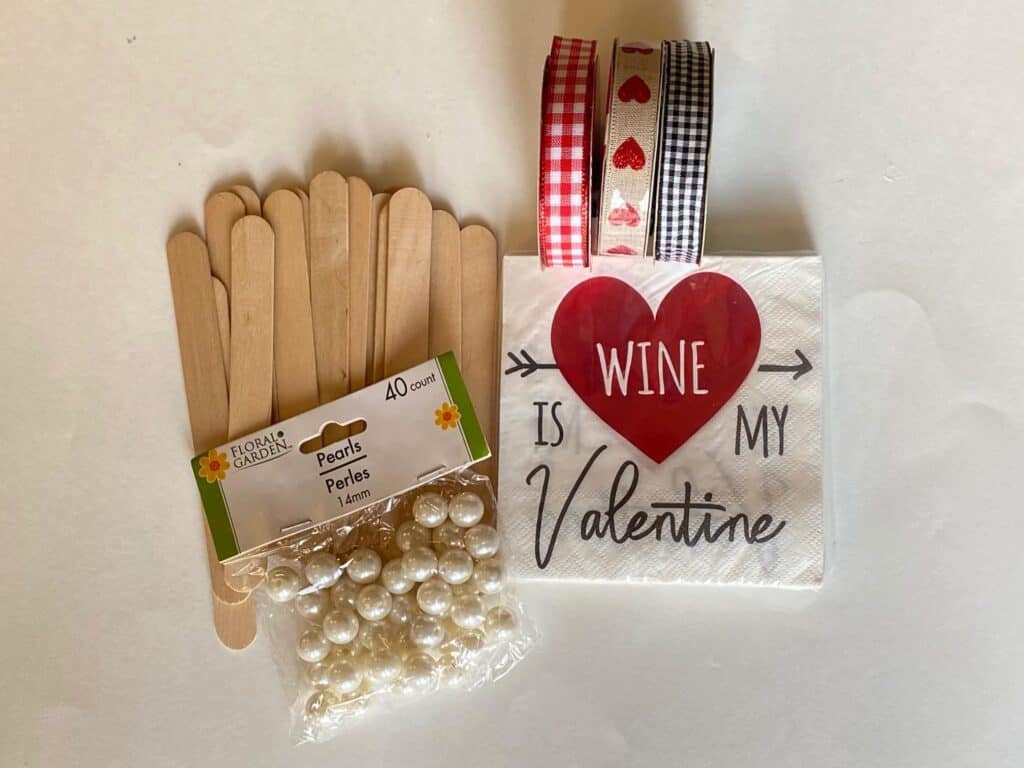
- Giant popsicle sticks (I used 9)
- Black and white paint
- String or twine
- Pearl beads
- Nautical rope
- Ribbon of your choice – I used burlap hearts
- Mod Podge
- Glue gun
- Wine is my Valentine Napkin (I got mine at Walmart but Amazon has a red version)
- Cardboard square
- Sanding sponge
- X-acto knife
- Saran wrap (optional for applying the Napkin with Mod Podge to get bubbles out)
How to turn a “Wine is my Valentine” Napkin into a sign with popsicle sticks
Follow the below easy steps to make a DIY “Wine is My Valentine” Sign for Valentine’s Day!
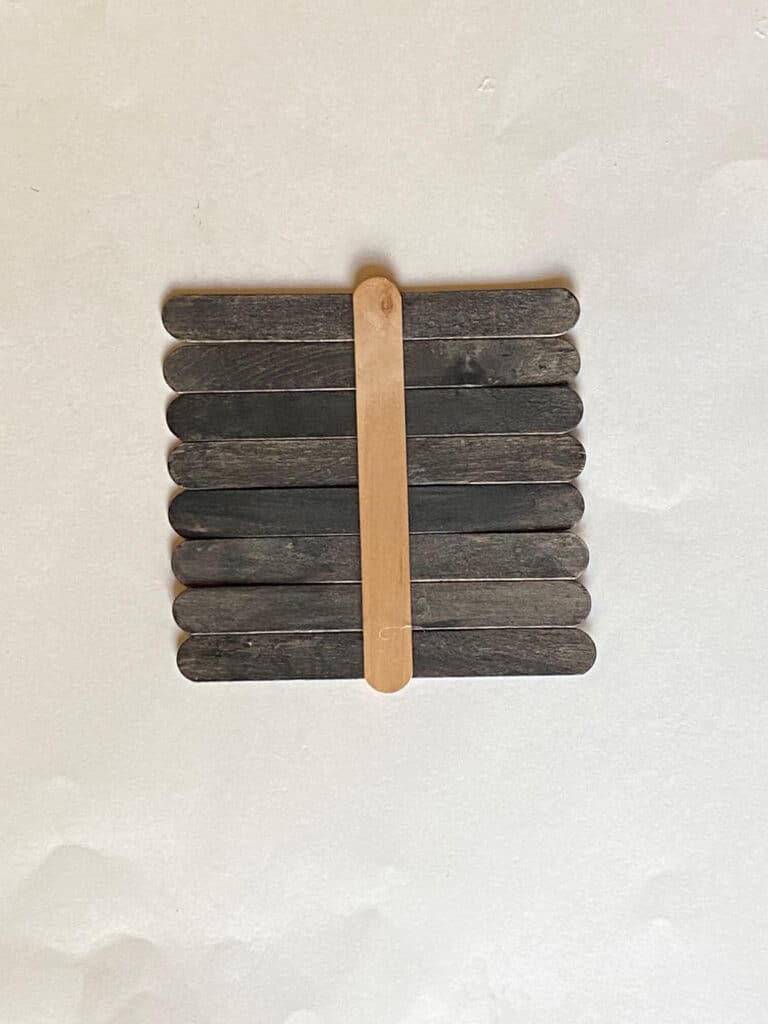
Stain 8 giant popsicle sticks black using black paint mixed with water, and rubbing it onto the sticks using a baby wipe or wet paper towel. Staining them rather than painting them gives them a more authentic distressed looking when we dry brush the white paint next.
Line them up, and using just a tad bit of glue, place another popsicle stick across them perpendicular to hold them together while we Mod Podge the napkin on top. Don’t use too much glue because we are going to be pulling them apart after.
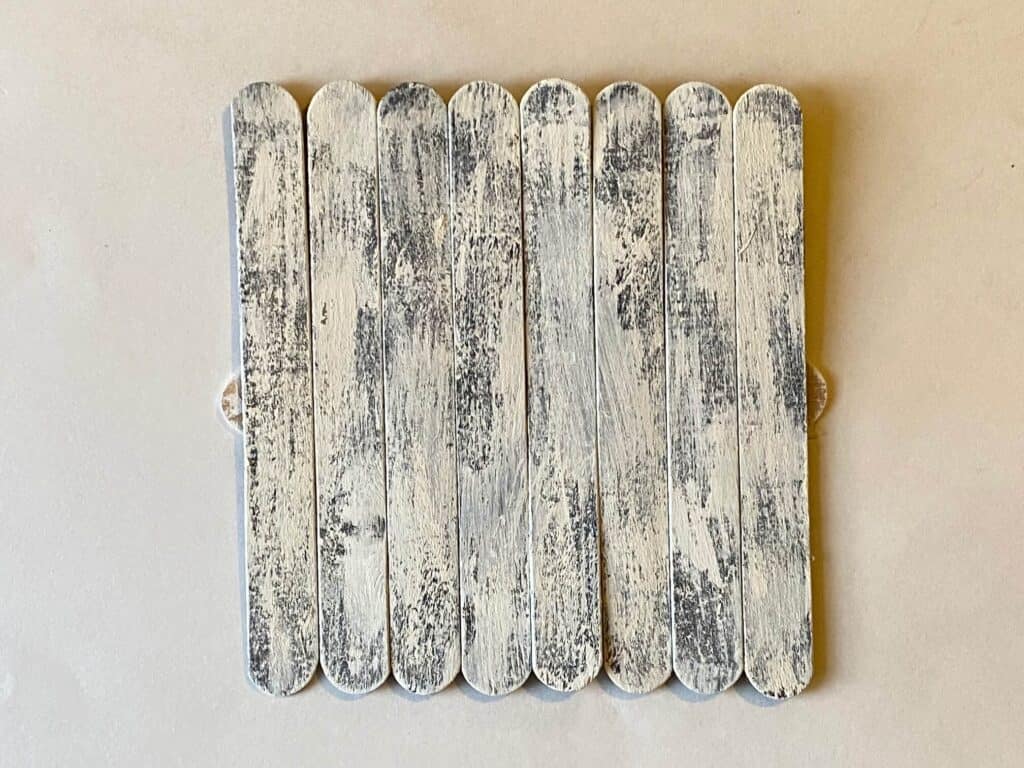
Use white paint to dry brush on top of the black stained sticks. To do the dry brush method, you literally just use a dry paint brush dipped lightly into the white paint, and lightly dust it across the surface until you get the coverage you desire. You can do as little or as much as you desire, but I prefer it right in the middle somewhere (call me goldilocks).
Open the napkin, and cut one layer of the square out that you will use for the sign. My “Wine is My Valentine” napkin had 4 pattern sides, but only one was metallic/shiny so I used that one.
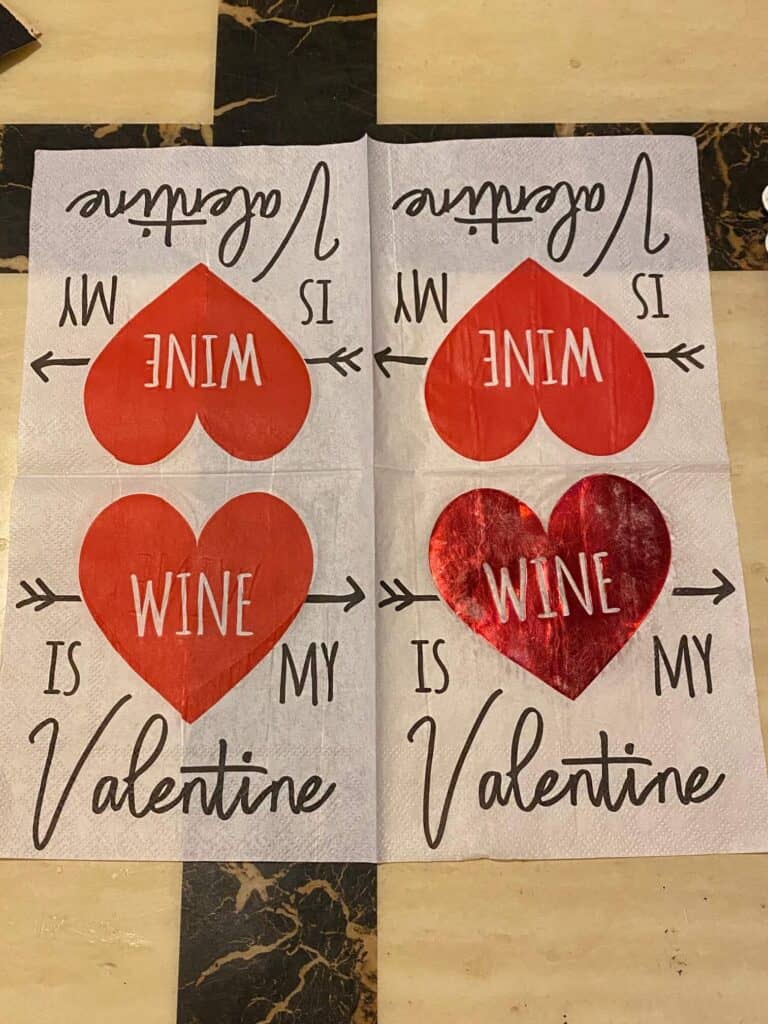
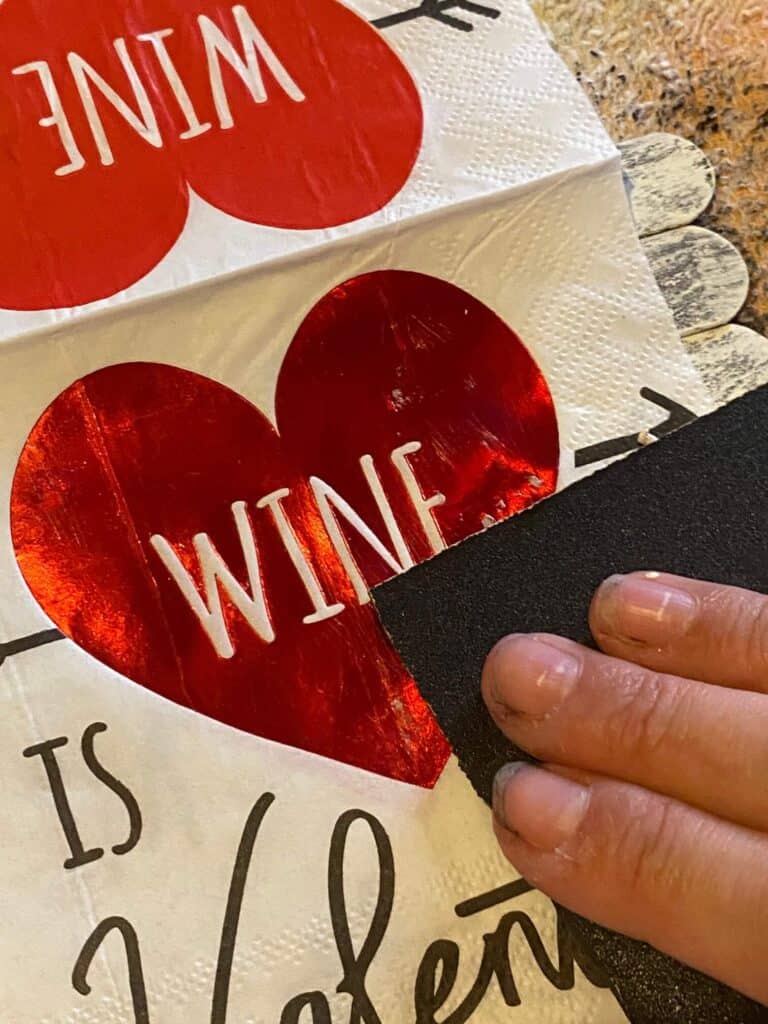
I then took a sanding sponge and VERY LIGHTLY dusted it over the metallic heart so that it wasn’t as shiny and looked a little distressed. You can do this now, or after the napkin has dried on the popsicle sticks, but either way be very gentle so that you don’t rip it. (FYI- That is black paint in and around my finger nails, not dirt!)
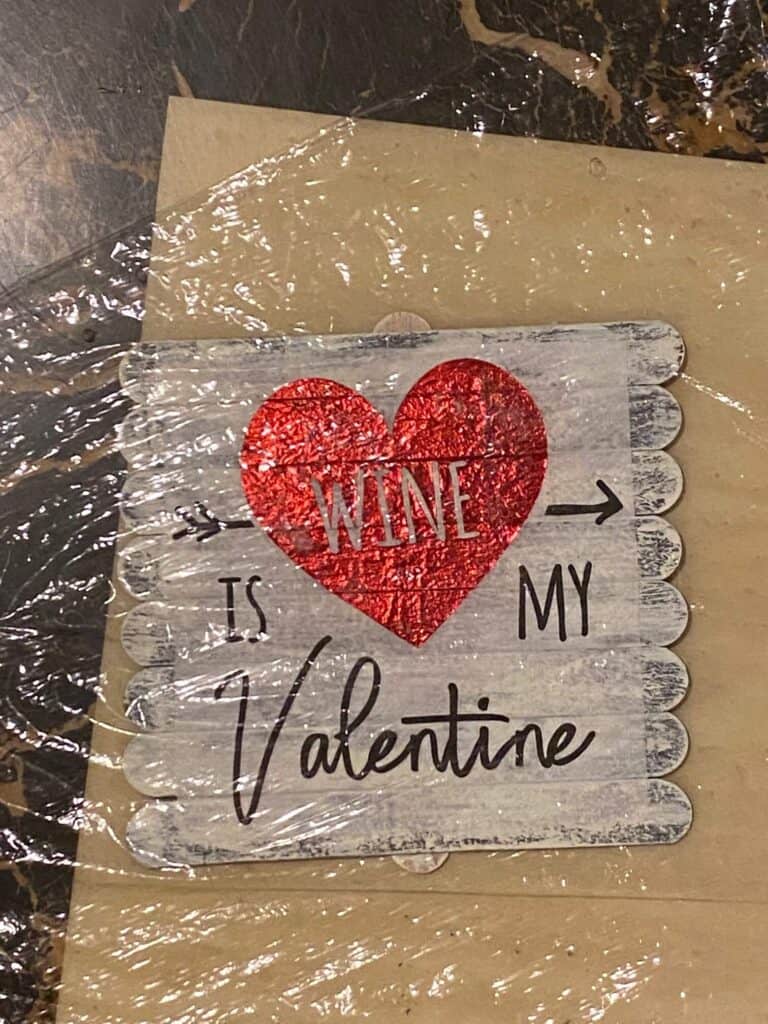
Apply a very thin layer of Mod Podge over the popsicle sticks and apply the napkin carefully. Using saran wrap, smooth out and press the napkin onto the sticks, getting rid of any bubbles. Allow to dry naturally or use a heat gun/blowdryer, but either way make sure it is completely dry before continuing.
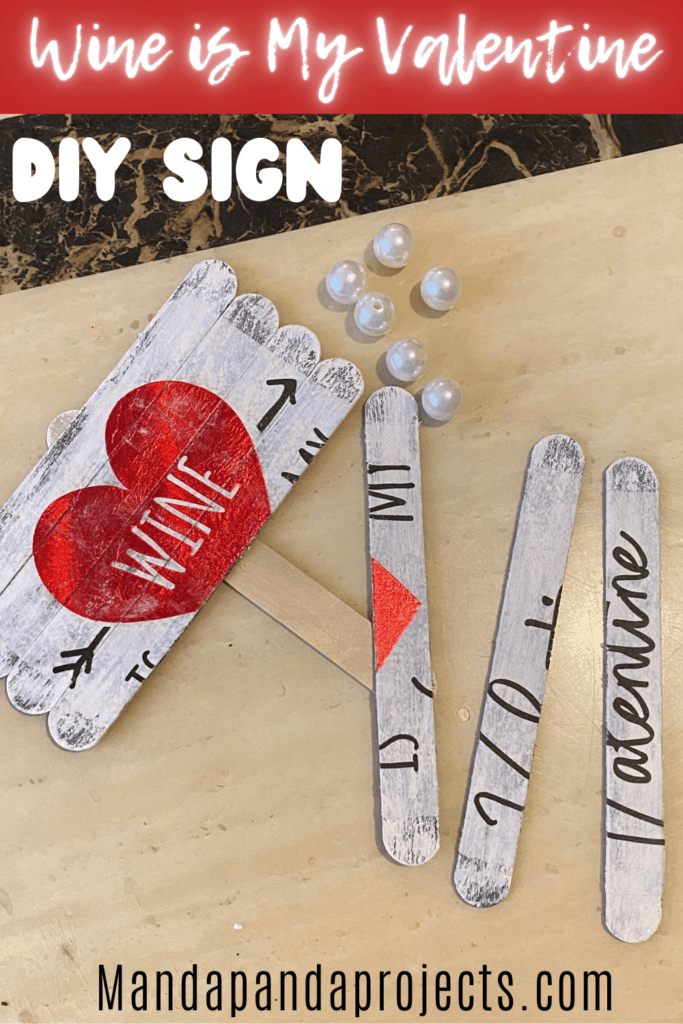
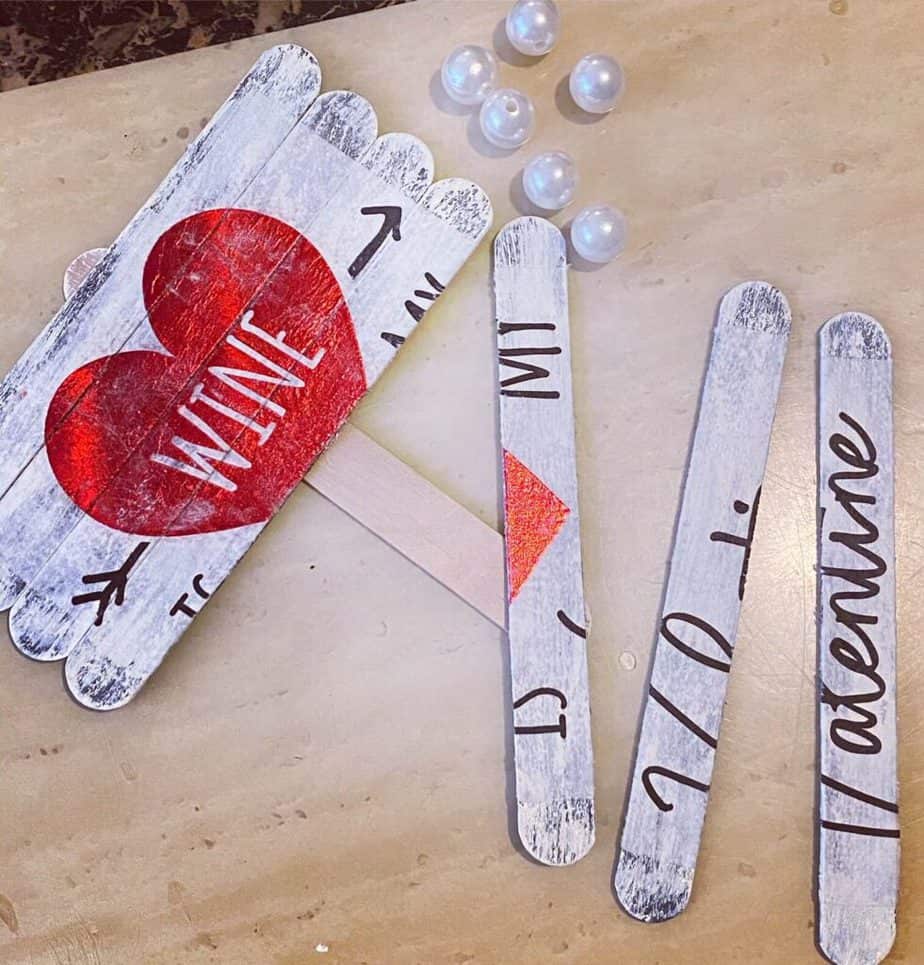
Using an X-acto knife (or other sharp object like a box cutter), carefully slit in between each popsicle stick, so you are left with a sort of puzzle of separated “Wine is My Valentine” sticks.
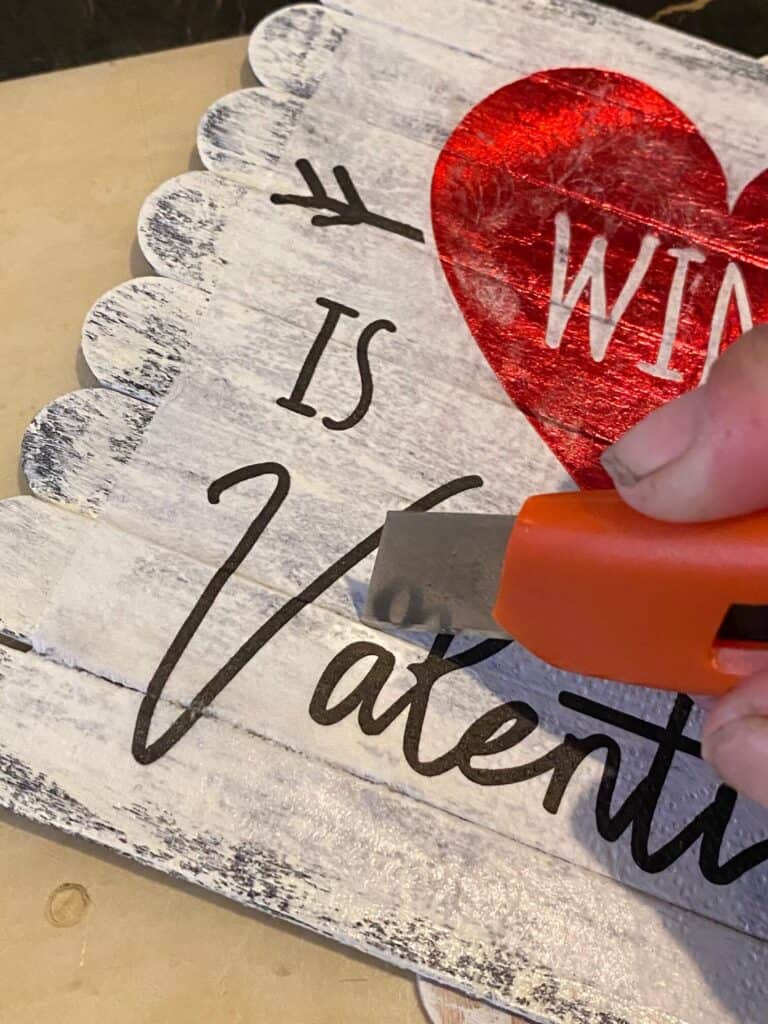
Be extremely careful while using such a sharp object!
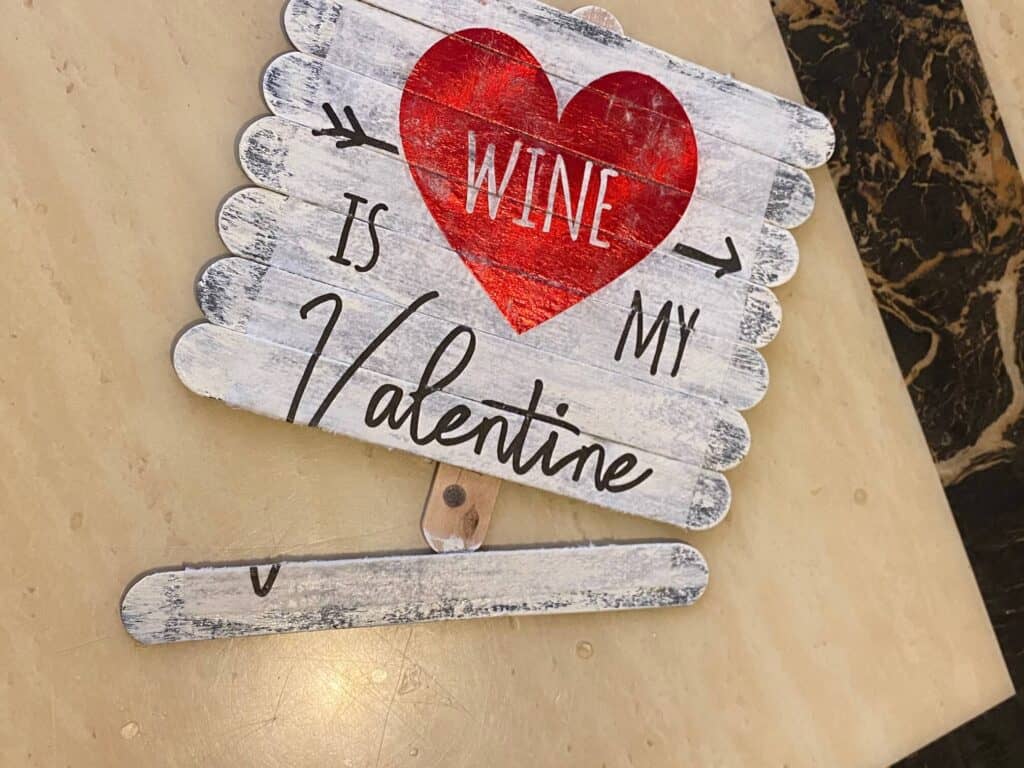
After each popsicle stick is separated into planks, use the sanding sponge to sand the edges and each side. Be gentle, and make sure not so sand upwards, as to rip the napkin up and pull it off the popsicle sticks. So sand down and toward the back of the sign. Sanding helps to distress it and make it look more like planks.
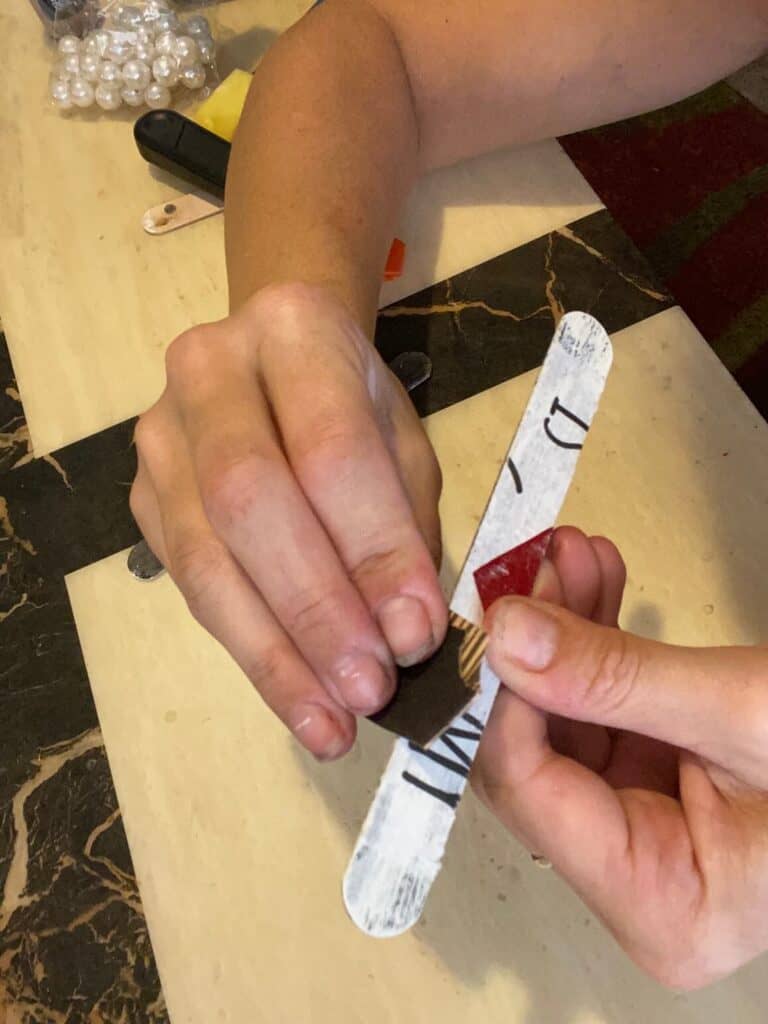
Next, cut a square of cardboard, just smaller than the width of the popsicle sticks, and glue the planks to the carboard.
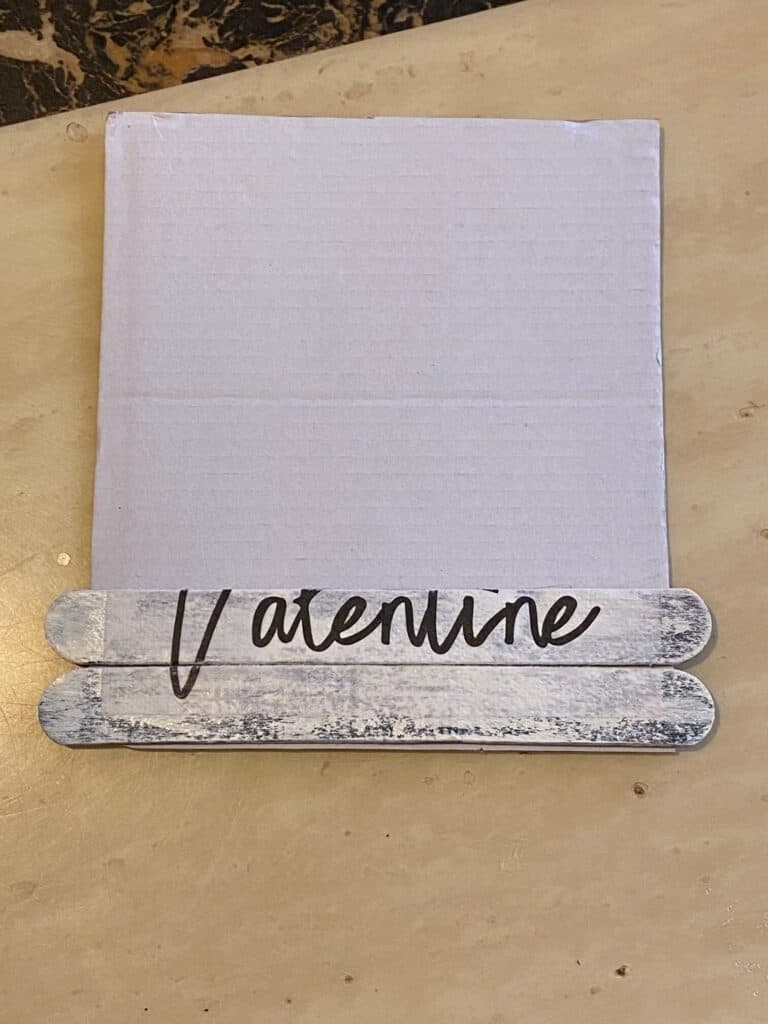
Cut a strip of Nautical Rope the length of the popsicle stick, and glue a pearl bead to each end. Glue the nautical rope with pearls to the bottom of the Valentine sign.
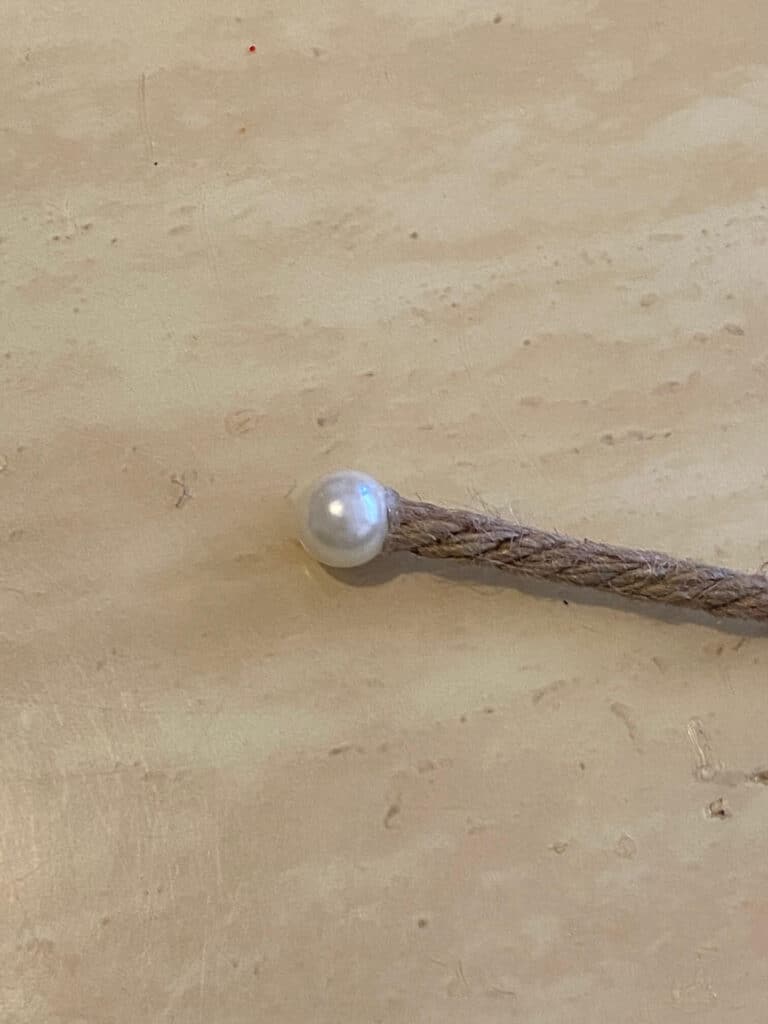
String a piece of twine with pearl beads, long enough hang and go across the top of the sign. Mine was about 10 inches long. Glue the Pearl Bead hanger to the back of the sign.
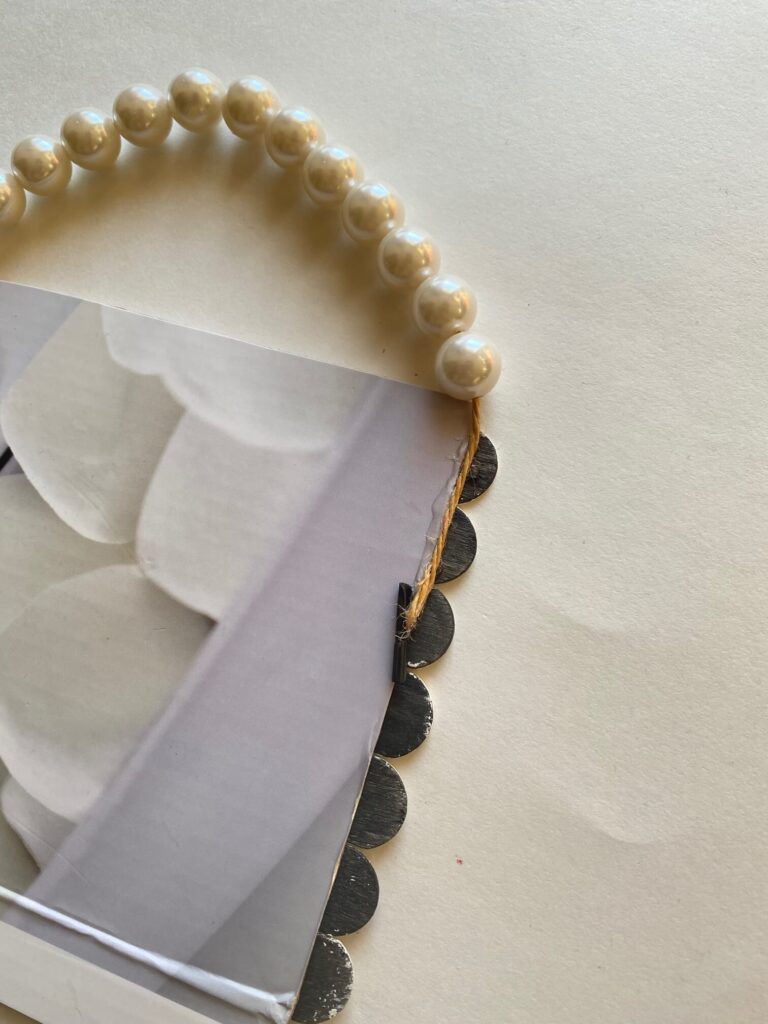
Cut another strip of nautical rope to go across the top of the sign, but this time do not glue pearls to the ends since we will put cute little bows here.
Cut 2 small pieces of ribbon for each bow, about 1.5 inches long. These are the simplest tiniest little bows, I am not even sure you can call them bows! Just criss cross the 2 pieces in an X formation, twist them in the middle, and add a dab of hot glue and hold them until they are dry.
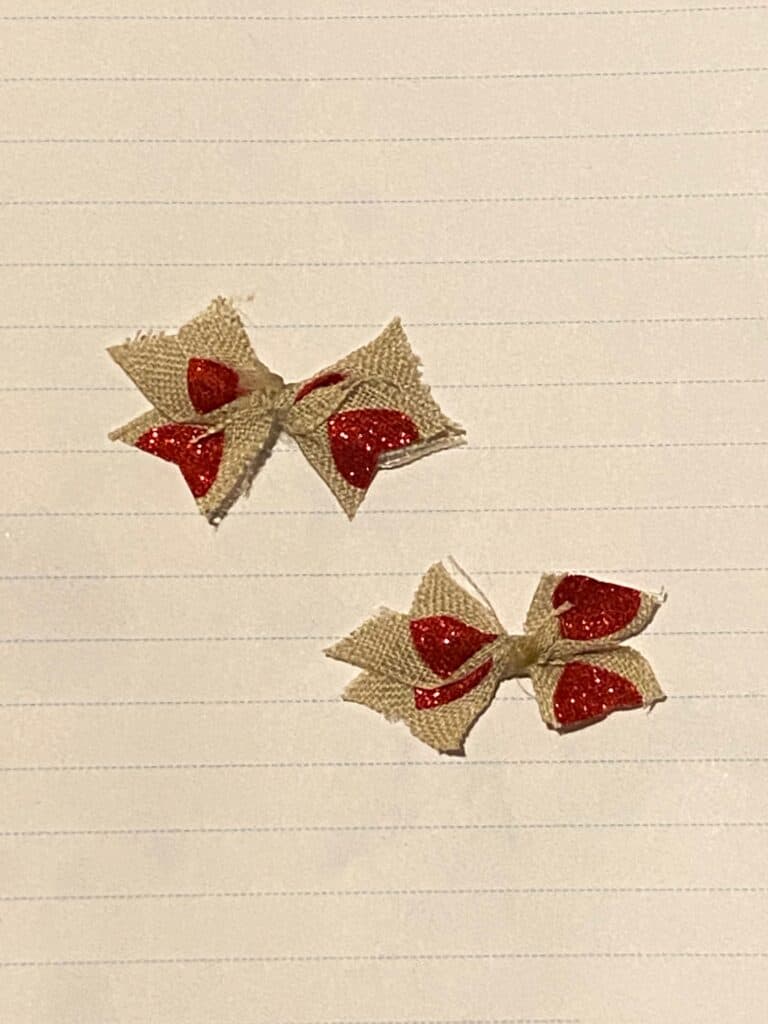
You could also tie a piece of string around the center. This is just the easiest way I thought to do it but you could use any type of bow that you please. Glue one to each end of the top strip of rope to finish off your Valentine sign!
How cute!?
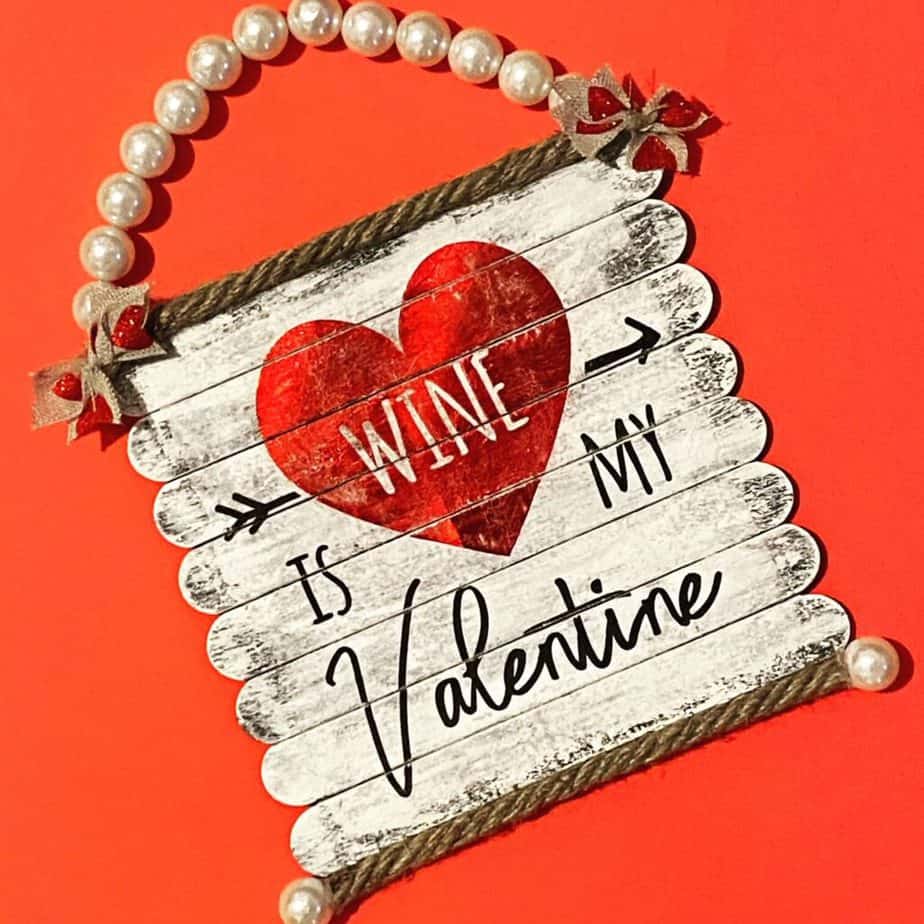
This adorable Valentine sign makes the perfect addition to your Holiday L-O-V-E decor! Because for realz, Wine is my Valentine! If you make this cutesy sign, I’d L-O-V-E to see it! And if you L-O-V-E this Popsicle Stick technique of making DIY signs, make sure to check out the Easy Red Glitter Heart sign I made last week.

Free printable Craft Project Planner
Get organized, get inspired, and get crafting, with our free Craft Project Planner!
If you’re not part of our Craftspiration Facebook group, join in on the fun and post a pic of your completed DIY crafts, I just love to see all your crafts!
Until Next Time…
Stay Crafty San Diego!

