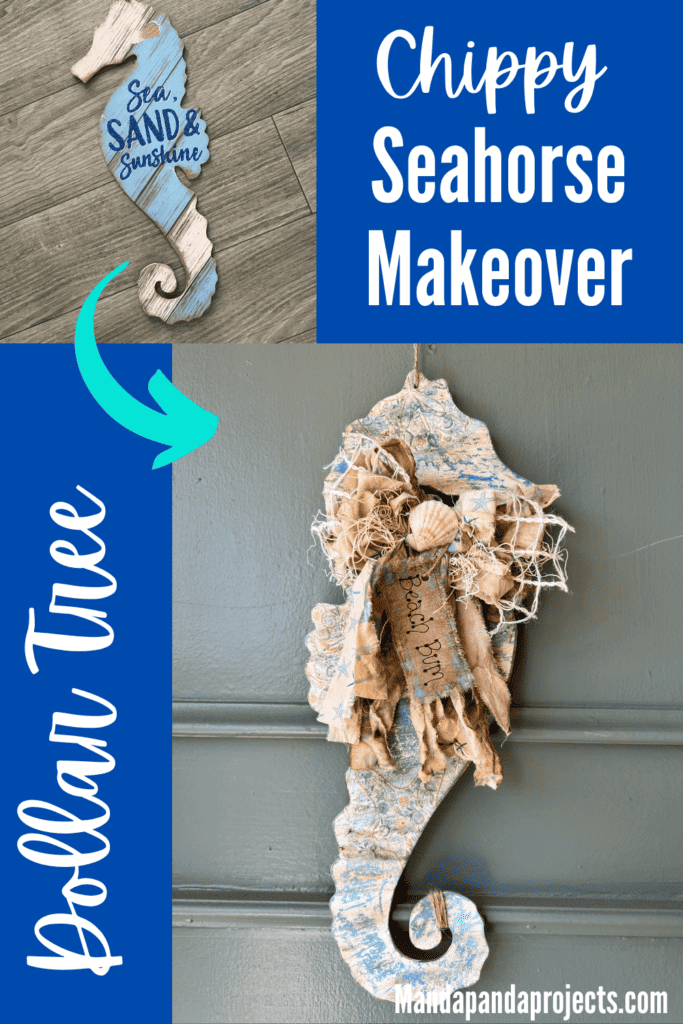
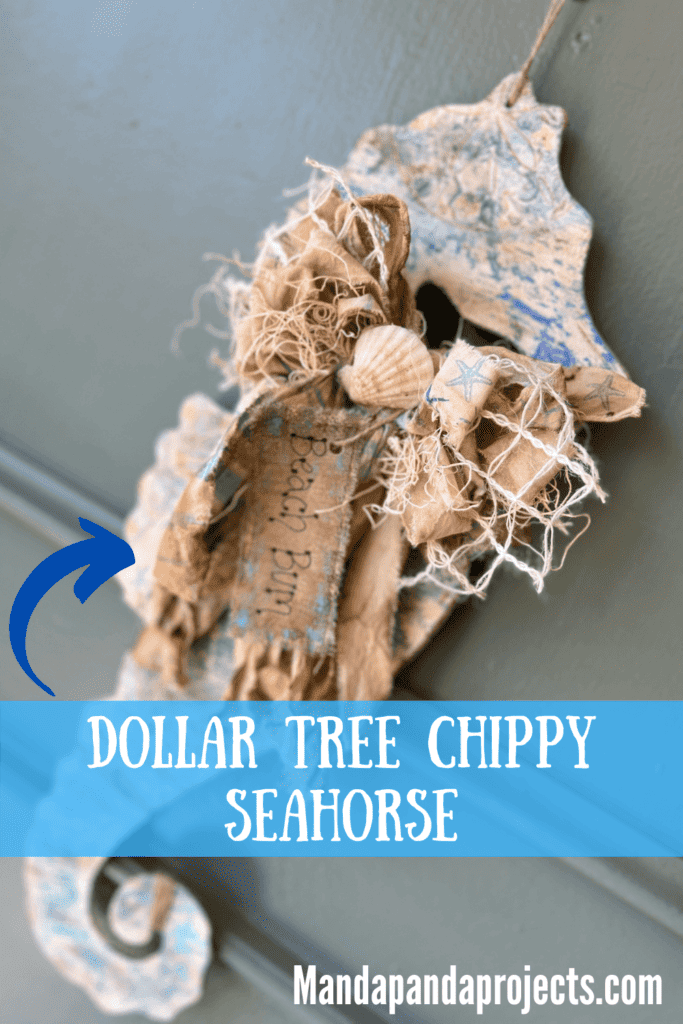
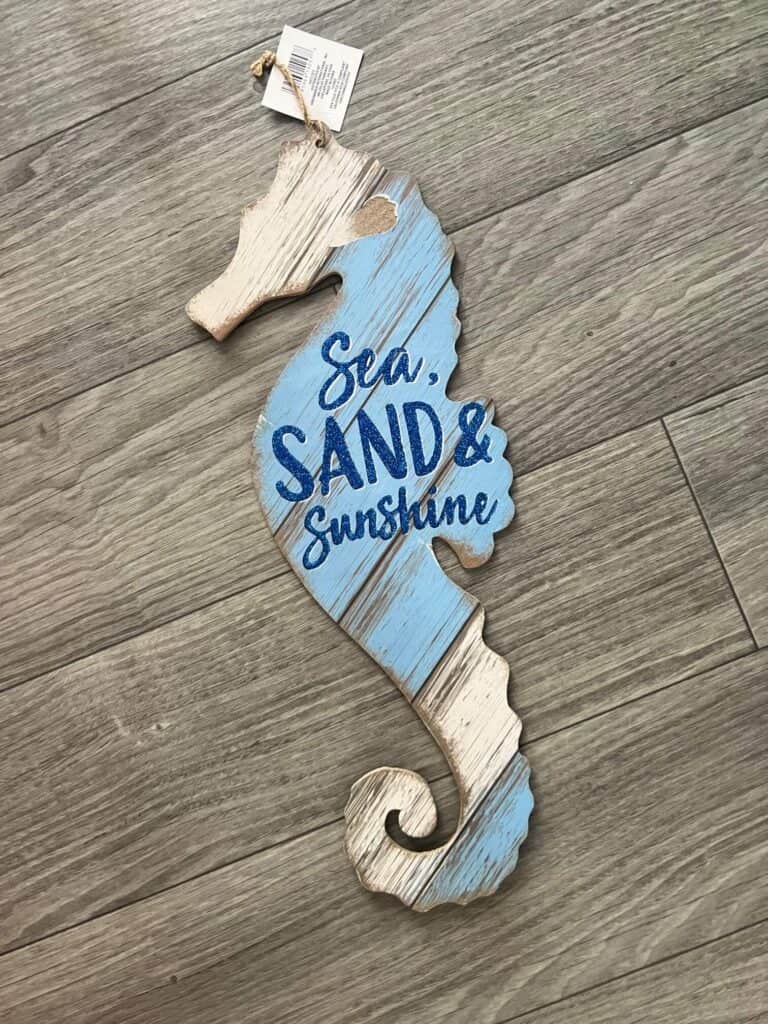
Craft and decorate your beach home or add to your coastal nautical decor with a Dollar Tree Wooden Seahorse makeover. This blue green chippy seahorse combines with a decoupaged seashell napkin for the most fabulous DIY Dollar Tree makeover I’ve seen in a long time!
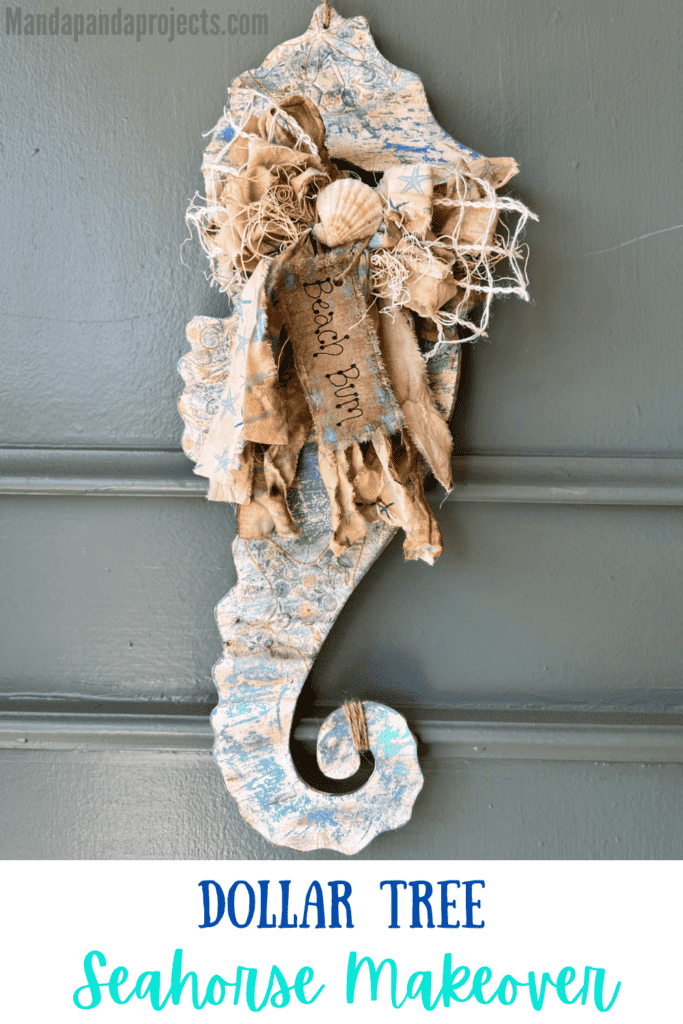
I have been really good about not buying supplies that I don’t need, especially at Dollar Tree, but when I saw this wood seahorse I just couldn’t resist.
I had immediate inspiration to make it over, but I didn’t know exactly what I was going to do with it just yet.
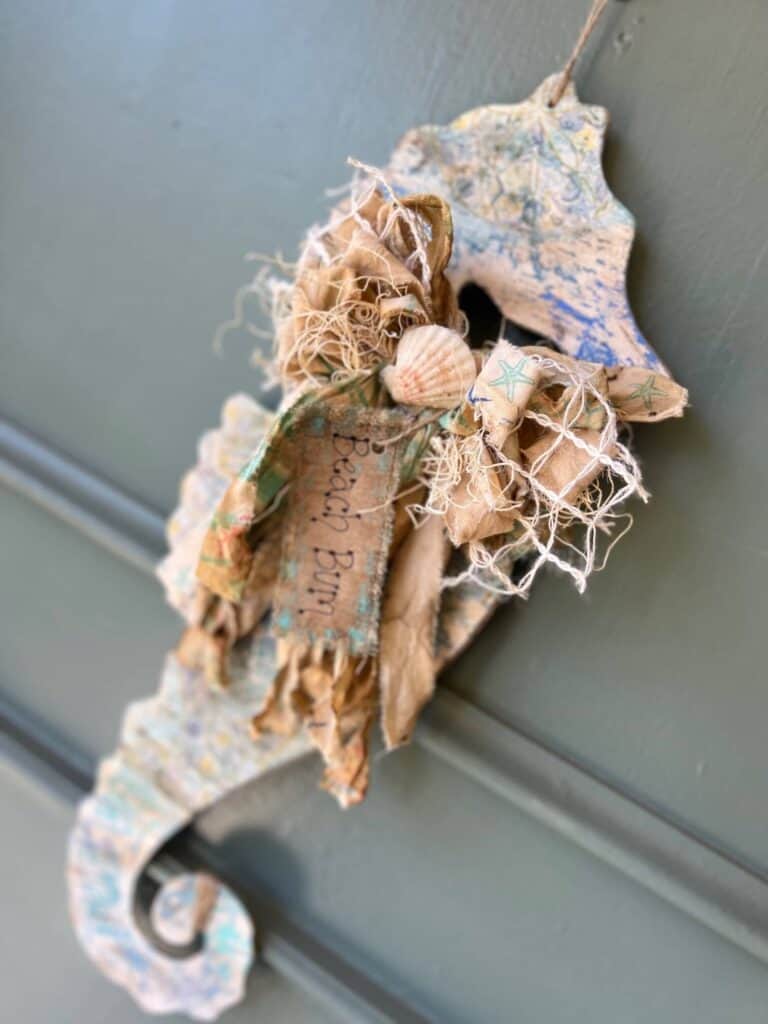
Of course, it sat in my pile of summer craft supplies allllll summer long until it came time to pack up the summer stuff to take out fall.
I REFUSED to pack this “had to have” supply up for next year and thats when inspiration struck! I could use a napkin from my Big Pack of Craftkins and chippy the heck out of it with wax and packing tape!
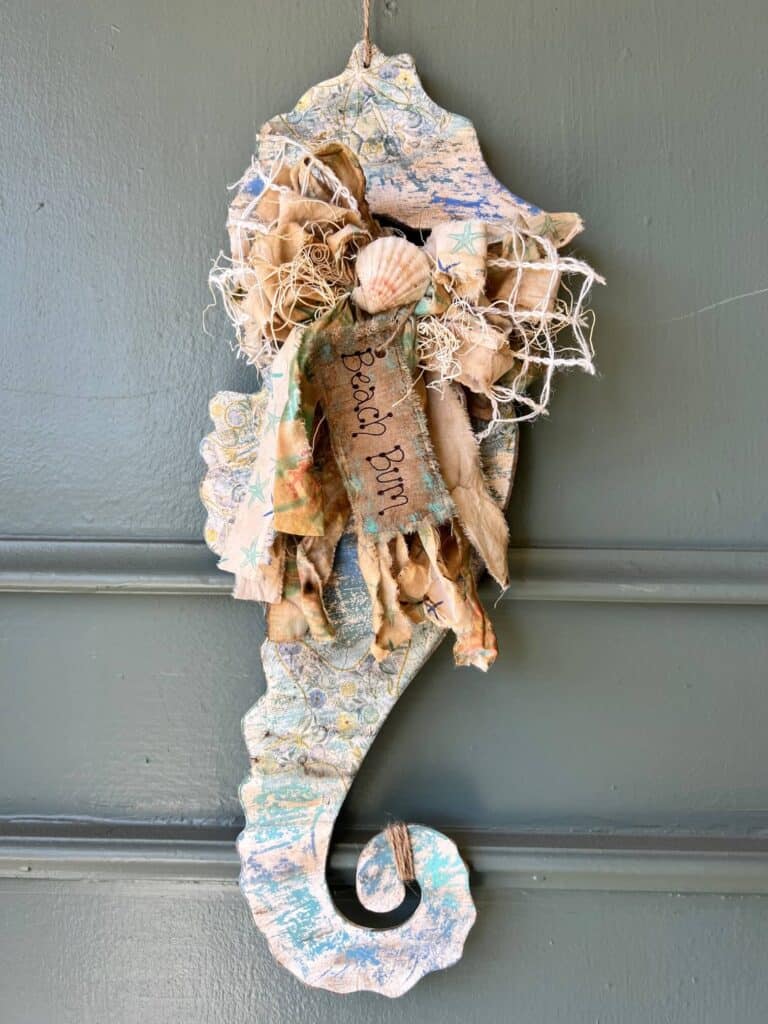
And I am so happy that’s what I did because I’m obsessed with how she turned out.
Can we talk about that chippy though? The napkin is just subtle enough to look like it was almost made like that.
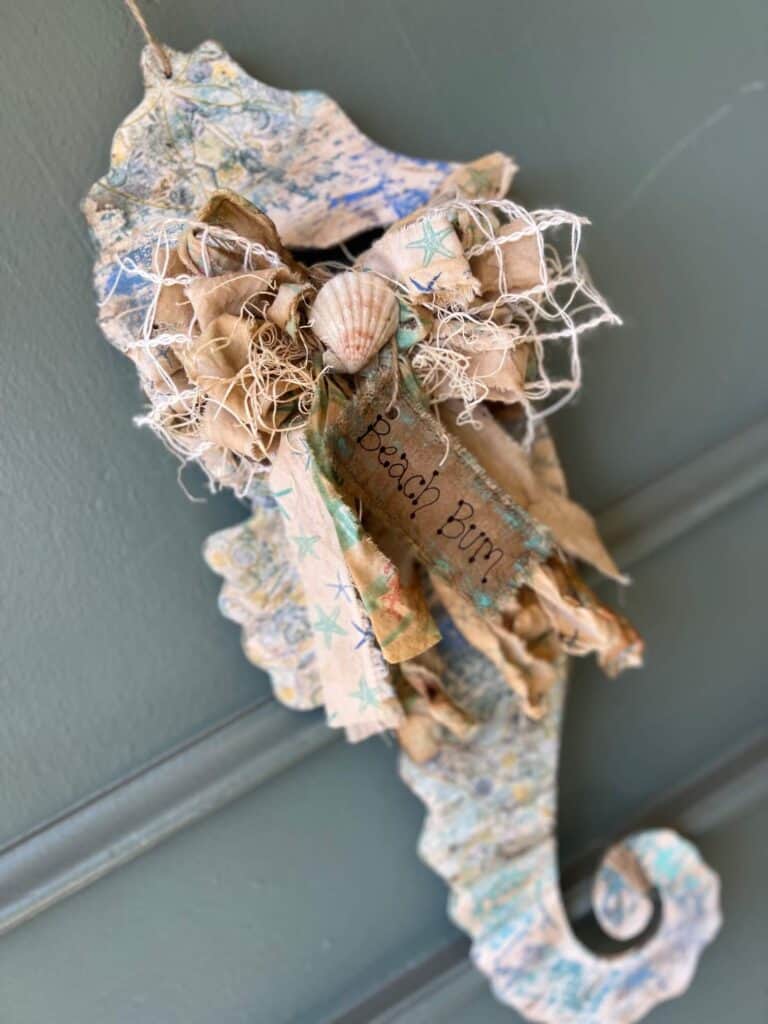
Let me show you how I made this Beach Bum Dollar Tree Chippy Seahorse so you can make one too.
This post may contain affiliate links for your convenience (which means if you make a purchase after clicking a link I will earn a small commission but it won’t cost you a cent more!)
Supplies Needed to Makeover a Dollar Tree Chippy Seahorse
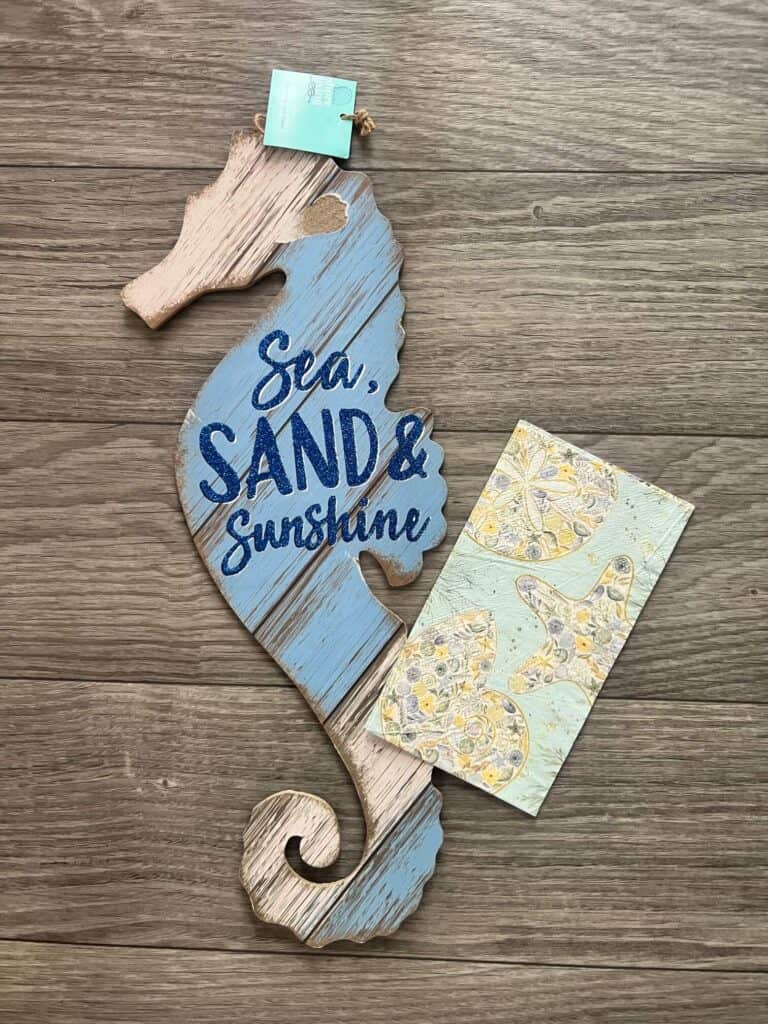
- Wood Seahorse
- Beach Seashell napkin
- Seashell
- Coordinating fabric
- Lattice ribbon
- Excelsior
- Twine
- Kraft paper
- Black paint
- White paint
- Various Blue/Green paint
- Antique wax
- Black Sharpie
- Muslin
- Mod Podge
- Hot glue gun
- Packing tape
- Candle wax
How to Makeover a Dollar Tree Wooden Seahorse
I made this Dollar Tree Chippy Seahorse on video. So you can WATCH the tutorial by clicking below.
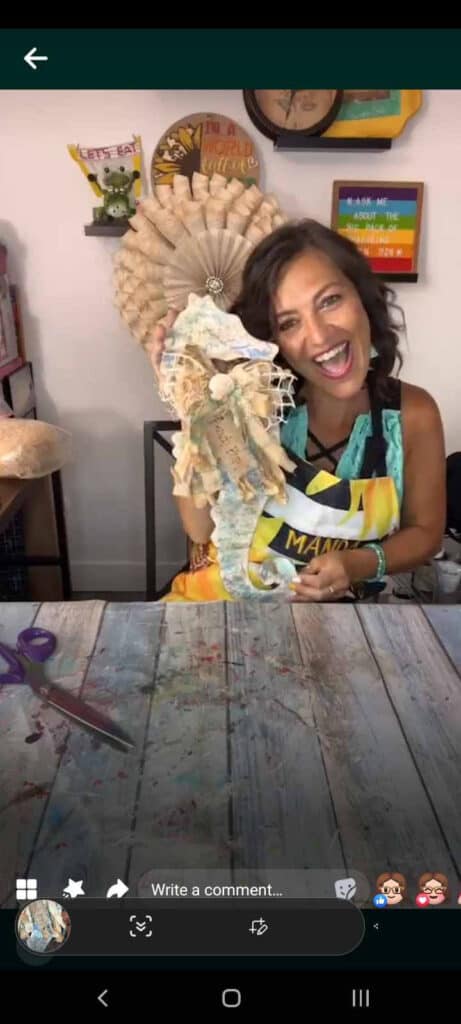
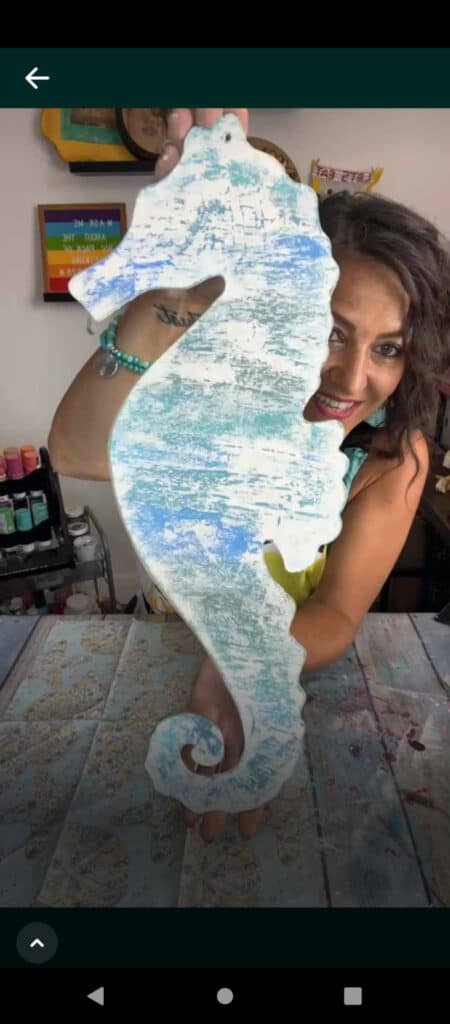
The first step is to make the whole background by doing the chippy paint technique using wax and packing tape. It’s best to watch the replay to see just how I did this, but I’ll explain how I did it as well.
Start by painting the entire background with various shades of blues and greens. You can do a rough ombre like I did, or you can simply paint diagonal stripes. Once the chippy has been done you won’t be able to tell exactly how it looks underneath, so don’t worry about it being perfect.
Next, you’re going to rub the entire background generously with the candle wax, and then paint the entire thing white over the top of that.
Once the white is completely dry, take a piece of packing tape and lay it on top of the white paint in strips, and then rip it off. Start with light pressure and increase pressure from there based on your results. The tape should pull up bits and pieces of the white paint only, making it look chipped and exposing the blues and greens underneath it.
Now take your seashell napkin and use a water pen to “cut” out the seashells giving them a deckled (feathered) edge. Then Mod Podge the napkins randomly around the Seahorse.
Knowing that I was going to add a big ‘ole bow, I didn’t put any of the napkins around the seahorses “neck”.
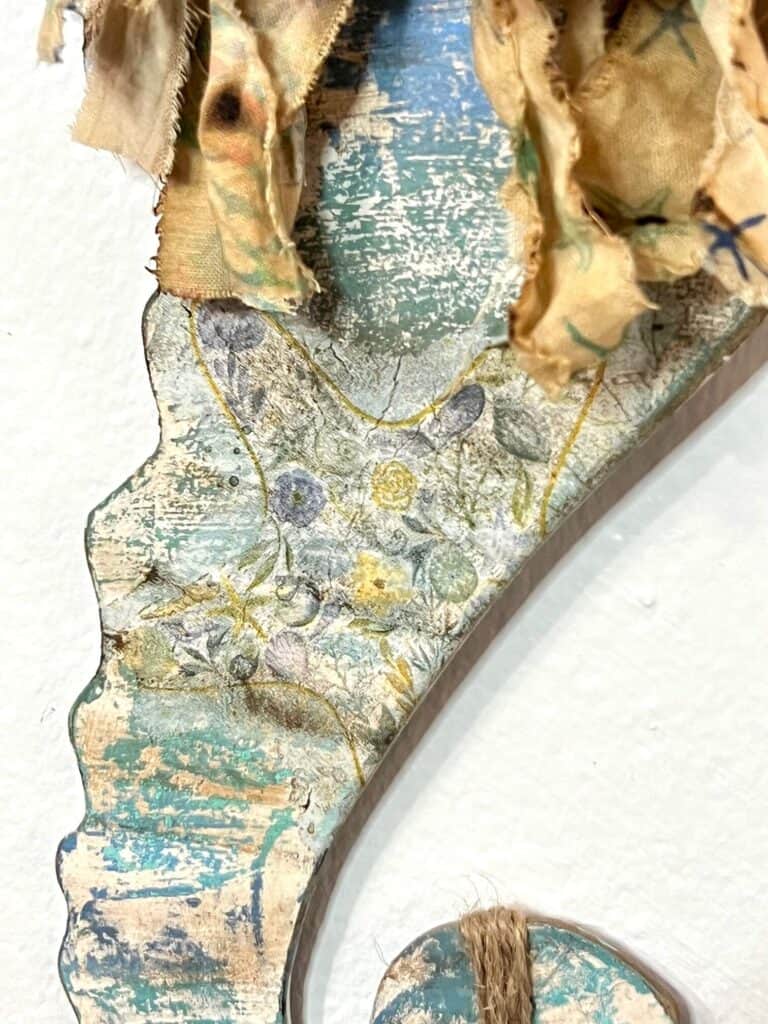
Distress and grunge up the entire thing with lots of Antique Wax to give it an old vintage beach vibe.
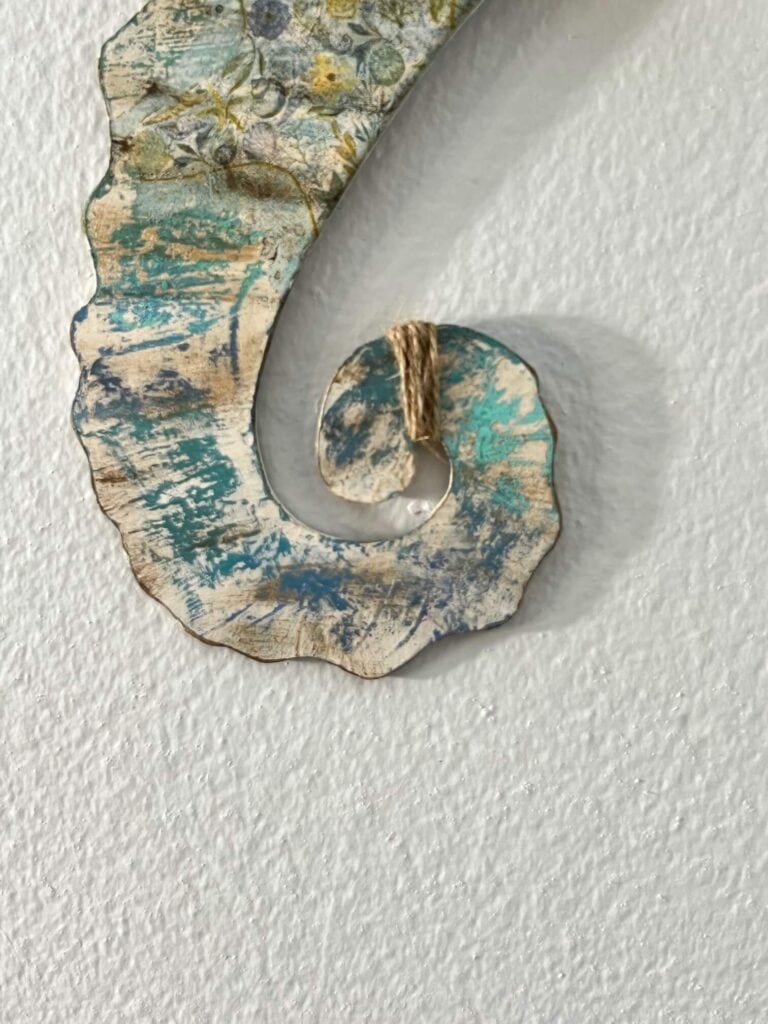
I wrapped a small piece of twine around the seahorse tail as extra decoration.
For the star of the show, the bow! I used my bowdabra and several ripped strips of coordinating fabric and lattice ribbon to make a big messy beautiful bow. I added in some excelsior to make it even bigger and fuller and give it a little bit of extra whimsy pizazz.
Glue a seashell right in the center to finish it off.
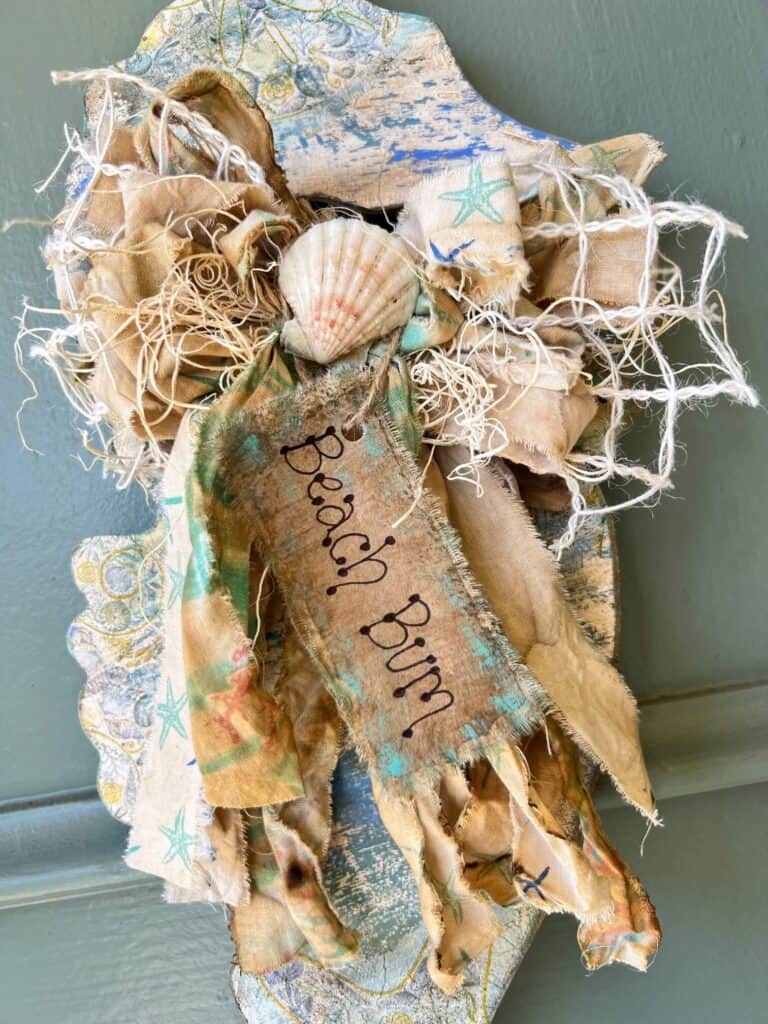
To make the “Beach Bum” hangtag, rip a rectangle of Muslin about 4′ X 2″ and then a piece of Kraft paper just a tad smaller. Mod Podge the Kraft paper to the top of the Muslin, and then distress the edges with Antique Wax and some matching blue/greens from the surface.
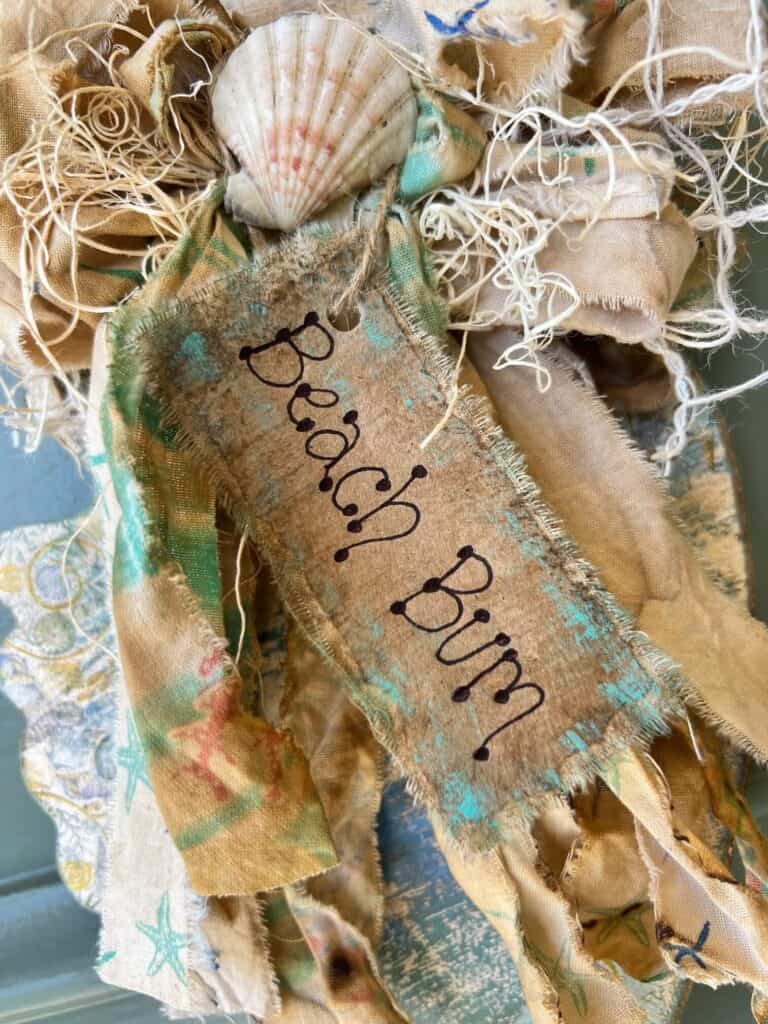
Use a fine tip Sharpie to write “Beach Bum” or whatever other witty and clever little saying you can come up with.
Tie a piece of twine to the top so that you can hang your Dollar Tree Seahorse for all to see!
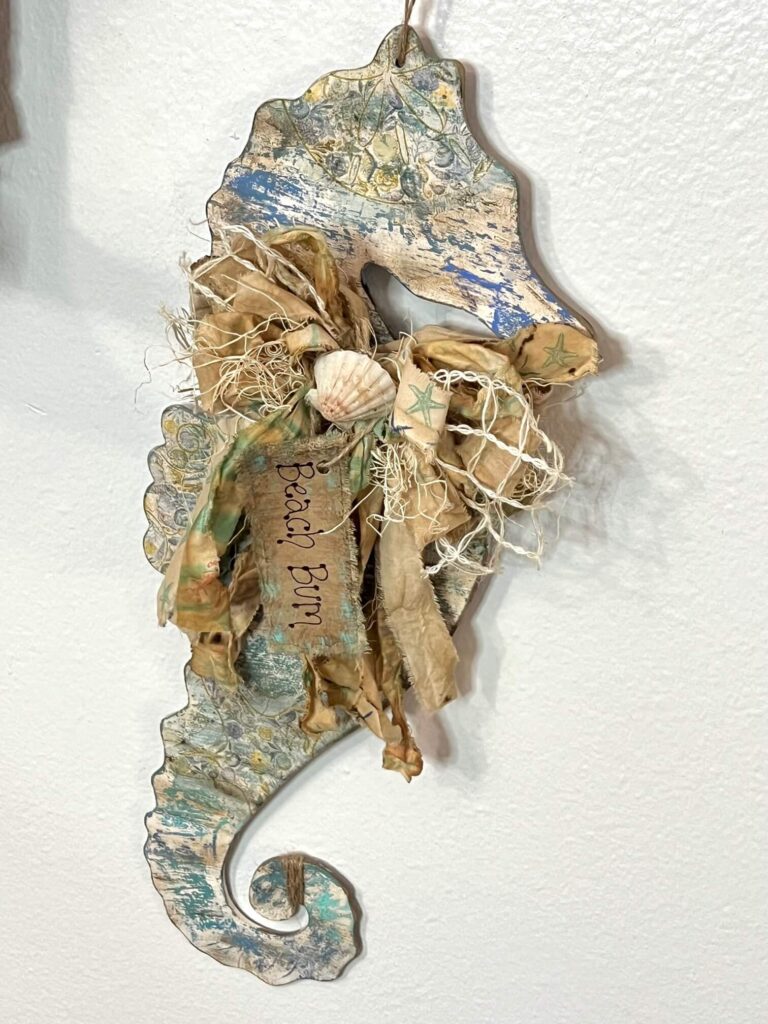
I love love LOVE how this Dollar Tree Chippy Seahorse Makeove turned out! I don’t do a ton of nautical coastal decor, but it’s going to look just fab with me Ombre Dollar Tree Beach Sign.
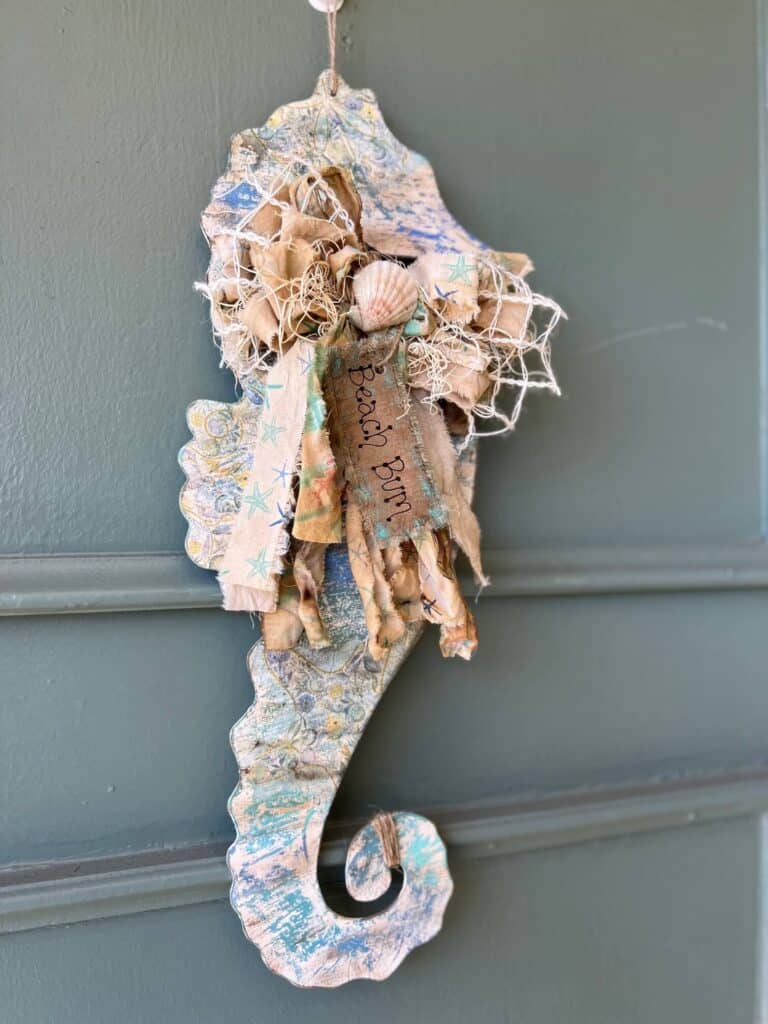
Are you going to makeover a Dollar Tree Chippy Seahorse? Shoot…are you gonna makeover anything from Dollar Tree?! If you do, I’d love to see it! Pop on over to our free Craftspiration Facebook group, and join in on the fun by posting a pic of your Tiered Trays, DIY’s and crafts. I just love to see all your creative and crafty creations.
If you’ve got a million projects on your crafting ‘to-do’ list like I do, than you need my FREE Craft Project Planner so you can plan to make *all the things*! When you sign up for the craft planner, I’ll also send you lot’s of fun, easy, and budget friendly ideas for you to fill it up with!

Free printable Craft Project Planner
Get organized, get inspired, and get crafting, with our free Craft Project Planner!
Until Next Time…
Stay Crafty San Diego!

Love this Dollar Tree Chippy Seahorse Makeover? Make sure to PIN it for later!
