This Dollar Tree Mailbox was cute before, but just wait until AFTER my DIY makeover for Christmas with a vintage Santa vibe!

Every year, for the past 3 years, I have done a Countdown to Craftmas where I go live on Facebook from 12/1-24 for 24 days of Christmas Crafty Inspo.
And this Dollar Tree Christmas Mailbox was Day 4 of our 2024 countdown!

I had this darn mailbox in my stash for YEARS, and would look at it every year and not know what to do with it.
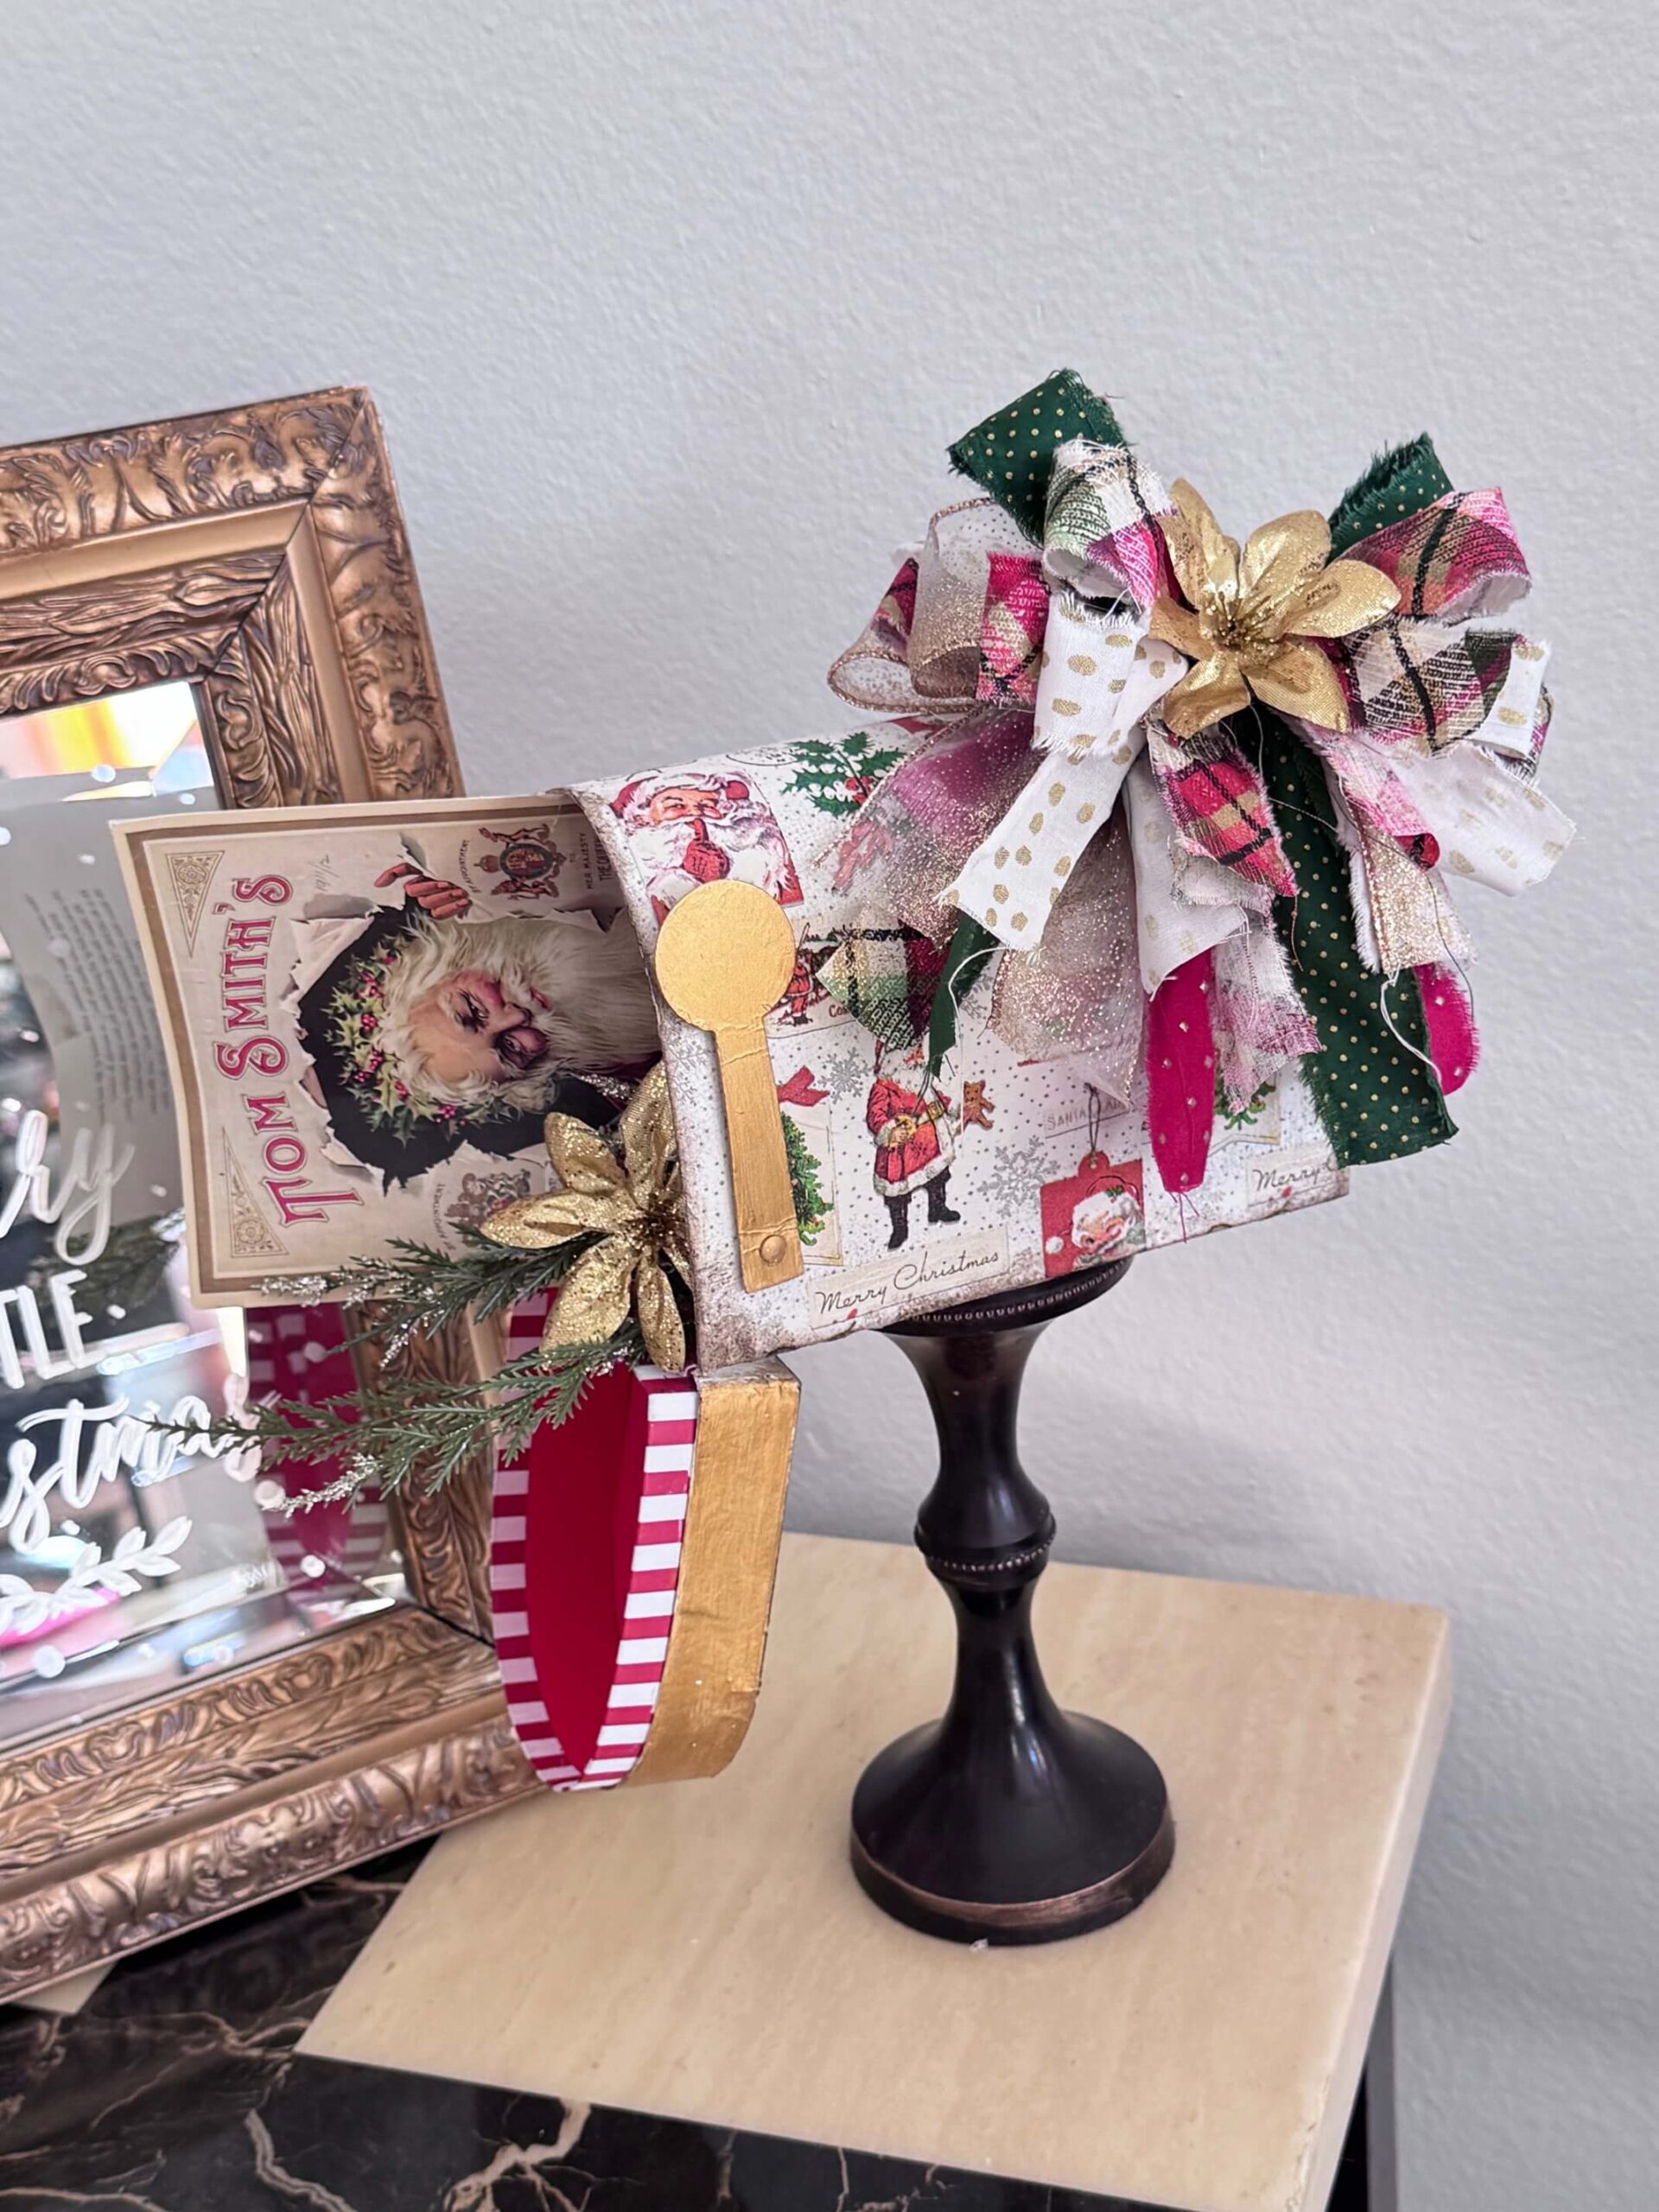
Then, someone in my subscription group, The CRafterparty, posted their mailbox and it inspired me to make my own version! I just happened to have the perfect candlestick that I found thrifting, and it really makes this project what it is.
This post may contain affiliate links for your convenience (which means if you make a purchase after clicking a link I will earn a small commission but it won’t cost you a cent more!)
Supplies Needed to Makeover Dollar Tree Christmas Mailbox
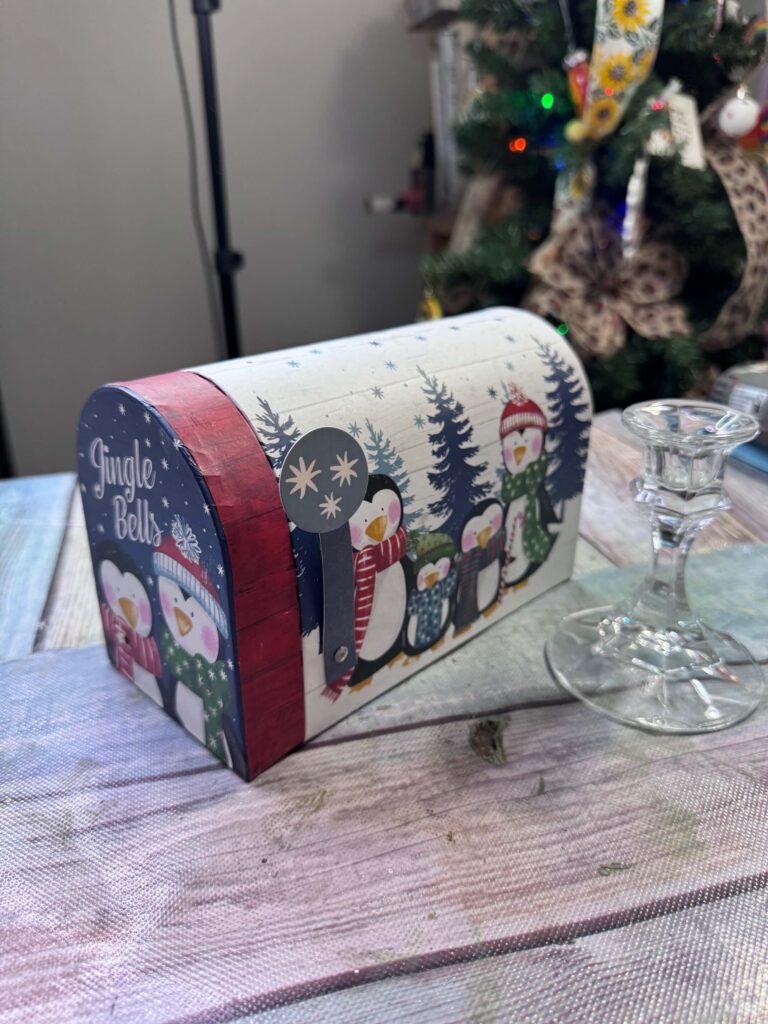
- Dollar Tree Mailbox
- Paint: White, Gold
- Kilz Dark Wax
- Napkin from my Big Pack of Craftkins
- Coordinating Fabric and ribbon
- Twine
- Vintage Santa Christmas Card
- Gold Poinsettias
- Christmas greenery
- Mod Podge
- Antique Gold Rub n’ Buff
- Candlestick (Wood or Glass) I thrifted mine
- Hot glue gun
How to Makeover a Dollar Tree Christmas Mailbox
I did this Dollar Tree Christmas Mailbox Makeover on video. So you can WATCH the tutorial by clicking below. (I edited the live down into a 1 min reel for those that don’t have time to watch the full thing)

To learn to make this mailbox, the best way is to watch the live replay, because I don’t have actual step by step photos since I made it live. I took a few screenshots from my live, and I will do my best to walk you through each step! If you don’t have time to watch the entire live, I edited it down into a 1 minute video for you to get the gist!
It’s actually pretty simple, I just decoupaged a napkin to the mailbox, made a messy bow for the top, added a card and greenery inside, and glued it to the candlestick base.

First things first, paint the mailbox all white so that the napkin shows up nice and vibrant. I left the inside red and the red and white striped portion of the front I left as well.

Next, I separated the plys of the napkin and got it down to one plyI and then used Mod Podge to decoupage the napkin to the mailbox. I worked in smaller sections to make this part easier. Don’t worry about wrinkles! Embrace the imperfections!

I sanded off any excess napkin using my gator sander.
Next, I painted the rim of the front of the mailbox with gold, and the flag as well.

I like things old and grungy, so I took my Kilz Dark Wax and antiqued all around the mailbox edges and corners. The best way to do this is with a finger dauber, and dab it on all over until you are happy with it.
You can see the grunged parts below.

I then glued the flag back on (I took it off to paint it gold).
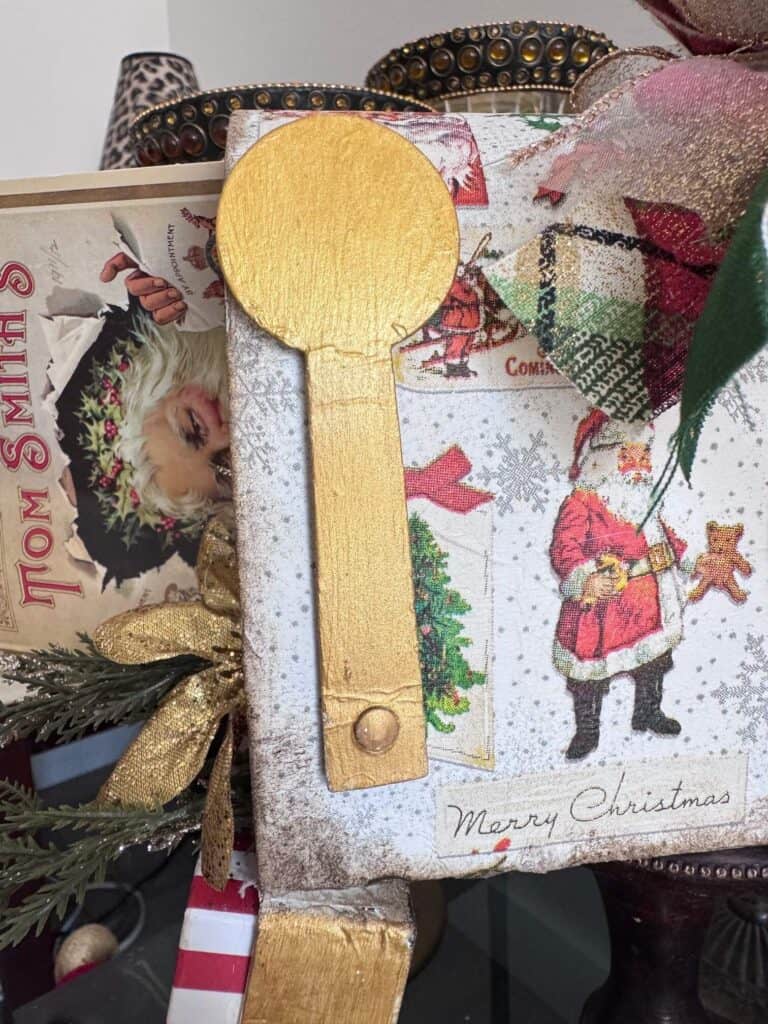
Of course we need a fabulous bow! I made a bow with both fabric and ribbon with my Bowdabra. You don’t HAVE to use a Bowdabra but boy oh boy do I love mine! I made my bow big and messy and glued it to the top of the Christmas Mailbox with a gold poinsettia in the center.

This was the easy part. I glued a Vintage Santa Christmas card inside, along with some gold glittery greenery and another gold poinsettia.

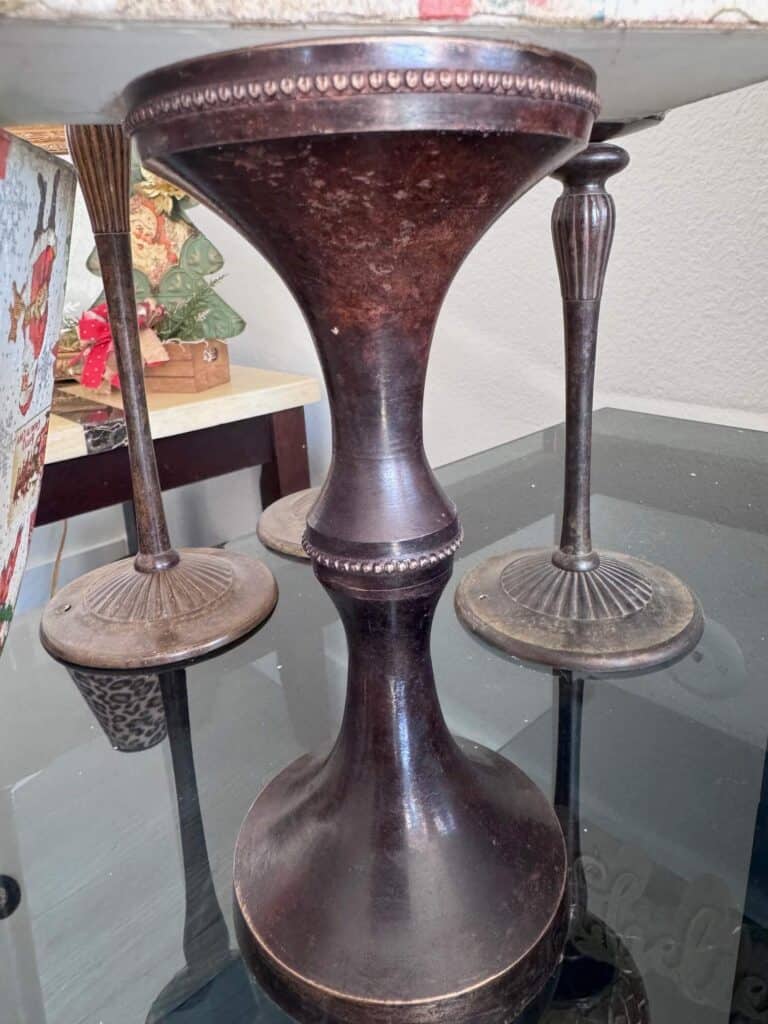
Last, I used hot glue and E6000 and glued the entire mailbox to the top of this wood candlestick that I found at my local thrift store.
I decided to leave the color because the dark wood looked great with the vintage vibe, but I did add a bit of Antique Gold Rub n Buff to bring out the details.
Oh EM GEEEEE I am so incredibly in love with how this mailbox makeover turned out!
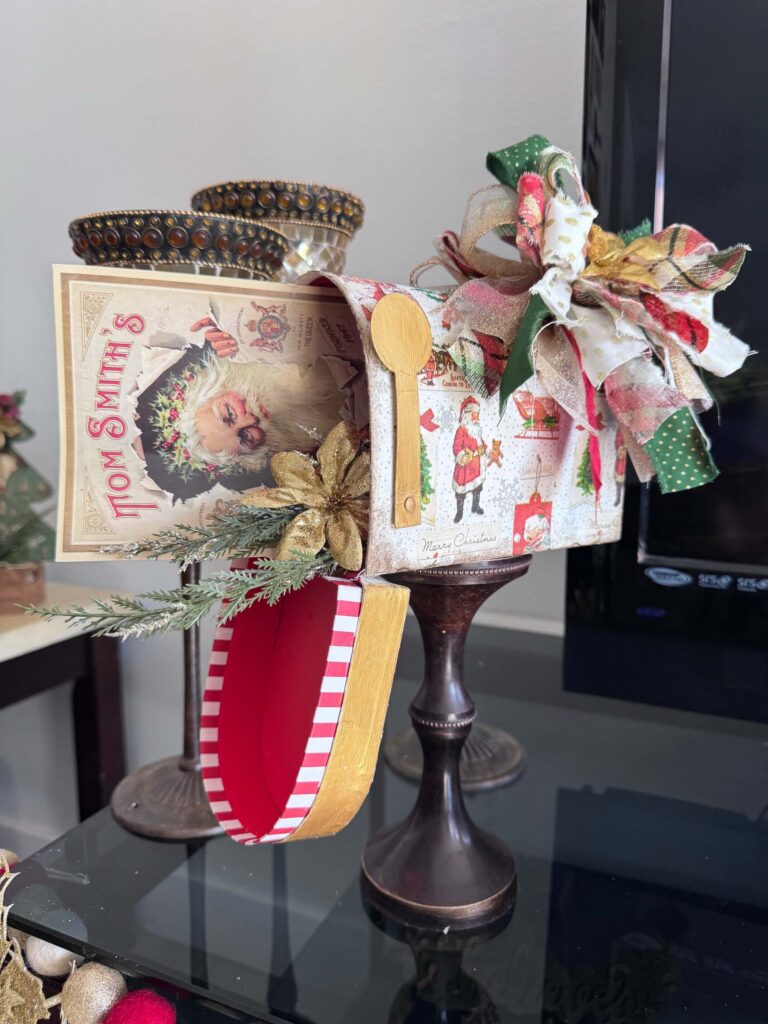
It looks just fabulous with my Thrifted Etched Christmas Mirror I made last year!

And that my friends was Day 4 of the 2024 Countdown to Craftmas!
Are you going to makeover a Dollar Tree Christmas Mailbox? If you do, I’d love to see it! Pop on over to our free Craftspiration Facebook group, and join in on the fun by posting a pic of your Tiered Trays, DIY’s and crafts. I just love to see all your creative and crafty creations.
If you’ve got a million projects on your crafting ‘to-do’ list like I do, than you need my FREE Craft Project Planner so you can plan to make *all the things*! When you sign up for the craft planner, I’ll also send you lot’s of fun, easy, and budget friendly ideas for you to fill it up with!

Free printable Craft Project Planner
Get organized, get inspired, and get crafting, with our free Craft Project Planner!
Until Next Time…
Stay Crafty San Diego!

Love this Dollar Tree Christmas Mailbox Makeover? Make sure to PIN it for later!


