Share the Love!
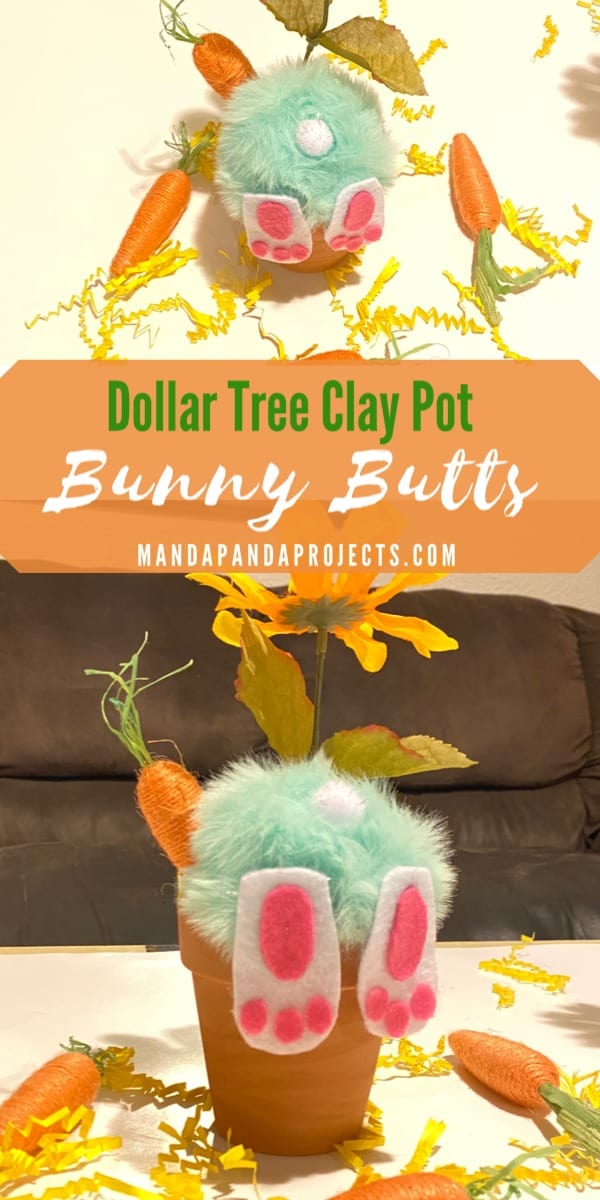
Make this super adorable Bunny Butt Pot in under 10 minutes for your Easter decor or even a Teacher gift. You can get all of the supplies from Dollar Tree too, making it a fast, easy, affordable Easter craft!
Easter is just a few weeks away and due to the worldwide sitch, we have all been blessed with the excuse to to make *all the things* at home! I like to find the silver lining in every situation, this one being no different. So, with that, comes lot’s of time at home…and lot’s of crafting with the kiddos.
So far at home we have made an Egg Carton Rainbow Wreath and a Pine Cone Leprechaun for St. Patty’s Day. And for Easter we’ve made Pine Cone Peeps and now Bunny Butt Pots! I’m gonna run out of room to display our projects before this is all over!!
Now I know I’m not doing any ground breaking crafting with this one, it has been done many times before. So many that I can’t even site the source because there’s Bunny Butts everywhere on the internet! But c’mon, seriously these are SOOOO cute I just had to have one for myself this Easter. Plus we happened to have almost all the materials on hand from our last Dollar Tree run.
Oh, did I forget to mention this entire project took under 10 minutes to make and cost only $5? Well, it’s true. We got all the supplies at the Dollar Tree and it was so easy that my 8 year old Twinsies were able to put an entire Bunny Butt Pot together with zero help from me. Justice even wanted to make a second one when he was done with his.
I think the hardest part of making this Bunny Butt Pot was the feet, but don’t worry I made a template you can just print and trace so it will be super easy for you. You can sign up to get that for free at the bottom of this post.
My house now has Bunny Butts everywhere!! I’m not complaining….
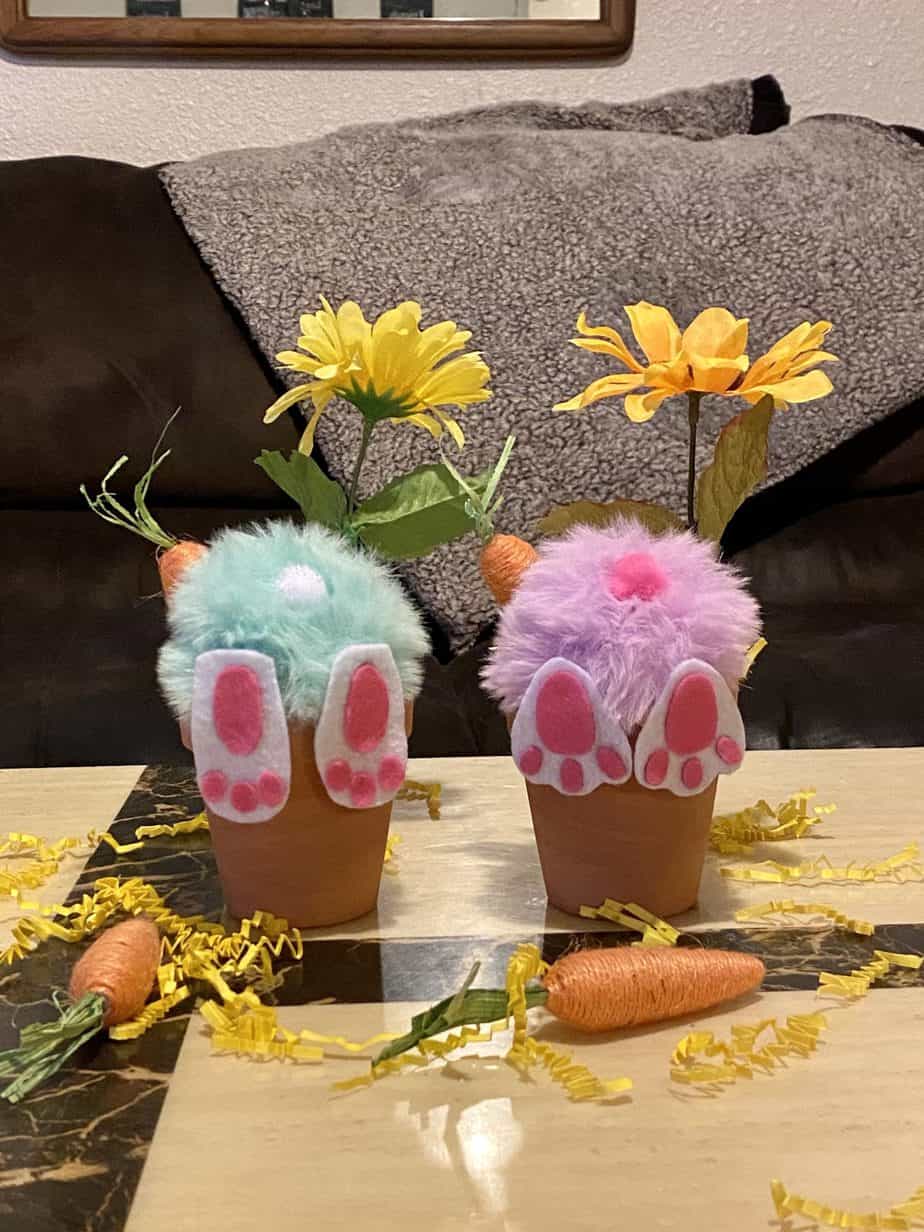
Although we did get all the supplies at DT, they are also available on Amazon. Since many of us cannot leave the comfort of our homes, I will link to the closest version of what I used so that your able to get them delivered right to your door (Amazon will unfortunately not be as affordable as Dollar Tree but hey desperate times call for desperate measures).
So, if you want these cute little tooshies to show off in your home or classroom this Easter, I’ll show you how you can!
This post may contain affiliate links for you convenience (which means if you make a purchase after clicking a link I will earn a small commission but it won’t cost you a cent more!)
Supplies Needed for Clay Bunny Butt Pots
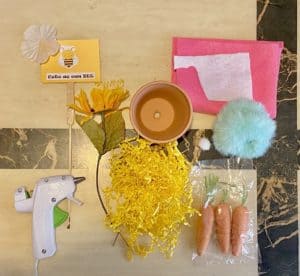
- Terra Cotta Clay Pots
- White and Pink Felt
- Grass Filling
- Carrot Embellishment
- Large Fur Pom Pom
- Smaller Pom Pom or Cotton Ball
- Faux Spring Flower (optional)
- Glue (If your not sure which glue in your stash will work, check out this guide)
- Scissors
- Bunny foot template (sign up at the bottom to get as a free gift for subscribing)
How to Make a Clay Bunny Butt Pot
There are a few different things you could do to mix it up from what you see here, like using green “grass” instead of yellow. I have also seen some people paint the Terra Cotta pot white and use coffee beans instead of “grass”. I was aiming for simple so opted for the natural pot color and I think it came out great!
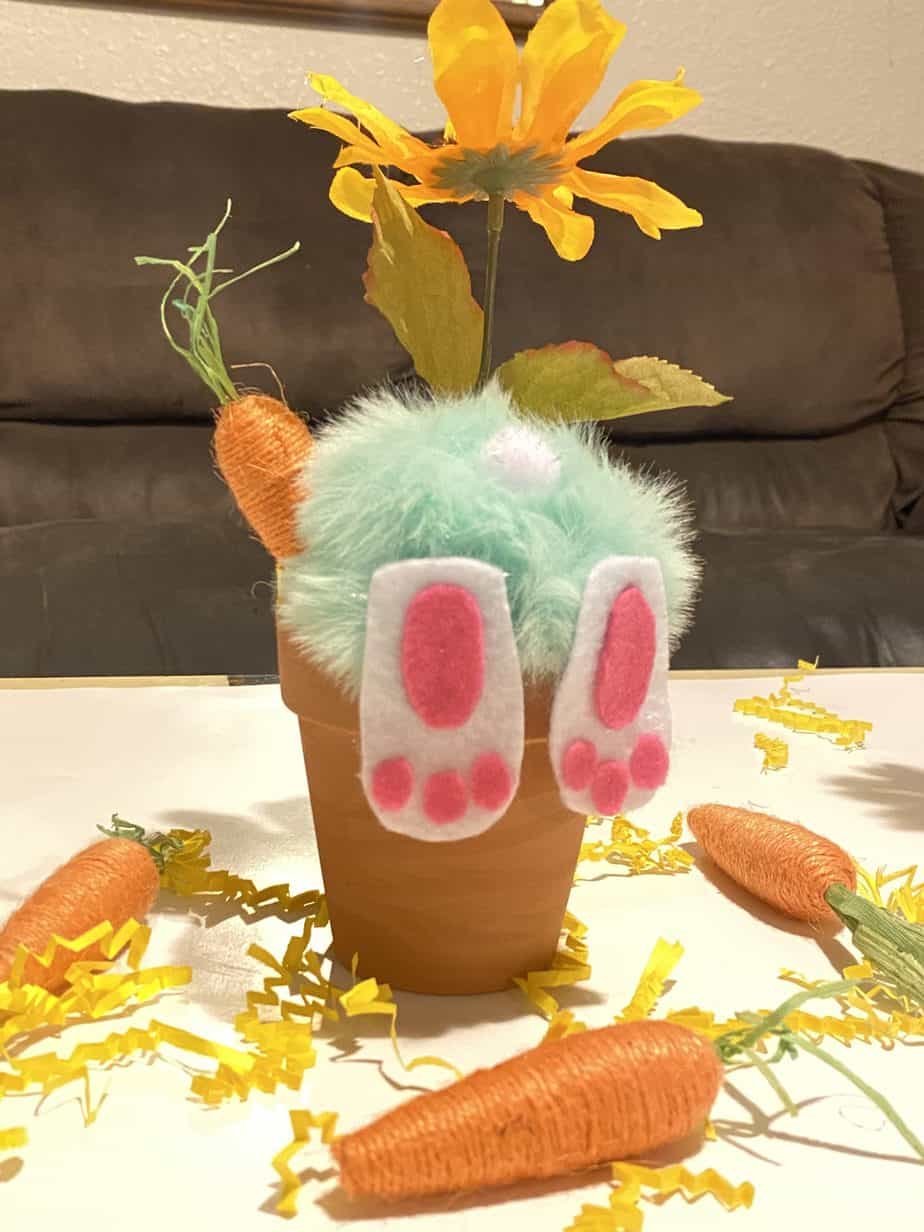
First, fill the pot loosely with the grass filling. If you decided to add the faux spring flower, go ahead and stick the stem into the grass filling. Next, put the carrot in, just off to the side leaving room for the Butt.
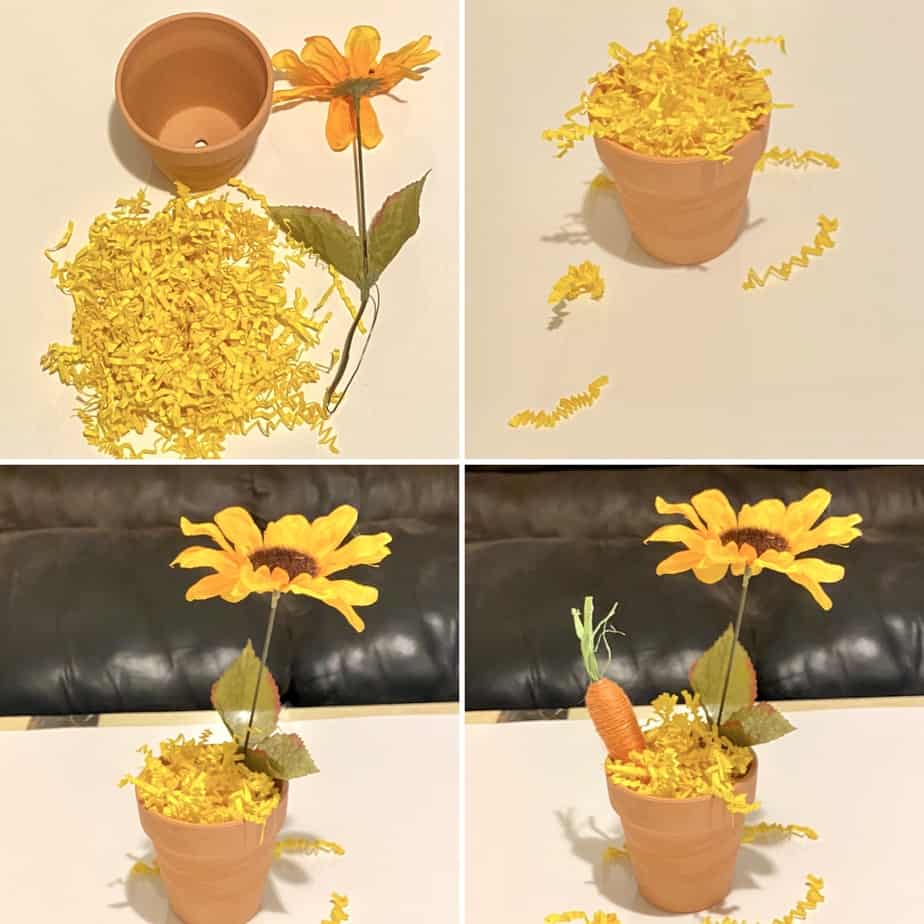
You can glue the carrot if you’d like, but I did not find that necessary.
Your halfway done already!
To make the feet, get our free template to print and trace by signing up on the form at the end of this post.
Alternatively, you can draw two larger ovals onto the white felt. You can do this freehand since it does not have to be perfect. Draw one medium oval, about half the size of the white ones, and three small onto the pink felt. Cut them all out, and glue them to look like the picture below.
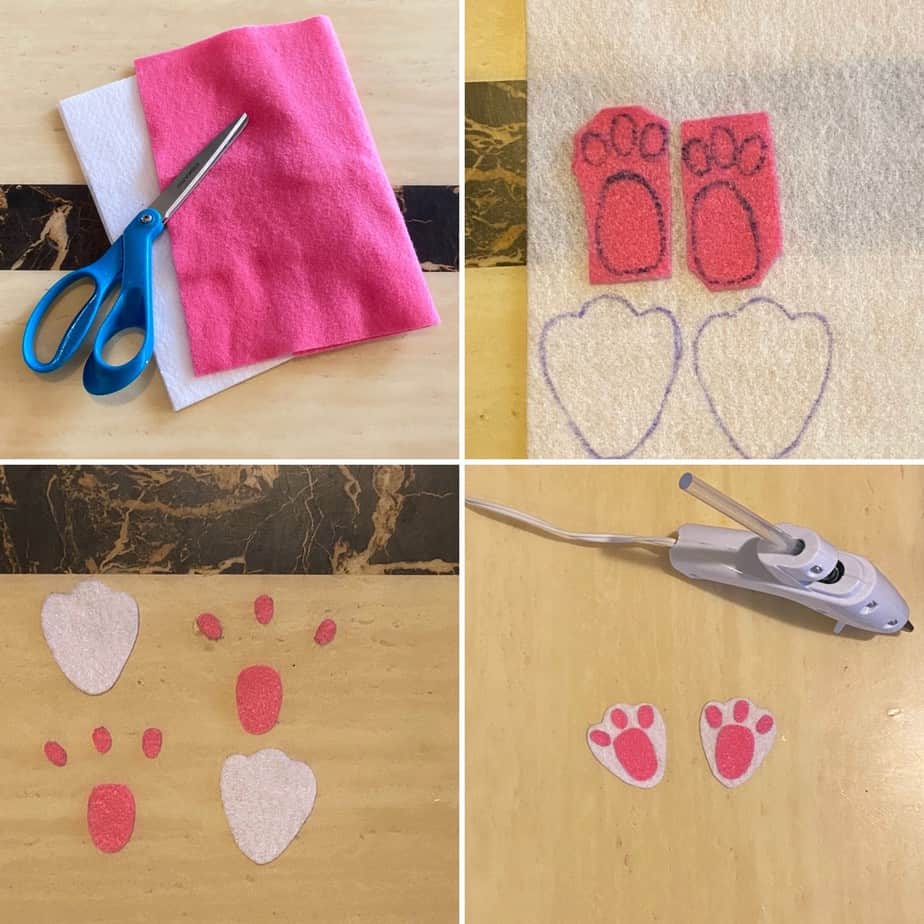
The hardest part is done!
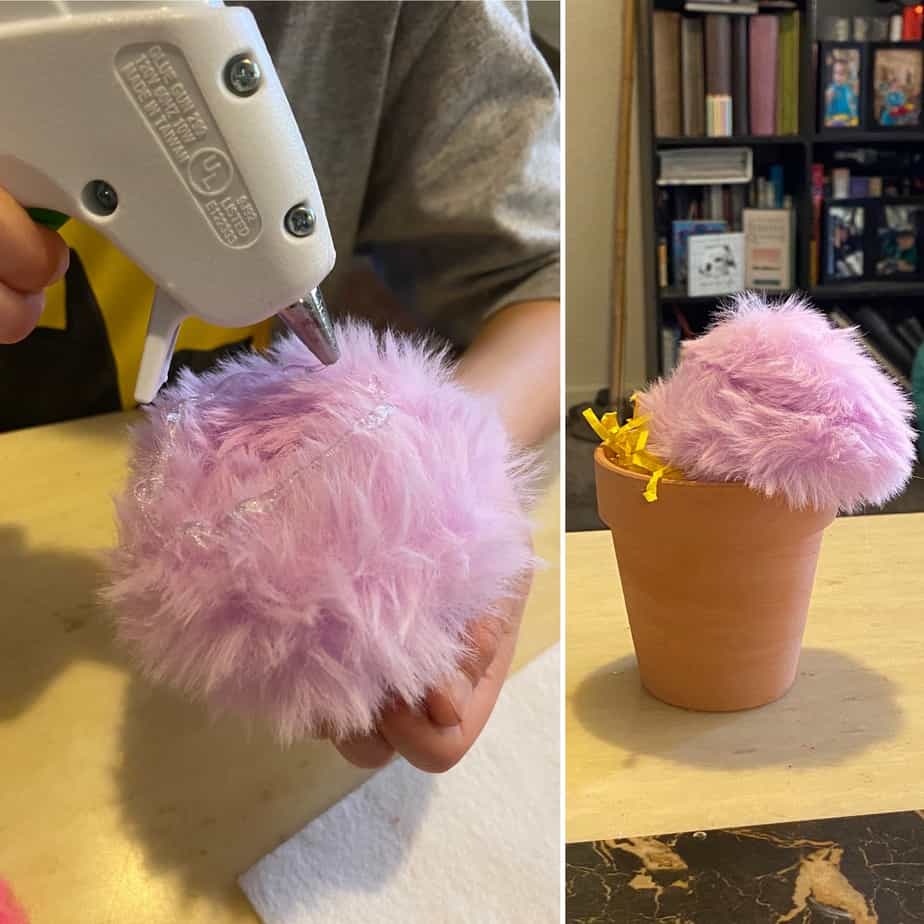
Now glue your large pom pom butt onto the top edge of the clay pot, just baaaaarrrrelly over the edge. Glue the smaller pom pom tail and glue the feet with the 3 small ovals pointing down.
Look at those Tooshies!!!
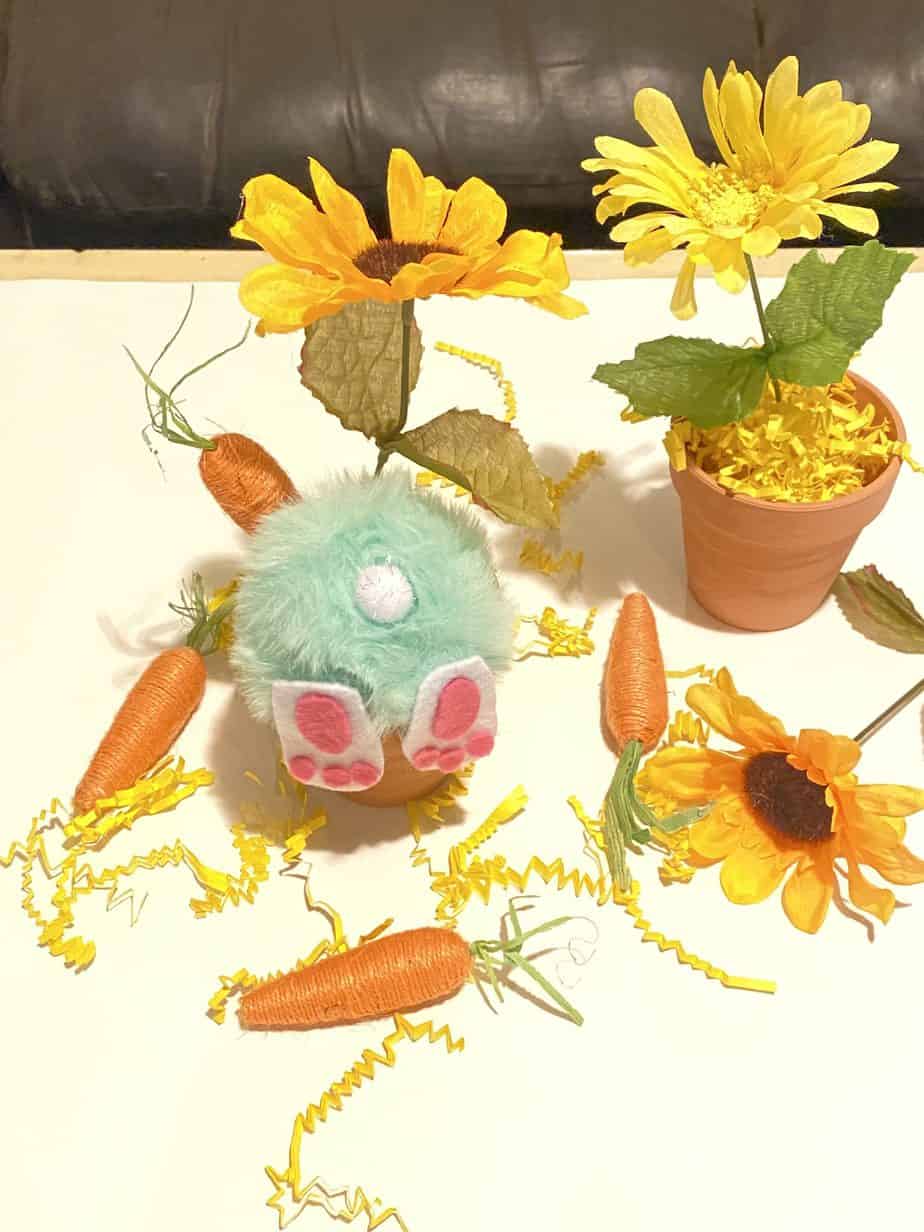
I just love these. I think we will give one to each of the Twins teachers and add a “Happy Easter” sign pick into the pot in place of the flower. Or even in addition to the flower.
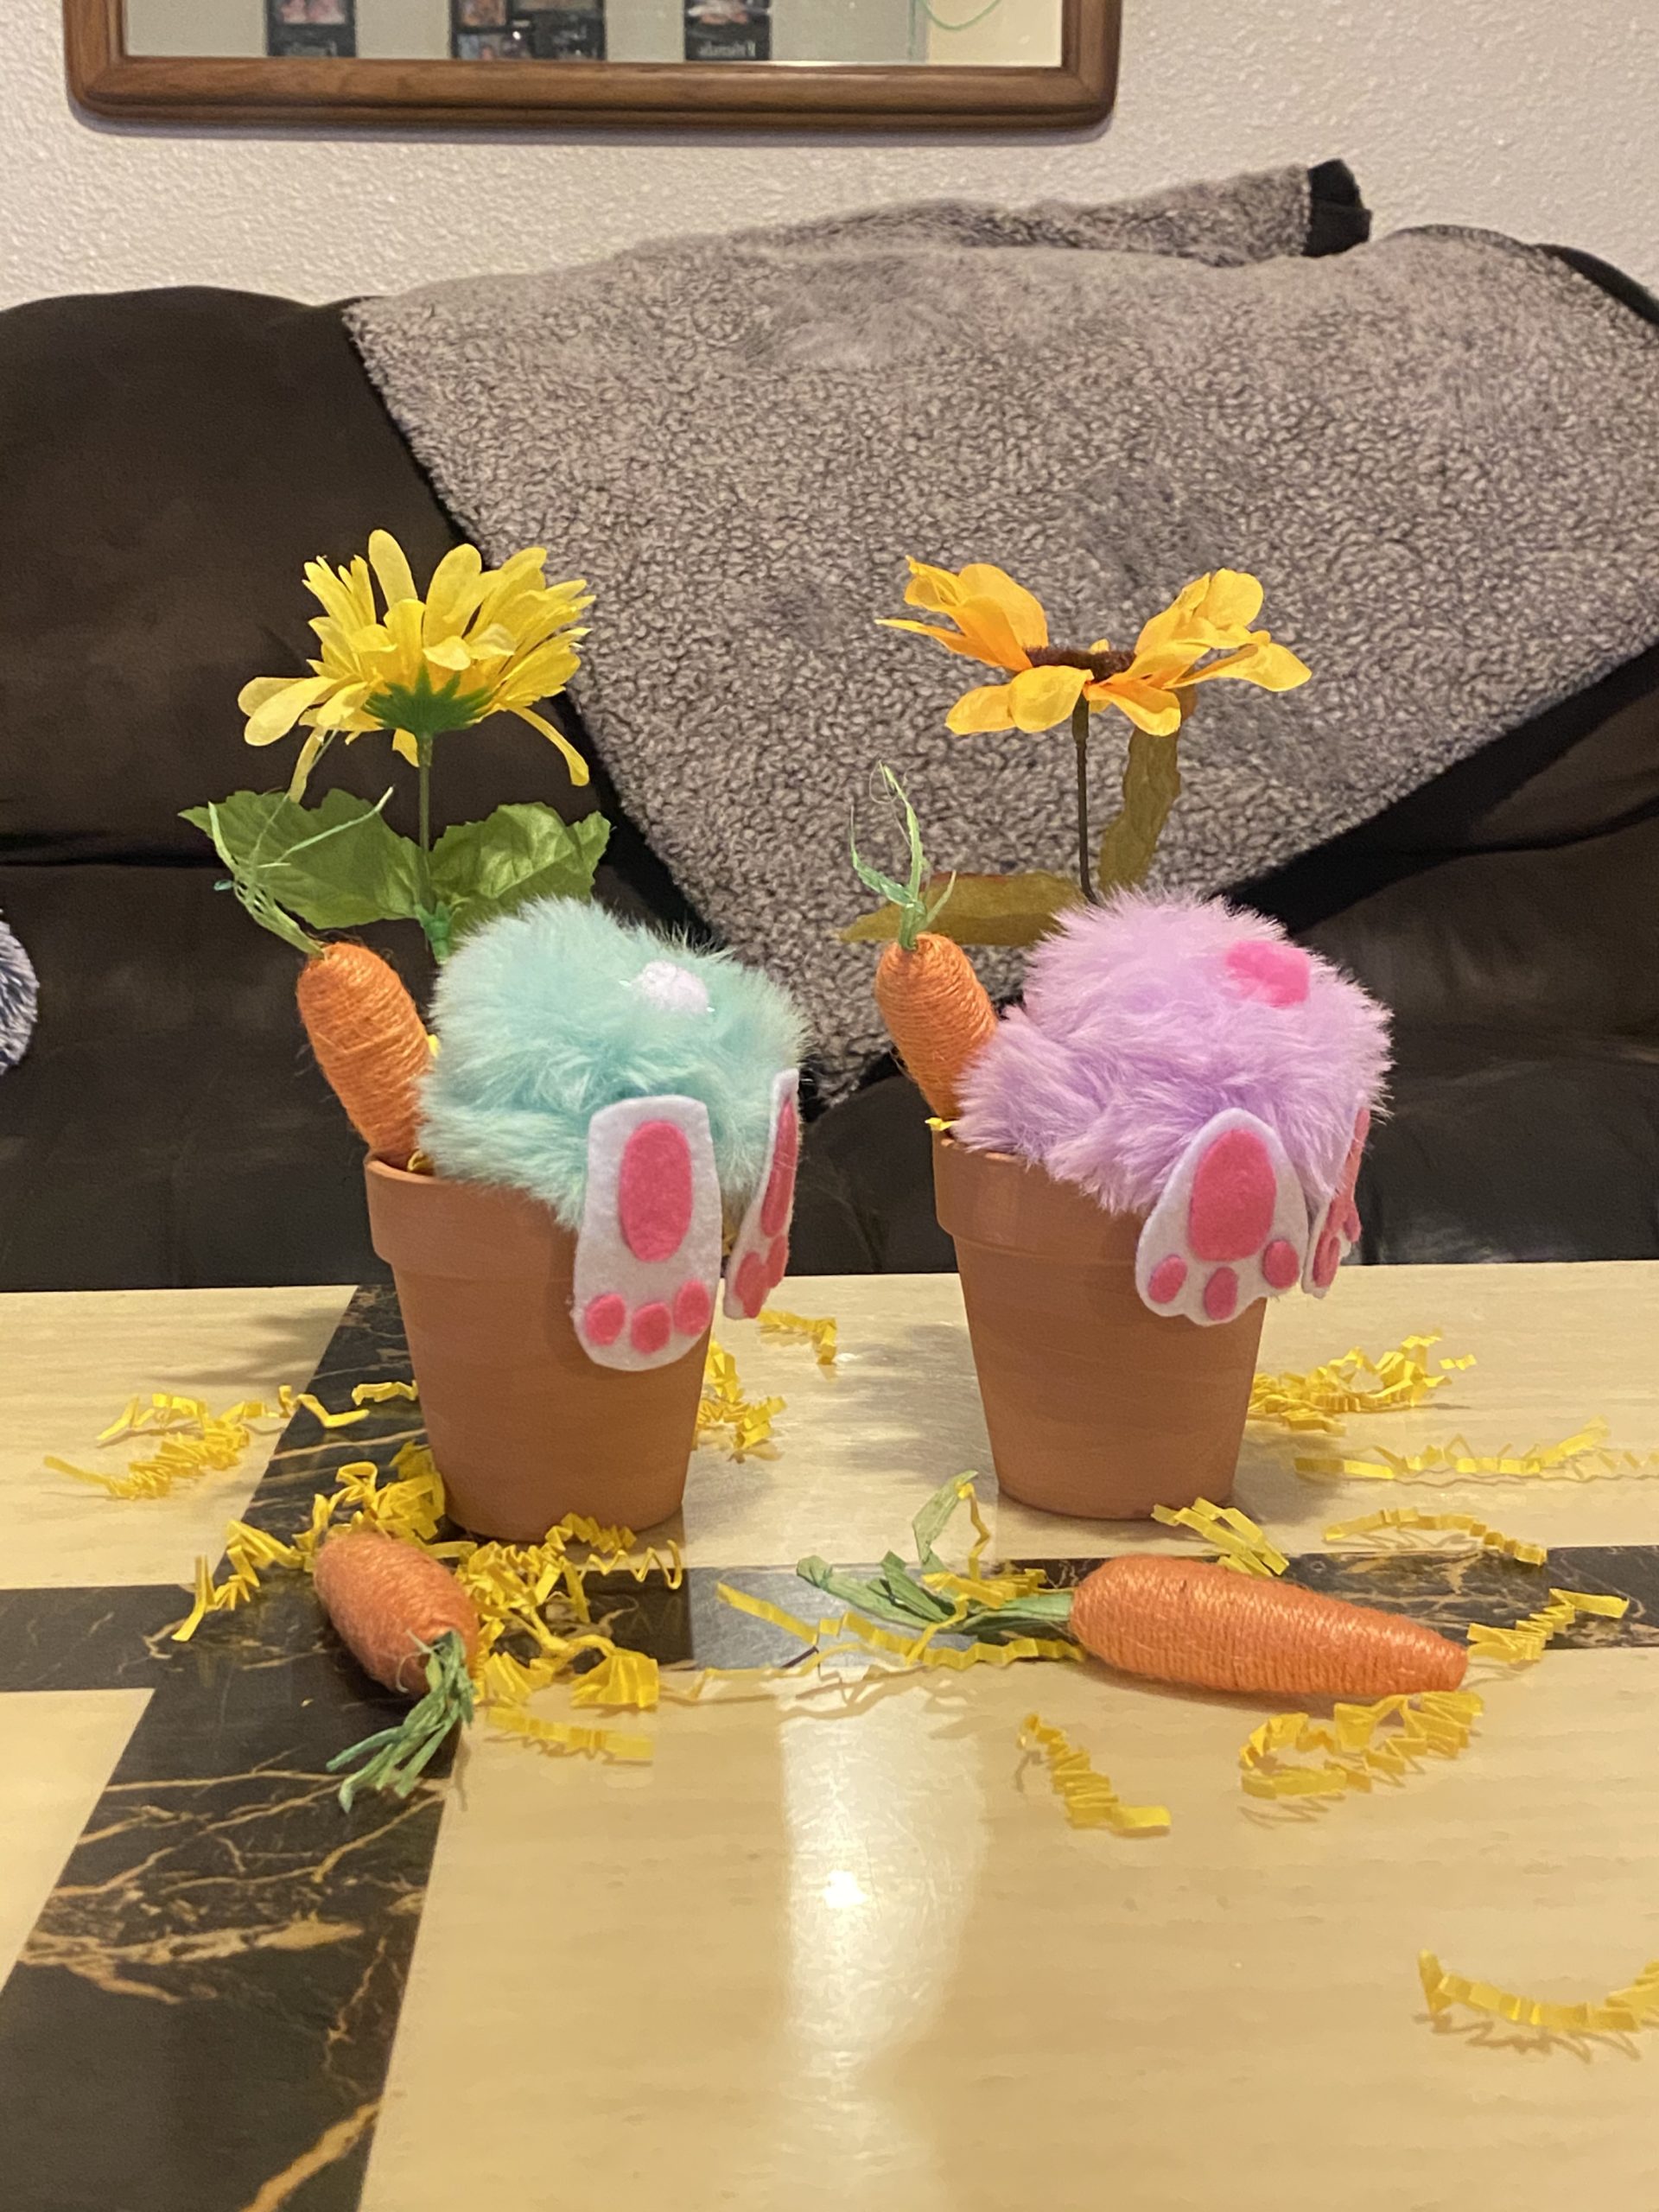
If your looking for an easy DIY Easter gift or a cute piece of decor , I would definitely give these bad boys a try.
Make sure you Pin this for later to make after your next Dollar Tree run! Be sure to follow me on social so you don’t miss any of the cute Easter projects I have planned!
Until Next Time…
Stay Crafty San Diego!

Sign up for Manda Panda Projects newsletter below to get the free Bunny Foot Template delivered to your inbox as a free thank you gift.
PIN this idea to your Easter Craft Board!


