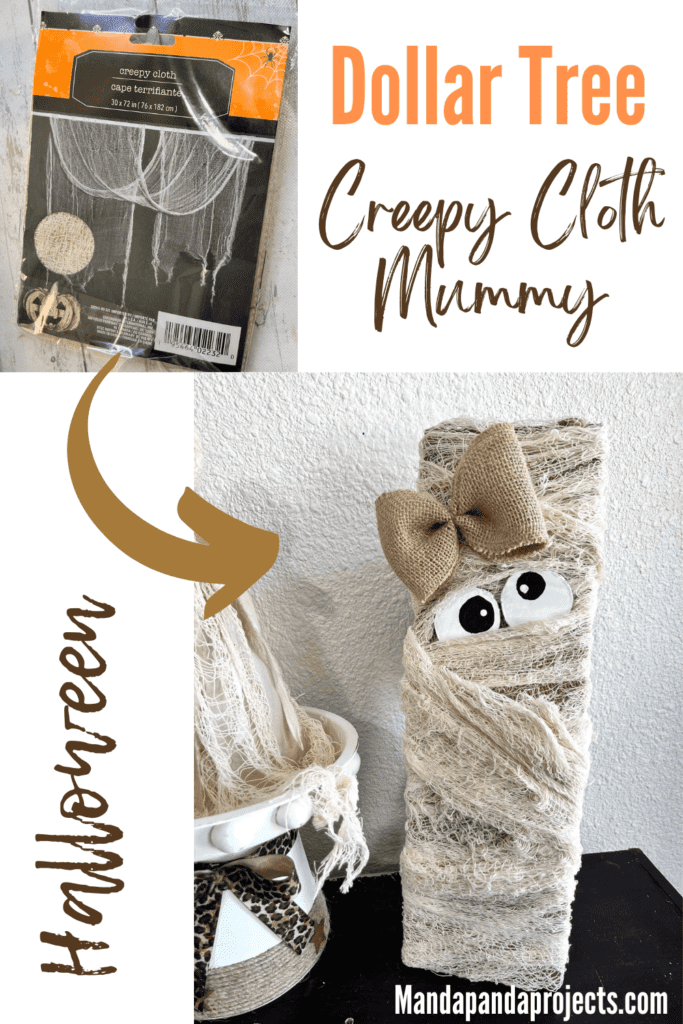
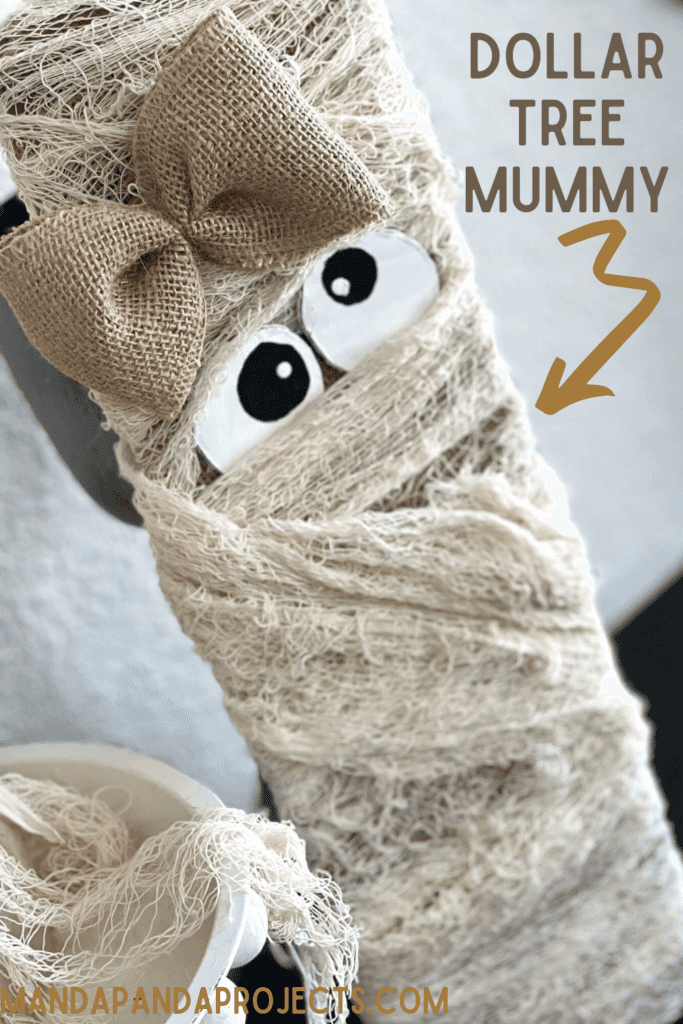
A wood board, creepy cheesecloth, burlap, and cardboard is all you need to get ‘wrapped up’ in this Dollar Tree Mummy girl! This DIY Halloween Decor is so creepy that it’s cute. It’s “creepy cute!”

What’s a Mummies favorite type of music?
Wrap music!
Sorry, I couldn’t help myself. I have known that joke since kindergarten, and every Halloween it gets told yet again. #Sorrynotsorry

This Dollar Tree Creepy Cloth Mummy checks all the boxes for me. It’s simple. Its easy. It’s quick. It’s cheap. And it’s CUTE!
The one thing it’s not, is colorful. But that’s ok because it looks so freakin’ fabulous with the Rustic Leopard Pumpkin and the Primitive Tattered ghost that we made to go along with it!
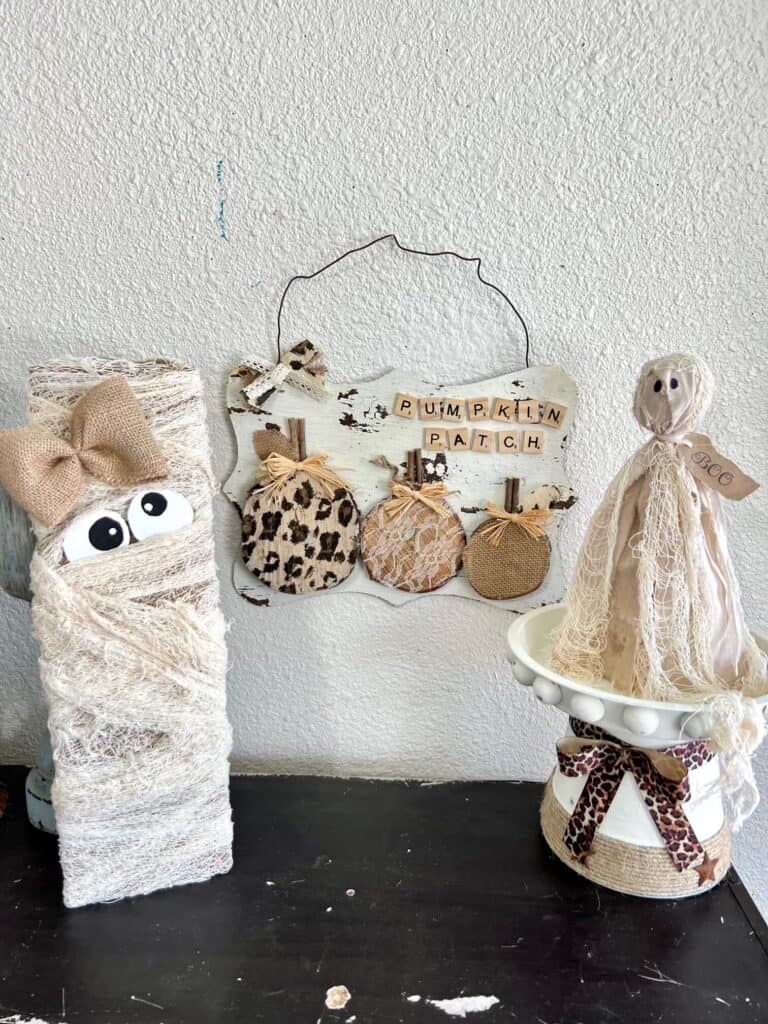
I don’t love the traditional Halloween colors, and I am not typically a neutral decor lover. But this Dollar Tree Mummy is breaking all the rules and I am so *here for it*.
This post may contain affiliate links for your convenience (which means if you make a purchase after clicking a link I will earn a small commission but it won’t cost you a cent more!)
Supplies Needed to Make a Creepy Cloth Dollar Tree Mummy
- Wooden long rectangular surface (Back of Dollar Tree sign works great)
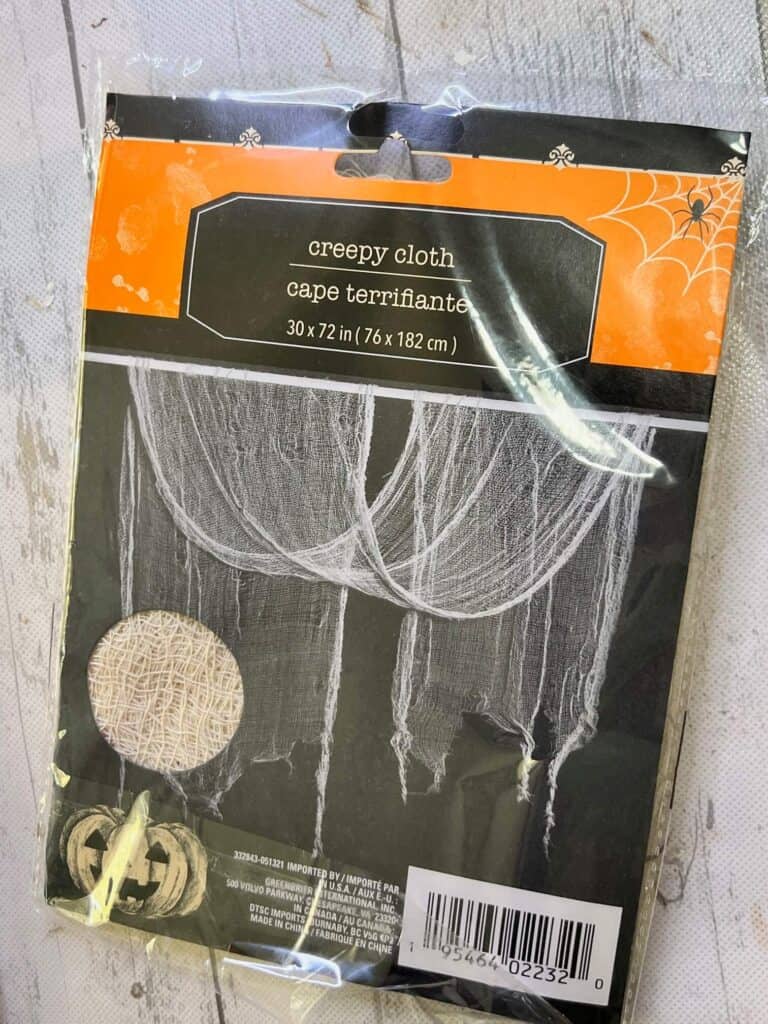
- Creepy (Cheese) Cloth
- Burlap
- Cardboard
- White paint
- Black paint
- Hot glue gun
How to make a Mummy with Dollar Tree Creepy Cloth
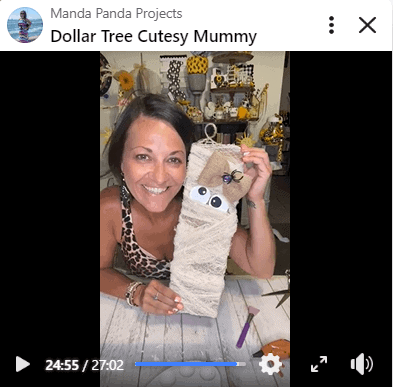
I made this Dollar Tree Cheesecloth Mummy on video, so you can WATCH it or click on the picture right below.
The Mummy girl was super easy to make, to start her off I wrapped the long wooden board with burlap first.
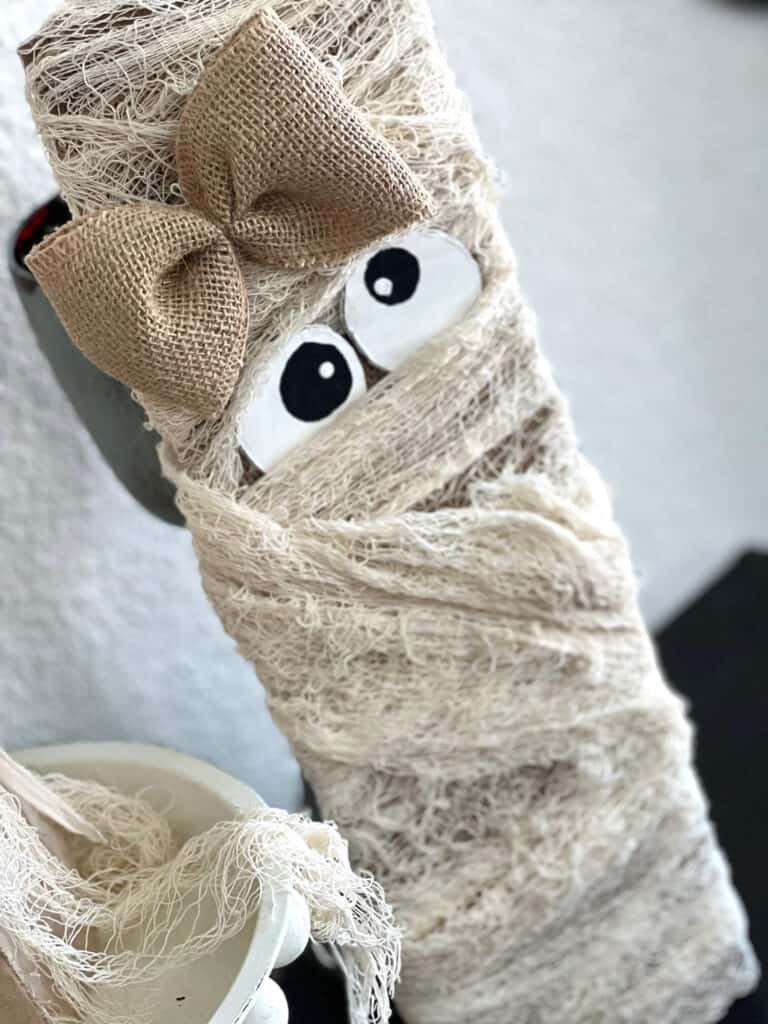
Then I wrapped the creepy cloth over the top of it. There was no rhyme or reason to how I wrapped it, just went every which way so that you can actually see the wraps, making it look more “realistic” (because Mummies are real, duh).
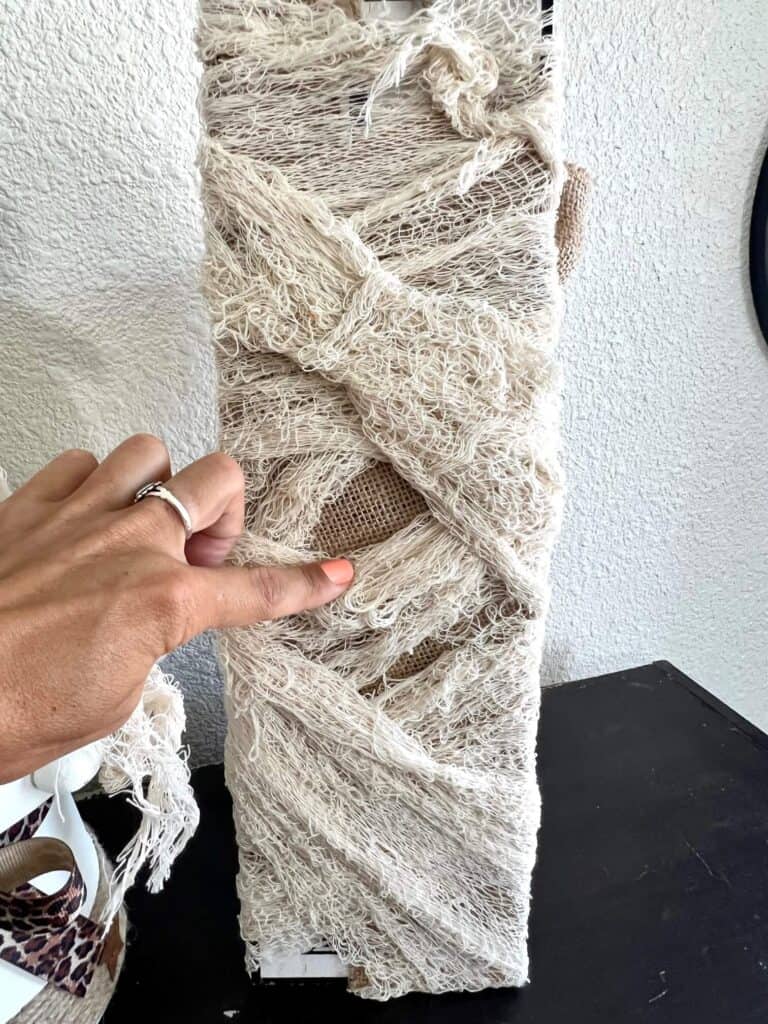
For the eyes, I decided to do them googly and wonky. If I had large google eyes I would have used them, making this project even quicker than it was.
But instead I just cut two circles out of cardboard and painted them white. Then used a spouncer to make big black circles, and the end of my paint brush to make the small white dots for pupils.
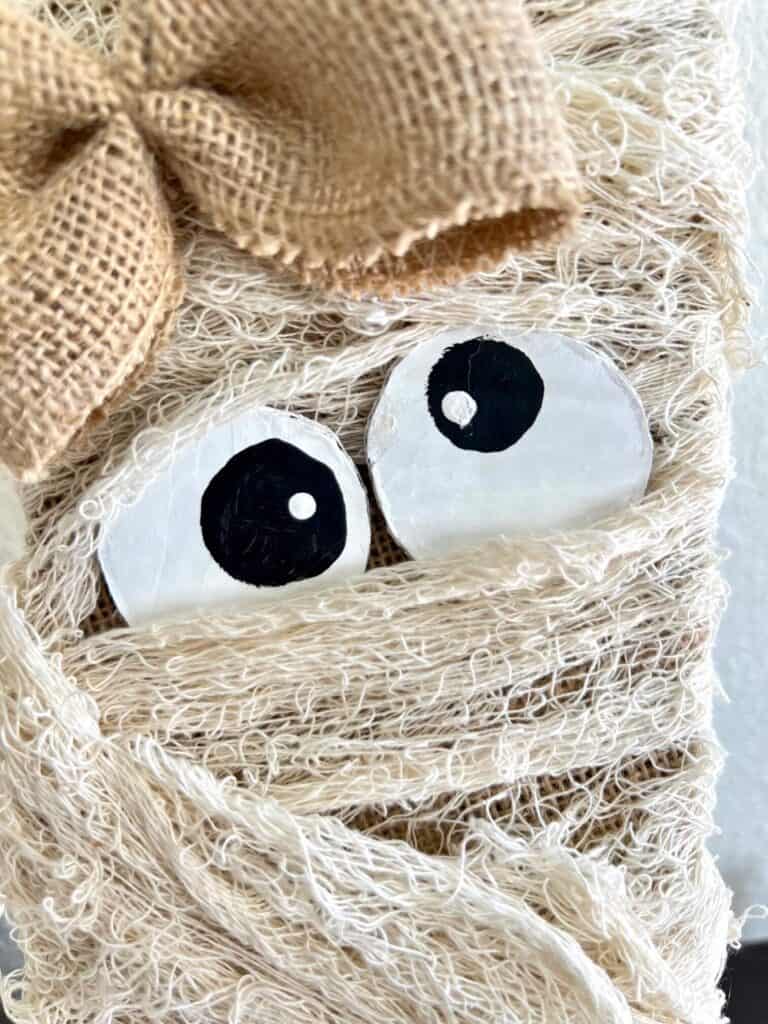
It wouldn’t be a Mummy girl without a bow! I decided to keep it SUPER simple and just made a loop with the burlap ribbon and hot glued the ends together. Then I tied piece of twine around the center. Voila!
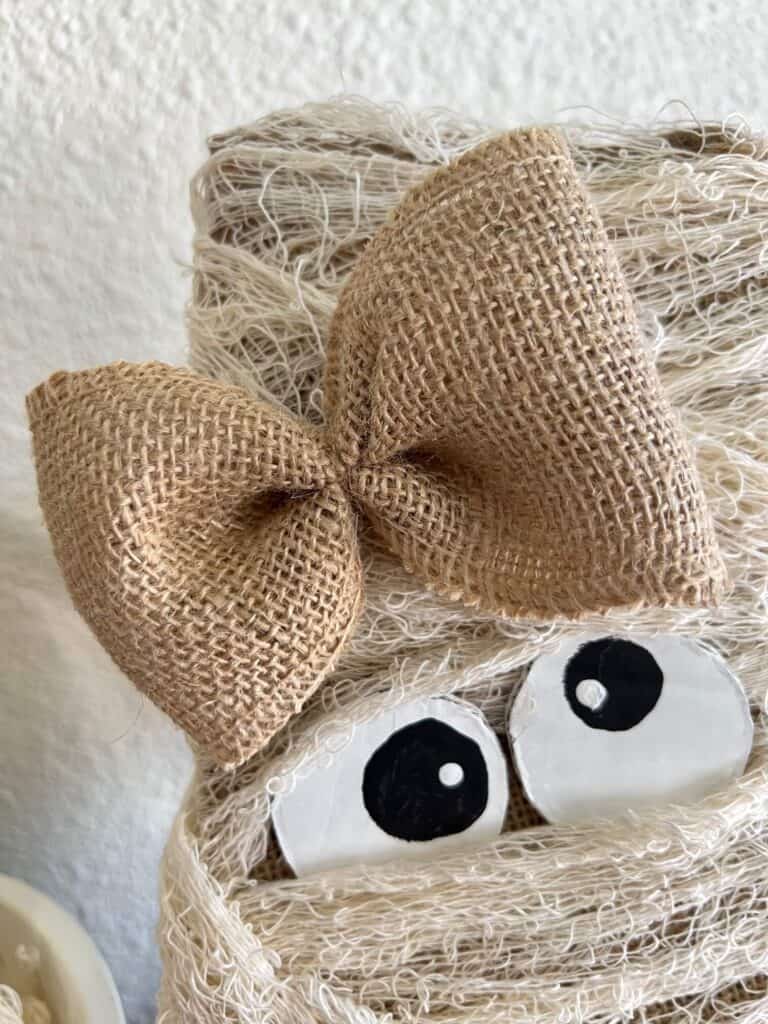
Ain’t she just the cutest lil’ Dollar Tree Mummy that you ever did see?!
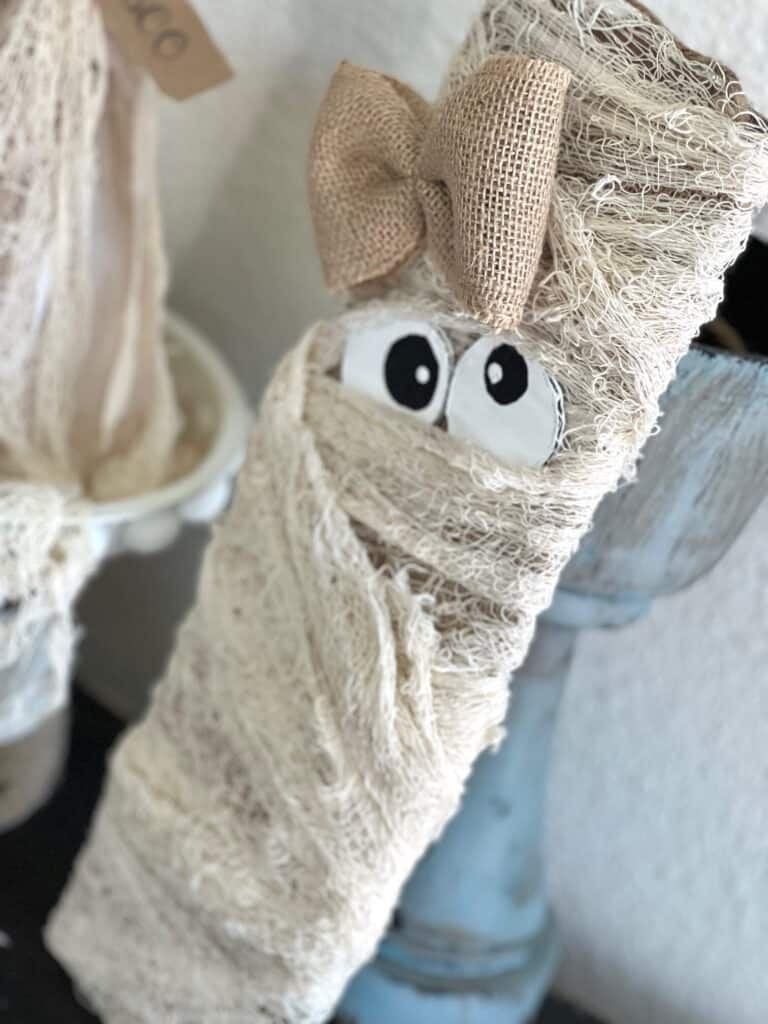
I used the entire thing of creepy cloth but you could definitely save some to use for another project. I just used it because I had it.
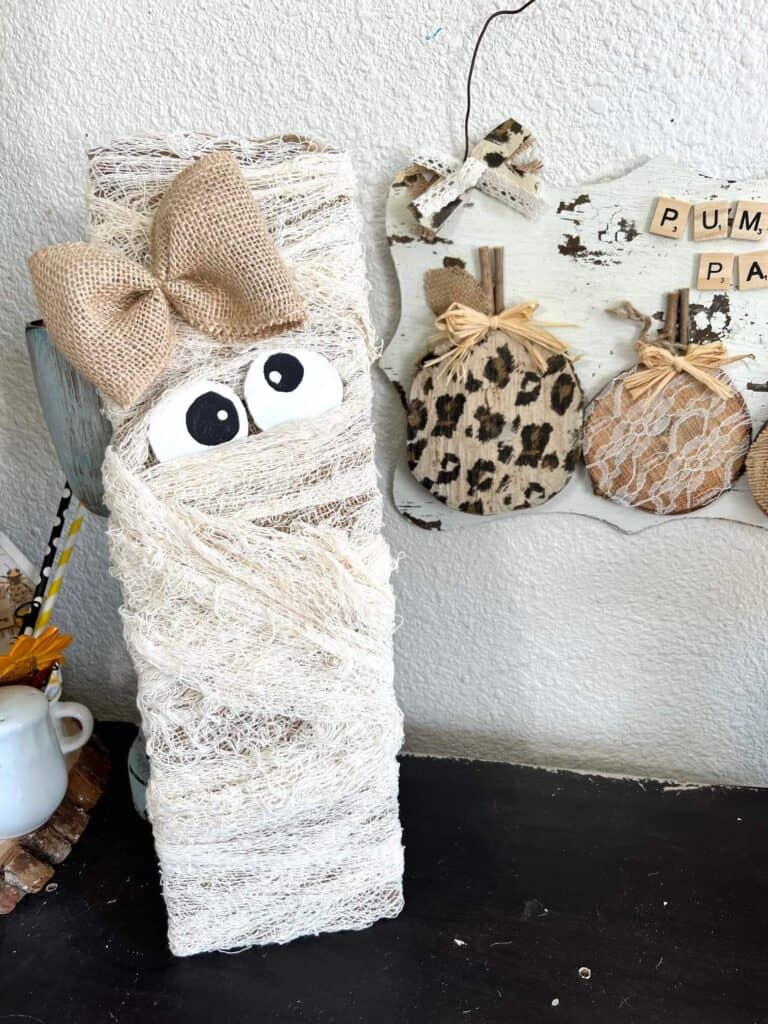
I think she looks just precious with the Rustic Leopard Pumpkin and the Primitive Tattered Ghost that we made Live over on Facebook!

Are you going to make a Dollar Tree Creepy Cloth Mummy for Halloween? Shoot…are you gonna make anything for Halloween?! If you do, I’d love to see it! Pop on over to our free Craftspiration Facebook group, and join in on the fun by posting a pic of your Tiered Trays, DIY’s and crafts. I just love to see all your creative and crafty creations.
If you’ve got a million projects on your crafting ‘to-do’ list like I do, than you need my FREE Craft Project Planner so you can plan to make *all the things*! When you sign up for the craft planner, I’ll also send you lot’s of fun, easy, and budget friendly ideas for you to fill it up with!

Free printable Craft Project Planner
Get organized, get inspired, and get crafting, with our free Craft Project Planner!
Until Next Time…
Stay Crafty San Diego!

Love this Dollar Tree Creepy Cloth Mummy? Make sure to PIN it for later!
