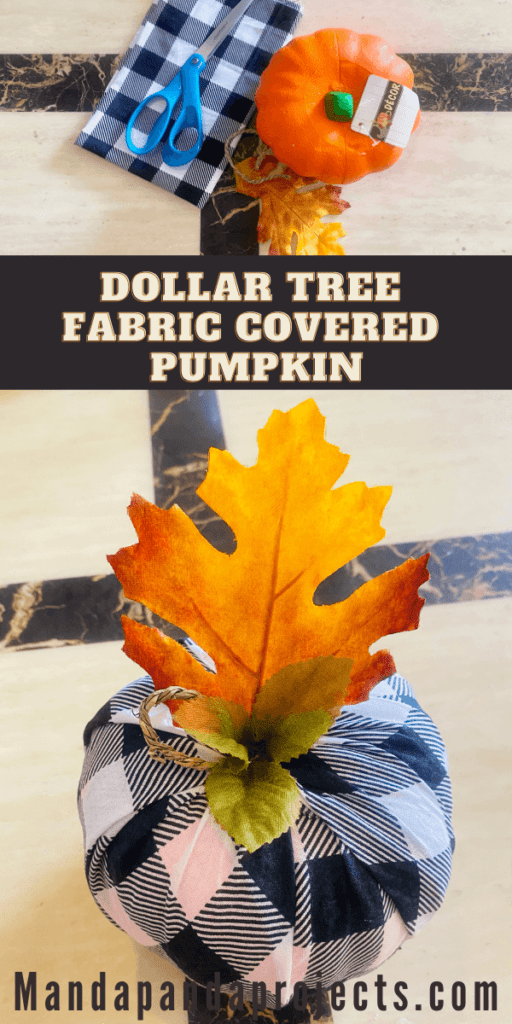
Dollar Tree has some incredible supplies when it comes to crafting and the Holidays, so these foam pumpkins shouldn’t come as a surprise. There are SO many things you can do and make with these, but by far the cutest, quickest, and easiest Fall and Halloween DIY are these Fabric Covered Pumpkins. And what fabric and design you ask? Well, Buffalo Check (plaid) and Sunflower of course!
If you are anything like me, Dollar Tree is your go-to craft supply store. Sure, Michaels, JoAnnes, and, Hobby Lobby are great, but c’mon, you can’t beat the $1 deals at the good ‘ole DT! They really go all out when it comes to the Holiday craft selection, and Halloween is no exception. These foam pumpkins are one of my very favorite things they offer year after year, and Fabric Covered Pumpkins are my favorite Dollar Tree DIY for them.
There are also a ton of other uses for these foam pumpkins, and I believe the intended use is to be a carve-able alternative to a real pumpkin. I must admit I’ve never used them that way (what can I say, I’m a rebel), and covering them with fabric is just as cute and fun. You can get super creative with it and use funky fabric patterns like leopard, or you can Farmhouse them up with the white and teal, OR if you’re a Shabby Chic type of decor gal you can glam them up with pink.
The Fabric Covered Pumpkin possibilities are endless!
If you are more of a video learner, I did a quick Facebook Live showing my method of covering the Dollar Tree foam pumpkins with my Favorite fabric – Buffalo Check! You can go HERE to watch that or watch it below. Otherwise, read on…
This post may contain affiliate links for your convenience (which means if you make a purchase after clicking a link I will earn a small commission but it won’t cost you a cent more!)
Supplies Needed to Make a Fabric Covered Dollar Tree Foam Pumpkin
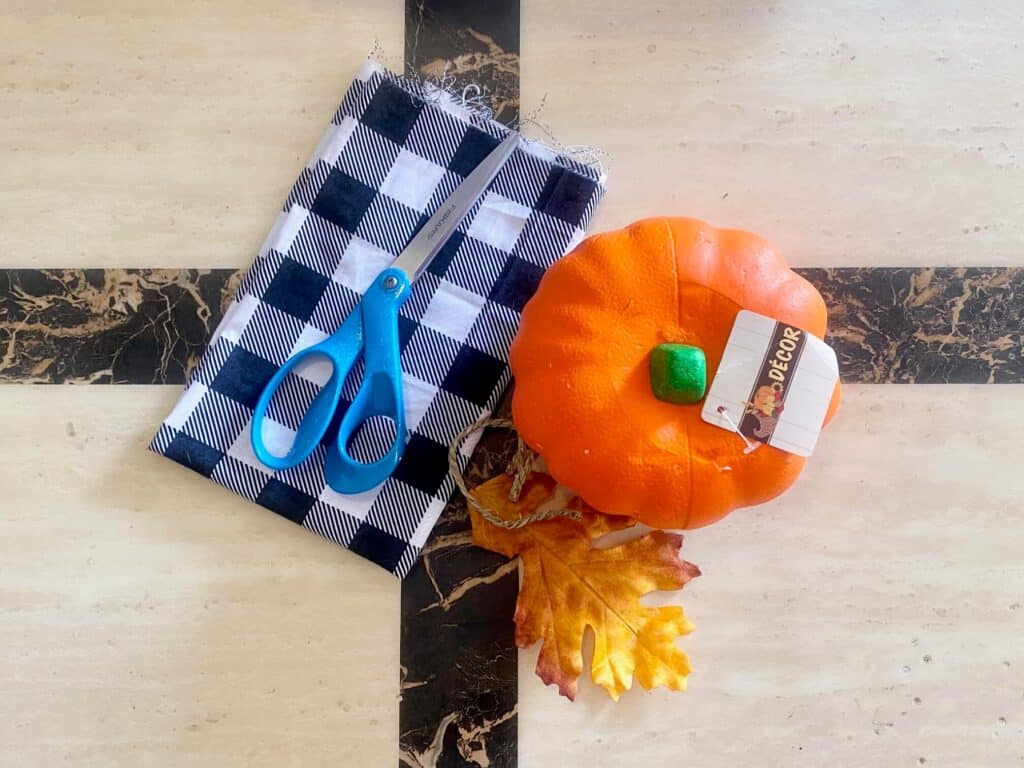
- Foam pumpkin – (If your Dollar Tree is out of stock they are only $1.79 on Amazon)
- Fabric of your choice (we chose Buffalo Check)- approx 18″ x 18″
- Something for a “stem”- (faux leaf, flower, twine, wine cork)
How to Make a Dollar Tree Fabric Pumpkin
If you prefer to watch the quick and easy video tutorial, you can watch the Facebook Live I did last week.
Remove the green foam stem and cut a hole in the top of the pumpkin, about the size of 2-3 fingers.
Place the foam pumpkin into the center of the fabric and pull it up and over the pumpkin, tucking it into the center hole on the top.
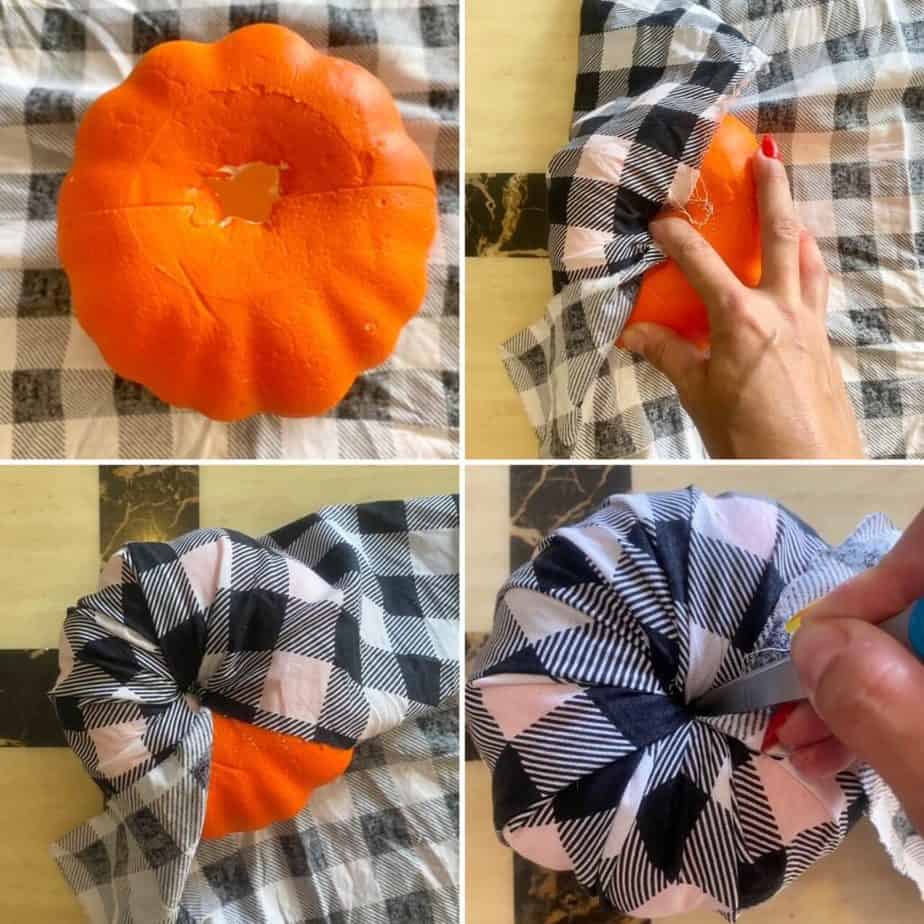
Keep pulling the fabric up and tucking it in the hole as you go around the entire pumpkin. If it gets too snug, you can use scissors or a screwdriver to poke the fabric into the hole. No glue needed!
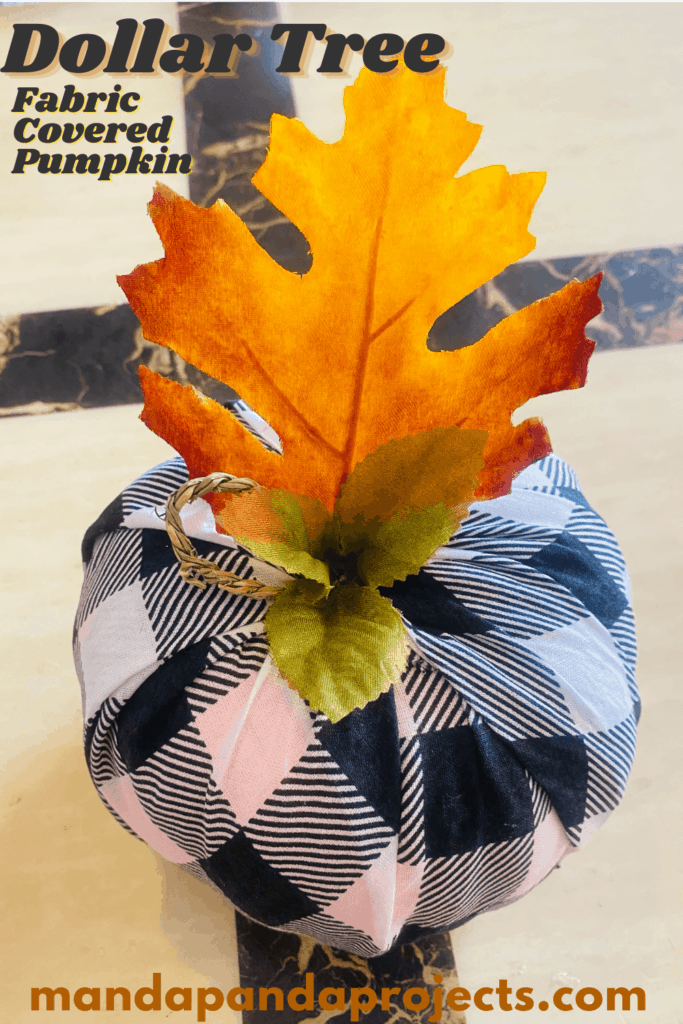
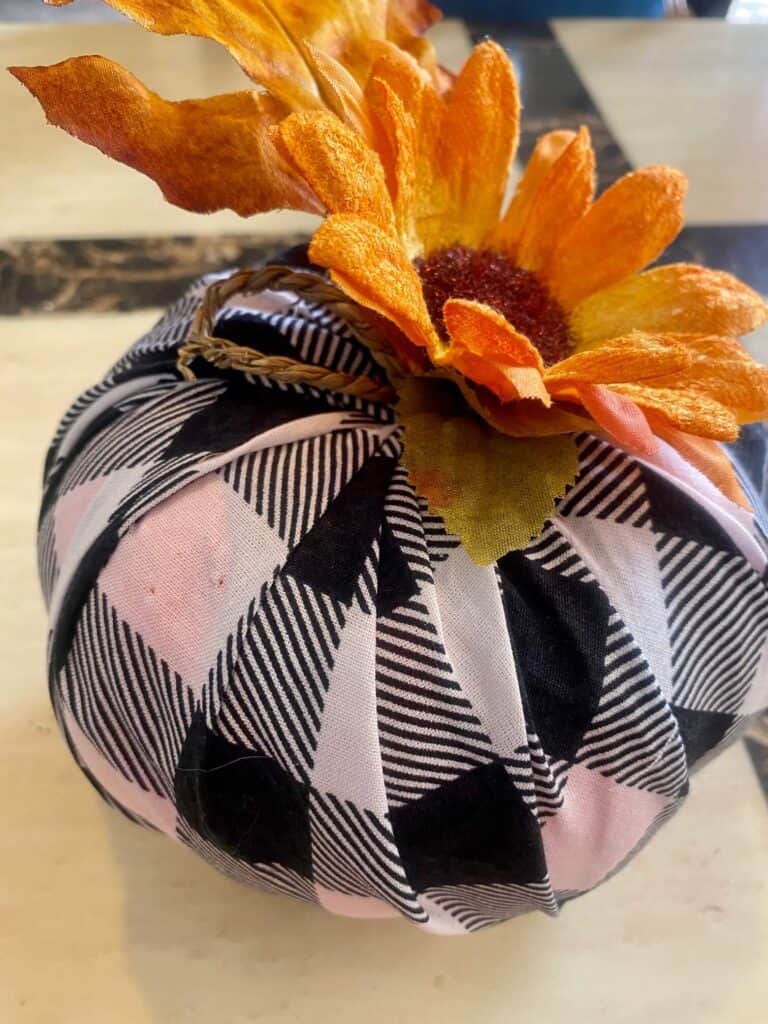
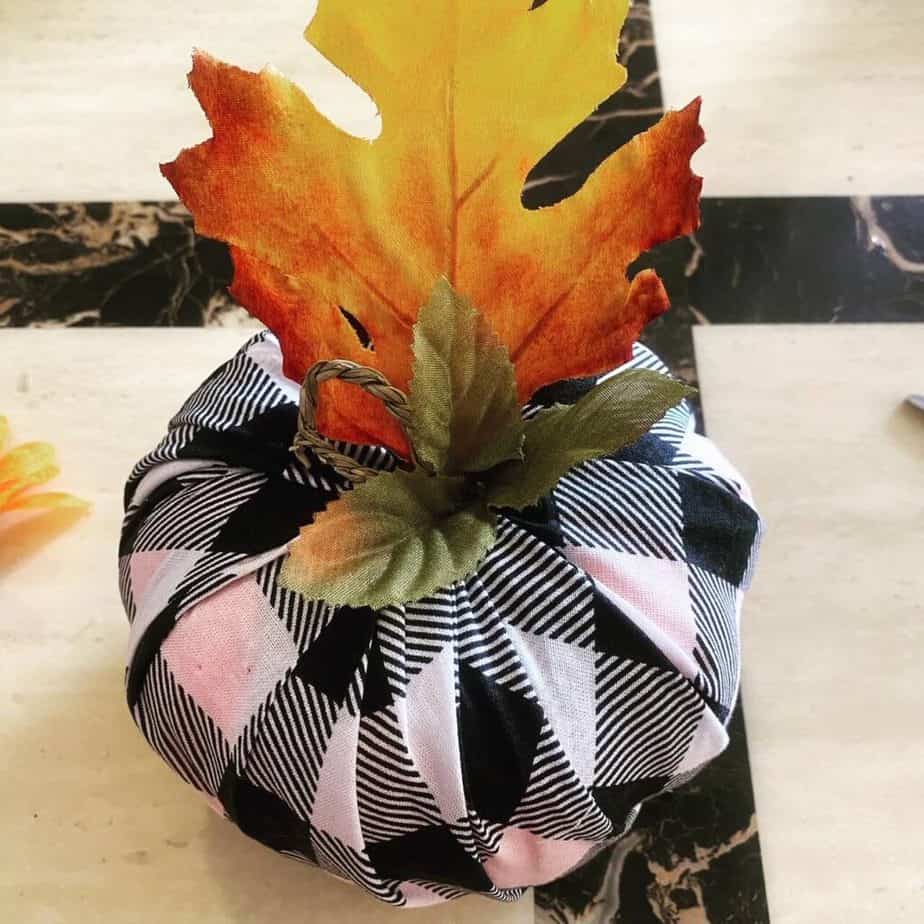
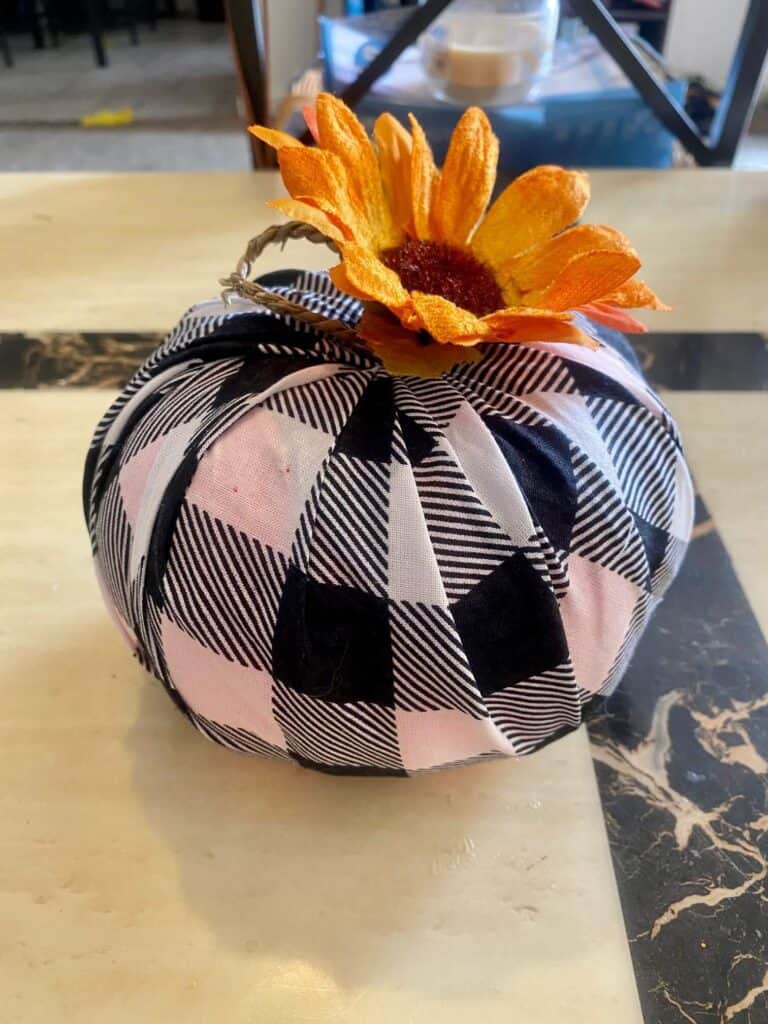
Stick the end of the faux leaf or sunflower (or both!) into the center hole, and glue if necessary. I chose to use twine, and 2 colored faux leaves in one…
And a Sunflower in the other…
That’s it, that’s all.
Is that not just the easiest little Dollar Tree DIY?
September is not over yet and I have lot’s more Fall and Halloween craft ideas in store. So make sure to follow @Mandapandaprojects on Facebook and Instagram so you don’t miss a darn thing!
Until Next Time…
Stay Crafty San Diego!

Love these Dollar Tree Buffalo Check Fabric Covered Foam Pumpkins? PIN it for later!
