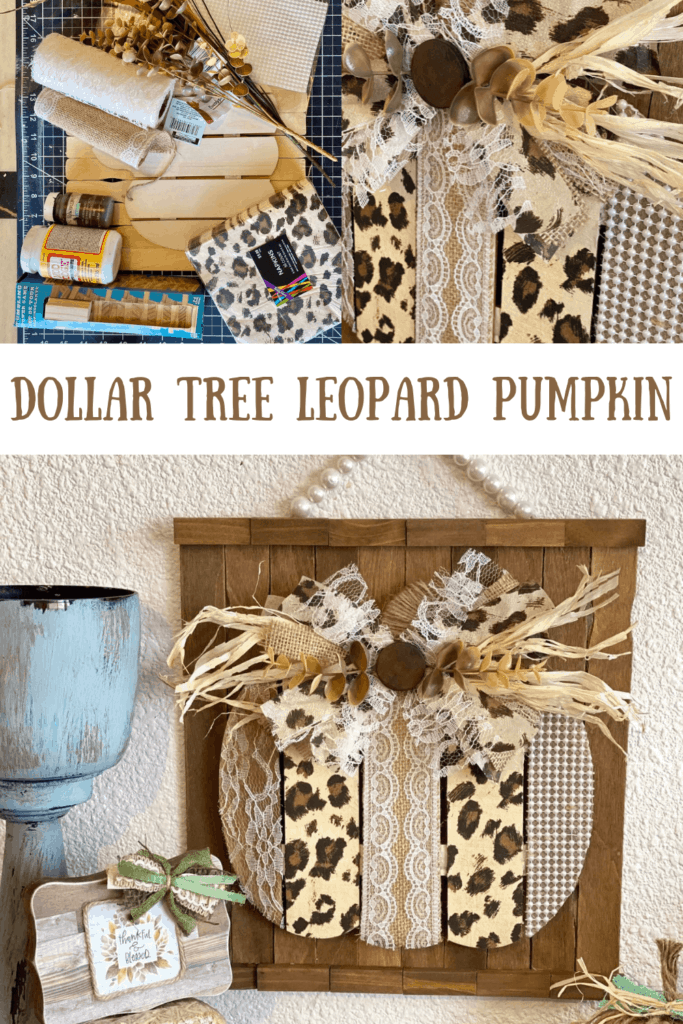
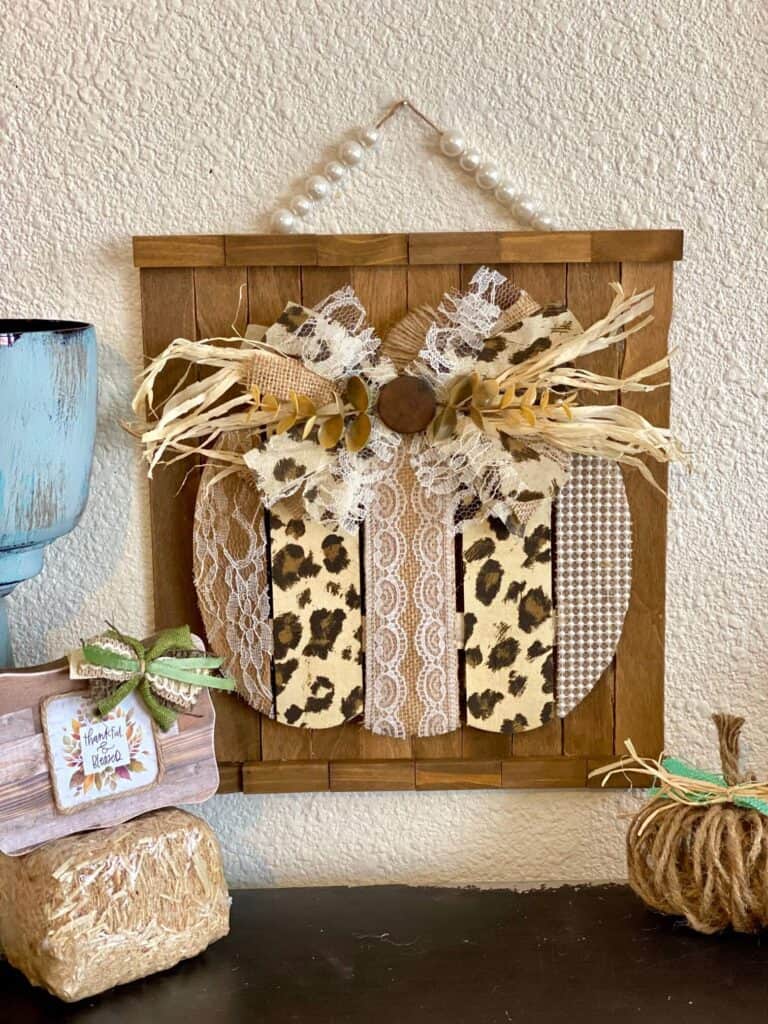
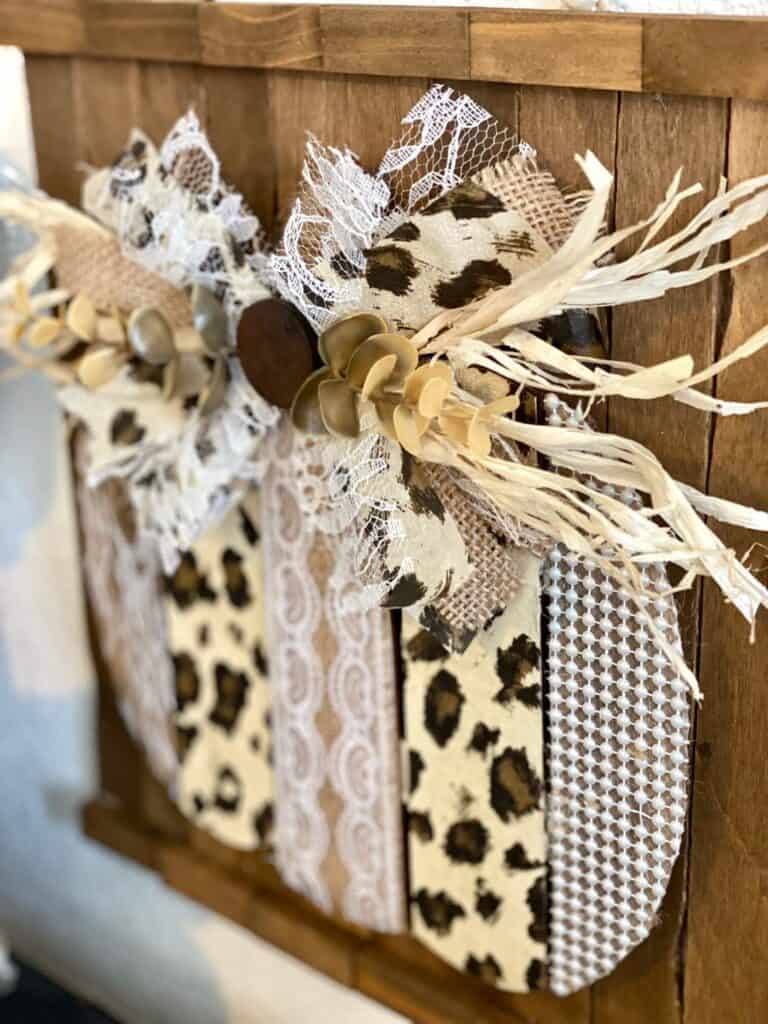
Leopard print, Lace, Burlap, and Pearl make for a gorgeously romantic piece of Fall DIY Decor. This Dollar Tree Leopard Pumpkin looks more like it came off the shelf at Hobby Lobby, rather than Dollar Tree, but I assure you this one won’t break the bank!

It’s not even September yet and we have already made a ton of Fall DIY’s live over on my Facebook page! I’ve been playing around with some new fall colors and themes this year, specifically adding TEAL into my crafts and decor with this Mini Cutting Board Pumpkin and my Happy Burlap Sunflower.
The other thing I’m playing with, as you can tell from this Dollar Tree Leopard Print Pumpkin, is LEOPARD! And boyyyyyy am I loving this too! In fact, the next thing I make is going to have to combine the two. How do we feel about Teal and Leopard for Fall? Have I gone too far!?
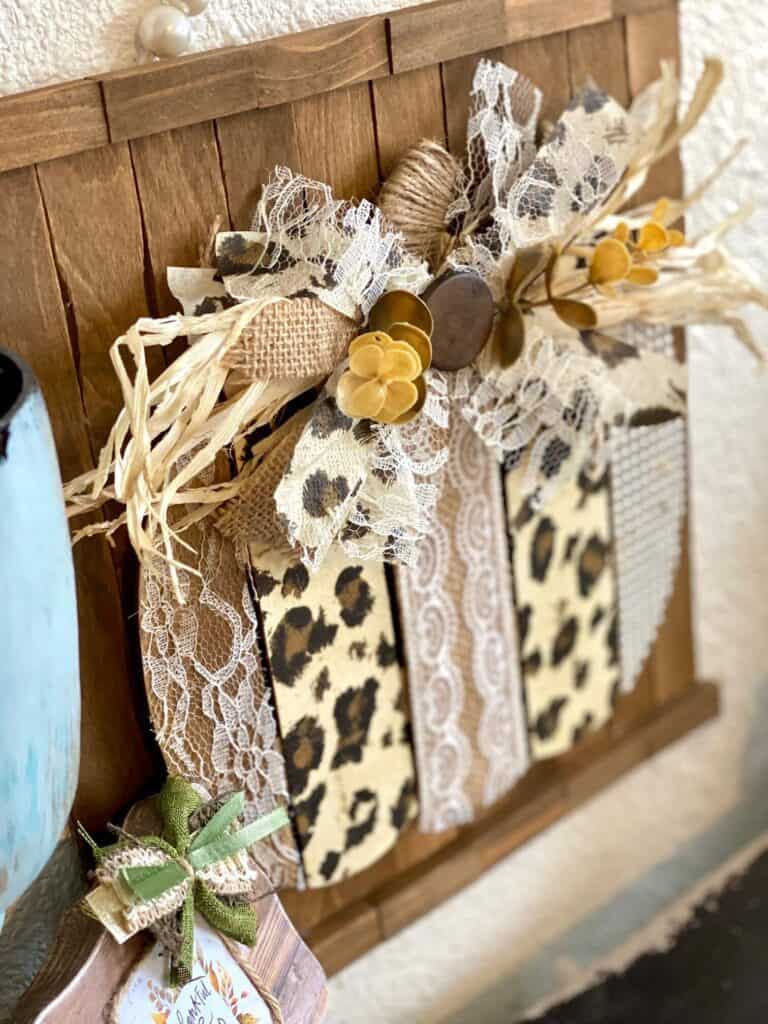
Don’t worry if you’re not quite as “extra” as me and want to keep it more neutral, you could replace the leopard with plain burlap. Or you could even go more traditional with it and mix in some orange. It’s up to you, but I’m sticking with the Leopard print and loving it. (HashtagLeopardandLovingIt) LOL
As with any of the DIY’s you see here at Manda Panda Projects, substitute supplies where needed! If you don’t have something I use, who cares, just figure out what you can use instead and make it your own. I’m simply here to inspire.
This post may contain affiliate links for your convenience (which means if you make a purchase after clicking a link I will earn a small commission but it won’t cost you a cent more!)
Supplies Needed to make a Dollar Tree Leopard Print Pumpkin
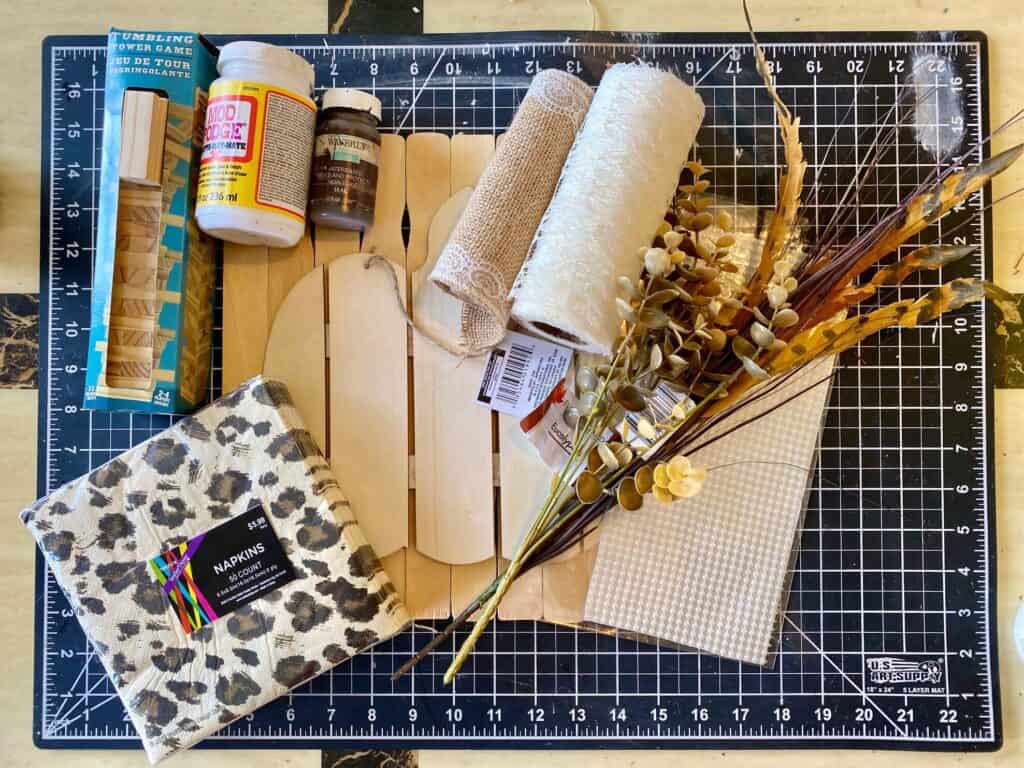
- Dollar Tree Tumbling Tower blocks (Generic Jenga Blocks)
- Dollar Tree wooden slated pumpkin
- Leopard print napkins (I got mine at Hobby Lobby)
- Burlap
- Pearl adhesive
- Lace
- Burlap with lace
- Brown button
- Mod Podge
- Faux eucalyptus
- Pearl beads for hanger
- Antique wax or stain
- 1 gallon paint sticks
- Cardboard or foam board
- Raffia
- Twine
- Emery board and sanding sponge for sanding
- Glue Gun
How to Make a Dollar Tree Leopard Pumpkin DIY
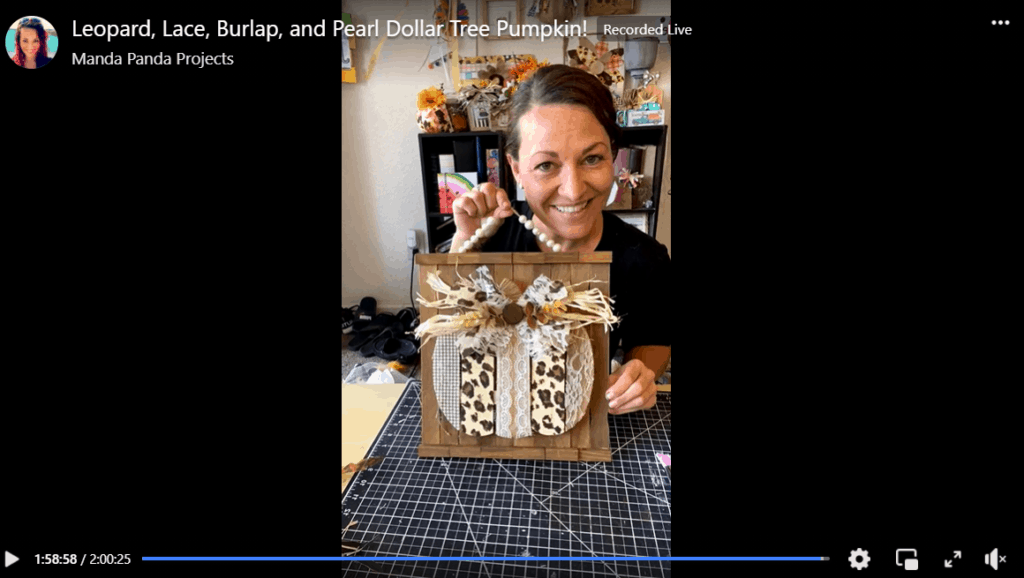
I made this gorgeous Leopard Print Pumpkin on video, so you can WATCH the step by step tutorial HERE or click on the picture right below.
Alright, I’m gonna do my absolute best to describe how to make this beautiful piece of Leopard Loving Fall Decor, but I highly recommend watching the Live replay so you can SEE how it is made, since I don’t have step by step photos. Here we go!
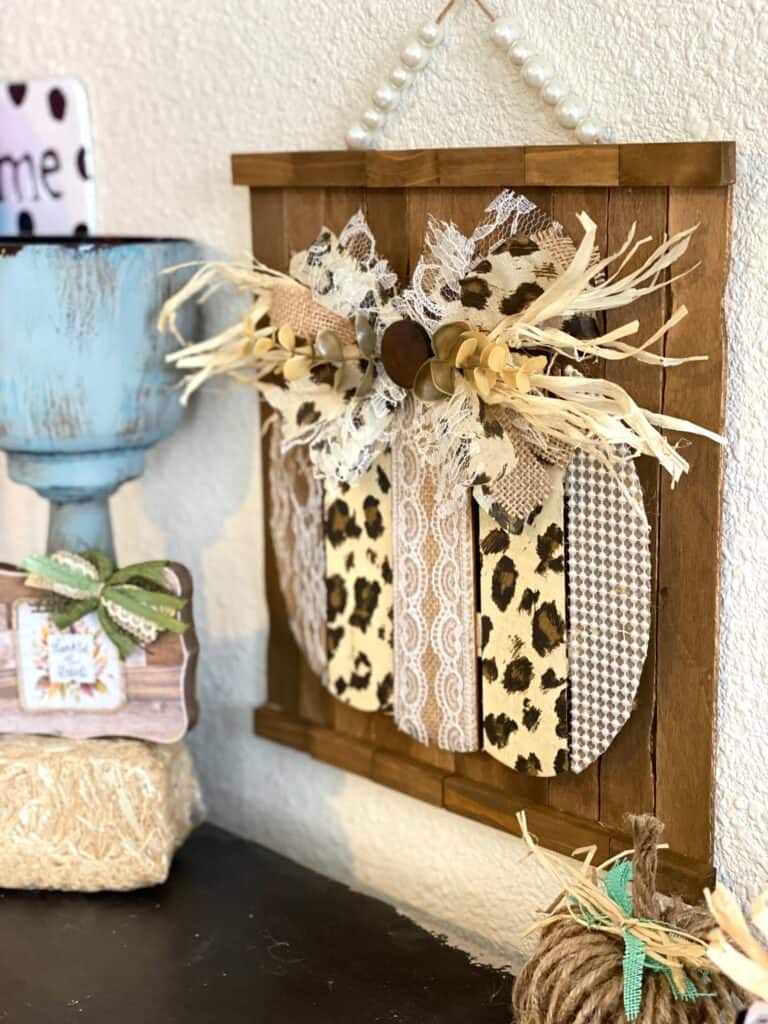
First things first, let’s get all the paint sticks and all the Tumbling Tower (Jenga) blocks stained dark brown. I prefer to use Waverly Antique Wax, but you can use any stain you like. I used 10 paint sticks and 12 Jenga blocks total.
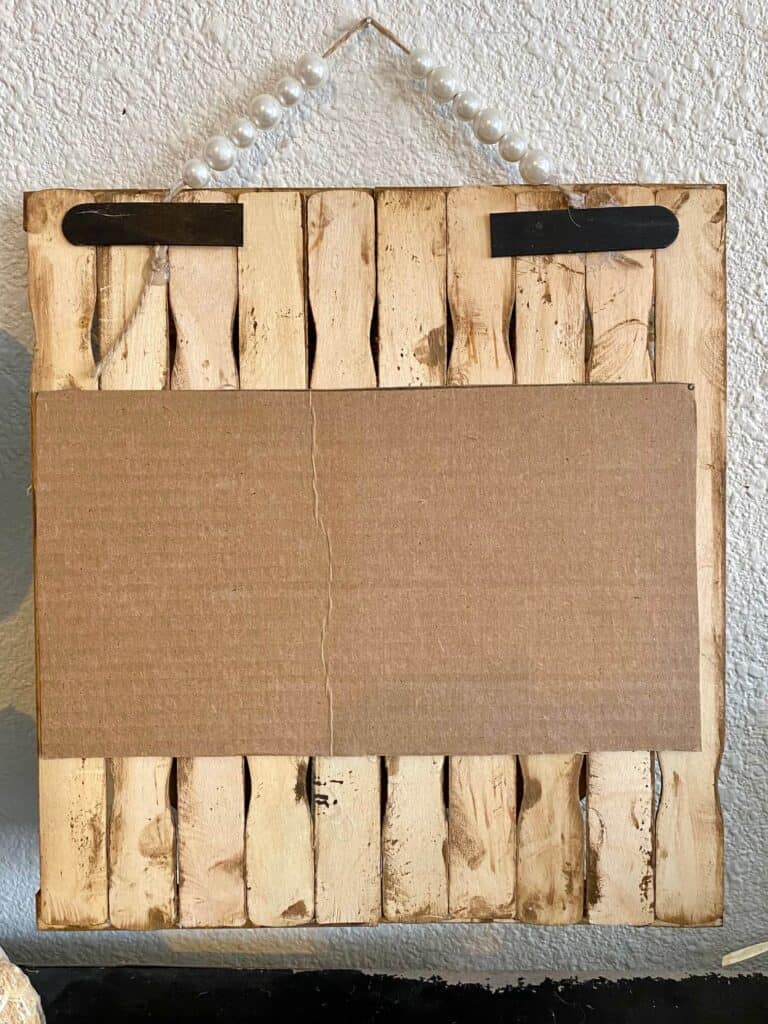
Once they’re all stained, you will want to hot glue the paint sticks to a cardboard backing. Make sure the cardboard is cut smaller than the size of the paint sticks, so that you don’t see it peeking out from behind. Also, make sure to alternate your paint sticks so the grooved side is on the top, then bottom, then top, and so on. The back will look like the below.
Now, glue the Jenga blocks across the top and bottom of the paint sticks to “frame” them.
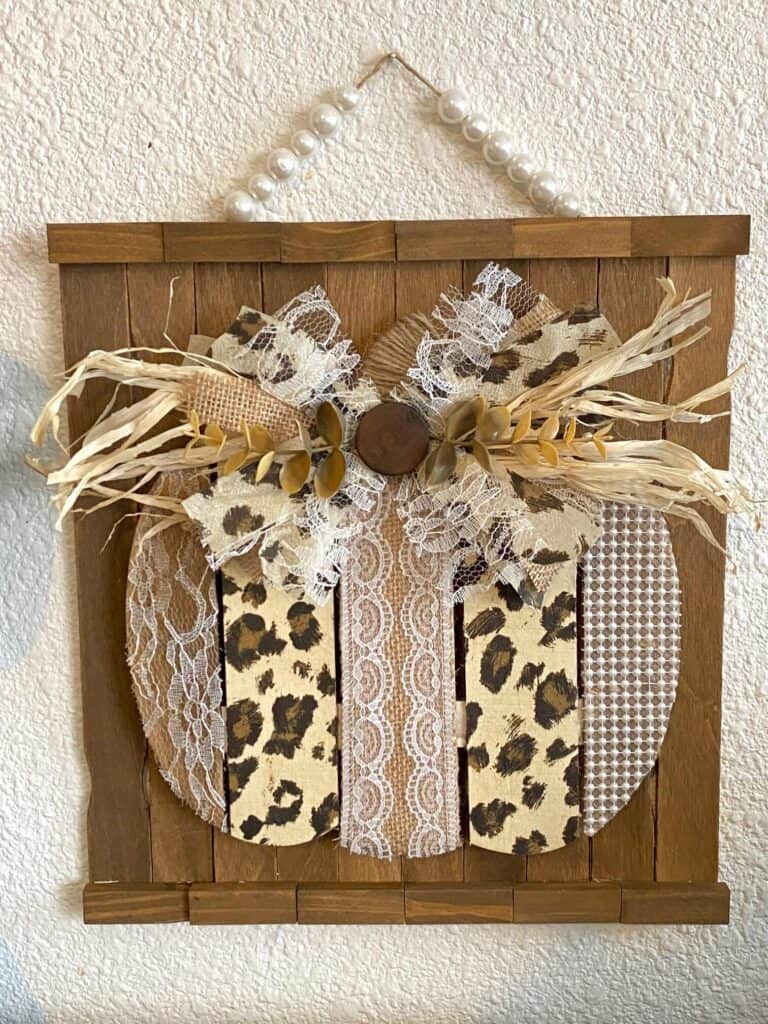
Now for the fun part, to decorate our pumpkin! We’re going to Mod Podge each of the materials (Napkin, Lace, Burlap, Pearl) to the slats of the pumpkin. I started with the Leopard Print napkins and just cut them to the approximate size, mod podged them down, and then use a nail file or emery board to sand the edges in between the slats.
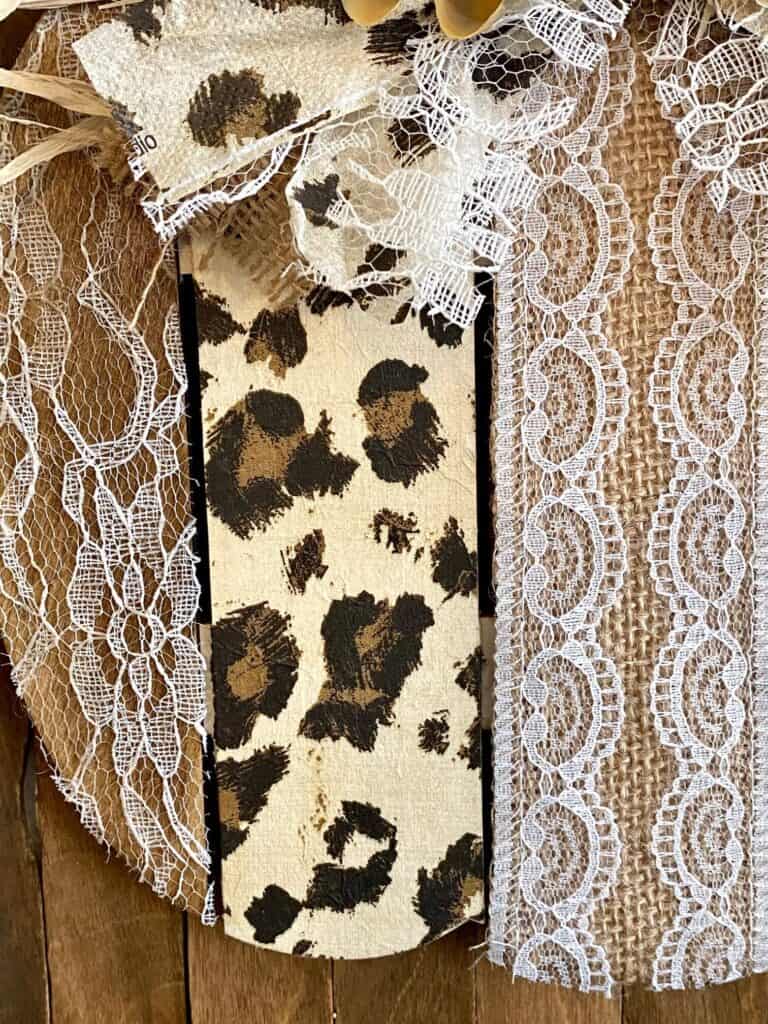
Next, flip the pumpkin over, and trace in between the slats to get the approximate size of the middle slat for the lace and burlap. Cut that out and mod podge it to the pumpkin, Do the same with the lace and the pearl adhesive. I decided to stain the pumpkin before applying lace and pearl just so that the white stood out a little more than if it was on the natural wood color.
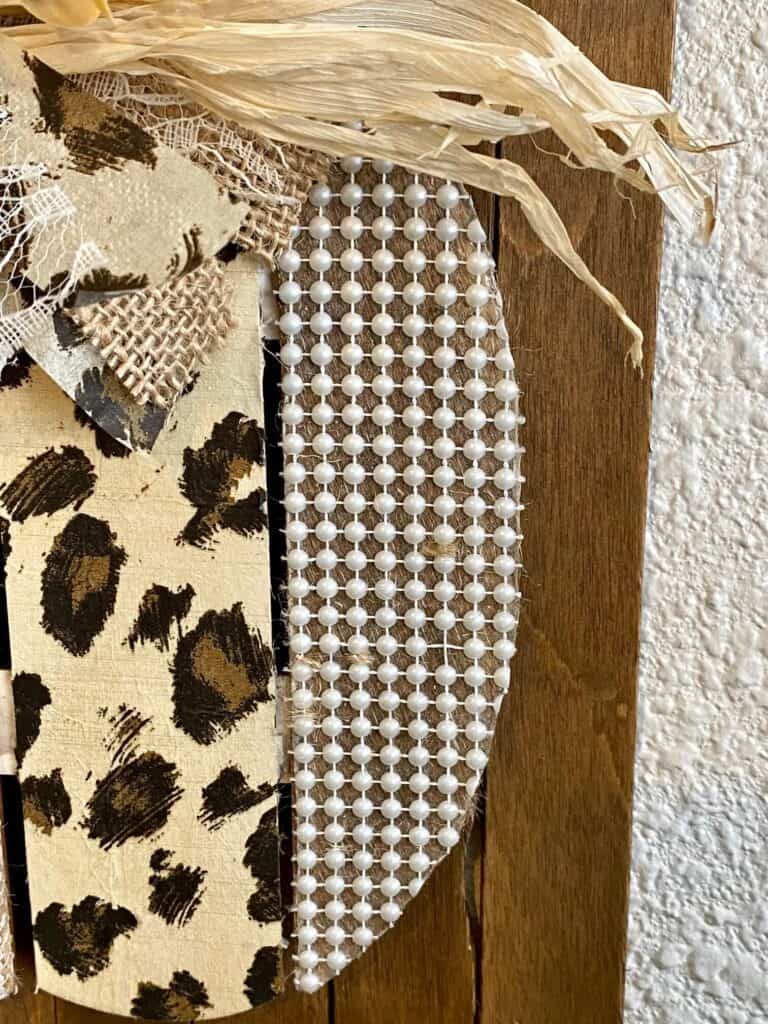
For the stem, take some twine and wrap it around and around until it is completely covered, use a dab of hot glue to secure in the back.
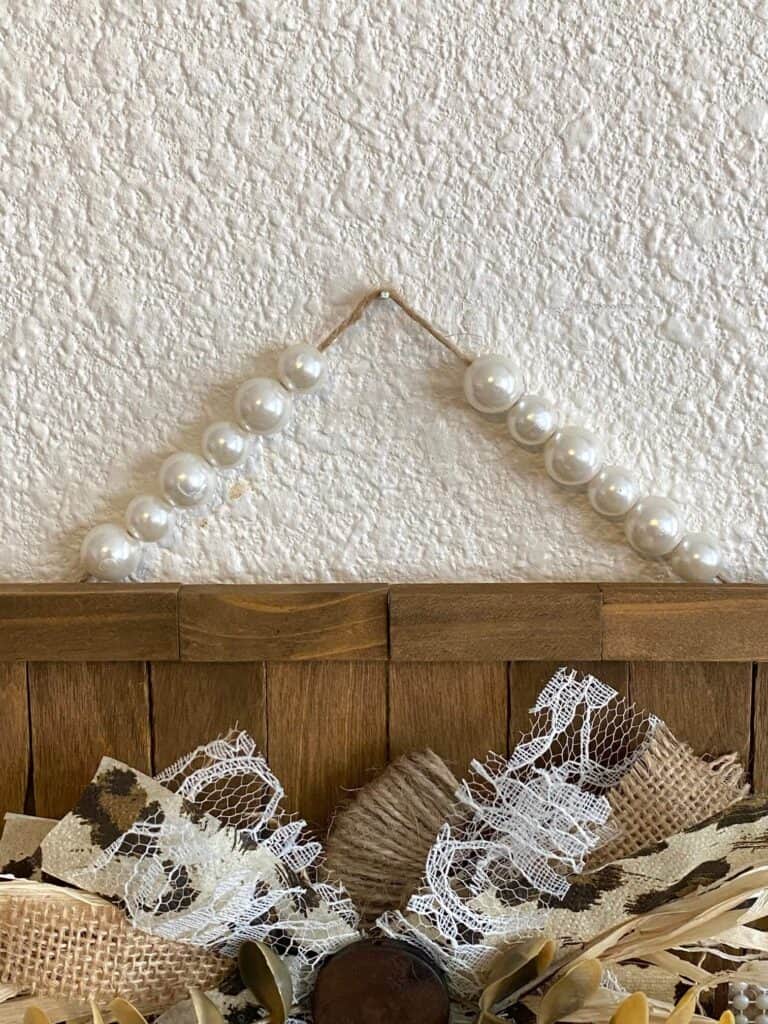
Now, glue a few Jenga blocks to the back of the pumpkin to raise it up off the paint sticks, and then glue it to the “frame”. The blocks will help to give it depth.
Of course we have to make a beautifully messy bow! I wanted the bow to be big-ish and pretty, but I didn’t want to to completely take over the pumpkin. I mean I like big bows more then the next girl, but this one I wanted to be more modest.
Cut several strips of lace, burlap, and the leopard napkin (yes we want to use the napkin in our bow!). Mine were about an inch thick, and 6″ long, but I ended up trimming it up at the end. Layer the strips of ribbon in a criss cross X formation, and then tie a piece of twine around the center. Go ahead and glue that bad boy to the stem of the pumpkin.
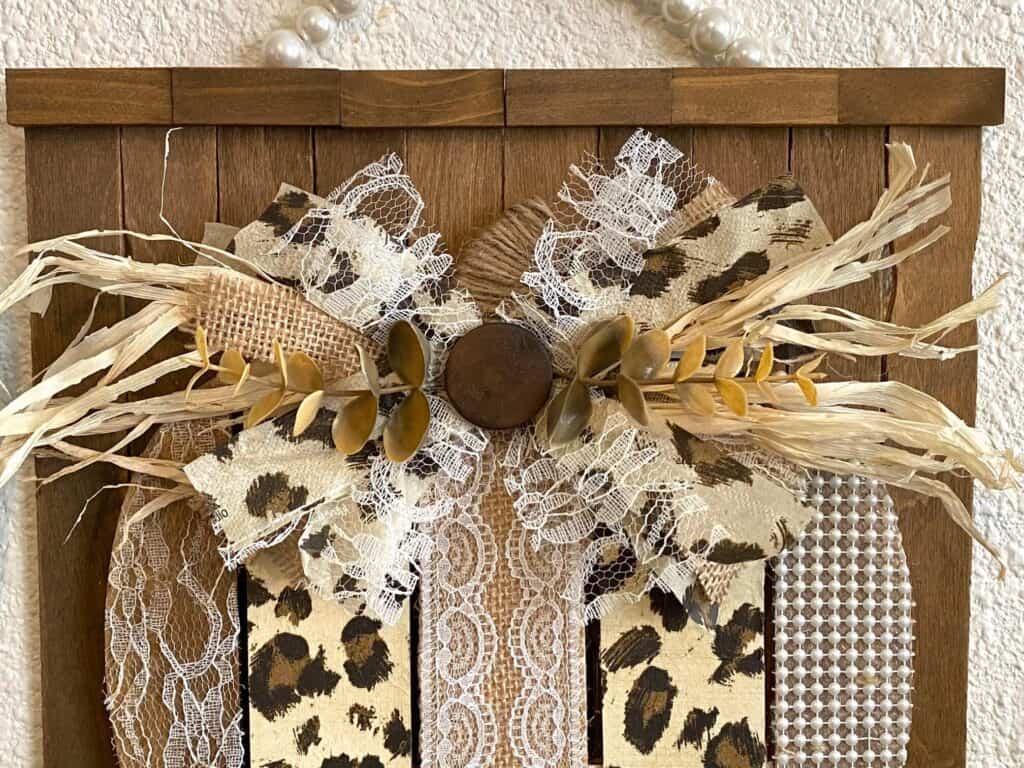
If you want, you can do as I did and take some raffia and stick it in and glue on each side, along with a piece of faux eucalyptus on top and a button in the center for good measure! Voila!!
Finish your masterpiece up by stringing some pearls onto a piece of twine, and gluing it to the top back of the Leopard Print Pumpkin.
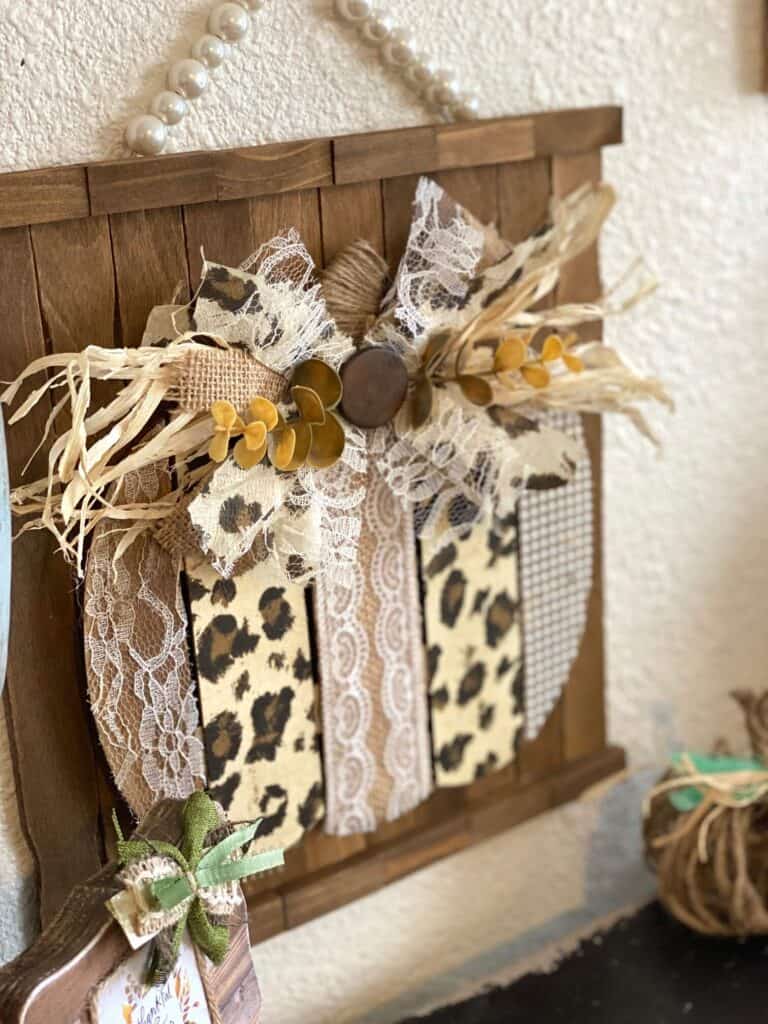
We’ve made alot of Fall DIY’s already this year, but this Dollar Tree Leopard Print Pumpkin is by far my fave! Well, it’s a toss up between this one and the Sunflower Pumpkin Reverse Canvas. Check them both out and then you tell me, which one is YOUR fave?!
Are you going to make this gorgeous Leopard Print Pumpkin decor? If you do, I’d love to see it! Pop on over to our free Craftspiration Facebook group, and join in on the fun by posting a pic of your completed DIY’s and crafts. I just love to see all your creative and crafty creations!
If you’ve got a million projects on your crafting ‘to-do’ list like I do, than you need my FREE Craft Project Planner so you can plan to make *all the things*! When you sign up for the craft planner, I’ll also send you lot’s of fun, easy, and budget friendly ideas for you to fill it up with!

Free printable Craft Project Planner
Get organized, get inspired, and get crafting, with our free Craft Project Planner!
Until Next Time…
Stay Crafty San Diego!

Love this Dollar Tree Leopard Print Pumpkin DIY? Make sure to PIN it for later!

