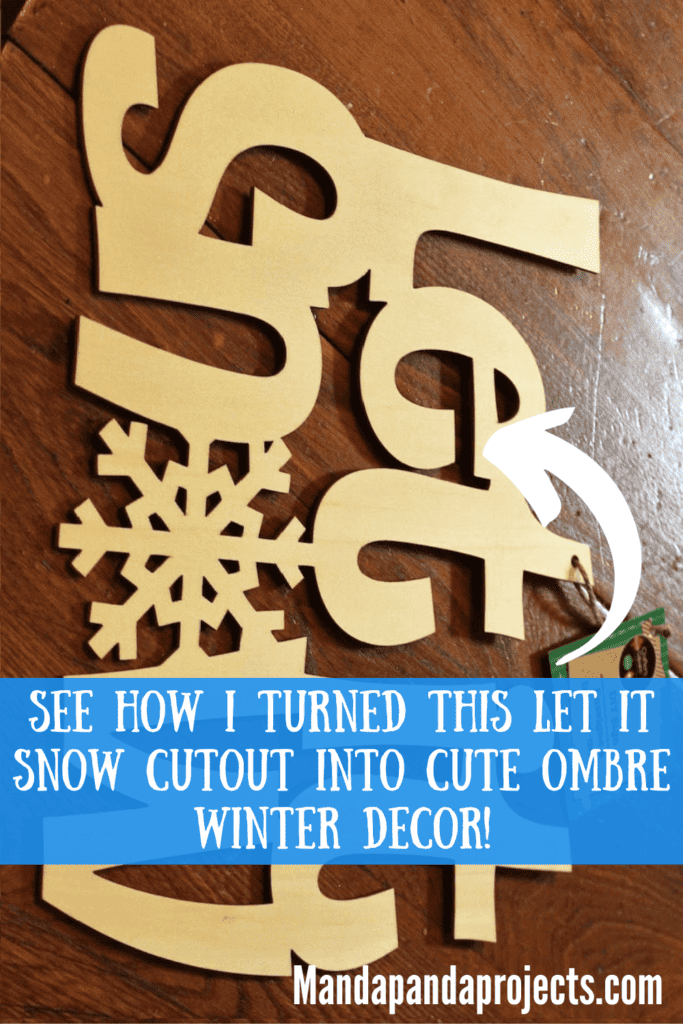
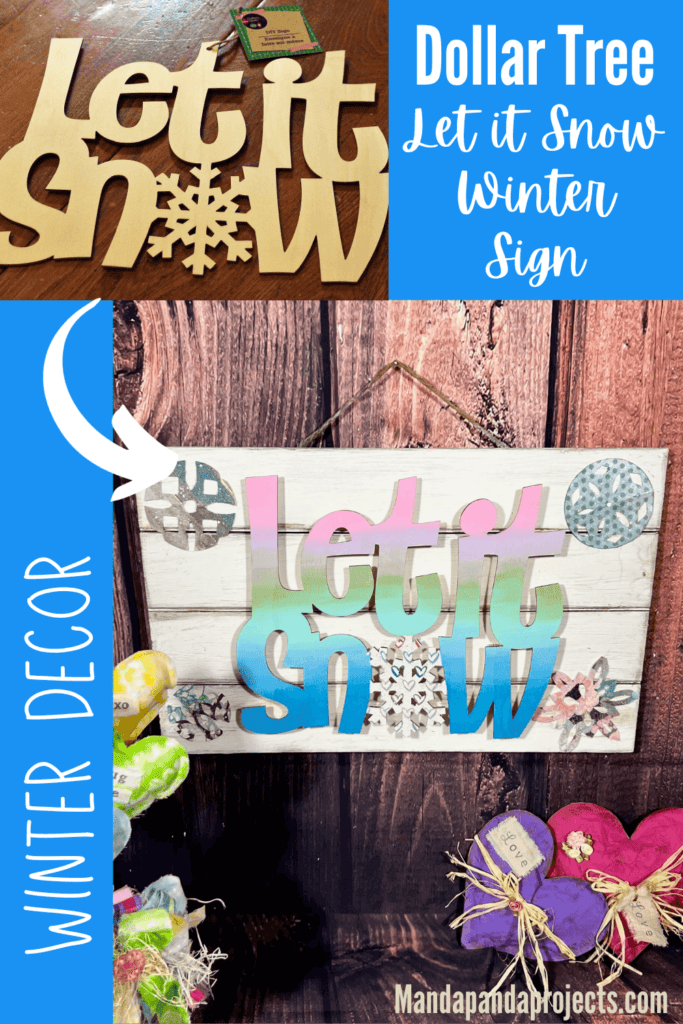
Christmas is over but it’s not time to pack up that winter decor just yet. This Dollar Tree Let it Snow Sign is not only adorable with its pastel ombre words, but it’s easy to make and affordable too! Let it Snow, Let it Snow, Let it Snooooooooooow!

This is a craft where we turned Lemons into Lemonade. You see those snowflakes in the corners? Well they were a total craft fail from something we made in my subscription group, The CRafterparty.
But we put them to good use in this Dollar Tree Let it Snow sign, and they couldn’t be any cuter!
This Dollar Tree “Let it Snow” wood cutout was one of those things that was in my craft stash for far too long before I finally figured out what to do with it!
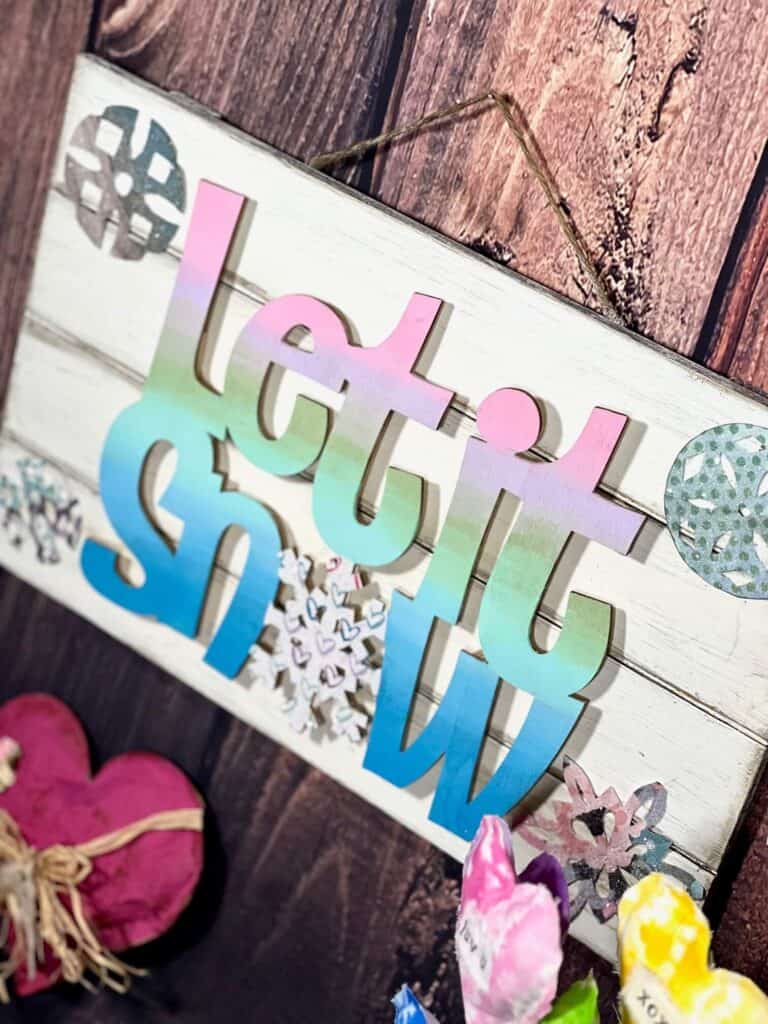
Of course, I decided to walk on the wild side and do mine not only ombre, but a pastel rainbow ombre.
I’m pretty sure I love it.
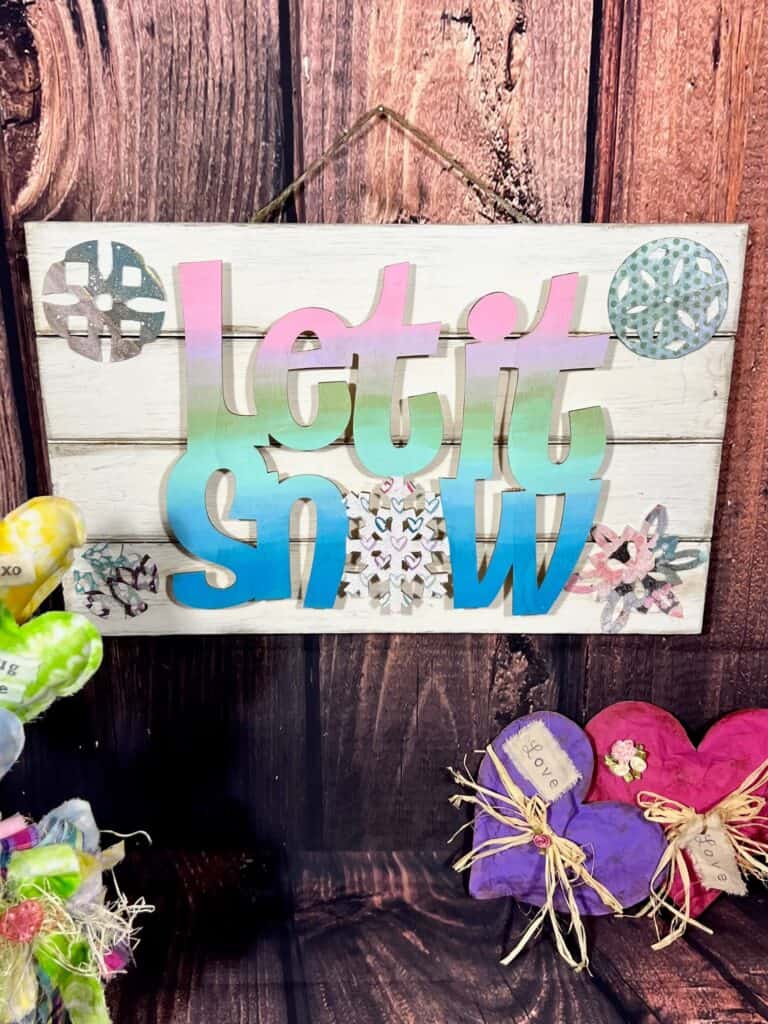
Of course, you could do yours more traditional “winter” with a dark to light blue gradient ombre, and that would be equally cute as well.
This post may contain affiliate links for your convenience (which means if you make a purchase after clicking a link I will earn a small commission but it won’t cost you a cent more!)
Supplies Needed to Make Dollar Tree Let it Snow Winter Decor
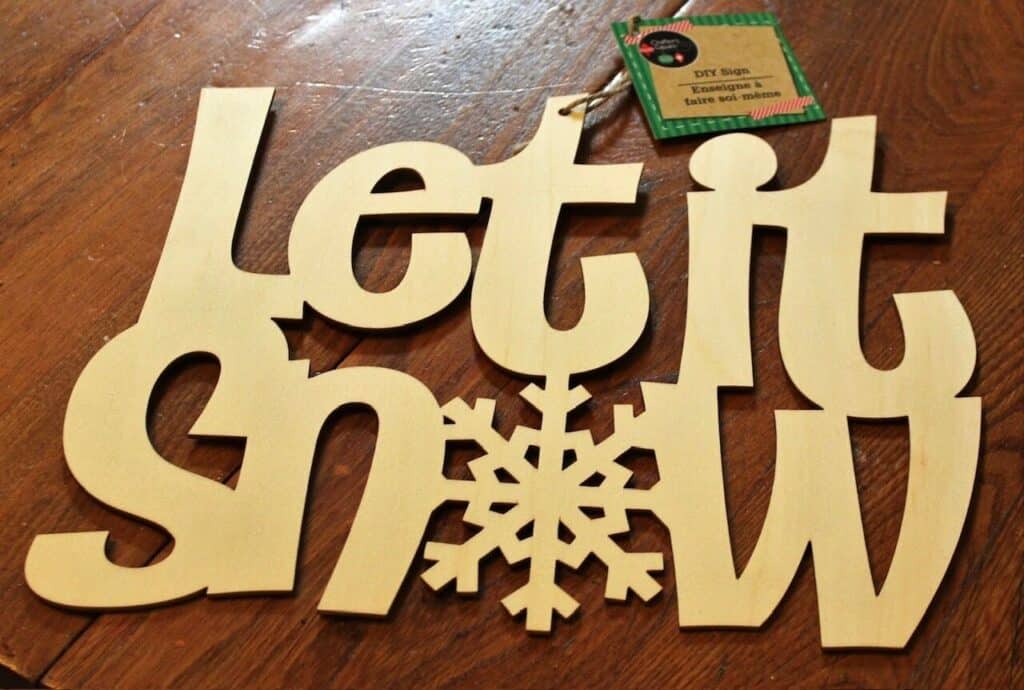
- Let it Snow wood cutout
- Wood Pallet Background (I got mine for $1 at a flea market)
- Various scrapbook paper
- Rub n’ Buff – Gold Leaf
- Diamond Dust
- Paint: White, Pink, Purple, Green, Teal, Blue
- Twine
- Mod Podge
- Hot glue gun
How to Make a Dollar Tree Let it Snow Sign
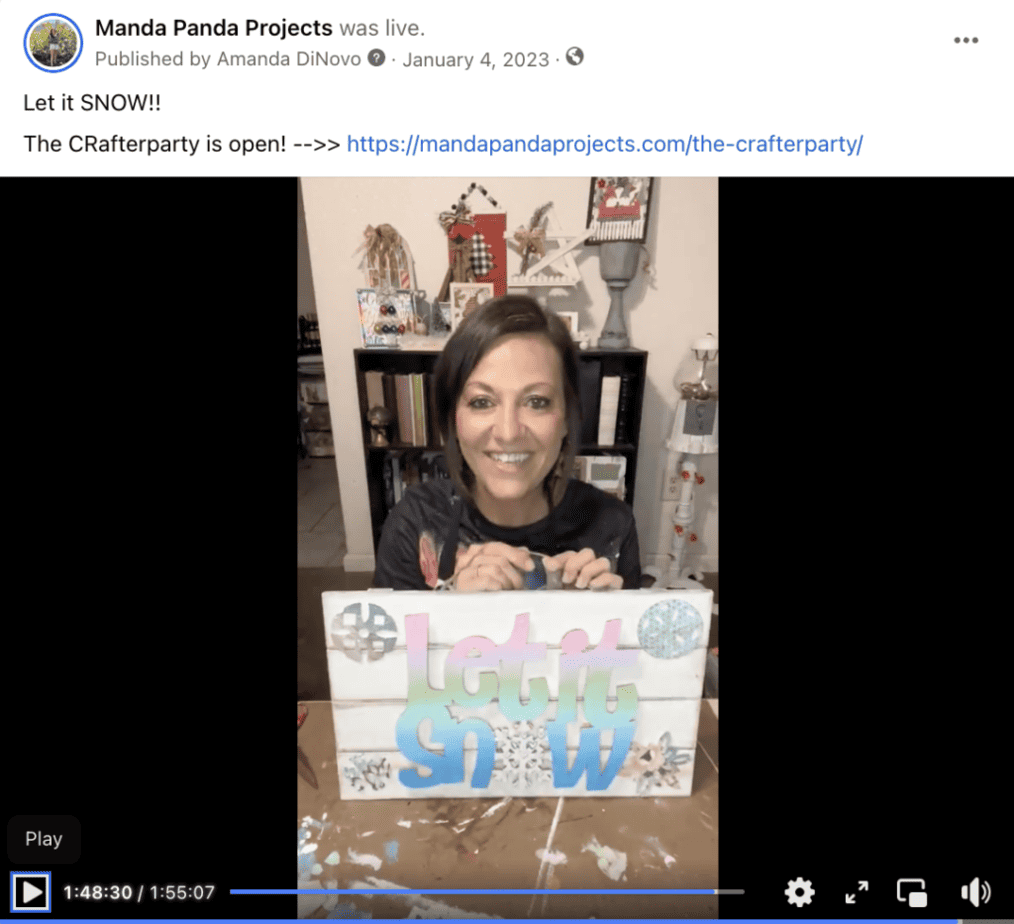
I made this Let it Snow Ombre Sign on video. So you can WATCH the tutorial by clicking below.
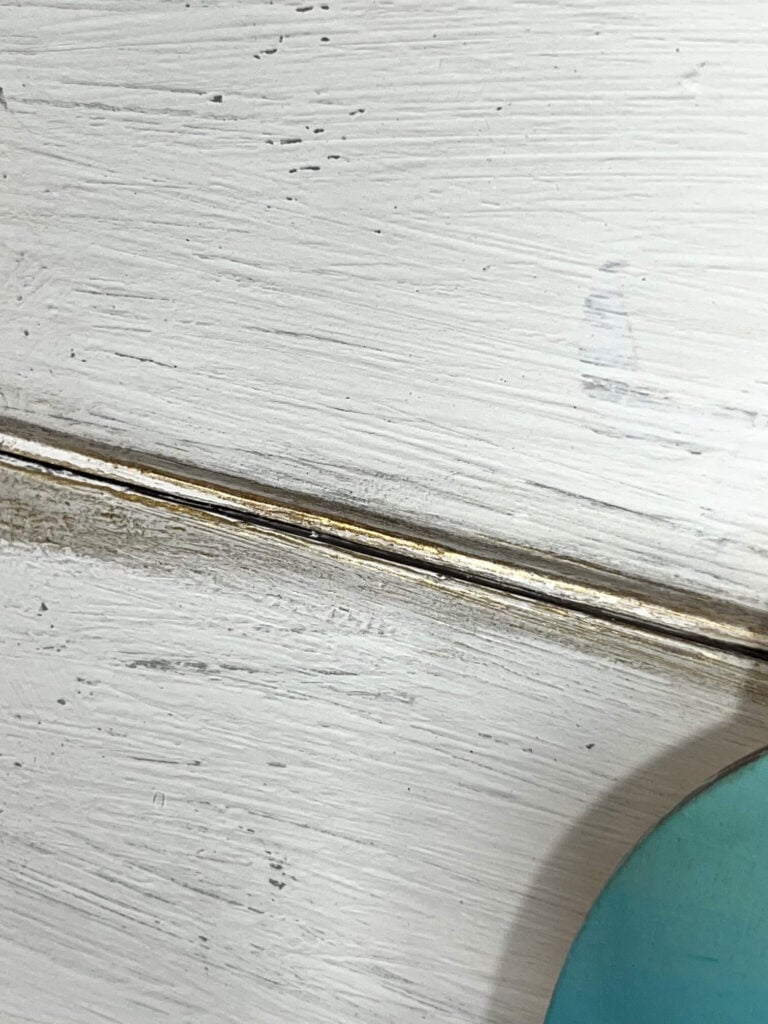
Start by painting your entire background all white. I then added a bit of Gold Leaf Rub n’ Buff on the edges and in the crevices of the pallet.
Paint your Let it Snow cutout Ombre, from pink, to purple, to green, to teal, to blue. Make sure the paint stays wet in between colors to help with blending, and keep a cup of water handy as well.
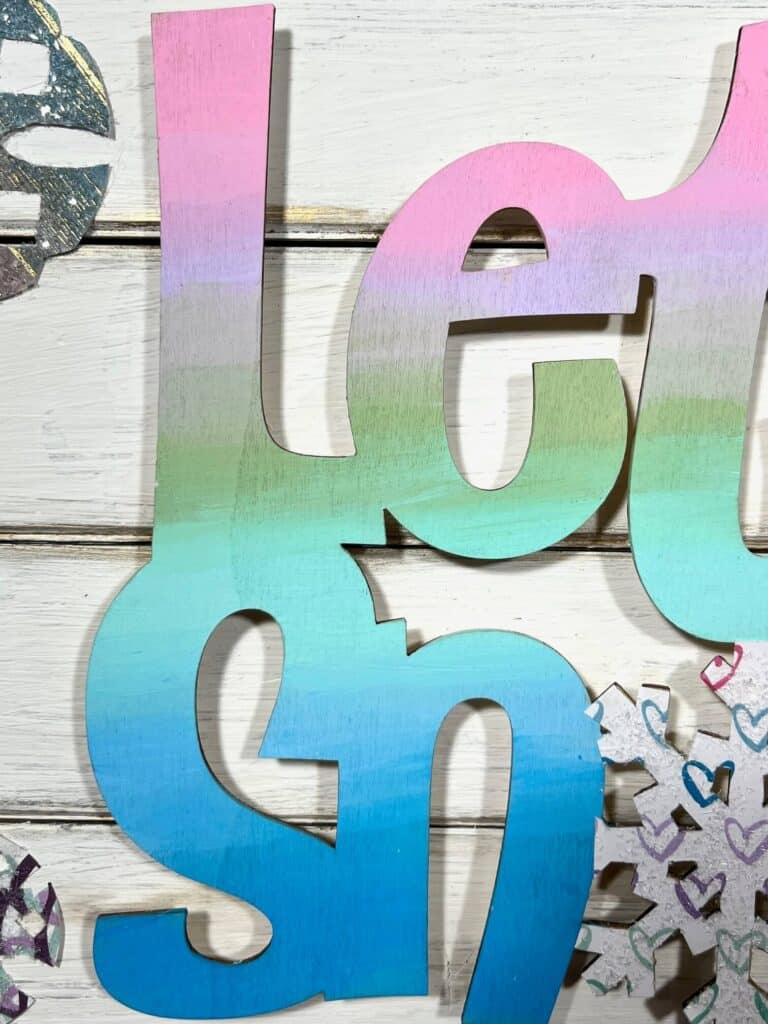
The best way to see how I do this is to watch the LIVE replay, but basically I paint both colors side by side, and while its wet I blend them back and forth back and forth until I am happy with the gradient.
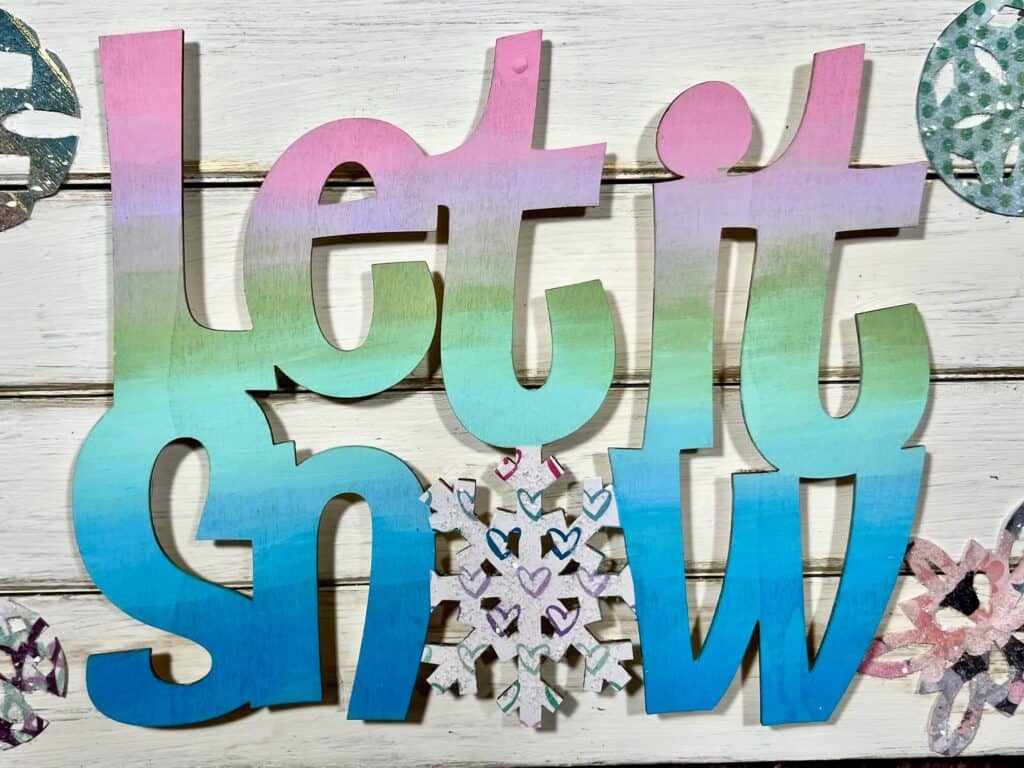
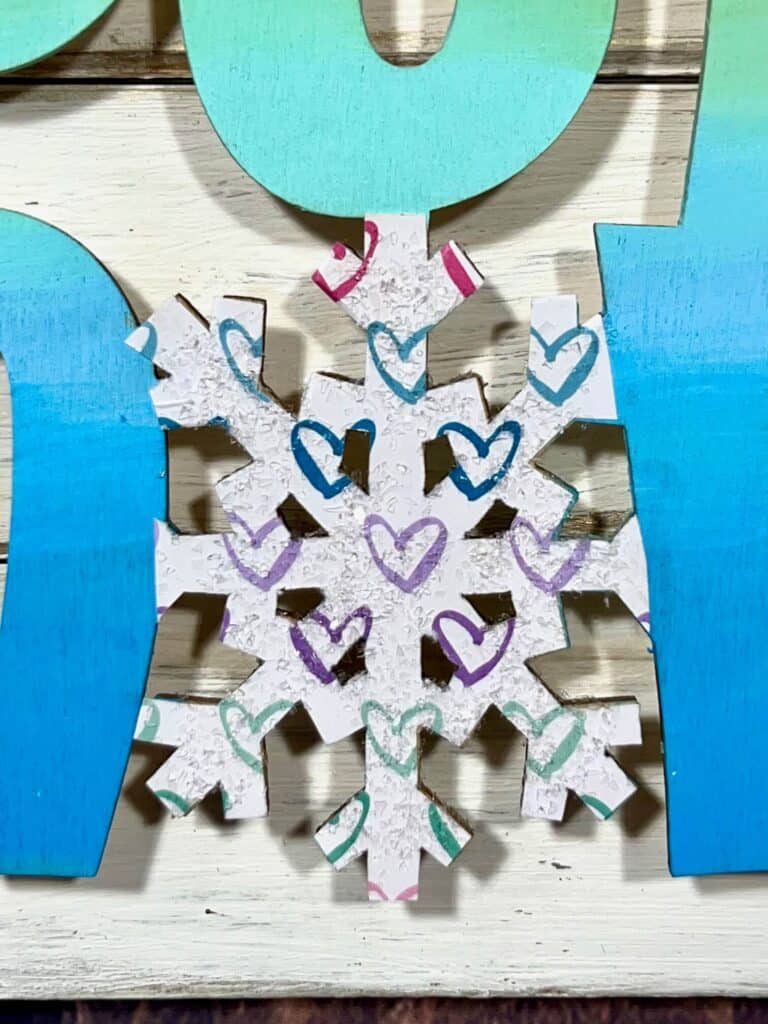
Trace the snowflake onto your choice of scrapbook paper, and then cut it out and Mod Podge it to the wood snowflake.
Using Mod Podge, add diamond dust to the snowflake as well.
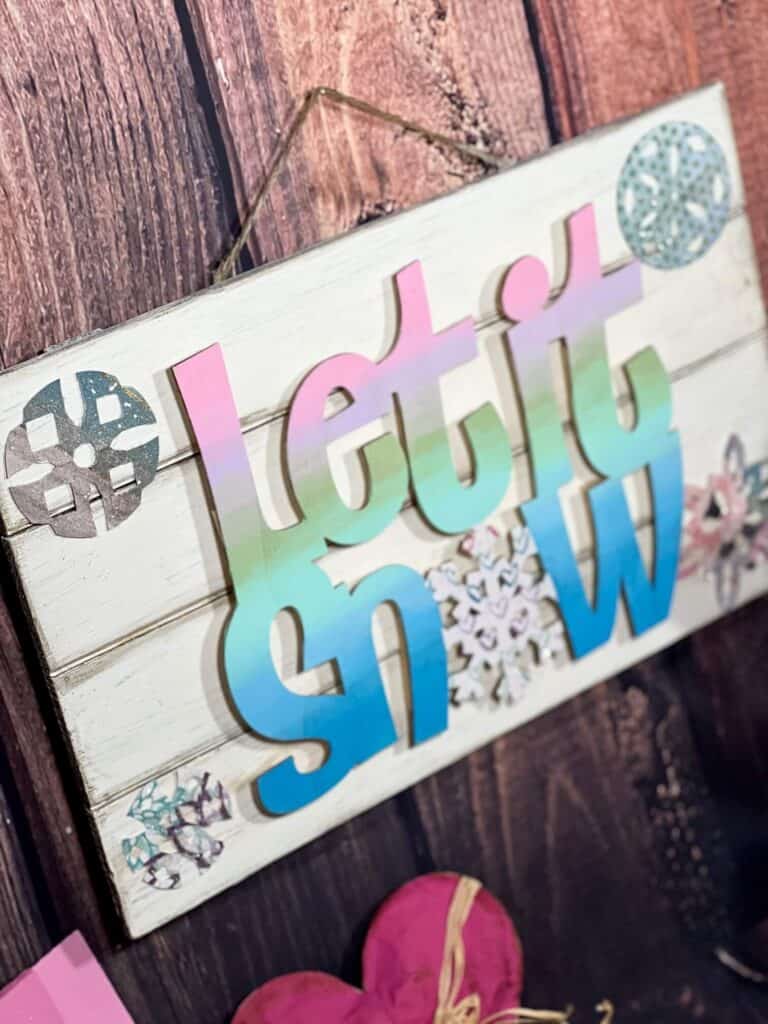
In each of the 4 corners I added the snowflakes from my “Craft Fail” that I talked about in the beginning of this blog post. Each corner has a unique snowflake, and each one is also covered in Diamond Dust.
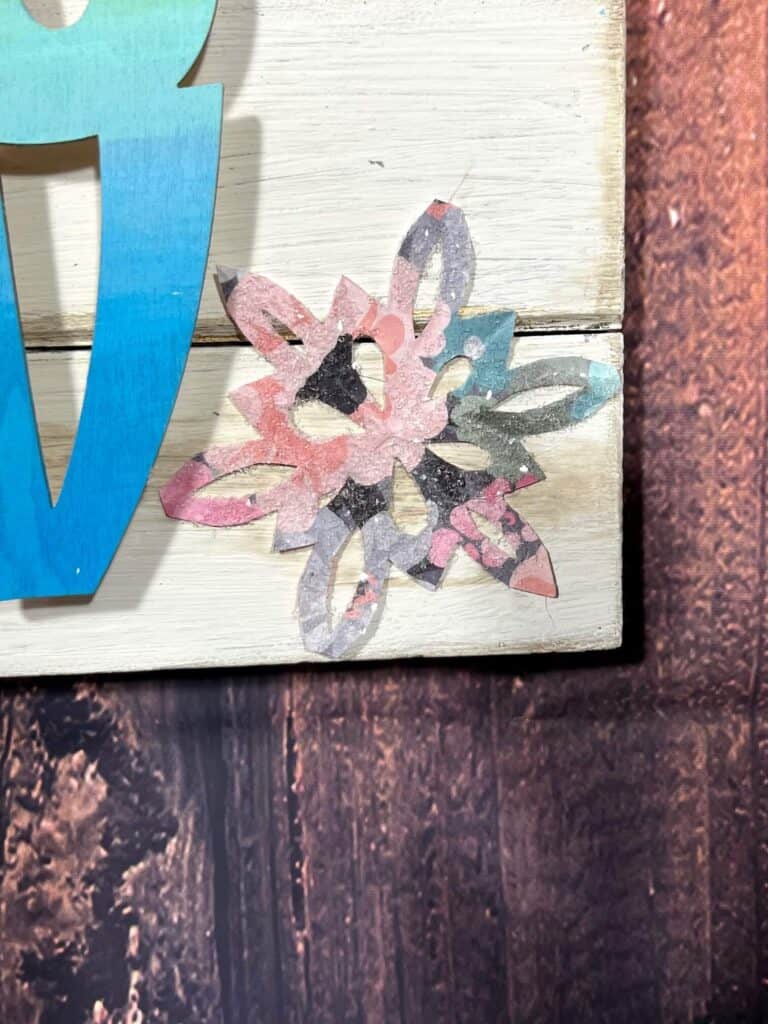
Remember when you would make paper snowflakes as a kid, and fold a paper circle and then cut little shapes out of it? Well that’s what I did here!
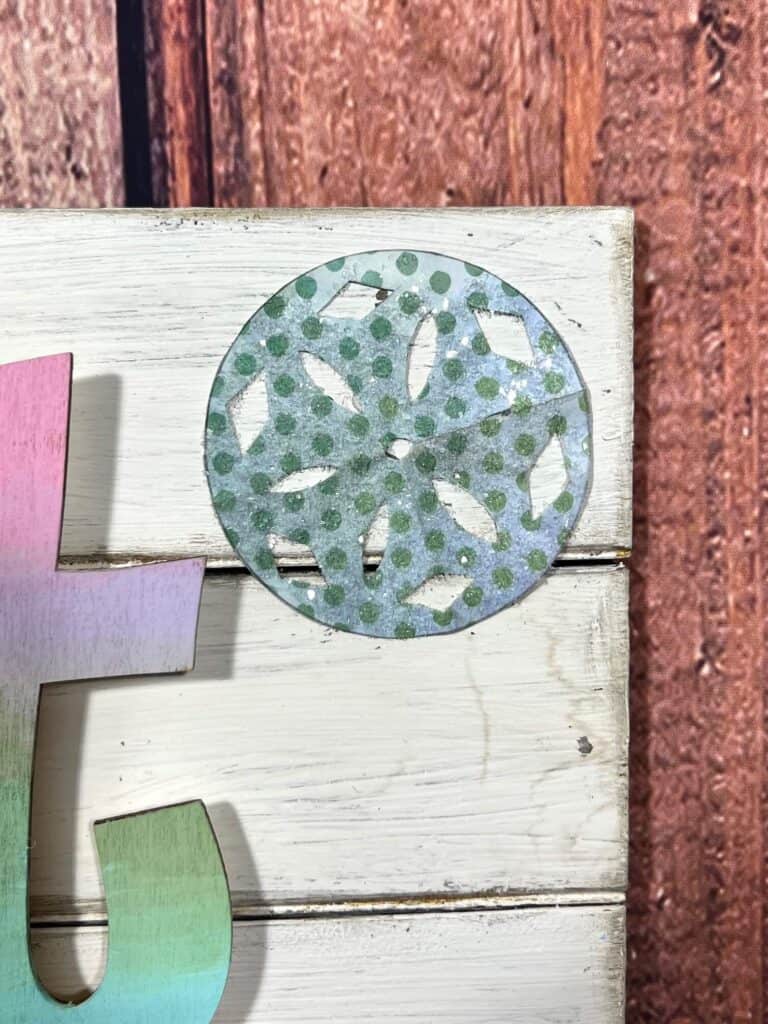
Once you unfold the paper each snowflake has a unique shape, depending how and where you cut the shapes.
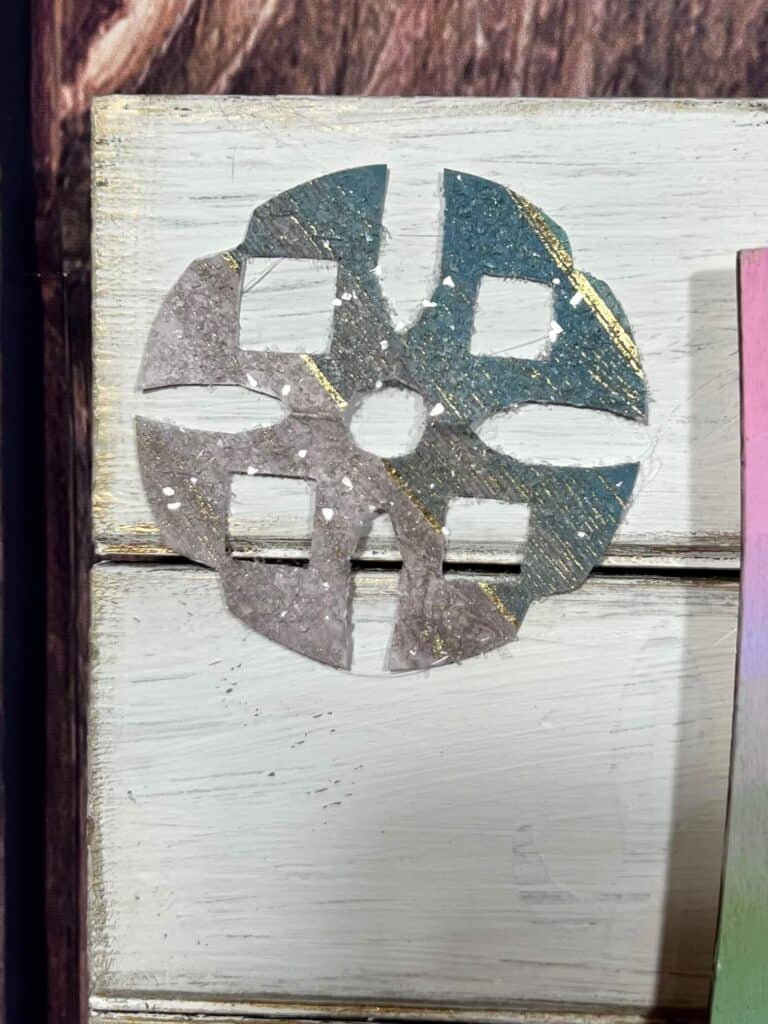
I Mod Podged Diamond Dust to each one of those as well.
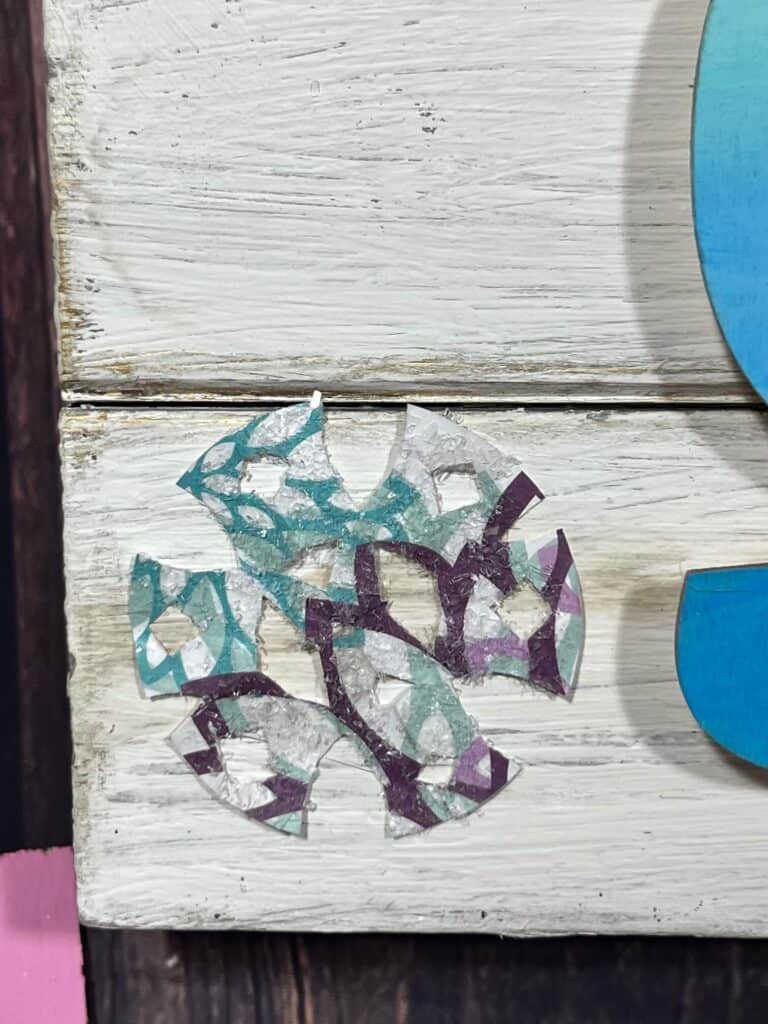
Here it is all put together and looking so pretty and wintery. I am loving that pastel ombre, but could totes do a traditional winter blue ombre instead.
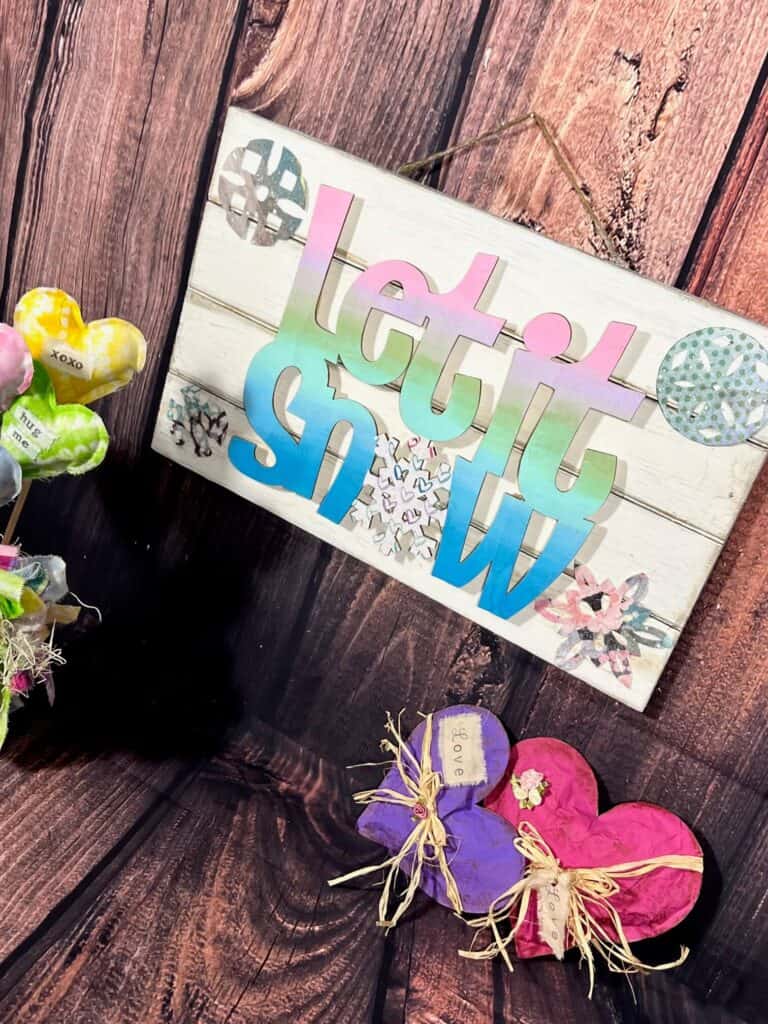
How darn cute does this look with those Kraft Paper Hearts and the Stuffed Heart Bouquet!? Perfect for AFTER Christmas for winter leading up to Valentines Day.

Are you going to make a Dollar Tree Let it Snow Winter Sign? If you do, I’d love to see it! Pop on over to our free Craftspiration Facebook group, and join in on the fun by posting a pic of your Tiered Trays, DIY’s and crafts. I just love to see all your creative and crafty creations.
If you’ve got a million projects on your crafting ‘to-do’ list like I do, than you need my FREE Craft Project Planner so you can plan to make *all the things*! When you sign up for the craft planner, I’ll also send you lot’s of fun, easy, and budget friendly ideas for you to fill it up with!

Free printable Craft Project Planner
Get organized, get inspired, and get crafting, with our free Craft Project Planner!
Until Next Time…
Stay Crafty San Diego!

Love this Dollar Tree Let it Snow Winter Decor? Make sure to PIN it for later!

