This is quite possibly the easiest Dollar Tree DIY I’ve ever done, and it is right up there with the cutest! Just unwrap the tinsel, wrap the twine, fasten a DIY bow, and you’ve got yourself a Mini Dollar Tree Twine Pumpkin!
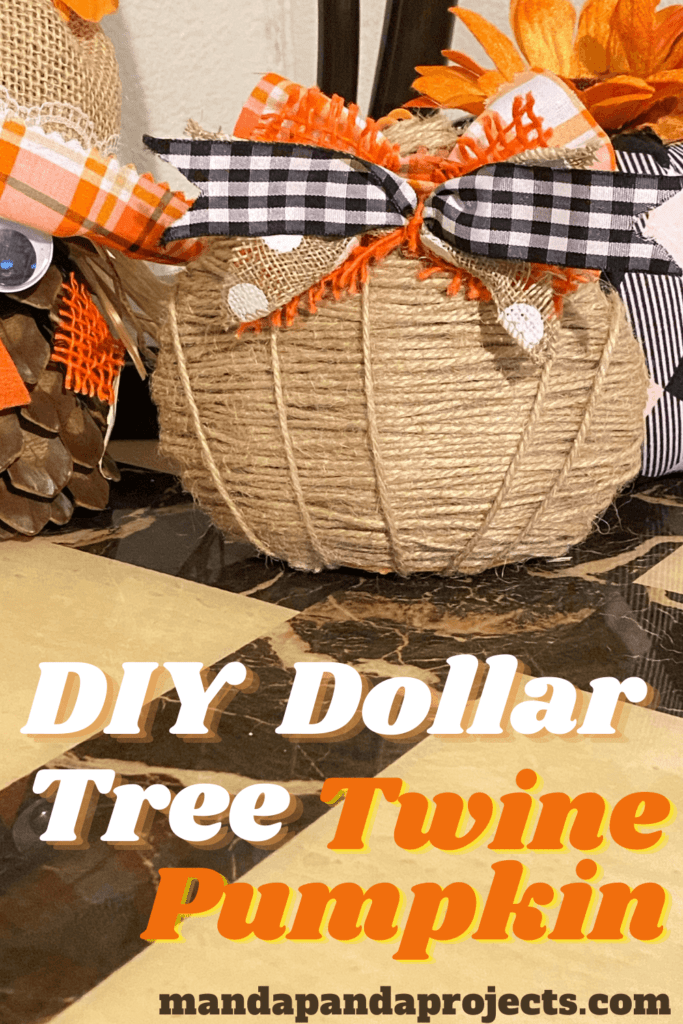
Are you as obsessed with the good ‘ole DT as I am? If so, then you probably noticed one of the newest additions to their ever growing Holiday decor….the mini (ugly) orange tinsel Jack-O-Lantern, ghost and witch. At first sight, you’d think “cheapo.deapo”. But with a little twine, and lot of TLC, this hunk of tinsel transforms into the cutest rustic farmhouse little pumpkin you ever did see!
Watch me make this entire Dollar Tree Twine Pumpkin DIY on a Facebook Live.
This post may contain affiliate links for your convenience (which means if you make a purchase after clicking a link I will earn a small commission but it won’t cost you a cent more!)
Supplies Needed to Make a Dollar Tree DIY Twine Pumpkin for Fall
Of course, this is Dollar Tree craft so all supplies came from, you guessed it……Dollar Tree! For your convenience I have linked to the closest version of each item that I could find on Amazon.
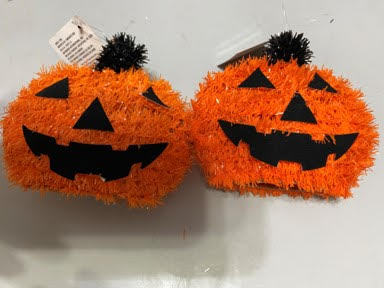
- Tinsel mini pumpkin (this is NOT the same one but the closest Amazon offers)
- Twine
- Fall colored ribbon
- White polka dot burlap
- Buffalo check ribbon
How to Make a DIY Dollar Tree Fall Pumpkin
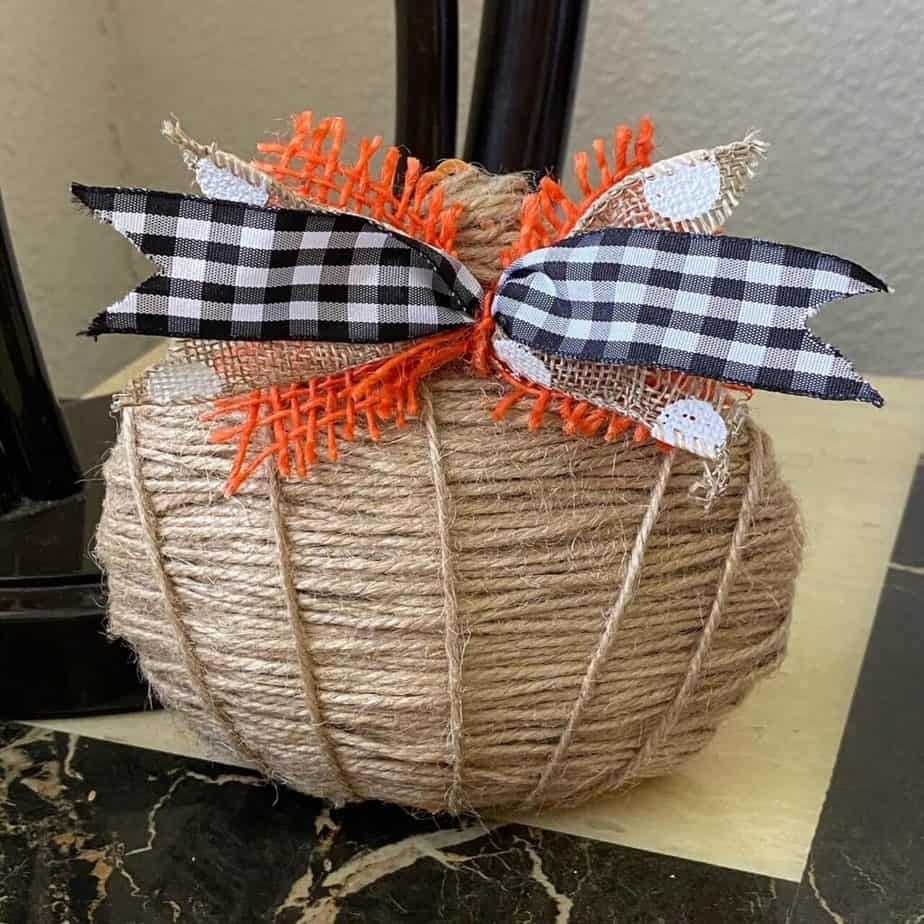
Follow the below easy steps to make a cute little Twine Pumpkin from a Dollar Tree orange tinsel Jack-O-Lantern. I do not have step by step photos for this Dollar Tree project since it was originally completed on a Facebook Live, but you can go here to see the tutorial video.
- Remove black cardboard eyes, nose, and mouth, along with orange tinsel from the plastic pumpkin frame.
- Cut the extra plastic throngs from the plastic pumpkin frame.
- If the frame falls into 2 pieces, glue together.
- Glue or tie a piece of twine to the bottom of the pumpkin, and begin to wrap around, gluing in place where needed.
- Continue to wrap around until the entire plastic pumpkin frame is covered in twine, glue the end to secure.
- Wrap a few horizontal strips of twine to represent the “lines” on the pumpkin.
- Fasten a simple bow with some ribbon scraps by cutting strips, dove tailing the end (fold in half and cut a triangle slit at the ends), and tying a small string around the center. (No seriously, it’s that easy).
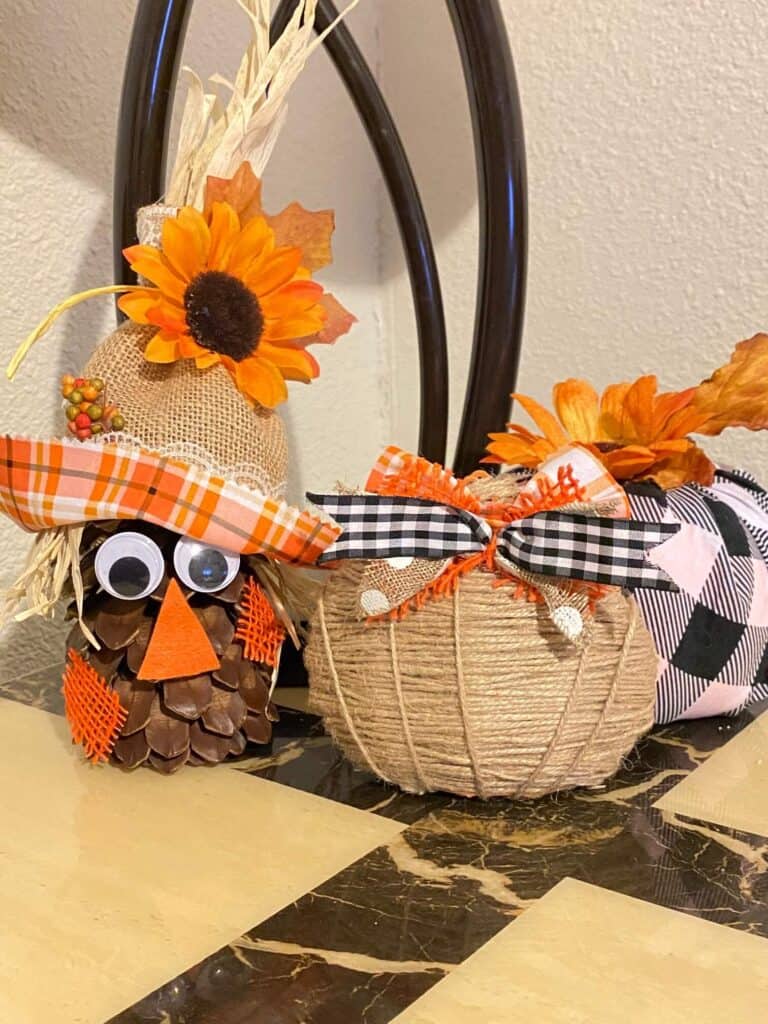
There ya have it, the cutest Dollar Tree DIY Twine pumpkin! For $3 you can make a rustic farmhouse fall craft that looks just adorable next this DT Buffalo Check Fabric pumpkin and my personal favorite….this Pine Cone Scarecrow.
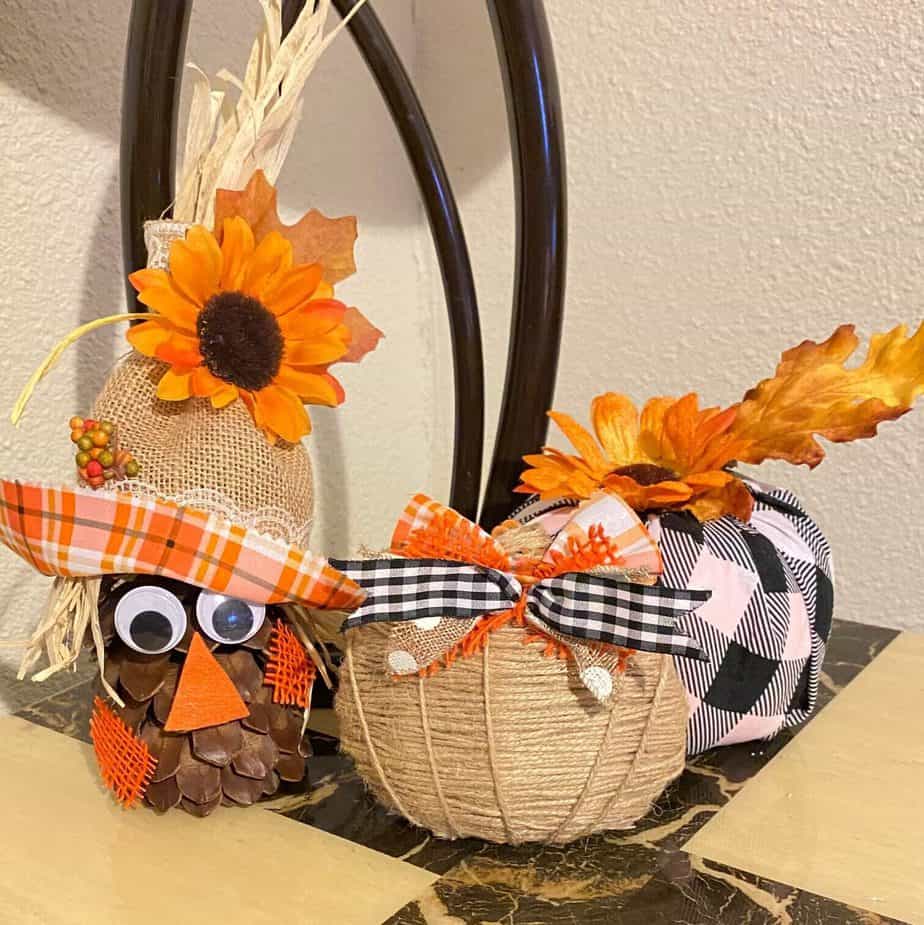
Hopefully you give this super cute and fun Dollar Tree DIY a try (hey that rhymed!). Make sure to post a pic of your Twine Pumpkin in our Facebook group so we can see how amazing your are!
Until Next Time…
Stay Crafty San Diego!

If you love this DIY Dollar Tree Twine Pumpkin, PIN it to your favorite Fall Craft Board!


