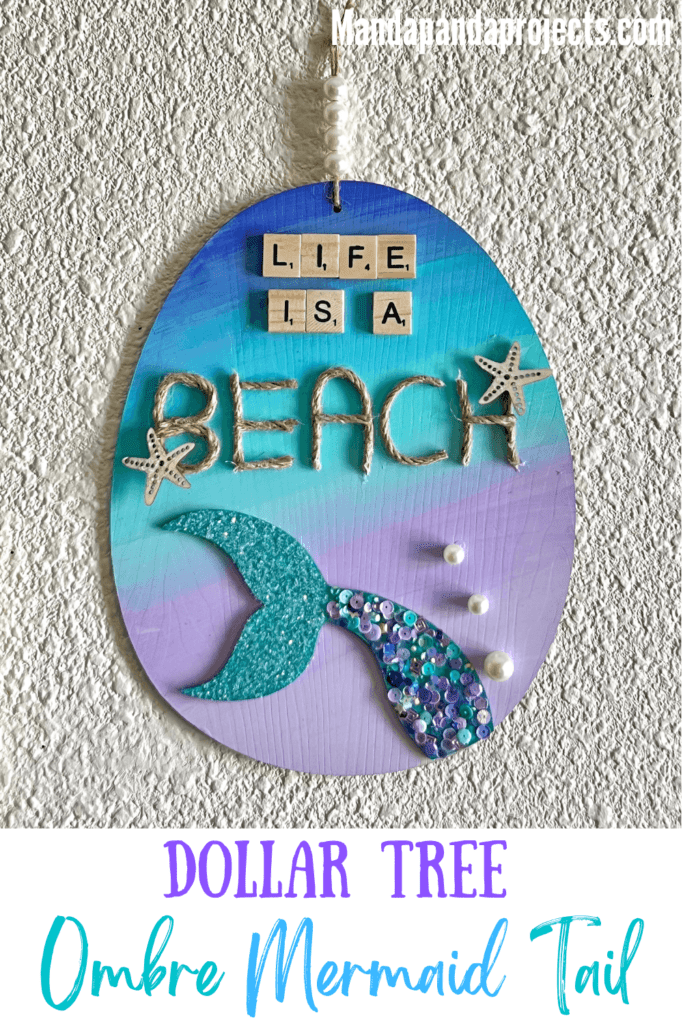
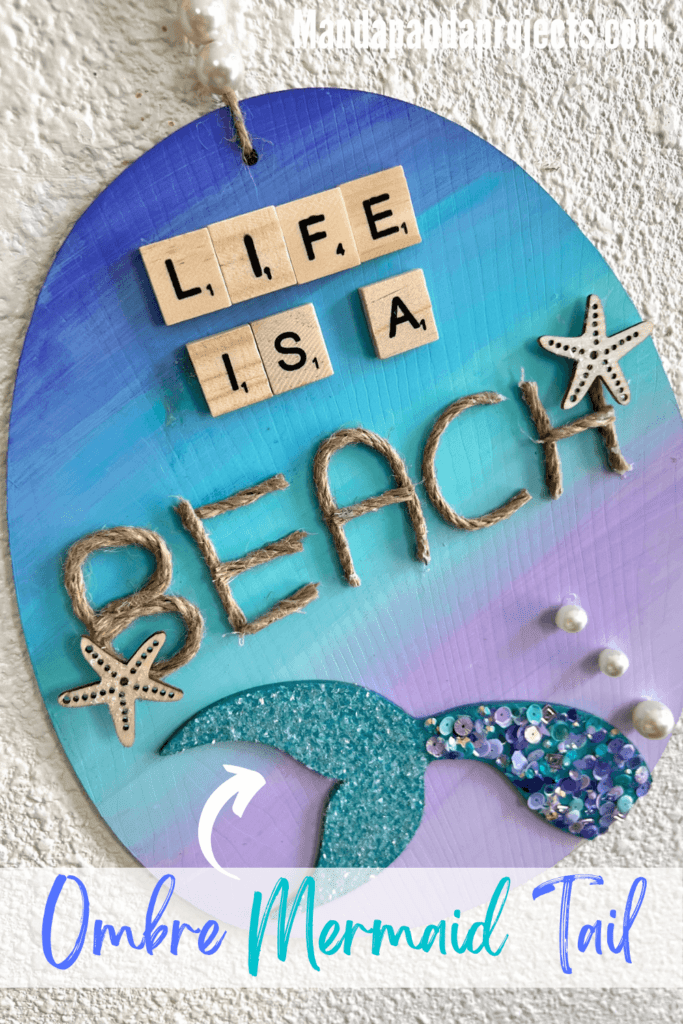
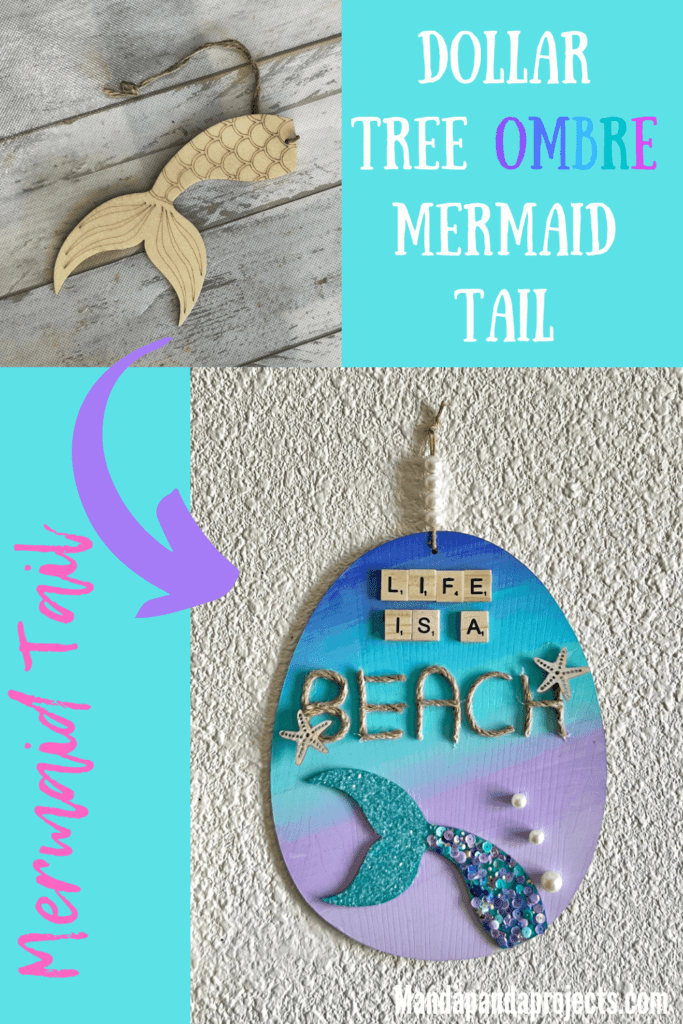
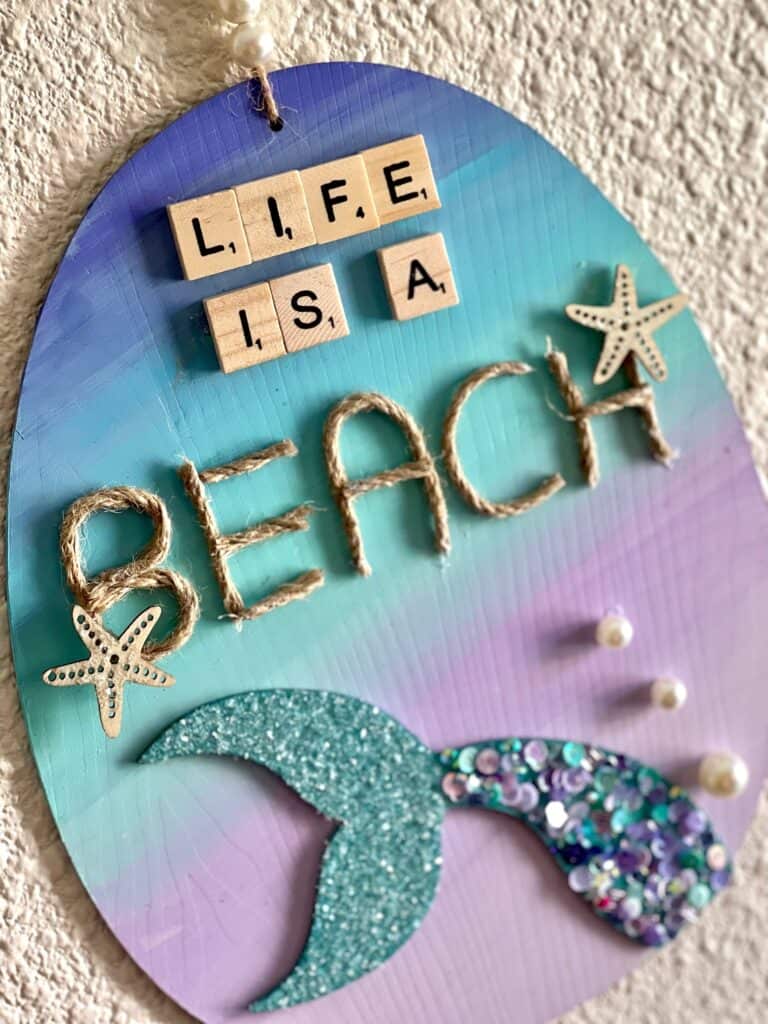
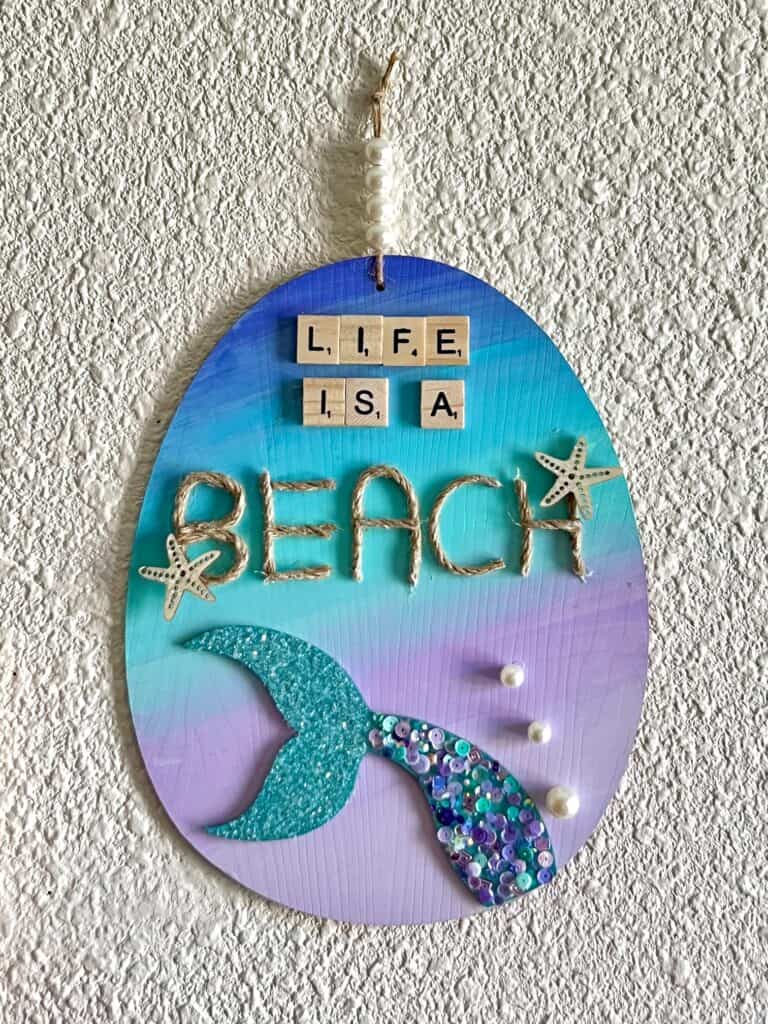
Channel your inner Mermaid this summer with this Dollar Tree Ombre Mermaid Tail DIY. This “Life is a Beach” decor is the perfect mix between nautical, coastal, girly, and summery with it’s Ombre paint and pretty mermaid sequins!
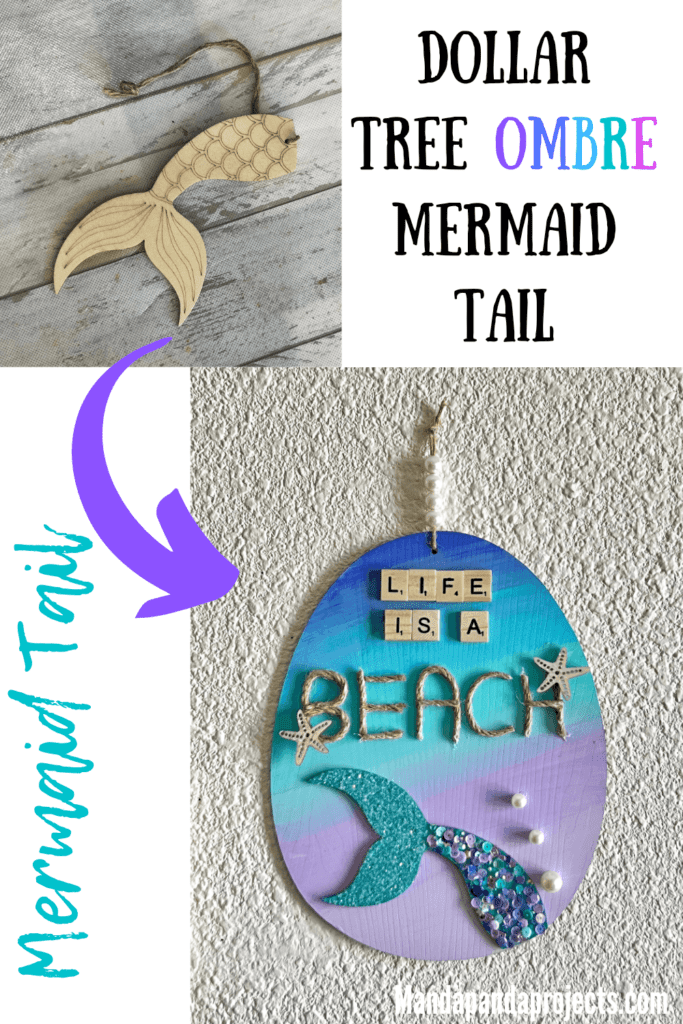
When I grabbed the little wooden Mermaid Tails from the Dollar Tree ‘Shore Living’ section I had zero idea what I was going to do with them, but I knew I had to have them! The best part is they came in a pack of 3, so I have 2 leftover after making this adorable Ombre Mermaid Tail!
As soon as I received Happy Mail from one of my crafty friends, Donna, with this gorgeous mermaid sequins package, I knew right away that we were going to dazzle this baby up.
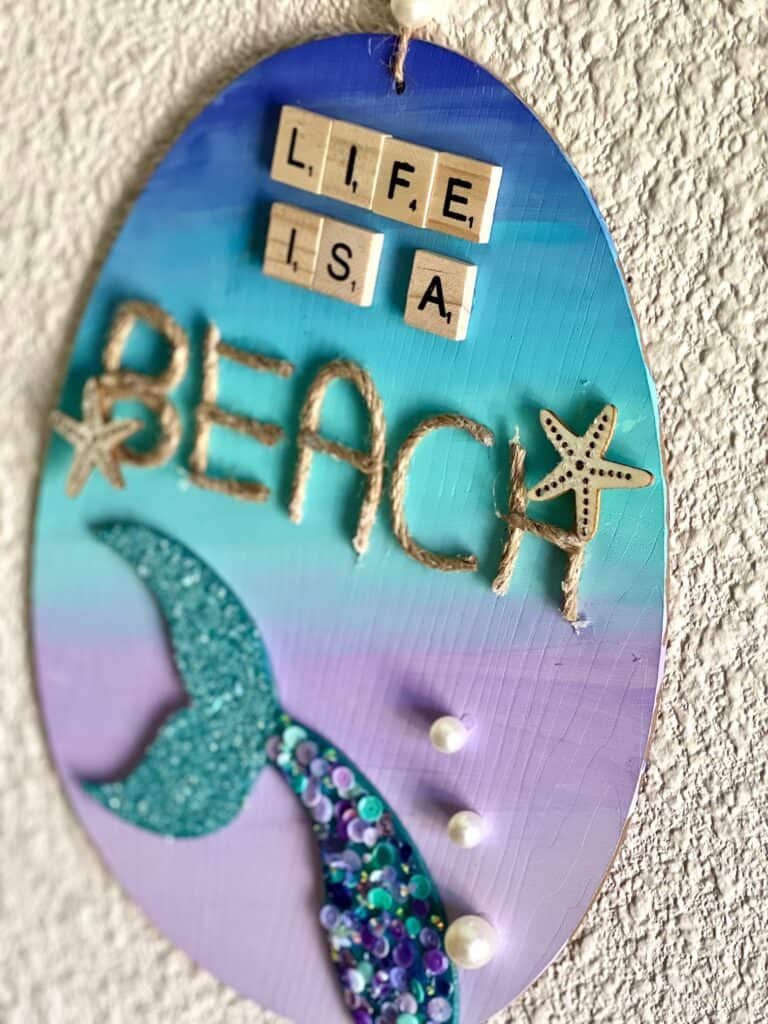
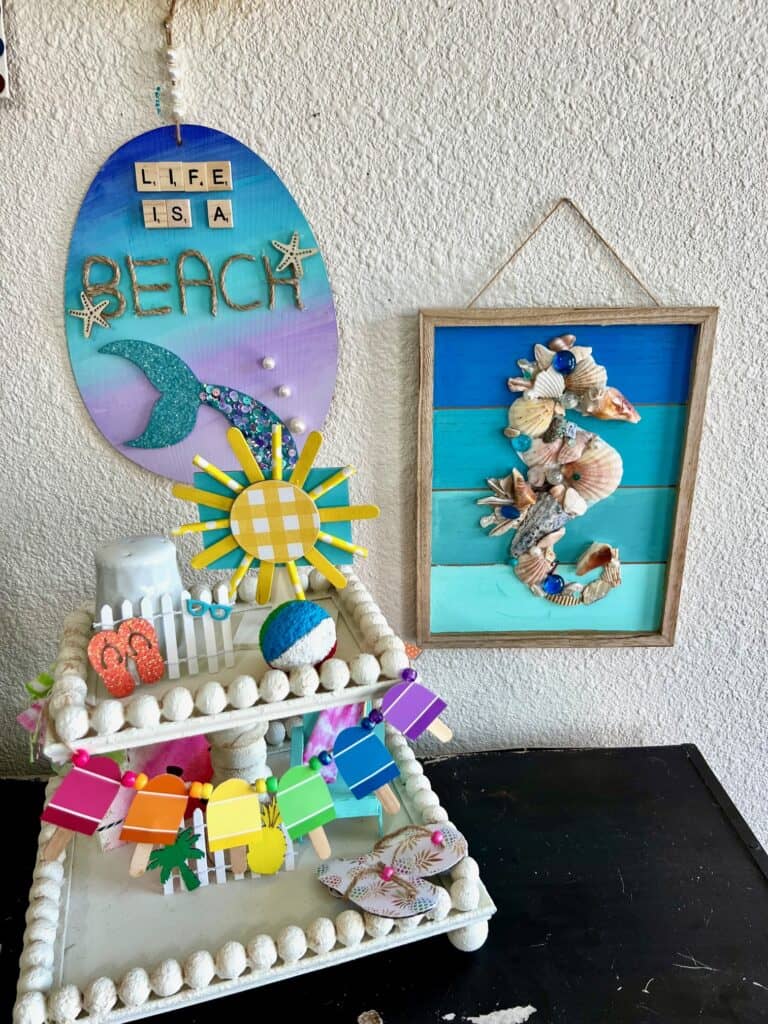
Sequins, Diamond Dust, and pearls? Yes, please! How stinkin’ cute does this Dollar Tree Ombre Mermaid Tail look next to my summer tiered tray?
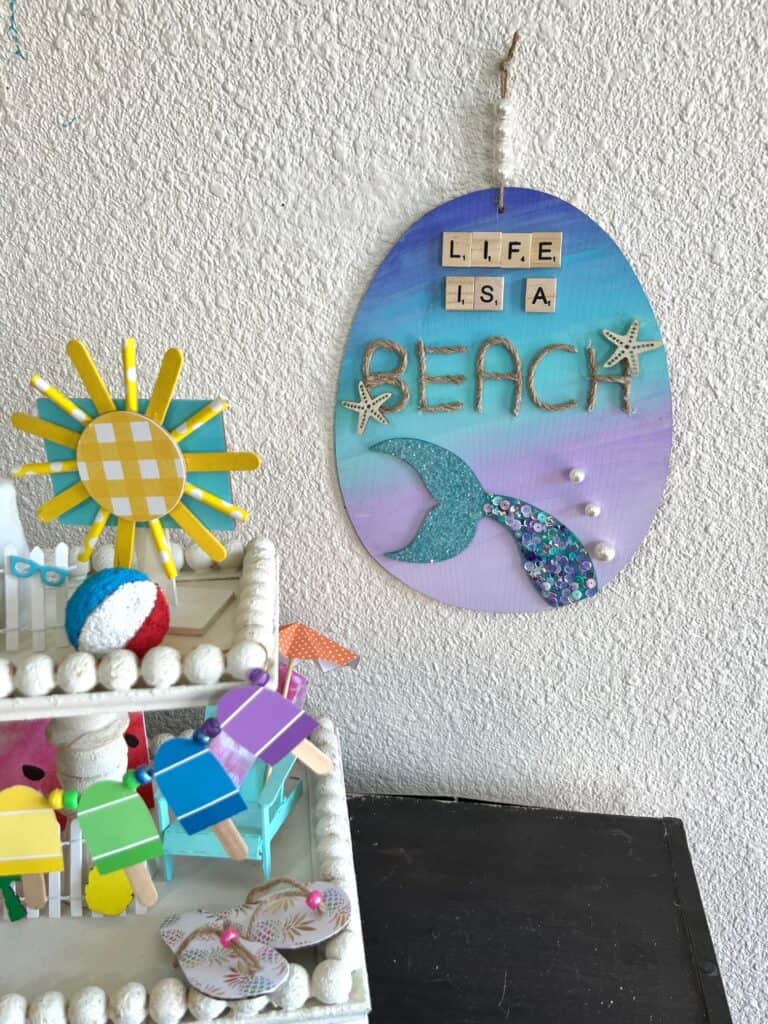
This is not the first thing that I’ve made this summer with the OMBRE effect. If you’re loving it, make sure to check out the abso-stinking-lutely adorable Seashell Seahorse I made to go along with this Dollar Tree Mermaid Tail DIY!
This post may contain affiliate links for your convenience (which means if you make a purchase after clicking a link I will earn a small commission but it won’t cost you a cent more!)
Supplies Needed to Make an Ombre Mermaid Tail
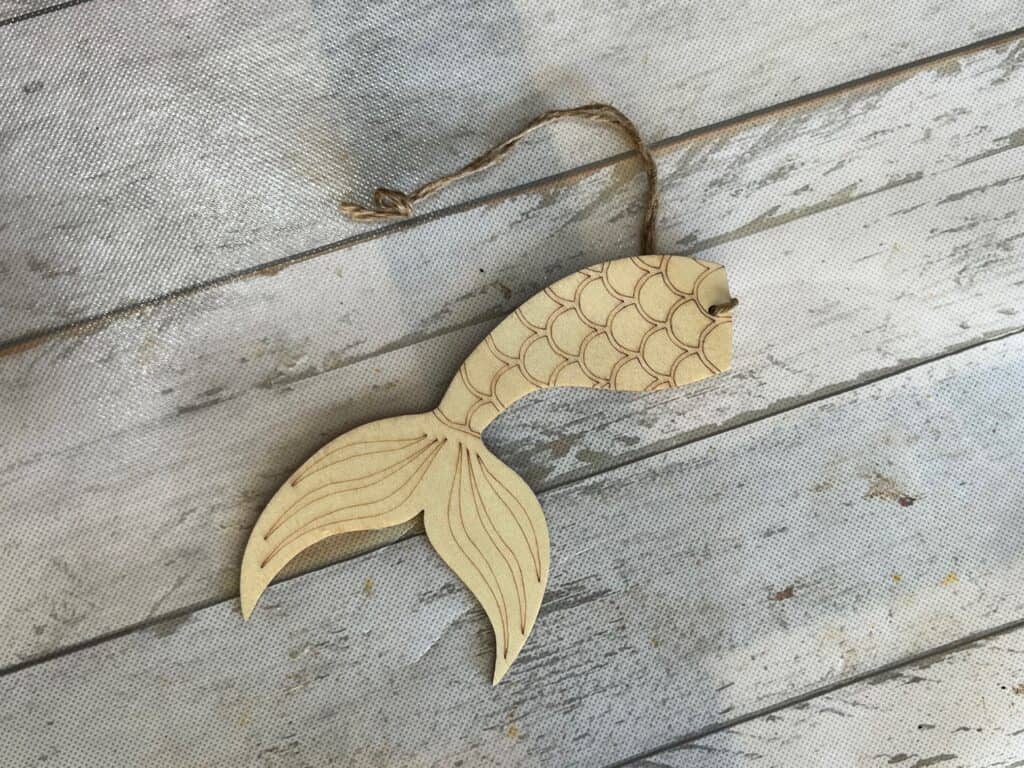
- Dollar Tree wooden egg shape
- Dollar Tree wooden Mermaid tail
- Thick jute twine
- Mermaid style sequins
- Metallic Teal paint
- Blue paint
- Dark and light purple paint
- White paint
- Diamond Dust
- Pearl beads
- Scrabble tile letters – “Life is a”
- Mini wooden starfish
- Mod Podge
- Hot glue gun
How to make an Ombre Dollar Tree Mermaid Tail Craft
I made this Gorgeous Ombre Mermaid Tail on video, so you can WATCH me make it HERE or click on the picture right below.
Start off by painting the entire background with “Mermaid Colored” Ombre! I used blues purples, teals, and blended in-between each color by mixing them together and blending with water. You can see how I did this by watching the Live replay.
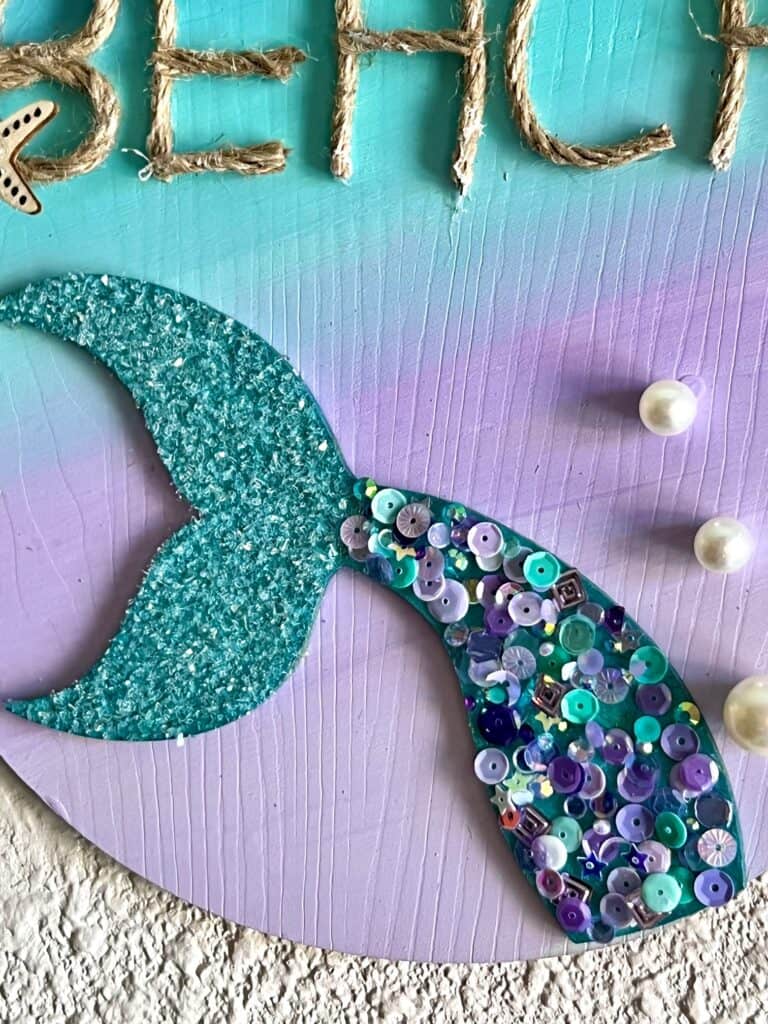
I decided to first paint my entire mermaid tail with a teal metallic paint, so that it would show through the sequins and Diamond Dust. I covered the whole tail with a nice thick layer of Mod Podge, and then covered the flippers with Diamond Dust, and the rest of the tail with the mermaid colored sequins.
It works best to do the sequins in smaller sections at a time, so that you can get nice full coverage without the Mod Podge drying.
Glue it to the bottom of your Ombre painted egg shaped background, and add some pearls as “bubbles” floating up.
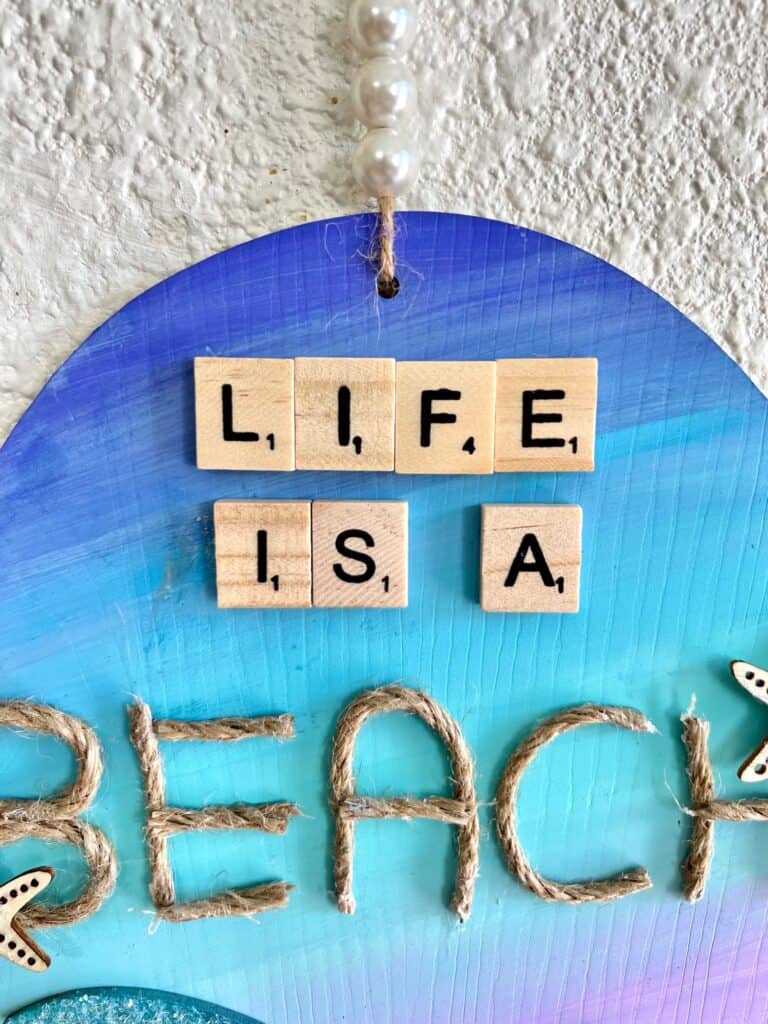
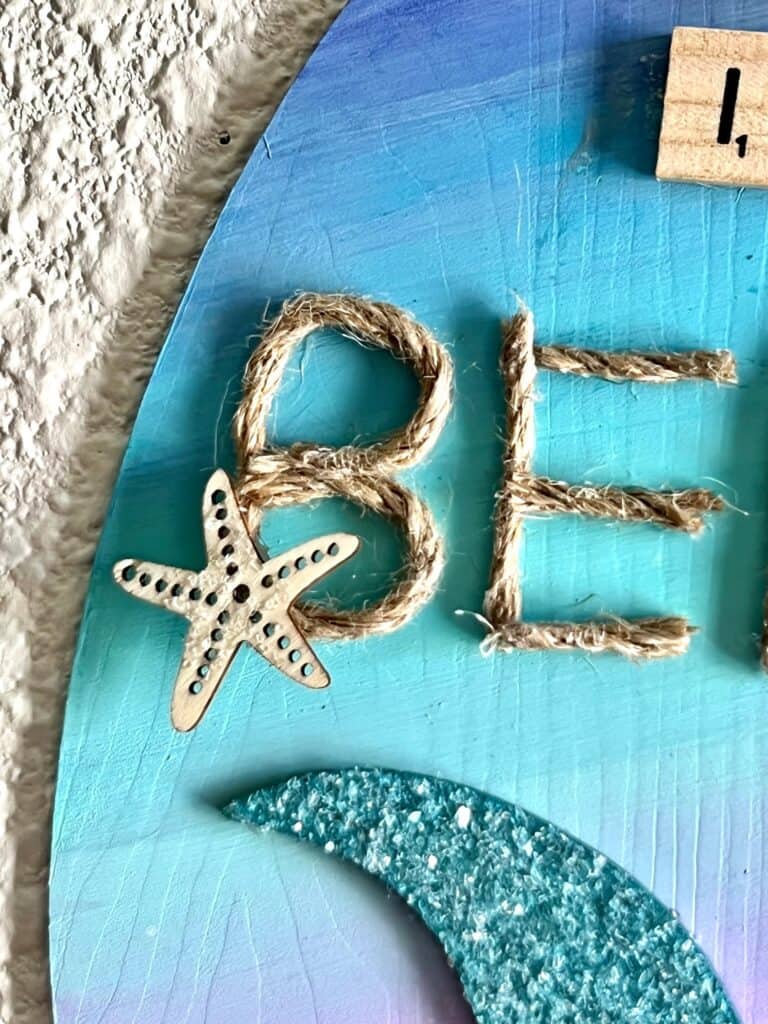
Next spell out the word BEACH using pieces of thick just twine, and glue it to the background along with the scrabble tiles that say “Life is a”.
Add a small amount of Diamond Dust to two of the little wooden starfish, and glue one to the “B” and one to the “H”.
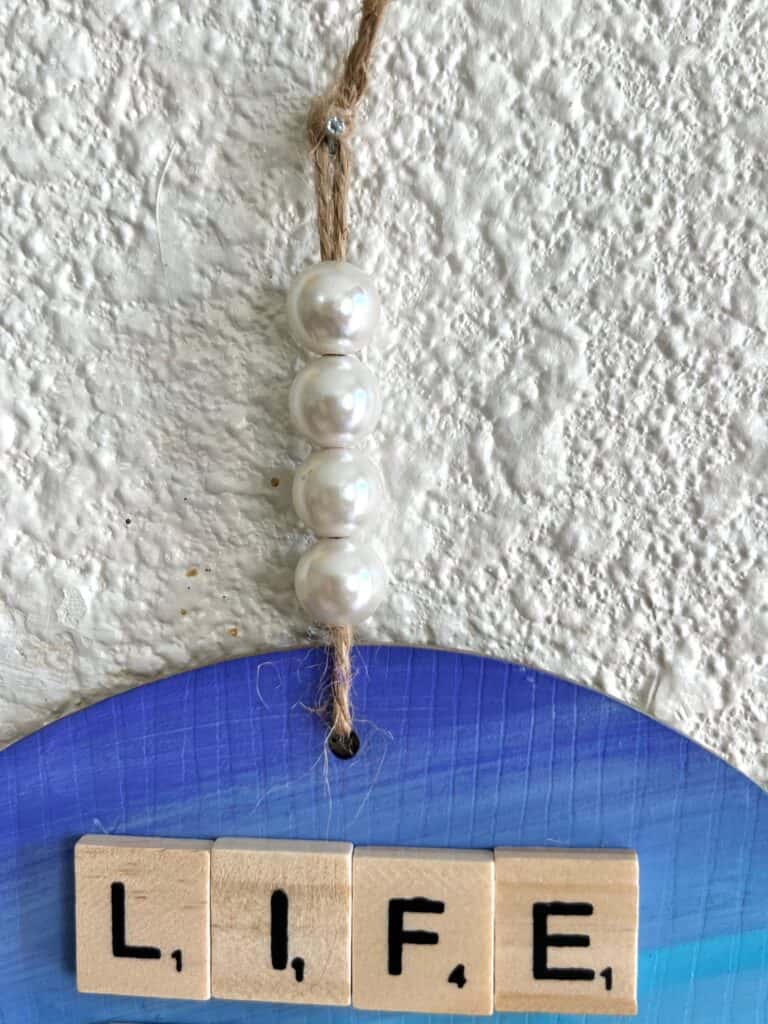
Finish it off by adding a pearl bead hanger to match the “bubbles”.
There you have it! How adorable is this Dollar Tree Ombre Mermaid Tail DIY!? I just LOVE how it turned out! It looks perfect with my Seashell Seahorse and my Fun in the Sun Tiered Tray!
Are you going to make something with the Dollar Tree Mermaid Tails? Are you gonna make any Dollar Tree projects at all?! If you do, I’d love to see it! Pop on over to our free Craftspiration Facebook group, and join in on the fun by posting a pic of your Tiered Trays, DIY’s and crafts. I just love to see all your creative and crafty creations!
If you’ve got a million projects on your crafting ‘to-do’ list like I do, than you need my FREE Craft Project Planner so you can plan to make *all the things*! When you sign up for the craft planner, I’ll also send you lot’s of fun, easy, and budget friendly ideas for you to fill it up with!

Free printable Craft Project Planner
Get organized, get inspired, and get crafting, with our free Craft Project Planner!
Until Next Time…
Stay Crafty San Diego!

Love this Dollar Tree Ombre Mermaid Tail? Make sure to PIN it for later!
