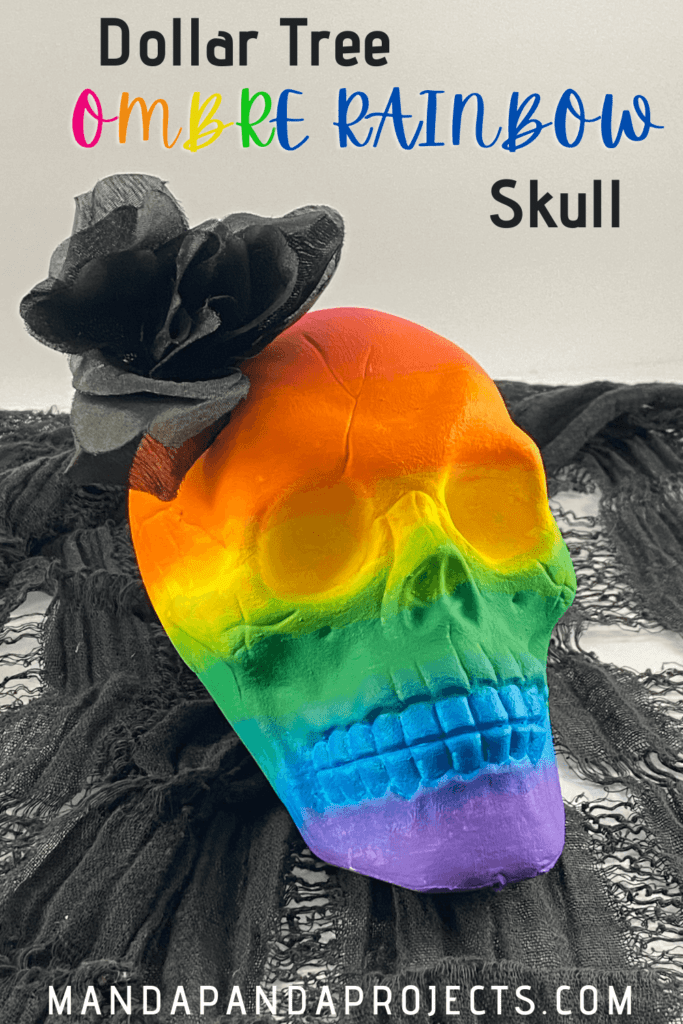
Halloween doesn’t always have to be all Orange, Black and Purple everything to be fun and festive. Mix up your holiday decor this year and get super colorful by turning a Dollar Tree plain white skull, into a pretty Rainbow Painted Ombre skull. This DIY piece of decor is so pretty, you may want to keep it out all year.

This year has been a wild one, so why not get wild with your Halloween decor too? If you’re not feeling this year, then step out of the orange and black box, and step into the rainbow with this super cute Dollar Tree DIY Ombre skull. This funky piece of decor would make a great centerpiece for your Halloween party, or as fun addition to the rest of your Rainbow themed Halloween decorations.
Stressed about planning your party?
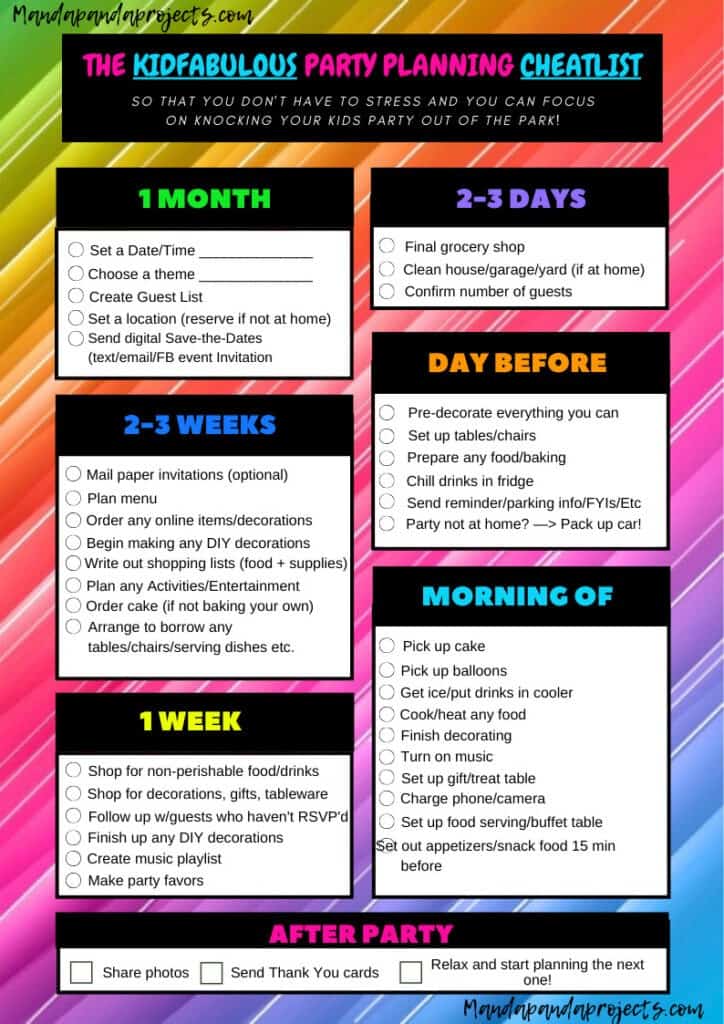
Eliminate the stress and don’t forget a single thing with our Party Planning Checklist!
It’s no secret that Dollar Tree is my (and all my crafting friends) go-to when it comes to Holiday craft supplies and decor, so Halloween is no exception. You can make something beautiful and unique out of just about anything you find in this magical land of DT, so when I saw the plastic (boring) skulls, I grabbed a few but I was not quite sure what I’d do with them. Once I decided on going crazy colorful for Halloween, the Rainbow skull came to mind, but I took it up a notch and tried my hand at the ombre effect.
Make sure to check out the other Dollar Tree DIYs that we made to go along with this super fun colorful Halloween decor, like our Blinged Out Coffins, Pumpkin Topiary, and Rainbow Mesh Witch Hat!
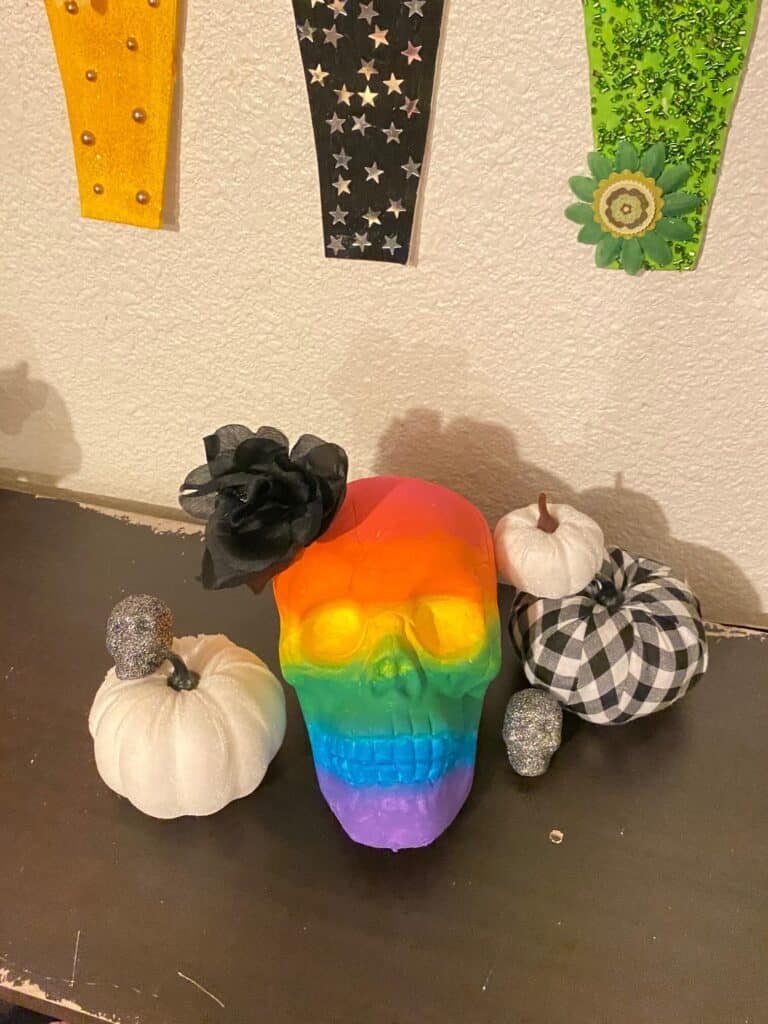
This was pretty simple to do believe it or not. Ok, it’s not Picasso grade painting skills, but I’m happy with how it turned out. The key to getting a (somewhat) graceful blend between colors is using water on the paint brush when going from one color to the other. As I went from the pink down to the purple, each blend seemed to get a littler better as my hand and brain learned what worked and what didn’t.
I am NOT a painter by any means, so don’t worry if painting this Dollar Tree Rainbow Ombre skull seems overwhelming. Have fun with it and why not make some other fun colors or patterns while your at at. Just remember, if you mess up, or it comes out “bad” it was only $1! And if you’re looking for some other Dollar Tree Rainbow Halloween craft and decor ideas, make sure to check out the Rainbow Blinged Out Coffins and the Pumpkin Topiary we made to go along with this fun Rainbow Ombre Skull!
The colorful Rainbow theme reminds me of the Day of the Dead type decor and I’m totally loving it. Alright lets get our Ombre on….
This post may contain affiliate links for your convenience (which means if you make a purchase after clicking a link I will earn a small commission but it won’t cost you a cent more!)
Supplies Needed to Make a Dollar Tree Ombre Effect Painted Skull
- Plastic Skull
- Pencil
- Rainbow colored acrylic paints
- White chalk paint
- Paint brush
- Faux black rose (optional)
How to Paint a Rainbow Ombre Skull
First, wash your skull with warm soap and water. A clean surface helps the paint to apply more evenly and to stay longer.
Paint the entire skull with one coat of white chalk paint. This helps the rainbow ombre to colors to be more vibrant and blend evenly.
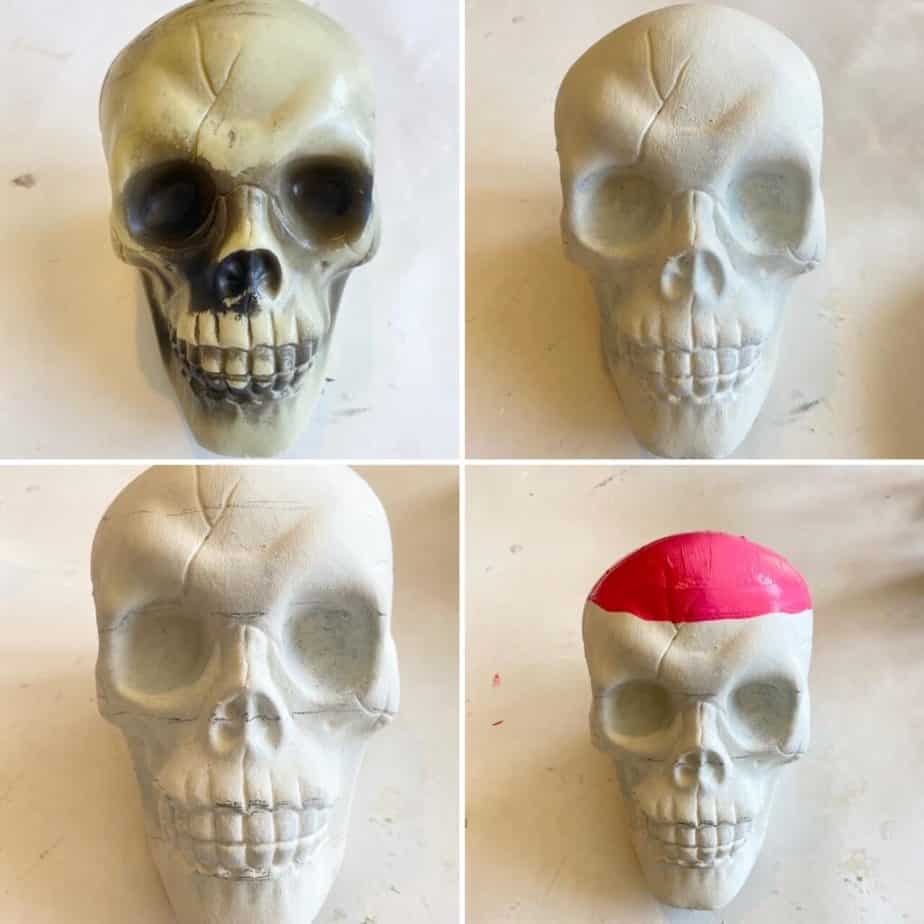
Lightly draw pencil lines to mark the area where you will switch colors. This doesn’t have to be exact, just a general idea so that you don’t end up running out of room for the last color.
Take the brush, and dip into a generous amount of pink/red paint and begin to paint the top of the skull down to the first pencil line. Leave the paint fairly thick around the bottom part of the line so that we can use the extra paint to blend into the orange.
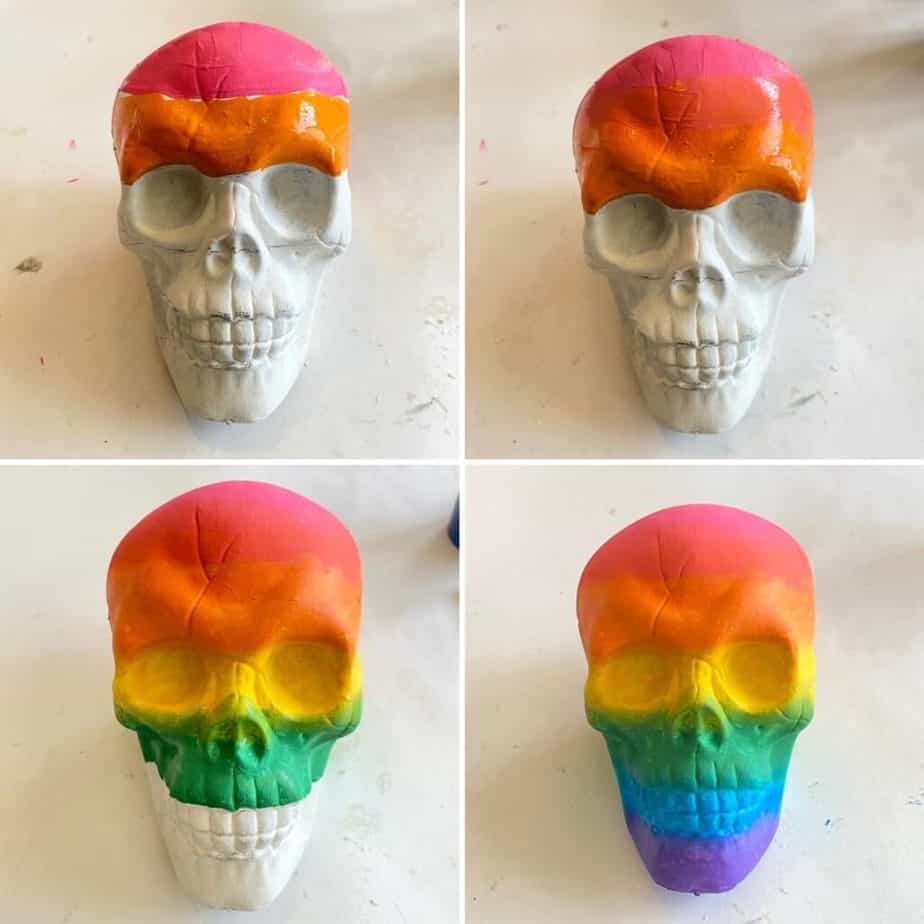
Clean the brush off extremely well, and do the same thing with the next color, orange, but this time leaving the orange paint thick towards the top part of the line where it will blend with the pink.
Without cleaning your brush this time, paint a line across the part where the 2 colors meet, blending them as you go. Be careful not to flip your paint brush when going around the skull or you’l get a defined line of the incorrect color rather than a blend.
Now, it won’t look like a smooth blend at all right now so don’t worry we are going to fix that. Take your paint brush and dip it in the water so it’s wet, but not dripping water and use the wet brush to go around and blend until you are satisfied with the transition.
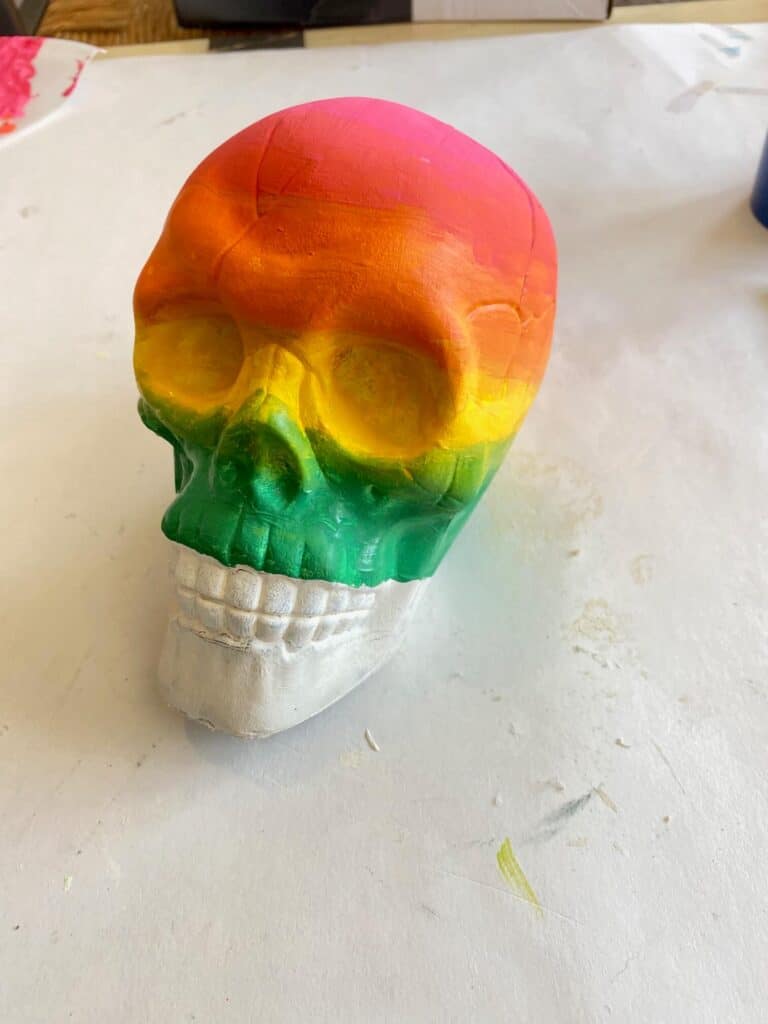
This is a little difficult to explain, but as long as yo have the general idea you can get creative and make it your own. I am in no way a painter, so this is not Art Science here that I am teaching you. Just do your best, blend, add more paint if you need, and have fun!
Continue to do the same thing for each of the 6 colors, blending with a wet brush in between. Once you are done, you can go back and add more paint and blend more where needed.
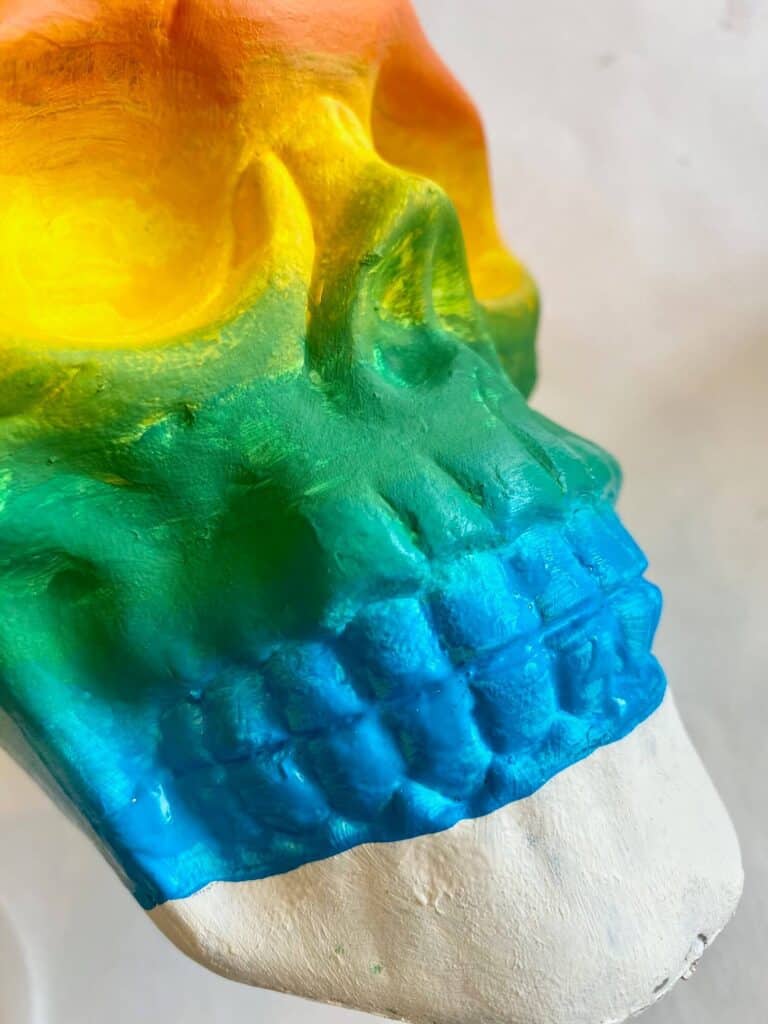
Who’s that lurking in the shadows?……A Dollar Tree Rainbow Ombre painted skull!
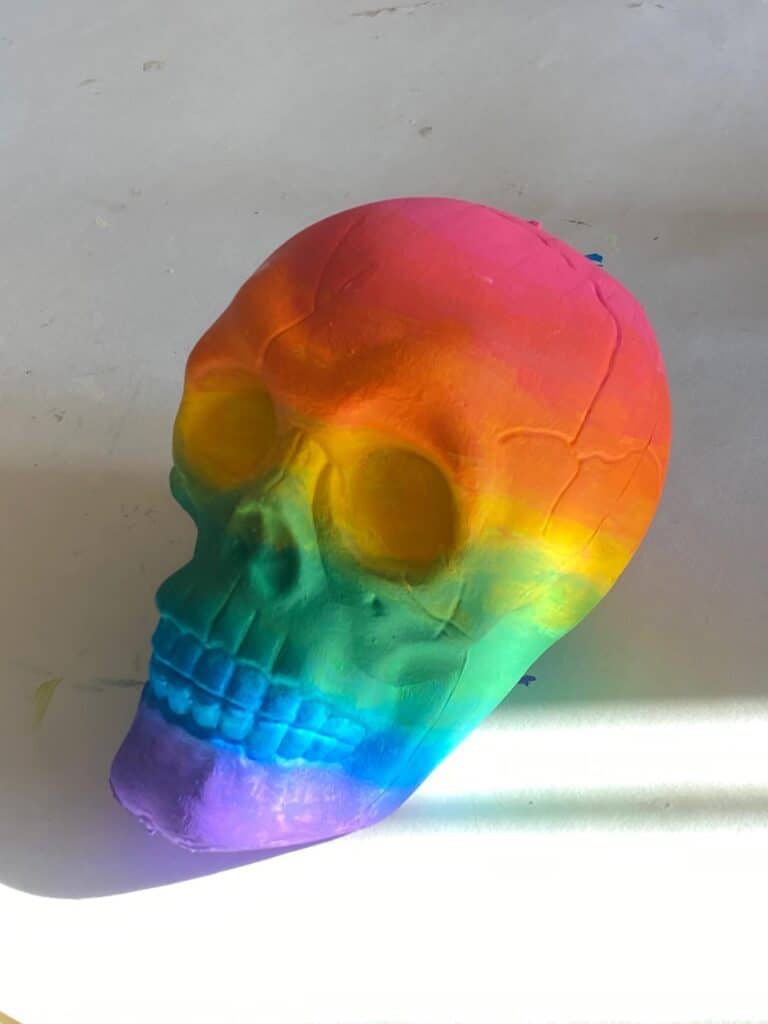
If you want to go with the ‘Day of the Dead-ish’ look that we gave our skull, go ahead and glue a Faux Black Rose “behind his ear”.
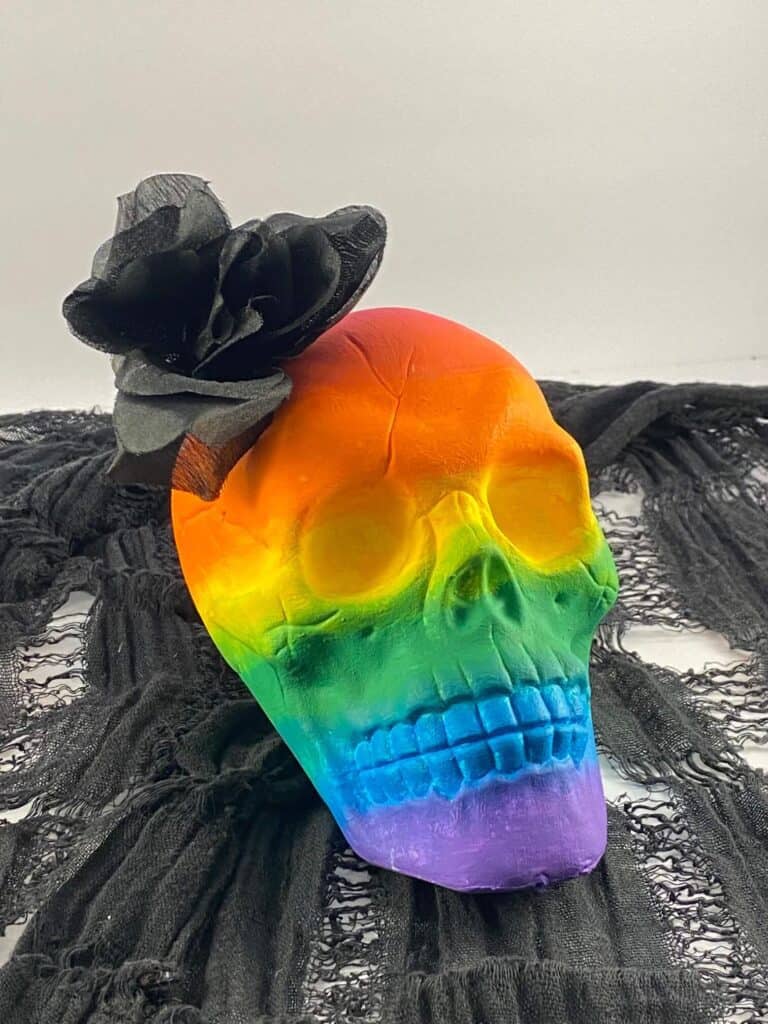
Don’t you just love how this little guy turned out!? He would look so fun at your colorful Halloween party as a centerpiece for the snack table, or just as table topper next to a Rainbow Pumpkin Topiary that you can also make for Dollar Tree. Whatever you decide to do with this Rainbow Skull of fun, he’s sure to be a hit! Make sure to grab our party planning checklist so you can take the stress out of planning your Halloween shindig!
Stressed about planning your party?

Eliminate the stress and don’t forget a single thing with our Party Planning Checklist!
Until Next Time…
Stay Crafty San Diego!

If you love this Ombre Rainbow Painted Dollar Tree Skull, PIN it for later!

Ombre Rainbow Skull
