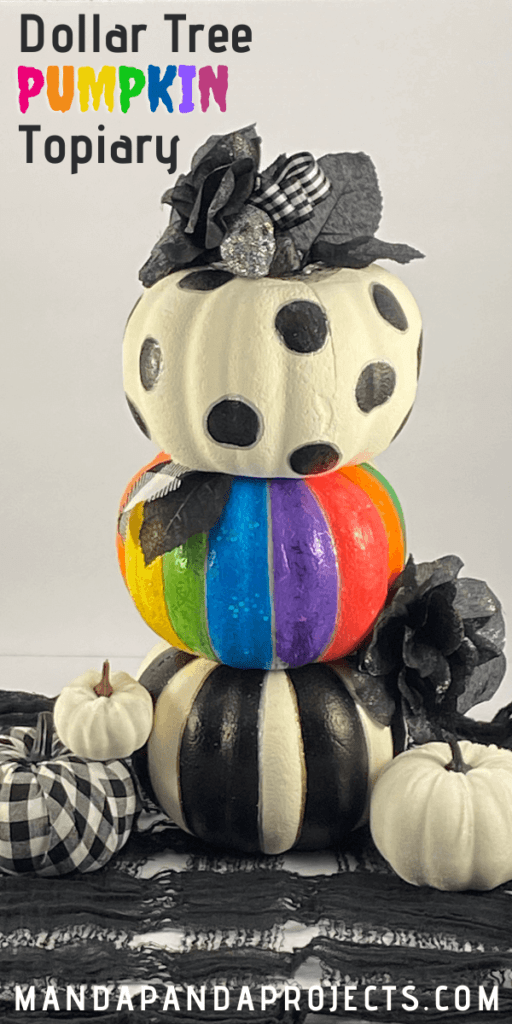
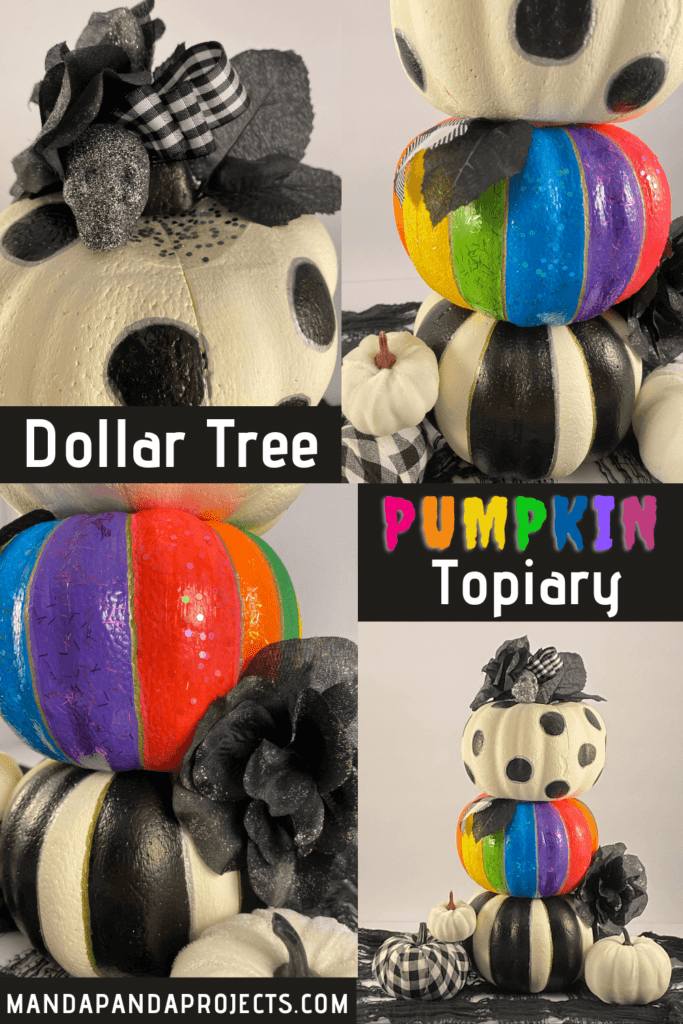
This Dollar Tree DIY Rainbow Pumpkin Topiary isn’t your traditional fall look, but it’s a super fun and easy way to dress up your decor this Halloween. Get colorful and glam this year by stepping out of the orange and black box, and stepping into the rainbow!
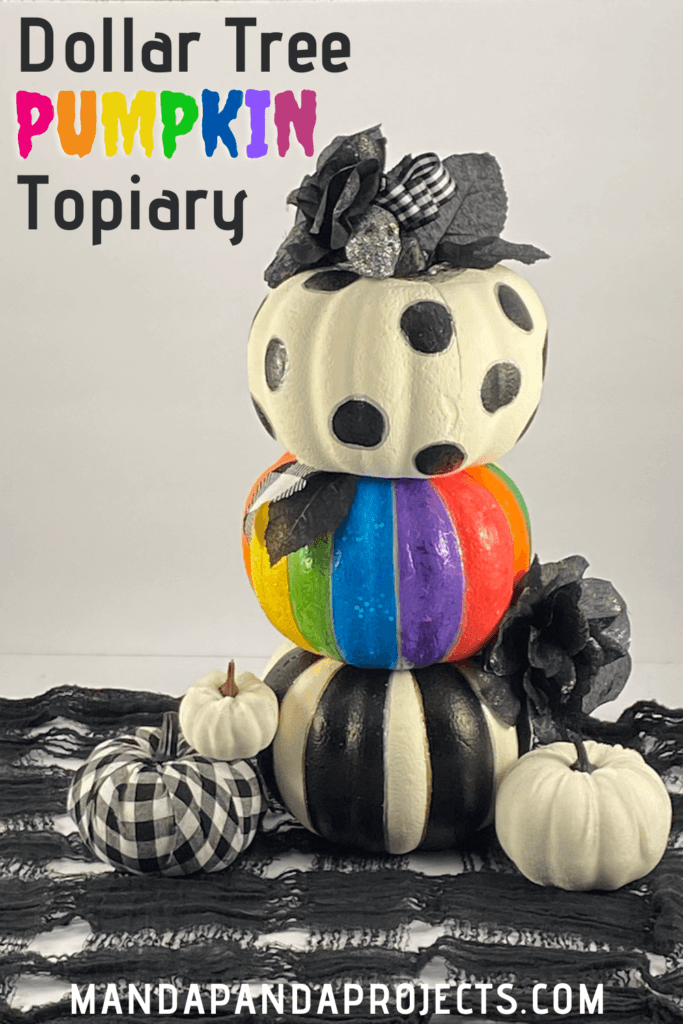
We are doing things totally different this year for Halloween, and why not…..2020. I don’t know if it’s all the craziness this year has brought, or that I’m just getting crazier with age, but we are going Full.On.Rainbow. this year. And I am LOVING it. So much so, that I don’t think I can ever go back to a traditional orange and black Halloween.
This Dollar Tree Rainbow Pumpkin Topiary is super easy to make, although it was a bit time consuming. It’s just one more reason to love those $1 foam pumpkins! Last week we made them into Buffalo Plaid Fabric covered pumpkins, and this week it’s a Rainbow Topiary, but the best part about the multi colors is that you can keep the Buffalo Check and it still looks fab. You could also use a more traditional rainbow colored paint scheme, but I chose to go all “Lisa Frank” with it (if you don’t know who that is you’re too young!).
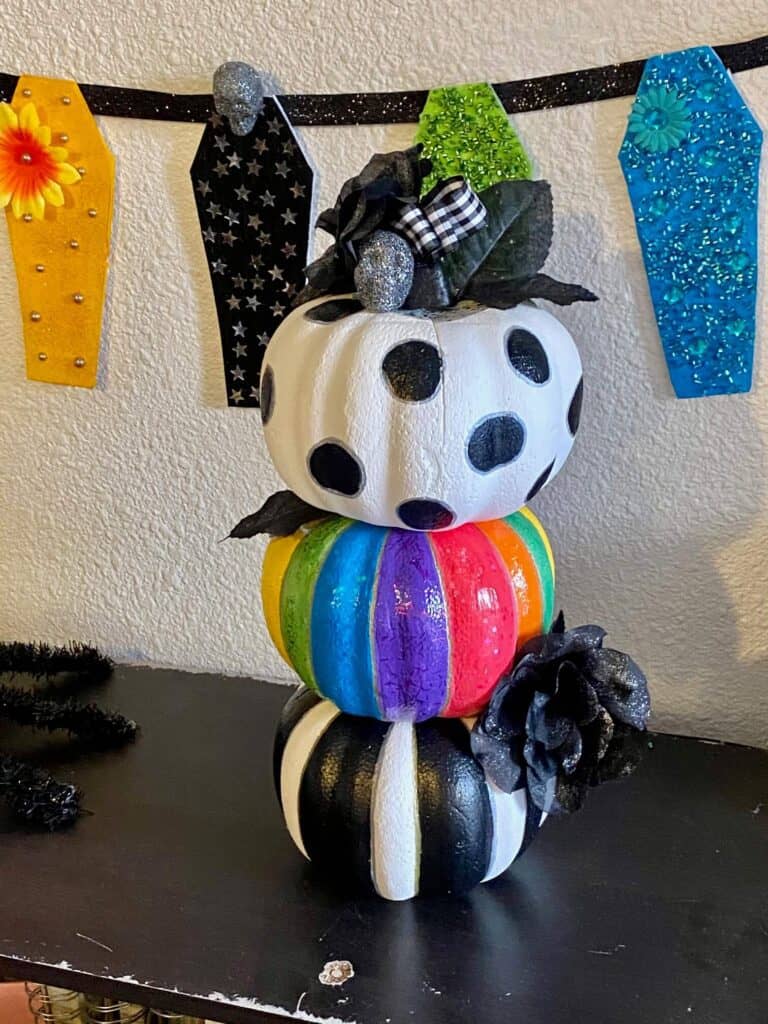
Obviously, this Rainbow Pumpkin Topiary can’t fly solo, so make sure to check out these adorable Blinged out Rainbow Coffins we made to match. And if you are feeling a little colorful this Holiday season, jump on the Halloween Glamwagon and hold on tight, it’s gonna be a wild ride!
Let’s get glammed up for Halloween!
This post may contain affiliate links for your convenience (which means if you make a purchase after clicking a link I will earn a small commission but it won’t cost you a cent more!)
Supplies needed for a DIY Dollar Tree Rainbow Pumpkin Topiary
- 3 Foam pumpkins
- Rainbow colored paint (you can use traditional rainbow colors or brighter more “Lisa Frank” colors like we did)
- Black and white chalk paint
- Silver and gold metallic marker pens
- Variety of rainbow and silver chunky glitters
- Black rose faux flowers
- Silver glitter foam skull (you may have to paint and glitter white ones if you can’t find them)
- Black faux leaves
- Mod Podge
- Toothpicks
- Round Paint Foam Sponge Brush
- Hot glue gun
- Piece of buffalo check ribbon (optional)
How to make a Rainbow Topiary with Dollar Tree Foam Pumpkins
Follow the below easy steps to make a DIY Dollar Tree Rainbow Pumpkin Topiary.
First, get all the Dollar Tree foam pumpkins prepped and ready
Remove the green foam “stem” from each pumpkin. Paint the stem of one of them black.
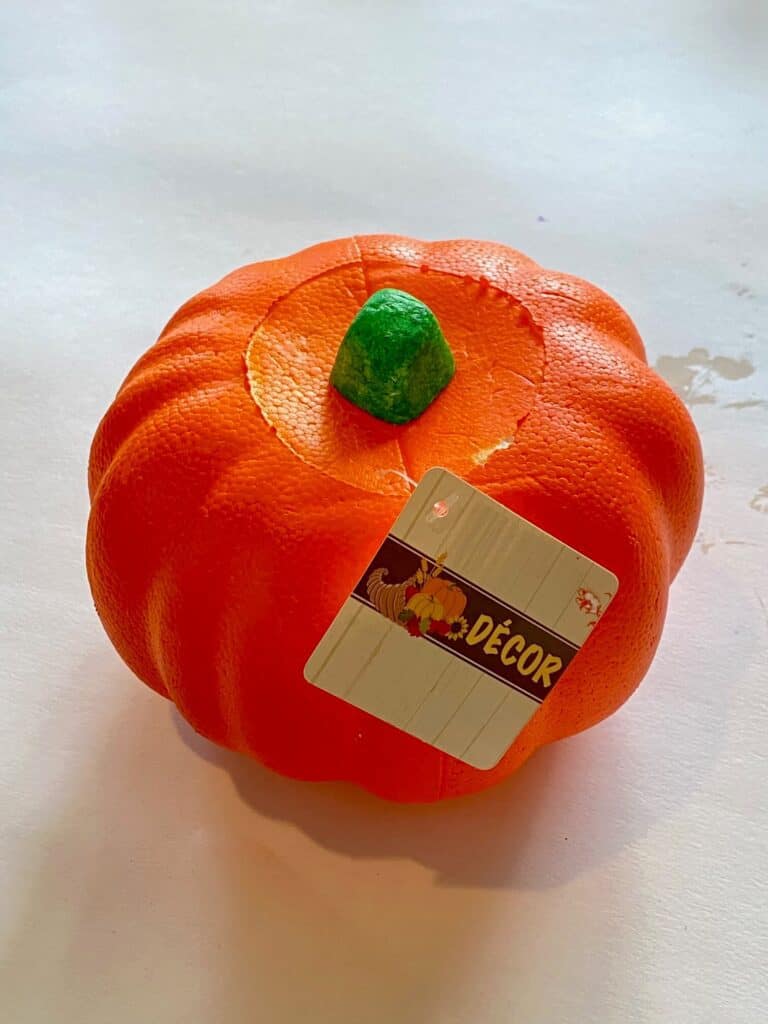
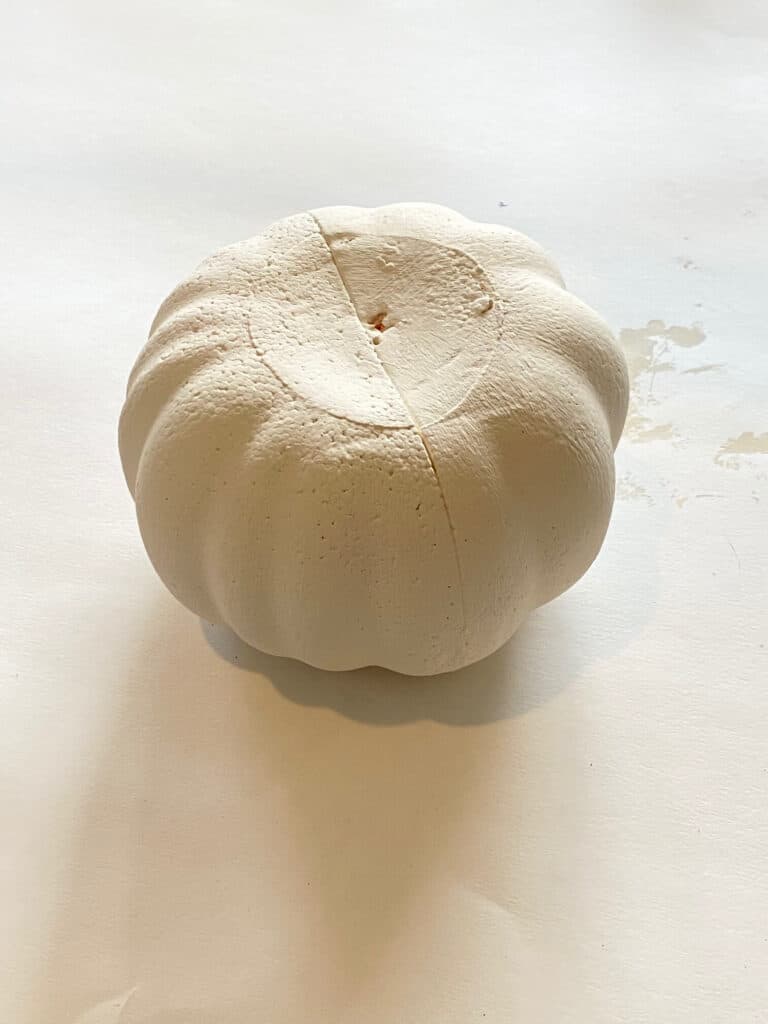
Paint all 3 pumpkins with white chalk paint. You will need to give it 2 coats for full coverage. For the rainbow pumpkin, you can probably get away with only one coat since we will be painting colors over it, but the base coat helps so that the orange doesn’t show through.
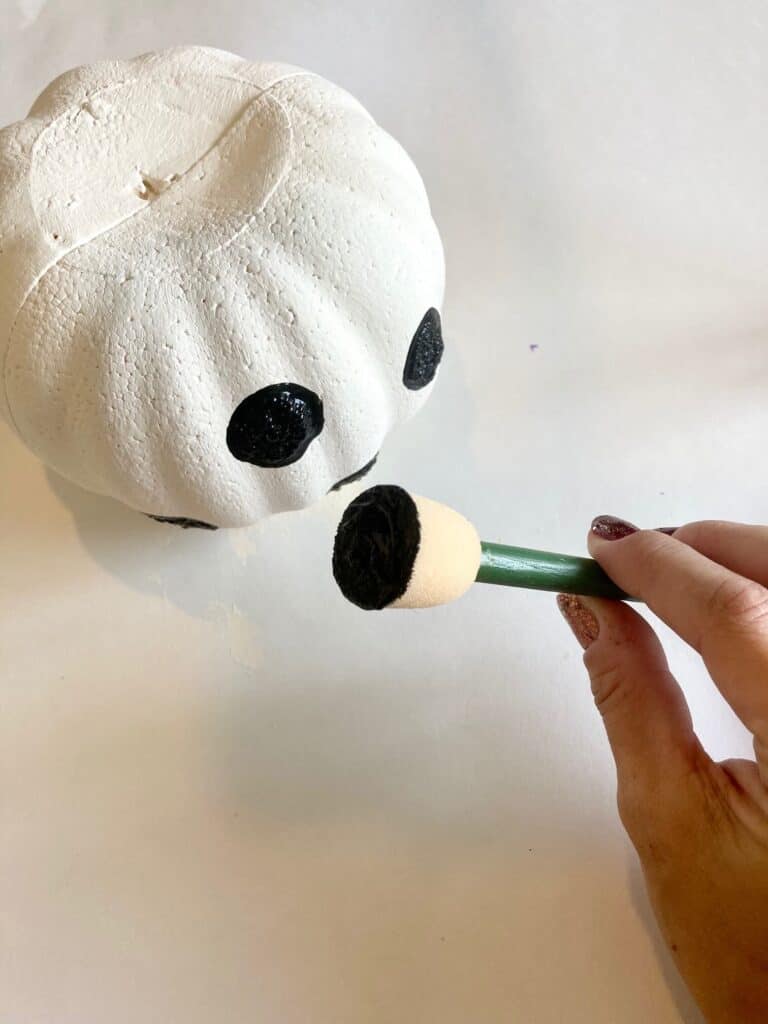
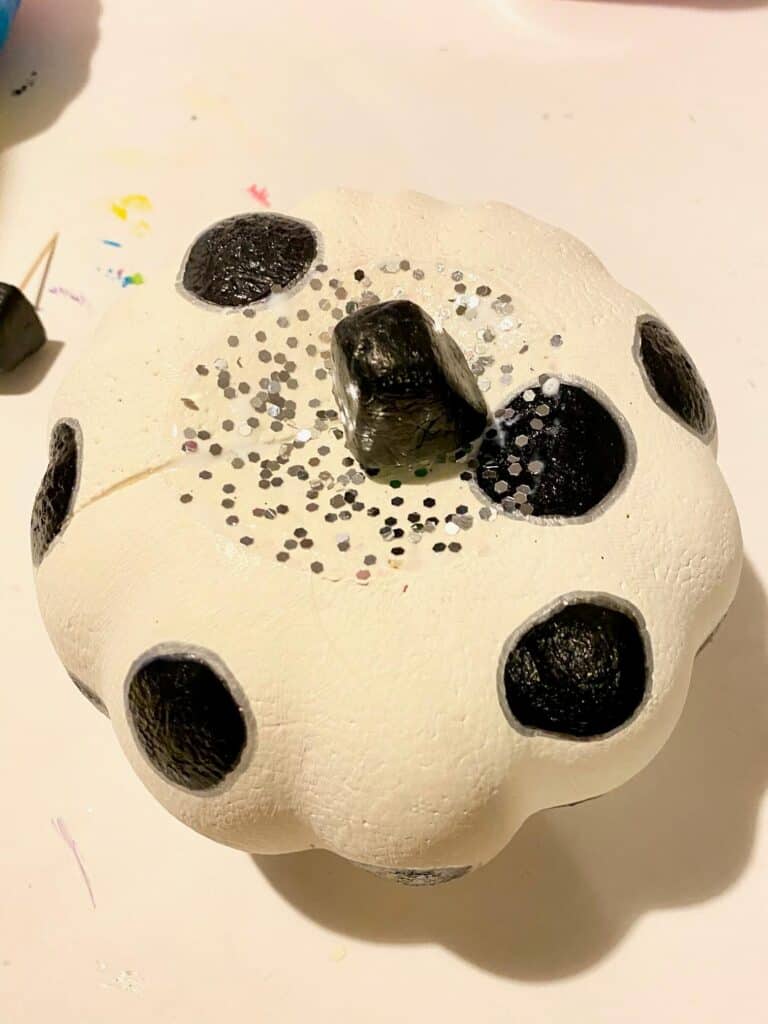
Use the round foam paint brush to make sporadic black polka dots on one of the pumpkins.
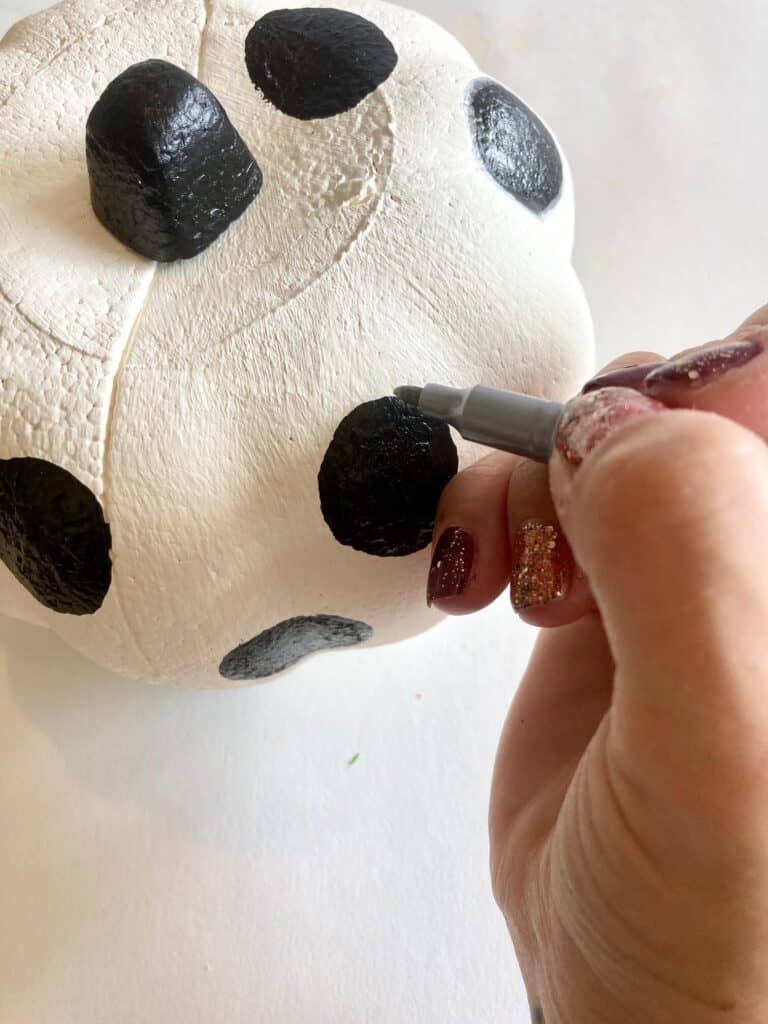
Once the paint has fully dried, use the silver metallic marker pen to outline the black circles. You can make the silver lines as thick or as thin as you’d like.
Paint black stripes on another pumpkin. We used the creases of the pumpkin as a guide. Don’t worry about it being perfect, the metallic marker will cover any imperfections.
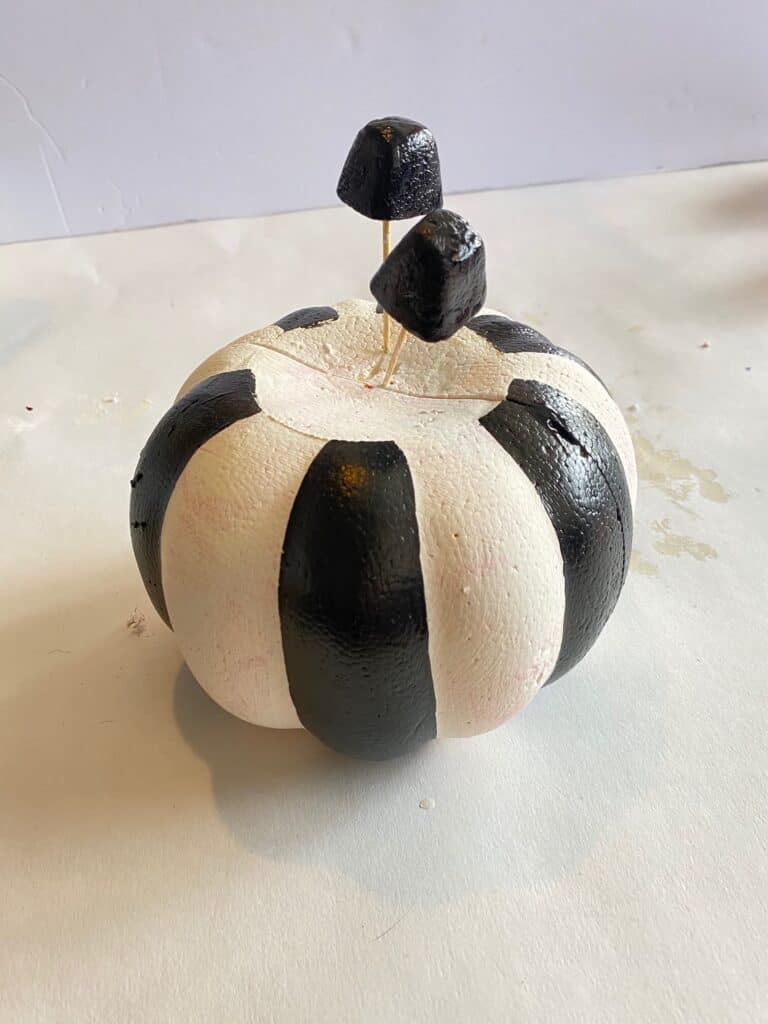
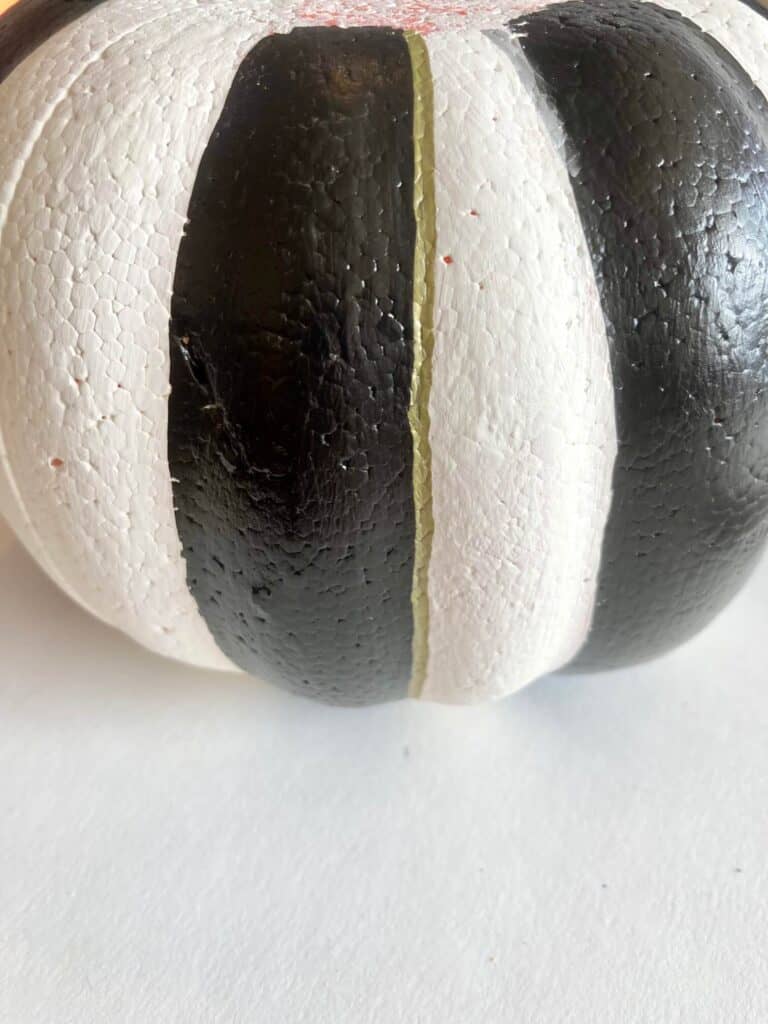
Use the gold and silver markers to draw a line down each crease, separating the black and white stripes. Alternate gold/silver all the way around to get the exact look of this one.
Paint rainbow stripes all the way around the last pumpkin. Once the paint has fully dried, use the gold metallic marker to draw a line down each crease, separating the different colors.
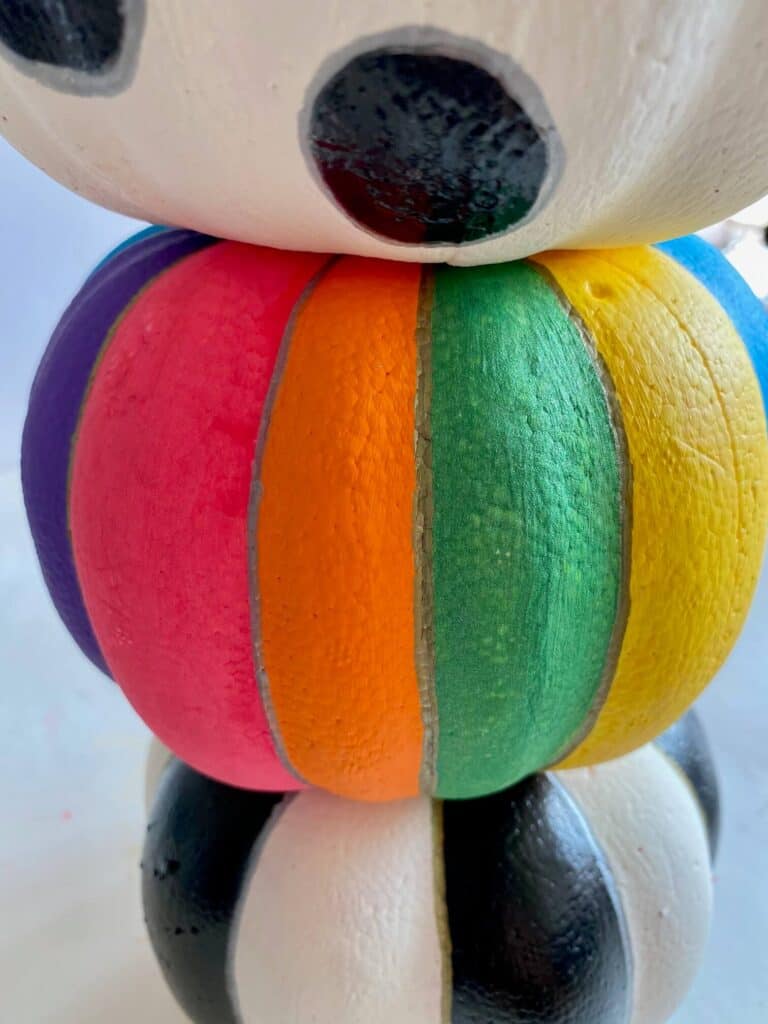
Now let’s glam up those Dollar Tree painted foam pumpkins!
Use a paint brush to apply a layer of Mod Podge to the rainbow pumpkin, one color at a time, and then add glitter of your choice. So, for example first apply the Mod Podge to the pink section and than add a pink colored glitter. Next, blue, and so on. You don’t want to apply it to the entire pumpkin, because Mod Podge dries very quickly and by the time you get to the last color, the glitter won’t stick. Don’t worry if it’s all white and goopy, Mod Podge dries completely clear!
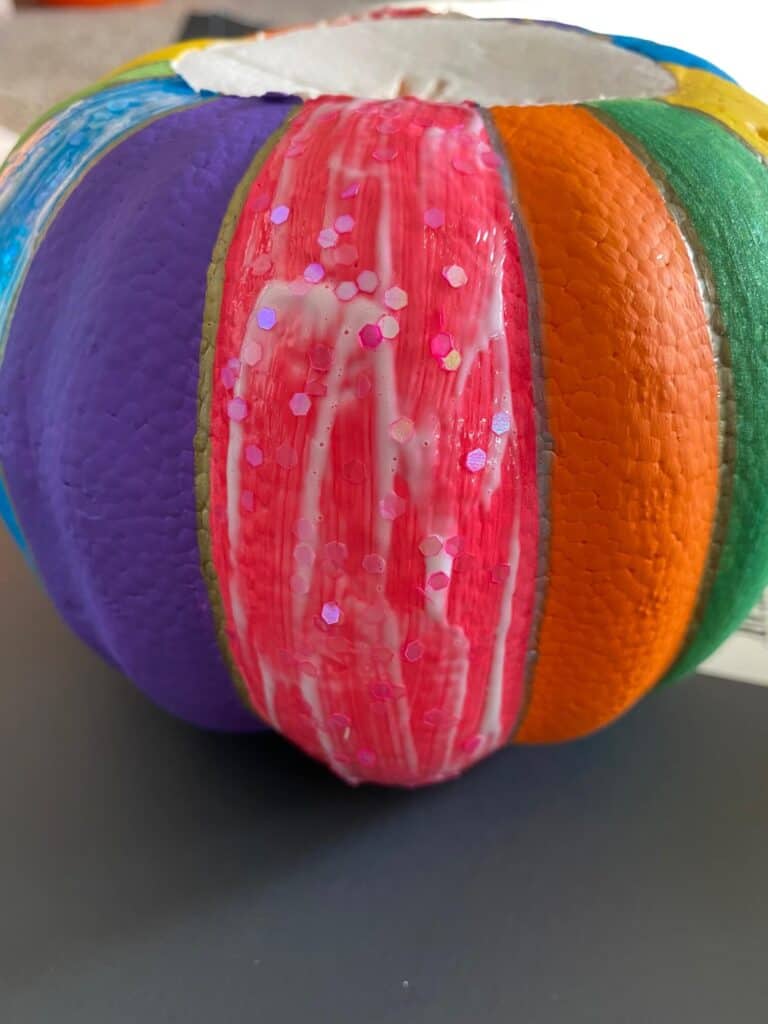
Choose which pumpkin you want to be on top and add Mod Podge and silver glitter to the top of that pumpkin.
Stack the painted Dollar Tree pumpkins to make a Topiary
Once the paint, glitter, and glue has completely dried, it’s time to stack them. I used tooth picks in between each pumpkin to hold them together, instead of glue so that they can be easily separated for storage. Stick 2 toothpicks about halfway into the top of the first pumpkin, and than place the middle one on top. Hold the toothpick and guide it into the bottom of the other one so that it doesn’t just push it down into the first one when you place it on top.
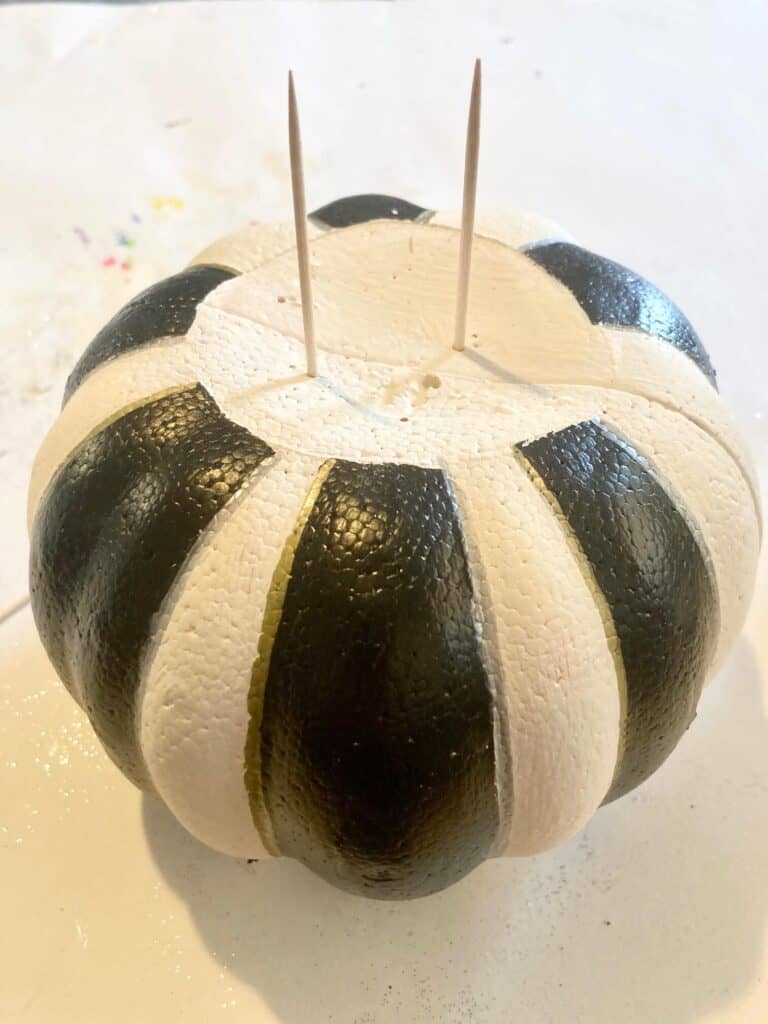
Do the same to the 3rd pumpkin until you have 3 stacked to form the topiary.
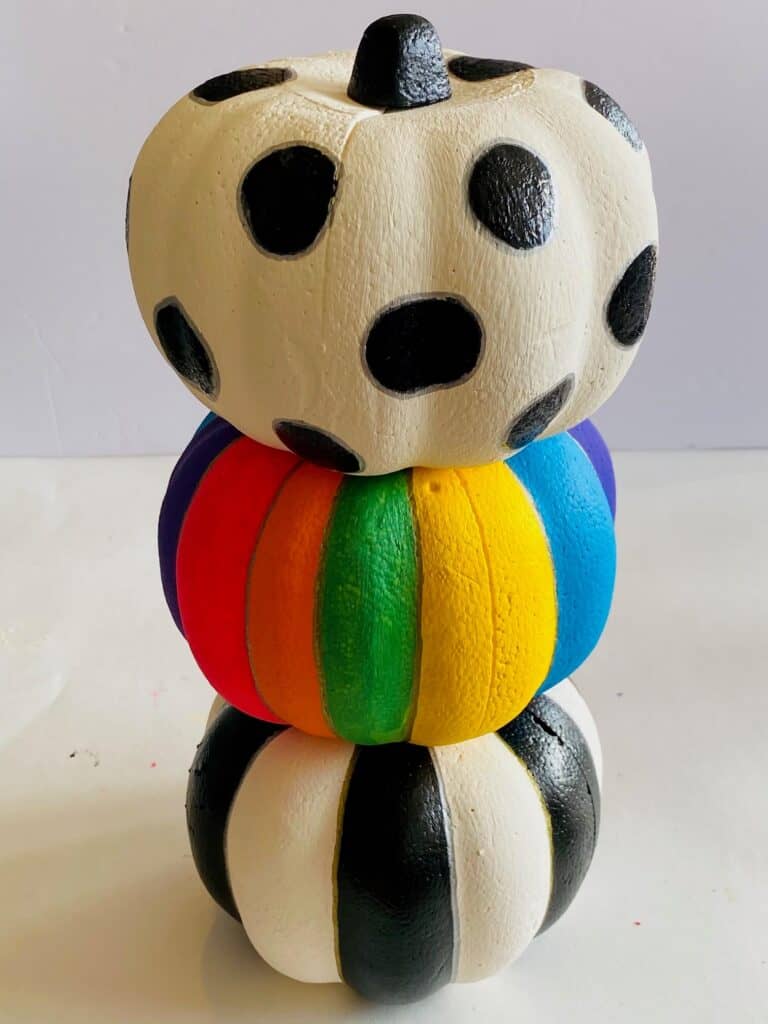
Lastly, we decorate the DIY Dollar Tree Rainbow Pumpkin Topiary
Take 2 faux black roses and use a paint brush to dust a light layer of Mod Podge on the petals, and add some silver glitter. Stick the black painted stem into the top of the pumpkin topiary. Glue the faux black rose, some faux black leaves, and one of the silver glitter skulls. You can add a small folded strip of buffalo check ribbon for decoration as well.
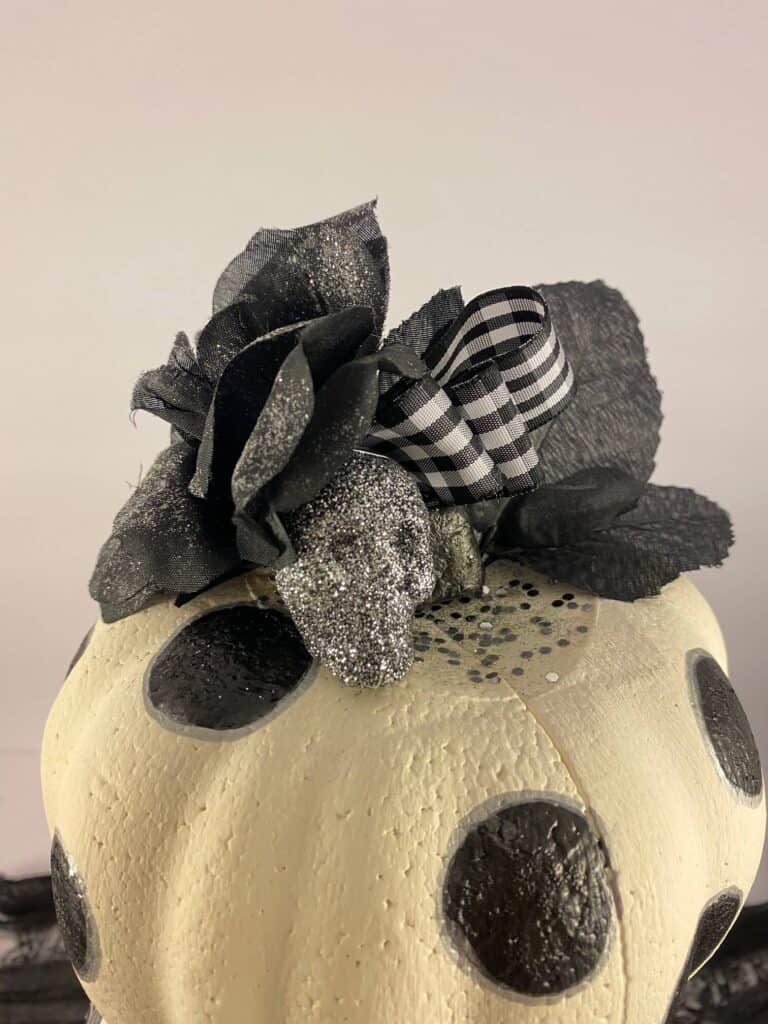
Glue the other black rose to the crease between the 2 bottom pumpkins, on the right hand side.
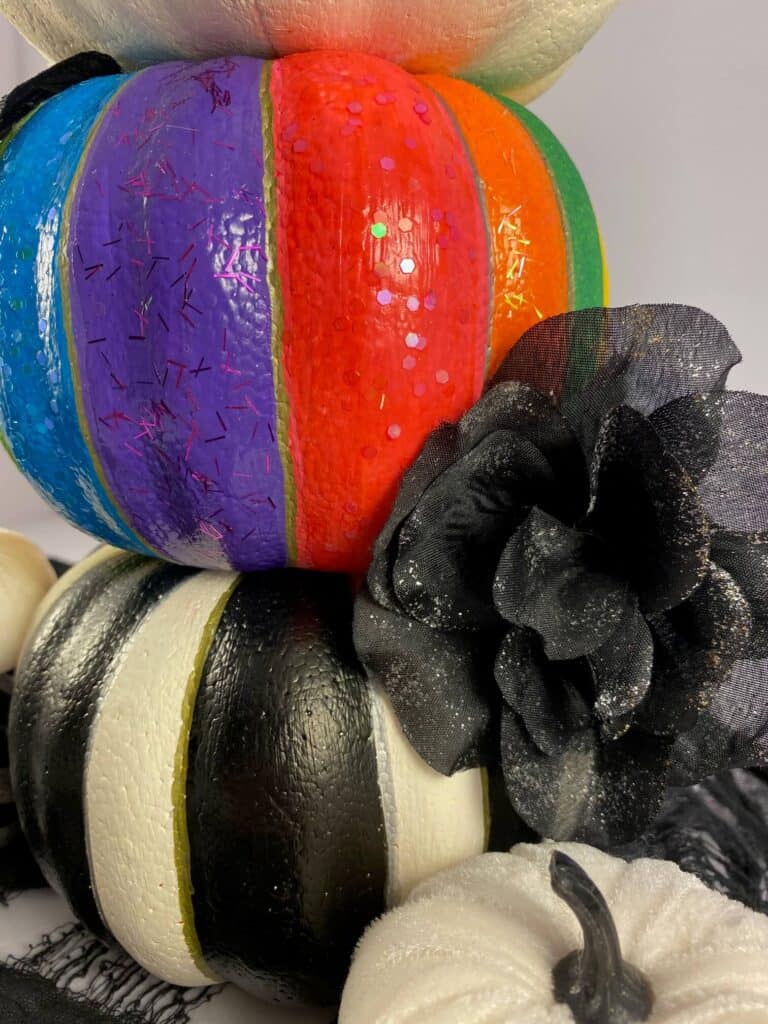
And lastly, glue a couple black leaves on the opposite side between the top 2 pumpkins.
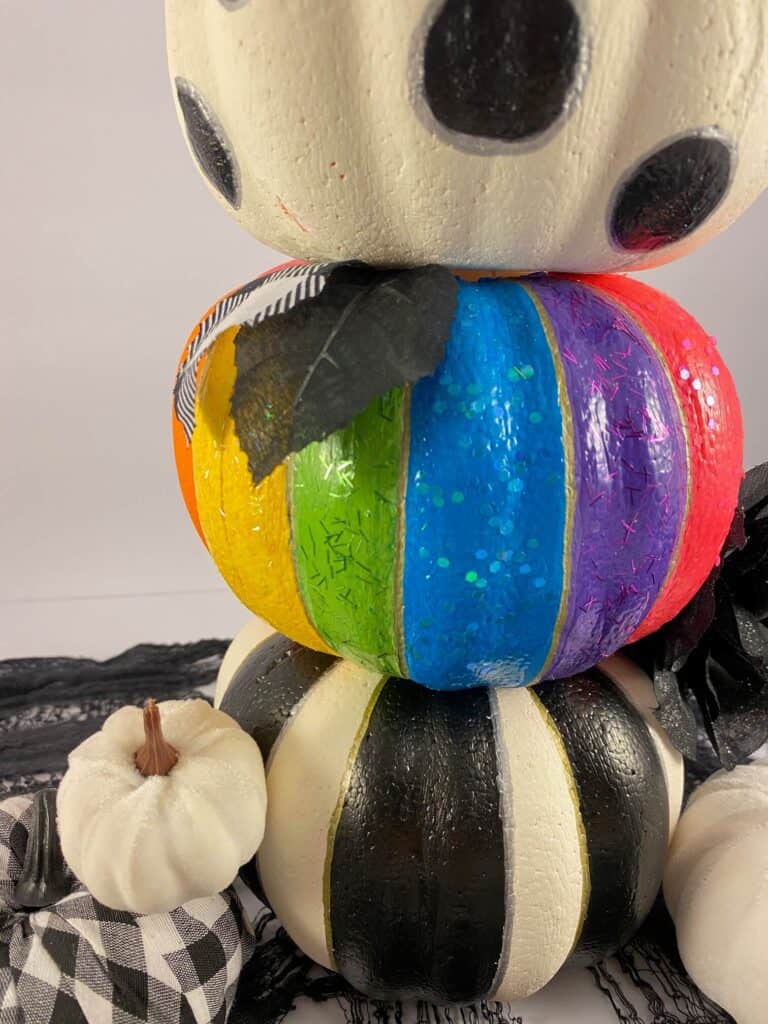
W-O-W! What a beauty!
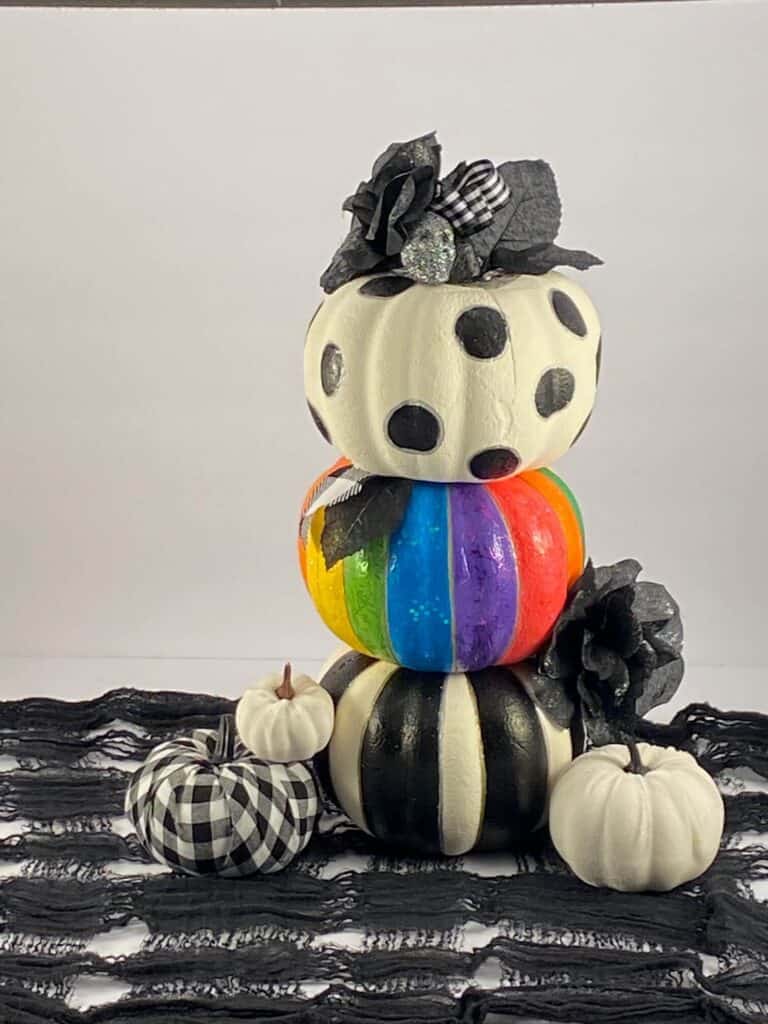
This DIY Dollar Tree Rainbow Pumpkin Topiary is everything but scary for Halloween! With the way this year has been, we could all use a little cheer in our decorations this year. I encourage you to step out of the orange and black box with your DIY Halloween decorations, and jump on the Halloween Glamwagon! You could put this Topiary on your front porch, or even on top of a bookcase with some other fun and colorful DIY decor. Whatever you decide to do, it’s sure to do the opposite of scare people away!
Follow me @Mandapandaprojects on Instagram for even more colorful crafts and Holiday decor!
Until Next Time…
Stay Crafty San Diego!

If you loved this DIY Dollar Tree Rainbow Pumpkin Topiary, PIN it for later!

