I prefer cute over creepy for my Fall and Halloween crafts and decor, but this Dollar Tree Skull Witch is actually both….it’s creepy cute! Oh and it’s budget friendly too. DIY Halloween decor for the win!

Ya gotta love a good ole’ Dollar Tree DIY, and this is one for the books!
It’s creepy, it’s cute, it’s neutral, and it’s gold. OH, and there’s Leopard print too!
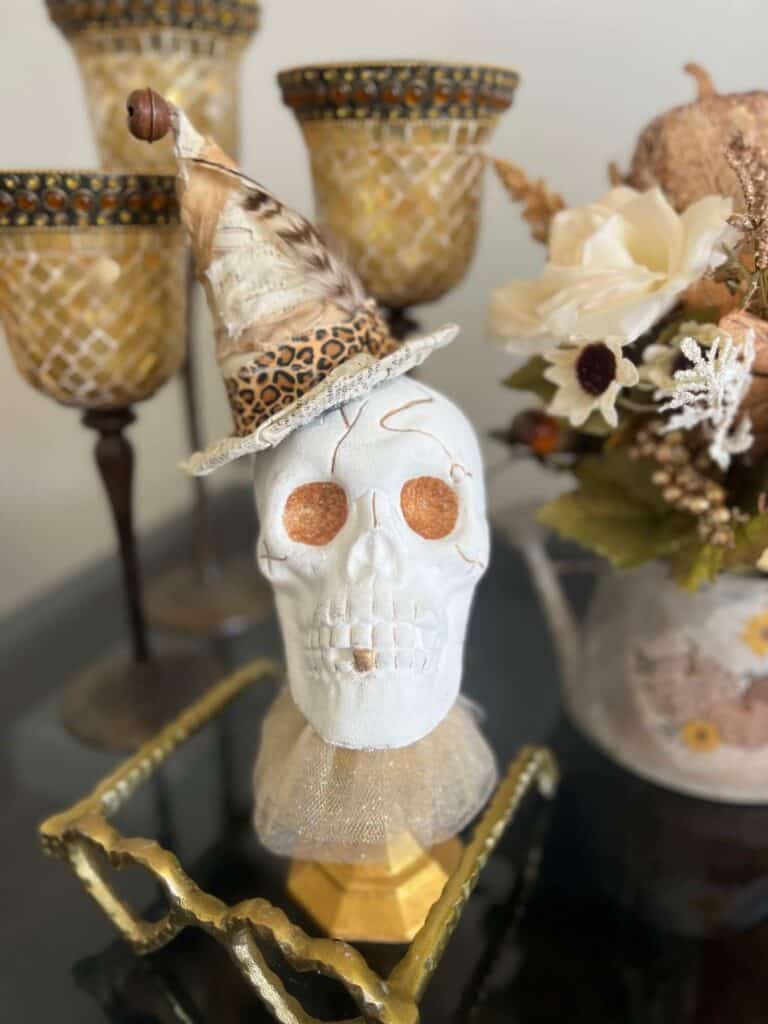
What’s not to love?
I became obsessed with the neutral, gold, and leopard print theme last year, and I think I will stick with it this year as well.
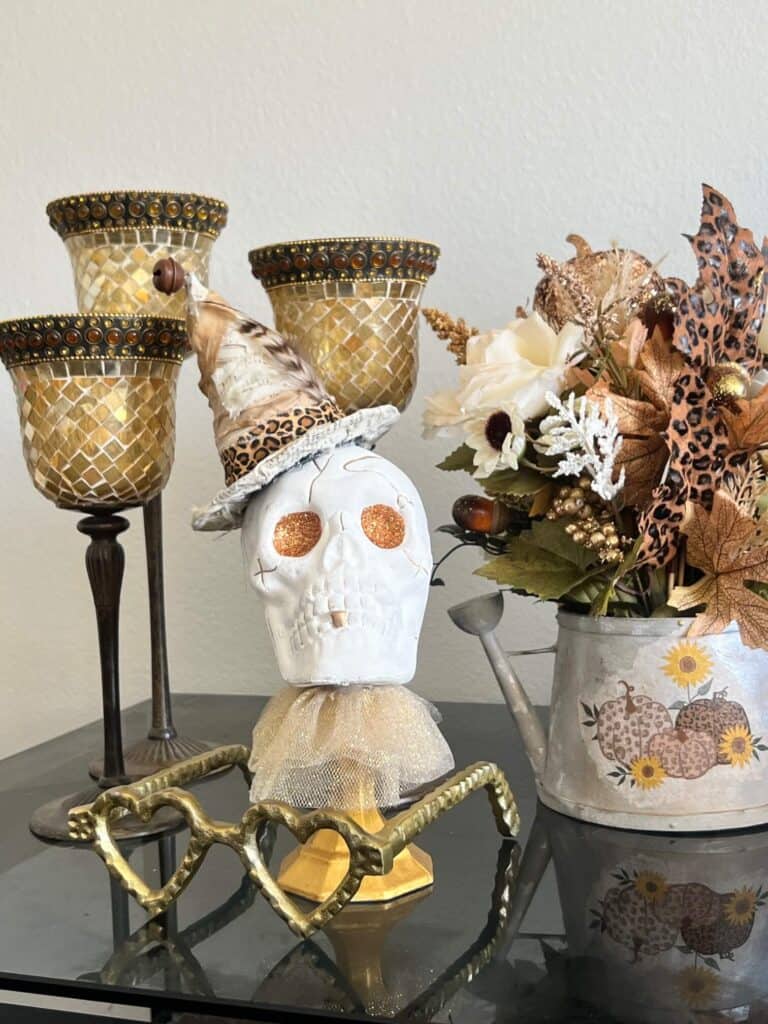
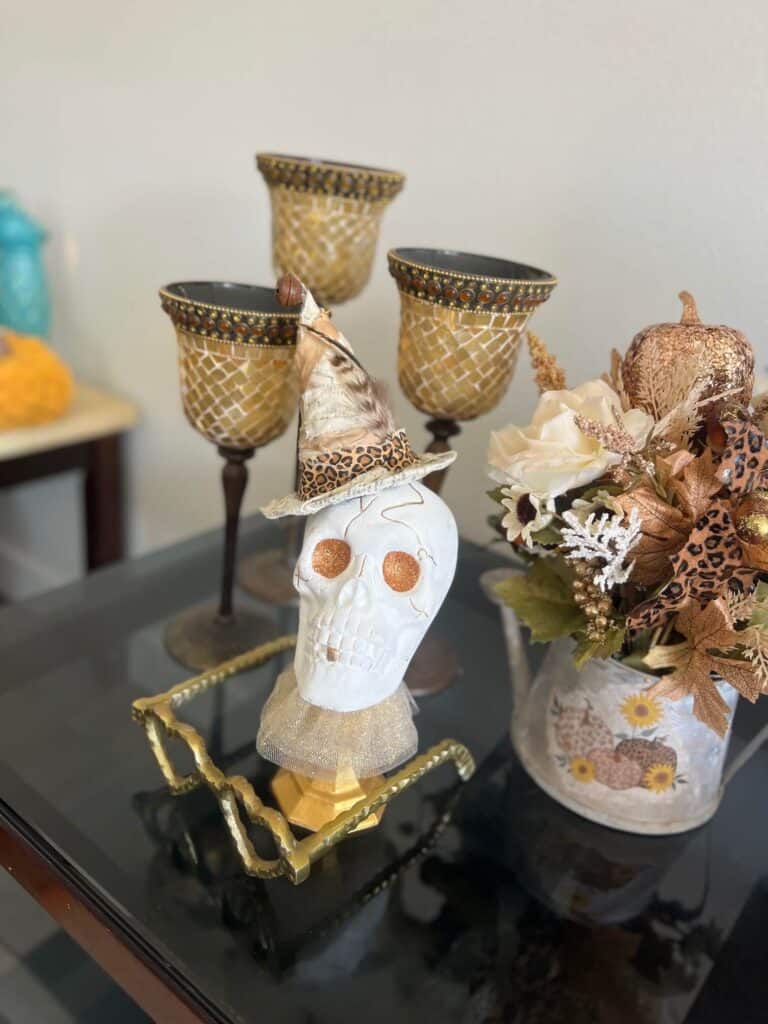
This Dollar Tree Skull Witch looked just perfect on my Fall-O-Ween bookcase, with all my other gold and leopard print fall decor.
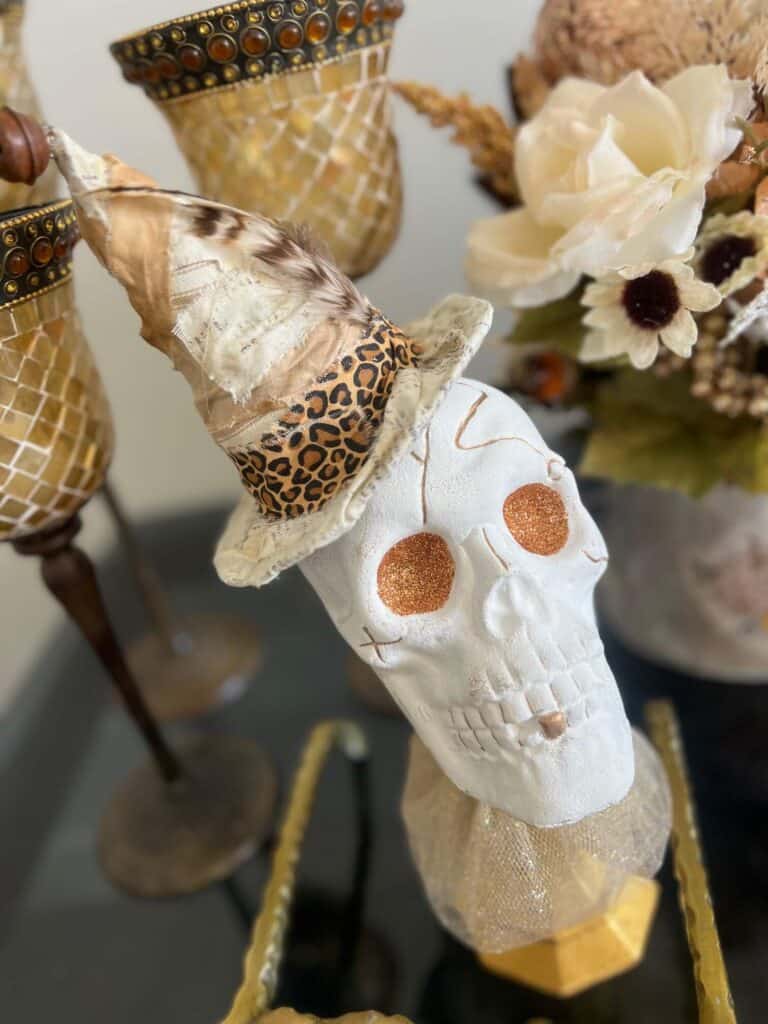
This Fall-O-Ween Skull with Witch Hat uses ALMOST all Dollar Tree supplies, except for the Tulle and fabric, which is from Walmart. Budget crafting for the win.
This post may contain affiliate links for your convenience (which means if you make a purchase after clicking a link I will earn a small commission but it won’t cost you a cent more!)
Supplies Needed to Make a Dollar Tree Skull Witch Decor
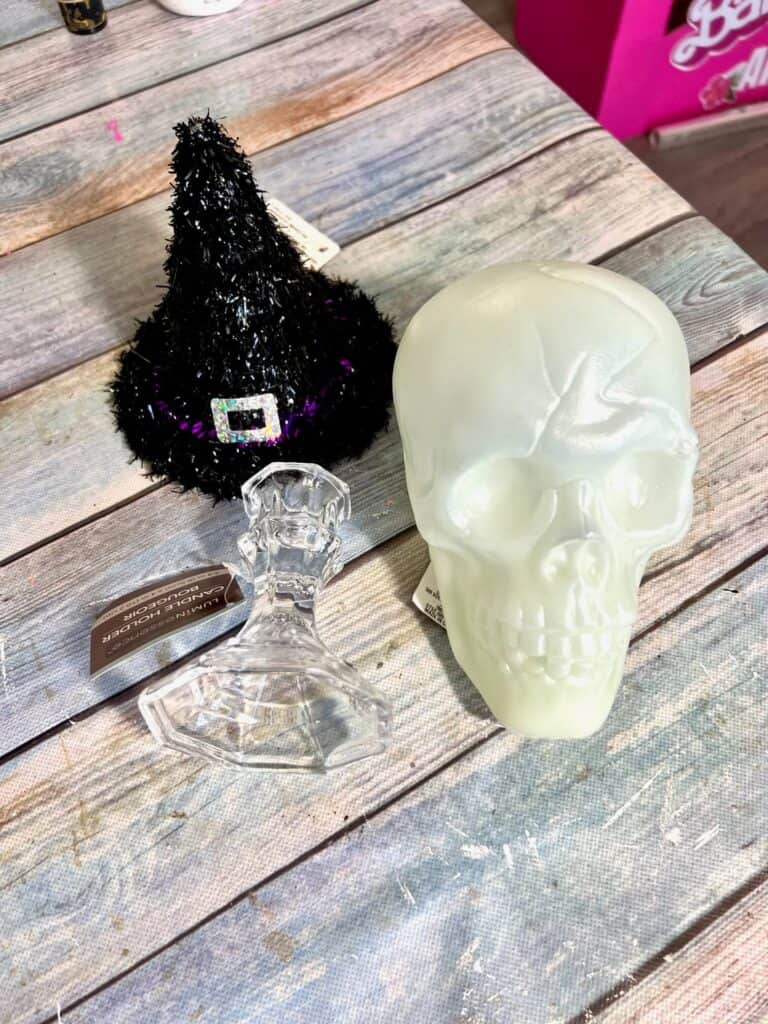
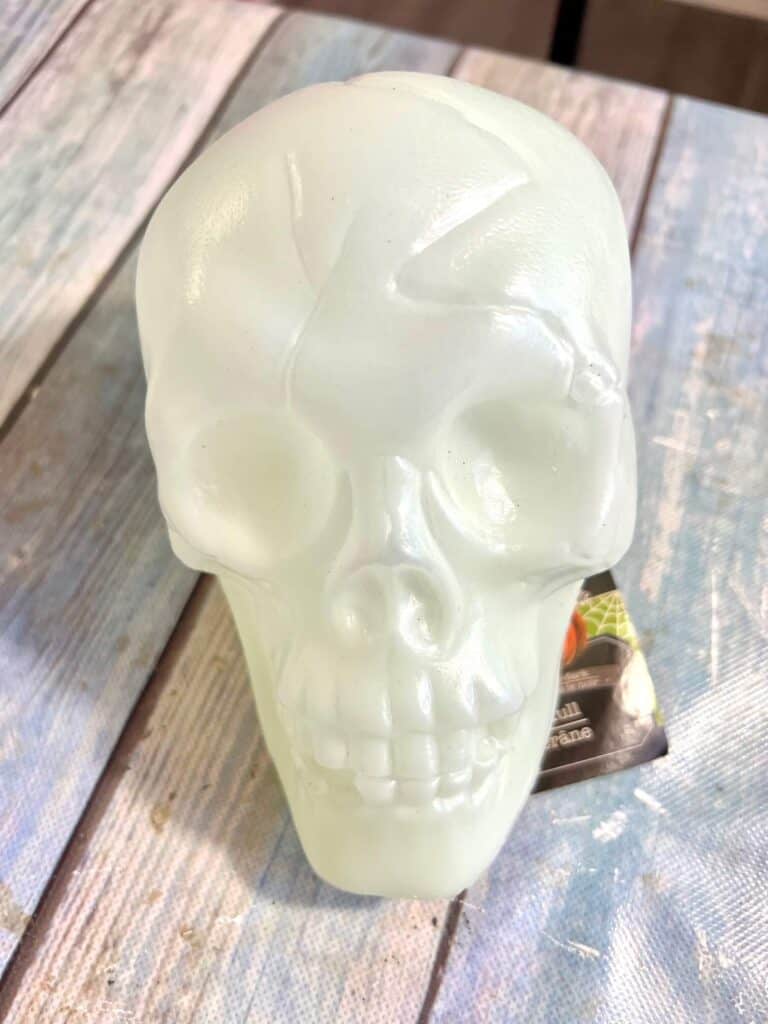
- Dollar Tree Plastic Skull
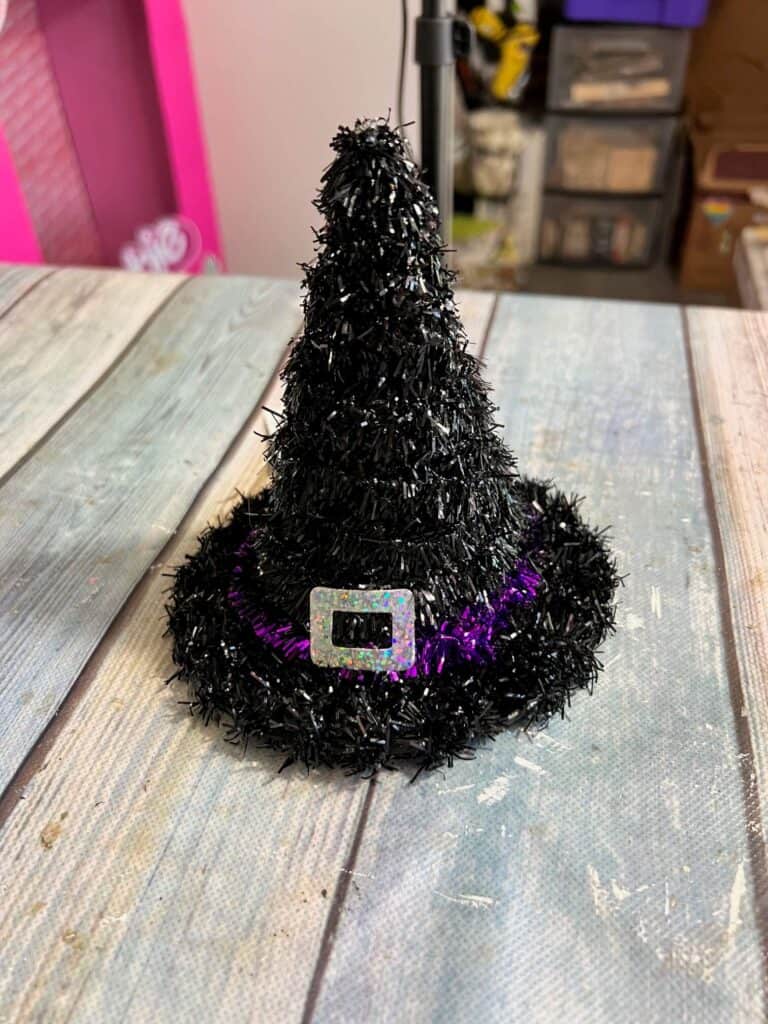
- Dollar Tree Tinsel Witch Hat
- Glass Candlestick
- Gold Tulle
- Antique Gold Rub n’ Buff
- Coordinating Fabric
- Paint: White, Gold
- Gold Glitter
- Rusty Bell
- Feather
- Mod Podge
- Hot glue gun
How to Make a Dollar Tree Skull Witch Decor
I made this Dollar Tree Witch Hat Skull on video. So you can WATCH the tutorial by clicking below.

I started off by taking all the tacky tinsel off of this Dollar Tree witch hat. It’s super easy to get off, just unravel it and throw it right into the trash because who wants to use that stuff!
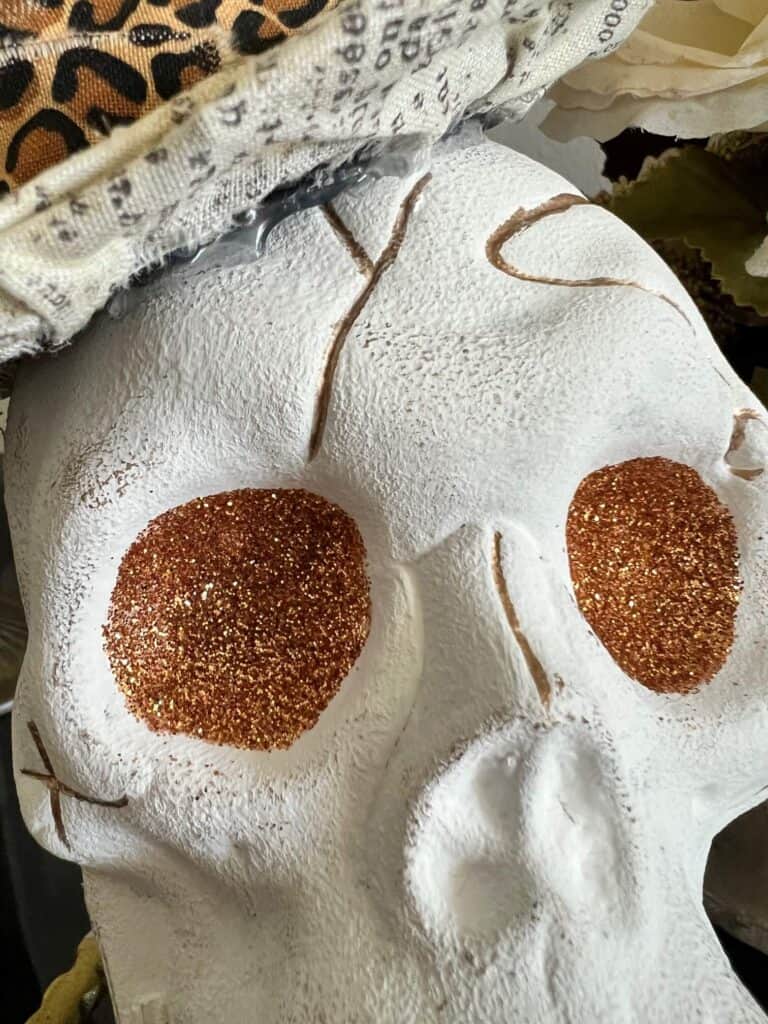
Then I gave my Dollar Tree plastic skull a good two coats of white chalk paint.
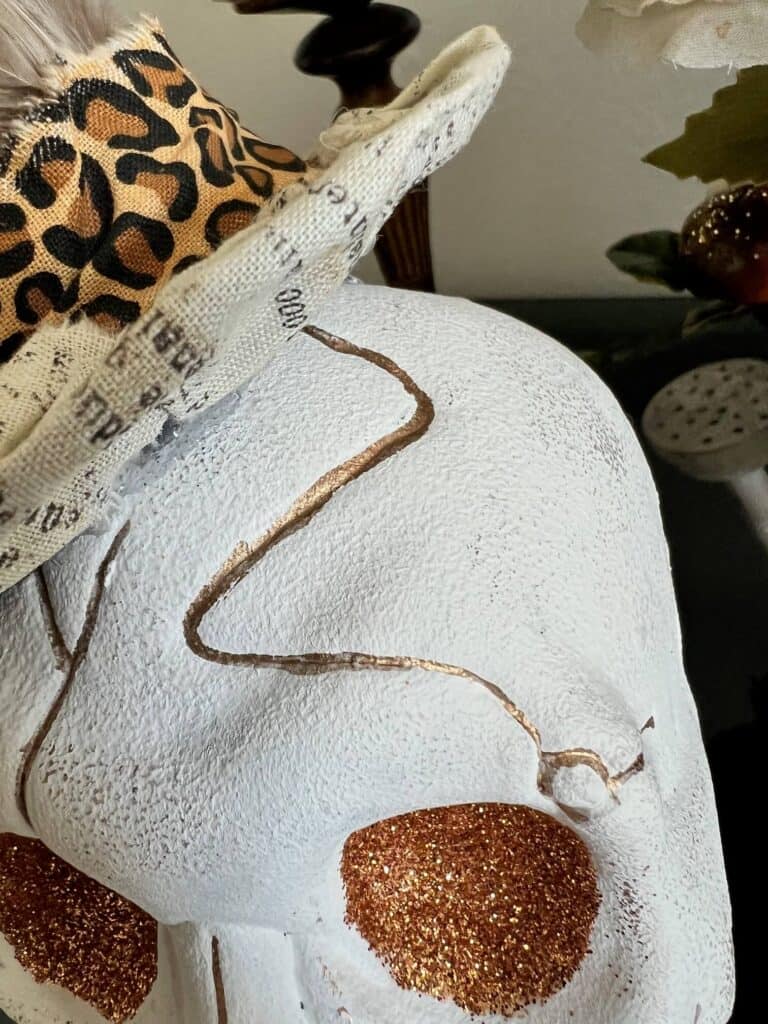
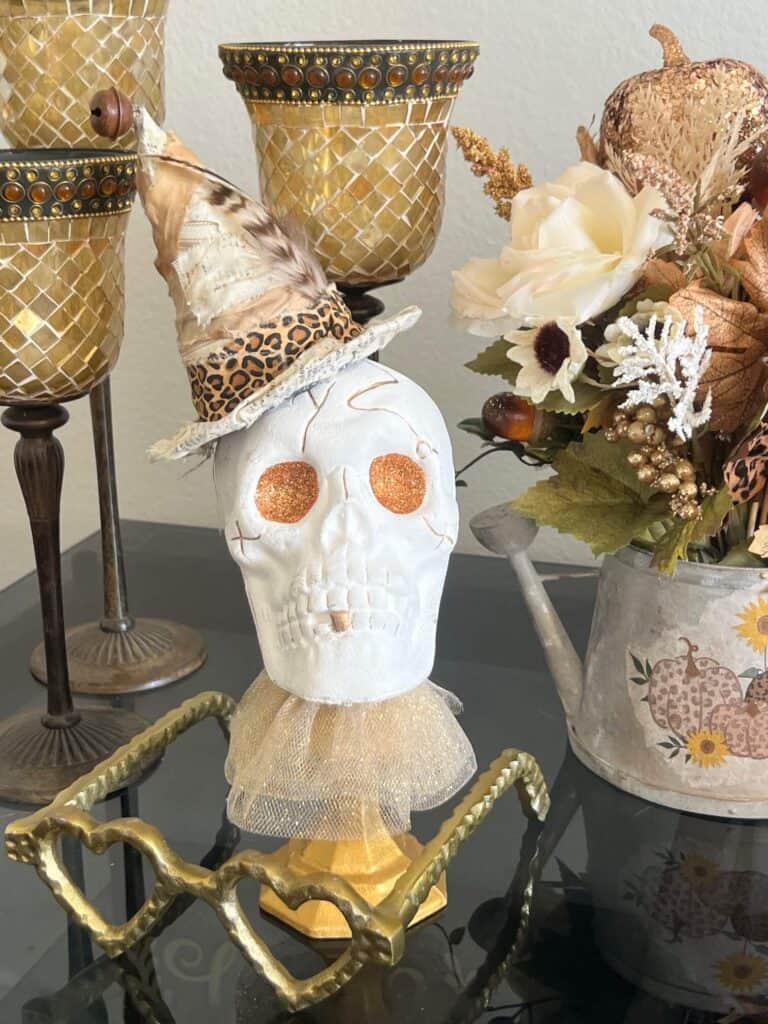
Next I took a a paint brush and Antique Gold Rub n’ Buff, and lined the cracks in the skull with gold paint.
I also very gently rubbed some Rub n’ Buff over some of the bumps and grooves on the skull.
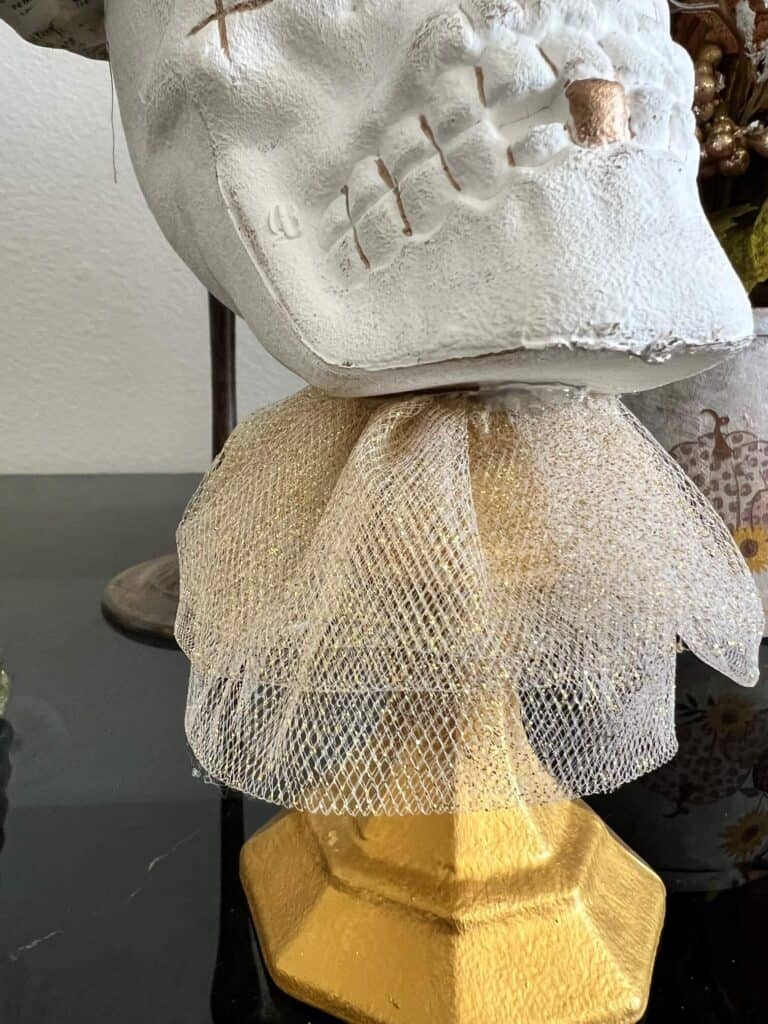
And of course I had to give him a gold tooth!
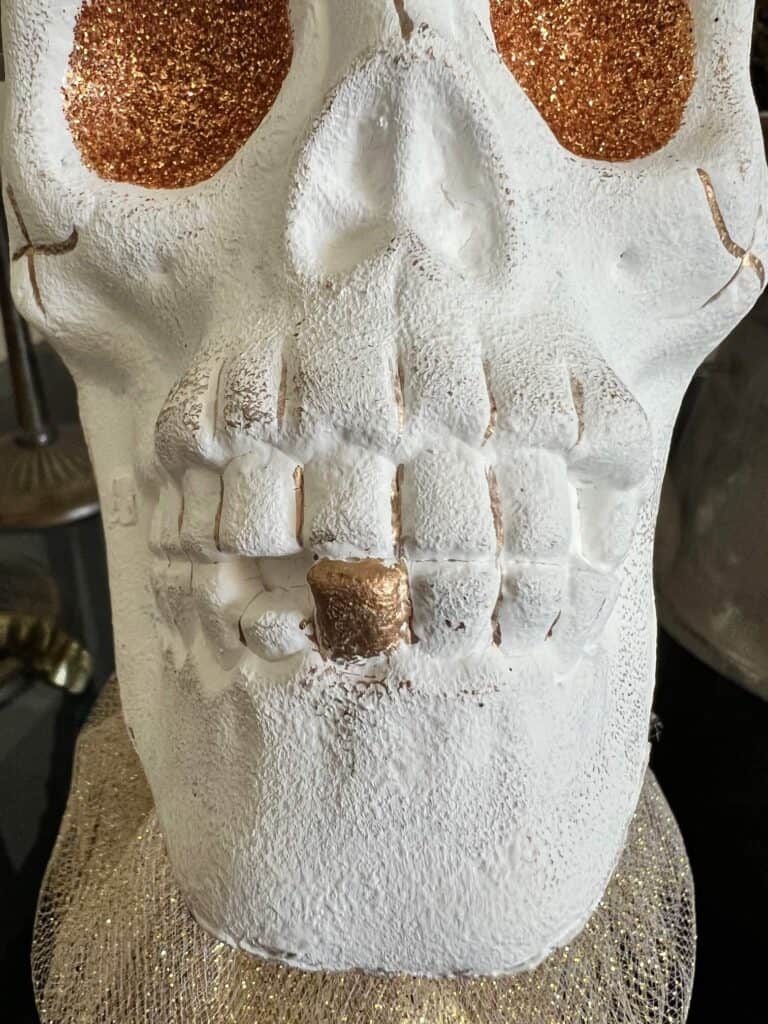
For his eyes, I covered the sockets with Mod Podge and then sprinkled copper gold glitter all inside, and then dumped off the excess glitter.
I painted the glass candlestick with a coat of white chalk paint first, and then a couple coats of metallic gold.
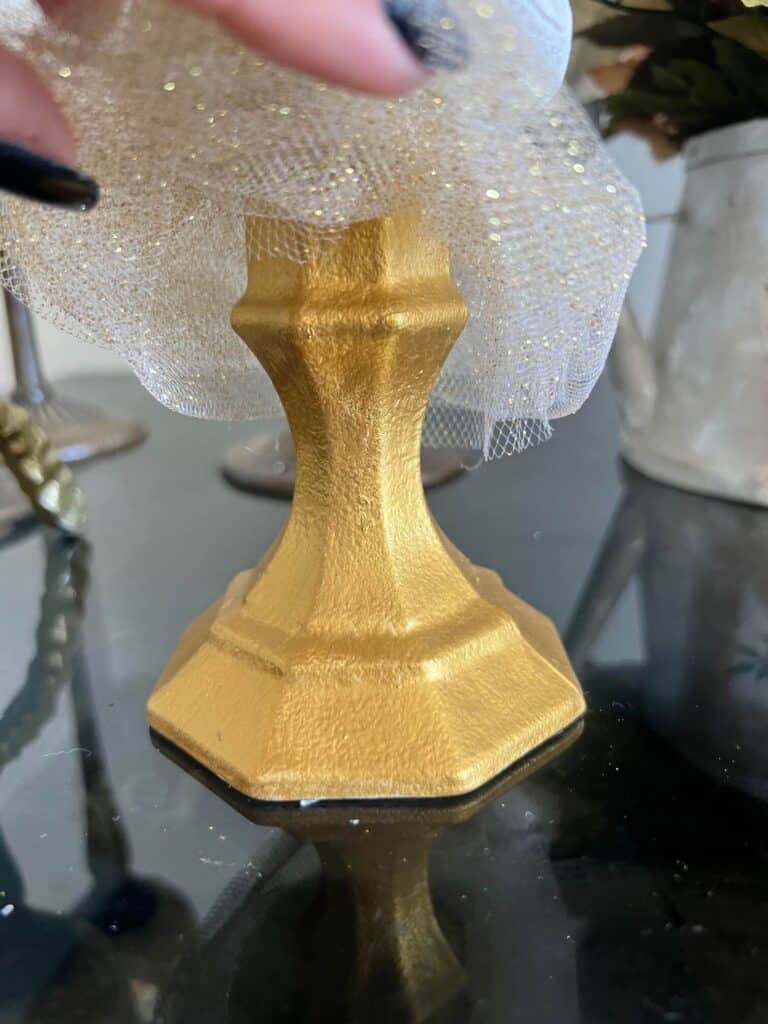
My fave part is the gold tulle “neck collar” around the top of the candlestick. I just took a 4″ wide strip of the tulle and kind of bunched it up, and glued it around the rim of the candlestick.
Then, hot glue the skull to the top of the candlestick.
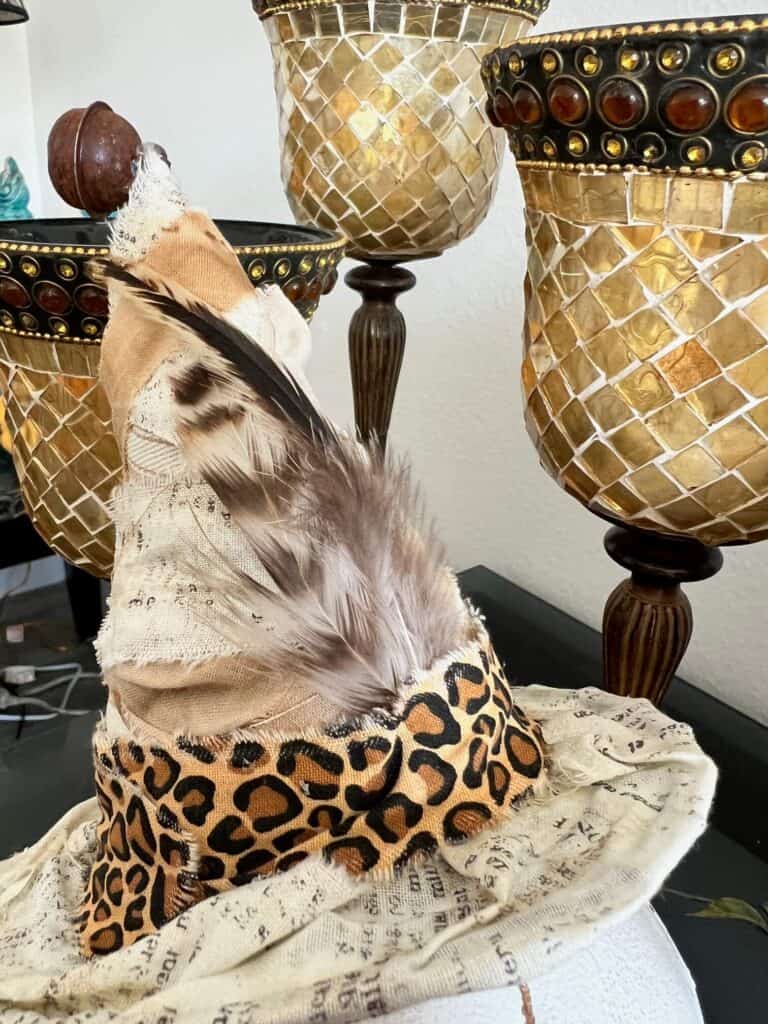
For the witches hat, I cut several strips of coordinating fabric about 3″ wide and 10 inches long. Then wrapped it around the hat in a diagonal fashion and hot glued it in place.
I wrapped a leopard print strip around the base of the hat, and then stuck a feather inside.
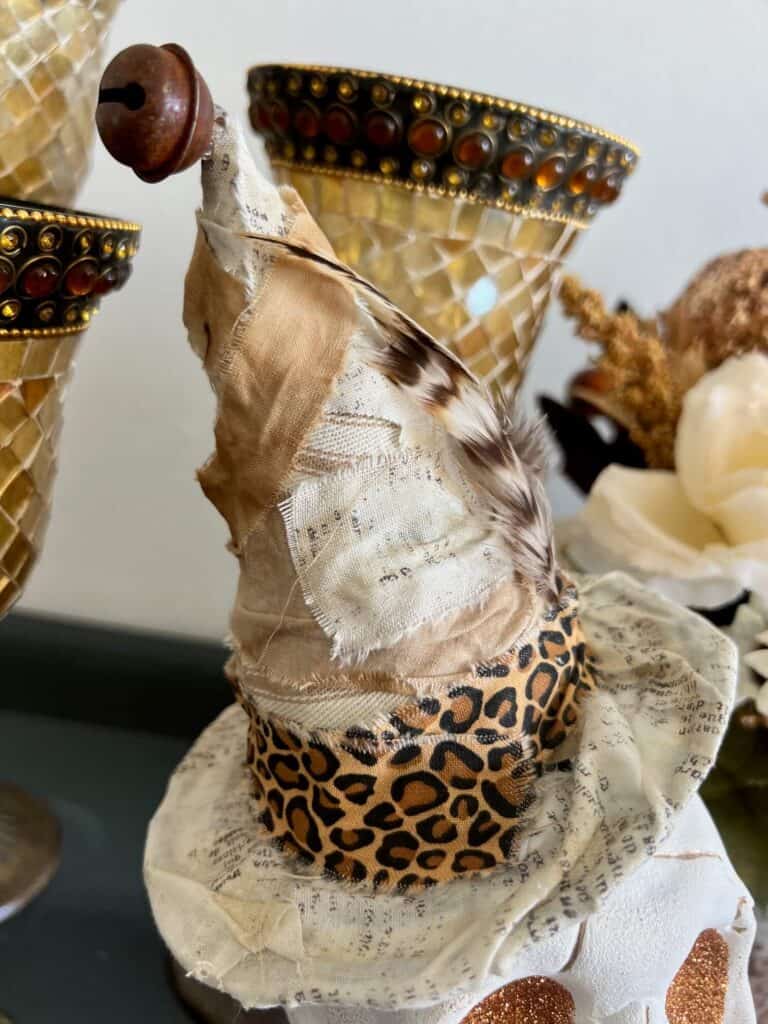
I finished the hat off by gluing a rusty bell to the top.
And there ya have it! A creepy cute Dollar Tree Skull Witch in all his glory. Or all HER glory? I don’t know, I’m thinking its more of a HE witch, but would that be a warlock? And I digress….LOL!
I absolutely love love LOVE how this turned out. It will look so fabulous with all of the other neutral, gold, and leopard print crafts we’ve been making for my Fall-O-Ween bookcase.
Are you going to make a Dollar Tree Skull Witch Decor? If you do, I’d love to see it! Pop on over to our free Craftspiration Facebook group, and join in on the fun by posting a pic of your Tiered Trays, DIY’s and crafts. I just love to see all your creative and crafty creations.
If you’ve got a million projects on your crafting ‘to-do’ list like I do, than you need my FREE Craft Project Planner so you can plan to make *all the things*! When you sign up for the craft planner, I’ll also send you lot’s of fun, easy, and budget friendly ideas for you to fill it up with!

Free printable Craft Project Planner
Get organized, get inspired, and get crafting, with our free Craft Project Planner!
Until Next Time…
Stay Crafty San Diego!

Love this Dollar Tree Skull Witch Decor? Make sure to PIN it for later!


