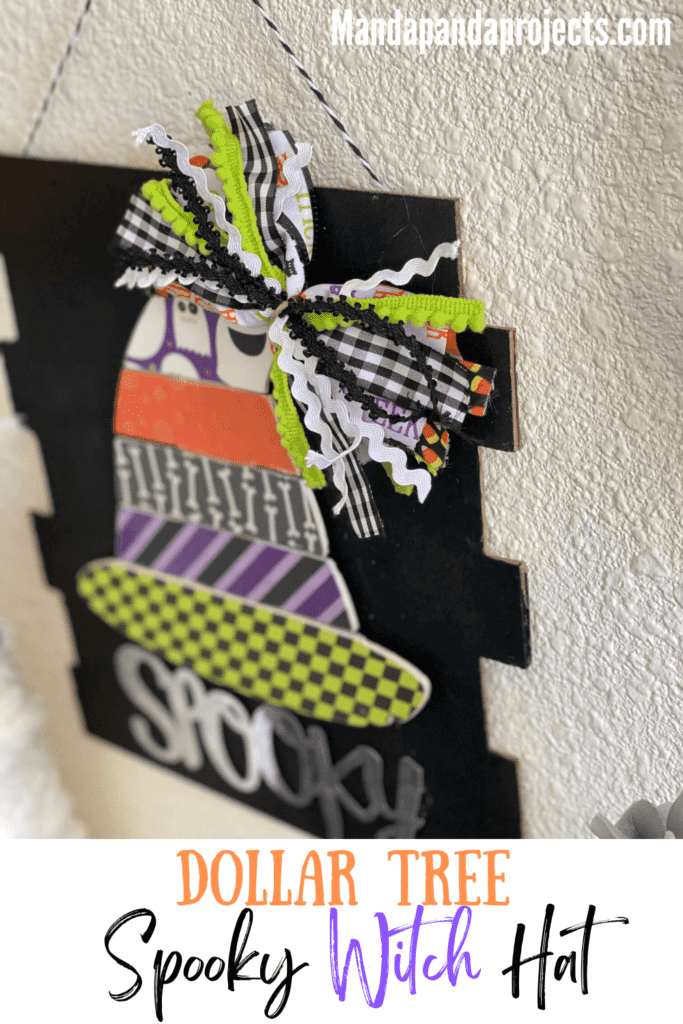
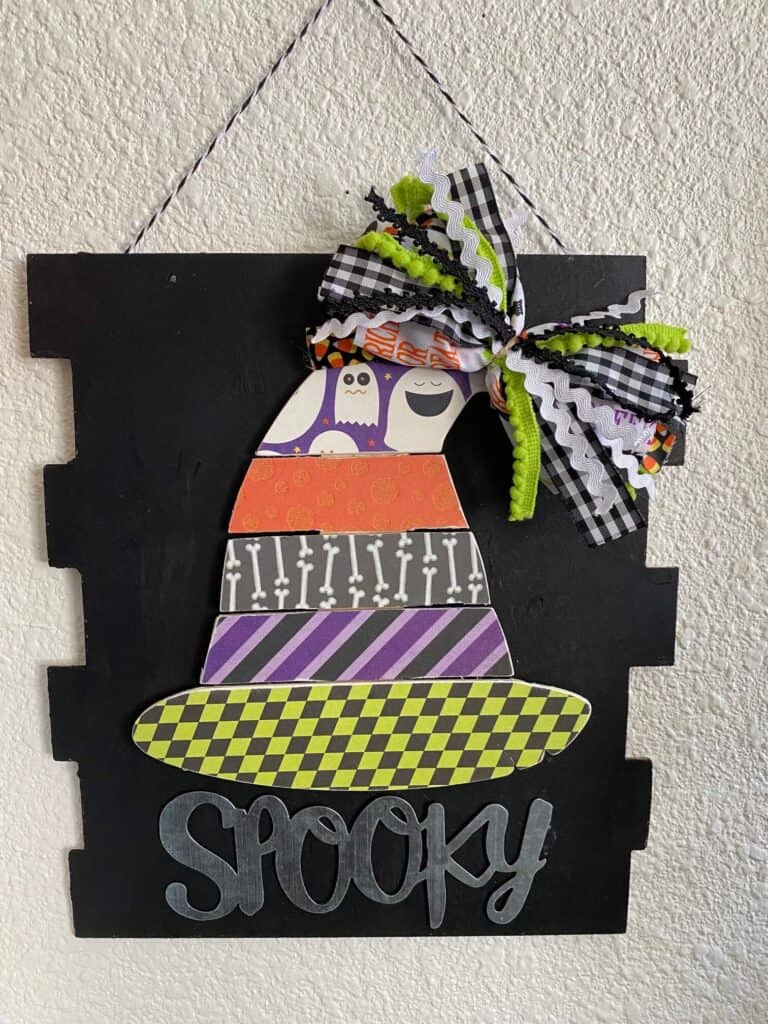
Double Double Toil and Trouble, this Dollar Tree Spooky Pallet Witch Hat is casting a spell on you this Halloween! You must now DIY all of your Halloween decor and you must do so on a budget! Challenge accepted!
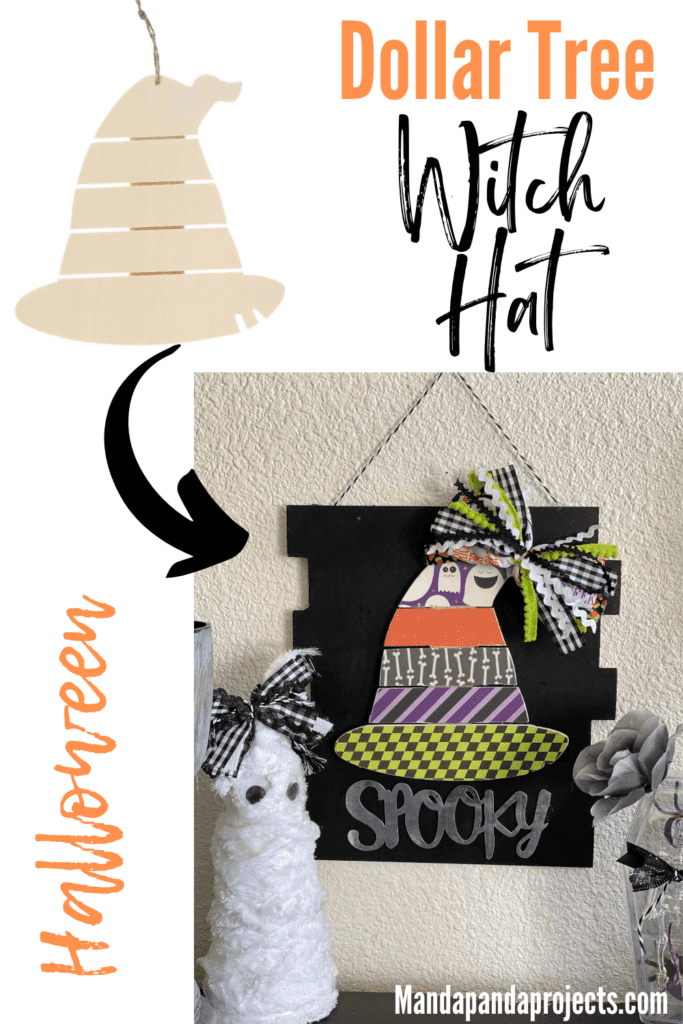
I have a problem (addiction) where I feel the need to buy every single seasonal thing that Dollar Tree sells. Call it FOMO. Call it being prepared. It is what it is, but I’m not complaining because some really cute crafts come out of it!
Case in point, this Dollar Tree Spooky Witch Hat!
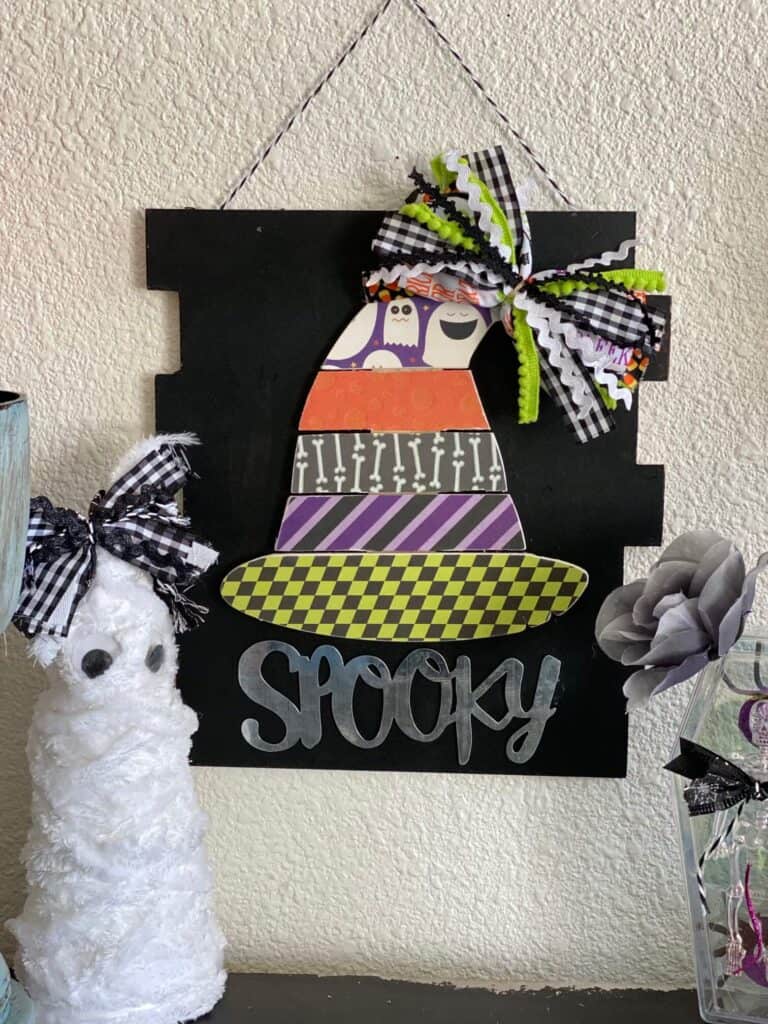
I’m not huge fan of the traditional Halloween colors. I either do Rainbow Halloween, or I like to stick with more black and white like the Foam Cone Mummy above.
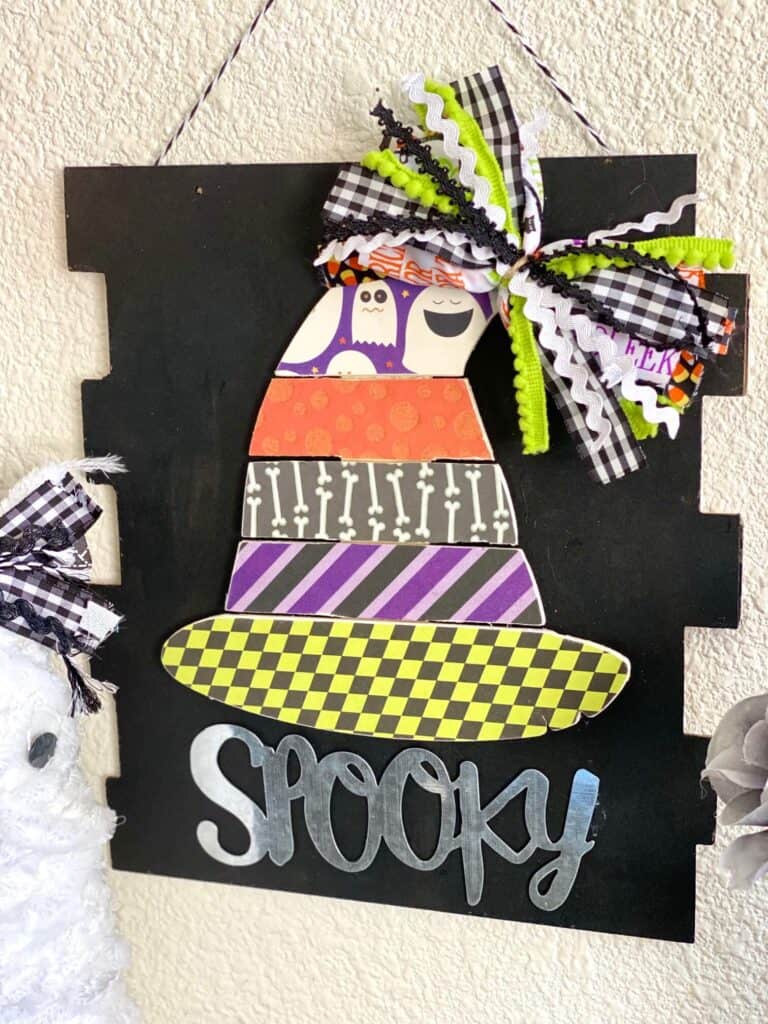
I decided to go traditional Black, Orange, Green and Purple with this Spooky Witch Hat and I’m so happy I did! What colors would YOU have decorated this one with?
This post may contain affiliate links for your convenience (which means if you make a purchase after clicking a link I will earn a small commission but it won’t cost you a cent more!)
Supplies Needed to Make a Dollar Tree Witch Hat Sign
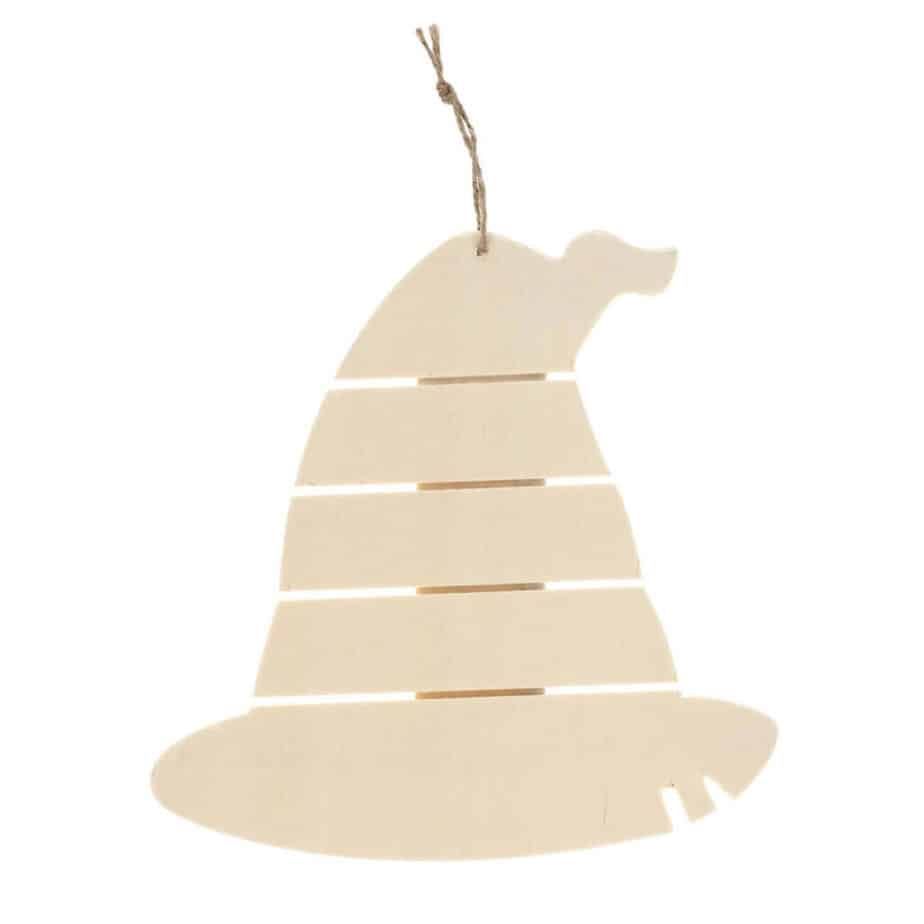
- Dollar Tree Pallet Witch Hat
- Wooden square surface (Back of Dollar Tree sign works great)
- Halloween scrapbook paper
- Galvanized metal word “Spooky”
- Black paint
- Mod Podge
- Black and white bakers twine
- Coordinating Halloween color ribbon and pom pom trim
- Hot glue gun
How to Decorate a Dollar Tree Wood Pallet Witch Hat
I made this Wood Pallet Spooky Witch Hat craft on video, so you can WATCH it or click on the picture right below.
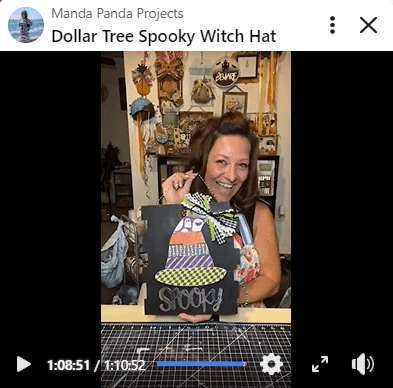
This Spooky Witch Hat was super easy to make, here’s how!
First things first, paint your wooden surface all black. I used the back of a Dollar Tree sign and it worked just great.
Then, trace the shapes of each section of the Wood Pallet Witch Hat onto your scrap book paper. Then cut them out and Mod Podge those babies down.
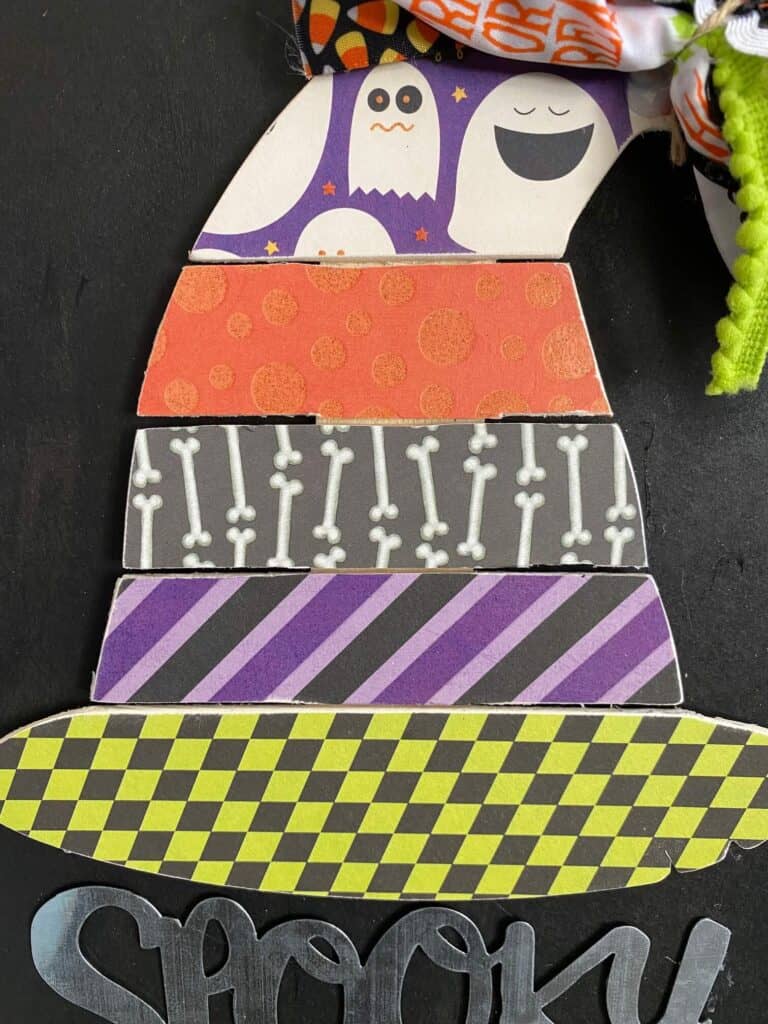
Use a sanding sponge and a nail file to sand off the excess and get in the small spaces. It’s tedious and time consuming, but the outcome looks so much more finished.
Now glue your decorated Witch Hat to your black background, and glue the “Spooky” underneath”. You could use a different word if you like, or you could leave it off altogether.
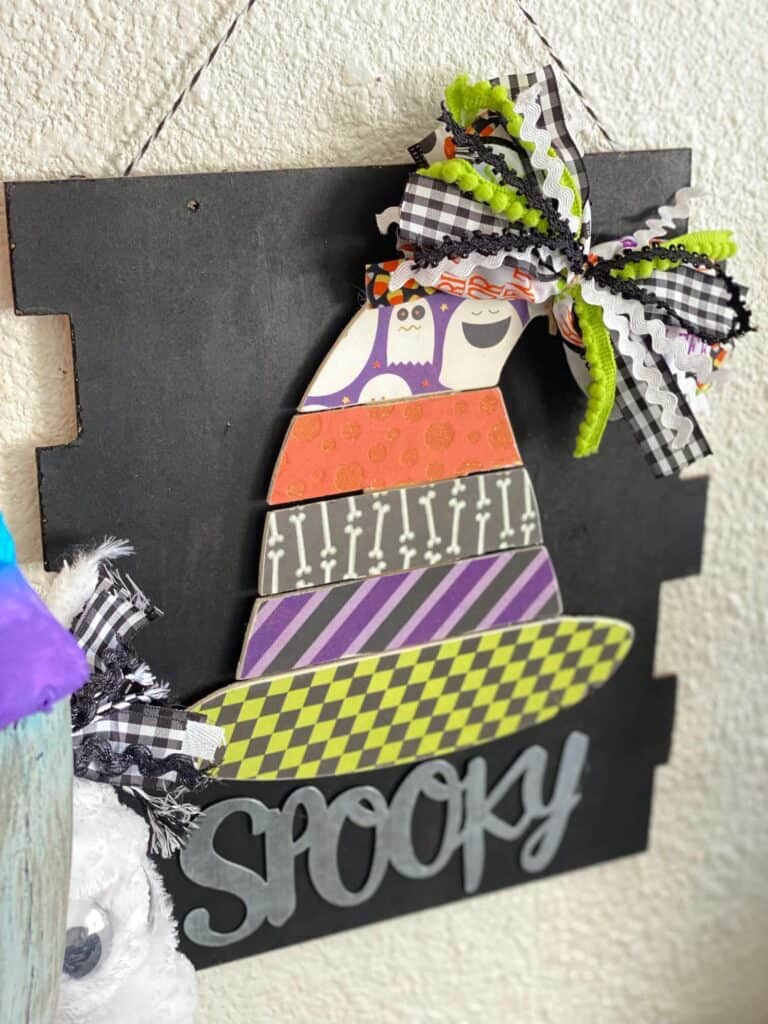
Now for the bow! Cut several strips of coordinating ribbon, trim, and pom poms, about 4-5″ long. Then layer them in an X formation and tie a piece of string around the center.
Glue that bad boy to the tip of the Dollar Tree Pallet Witch Hat.
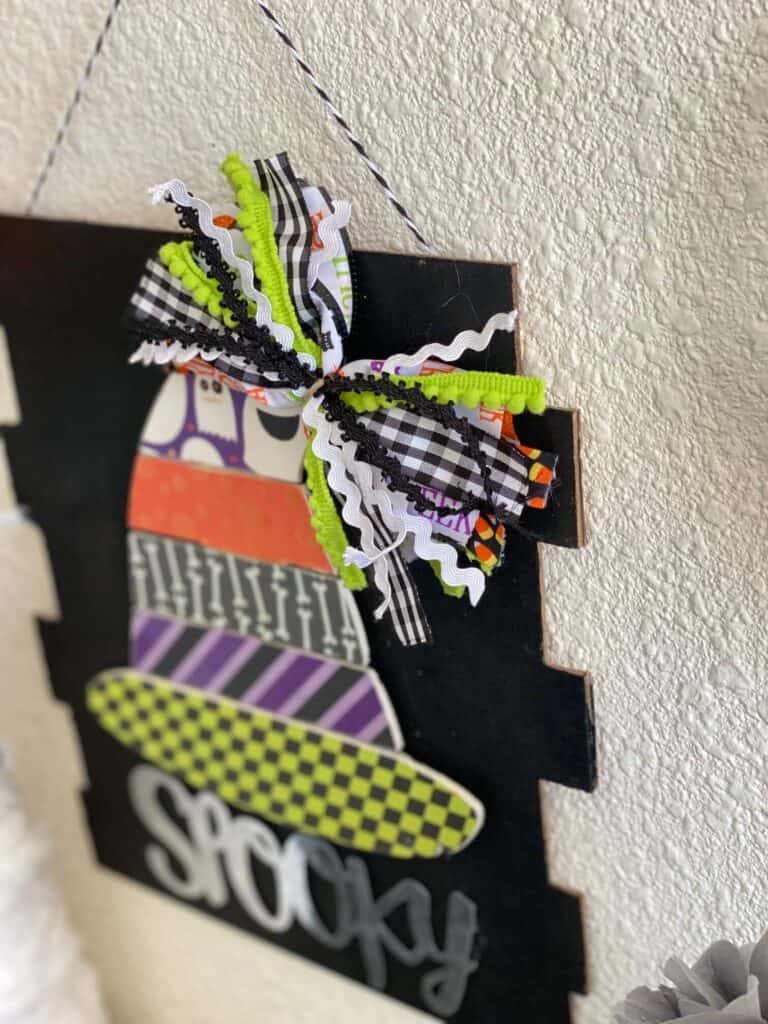
Glue a piece of black and white bakers twine to the top of the back for the hanger. You may want to reinforce it with some popsicle sticks for good measure so that you know it will hold.
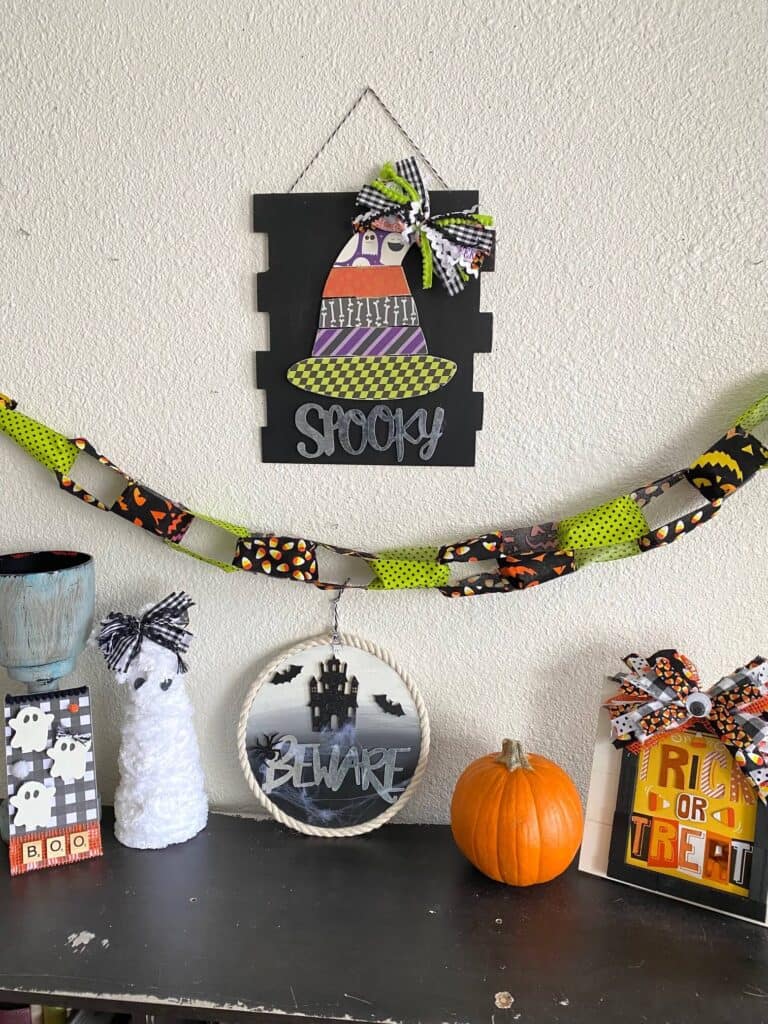
I think they look just darling with the Trick or Treat frame, Beware Sign, and Foam Cone Mummy that we made Live over on Facebook!
Are you going to make something with one of the Dollar Tree Pallet Witch Hats for Halloween? Shoot…are you gonna make anything for Halloween?! If you do, I’d love to see it! Pop on over to our free Craftspiration Facebook group, and join in on the fun by posting a pic of your Tiered Trays, DIY’s and crafts. I just love to see all your creative and crafty creations.
If you’ve got a million projects on your crafting ‘to-do’ list like I do, than you need my FREE Craft Project Planner so you can plan to make *all the things*! When you sign up for the craft planner, I’ll also send you lot’s of fun, easy, and budget friendly ideas for you to fill it up with!

Free printable Craft Project Planner
Get organized, get inspired, and get crafting, with our free Craft Project Planner!
Until Next Time…
Stay Crafty San Diego!

Love this Dollar Tree Wood Pallet Witch Hat? Make sure to PIN it for later!

