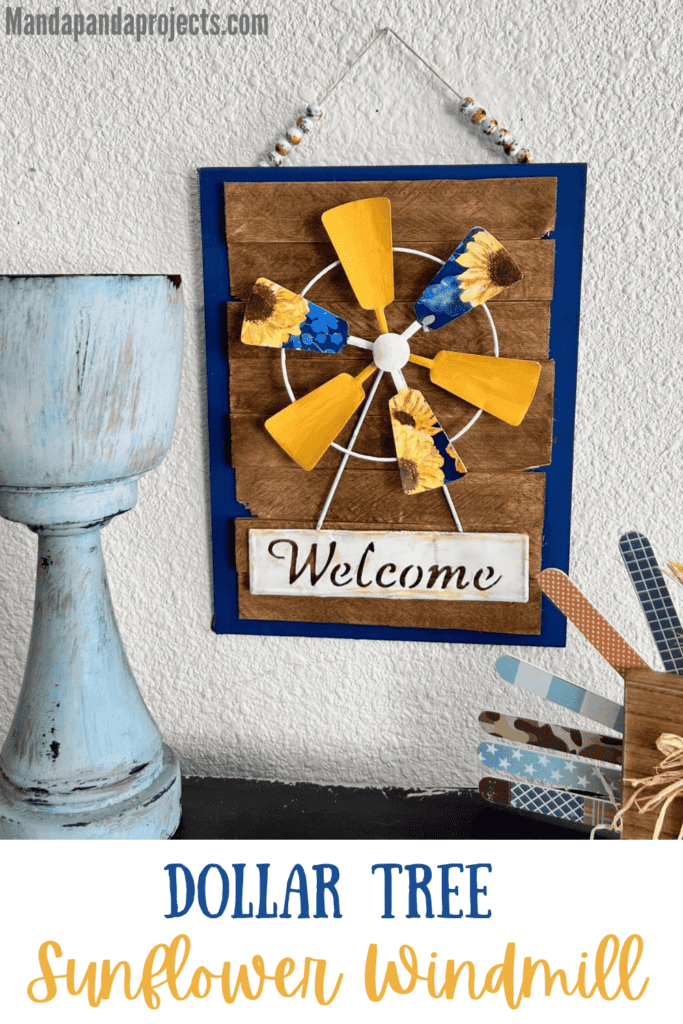
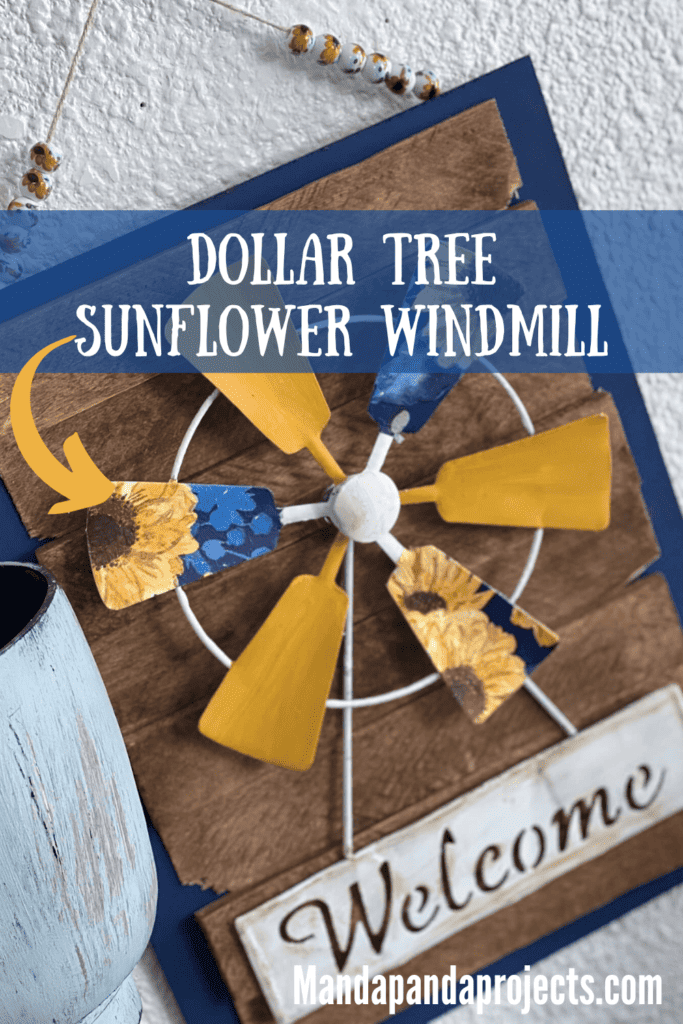
Turn a Dollar Tree metal “Welcome” Windmill into a gorgeous Sunflower Windmill with a beautiful napkin and some Mod Podge. This Dollar Tree DIY is perfect for Spring, Summer, Fall, or even year round! Dollar Tree Sunflower Windmill for the Win!
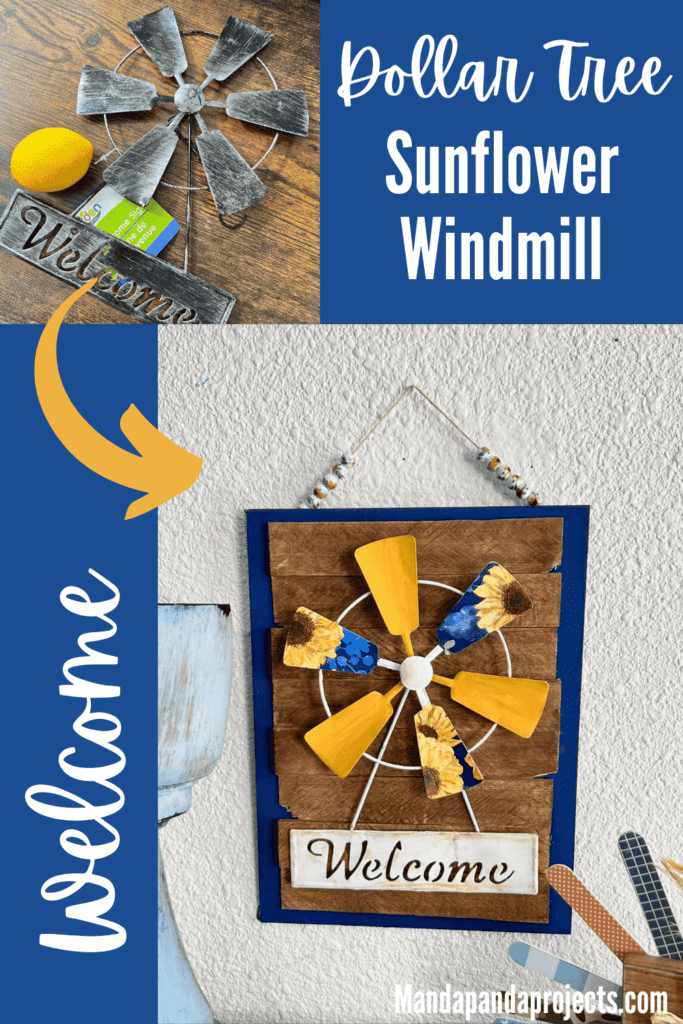
When I first saw these galvanized metal windmills at Dollar Tree I grabbed no less than 3 of them to craft with.
But then…….they sat there for 2 years LOL.
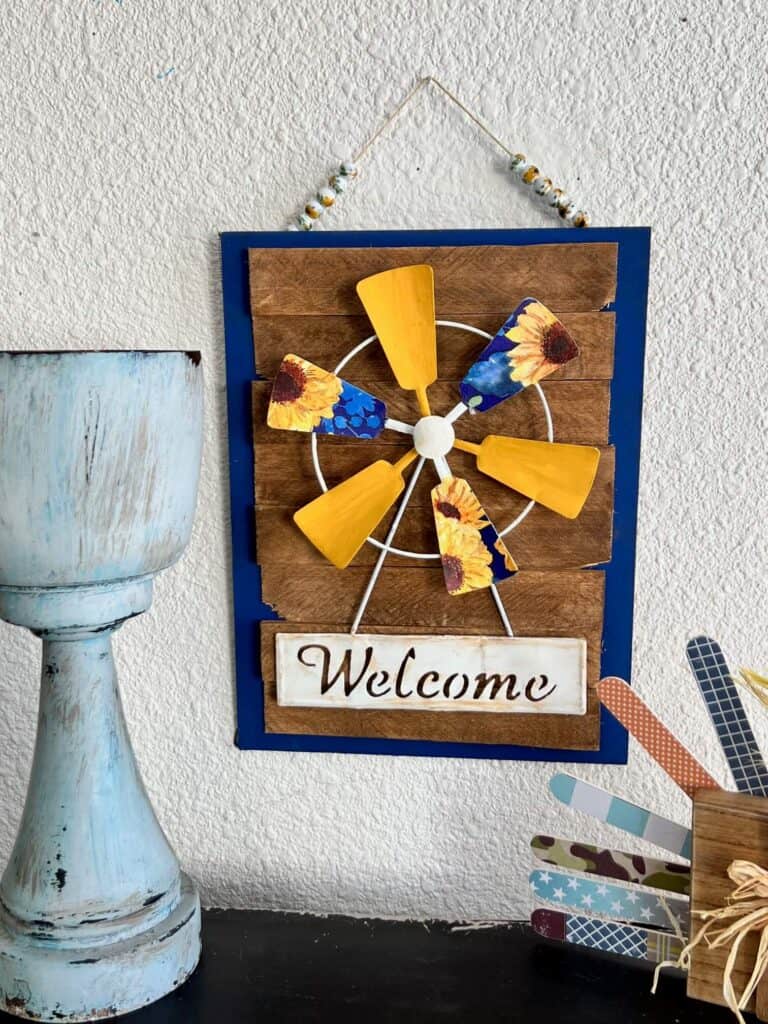
One day out of the blue, I got THE best idea to Mod Podge napkins from my napkin subscription, the Big Pack of Craftkins, to each of the windmill thingys (what on earth are those called?) *Blades*?
Isn’t this napkin just gorgeous!
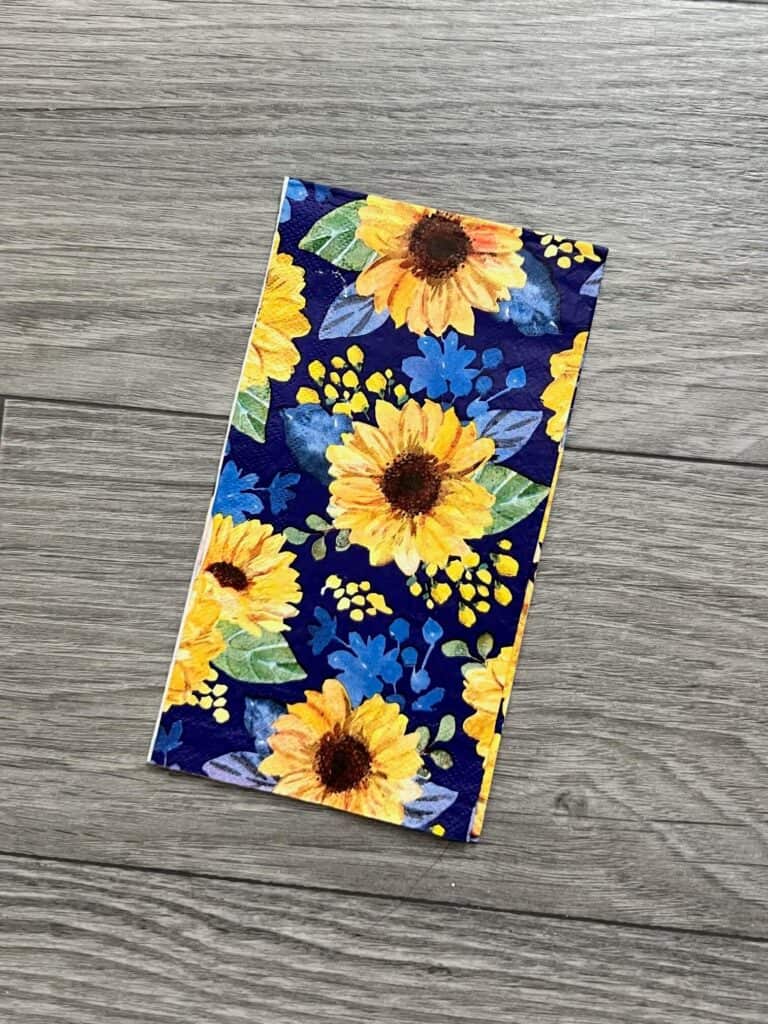
This is just the first of a couple adorable crafts I’ve made using this Dollar Tree Windmill, the other blog post will be following soon! But *spoiler alert* it involves lemons.
A Sunflower Windmill and then a Lemon Windmill!? Yes, please!
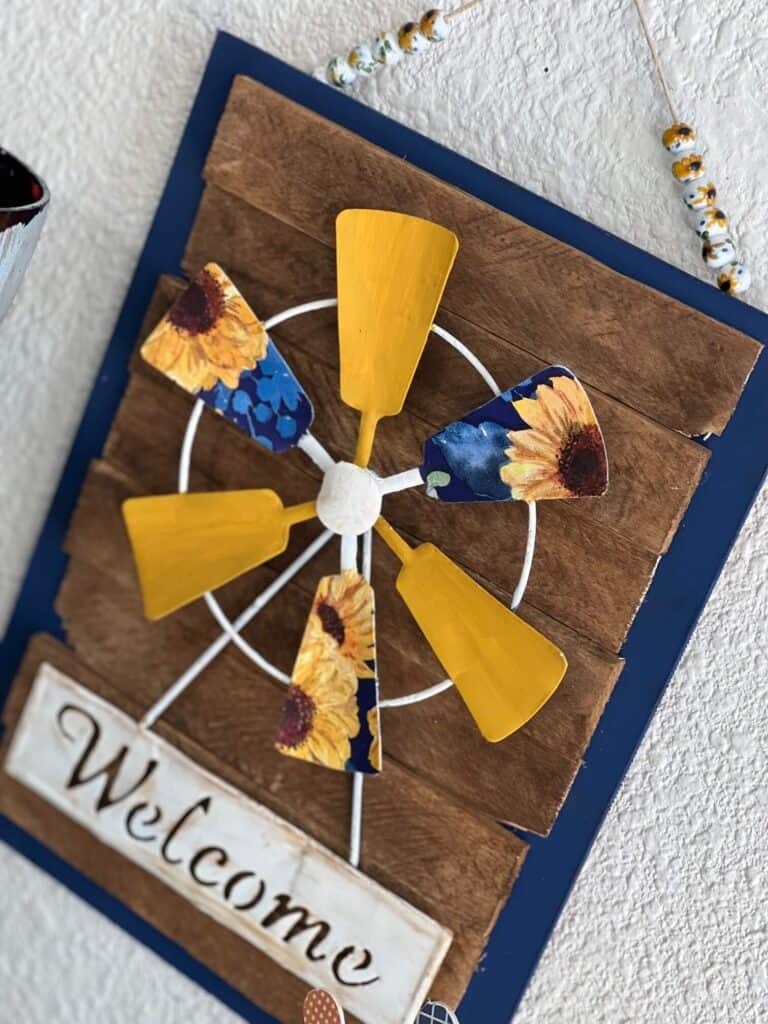
If you are as obsessed with Sunflower crafts and decor as I am, you might just love this Fabric Sunflower we made! It’s got a blue and yellow vibe going on thats similar, yet totally different from this one. This one is more Fall-ish the Fabric one is SUMMER all the way!
This post may contain affiliate links for your convenience (which means if you make a purchase after clicking a link I will earn a small commission but it won’t cost you a cent more!)
Supplies Needed to Make a Dollar Tree Sunflower Windmill
*IGNORE THE LEMON IN THIS PIC, IT WAS FOR ANOTHER PROJECT*
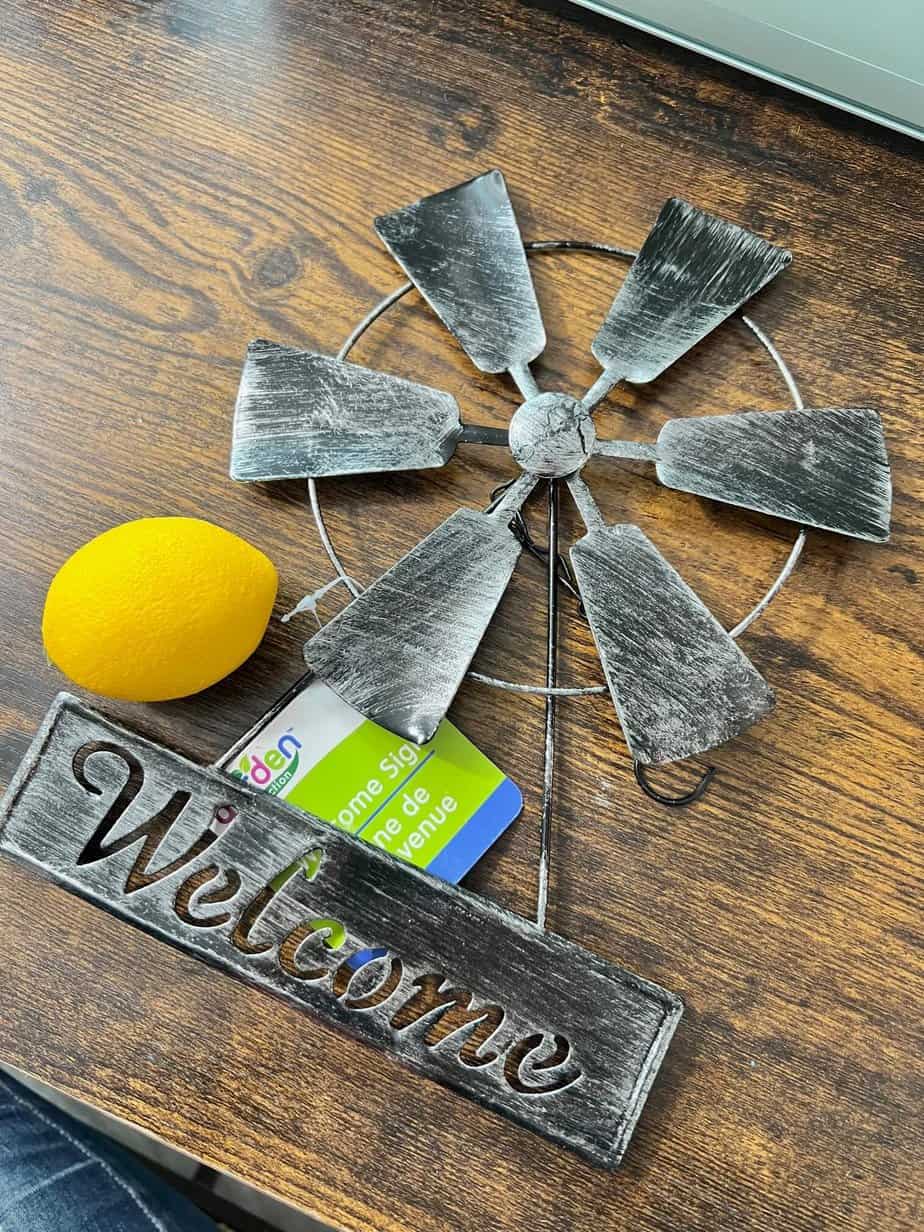
- Dollar Tree Metal Windmill
- Sunflower napkin – Big Pack of Craftkins napkin subscription!
- 8″ Wood shims
- Wood rectangular surface
- Twine
- Sunflower ceramic beads
- Dark blue paint
- Golden sunset paint
- White Chalk paint
- Antique wax
- Mod Podge
- Hot glue gun
How to Make a Dollar Tree Sunflower Windmill
I made this Dollar Tree Sunflower Windmill on video, so you can WATCH it or click on the picture right below.

Start by painting your entire wood rectangular background all dark navy blue.
Next, stain 8 wood shims with Antique Wax, and then glue them to the background making sure to alternate the ends thick/thin.
Paint your entire windmill with white chalk paint. The chalk paint sticks better to the metal then acrylic, but if all you have is acrylic you can make it work!
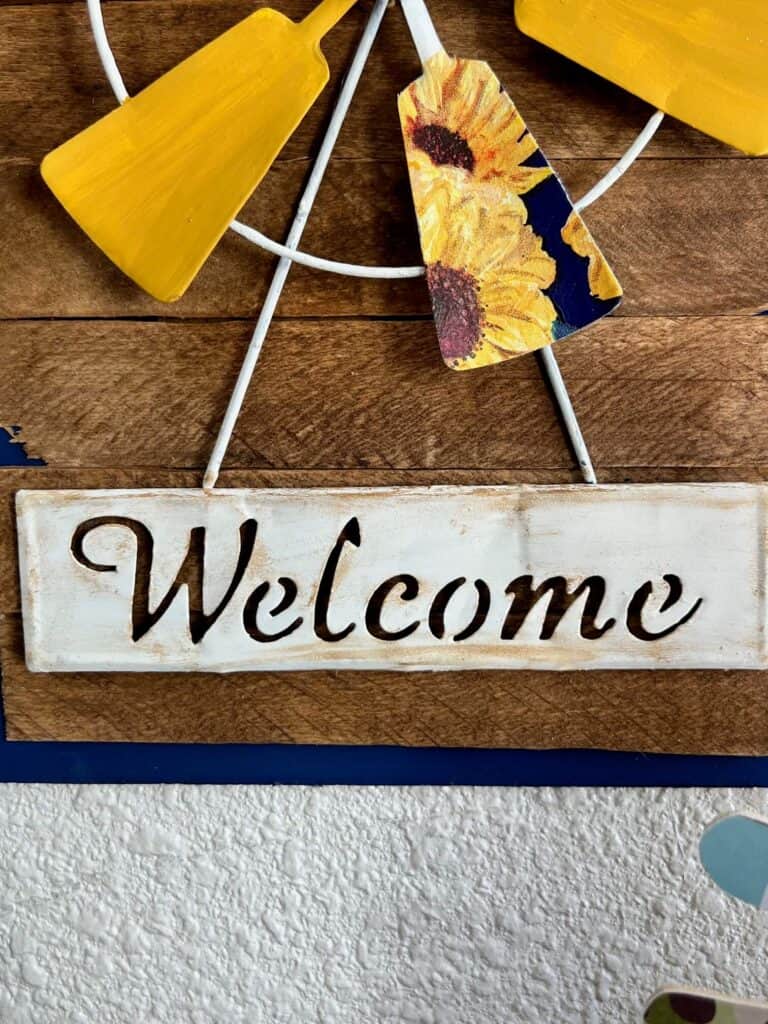
Dirty up and distress your “Welcome” with more Antique Wax.
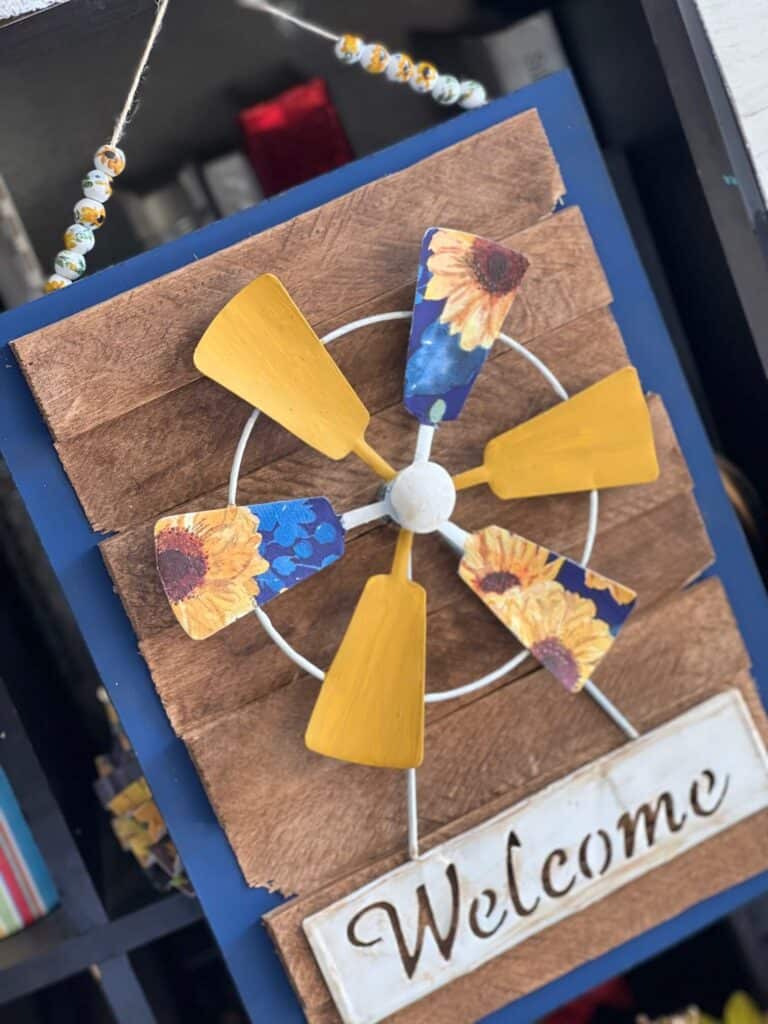
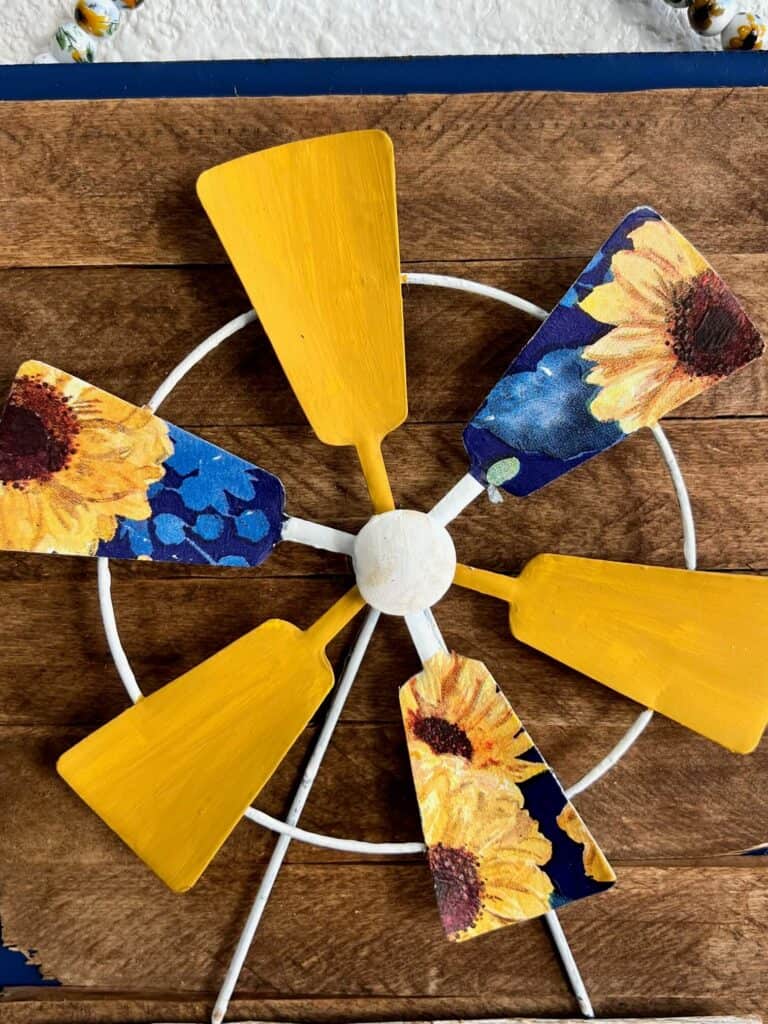
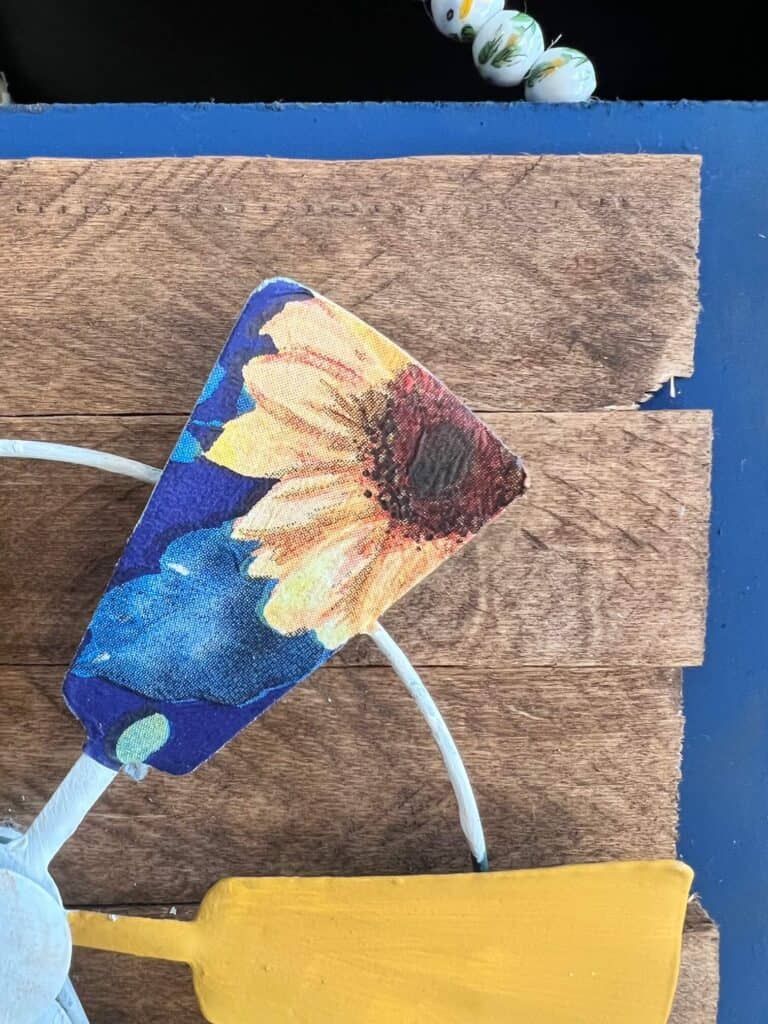
Next, Mod Podge pieces of the sunflower napkin to EVERY OTHER windmill *blade* ( I really don’t know what to call those). Sand off the excess napkin.
Paint the remaining *blades* with a mustard yellow color to coordinate with the napkin. You can use ANY napkin you have, just choose a color that will go with it. Then glue the whole windmill to the shims.
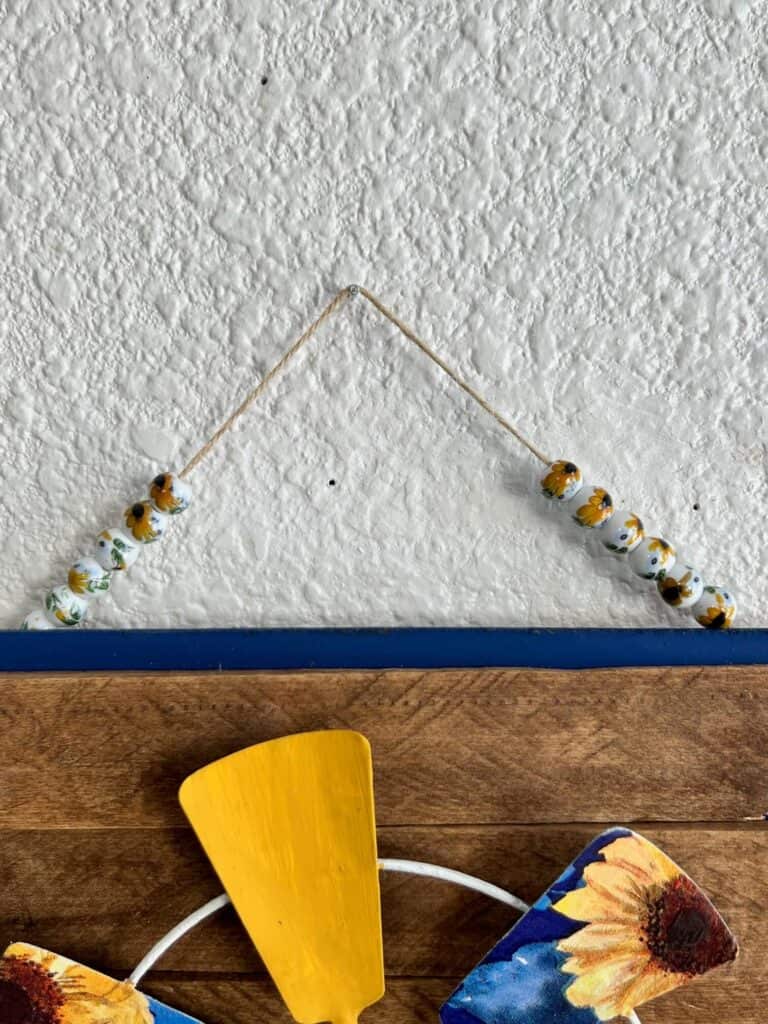
For the hanger I used ceramic sunflower beads, but I didn’t do the full hanger, I did a partial bead hanger with 6 beads on each side.
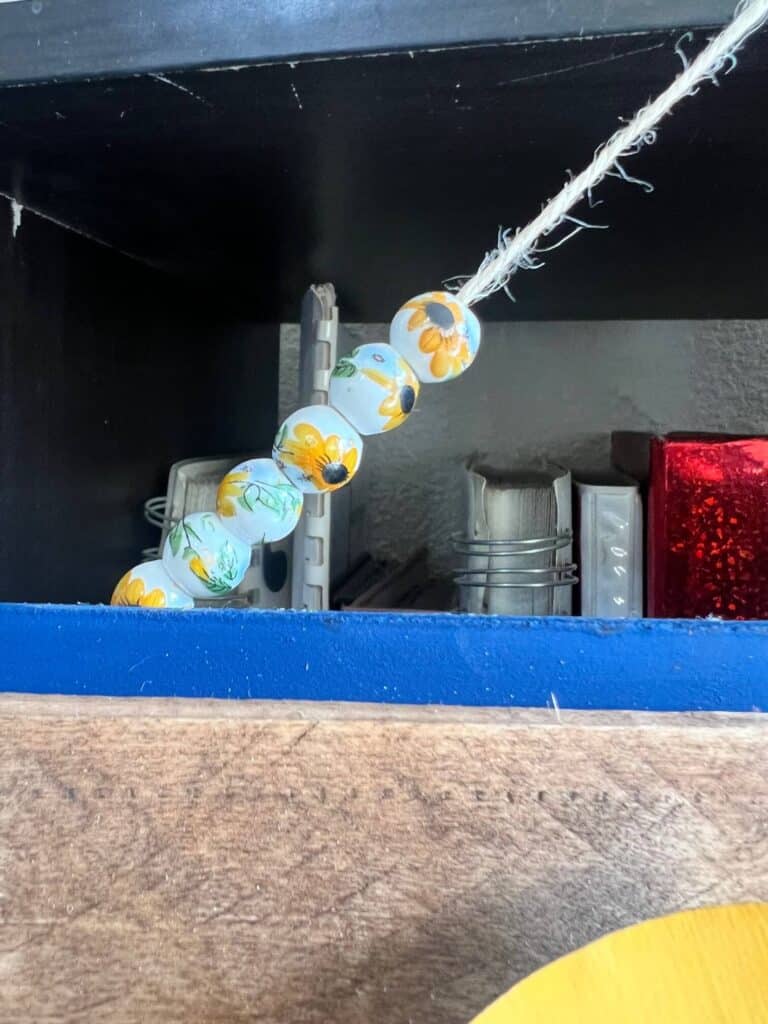
Glue the twine bead hanger to the top of your Dollar Tree Sunflower Windmill and that’s it!
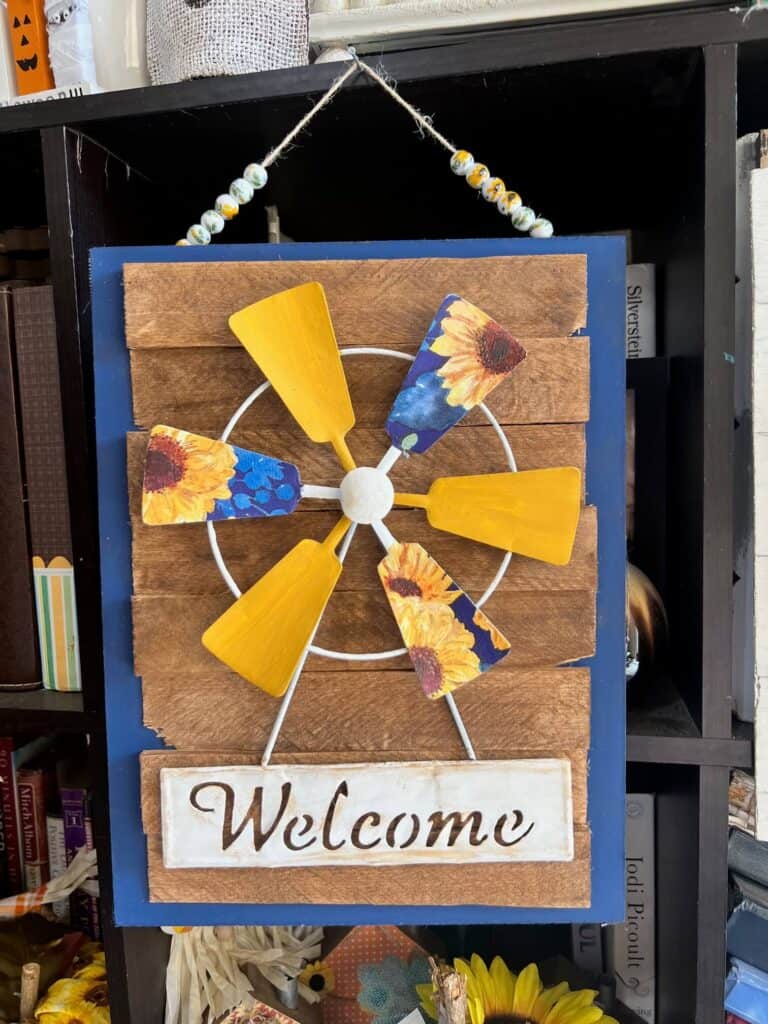
I am SOO in love with how this Sunflower Welcome Windmill turned out. I can’t wait to show you the Lemon one that we made as well!
If you want to get cute napkins like this one sent right to your door every 3 months, than make sure to get on the waitlist for the Big Pack of Craftkins so that you know when I open up new spots!
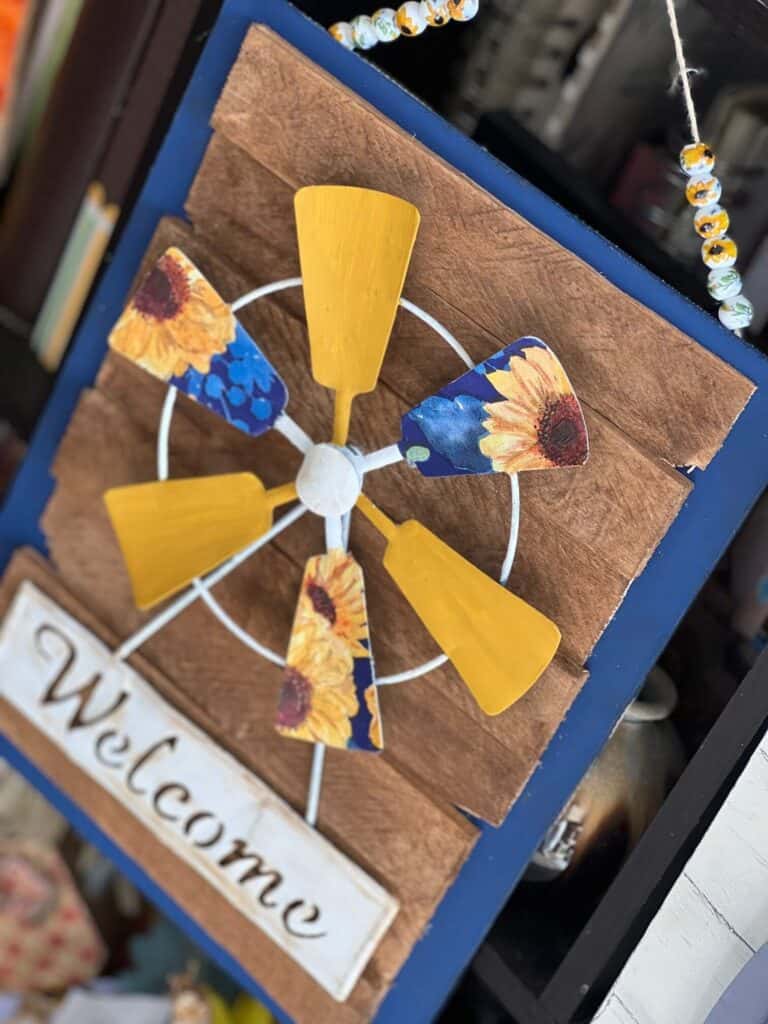
How cute is this Dollar Tree Sunflower Windmill!?
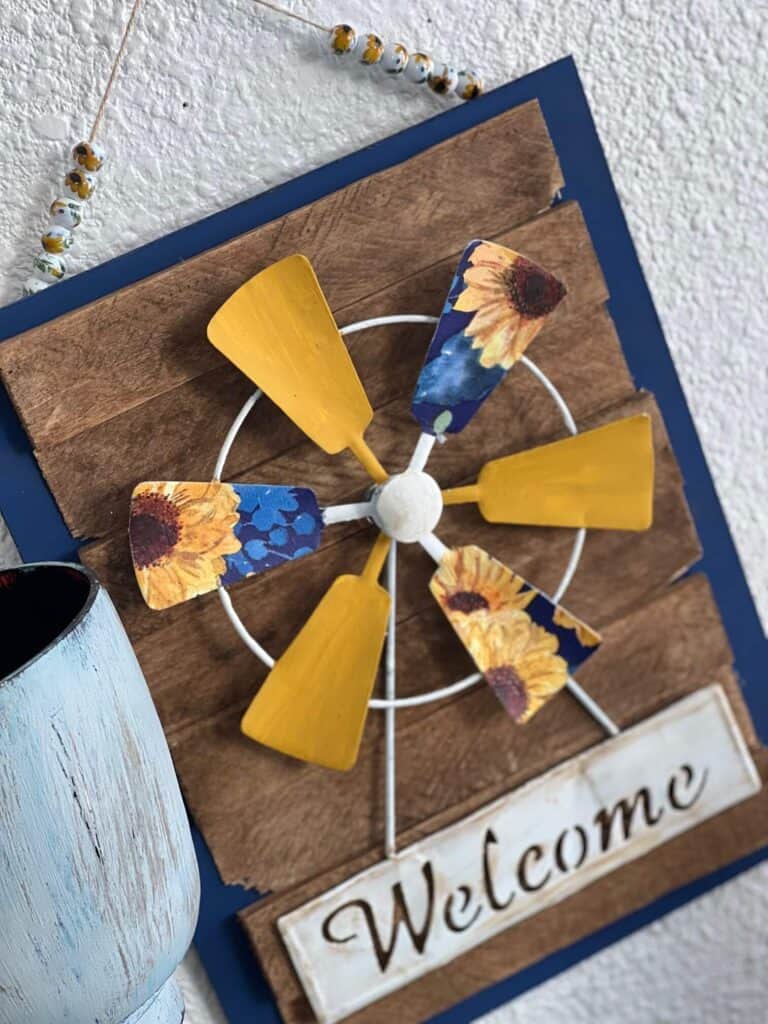
Are you going to make a Dollar Tree Sunflower Windmill? Shoot…are you gonna make any Dollar Tree craft?! If you do, I’d love to see it! Pop on over to our free Craftspiration Facebook group, and join in on the fun by posting a pic of your Tiered Trays, DIY’s and crafts. I just love to see all your creative and crafty creations.
If you’ve got a million projects on your crafting ‘to-do’ list like I do, than you need my FREE Craft Project Planner so you can plan to make *all the things*! When you sign up for the craft planner, I’ll also send you lot’s of fun, easy, and budget friendly ideas for you to fill it up with!

Free printable Craft Project Planner
Get organized, get inspired, and get crafting, with our free Craft Project Planner!
Until Next Time…
Stay Crafty San Diego!

Love this Dollar Tree Sunflower Windmill? Make sure to PIN it for later!
