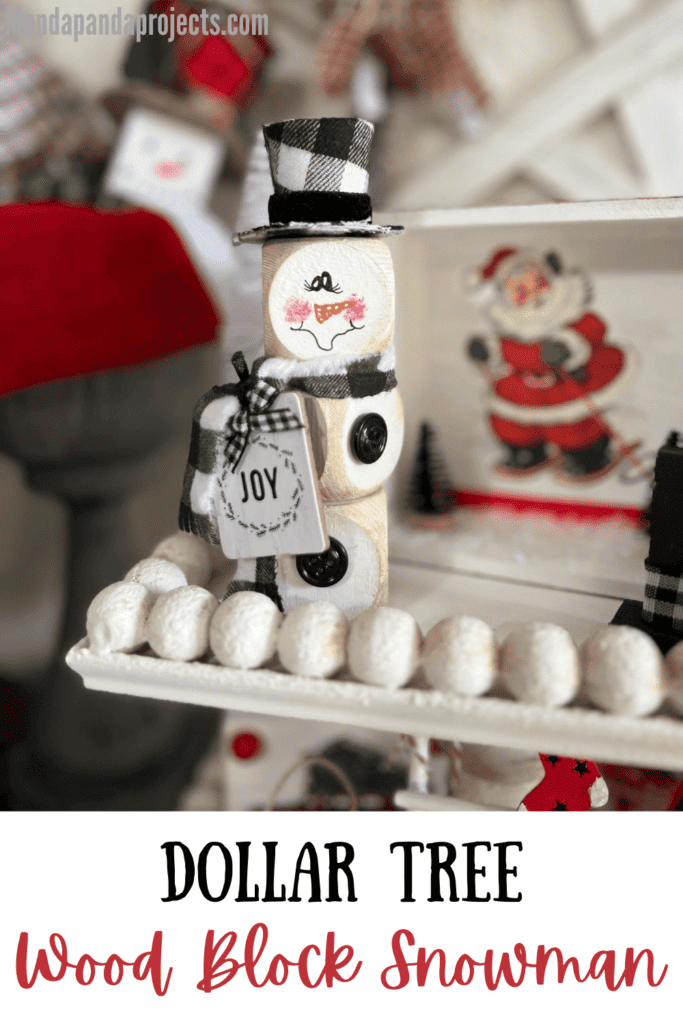
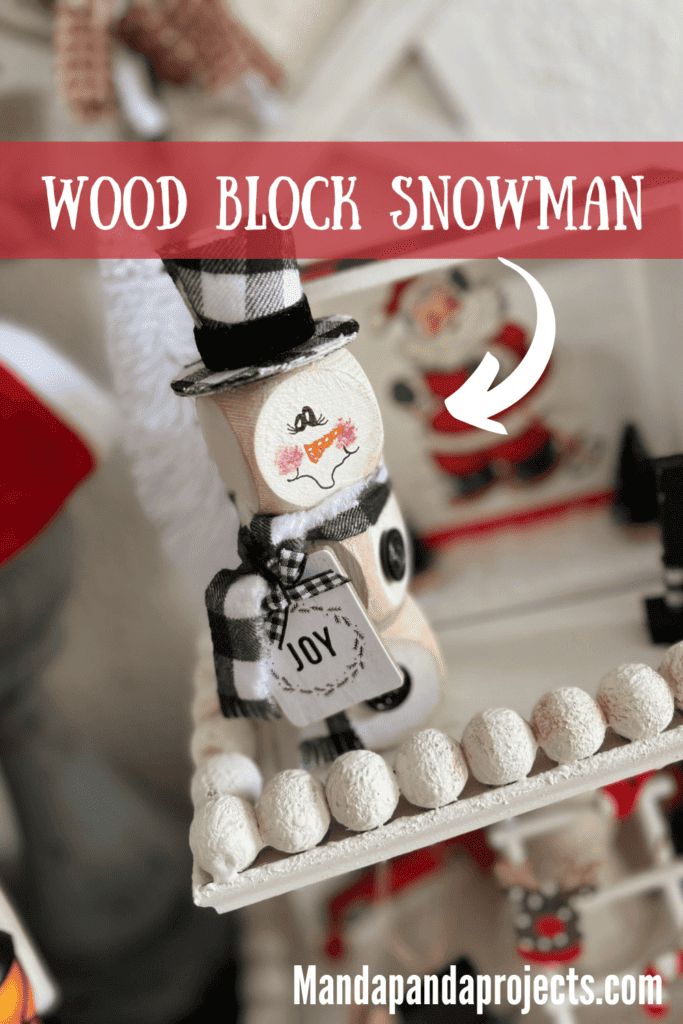
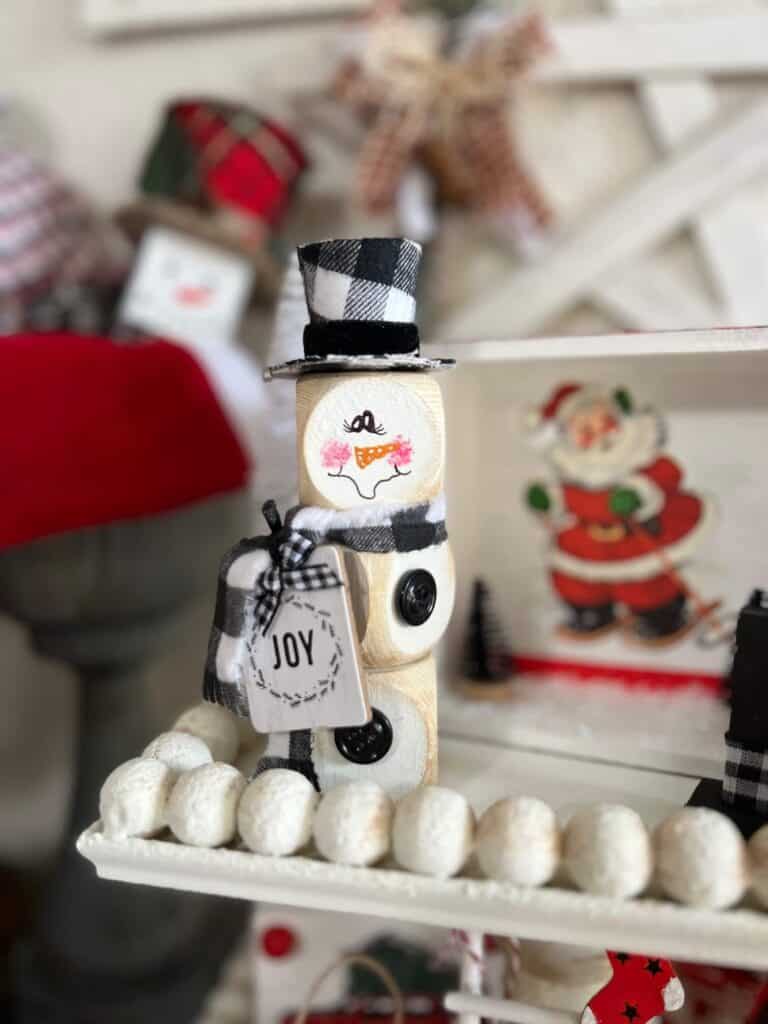
The best Christmas crafts and decor are the ones you can keep up past Christmas and through winter, just like this DIY Dollar Tree Wood Block Snowman. Even better? He fits right on your tiered tray too! Cuteness overload!
Welcome to Day 1 of our 2nd Annual Manda Panda Countdown to Craftmas! 24 days of Christmas Crafty inspo from 12/1-12/24.
As I am writing this, we are in the midst of our 3rd year (2023), but I am just now going back and getting my faves from last year and the year before up on the blog (2021 & 2022).
To make things easier to find this year, I am linking each day in a blog post so that we have all 24 days in one place. So make sure to check out the 2023 Countdown to Craftmas post daily so that you don’t miss a thing!
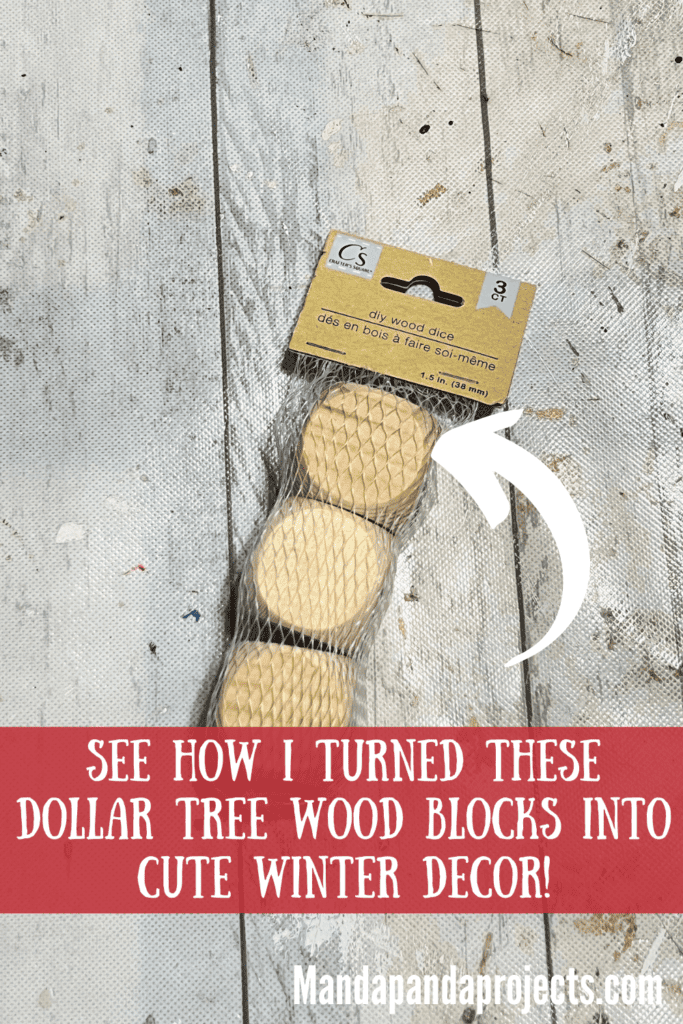
If you don’t have a set of these blocks from Dollar Tree, you can totally use the foam dice that you get there. In fact, we made a Foam Dice Snowman last year that came out just as cute, he’s just a TAD bigger than this guy.
This post may contain affiliate links for your convenience (which means if you make a purchase after clicking a link I will earn a small commission but it won’t cost you a cent more!)
Supplies Needed to Make a Dollar Tree Wood Block Snowman
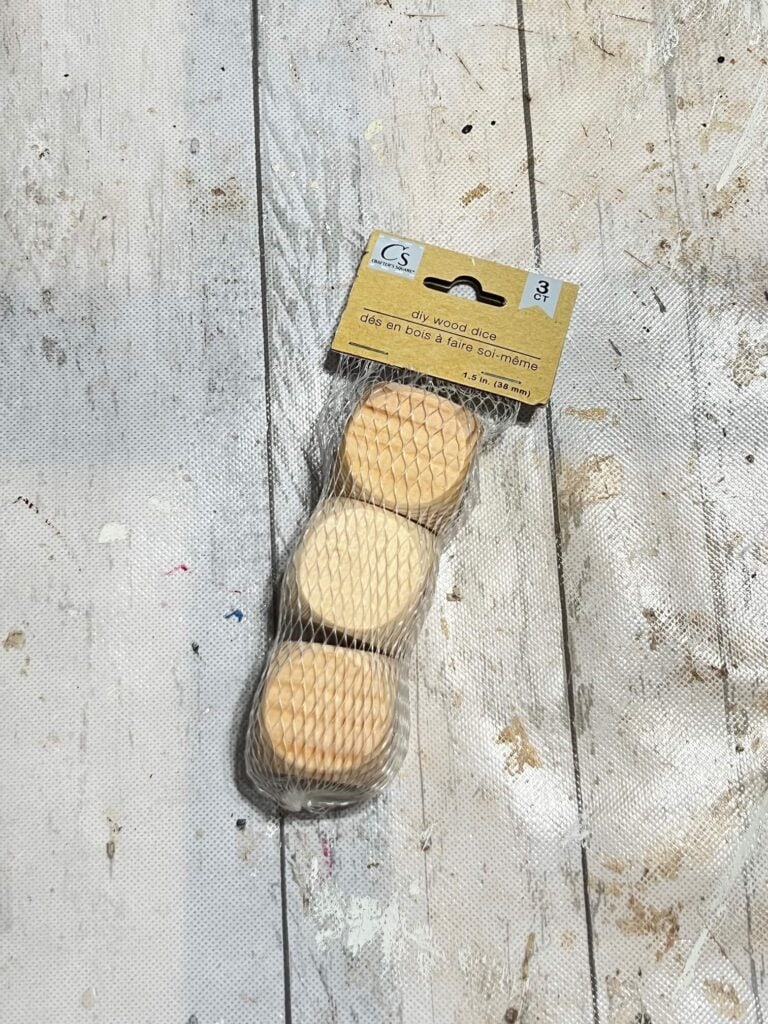
- DIY Wood Dice blocks (or Foam dice)
- Fabric
- Mini buffalo check top hat
- Mini “Joy” Ornament
- Black Buttons
- Antique Wax
- Paint: Black, White, Orange, Pink
- Fine tip Sharpie
- Hot glue gun
How to Make a Dollar Tree Wood Block Snowman
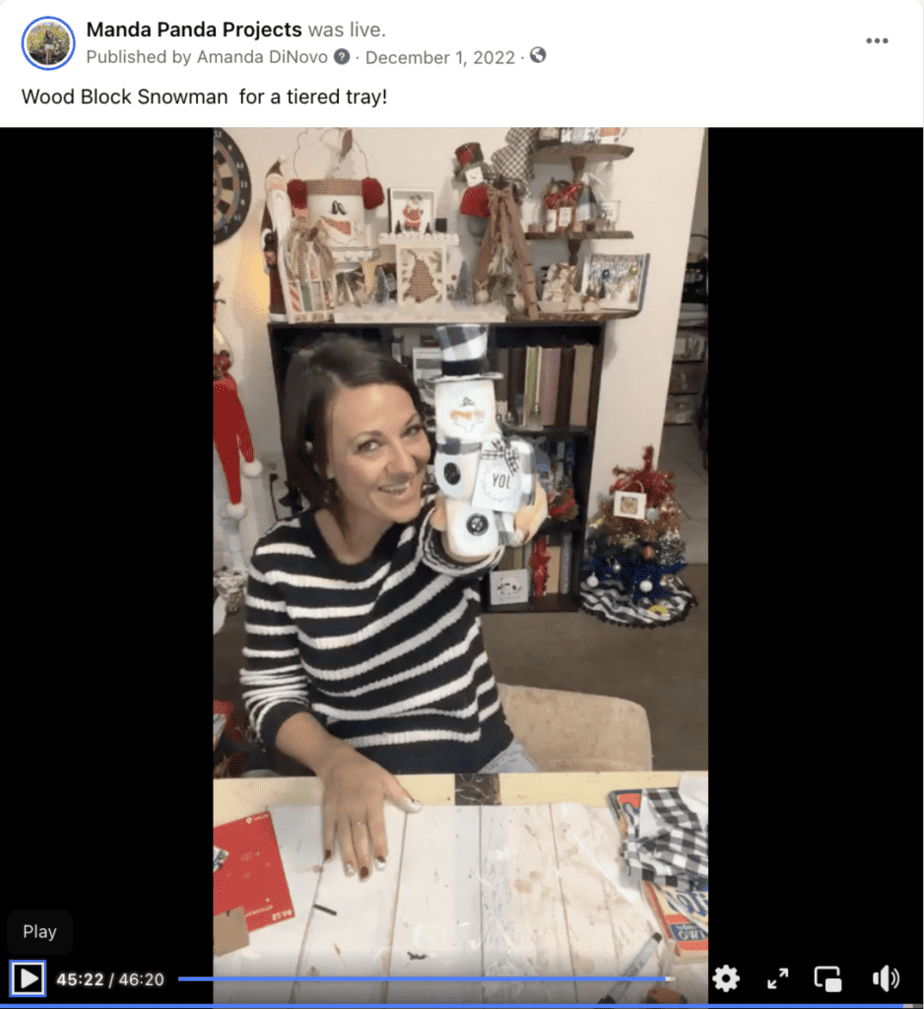
I made this Dollar Tree Wood Block Snowman on video. So you can WATCH the tutorial by clicking below.
Start by gluing the wood blocks together, with the middle block a little off center to give it a wonky look. Then paint the entire stack all white, and grunge up the edges with Antique wax. Now we have the base of our snowman body!
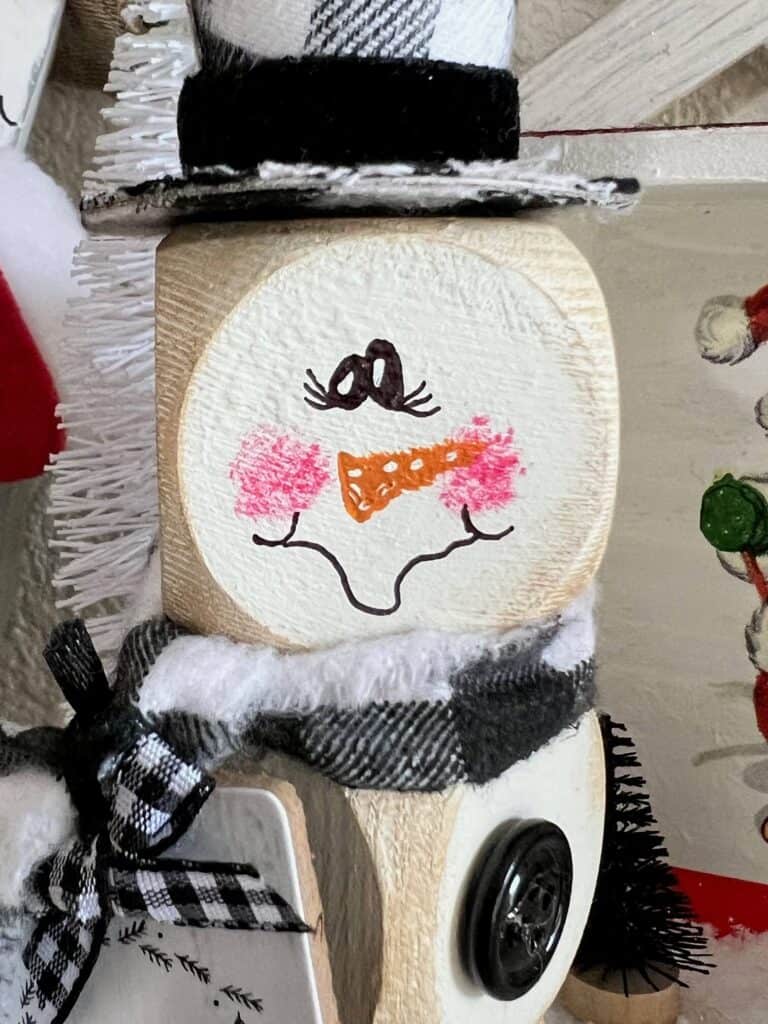
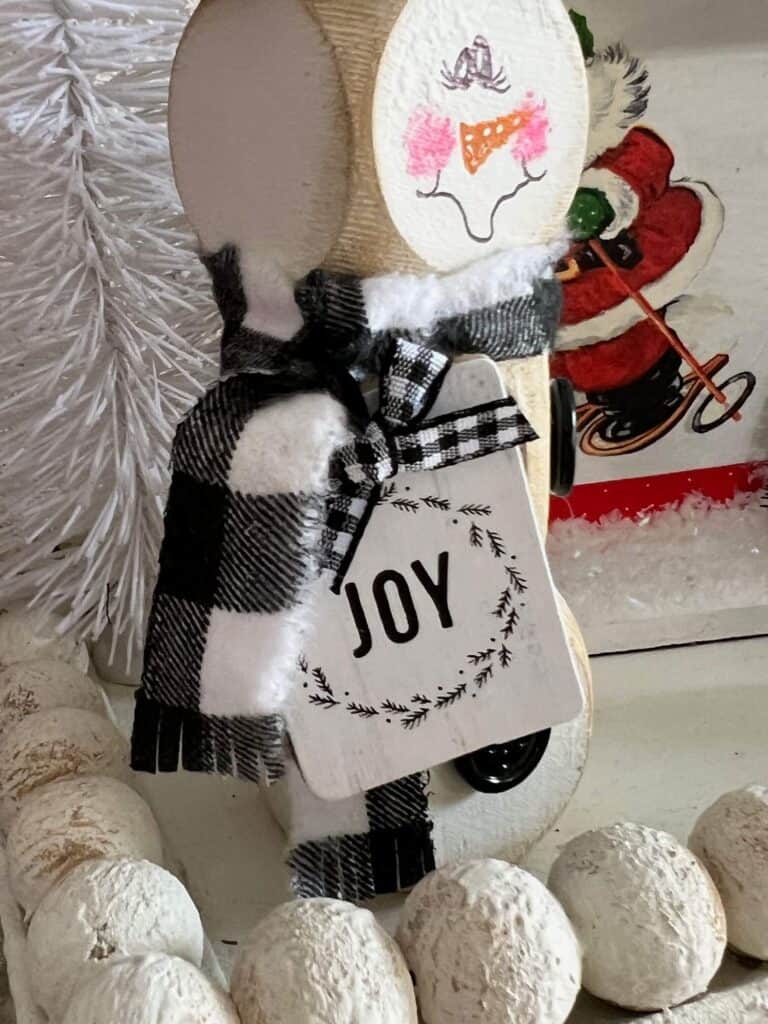
For his face, I kept it super simple but super cute with 2 small oval eyes leaning into each other with a with small white line. Use a dry brush technique for pink rosy cheeks, and a small paint brush to brush on the carrot nose.
For the mouth I used a fine tip sharpie to draw the curvy line, with smile lines on each end.
Glue on 2 buttons to the bottom 2 blocks.
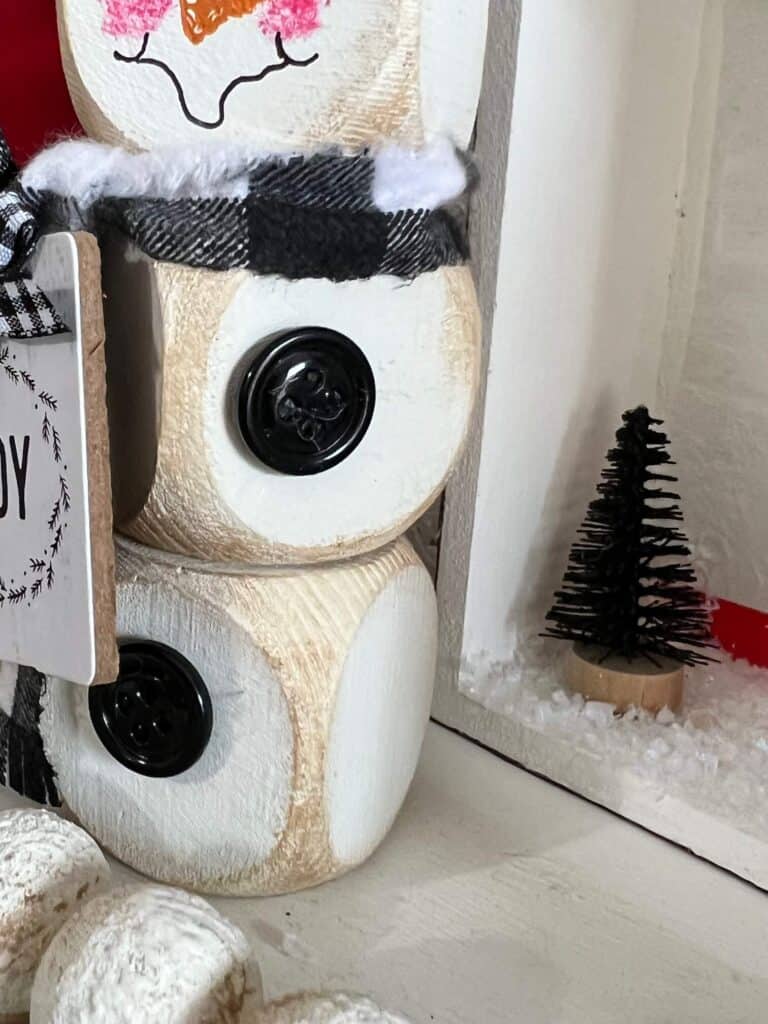
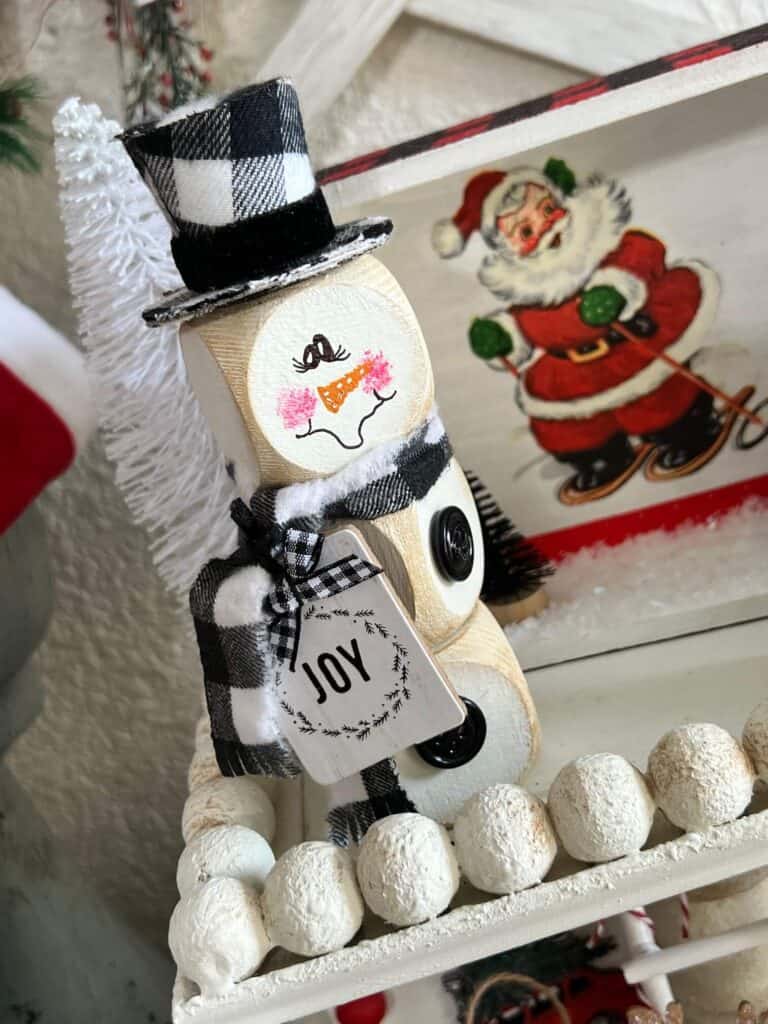
Rip a small strip of fabric and tie it around the snowman’s “neck” as the scarf.
I added a mini “Joy” ornament around the neck with the scarf for extra decoration.
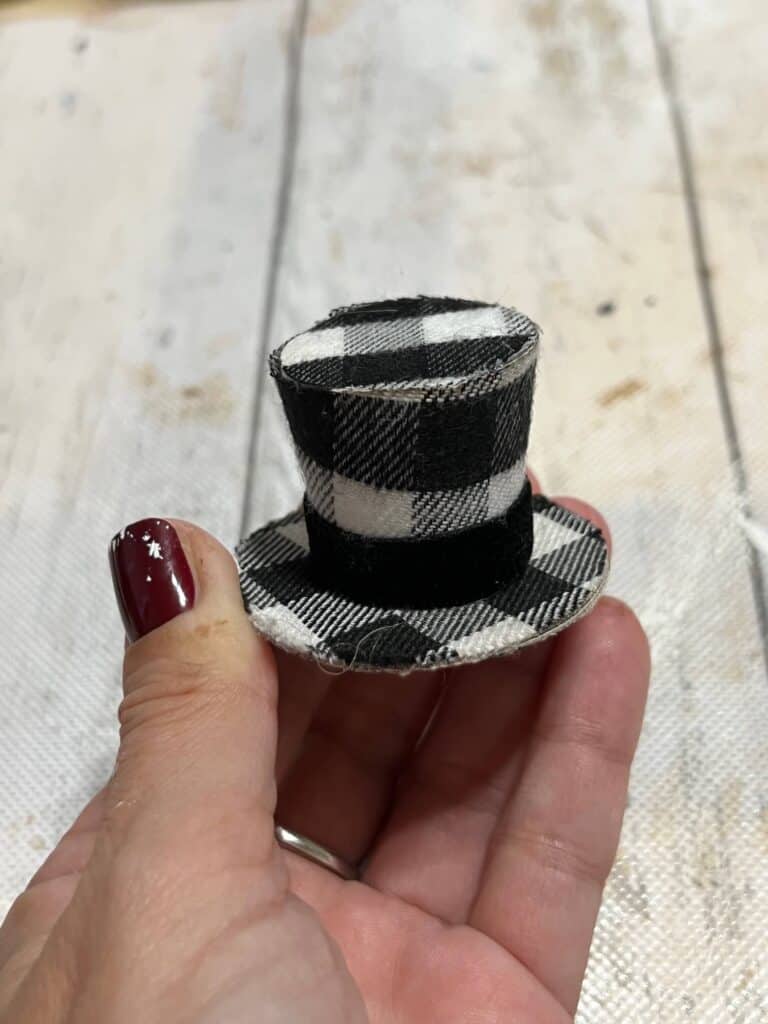
For his hat, I used a mini Buffalo Check top hat ornament clip and just took the clip off of the bottom.
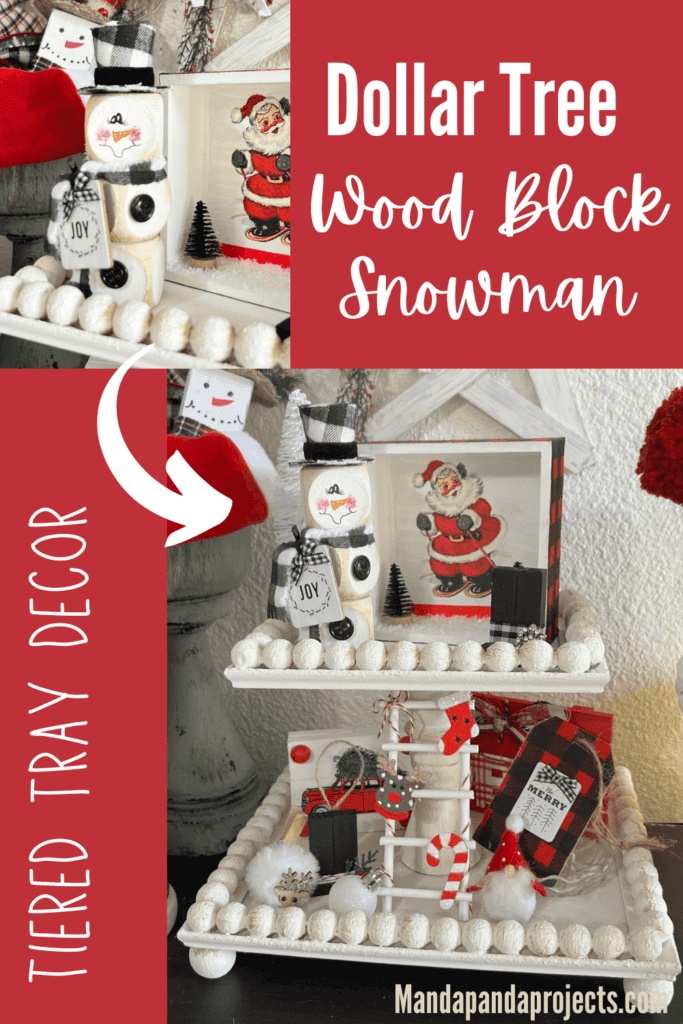
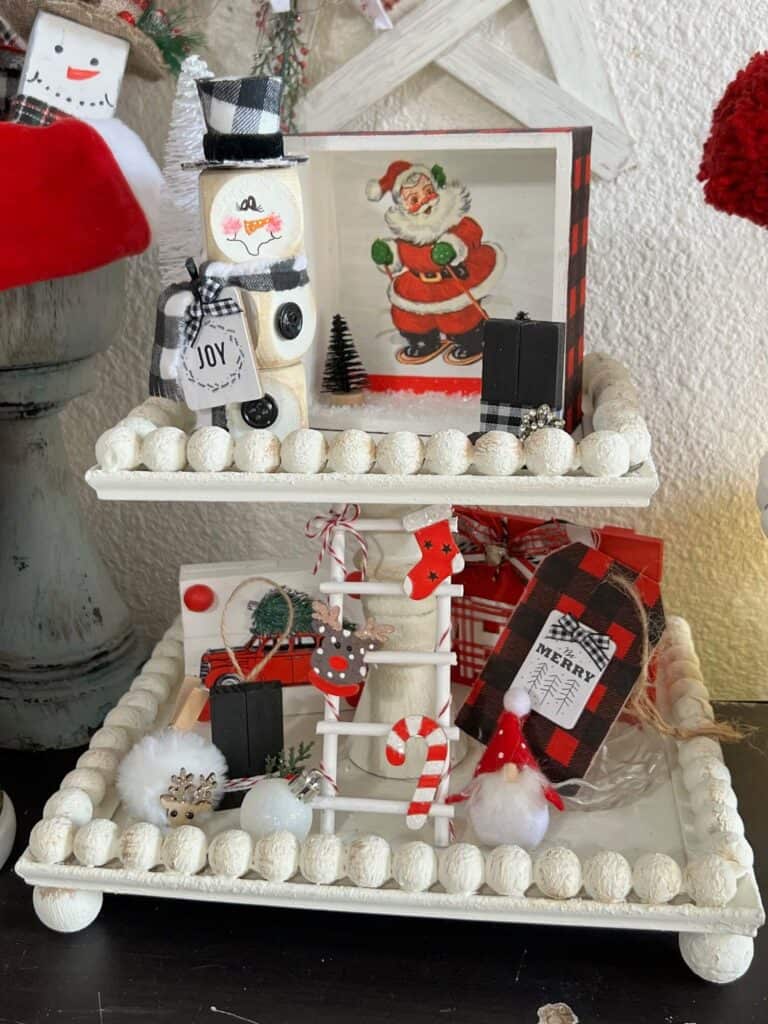
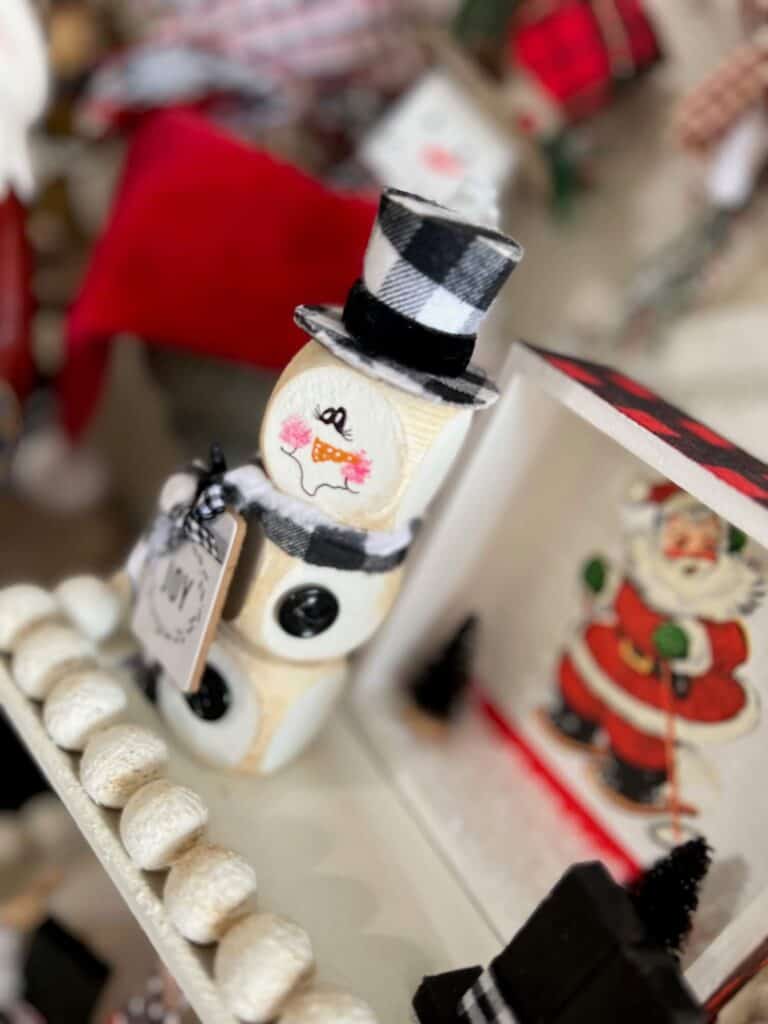
And here he is all finished and on my tiered tray! So easy, and so darn cute.
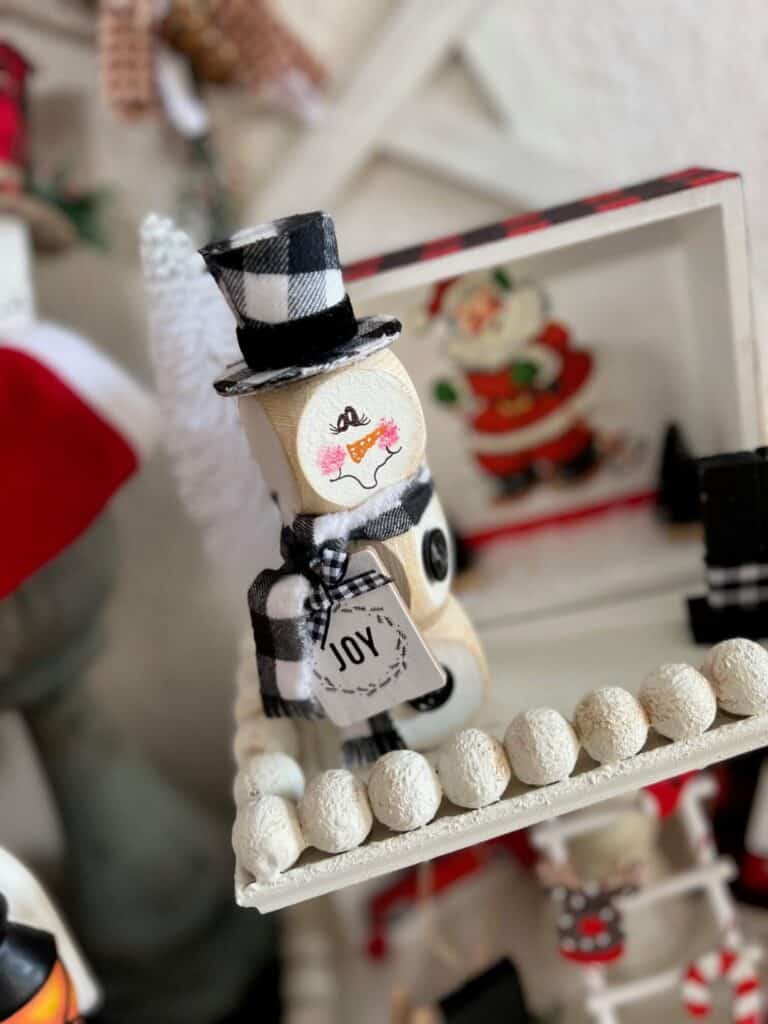
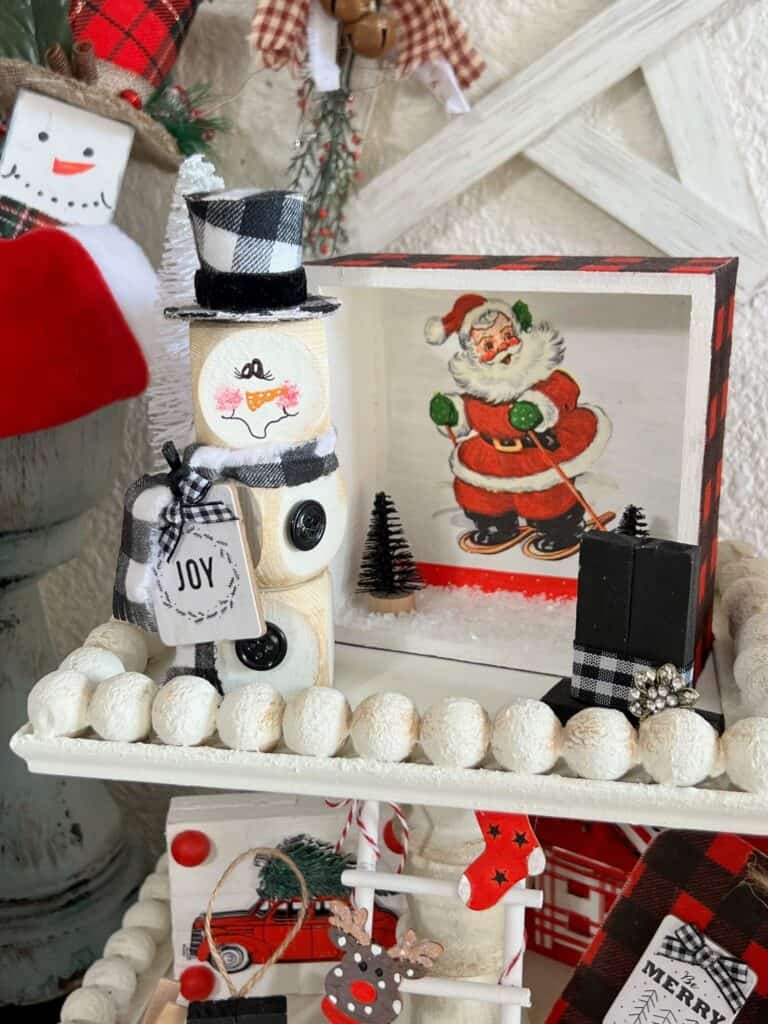
How darn cute does he look on my Tiered Tray with that Retro Santa Frame?
Are you going to make a Dollar Tree Wood Block Snowman? If you do, I’d love to see it! Pop on over to our free Craftspiration Facebook group, and join in on the fun by posting a pic of your Tiered Trays, DIY’s and crafts. I just love to see all your creative and crafty creations.
If you’ve got a million projects on your crafting ‘to-do’ list like I do, than you need my FREE Craft Project Planner so you can plan to make *all the things*! When you sign up for the craft planner, I’ll also send you lot’s of fun, easy, and budget friendly ideas for you to fill it up with!

Free printable Craft Project Planner
Get organized, get inspired, and get crafting, with our free Craft Project Planner!
Until Next Time…
Stay Crafty San Diego!

Love this Dollar Tree Wood Block Snowman? Make sure to PIN it for later!
