Make an easy and affordable piece of DIY Dollar Tree Decor that will have your neighbors BUZZing about how much they love it! These Dollar Tree Wood Spoon Beehives are not only budget friendly, but they are BEE-utiful as well!

Ya gotta love a good ‘Ole Dollar Tree DIY. And ya gotta love a good ‘Ole Bee craft.
And if you’re Manda Panda Projects, ya gotta love a good ‘Ole Dollar Tree Bee craft! Hence these Wood Spoon Beehives!
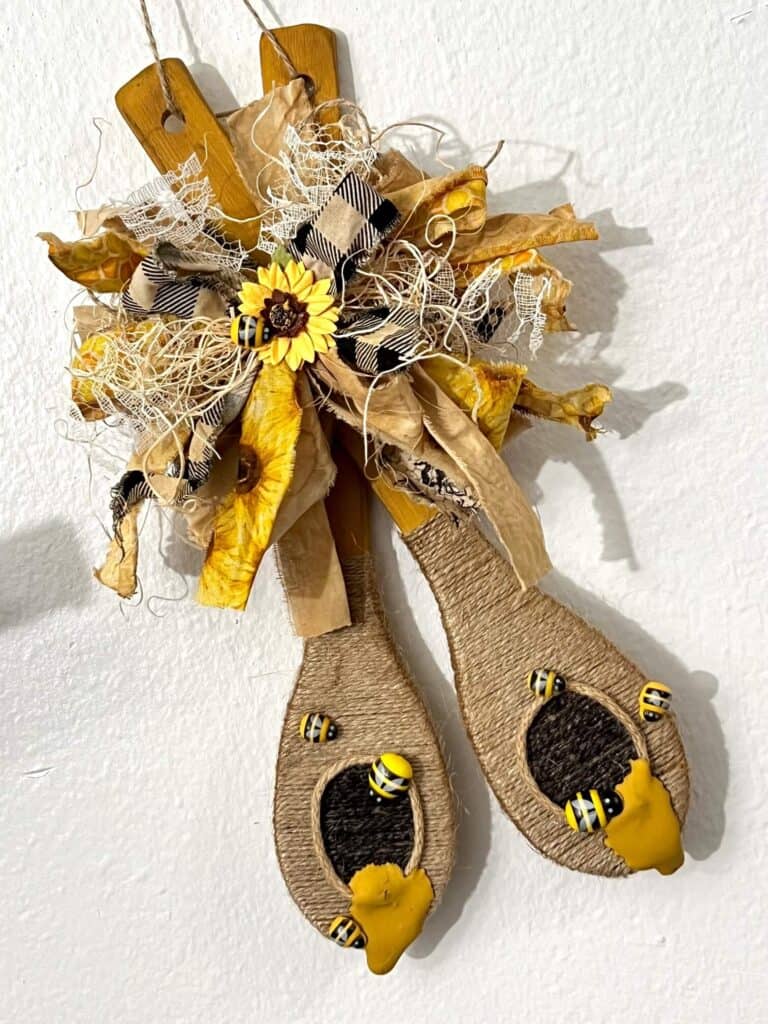
These were a total hit when I posted them on the socials, so of course I am making them into a blog post.
While scrolling the amazing Pinterest, I saw Wood Spoon Bees. Not hives, but the spoons were actual Bees with wings. So I got to thinking, what if I made them into Bee HIVES!?
And that I did!
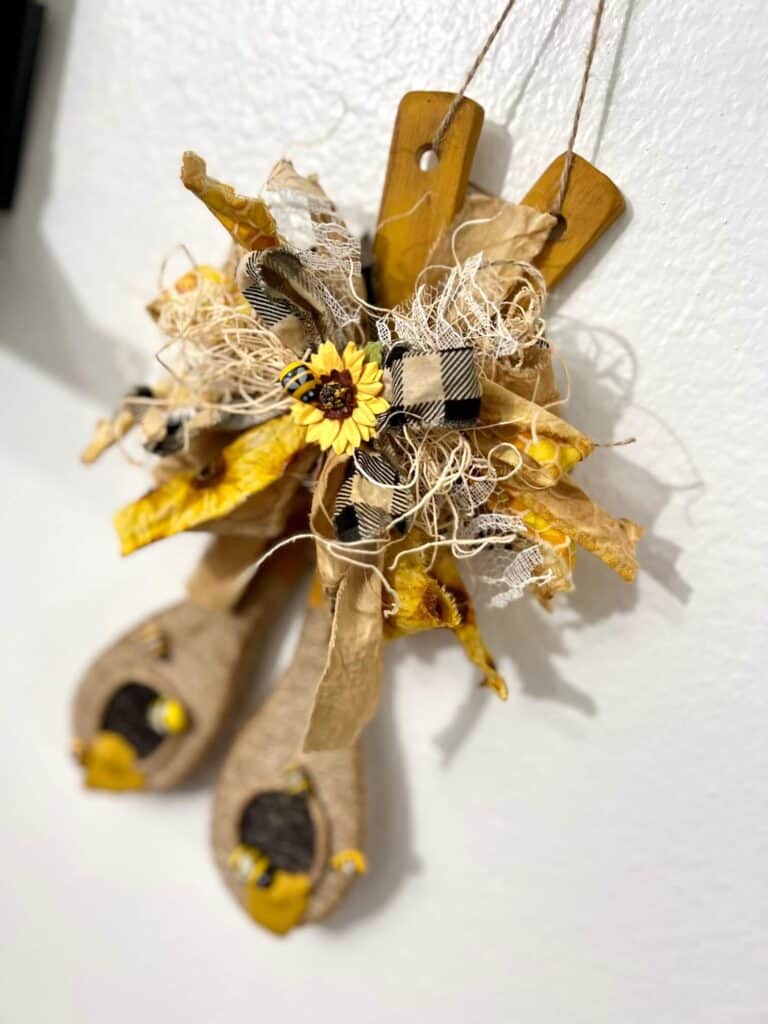
I’ll show you how I made these adorable Dollar Tree Wood Spoon Beehives.
This post may contain affiliate links for your convenience (which means if you make a purchase after clicking a link I will earn a small commission but it won’t cost you a cent more!)
Supplies Needed to Make Dollar Tree Wooden Spoon Beehives
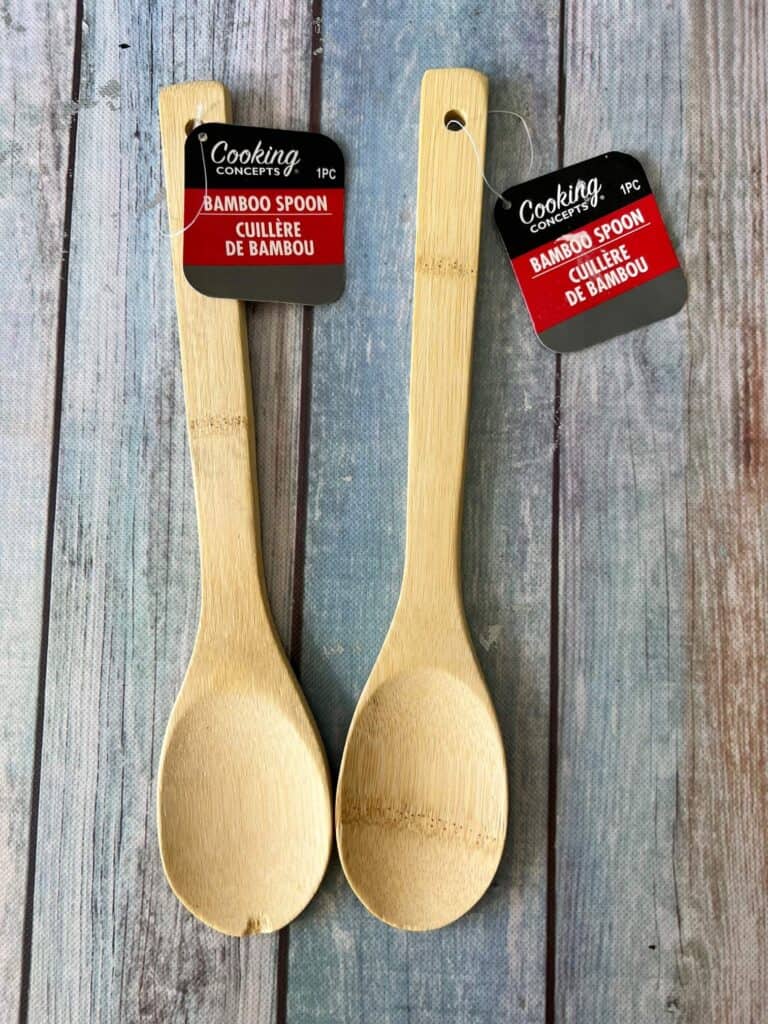
- 2 Dollar Tree Bamboo Spoons
- Golden Sunset Apple Barrel Acrylic Paint
- Twine
- Mini Resin Bee embellishments
- Paper Sunflower embellishment
- Coordinating fabric and/or ribbon for bow
- Raffia or Excelsior
- Antique wax
- Mod Podge
- Hot glue gun
How to Make Dollar Tree Wooden Spoon Beehives
I made these Dollar Tree Wood Spoon Beehives on video, so you can WATCH it or click on the picture right below.

Start by painting both of your spoons with Golden Sunset, or some sort of mustard yellow color, then grunge them up with plenty of Antique Wax to make them look distressed and dirty.
Then, starting about an inch above the spoon on the handle, begin to wrap the twine around and around, gluing the end to the back to secure it when you start wrapping. This part is pretty easy, but its also pretty time consuming.
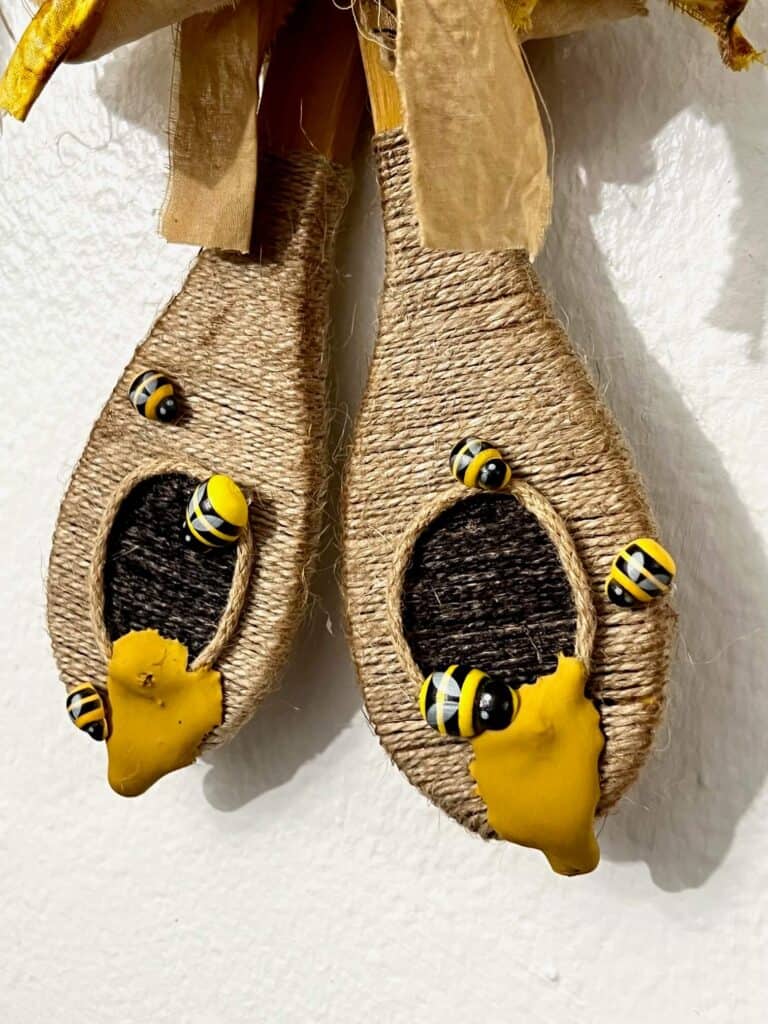
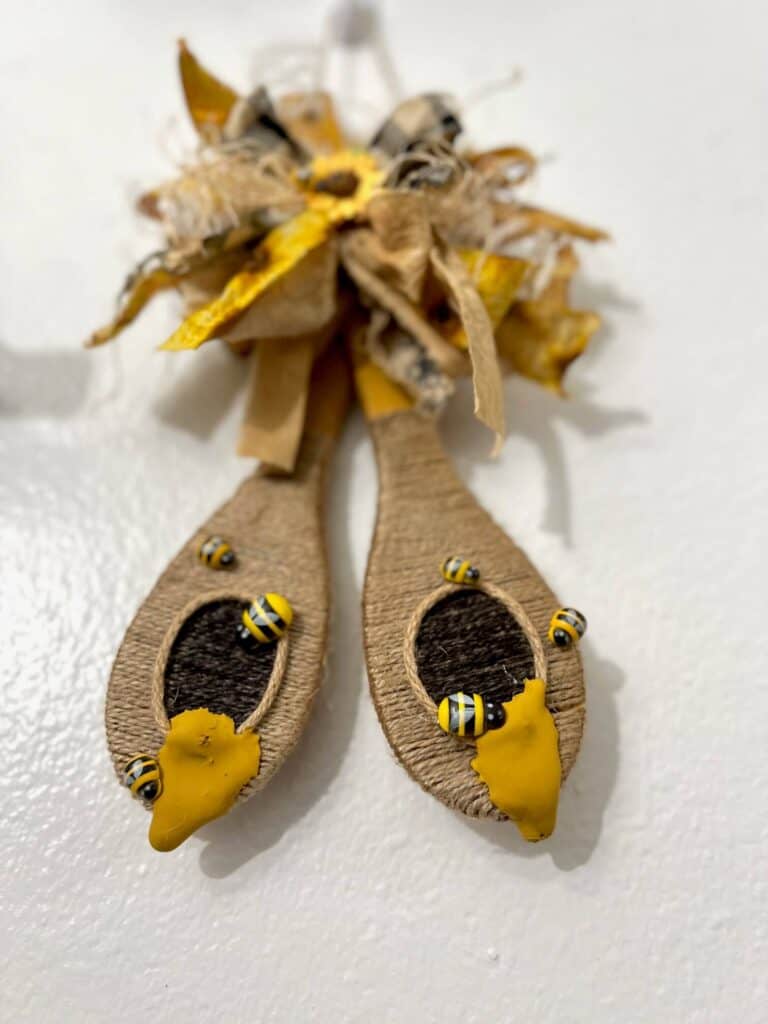
Once thats done, glue a strip of twine in a circle, and then paint the inside black to be the opening of the beehive. Black Sharpie works great for this too.
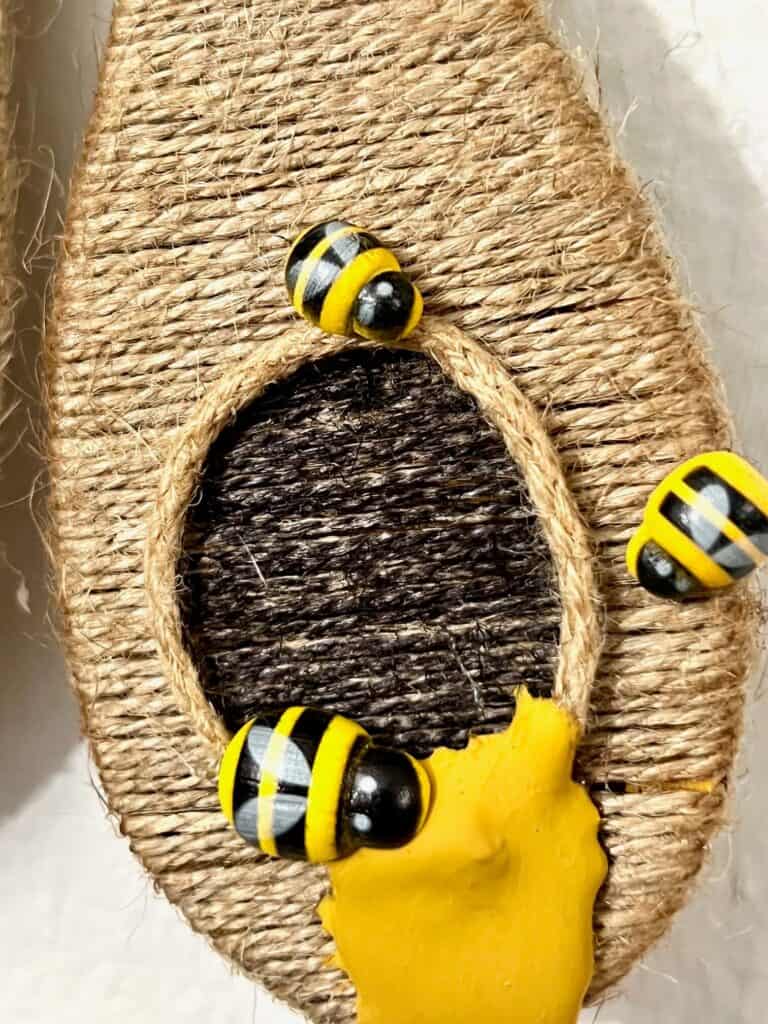
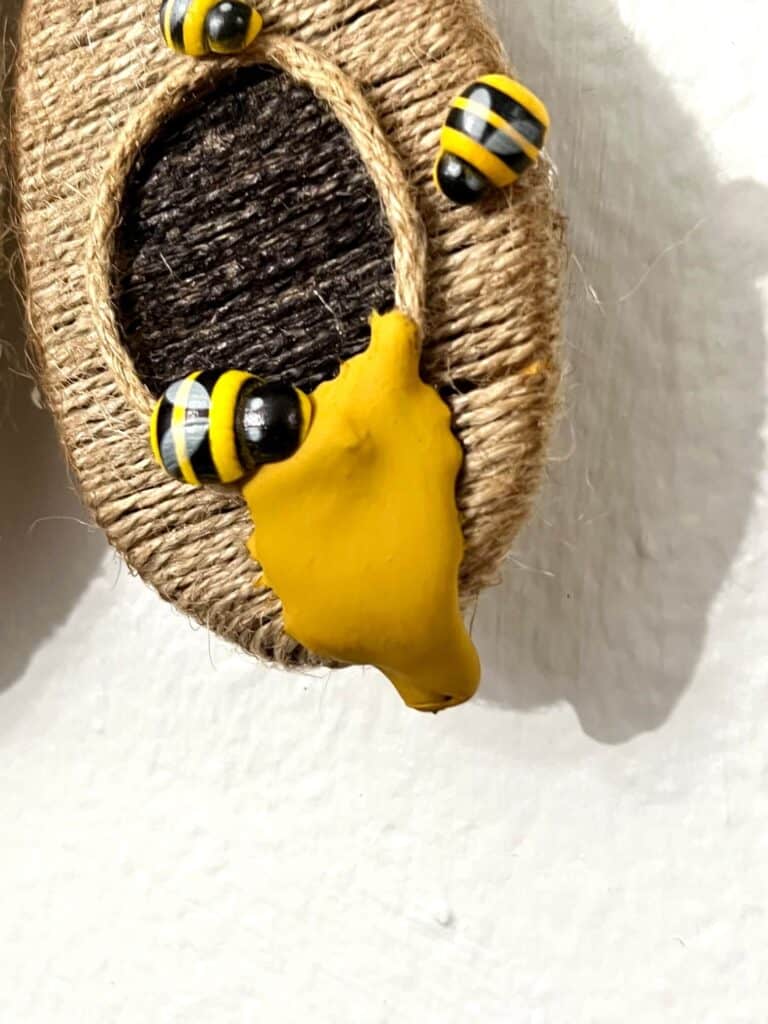
Using your hot glue gun, put a nice big drippy blob of hot glue coming out of the hive opening. Once its completely dry (It takes a little while when there is that much hot glue) paint it with the same mustard yellow color you used for the spoons.
Glue on some mini bees buzzing around the opening of the hive.
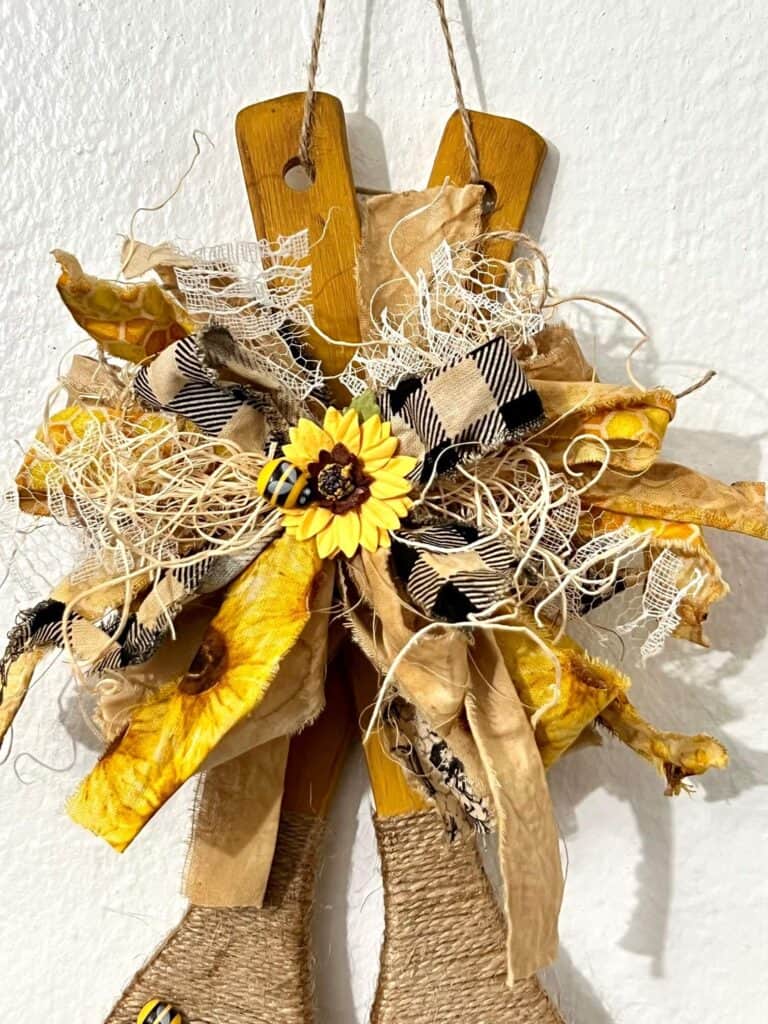
Now to make a bow! You can make whatever kind of bow you like, but I prefer scrappy messy fabric bows lately. I recently got a Bowdabra and it makes making these bows soooooo super fun and easy! Make sure to watch my live replay to see exactly how I made this big messy bow.
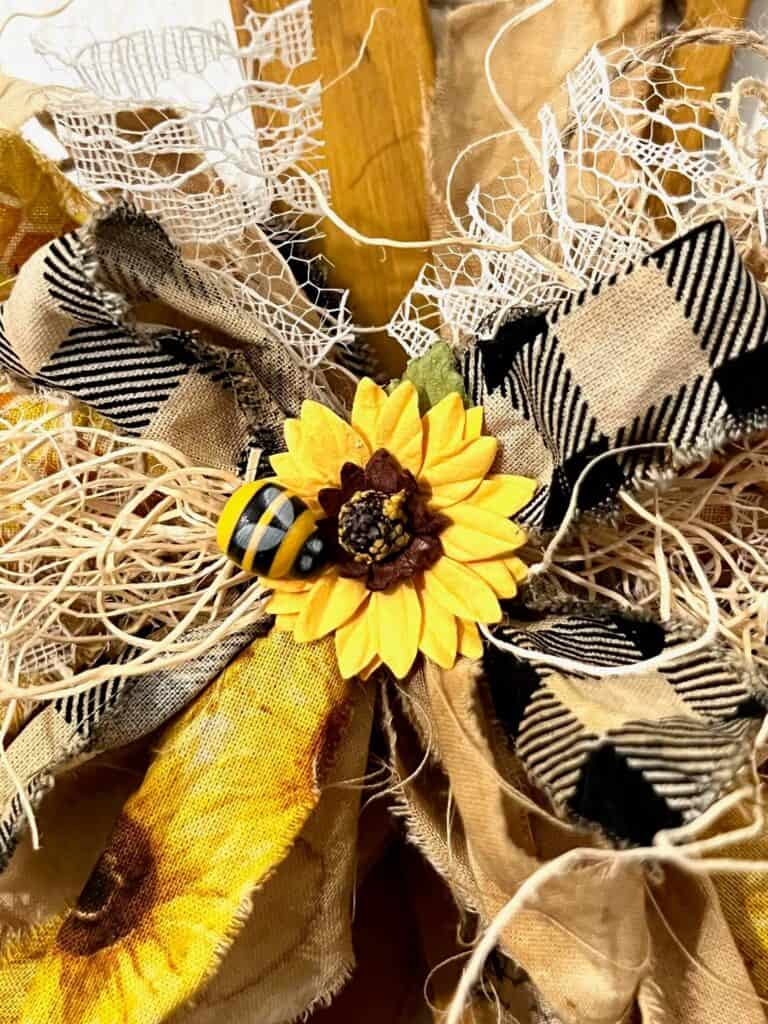
Add a mini paper sunflower and another bee to the center of the bow for extra cuteness.
Glue your 2 wood spoon beehives together in a criss cross fashion. Then glue your big bow right on top of the center where the 2 spoons meet.
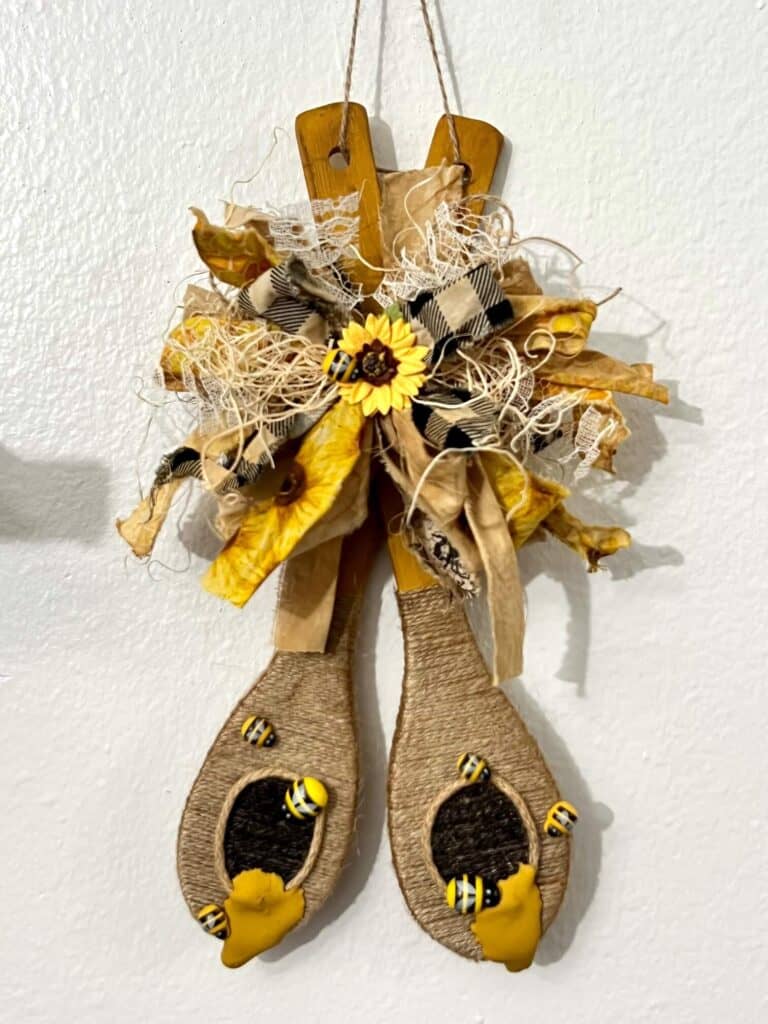
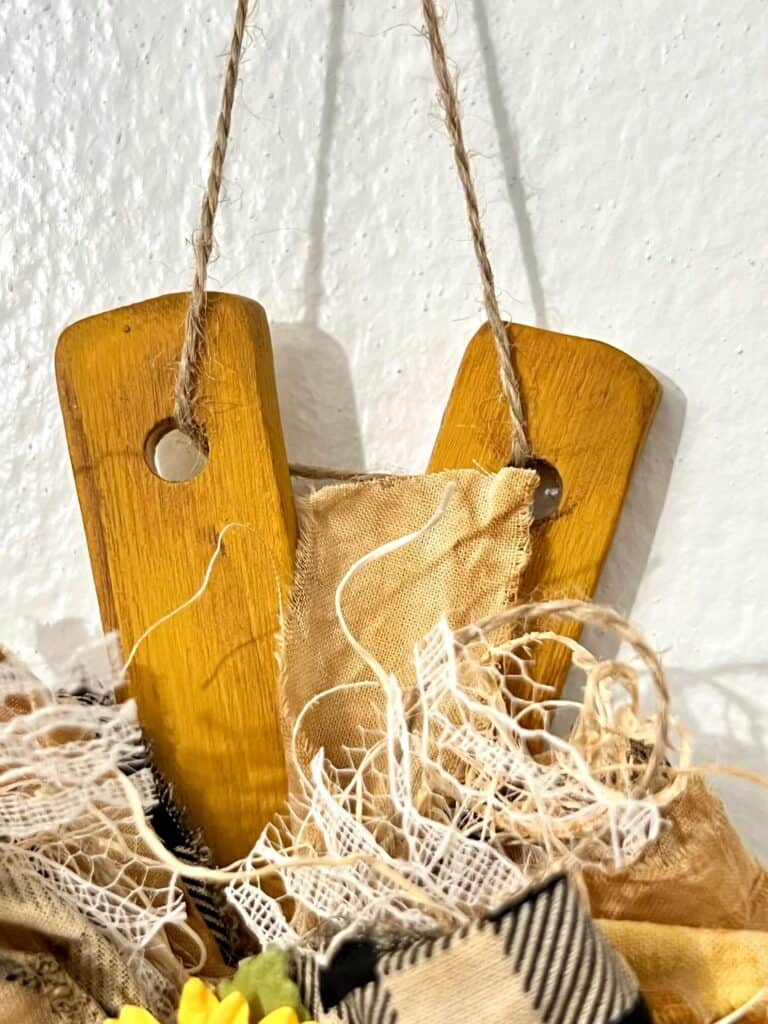
String some twine through the holes in the top of the spoons to act as a hanger.
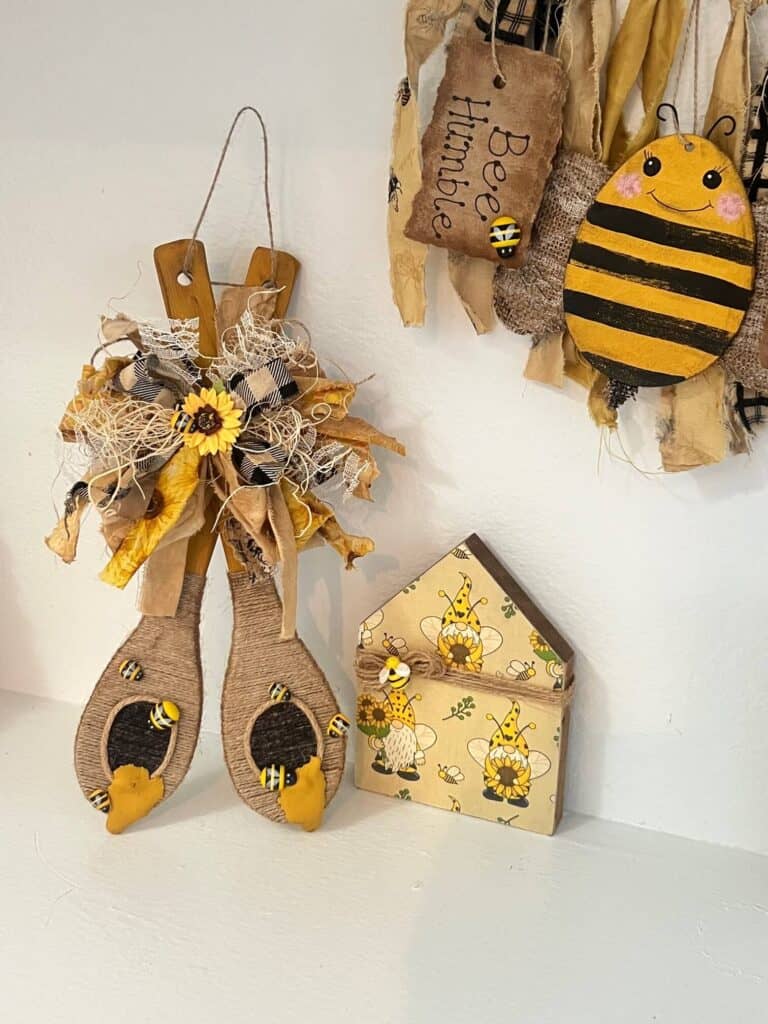
Here you have it! Sooooo darn cute!! I love how this looks with the rest of my Bee decor!
Are you going to make a Dollar Tree Wood Spoon Beehive this summer? Shoot…are you gonna make anything at all this summer?! If you do, I’d love to see it! Pop on over to our free Craftspiration Facebook group, and join in on the fun by posting a pic of your Tiered Trays, DIY’s and crafts. I just love to see all your creative and crafty creations.
If you’ve got a million projects on your crafting ‘to-do’ list like I do, than you need my FREE Craft Project Planner so you can plan to make *all the things*! When you sign up for the craft planner, I’ll also send you lot’s of fun, easy, and budget friendly ideas for you to fill it up with!

Free printable Craft Project Planner
Get organized, get inspired, and get crafting, with our free Craft Project Planner!
Until Next Time…
Stay Crafty San Diego!

Love these Dollar Tree Wooden Spoon Beehives? Make sure to PIN it for later!


