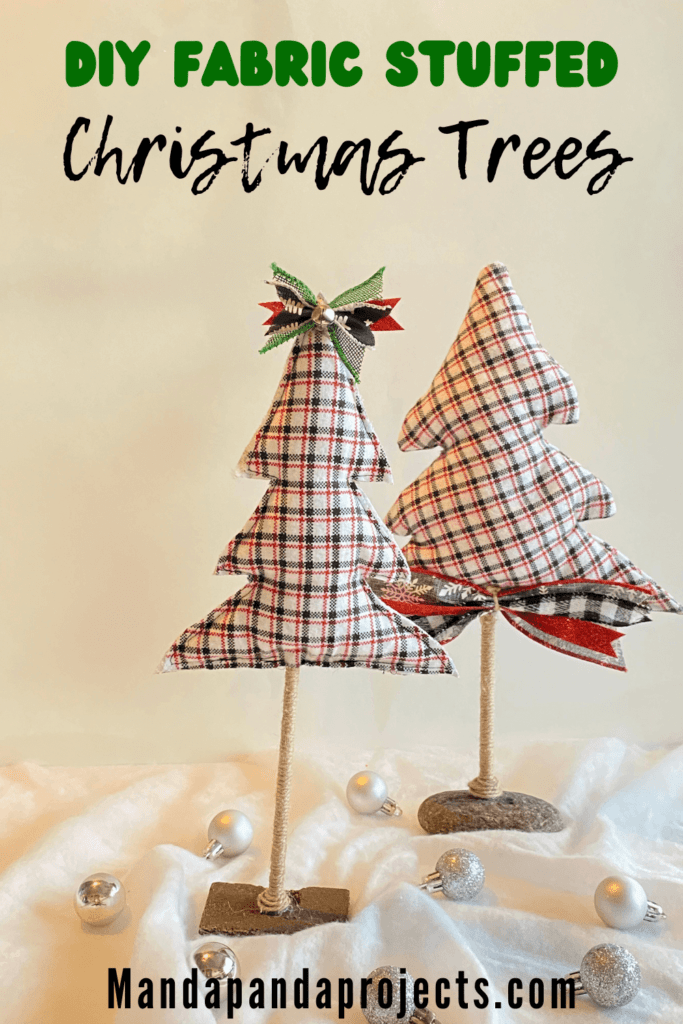
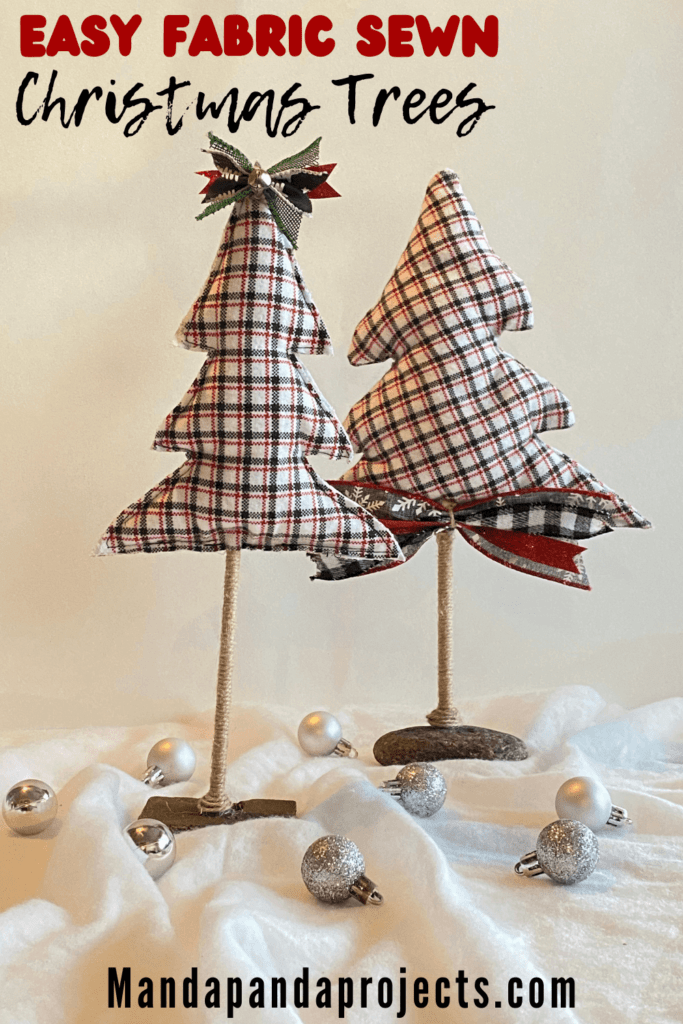
Turn your favorite Holiday Pattern into an adorable Fabric Stuffed Christmas Tree decoration. These Hand Sewn Trees are the perfect addition to your Farmhouse decor this Holiday Season, and the best part is they only cost a few dollars to make. Fa la la la la!
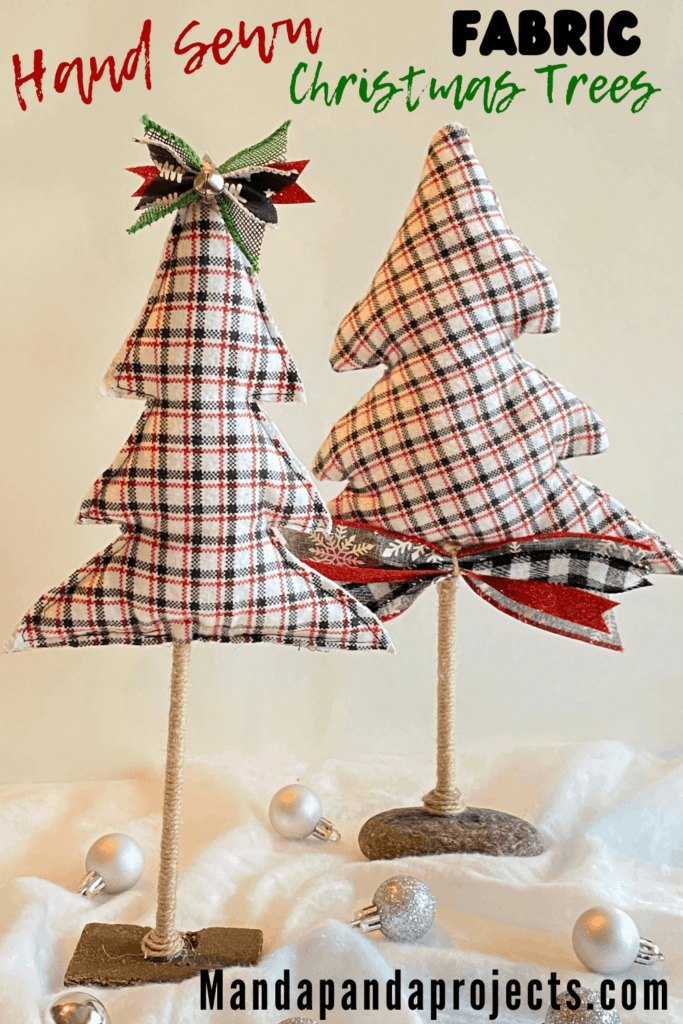
For as absolutely adorable as these Fabric Stuffed Christmas Trees are, you’d be shocked to see how simple they are to make! Do not let the “hand sewn” fool you. Even though these fabric trees do require you to break out the ‘ole needle and thread (or sewing machine), this DIY does not require any real sewing skills at all.
If you are looking to add to your Farmhouse Christmas Decor, these hand sewn Fabric Stuffed trees are the perfect addition. You could make a variety of Holiday Farmhouse Patterns, or you can keep it simple with the classic Buffalo Check. Either way, you’re sure to be asked “Where did you buy these?!”

Free printable Craft Project Planner
Get organized, get inspired, and get crafting, with our free Craft Project Planner!
Speaking of buying, rustic hand sewn Fabric Trees like these ones go for about $6-$10 over on Etsy, but you can make them for less than $2 a piece. AND they only take about 10 minutes if you have some basic sewing experience, and 15 minutes if you don’t, like me! I break out the needle and thread maybe 3 times a year, so every time I have to sew something it takes me a bit to get the hang of it. Honestly, you will love making these stuffed fabric Christmas trees and you might end up doing what I did and making more trees than you have places to display them.
I intentionally hand sewed these fabric Christmas trees right side out, so that you can see the stitch around the outside because I like the look that it gives them. If you’re not a fan of that style you could sew them inside out, and then flip them right side out so that the stitch is on the inside like the no-sew version that I made.
If you are thinking “nope, no way, I’m not sewing!”, don’t worry I made a no-sew version of these Fabric Christmas Trees that I think came out just as cute!
This post may contain affiliate links for your convenience (which means if you make a purchase after clicking a link I will earn a small commission but it won’t cost you a cent more!)
Supplies needed to make a Hand Sewn Fabric Christmas Tree with Twine Trunk
- Buffalo Snow (or Poly-fil)
- Fabric of your choice (we used a pack of Christmas themed Fat Quarter swatches)
- Wooden dowels
- Rocks (you could also use unfinished natural wood circles)
- Twine
- Ribbon of your choice (we used a green burlap and red sparkly as well as a red truck)
- Mini silver bells or other embellishments (optional)
- Needle and thread or a sewing machine
- Cardboard (optional to make the Christmas Tree template)
How to hand sew fabric stuffed Christmas Tree Decorations
Follow the below easy steps to make your own Fabric Stuffed Christmas Tree Decorations without owning a sewing machine or ever having to pick up a needle and thread!
Draw the outline of the Christmas tree on the back of the fabric (the side without the pattern), and cut it out. I traced the shape onto a piece of cardboard to use as a template, but you could totally freehand this as well. It doesn’t have to be perfect.
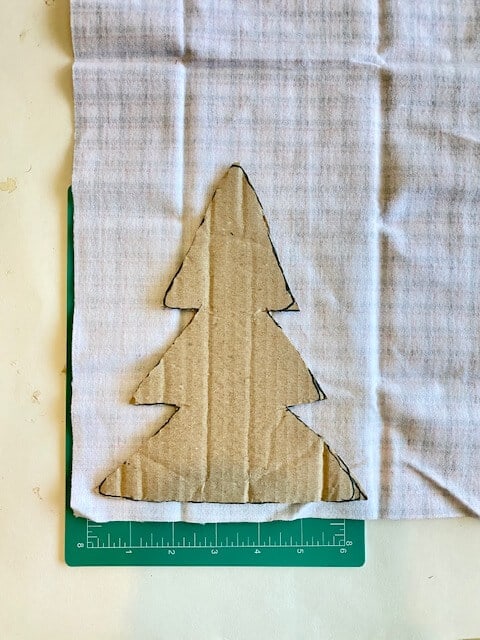
Take another piece of fabric and lay it down pattern side down. Using the piece that you already cut out as a template, lay it down onto the other fabric pattern side up. (So the 2 pieces should be non-pattern to non-pattern facing each other). Trace the Christmas tree shape and cut that out. *Important: This ensures that the 2 pieces line up when you go to sew them together.
You should have 2 pieces of Christmas Tree shaped fabric, the exact same size. Using a single stitch, sew the 2 pieces together around the perimeter of the tree shape. If you have a sewing machine you could get creative with it and use a more fancy and noticeable stitch pattern.
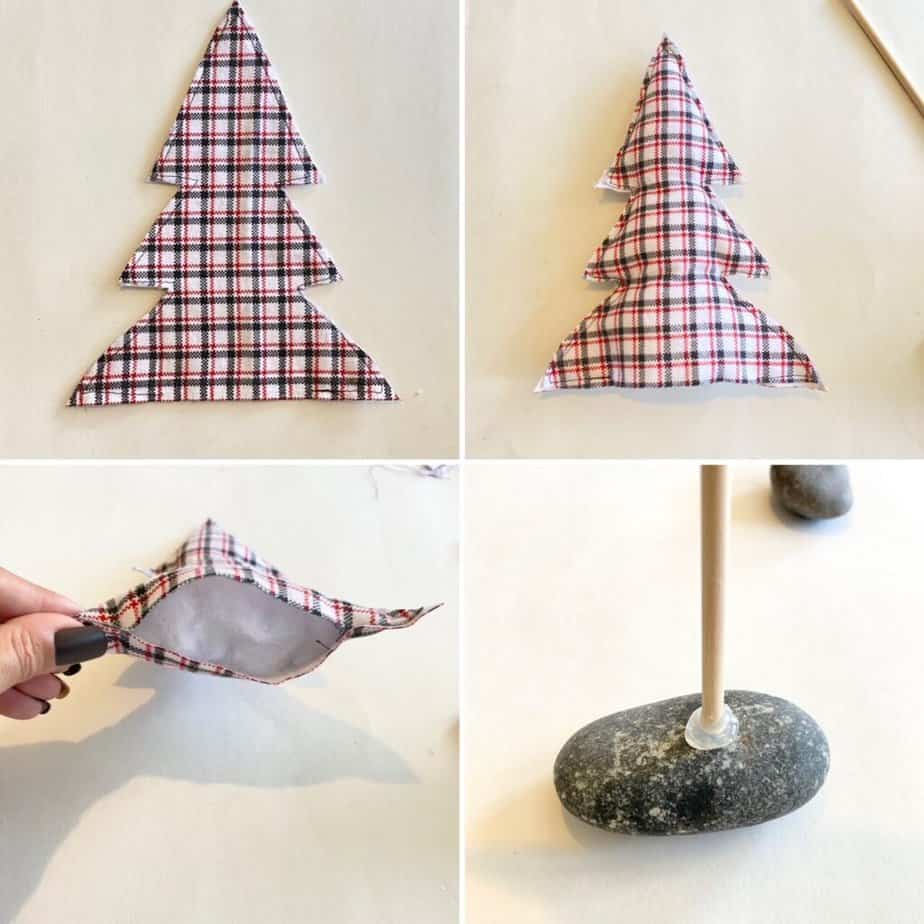
Stuff the inside with Buffalo Snow. Use enough filling to puff it up, but not so much that you’re struggling to sew the opening shut.
Take a wooden dowel and stick it up into the center of the Buffalo Snow, almost all the way to the top, leaving about 5 inches coming out from the bottom and then sew the opening shut.
Use a generous amount of hot glue to attach the end of the wooden dowel to the rock base (or natural wood circle).
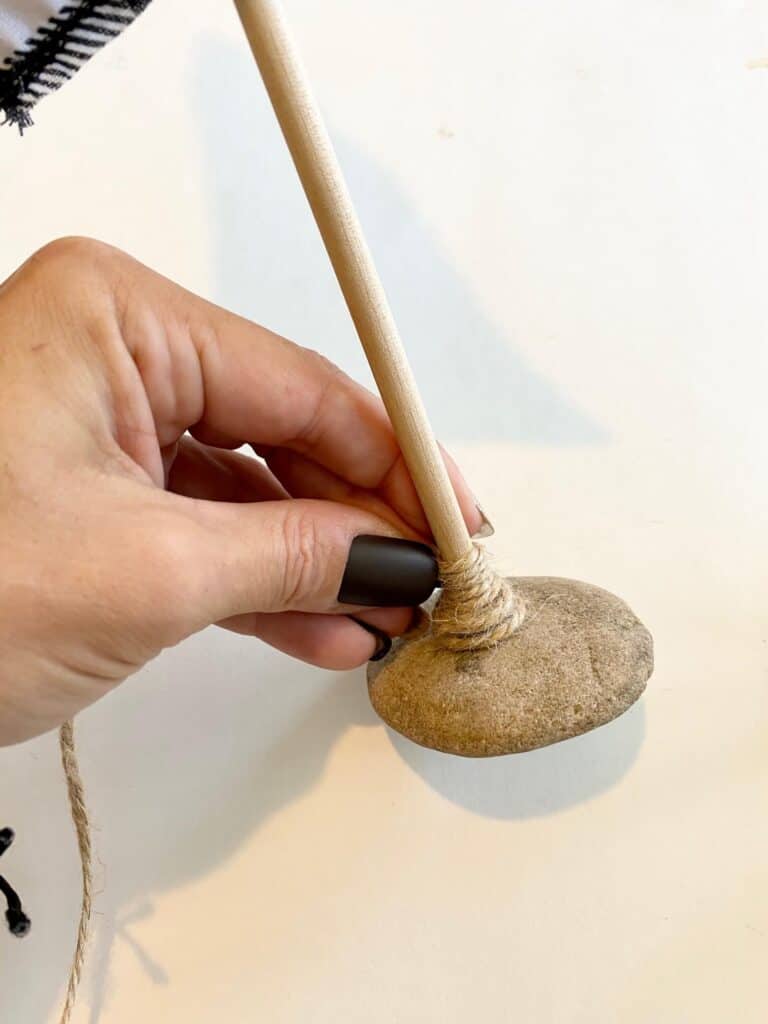
Glue the end of a piece of twine to the bottom of the base where the dowel meets the rock and begin twisting up and around the dowel until the “tree trunk” is completely covered in twine. Glue the end to secure.
Add any embellishments you’d like. On one of these hand-sewn fabric Christmas Trees I added a super simple scrap ribbon bow with a mini silver bell to the top.
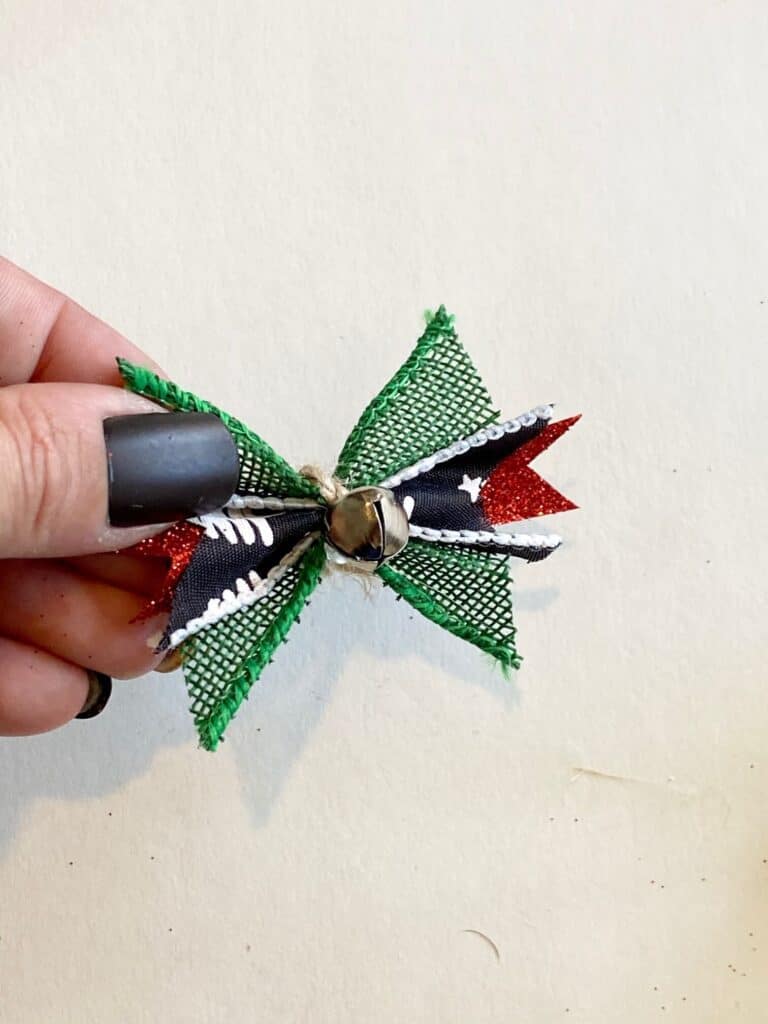
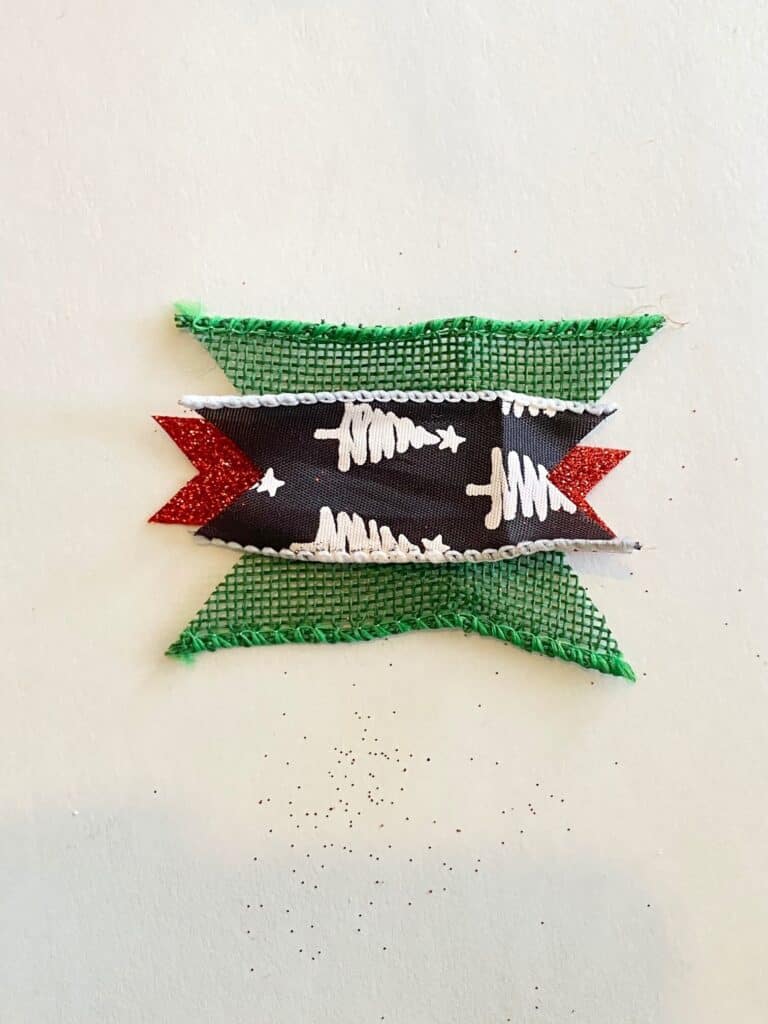
On one of the hand sewn Fabric Christmas Trees I added a scrap bow to the top in place of a star. To make this easy scrap bow, cut 2-3 pieces of your coordinating ribbon about 3 inches long, and dove tail the ends of each. To dove tail, just fold the ribbon in half, and cut a diagonal slit like the below pic.
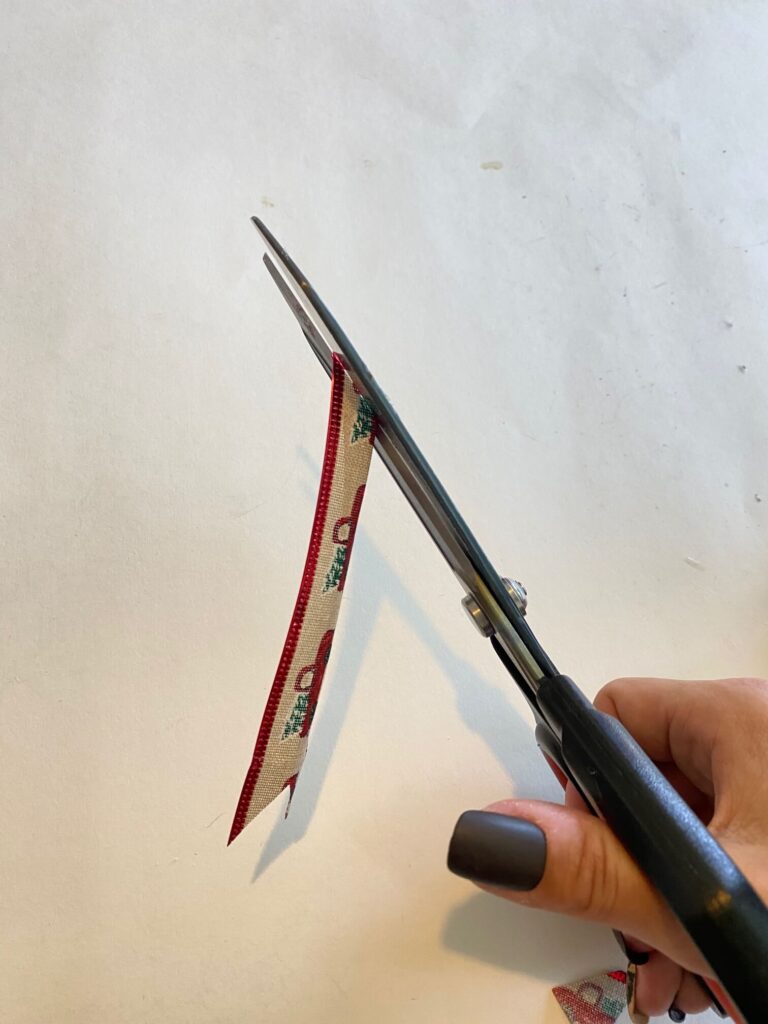
Layer the ribbon pieces on top of each other, with the widest pattern on the bottom. Tie a piece of twine or string around the center and fan out the ends. Such an easy bow!
If you have so many Holiday DIY Project ideas floating around your head that you can’t keep them straight, make sure do download our Craft Project Planner below so that you can organize your ideas in one place and don’t forget to make a thing!

Free printable Craft Project Planner
Get organized, get inspired, and get crafting, with our free Craft Project Planner!
Until Next Time…
Stay Crafty San Diego!


