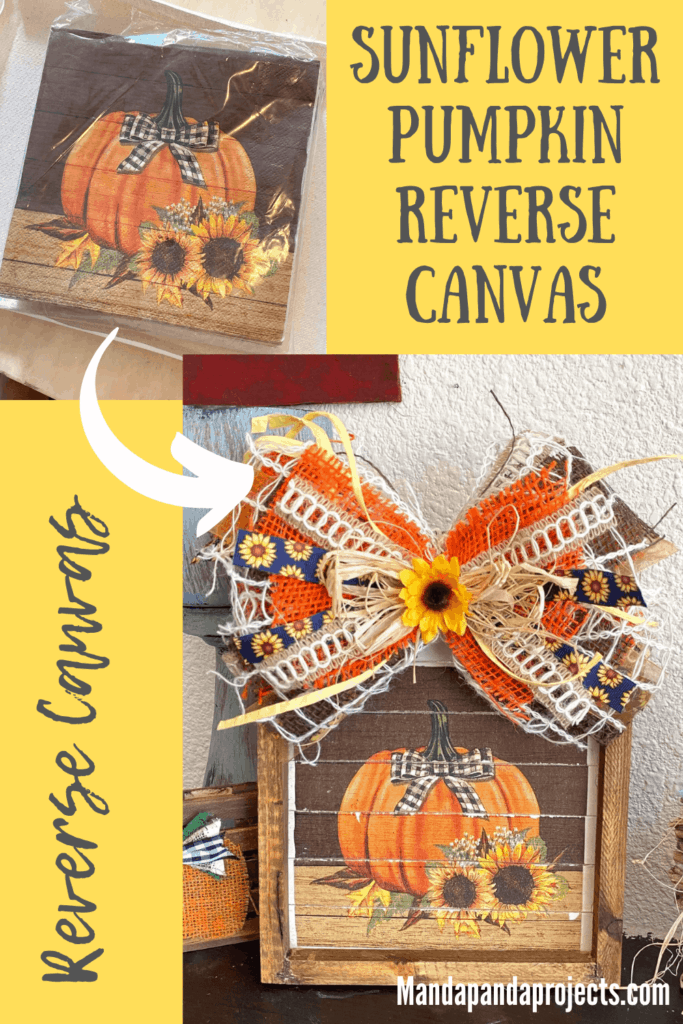
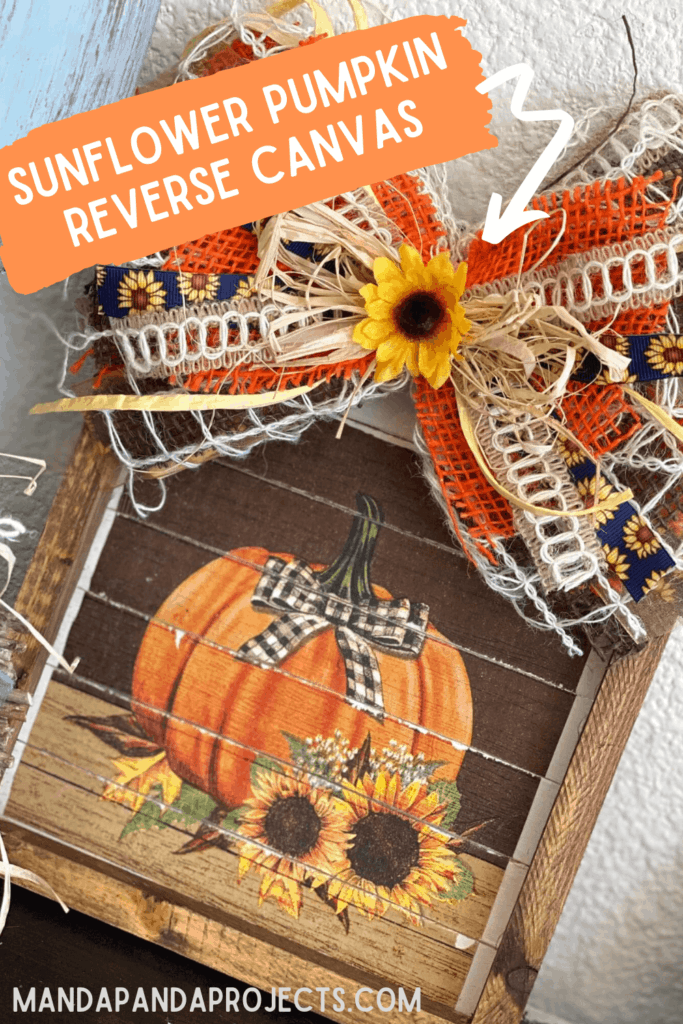
This fun fall DIY involves a few of my favorite things. A Sunflower and Pumpkin napkin, a Dollar Tree Reverse Canvas, and a big fat Messy Bow! When you’re done making this piece of Fall DIY Decor you’ll have a match made in crafty heaven!
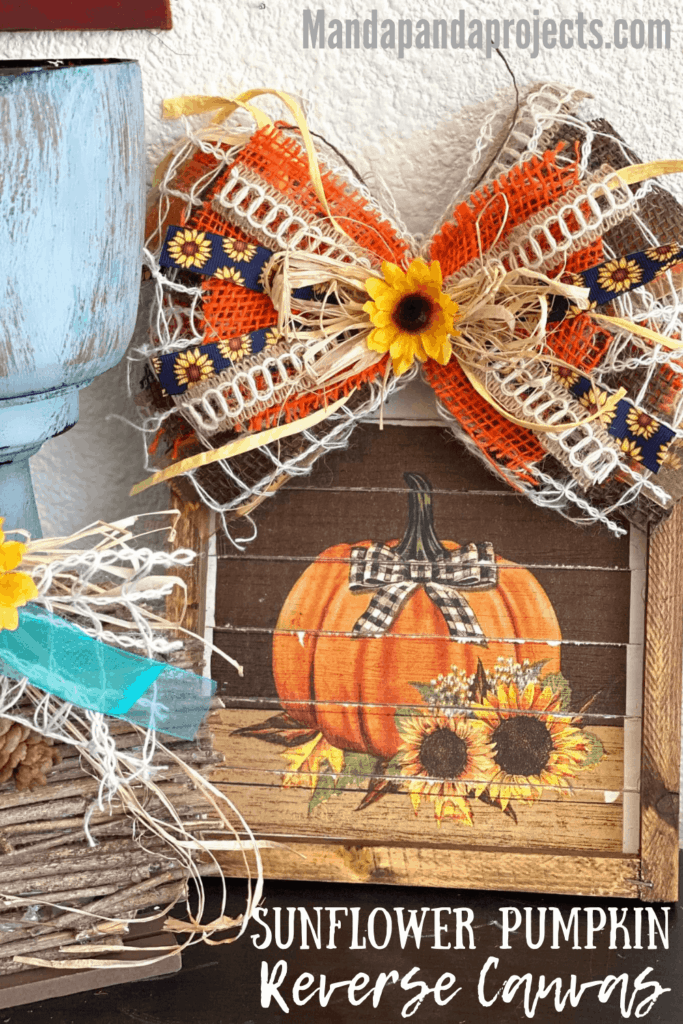
“I like big bows and I cannot lie!” That statement (and song) is so true to me, that I liked it enough to put it on a T-Shirt! And lemme tell ya, this Messy Bow makes quite the statement!
As adorable as this Fall Sunflower and Pumpkin Napkin Reverse Canvas is, you don’t have to make this exactly as I did. If you can’t find this exact napkin (I got mine at Hobby Lobby) than you can make this project with any napkin of your choice. You can make it for any season or Holiday. The Craftabilities are endless!
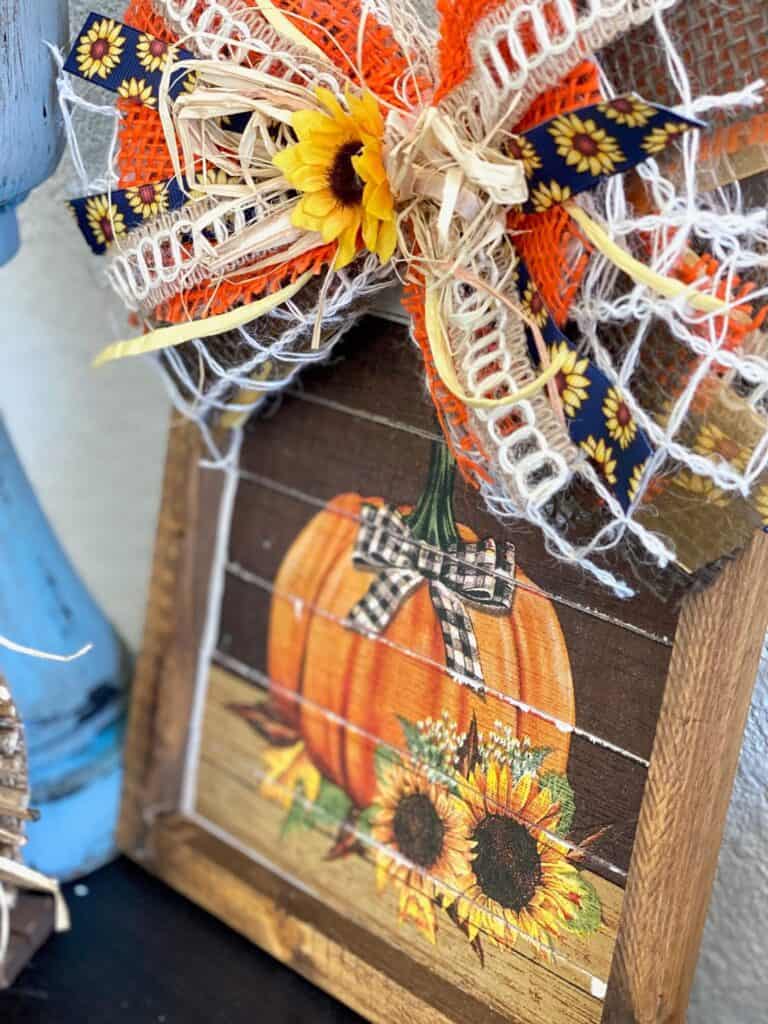
Can we talk about that bow for a hot sec?! I know you’re thinking “I can’t make bows, especially one that pretty”, but I’m here to tell you that YOU CAN! This bow is so easy that if you can layer ribbon in a crisscross fashion, you can make this bow.
But there is one secret to achieving the big beautiful messy greatness. Are you ready for it?……….A Zip tie. It’s all about that zip tie and if you try and tie string or twine around the center, it just won’t look quite the same.
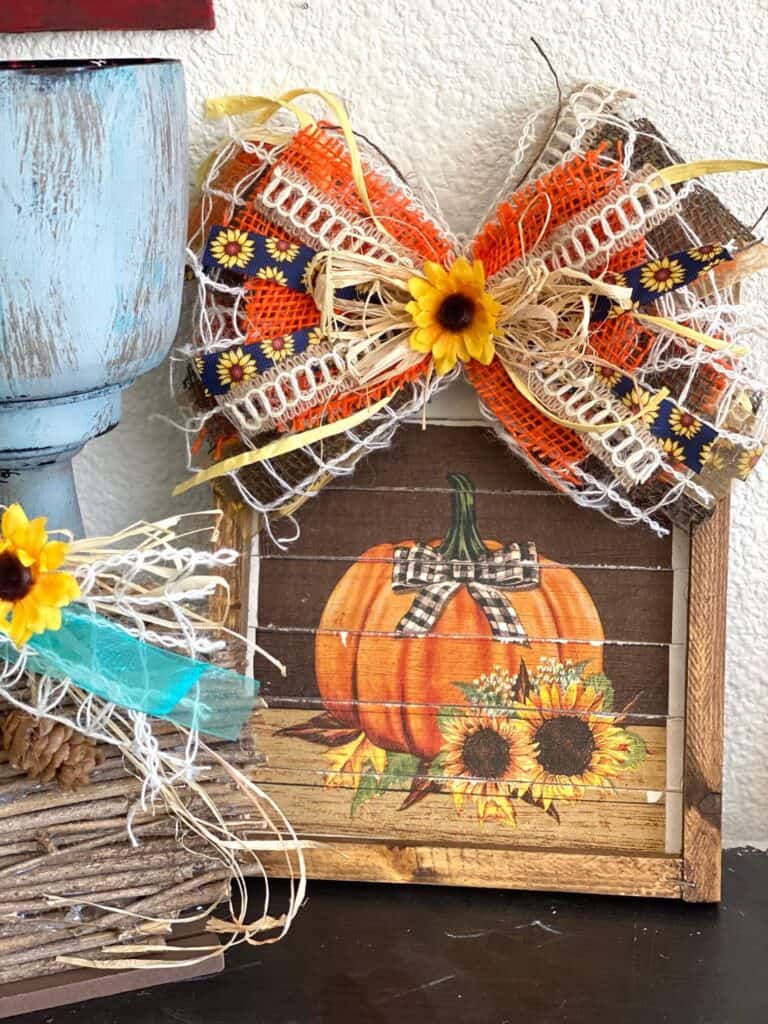
So grab your favorite napkin, head to Dollar Tree for a canvas, and let’s get to making this Sunflower Pumpkin Reverse Canvas DIY!
This post may contain affiliate links for your convenience (which means if you make a purchase after clicking a link I will earn a small commission but it won’t cost you a cent more!)
Supplies Needed to make a Fall Reverse Canvas with Messy Bow
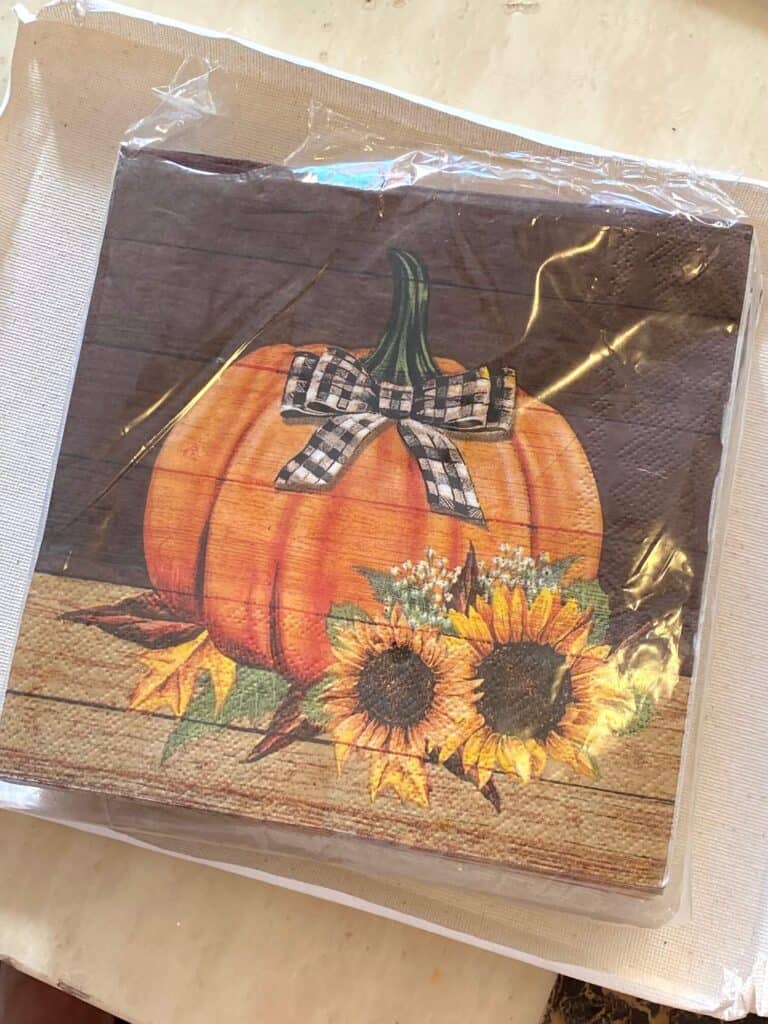
- 8×10 Canvas
- Sunflower Pumpkin Napkin (Or whatever napkin you choose) – I got mine at Hobby Lobby
- 1 Gallon Paint Stir Sticks (You could also use giant popsicle sticks)
- Foam board or cardboard
- White paint
- Antique Wax or brown stain
- Lots of Coordinating ribbon – I used Lattice, orange and brown burlap, thin lattice burlap, sunflower, sheer gold, yellow raffia
- Raffia
- Mini Sunflower embellishment
- Mod Podge
- Zip tie
- X-acto craft knife
- Sheers or Aviation snips
- Glue Gun
How to Make a Sunflower and Pumpkin Reverse Canvas
I made this beautiful Sunflower and Pumpkin Reverse Canvas on video, so you can WATCH the step by step tutorial HERE or click on the picture right below.
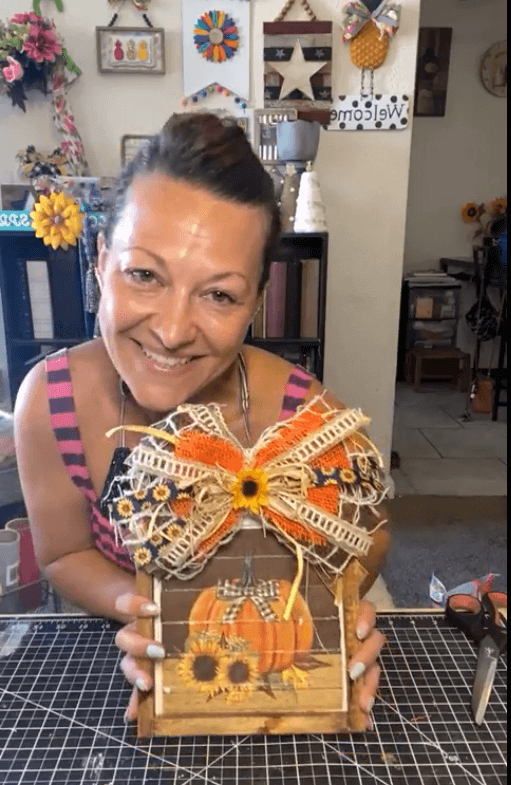
Watch the video tutorial here.
Since this Sunflower and Pumpkin Napkin Reverse Canvas was made live over on my Facebook page, I don’t have detailed step by step photos to go along with this tutorial, but I will walk you through it the best I can with screenshots pulled from the live video.
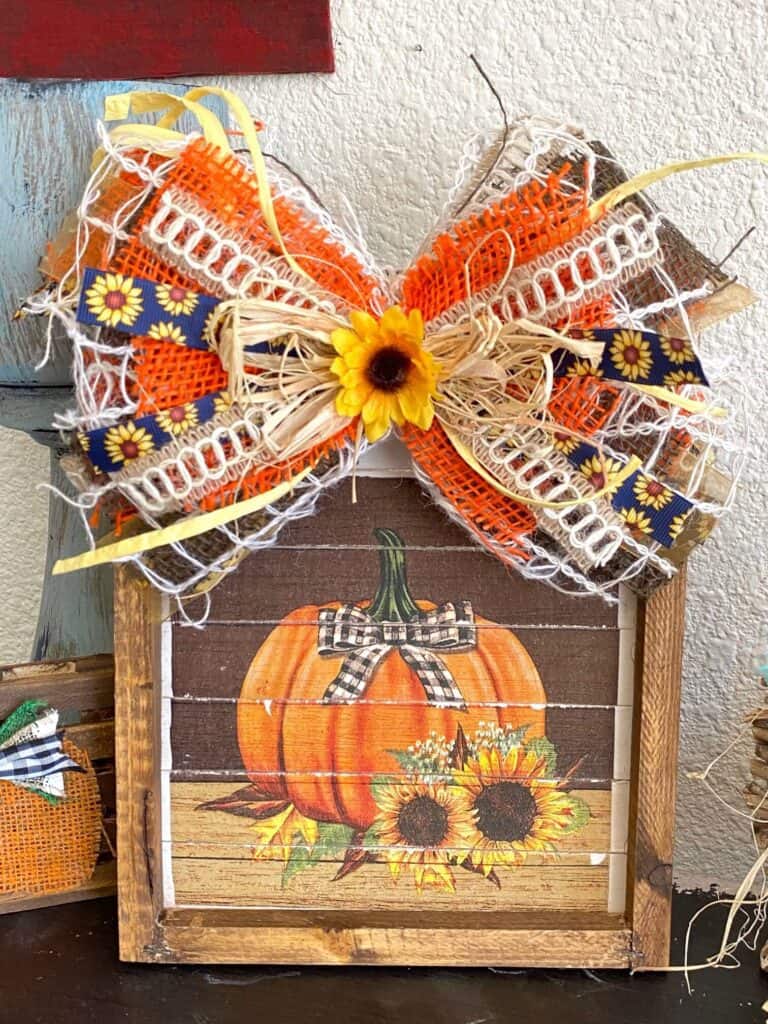
First we need to prepare the canvas frame by taking the canvas off of it. Use an X-acto knife to slit around the edges and remove the white canvas. You can leave the staples in the frame, don’t worry they’ll be in the back and we won’t see even see them.
Next let’s stain the frame. You can use either a dark brown paint mixed with water, or an antique wax/stain to rub over the wood using a baby wipe. Wipe down with a dry paper towel to remove the excess paint/stain.
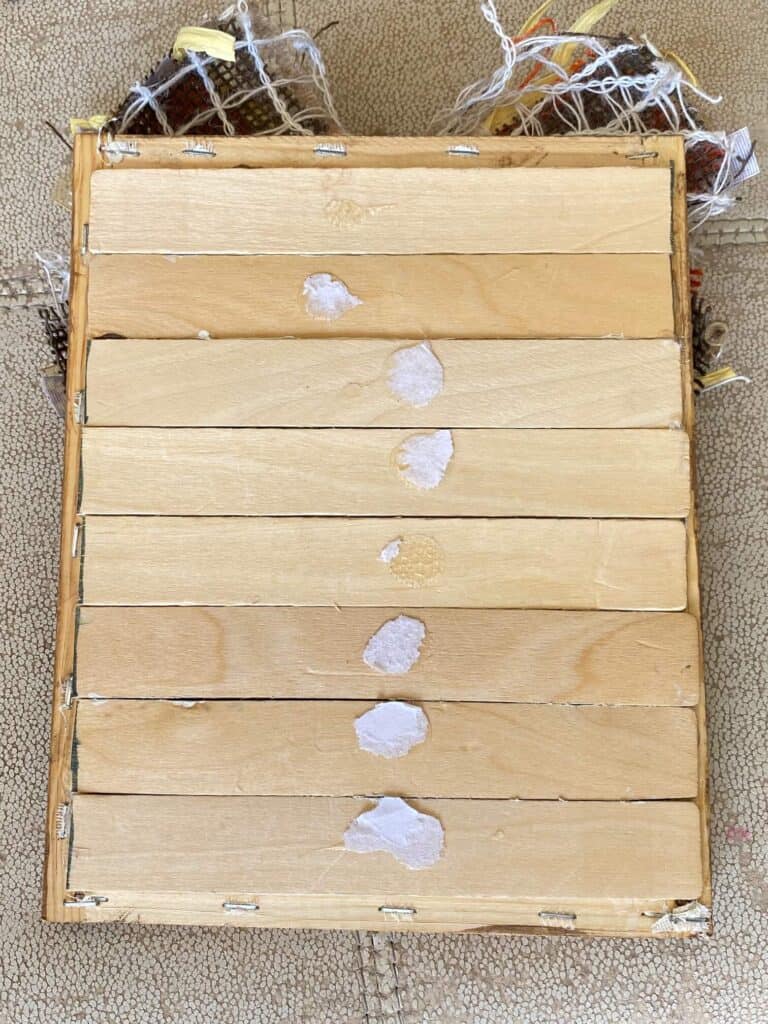
Now cut the paint sticks to fit across the back of the frame. I just used a marker to measure how long they needed to be, and then used sheers to cut those bad boys. My frame took 8 paint sticks total to cover the back of the frame.
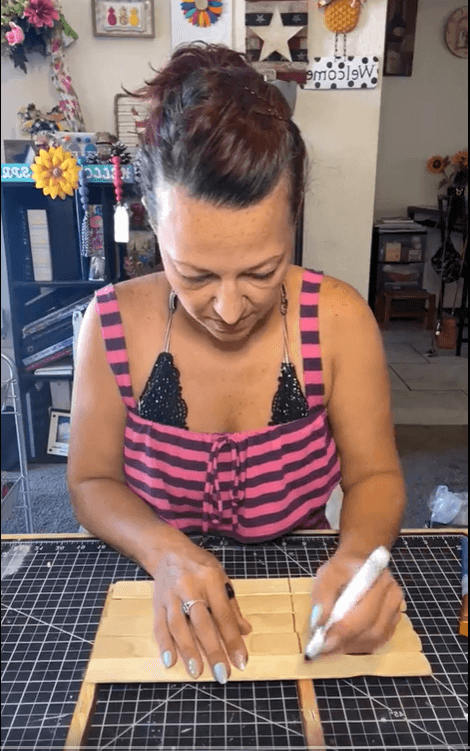
The next few steps are to make the Sunflower Pumpkin image have that planked distressed look, so you won’t want to skip this part. Using just a tad bit of glue, attach the 8 paint sticks to a piece of foam or cardboard, lined up the same way they will be as the backing.
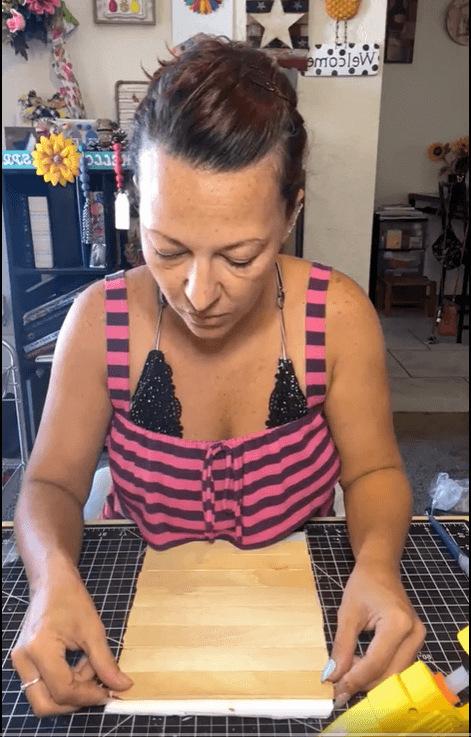
Paint the glued paint sticks all white, so that the raw wood doesn’t show through our frame. Once the paint is dry, Mod Podge the Sunflower Pumpkin Napkin to the bottom portion of the paint sticks. You want to make sure it is toward the bottom so that you have room for your messy bow once it’s in the frame.
If you haven’t Mod Podged a napkin before, it’s important to know that you need to separate the plys before Mod Podging them to the sticks. You want it to be just the one super thin layer with the image. Use a paint brush to paint the Mod Podge onto the paint sticks and then gently lay the napkin on top. Using a piece of plastic or saran wrap over the top, gently smooth out as many wrinkles as you can.
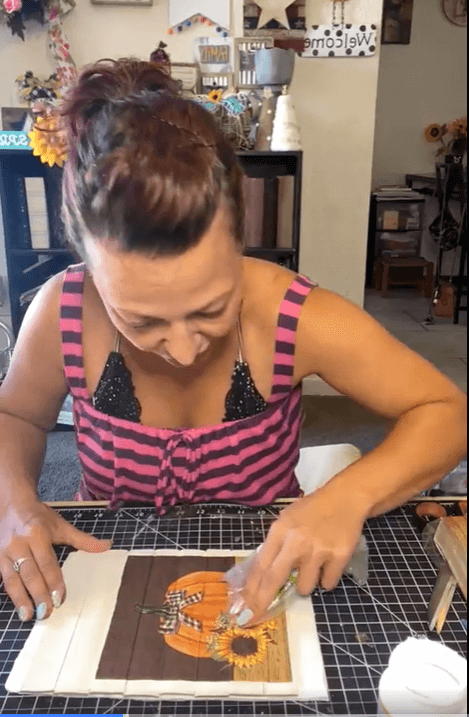
*Important: Make sure the Mod Podge is completely dry before this next step or your napkin will rip!
Using an X-acto knife, slit the napkin in between the paint sticks.
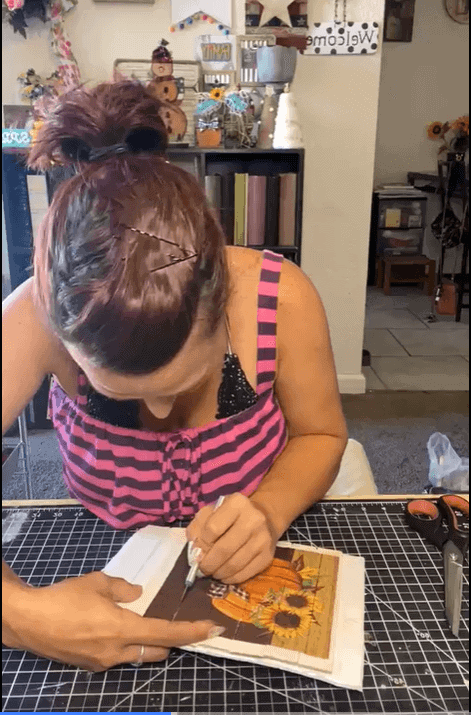
Gently separate them from the foam/cardboard and from each other so that you have 8 “planks”.
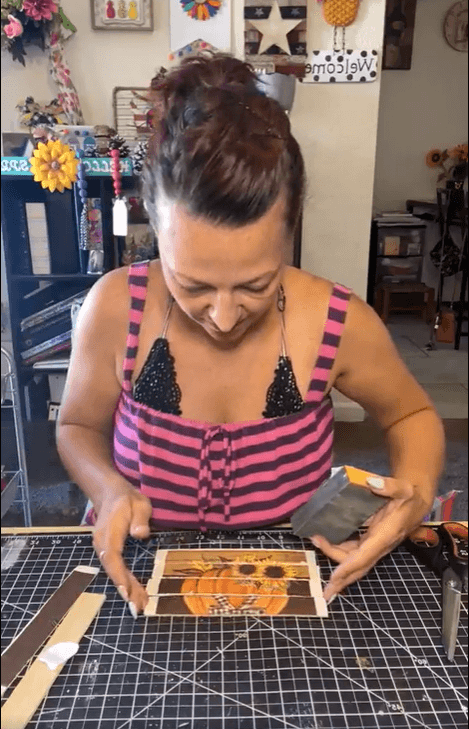
Sand the edges of each of the paint sticks to give it a distressed look .
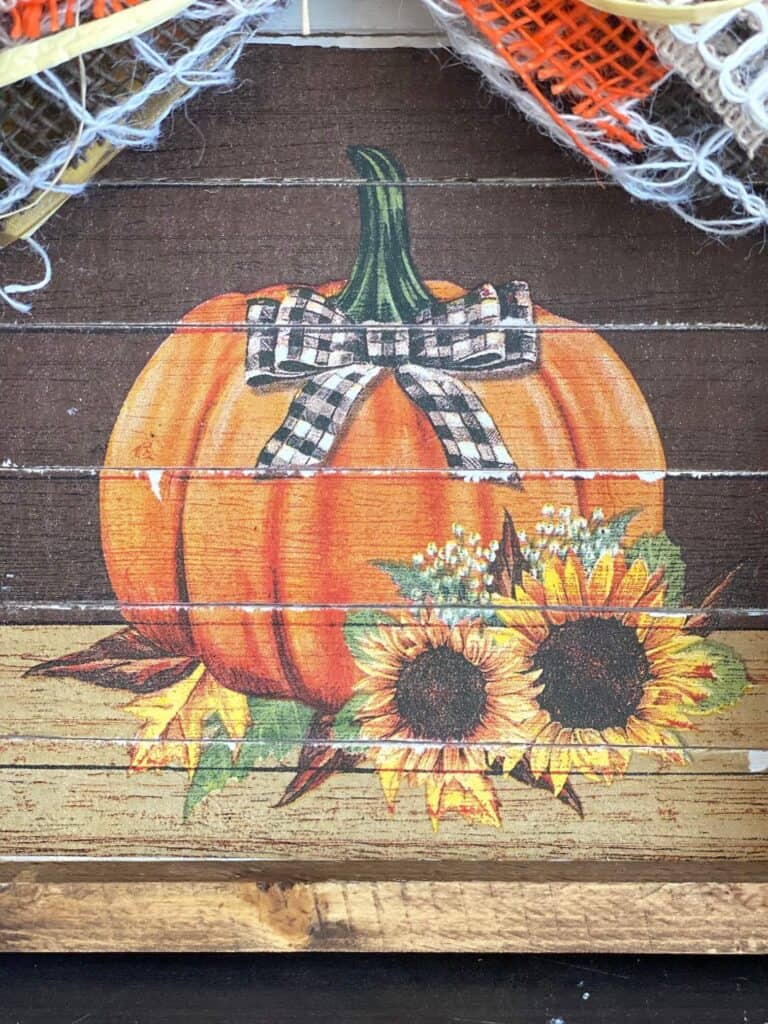
Alright its time to glue them (make sure you have them in order) to the back of the frame. You should have a big white gap at the top.
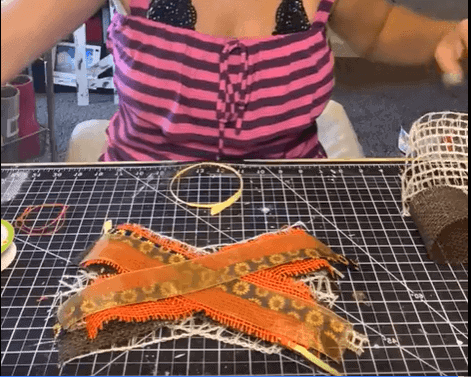
Messy Bow time!! Cut a whole bunch of strips of coordinating ribbon. Don’t over think it the strips don’t need to be a certain length, and you don’t need to have a certain number of each strip of ribbon. Just wing it, but if you want some sort of idea, my strips were about 8 ” long, and I cut about 4 of each color/style ribbon. You can make some of them a bit shorter for layered texture, and then we’ll trim it up once it’s all made.
Now layer them in an X crisscross fashion. Just layer layer in any random mixed up order.
Once your all layered up, go ahead and tie a zip tie around the center and pull it as tight as you can. Cut off the extra plastic and glue your bow onto the top of the reverse canvas frame. Glue some raffia to the center of the bow, add a mini sunflower embellishment, fluff it up, trim it up where needed and Voila!
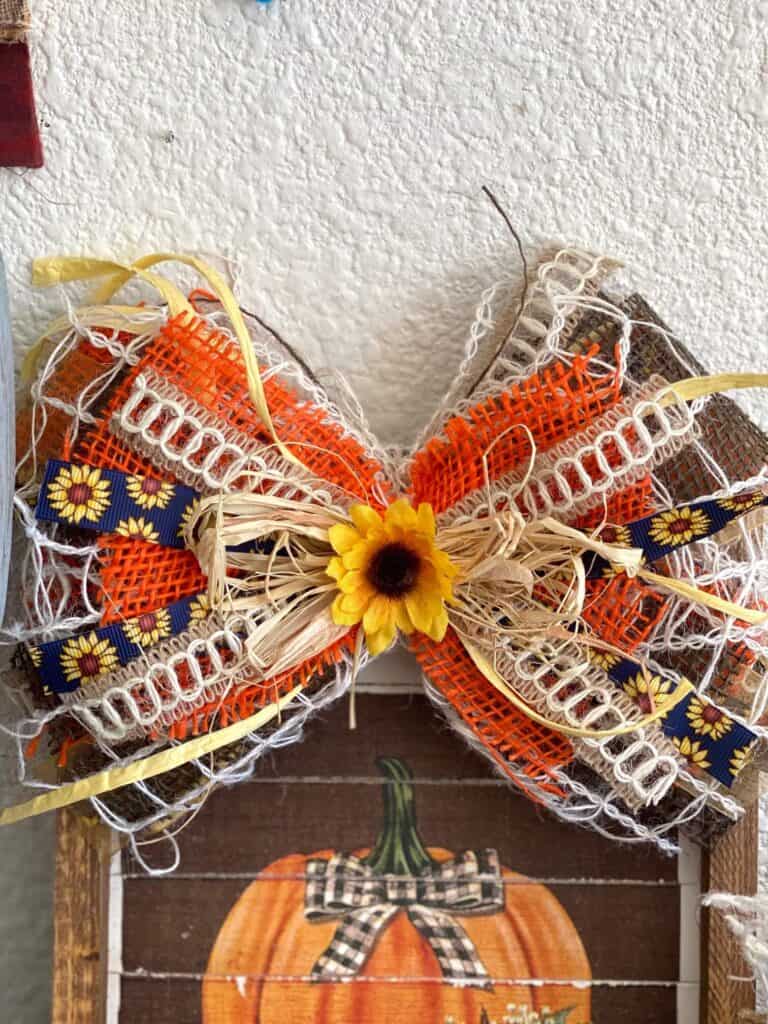
This DIY Fall Sunflower Pumpkin Reverse Canvas looks like it came straight from Crafty Heaven! This piece of fall decor could work for a farmhouse style, a rustic home, or even for a Country feel! It’s going to look just precious with my little DIY Twine Pumpkin I made last year too.
Are you going to make this DIY Fall Sunflower and Pumpkin Reverse Canvas, or a project with a big beautiful messy bow? If you do, I’d love to see it! Pop on over to our free Craftspiration Facebook group, and join in on the fun by posting a pic of your completed DIY’s and crafts. I just love to see all your creative and crafty creations!
If you’ve got a million projects on your crafting ‘to-do’ list like I do, than you need my FREE Craft Project Planner so you can plan to make *all the things*! When you sign up for the craft planner, I’ll also send you lot’s of fun, easy, and budget friendly ideas for you to fill it up with!

Free printable Craft Project Planner
Get organized, get inspired, and get crafting, with our free Craft Project Planner!
Until Next Time…
Stay Crafty San Diego!

Love this DIY Fall Sunflower and Pumpkin Reverse Canvas? Make sure to PIN it for later!

