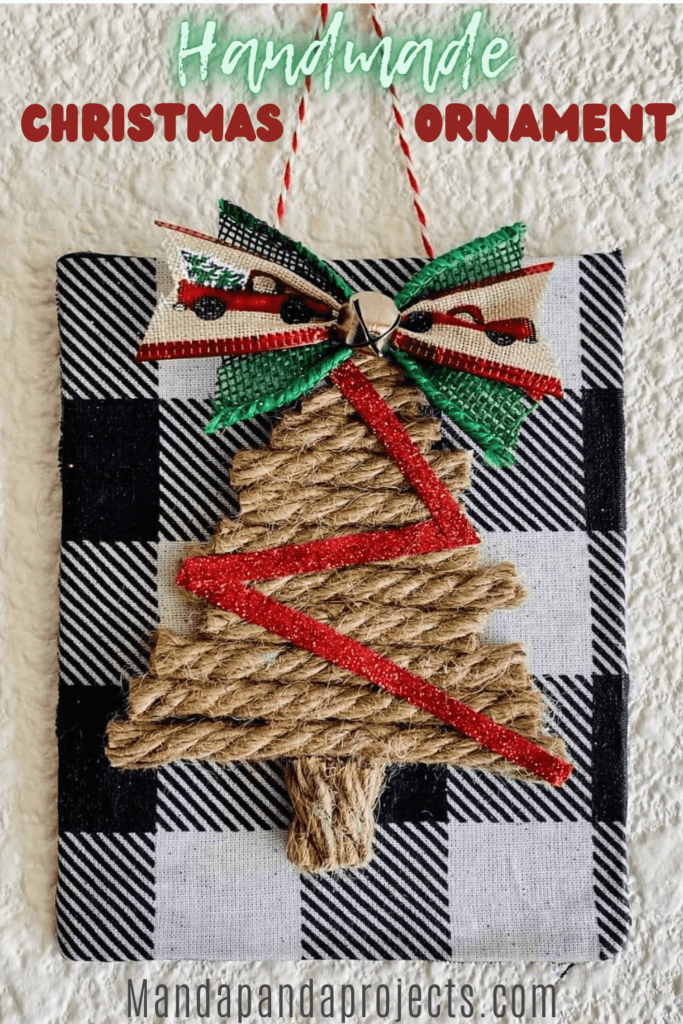
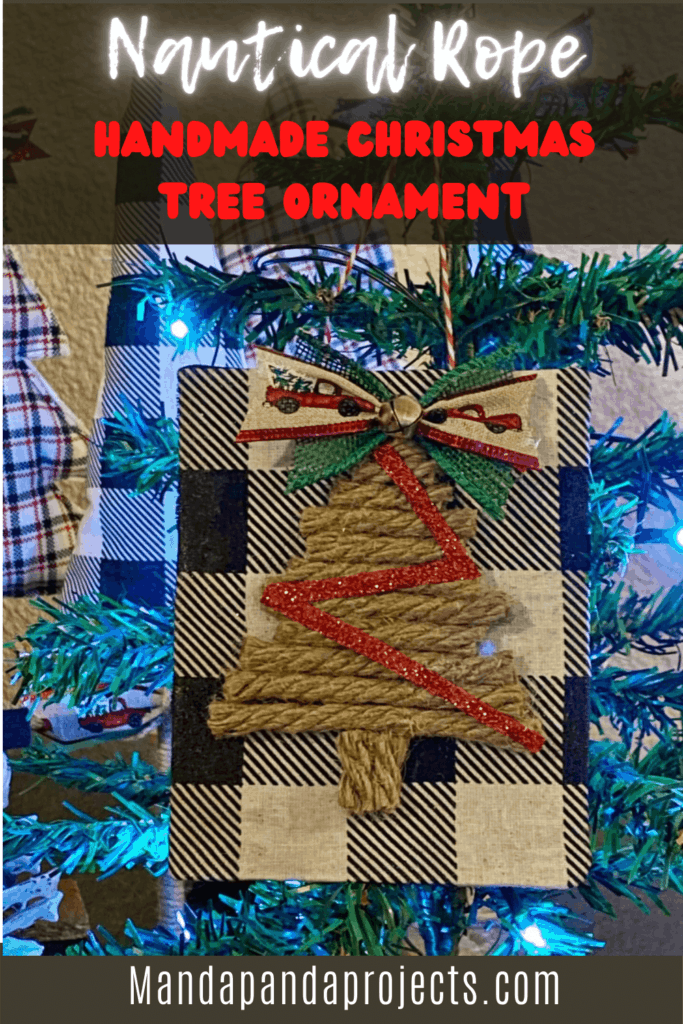
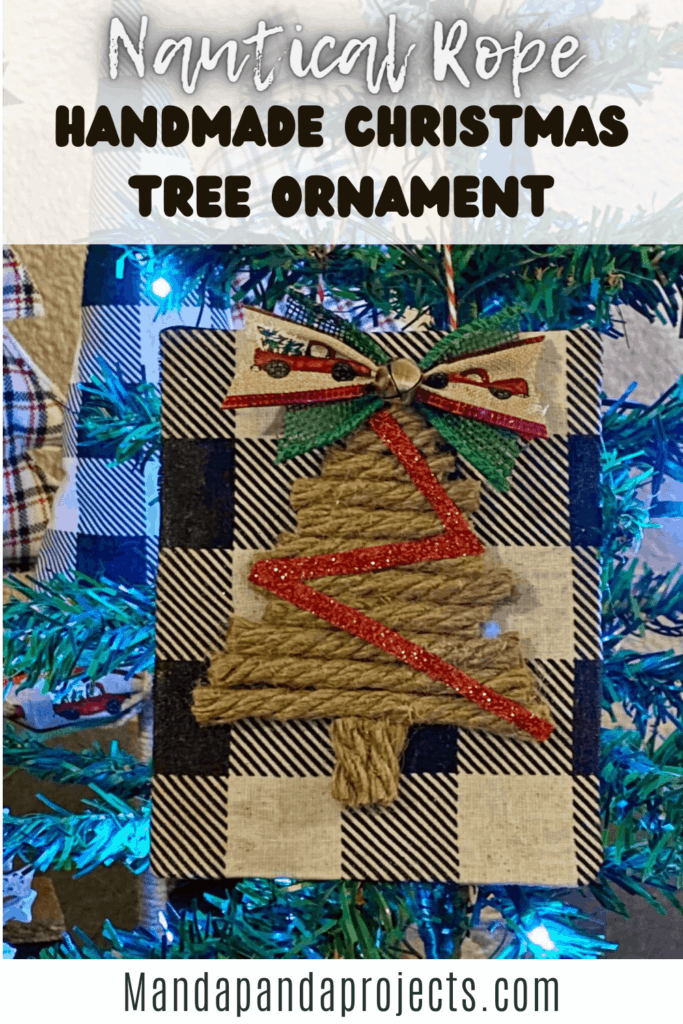
Make a rustic handmade Christmas Tree ornament using Dollar Tree nautical rope and some buffalo check scrap ribbon. This DIY oversized ornament is a great way to use up leftover supplies from your craft stash, while giving your Christmas Tree some character at the same time.
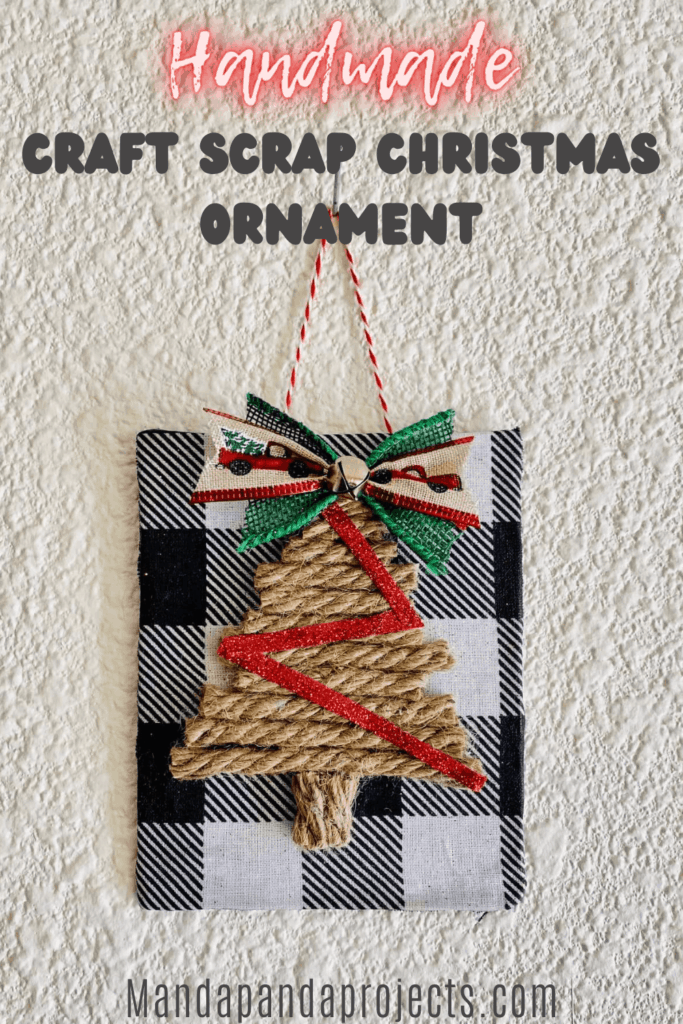
Would you ever know that this ornament is just a piece of cardboard from an empty Air Fryer box and some scrap Buffalo Check fabric leftover from the Stuffed Christmas Trees I made? I think NOT!
There is nothing more satisfying than creating a beautiful craft using only supplies from your craft stash. I hope that you’re like me and you save every little bit of scrap ribbon, fabric, rope, anything and everything that may come in handy down the crafting road. Even if you don’t follow this tutorial exactly, I hope this inspires you to get creative with your leftover craft scraps, and make some handmade ornaments for your Christmas Tree this year!

Free printable Craft Project Planner
Get organized, get inspired, and get crafting, with our free Craft Project Planner!
You could also make this, or something similar, as a wall plaque. You could make the cardboard backing larger and hang it on the wall, or even as a door hanger decor. The #CraftStash possibilities are endless!
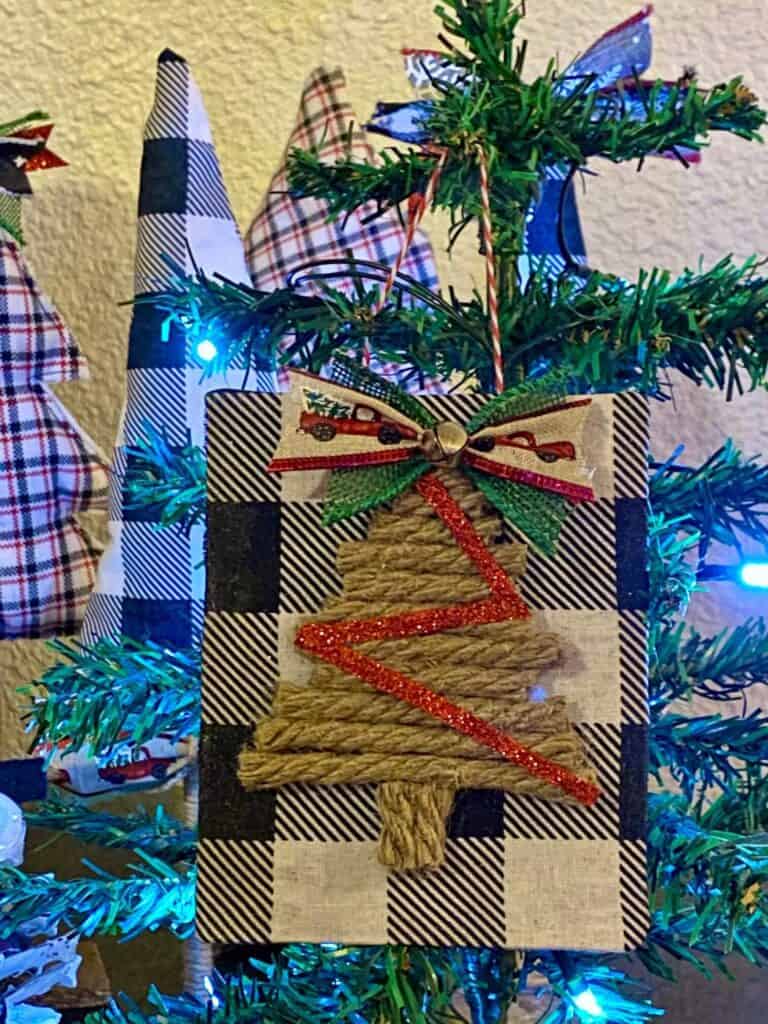
Supplies needed to Handmake a Christmas Tree Ornament with your Craft Stash
- Buffalo Check fabric
- Nautical rope
- Red glitter ribbon
- Red truck ribbon
- Green burlap ribbon
- Bakers twine
- Silver bell
- Cardboard
- Glue gun
- Black paint (optional if you don’t have enough fabric to cover the back)
How to Turn a Make a Nautical Rope Christmas Tree Ornament using your Craft Scraps
Cut a 4″x6″rectangle out of cardboard. You can of course make it as big/small as you would like your ornament to be, but I went the “oversized” route.
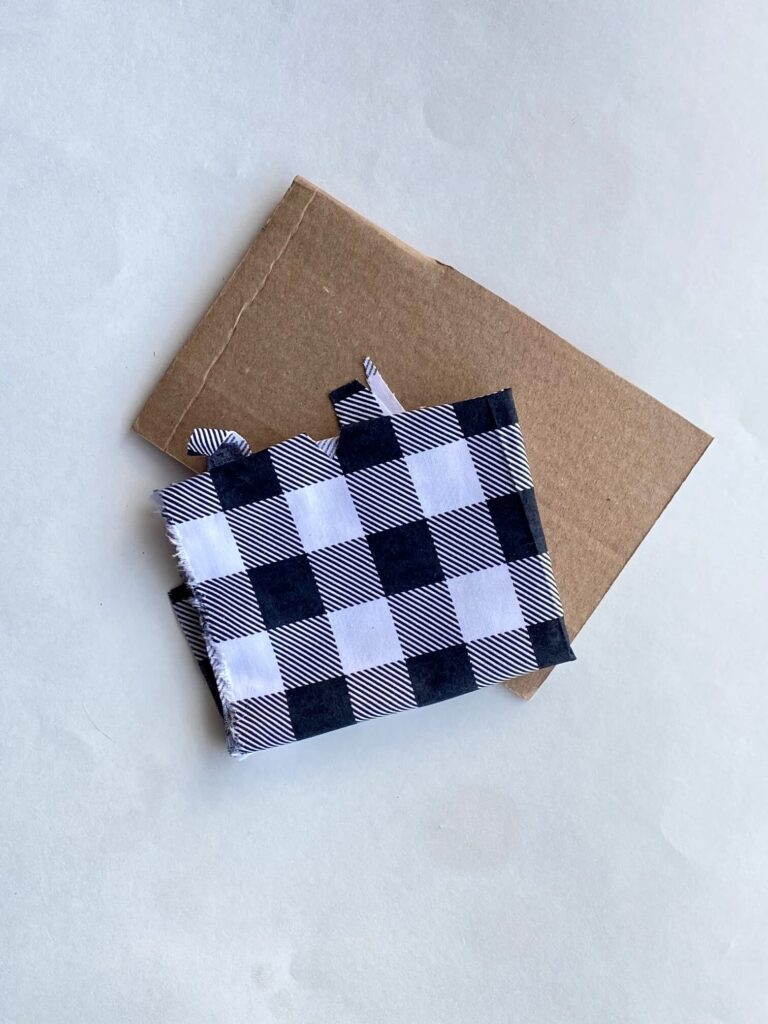
Cut a rectangle out of the Buffalo Check fabric that is just slightly larger than the cardboard, so that the edges wrap ever so slightly around to the back. Alternatively, you can cut a piece long enough to wrap entirely around and cover the back if you have enough fabric to do so. If you go this route, the length of your fabric will be a but more than twice as long as your rectangle. So for mine, the fabric would need to be just a tad more than 12″. I chose to cover only the front because I only had a small piece of fabric in my craft stash.
Paint the back of the cardboard rectangle back. (*You can skip this step if you are going to cover both side with buffalo check fabric)
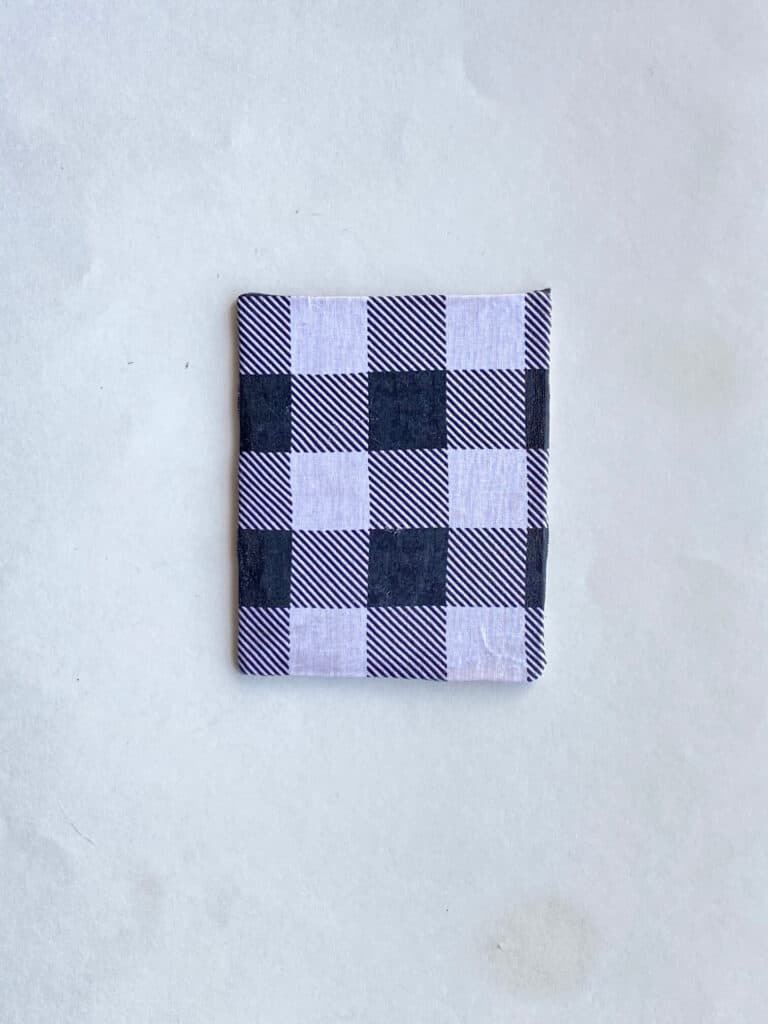
Apply a layer of Mod Podge to the cardboard rectangle using a paint brush. Lay the fabric on top and press down firmly while smoothing out the surface. Wrap any over hang around the back, and apply a thin layer of Mod Podge over the entire thing to seal.
Cut several pieces of nautical rope, each one a bit smaller than the previous one to form the shape of a Christmas Tree. When arranging the pieces, you can mix up the order to give it a bit more character as I did in the below picture.
Glue the nautical rope to the fabric covered rectangle, starting with a small piece as the “tree trunk”.
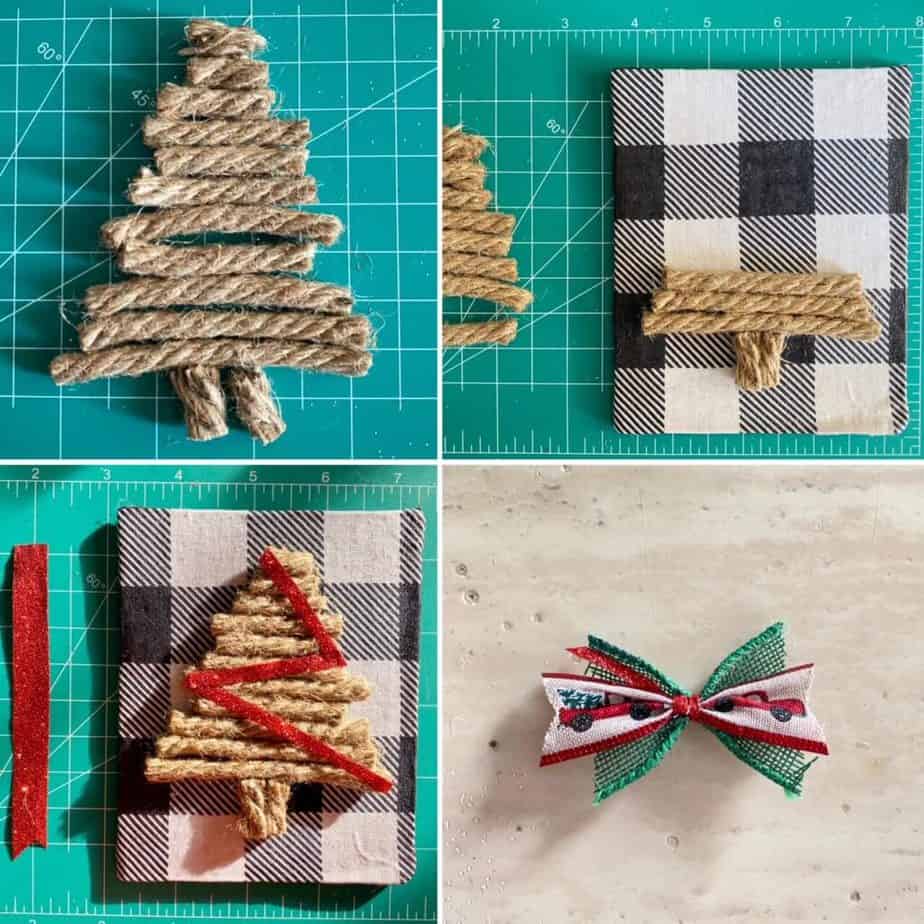
Cut a piece of red ribbon in half lengthwise so you have a super thin strip, and glue it “zig-zag” up the nautical rope tree as decoration.
Make a scrap fabric bow for the tree topper
This is the simplest bow around! Just cut a piece of each ribbon of your choice, approximately 3-4 inches long. I like to use at least 3 coordinating ribbons, all of different widths. Layer the ribbon on top of each other with the widest on the bottom. Pinch the middle, and tie a piece of string or bakers twine around the center.
Glue the Scrap Ribbon Bow to the top of the tree, and glue a mini silver bell to the middle.
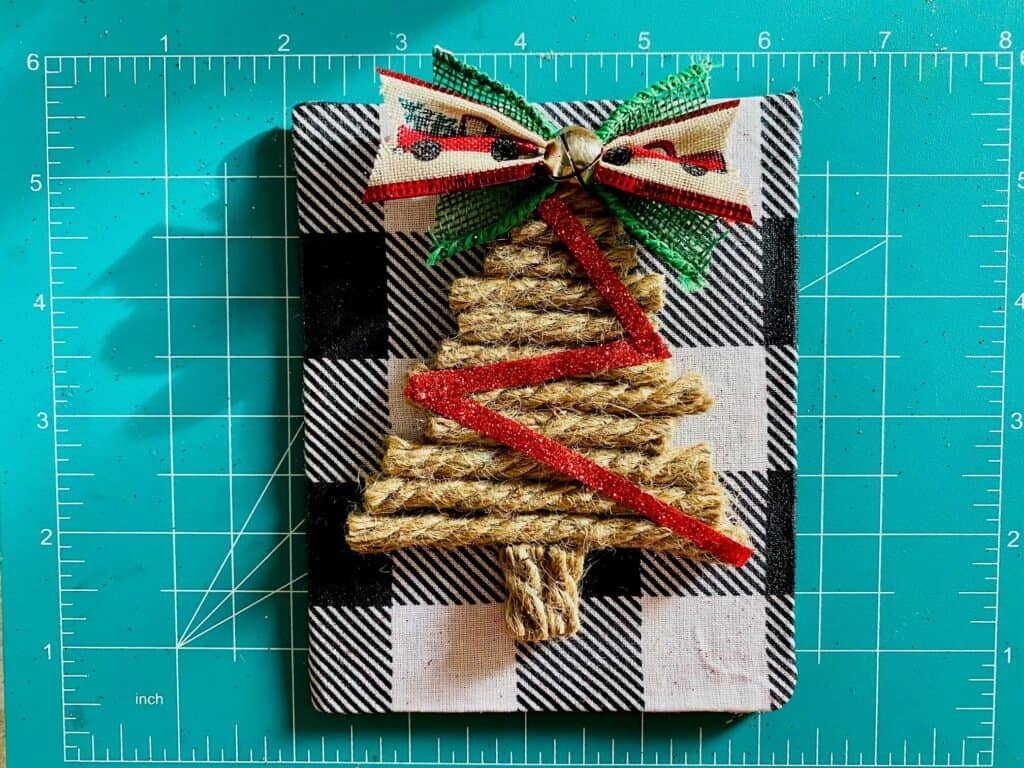
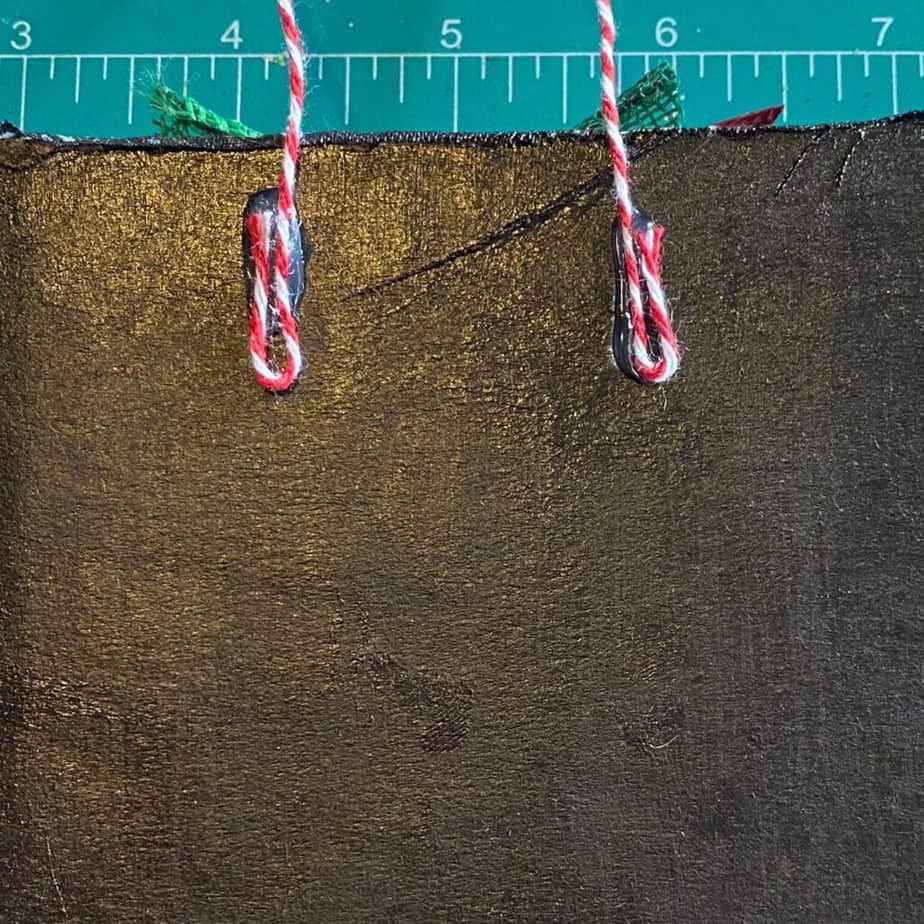
Glue a piece of bakers twin to the back of the cardboard so you can hang it as an ornament on your Christmas Tree.
No craft supply gets left behind with this adorable and rustic nautical rope Christmas Tree ornament. Who knew a piece of cardboard could so easily be transformed into a Holiday memory for your tree for years to come! This right here folks is why I save Every.Little.Thing that I craft with, because you just never know “when you might need it”!

Free printable Craft Project Planner
Get organized, get inspired, and get crafting, with our free Craft Project Planner!
If you handmake some ornaments this year I’d love to see them. so if you’re not part of our Craftspiration Facebook group, join in on the fun and post a pic. I just love to see all your crafts!
Until Next Time…
Stay Crafty San Diego!


