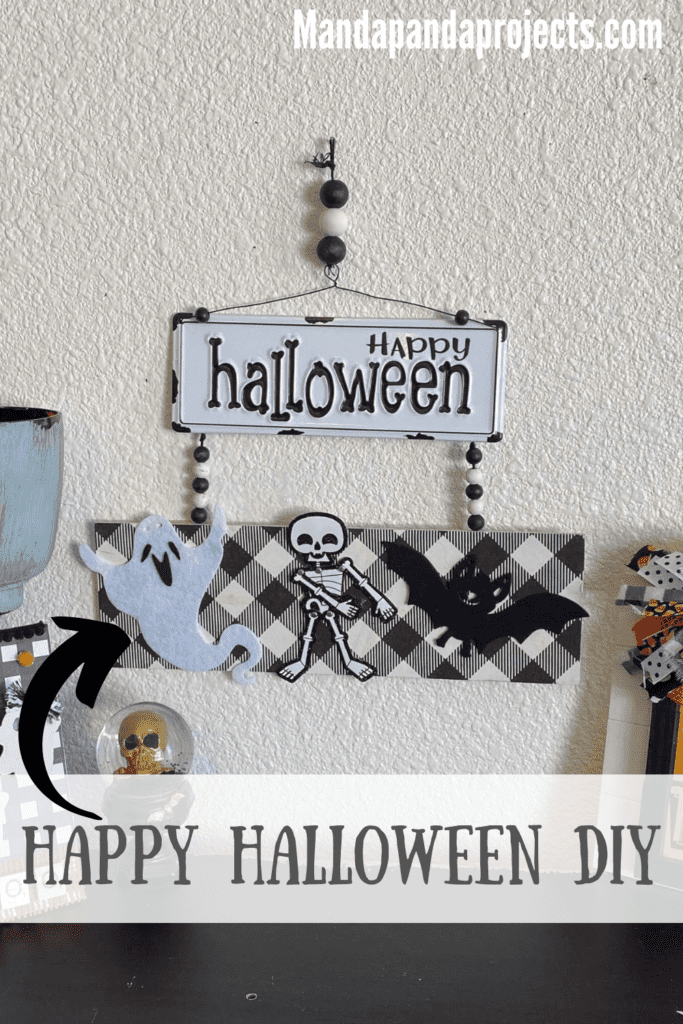
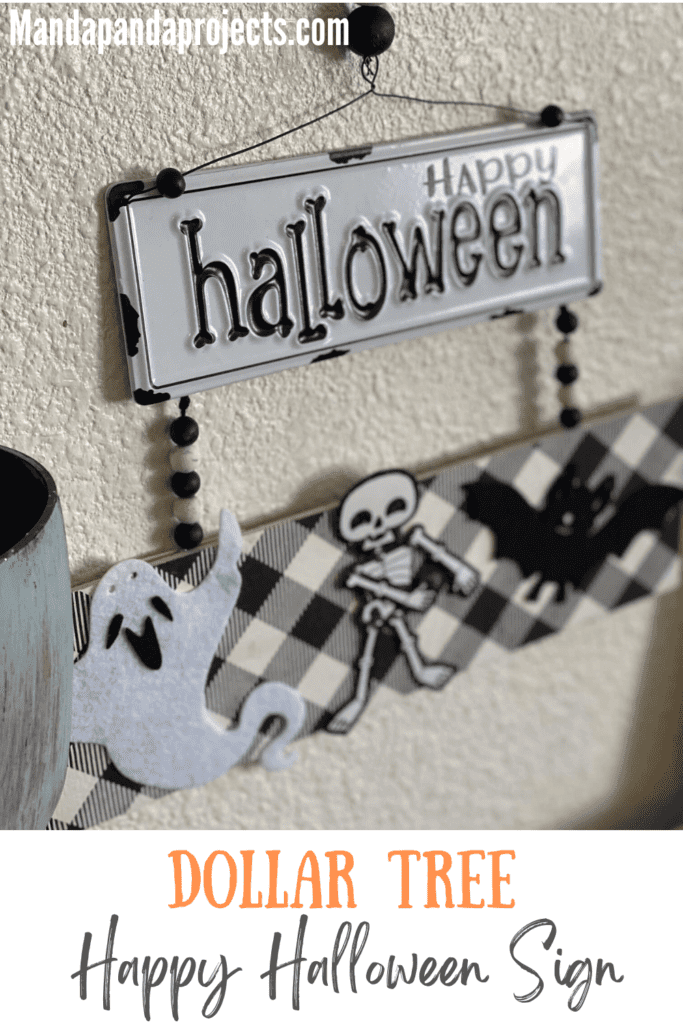
I know you’ve seen a skeleton for Halloween, but have you seen a Happy Halloween Flossing Skeleton!? I think not! This easy to make DIY Halloween decor is cute, not too spooky, and made with almost all Dollar Tree supplies. It’s a “must make!”

The number one questions is…Do you know what “The Floss” is? Well, if you don’t, don’t feel bad! I only know because I have Twin 10 year old boys so they keep me hip to the game LOL.
“The Floss” is a super trendy dance move that has taken the world by storm. And its popularity comes from the video game, Fortnite. Now I KNOW you have heard of Fortnite, right?!
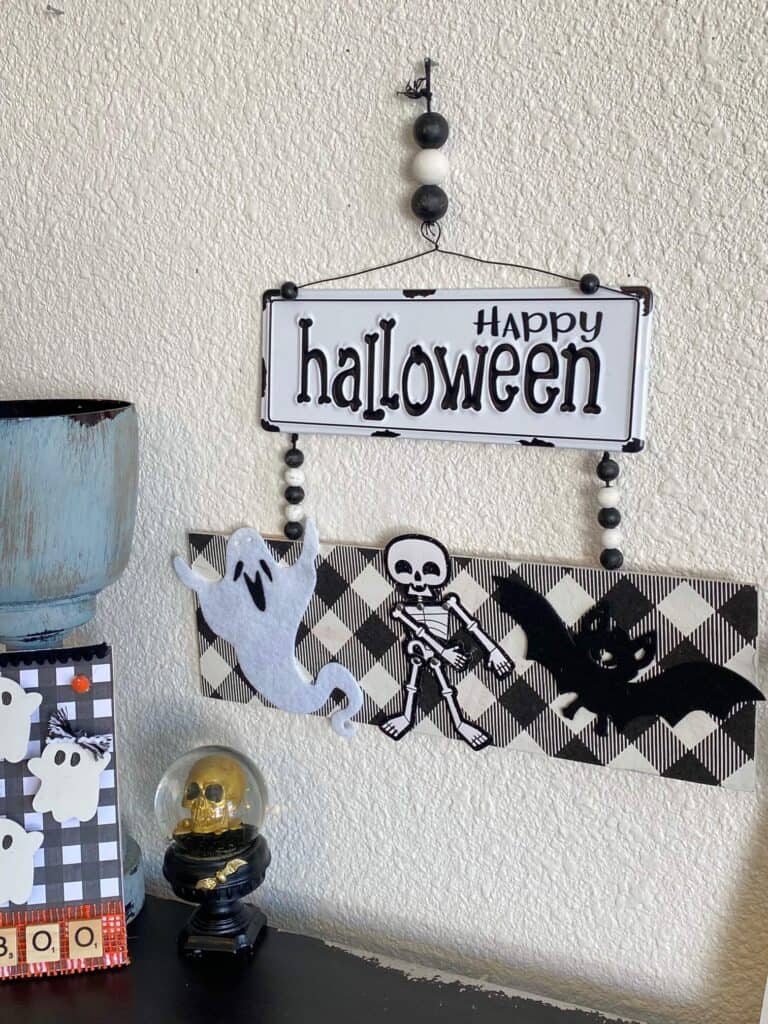
To get the true essence of this adorable Happy Halloween Flossing Skeleton, go and Google “the floss dance move” and see what it is. Otherwise, just know that the skeleton that you see in this craft is doing the dance!
This post may contain affiliate links for your convenience (which means if you make a purchase after clicking a link I will earn a small commission but it won’t cost you a cent more!)
Supplies Needed to Make a Halloween Flossin’ Skeleton Sign
- Dollar Tree Wooden Surface
- Metal Happy Halloween sign
- Felt Halloween Ghost and Bat (Came from a Dollar Tree Banner)
- Halloween card with Paper Skeleton
- Buffalo Check napkin
- Small and Large wood beads
- Black paint
- White paint
- Mod Podge
- Black bakers twine
- 1 Popsicle stick, cut in half
- Hot glue gun
How to Make a Happy Halloween Flossin’ Skeleton
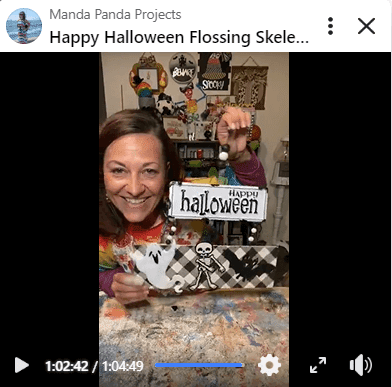
I made this Flossing Skeleton craft on video, so you can WATCH it or click on the picture right below.
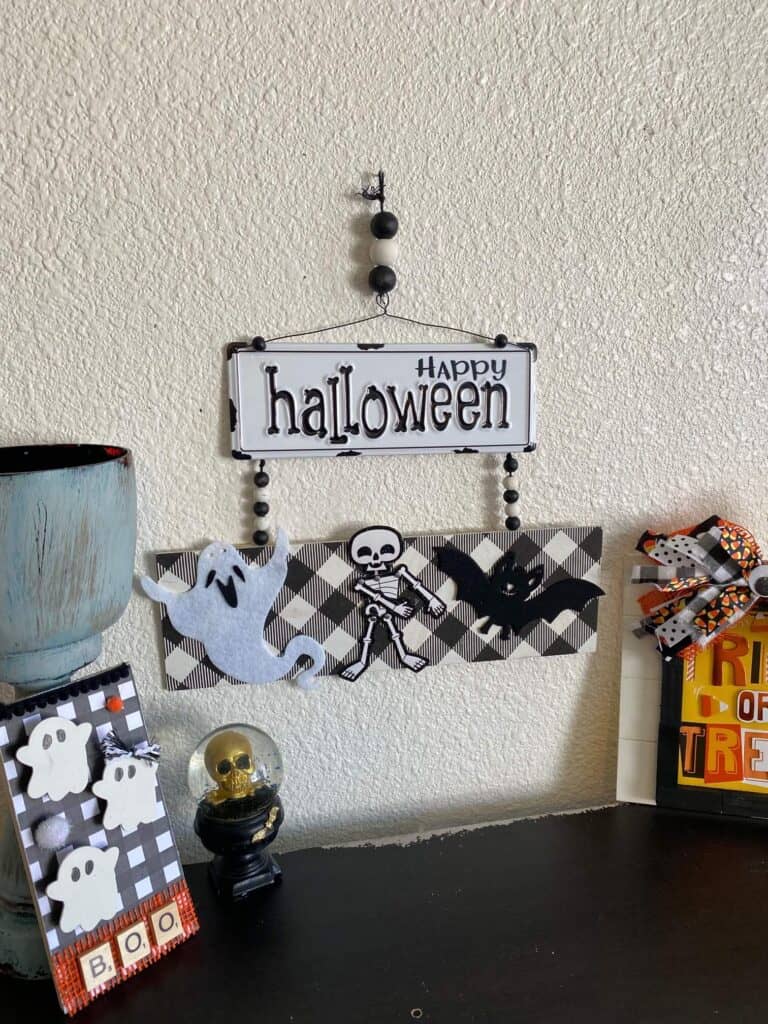
The Happy Halloween sign that you see was a decoration from Walmart and came just like you see it with the wire hanger on the top. All I did was add the black string with a couple of wood beads to the top so that it can hang.
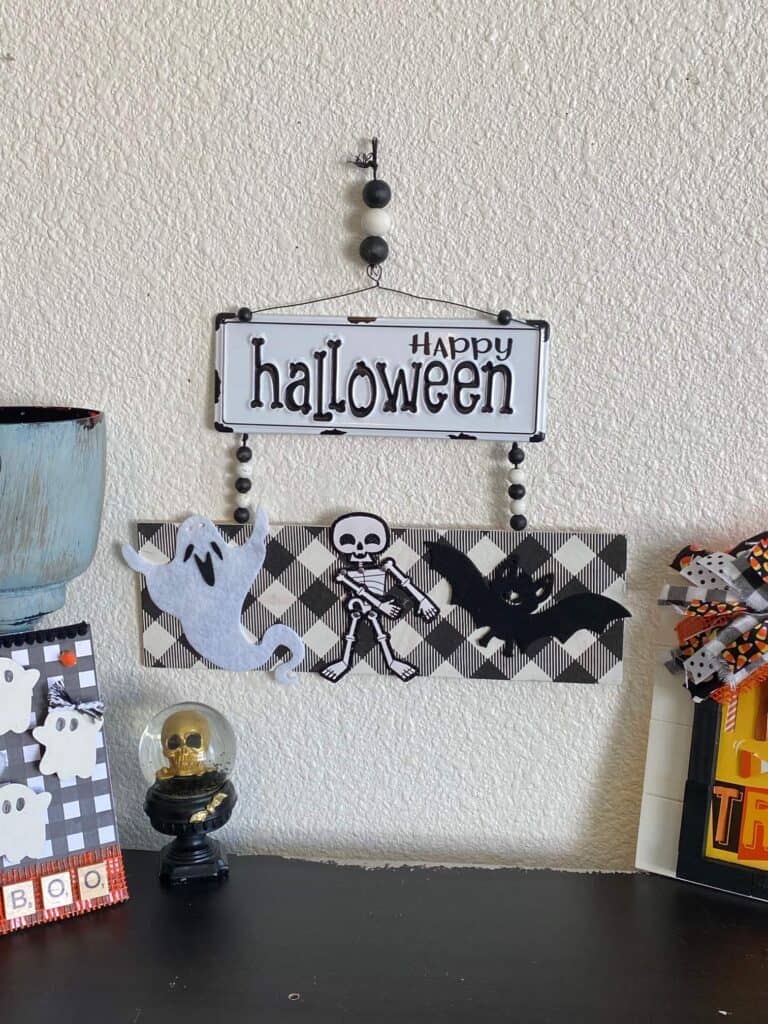
The bottom portion is a wood sign from Dollar Tree. Flip that bad boy over and paint the entire thing white, and then Mod Podge a buffalo check napkin to the top to give it a check background.
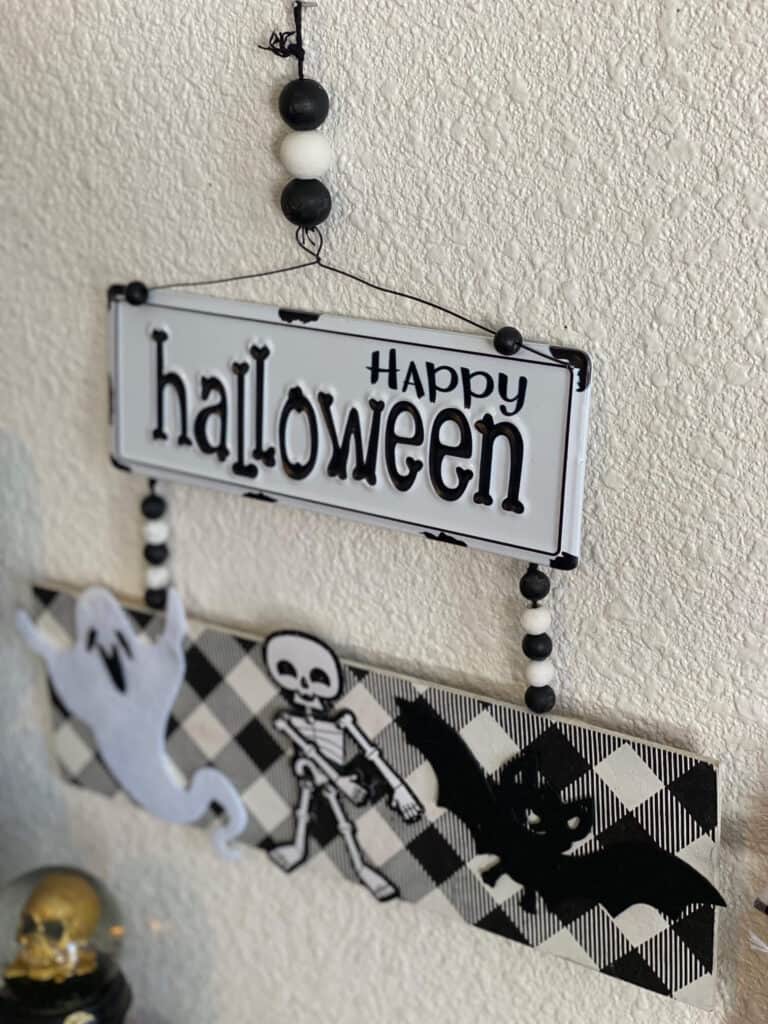
Now for the Halloween characters. The ghost and the bat are from a felt banner from Dollar Tree. I just dissembled the banner and glued them to each side of the board on top of the Buffalo Check napkin.
The skeleton came from a Dollar Tree Halloween card, I just pulled him off and glued him right in the center. And no, he wasn’t doing The Floss when I bought him. It was a happy accident that he was positioned like that, and I couldn’t resist leaving him!
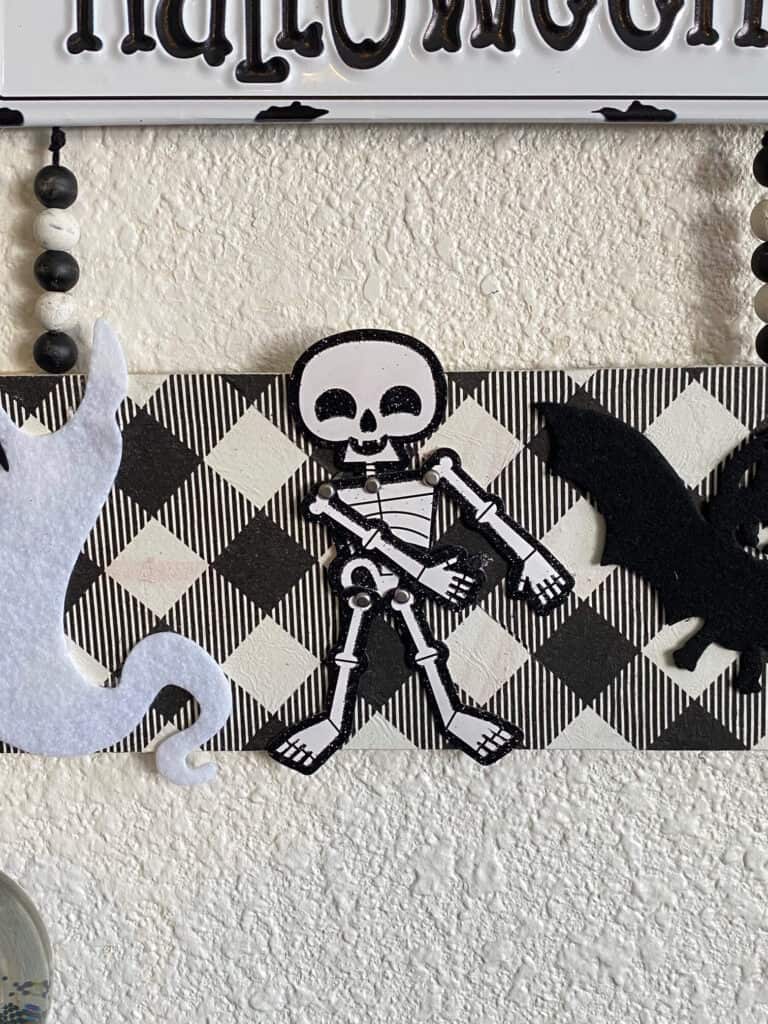
To connect the metal Happy Halloween sign on top to the bottom wood board I used string, with 5 wood beads in between for decoration. Just hot glue the string to the board and then use popsicle sticks to reinforce them and make sure they hold.
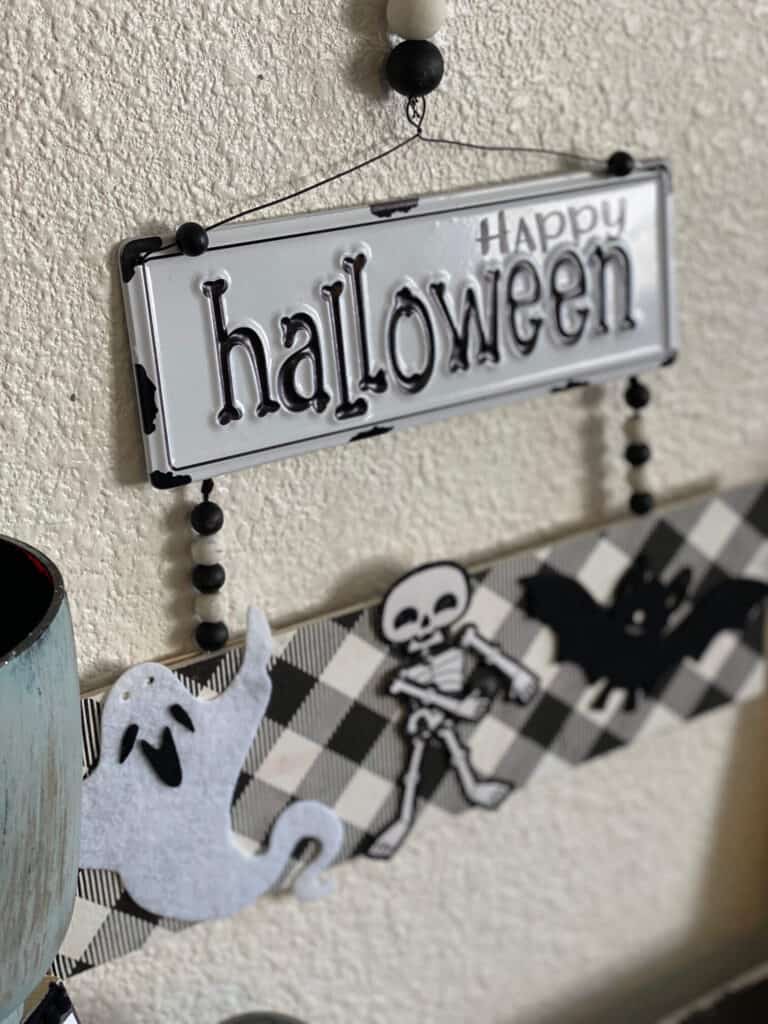
Ain’t this just the cutest thing you ever did see!? I think he looks just darling with the Trick or Treat frame and the BOO Ghost piece!
Are you going to make a Flossing Skeleton Sign for Halloween? Shoot…are you gonna make anything for Halloween?! If you do, I’d love to see it! Pop on over to our free Craftspiration Facebook group, and join in on the fun by posting a pic of your Tiered Trays, DIY’s and crafts. I just love to see all your creative and crafty creations.
If you’ve got a million projects on your crafting ‘to-do’ list like I do, than you need my FREE Craft Project Planner so you can plan to make *all the things*! When you sign up for the craft planner, I’ll also send you lot’s of fun, easy, and budget friendly ideas for you to fill it up with!

Free printable Craft Project Planner
Get organized, get inspired, and get crafting, with our free Craft Project Planner!
Until Next Time…
Stay Crafty San Diego!

Love this Flossing Skeleton Happy Halloween sign? Make sure to PIN it for later!
