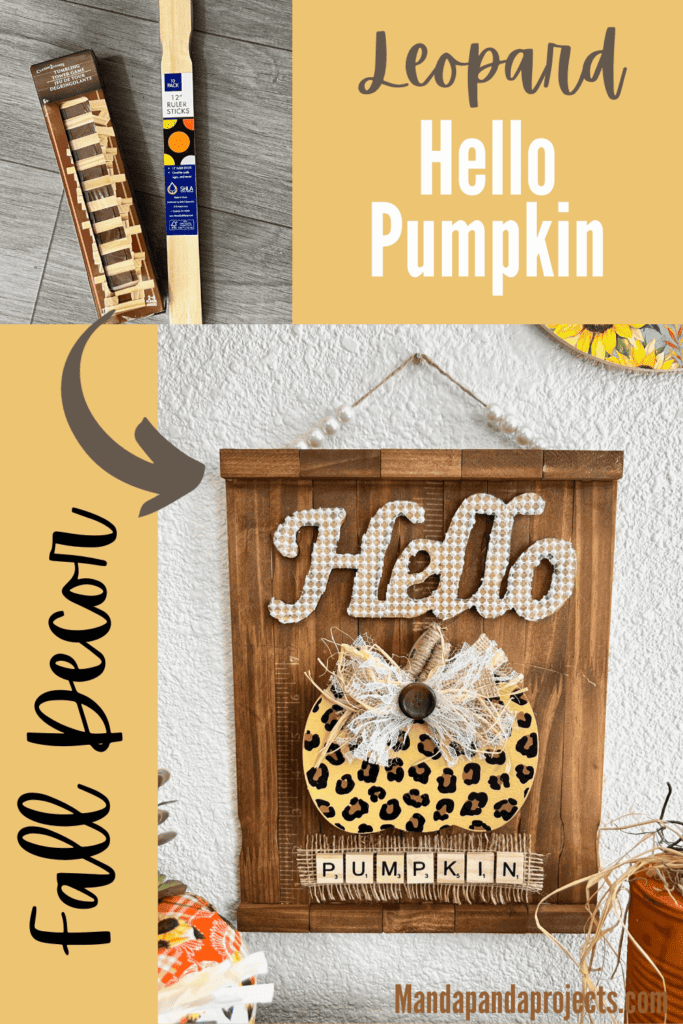
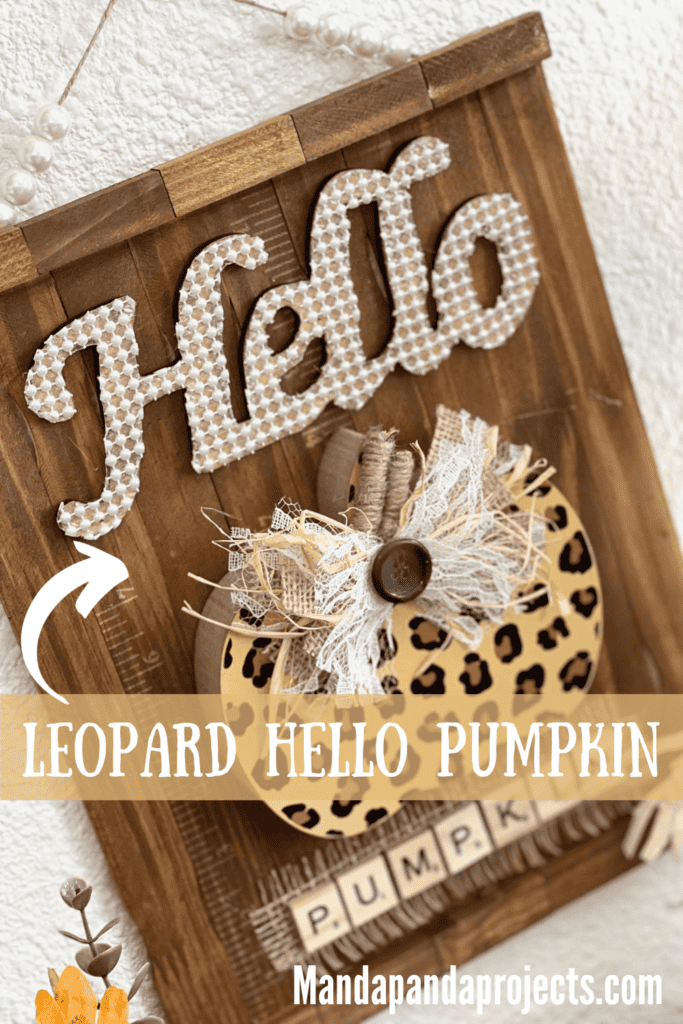
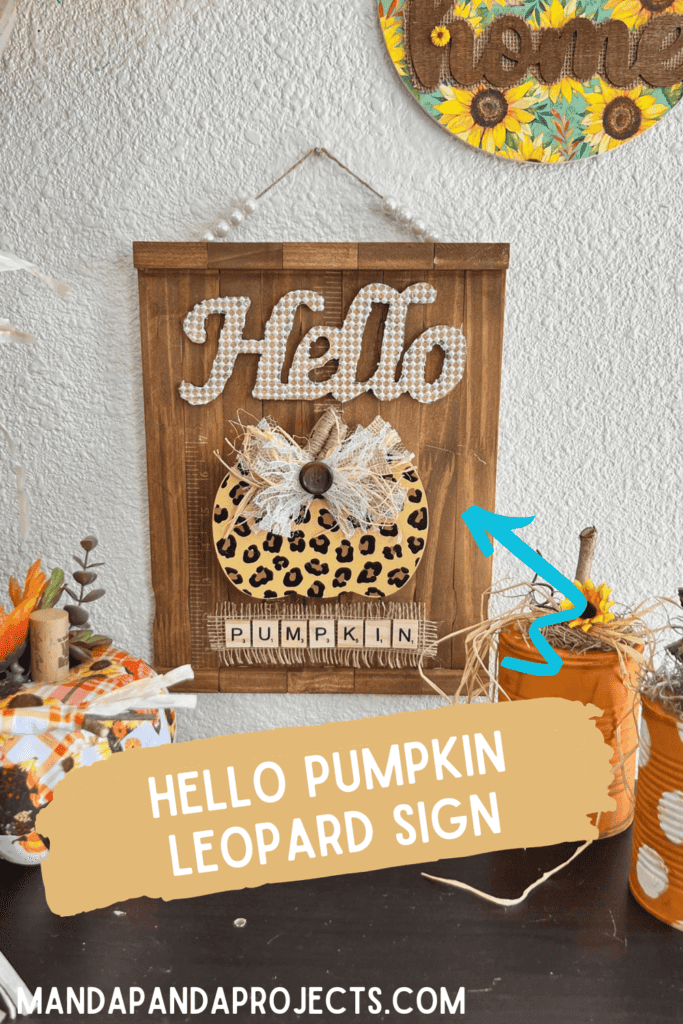
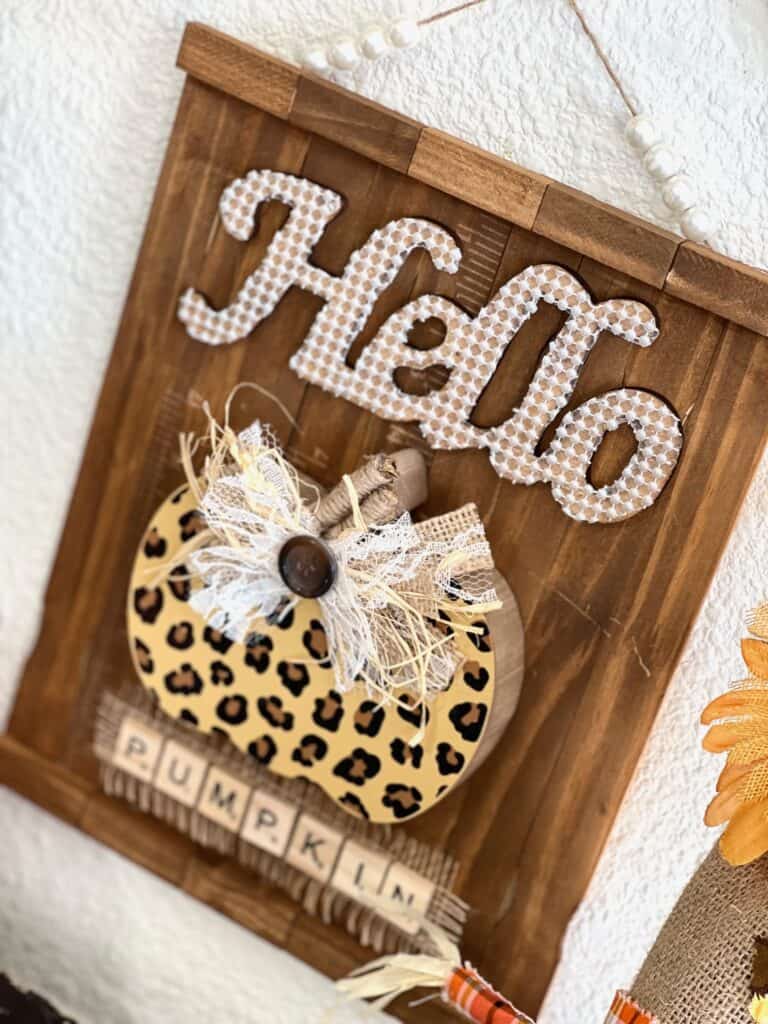
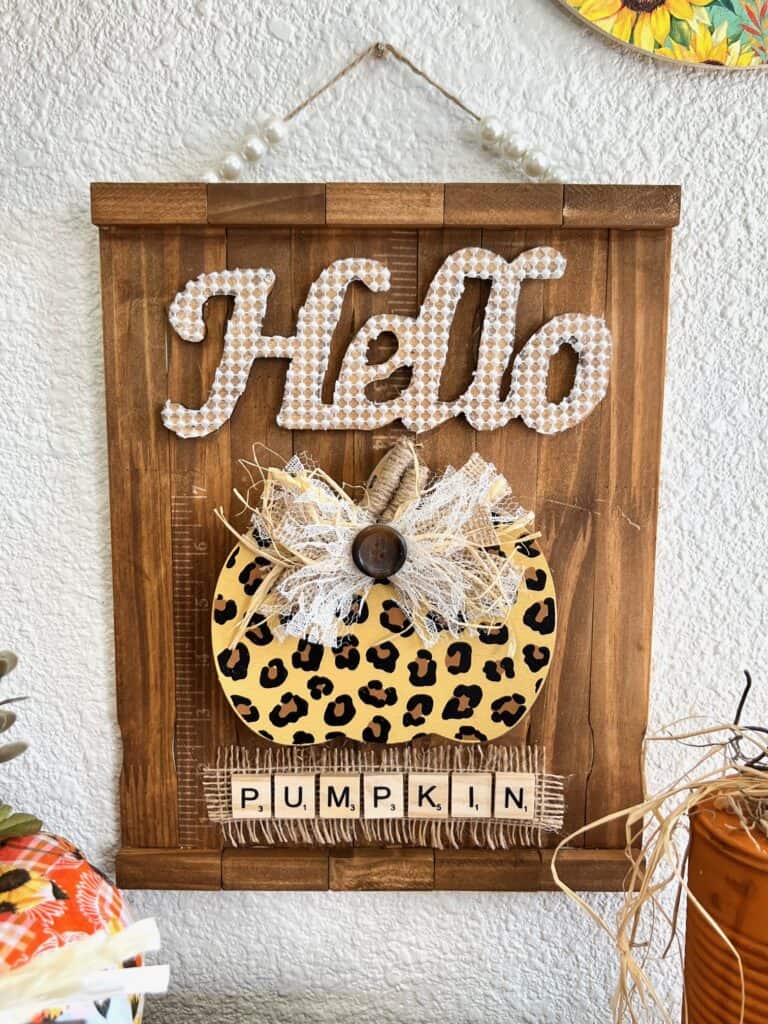
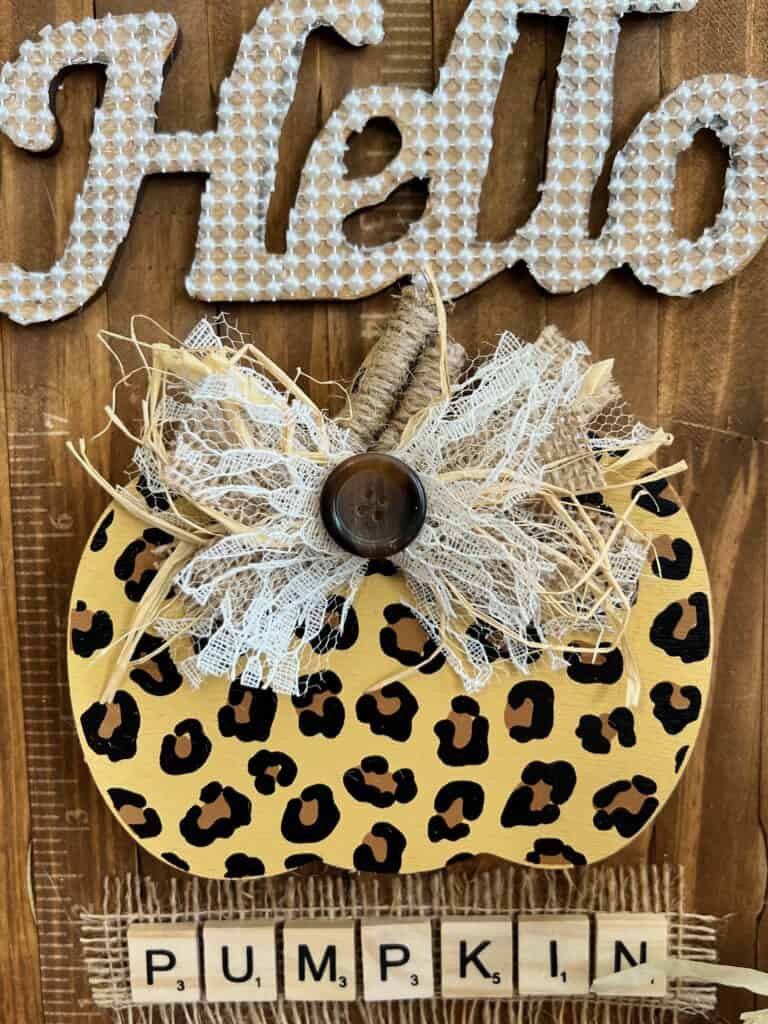
Pumpkins, and Leopard Print, and Pearls, OH MY! This Hello Leopard Pumpkin is the cutest addition to your DIY Fall and Halloween decor. And it’s made on a budget, with Dollar Tree supplies. Score!
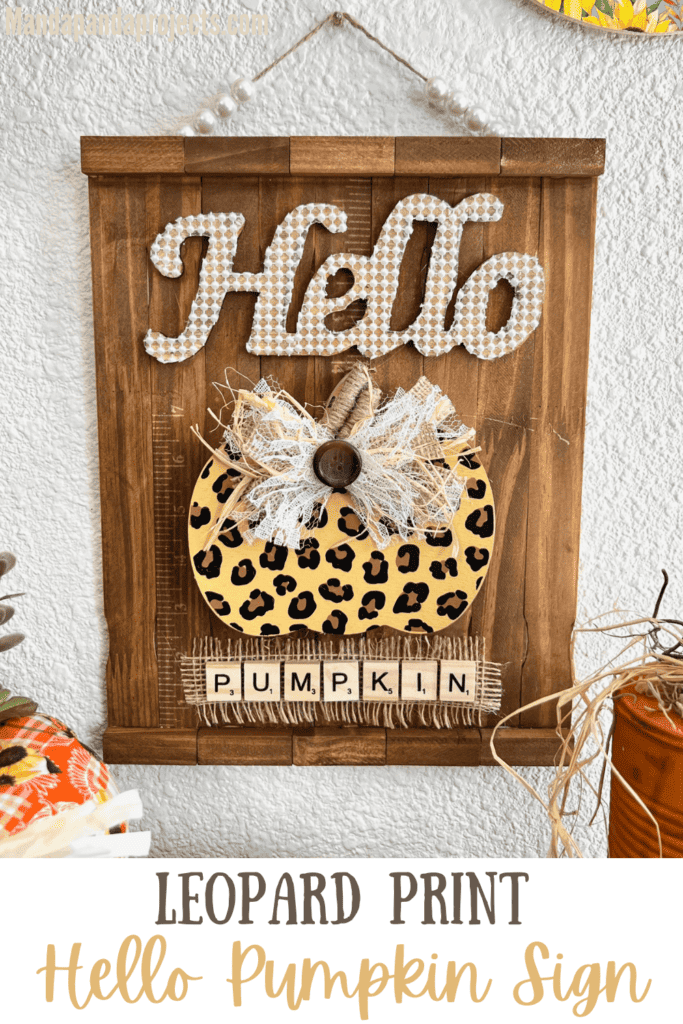
There’s just something about leopard print, lace, pearls, and burlap that go together oh so well. It’s like they were meant for each other!
A match made in crafty heaven, if you will.
Even though I wasn’t going for the “traditional” fall look with this Leopard Hello Pumpkin, it still looks super cute with the Tin Can Pumpkins and Patchwork Pumpkin I made that ARE traditional fall.
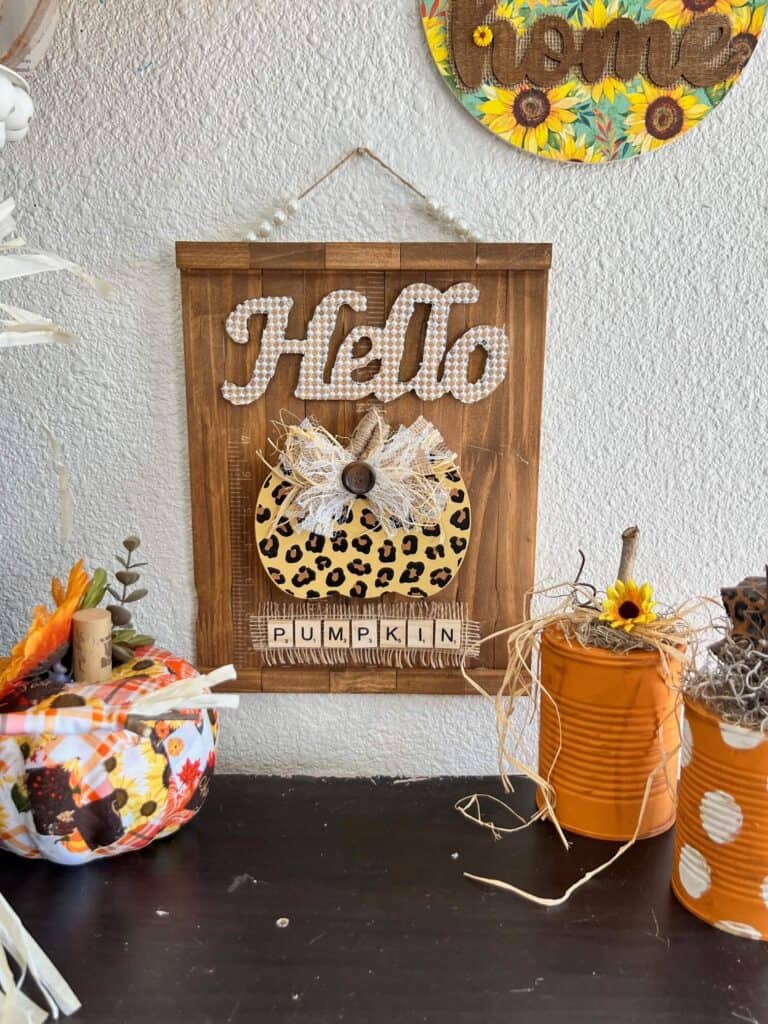
But for now, let’s talk about this Hello Leopard Pumpkin sign!
This post may contain affiliate links for your convenience (which means if you make a purchase after clicking a link I will earn a small commission but it won’t cost you a cent more!)
Supplies Needed to Make a Hello Leopard Pumpkin
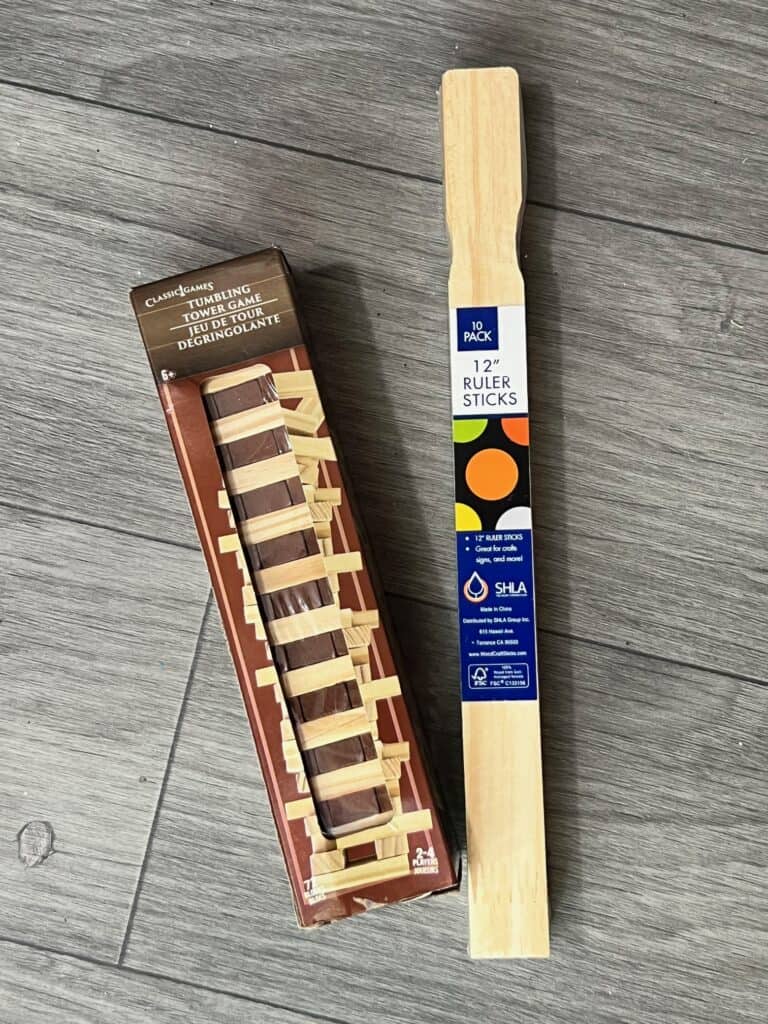
- 12″ Paint sticks (9)
- Dollar Tree Tumbling Tower Blocks (10)
- Leopard print wood pumpkin
- Wood “HELLO” cutout
- Pearl Adhesive strip
- Lace ribbon
- Pearls beads
- Twine
- Raffia
- Sticks from outside
- Button
- Mod Podge
- Burlap
- Antique Wax
- Jumbo popsicle sticks
- Scrabble Tile letters “PUMPKIN”
- Hot glue gun
How to Make a Hello Leopard Pumpkin
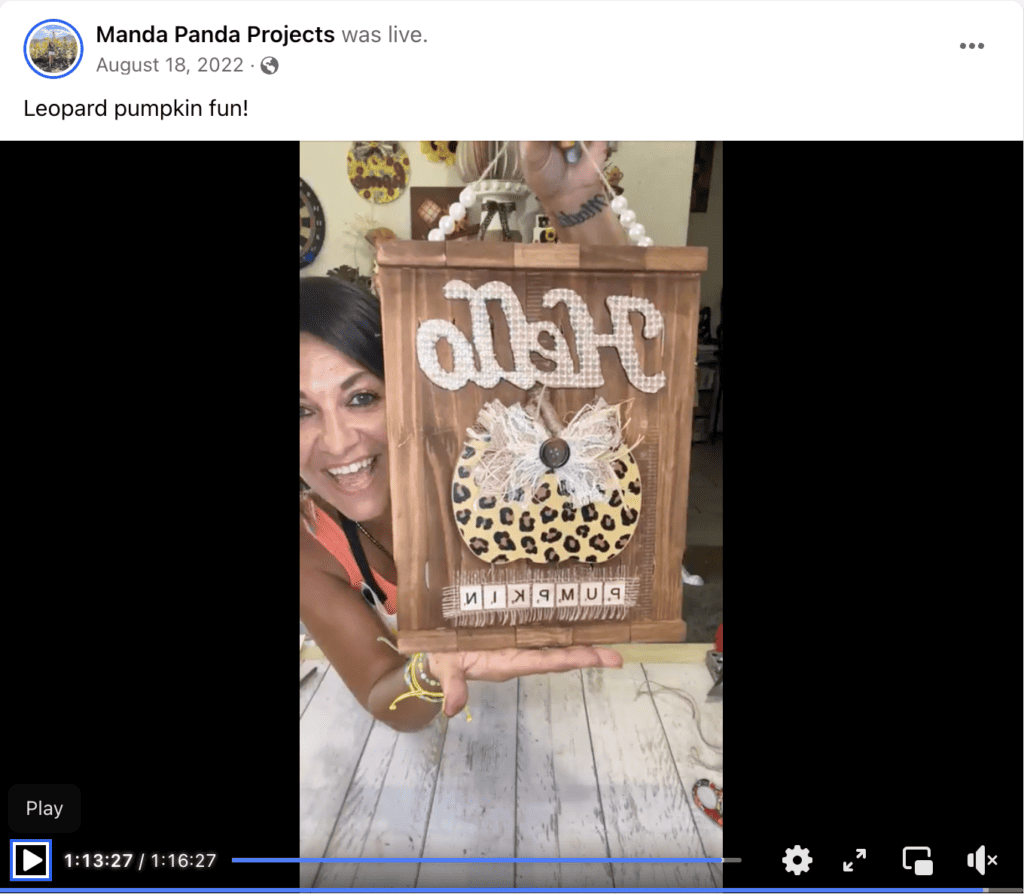
I made this Hello Leopard Pumpkin on video. So you can WATCH the tutorial by clicking below.
To make the background, line up 9 paint sticks and then brace them together by gluing jumbo popsicle sticks across the back.
Line the top and bottom with Jenga blocks to sort of frame the sign, and glue them down as well. I used 5 on the top and 5 on the bottom.
Then, stain the entire background with Antique Wax.
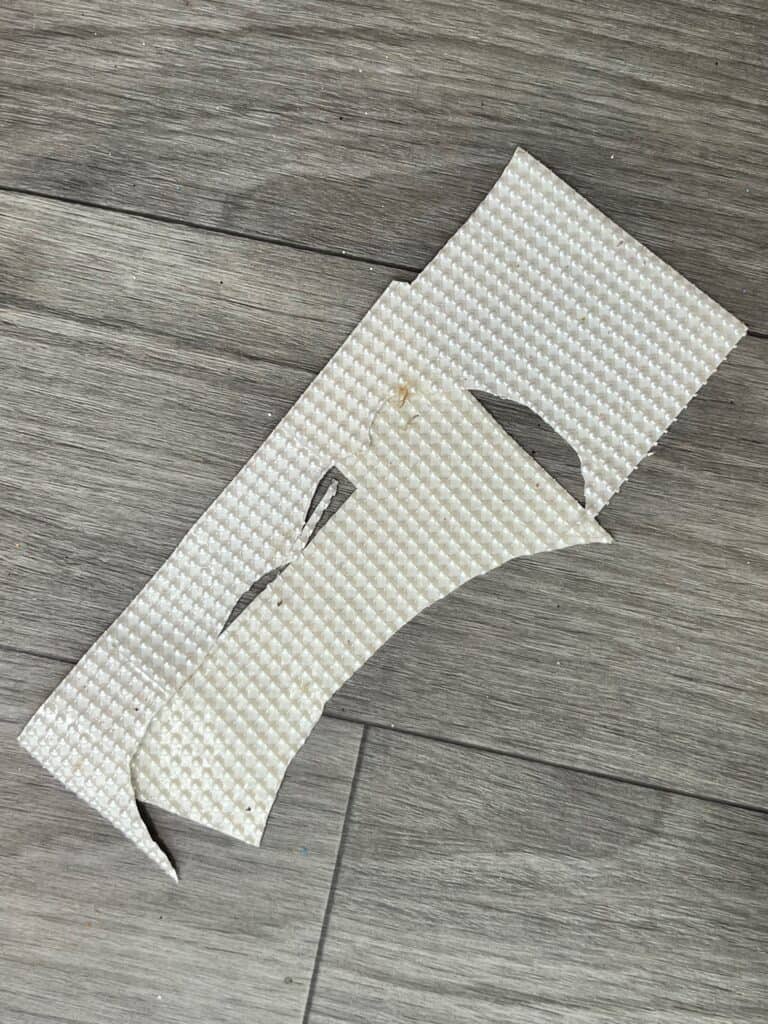
Next, take your pearl adhesive strip, and trace the word HELLO onto the back, and cut that out. This was a PAIN in the booty and super tedious to get it cut the exact same size, I had to use an X-acto knife to get it right.
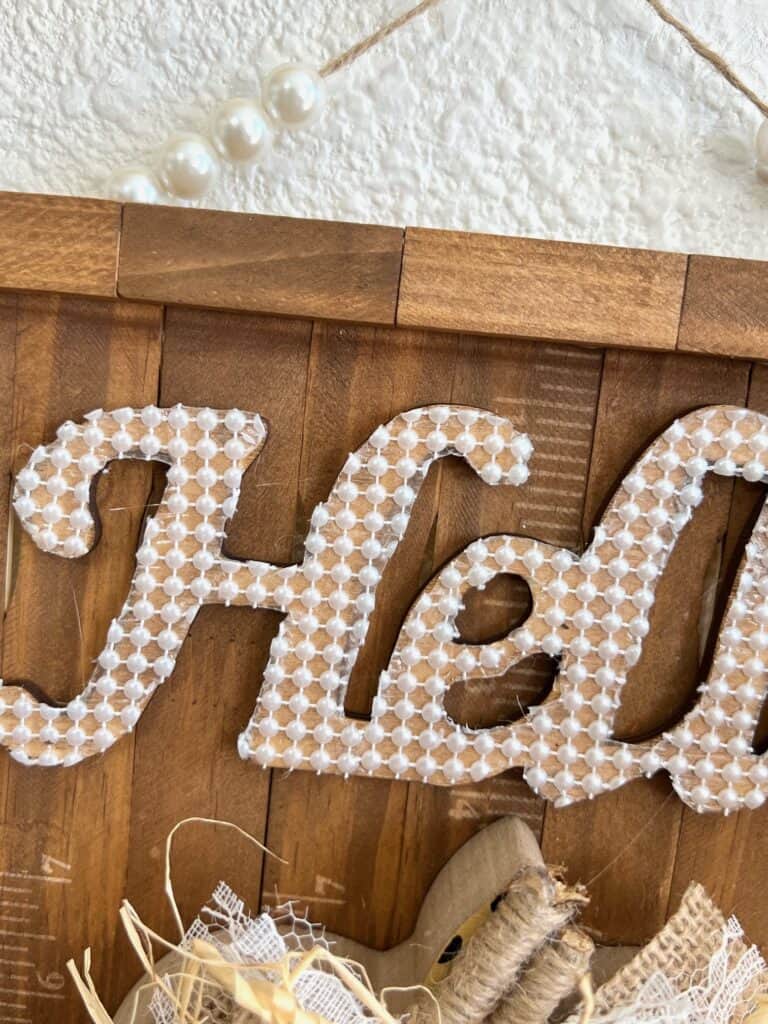
Glue the pearl adhesive strip to the top of the wood HELLO. It’s worth the work it comes out super cute!
Now glue your Leopard pumpkin to the center of your sign, and glue the HELLO on top of the pumpkin.
Wrap two sticks with twine, and glue them to the top of the pumpkin as the stem.
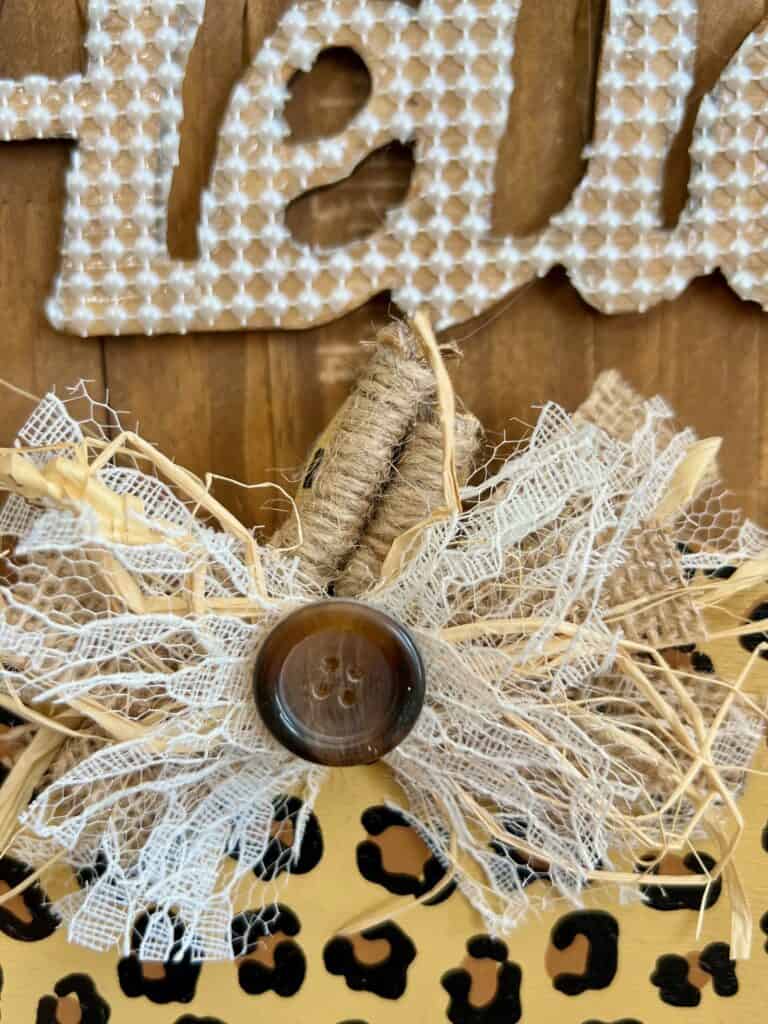
Make a cute small bow with some burlap ribbon, lace, and raffia, and glue a button to the center to embellish it.
Glue the bow to the top of the pumpkin stem.
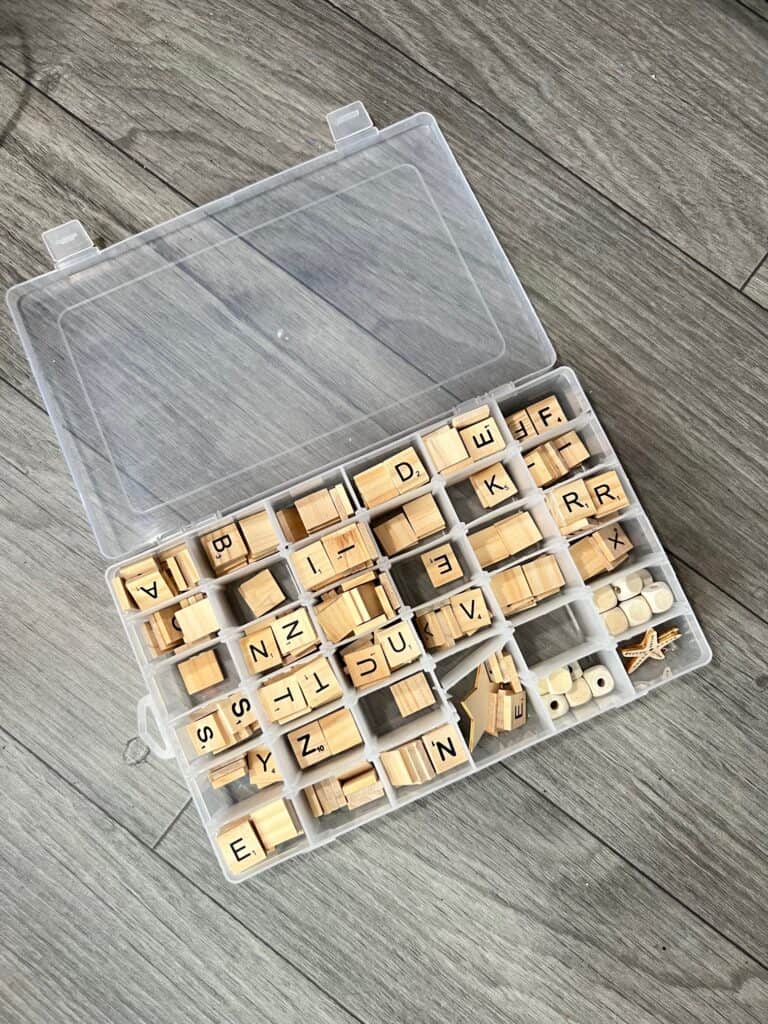
For the word pumpkin, I chose to use scrabble tile letters. I keep my letters organized in this handy jewelry organizer for easy access.
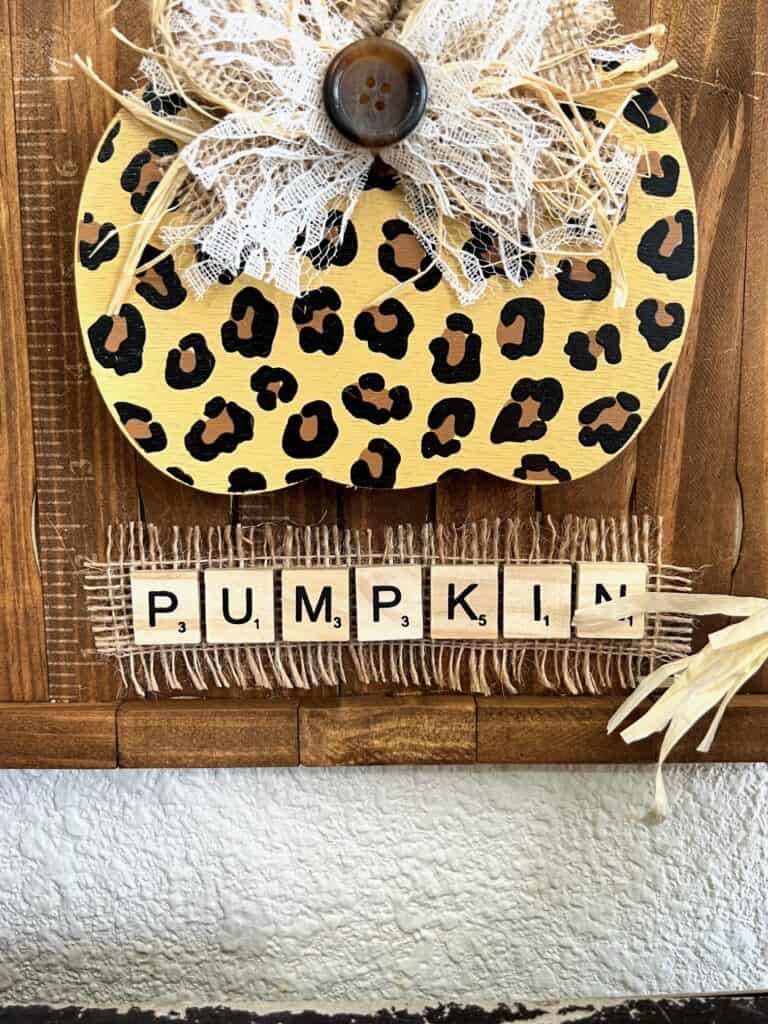
First, glue down a strip of frayed edge burlap underneath the leopard pumpkin, and then glue the letters on top of that.
To finish it off, make a pearl bead hanger with twine. I decided to just do a half beaded hanger with 8 beads total, 4 on each side.
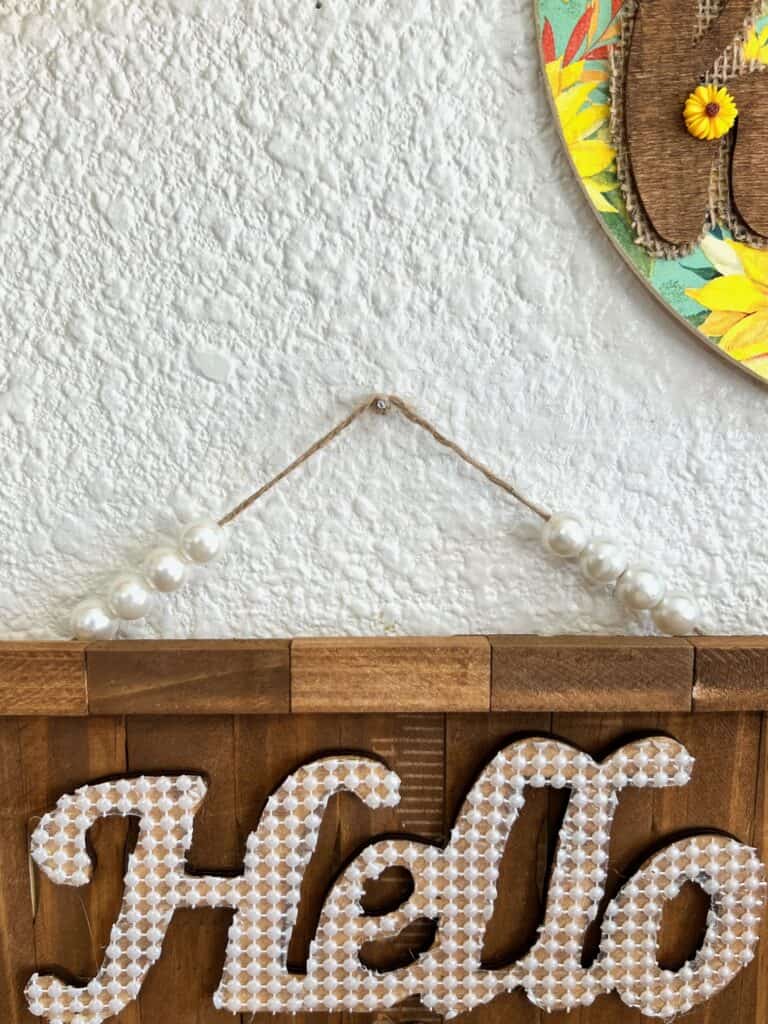
Glue the hanger to the top of the Leopard Pumpkin sign, and use pieces of popsicle sticks to reinforce the twine to the back.
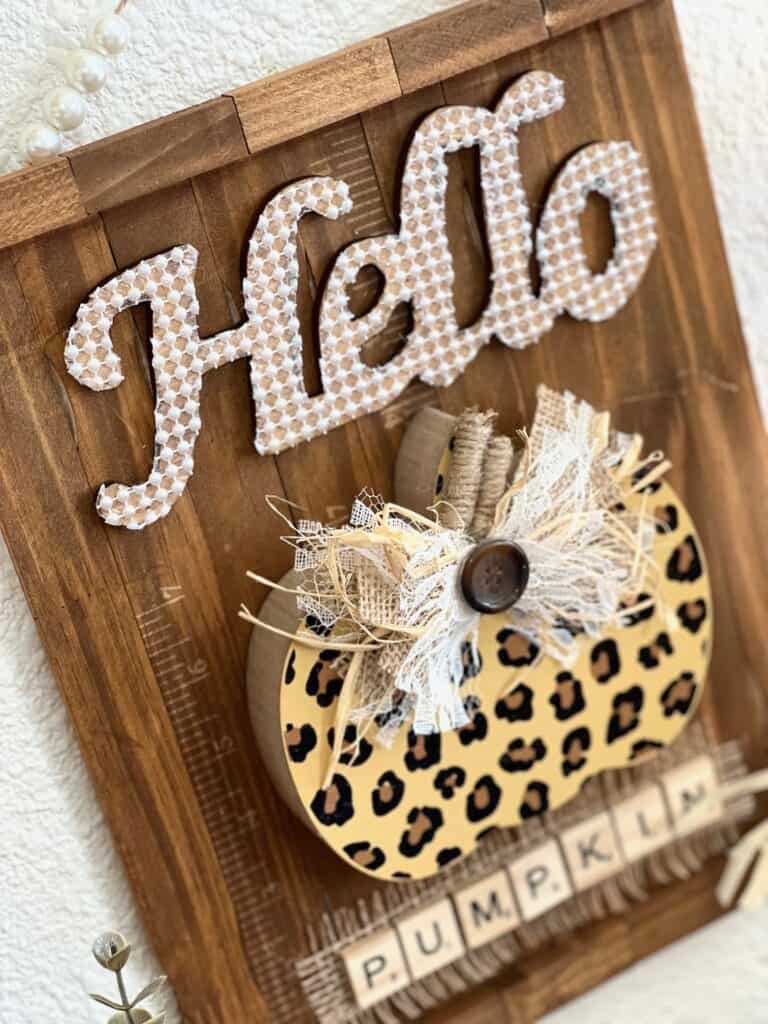
I am soooo incredibly happy with how this Hello Leopard Pumpkin turned out! Lookin’ fly next to that Scarecrow Gnome we made in my subscription group, The CRafterparty!
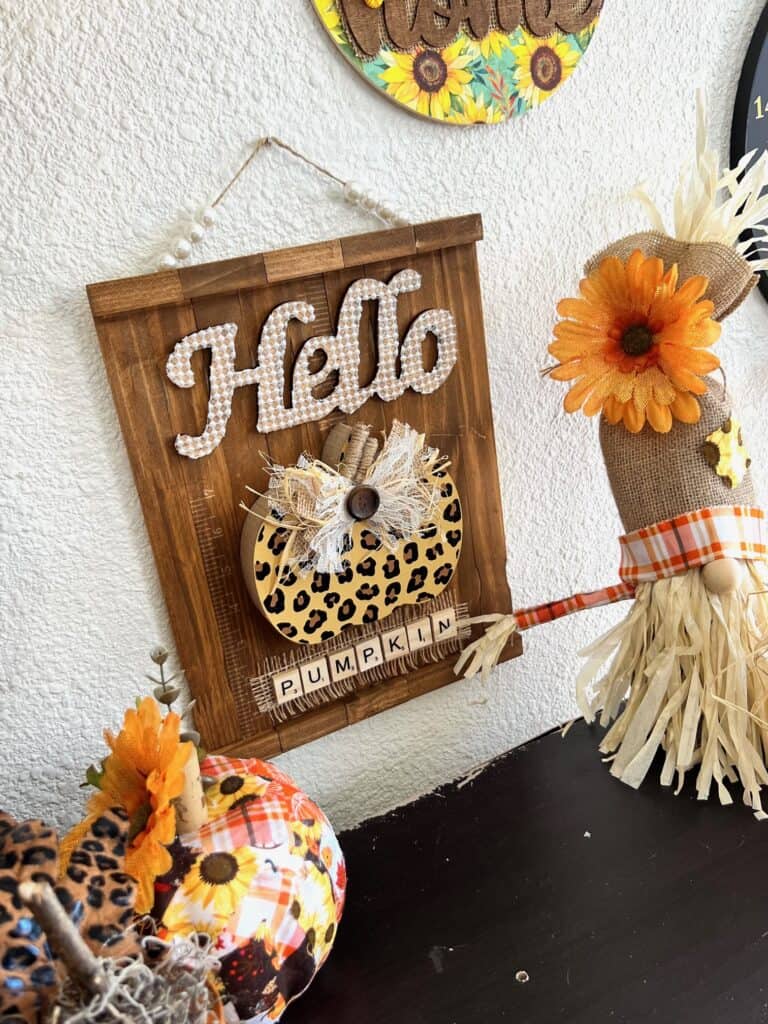
Are you going to make a Hello Leopard Pumpkin? If you do, I’d love to see it! Pop on over to our free Craftspiration Facebook group, and join in on the fun by posting a pic of your Tiered Trays, DIY’s and crafts. I just love to see all your creative and crafty creations.
If you’ve got a million projects on your crafting ‘to-do’ list like I do, than you need my FREE Craft Project Planner so you can plan to make *all the things*! When you sign up for the craft planner, I’ll also send you lot’s of fun, easy, and budget friendly ideas for you to fill it up with!

Free printable Craft Project Planner
Get organized, get inspired, and get crafting, with our free Craft Project Planner!
Until Next Time…
Stay Crafty San Diego!

Love this Hello Leopard Pumpkin? Make sure to PIN it for later!
