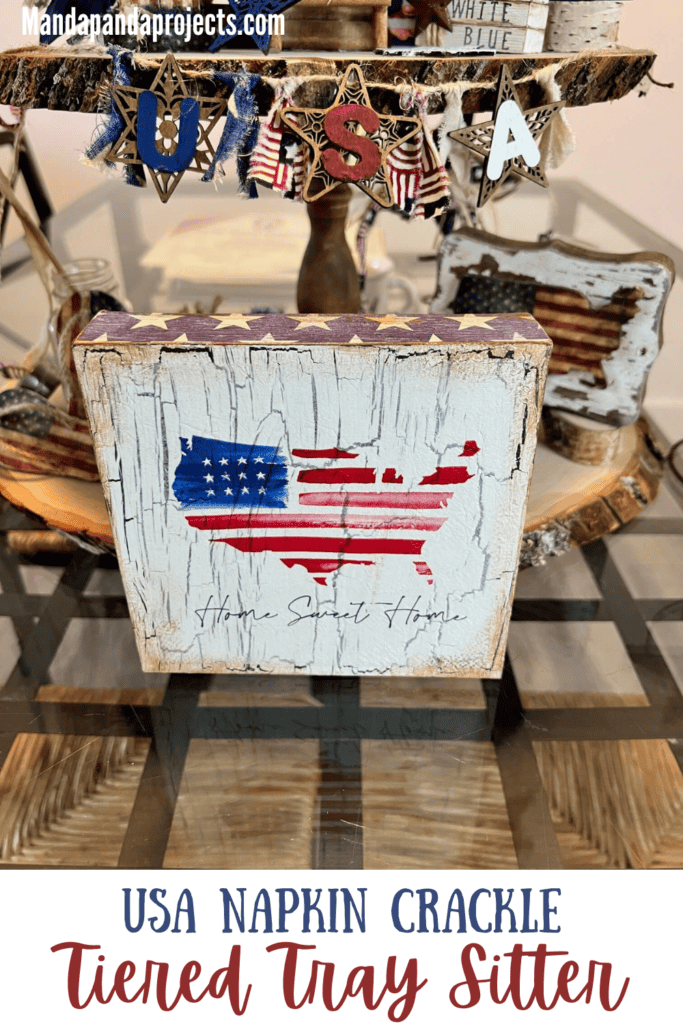
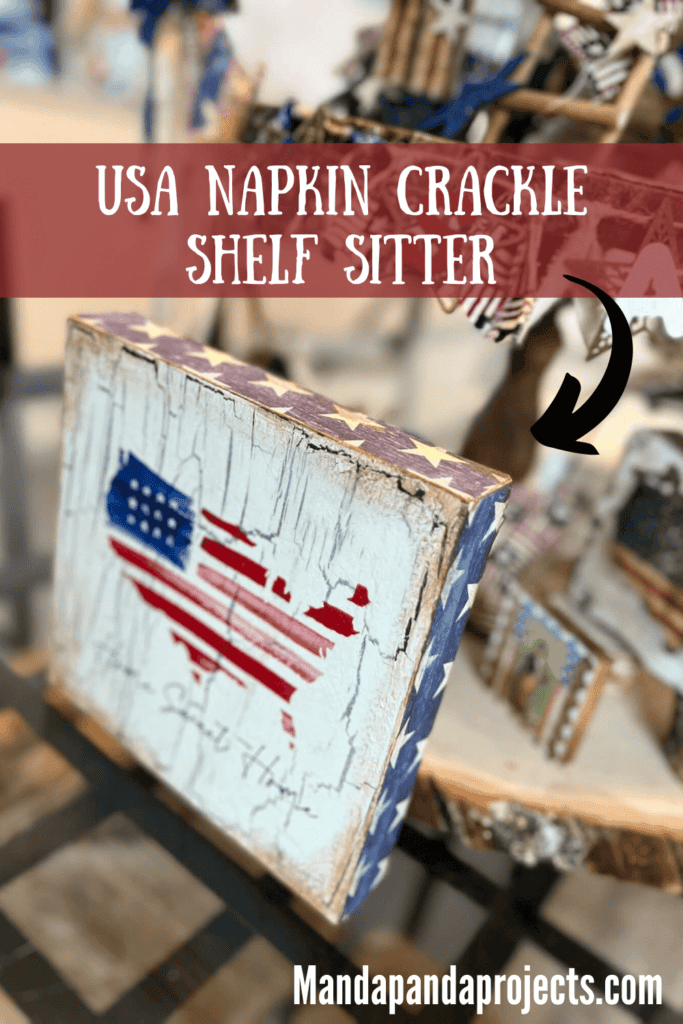
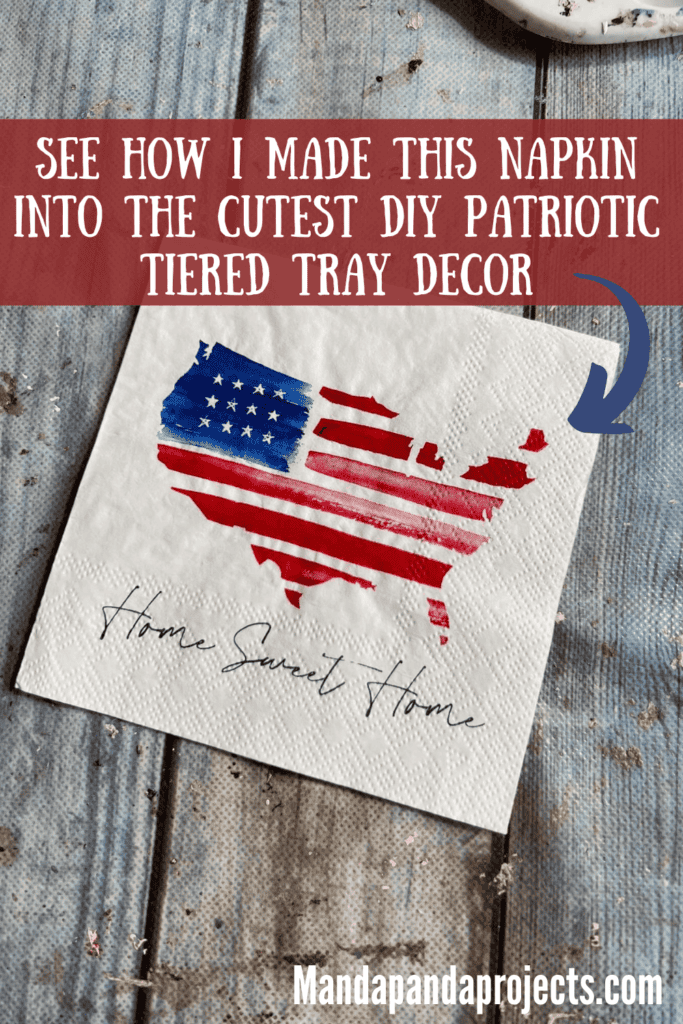
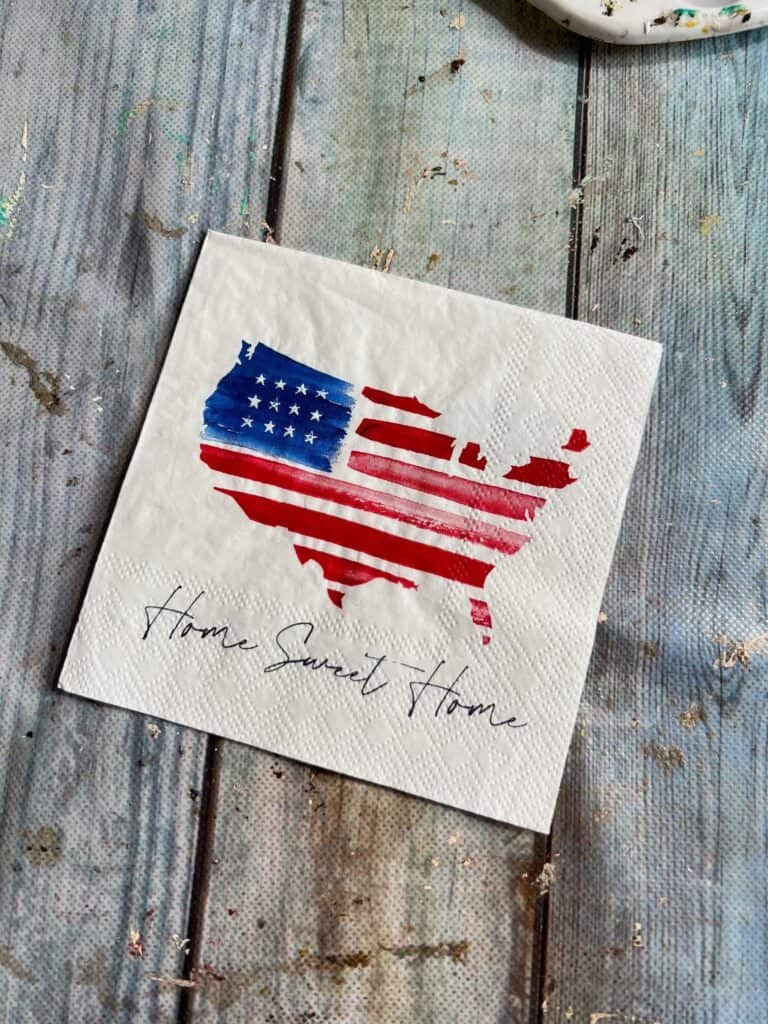
Craft and decorate your home for Memorial Day and the 4th of July with this DIY Patriotic USA Napkin Shelf sitter that fits perfectly on a tiered tray. This Home Sweet Home napkin with the American flag USA is the perfect size to decoupage onto a Dollar Tree box frame. I love America!

I have a confession. My name is Amanda and I am addicted to napkins.
So much so, that I started a Big Pack of Craftkins, napkins for crafting club!
The Big Pack of Craftkins is my quarterly variety pack of 18 individual adorable napkins sent straight to your door, so that you never have to waste your money on entire packs of napkins for crafting again. 🤯
Don’t worry if you don’t have the exact napkin I am using in this project, use what you have and if you need some help then get on the waitlist for my napkin subscription. I also sell super cute pre-bundled one time packs in my shop HERE!
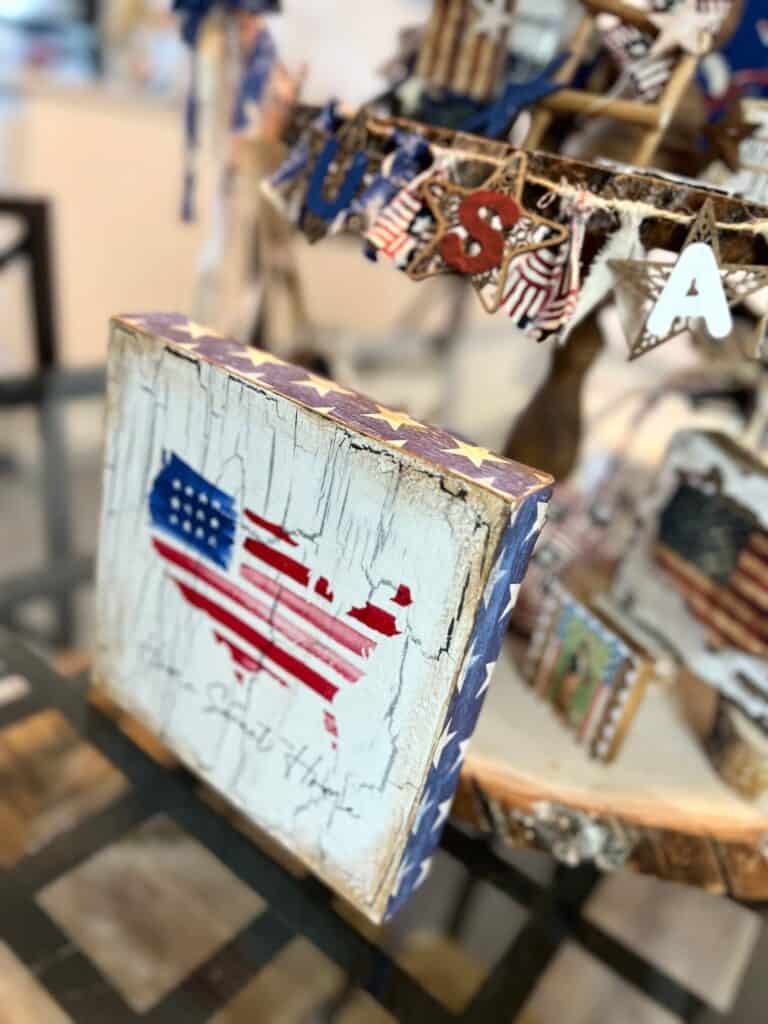
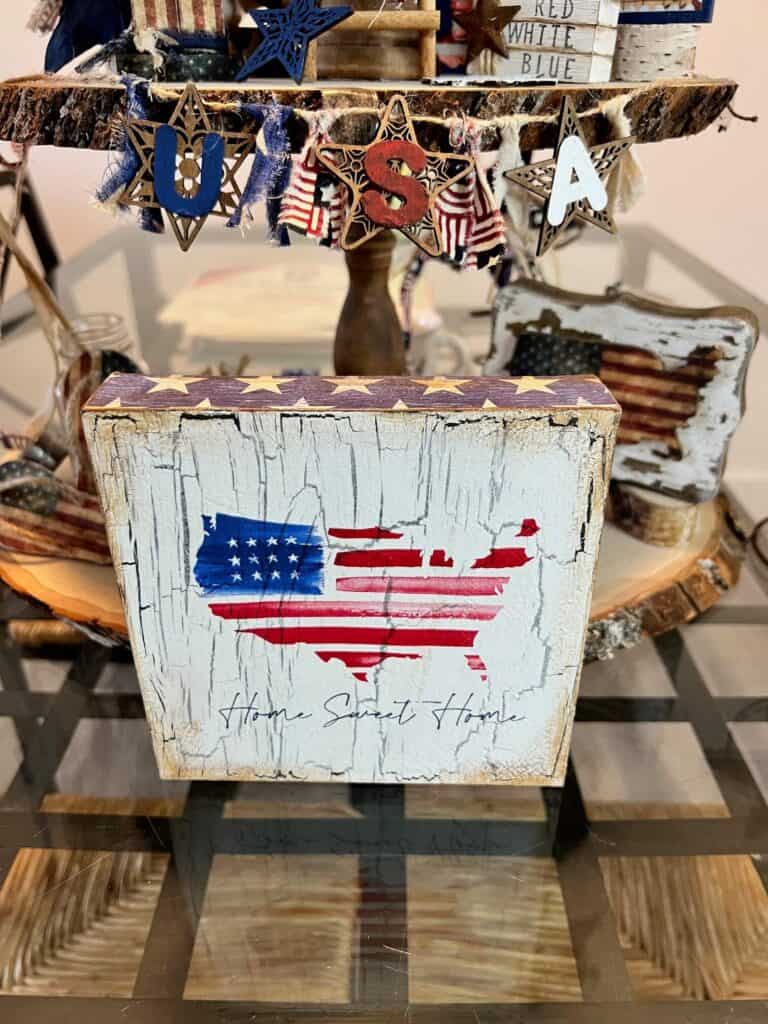
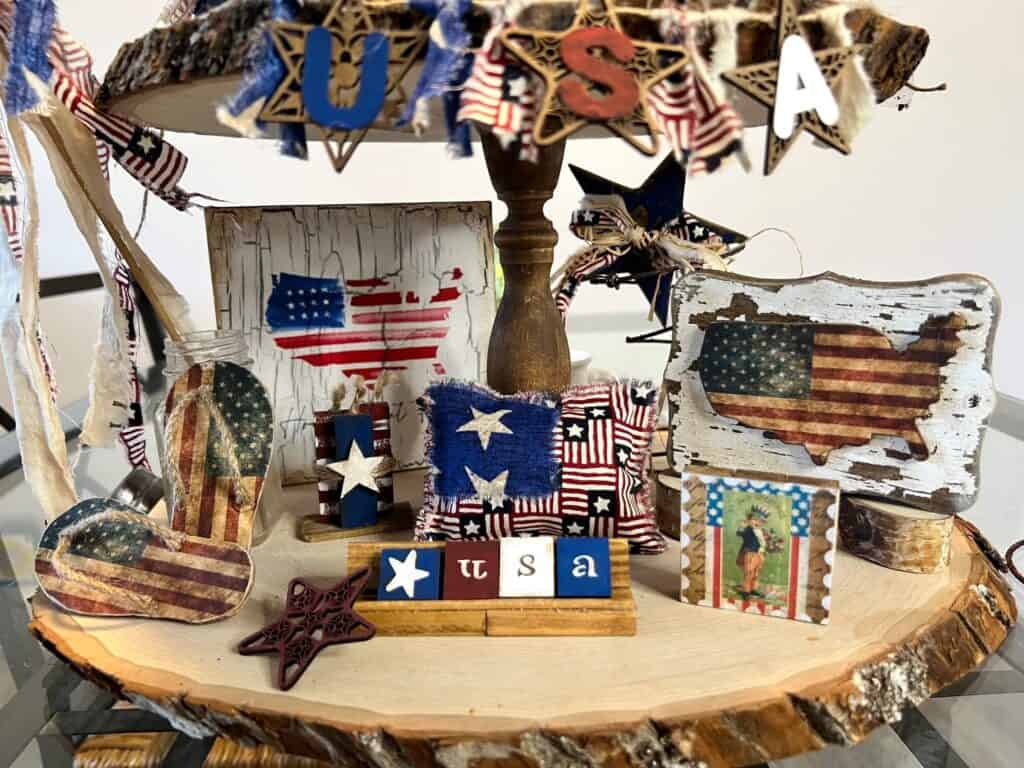
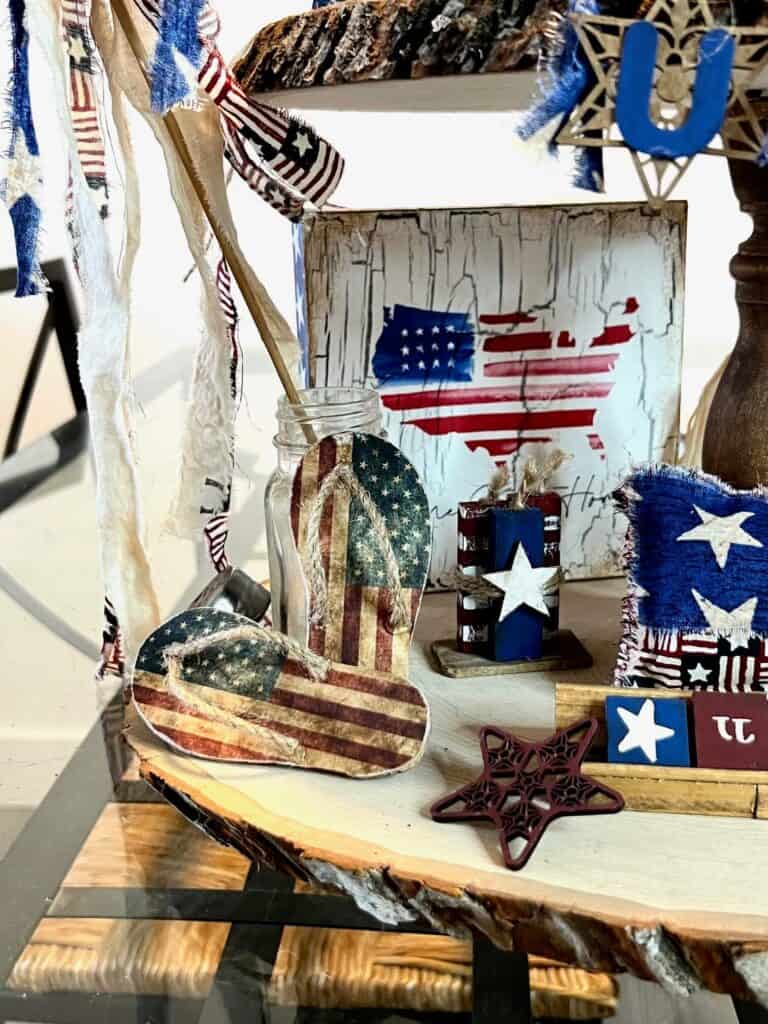
I titled this one “Shelf Sitter”, but it’s actually the perfect size for a Tiered Tray so I threw this bad boy on my Patriotic Tiered Tray right on the bottom tier!
This post may contain affiliate links for your convenience (which means if you make a purchase after clicking a link I will earn a small commission but it won’t cost you a cent more!)
Supplies Needed to Make a USA Napkin Shelf Sitter
- Dollar Tree Box Frame
- Home Sweet Home USA napkin (Get on the waitlist for the next round of napkins HERE or get napkins from my shop HERE)
- Blue and white star scrapbook paper
- Antique Wax
- White acrylic paint
- Mod Podge
- Elmers School Glue (You can use Mod Podge instead)
- Foam Brush
How to Make a USA Napkin Shelf Sitter
I made this crackle napkin shelf sitter on video. So you can WATCH the tutorial by clicking below.

This USA Napkin Shelf Sitter looks so cool with the crackle effect UNDER the napkin! I have an entire tutorial on exactly how to do this crackle technique and you can read and watch the video HERE.
So the first thing you are going to do is that crackle on the front of your frame. In a nutshell, you paint a dark colored base coat then dry it completely. Then, put a layer of Mod Podge OR Elmers school glue (I like to use a foam brush to apply). While the glue is still wet, paint a nice thick coat of the white acrylic paint over the top.
Just glide the brush gently over the glue being careful not to work it into the glue. Dry completely, and as it dries, watch the magic happen! It will begin to crackle right before your eyes.
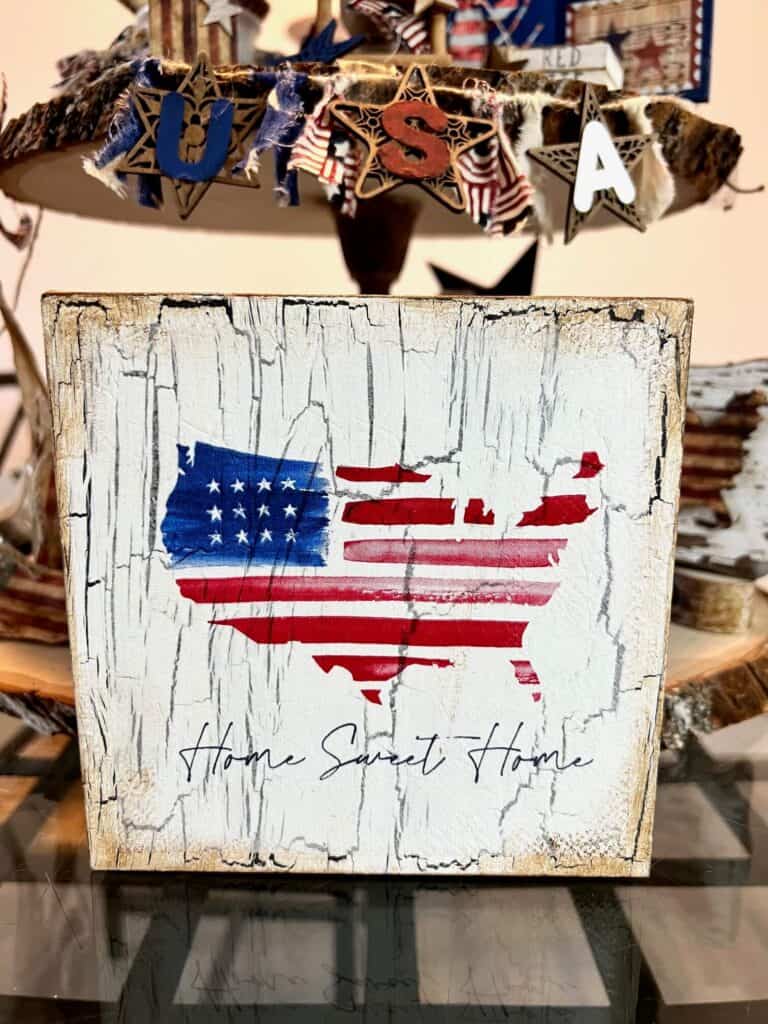
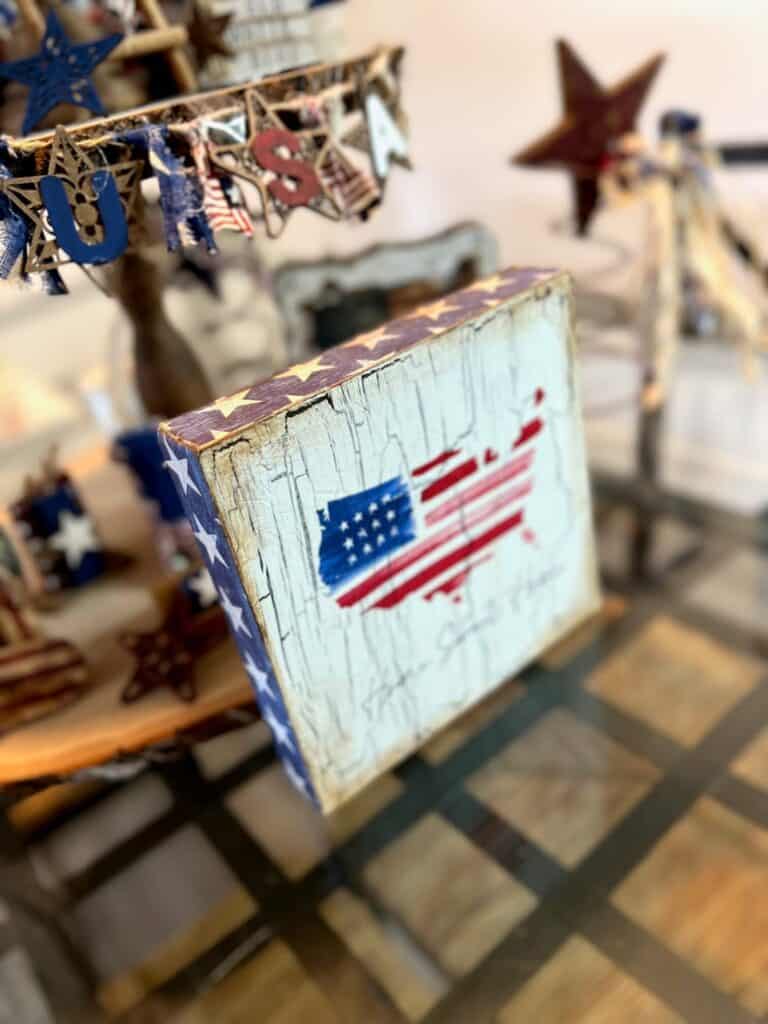
After you have the background all crackled, you will just decoupage your napkin to it like normal. Just Mod Podge it right to the crackle paint, and then it will LOOK as if the napkin itself is crackled just like you see below.
Sand off the excess napkin with your gator sander or sanding block.
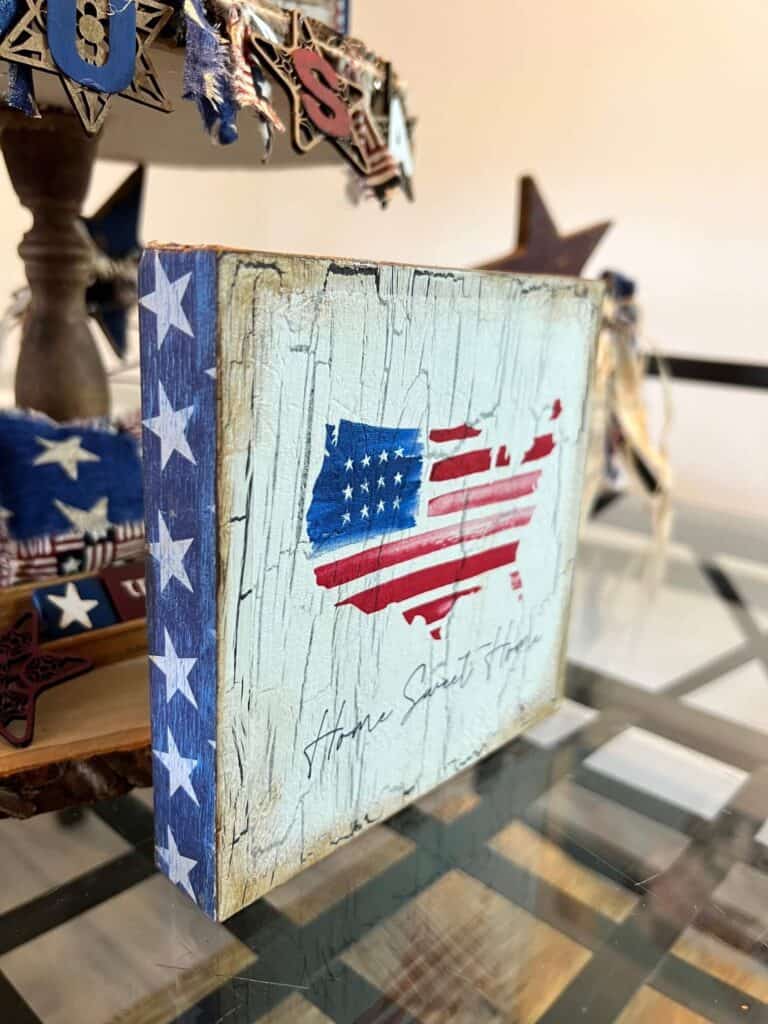
Now, trace the shape of the 3 outer edges onto the blue star scrapbook paper and cut them out (you don’t need to do the bottom, but you can if you want). Then Mod Podge those to the outer edges and sand off the excess paper.
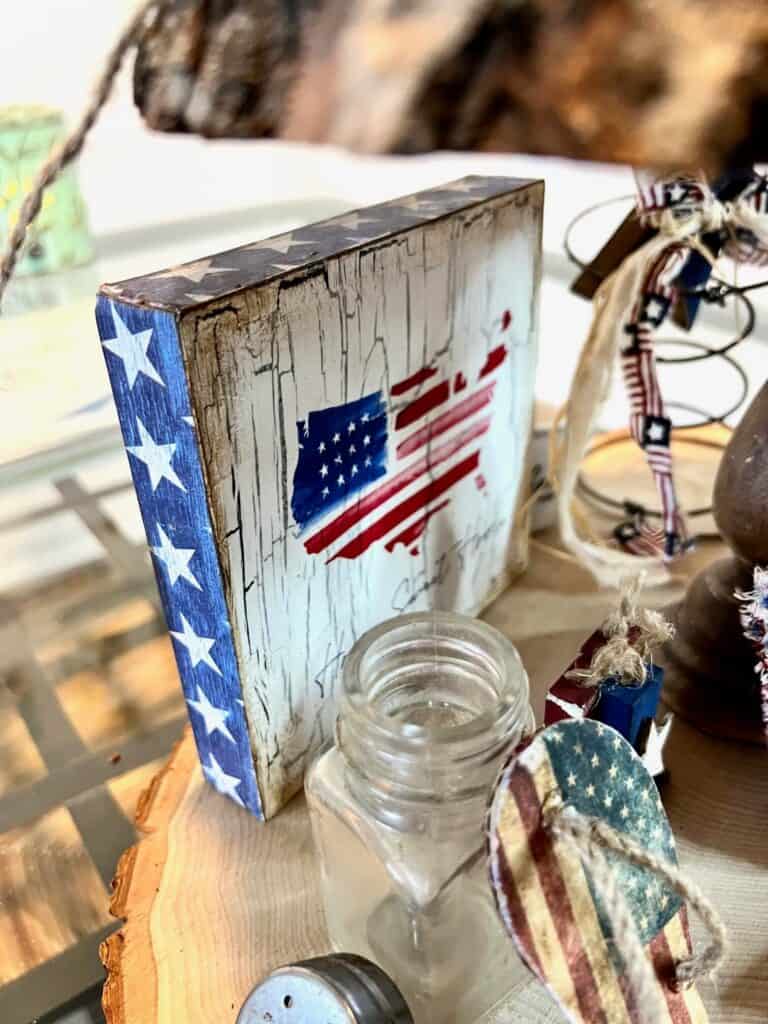
The last thing you do is grunge up the edges and corners with Kilz Dark or Waverly Antique Wax to give it an old distressed vibe, which I love.
How darn cute does it look on the bottom tier of my Patriotic Tiered Tray!? I made 15 crafts for this tray during my LIVE Patriotic Extravaganza and you can see all of them HERE if you need some inspo!
Are you going to make a USA Napkin Shelf Sitter? If you do, I’d love to see it! Pop on over to our free Craftspiration Facebook group, and join in on the fun by posting a pic of your Tiered Trays, DIY’s and crafts. I just love to see all your creative and crafty creations.
If you’ve got a million projects on your crafting ‘to-do’ list like I do, than you need my FREE Craft Project Planner so you can plan to make *all the things*! When you sign up for the craft planner, I’ll also send you lot’s of fun, easy, and budget friendly ideas for you to fill it up with!

Free printable Craft Project Planner
Get organized, get inspired, and get crafting, with our free Craft Project Planner!
Until Next Time…
Stay Crafty San Diego!

Love this USA Napkin Shelf Sitter? Make sure to PIN it for later!
