If you’ve got fresh pine cones that you’re planning on turning into something cute and crafty, don’t even think about it until you’ve thoroughly cleaned and prepared them the right way! Soak them in water and vinegar, bake in the oven for a few hours, and your ready to craft. This fail proof method removes all the dirt and mold, rids of sticky sap, and kills all of those pesky bugs so that your pine cone can be the best craft it can be!

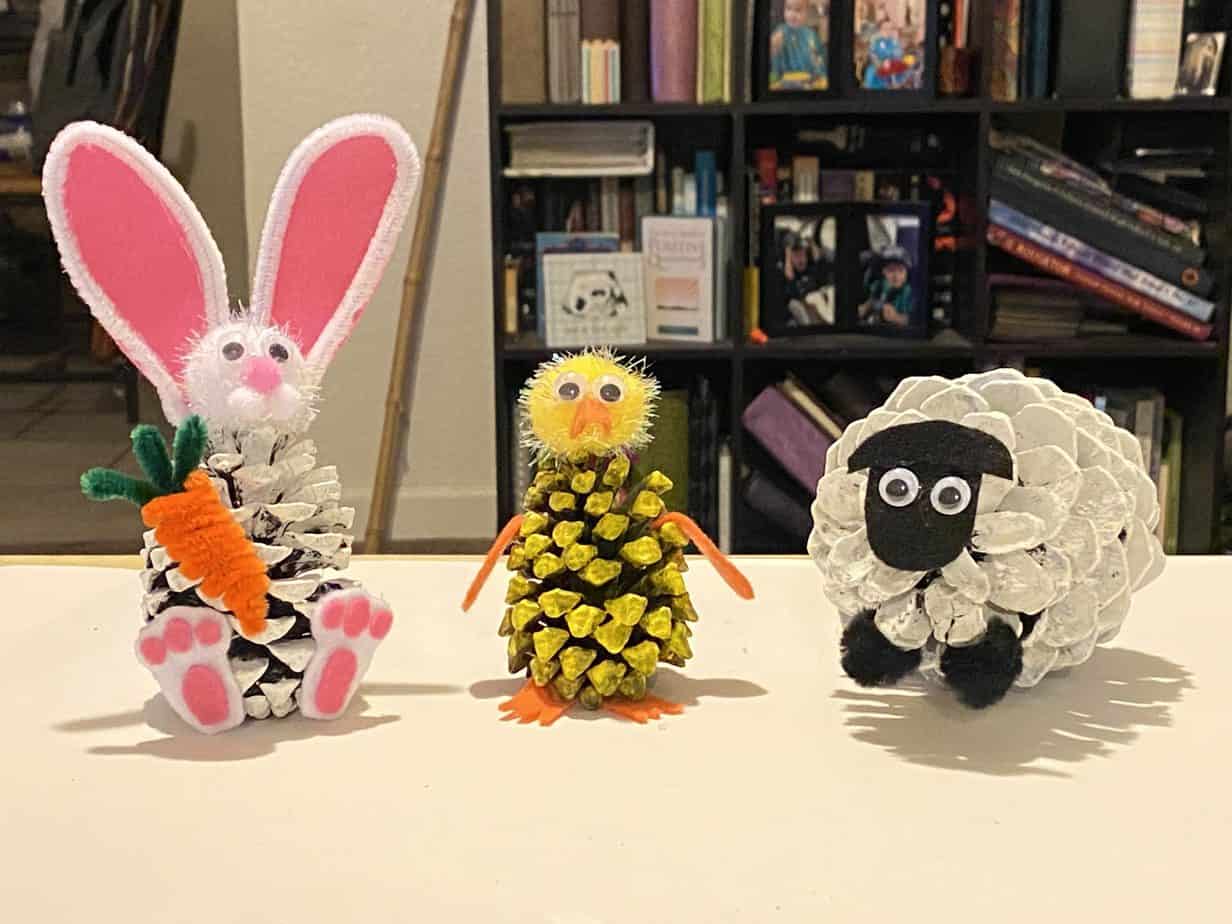
Pine cones are sooooo versatile for crafting, the possibilities are endless! Especially when the holidays come around, I have more projects I want to do, than time to do them! Last year we made Pine Cone Christmas Trees and this year a Pine Cone Turkey, but I think my all time favorite Holiday pine cone craft is these Pine Cone Easter Peeps!
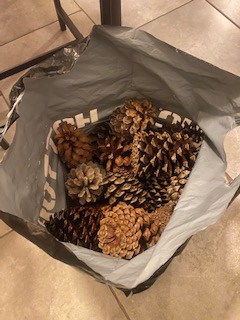
When I came home with my first ever pine cone haul, I realized that leaving them in the NY and Company shopping bag that I used to collect them, in my “craft corner” of my dining room, was just begging for a bug infestation! I don’t know about you, but I prefer my spiders outside.
I’ve tested quite a few different methods of this pine cone cleaning thing and I found that the outcome is much better when I let them air dry for a few hours after soaking them, before baking in the oven. Either way works, but I think this way makes for a more fully bloomed cone.
Don’t worry if when you soak them they totally close up, that’s just what pine cones do. I promise they will bloom beautifully once completely dried. Whether you decide to air dry or bake them, those bad boys are gonna open right up and scream “craft with me!”
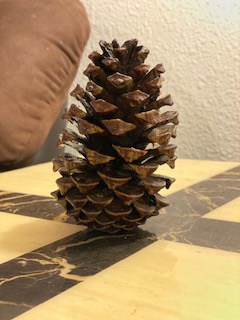
Speaking of fully bloomed, you do have to be careful not to bake natures little craft supplies QUITE too long. I’d say anything over 2.5 hours and you’ll pull a me (I may or may not have forgotten they were in the oven).
I accidentally baked one batch of pine cones for so long that they were actually over-bloomed. They ended up looking like they were inside out! And although this has never happened to me, I’d presume fire is a risk considering your putting wood into an oven, so be sure to keep an eye on them!
I’m not sure if it’s just my oven, but I like to turn them over halfway through or else it seems like they bloom unevenly and one side is more open. Maybe it’s my OCD personality but I like em’ as even as can be . I did just get a new oven and haven’t baked a batch in it yet so I’ll keep you posted if I notice a difference.
Do you have to bake the pine cones?
Some sites talk about simply washing them with soap and water to kill the bugs and then air drying, and there is nothing wrong with this method (this is not exact pine cone science people). You will still achieve the bugless, fully bloomed pine cone that you want. The big difference with baking them in the oven is that the sap will melt and leave a nice glaze over your pine cone making it perfect for many crafts (and if you have very sappy cones it will be hard to rid of the stickiness with only the wash method).
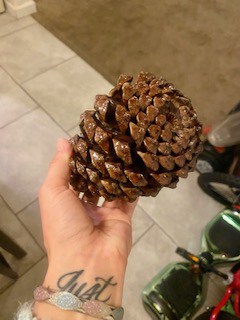
How do you remove the sap from pine cones?
As I mentioned, the baking process will result in that nice glaze you see in commercially purchased cones and helps to preserve them if you will. So baking them doesn’t exactly remove the sap, but it melts it into the pine cone and leaves it smooth and shiny and not at all sticky.
The other way to remove the sap, although a little more difficult and and not as effective, is to scrub them with a brush after soaking them and water and vinegar. The vinegar helps to break down the sap and loosen and remove the dirt that has stuck to it.
So, are you ready to get those cones prepared?
Supplies needed to clean and prepare pine cones for crafts
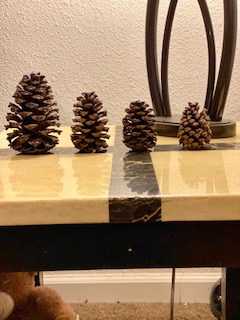
- Pine cones collected from nature
- 1/2-1 cup white vinegar
- Baking sheet
- Foil or parchment paper
How to clean and prepare pine cones
1. Brush off visible dirt, dust, and debris with a small brush.
2. Soak in a large bucket or sink with warm water and about a cup of white vinegar for 30 min or so.
3. Remove from water and let air dry in a strainer or on paper towels for 1-3 hours.
4. Place on a foil lined baking sheet and bake at 250-275 degrees for 1-2 hours, turning over halfway through.
5. Remove from oven and let cool for at least 30 minutes.
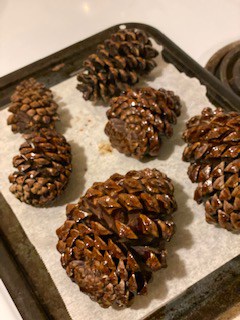
I hope you found this post useful! If you live in an area where you are lucky enough to find these fallen craft soldiers, then Pin this post for later so that you don’t end up with creepy crawlys invading your home!
Leave me a comment if you have any questions and I’d love to see pics of your pine cone crafts!
Until next time…
Stay Crafty San Diego!

Do you struggle finding the time to actually get down and crafty? Well you can Make time to Make Stuff with our FREE Craft Project Planner!

How To Clean and Prepare Pine Cones for Crafting
Equipment
- Sink or Bucket
Materials
- 1 cup White Vinegar approximate
- 1 gallon Water approximate
- 1 sheet Aluminum Foil
Instructions
- Brush off visible dirt, dust, and debris with a small brush.
- Soak in a large bucket or sink with warm water and about a cup of white vinegar for 30 min or so.
- Remove from water and let air dry in a strainer or on paper towels for 1-3 hours.
- Place on a foil lined baking sheet and bake at 250-275 degrees for 1-2 hours, turning over halfway through.
- Remove from oven and let cool for at least 30 minutes.

