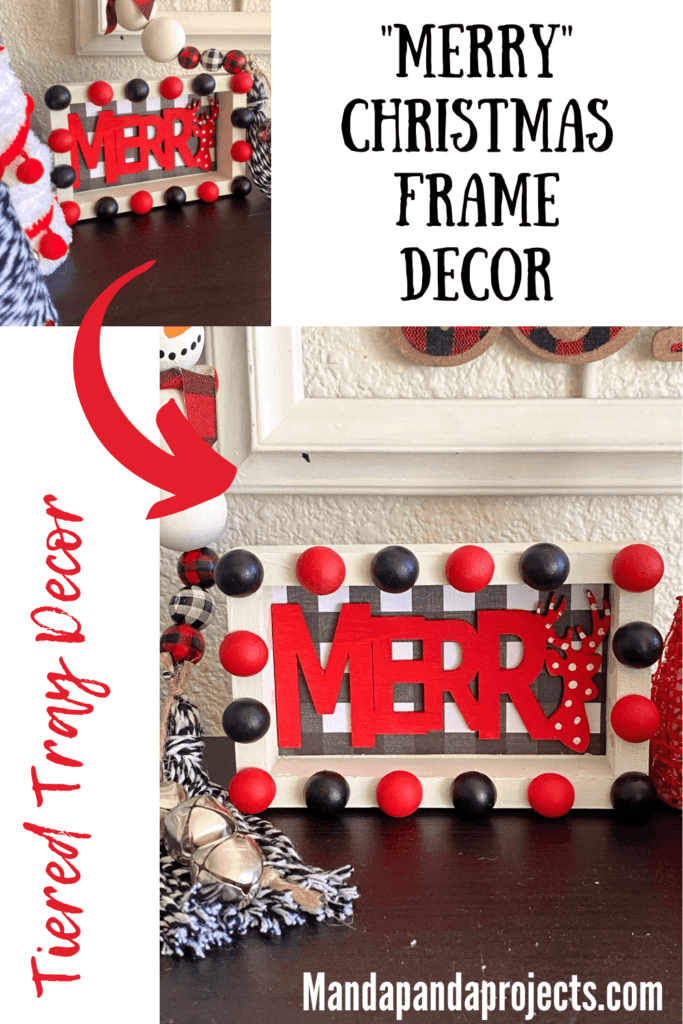
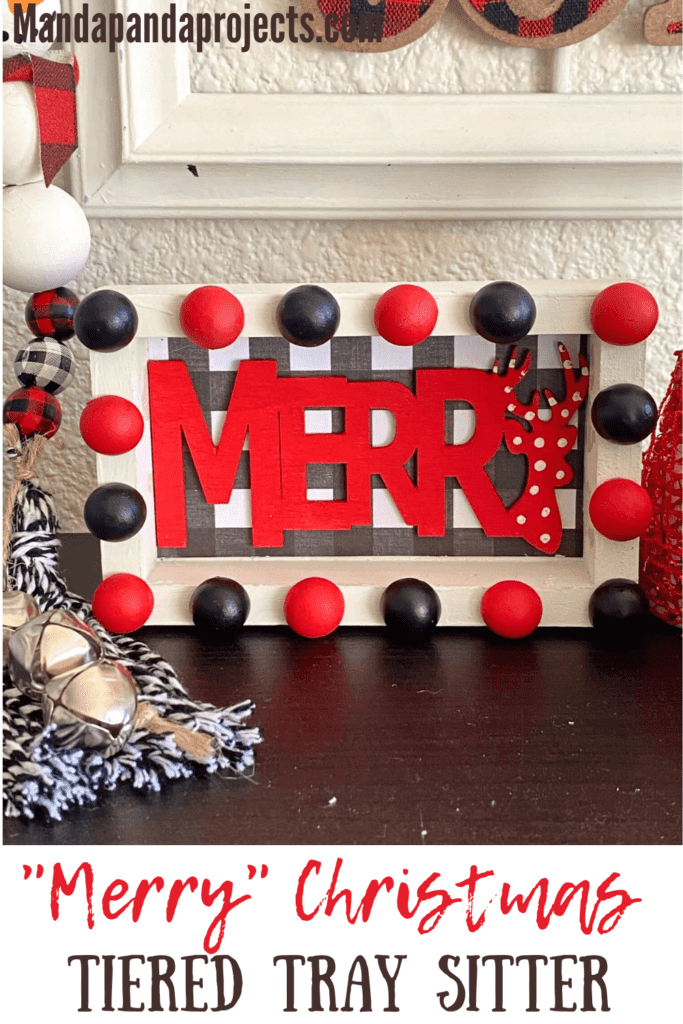
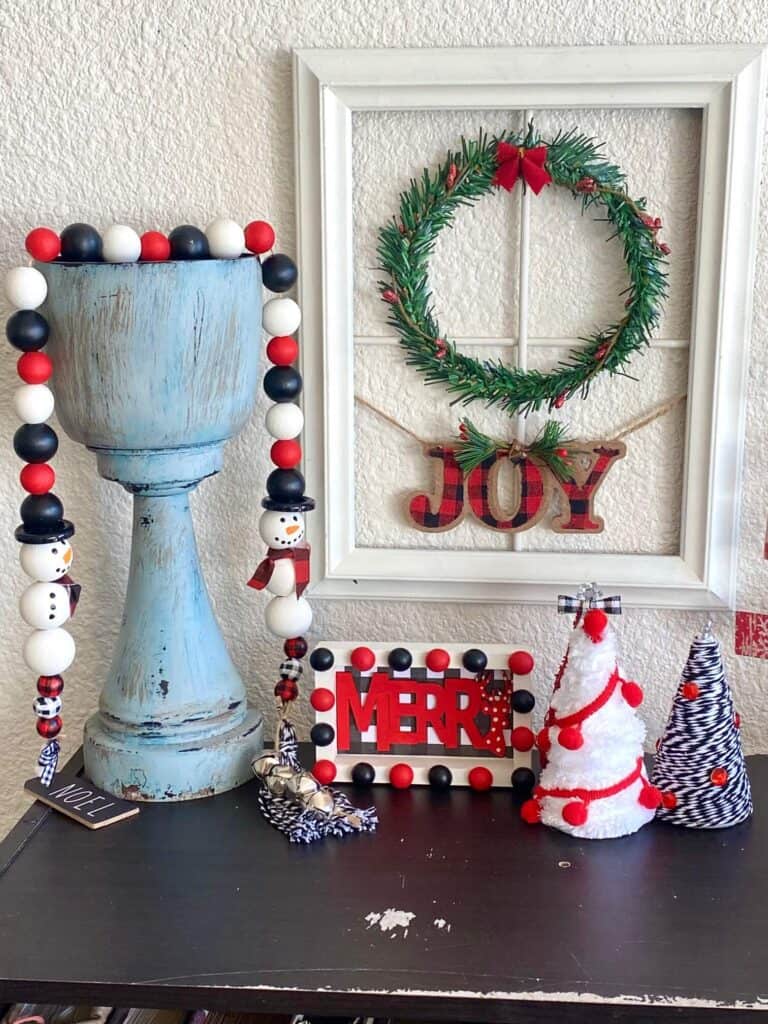
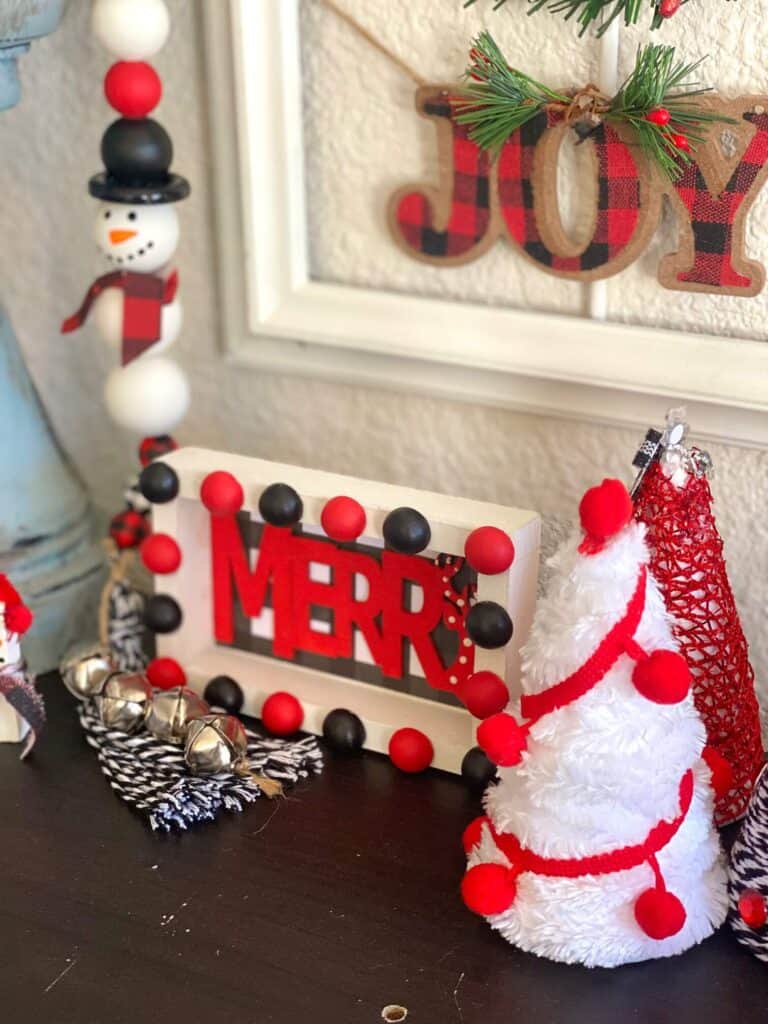
If there’s 2 things that I love this Christmas it’s an easy craft, and the red, white, and black theme decor. This “Merry” Christmas Tiered Tray Sitter just happens to combine the two together into one amazing little piece of DIY Christmas Decor!
After making my entire Fall Tiered Tray with completely handmade crafts and decor, I became slightly obsessed with doing the same for Christmas. The only problem is, I totally switched colors and themes for Christmas this year so I am starting almost entirely from scratch!
If you can’t already tell, I have switched to all red, white, and black themed Christmas decor, which is a far cry from the rustic style that I usually decorate in. I still loooove me some #RusticCharm, but I was just feeling like a change this year.
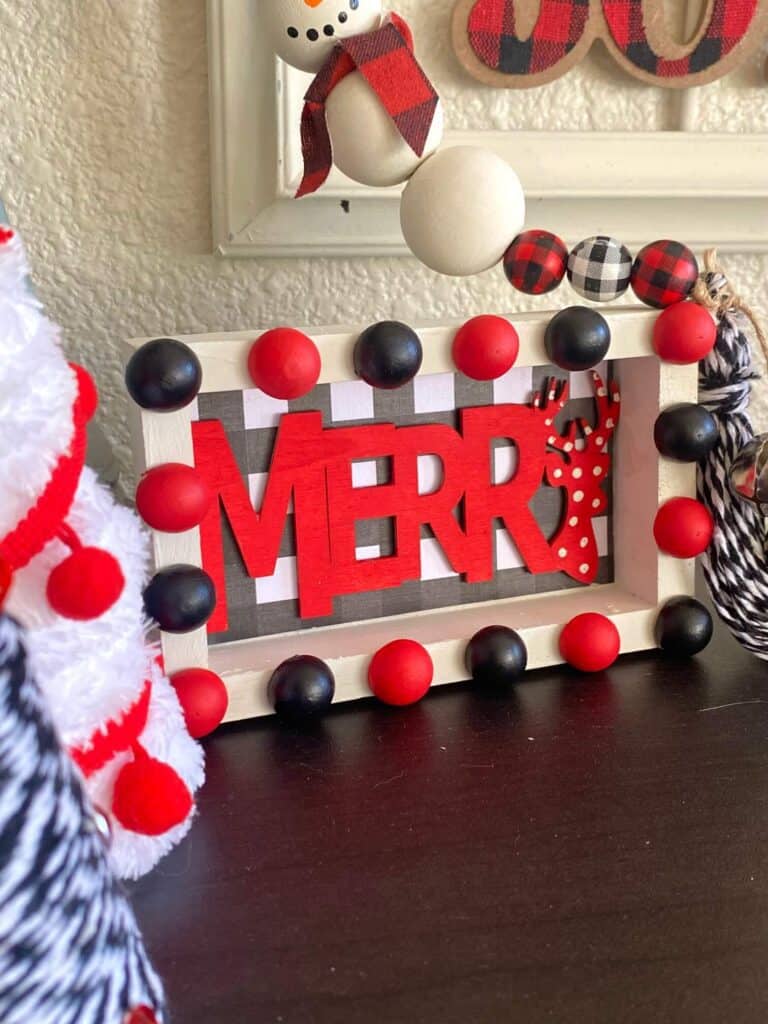
We’ve already made a few cute little things to match my new theme, like these Mini Foam Cone Christmas Trees which will look ADORBS on my Tiered Tray along side this “Merry” frame. But I’ve got a long way to go if I want my Christmas tray to be entirely handmade like my Fall one was!
This post may contain affiliate links for your convenience (which means if you make a purchase after clicking a link I will earn a small commission but it won’t cost you a cent more!)
Supplies Needed to make a “Merry” Christmas Tiered Tray Sitter
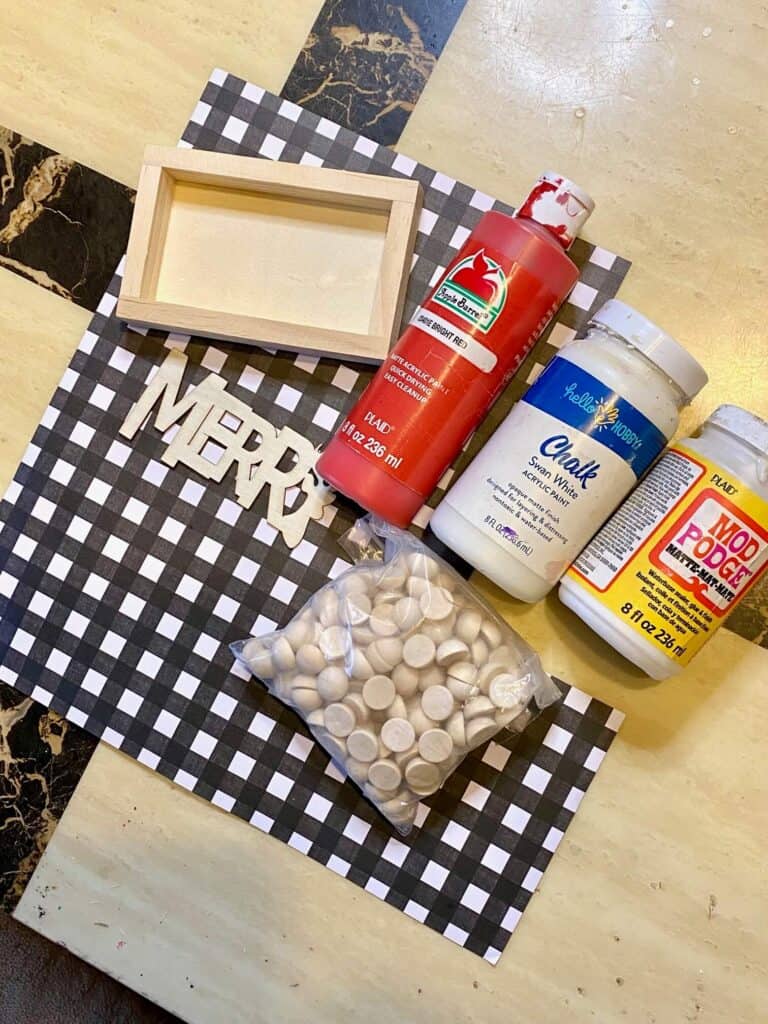
- Small wooden plaque
- Half wooden beads
- Red paint, Black, and White paint
- Black and white buffalo check scrapbook paper
- Wooden “Merry” with Reindeer “y” (Mine is from Dollar Tree)
- Mod Podge
- Glue Gun
How to Make a Red, Black, and White “Merry” Shelf Sitter
I made this adorable little “Merry” Tiered Tray block on video, so you can WATCH the step by step tutorial HERE or click on the picture right below.
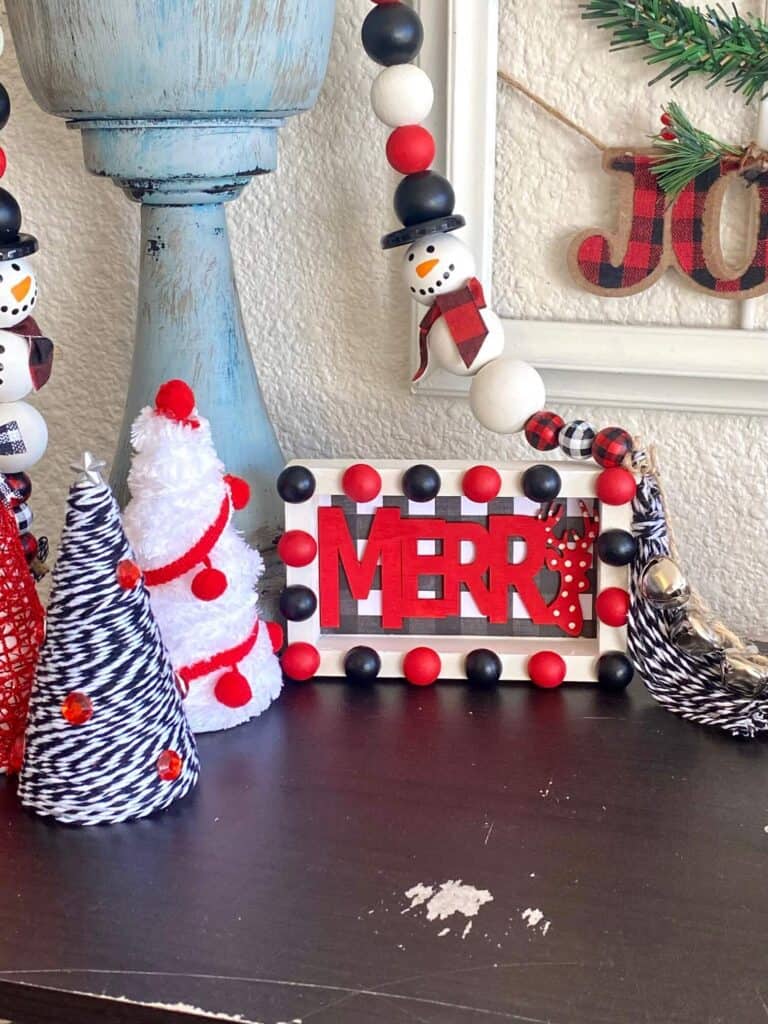
Since this “Merry” Christmas Red, White, and Black decor was made live on my Facebook page, I don’t have step by step photos showing you exactly how to make this, so I encourage you to watch the REPLAY.
This one is super duper easy, you could even get the kiddos involved in making it! First things first, paint the wood block all white.
Next, cut out the scrapbook paper rectangle to fit inside of the wooden frame. The best way is to trace the frame, and then cut just inside your lines since it will be a bit smaller. You may have to keep trimming around until it fits in just right.
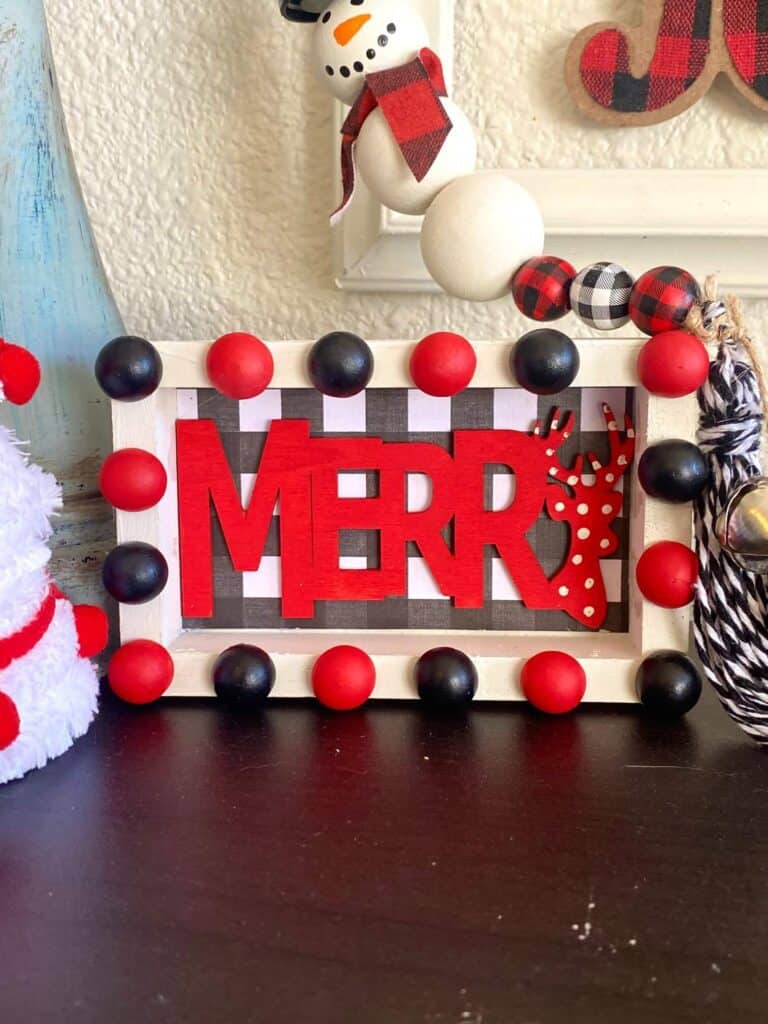
Paint your wood beads red and black, I painted 8 of each for a total of 16 half wood beads. Paint your wooden “Merry” all red, and them make white polka dots with the end of a small paint brush.
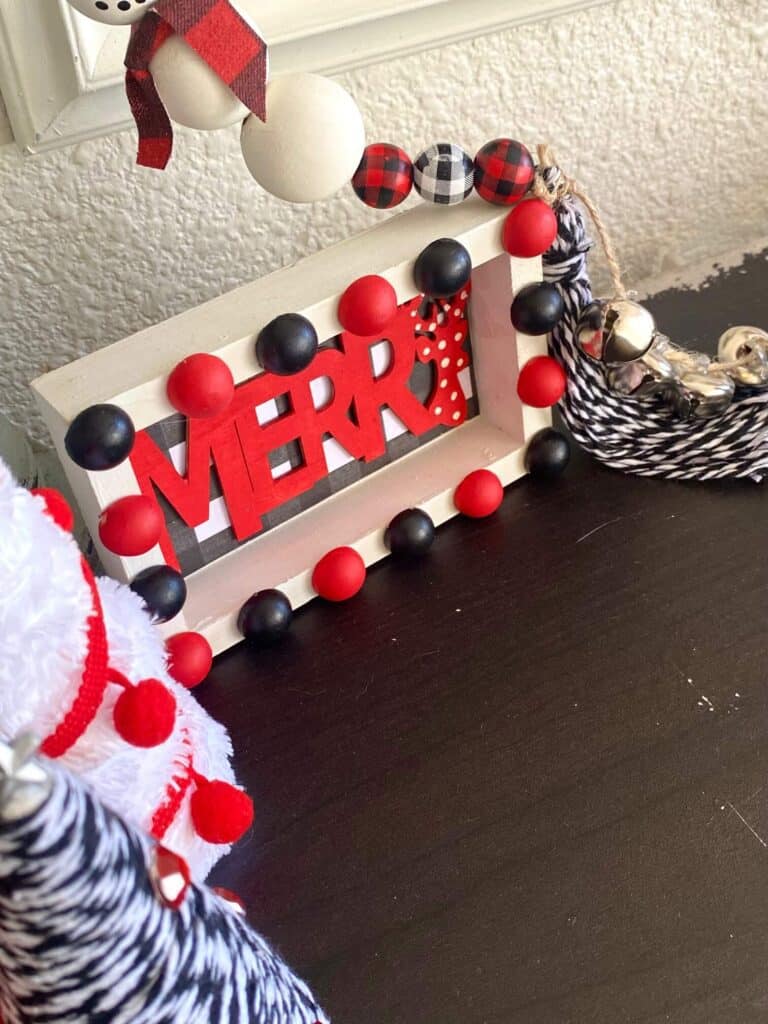
Glue your half wood beads around the edge of the frame to finish this off and you got yourself e “Merry” Christmas Tiered Tray Sitter!
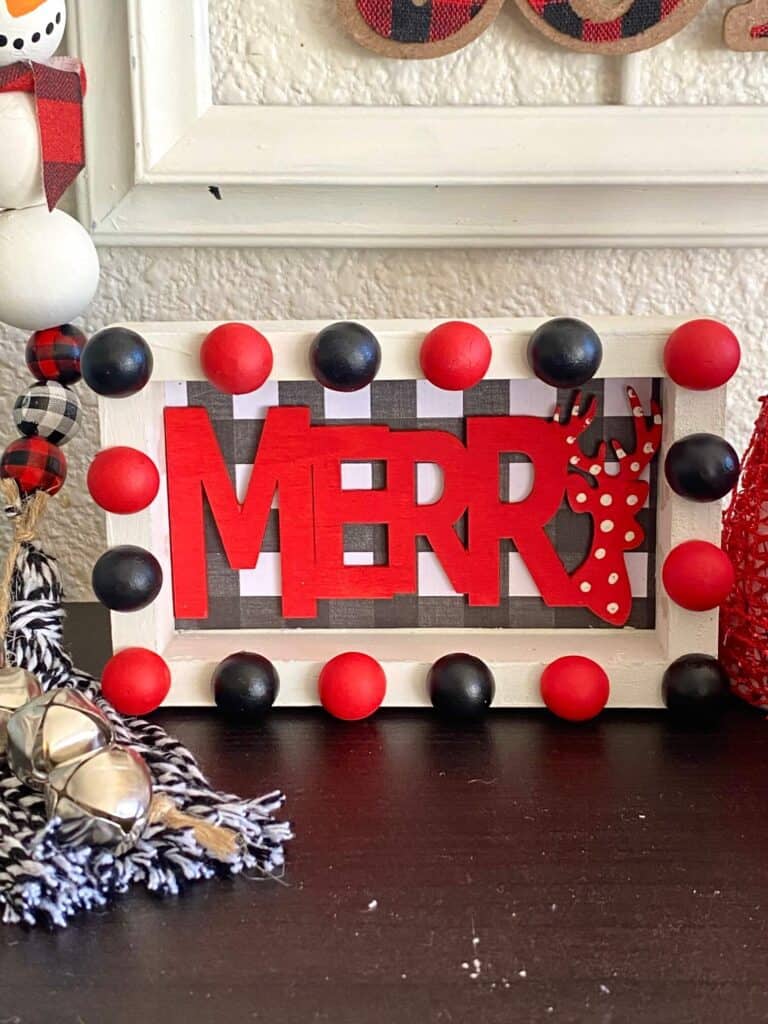
I am so in love with the red, black, and white theme this year that I just can’t get enough! I don’t have my Christmas Tiered Tray decorated just yet, but doesn’t this little shelf sitter look just adorbs next to the rest of my red, black, and white themed crafts and decor!? You can learn how we made the mini foam cone Christmas Trees below, right here.
Are you going to make a “Merry” Beaded Tiered Tray sitter for Christmas this year? If you do, I’d love to see it! Pop on over to our free Craftspiration Facebook group, and join in on the fun by posting a pic of your completed DIY’s and crafts. I just love to see all your creative and crafty creations!
If you’ve got a million projects on your crafting ‘to-do’ list like I do, than you need my FREE Craft Project Planner so you can plan to make *all the things*! When you sign up for the craft planner, I’ll also send you lot’s of fun, easy, and budget friendly ideas for you to fill it up with!

Free printable Craft Project Planner
Get organized, get inspired, and get crafting, with our free Craft Project Planner!
Until Next Time…
Stay Crafty San Diego!

Love this “Merry” Christmas Tiered Tray Sitter? Make sure to PIN it for later!


