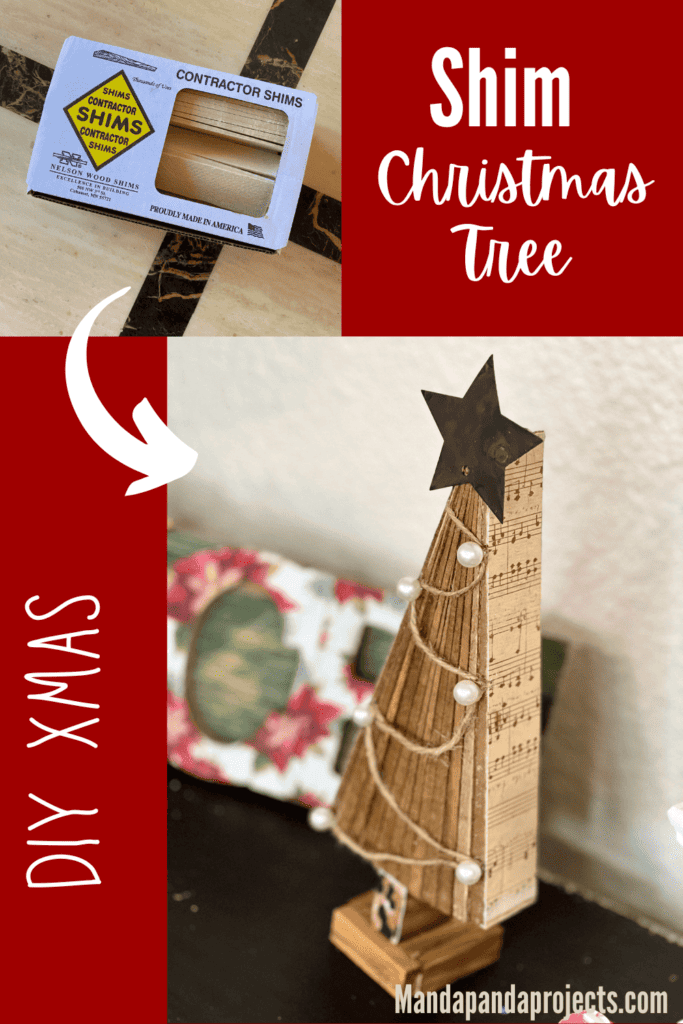
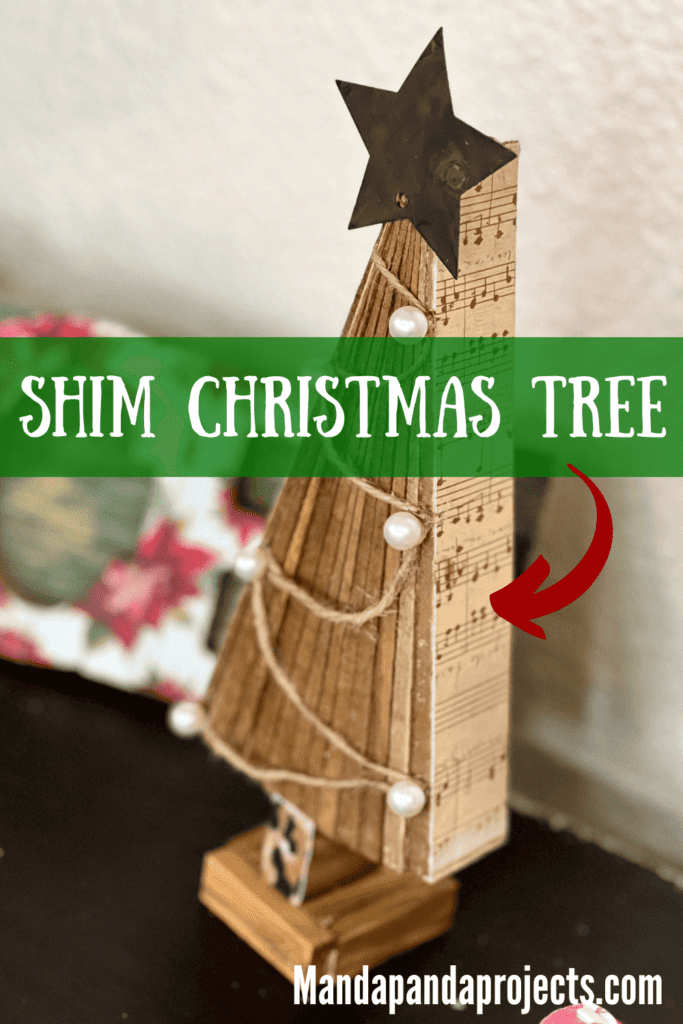
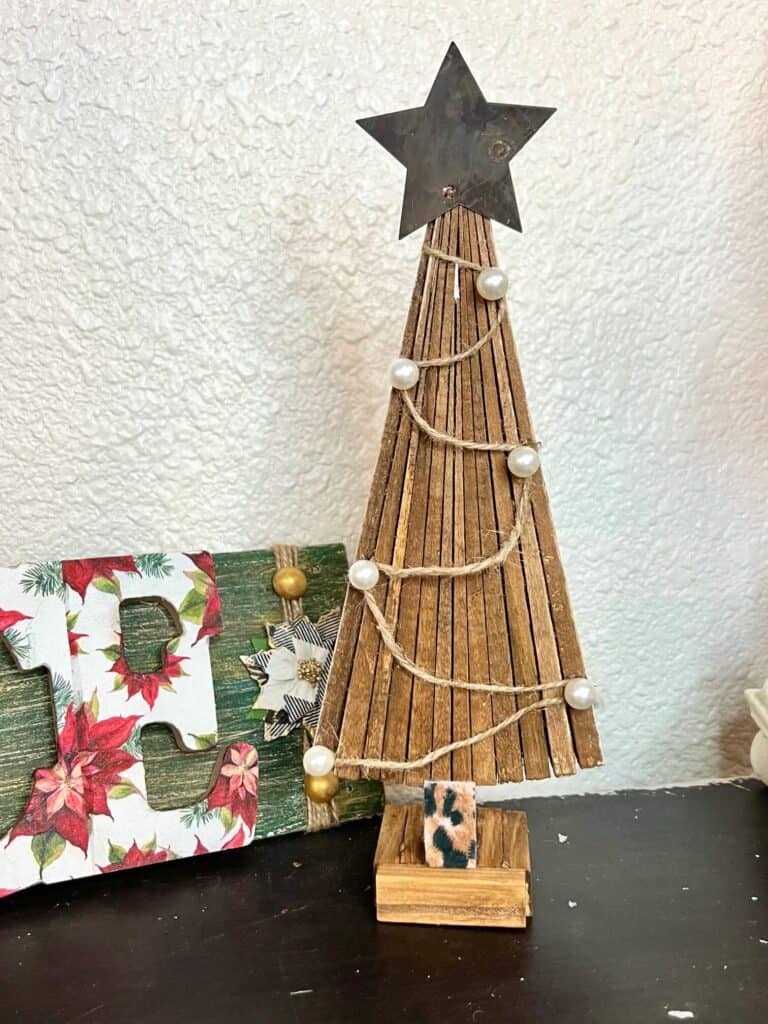
Take a walk on the Neutral side with this Shim Christmas Tree. With some music sheet paper, a metal star, pearls, and a touch of leopard print, this DIY Christmas decor is charming in all the right ways!
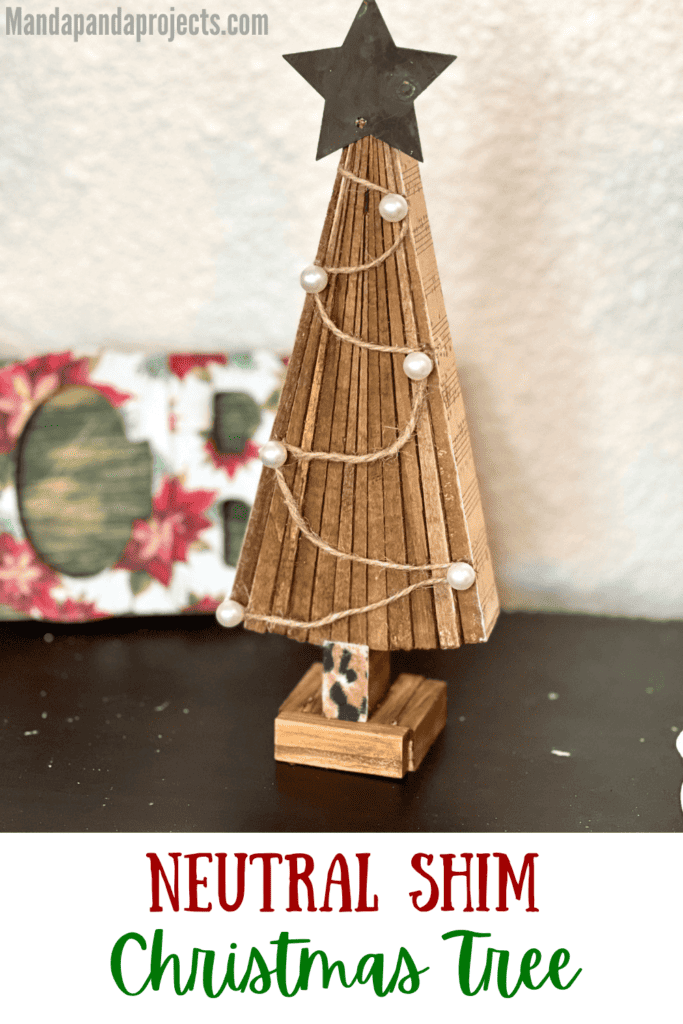
I’m normally a color fanatic, but every now and then (and more so recently) I love me a pretty neutral craft especially when it has music sheet, pearls, burlap, or lace. And this one has two of those, so it’s a win!
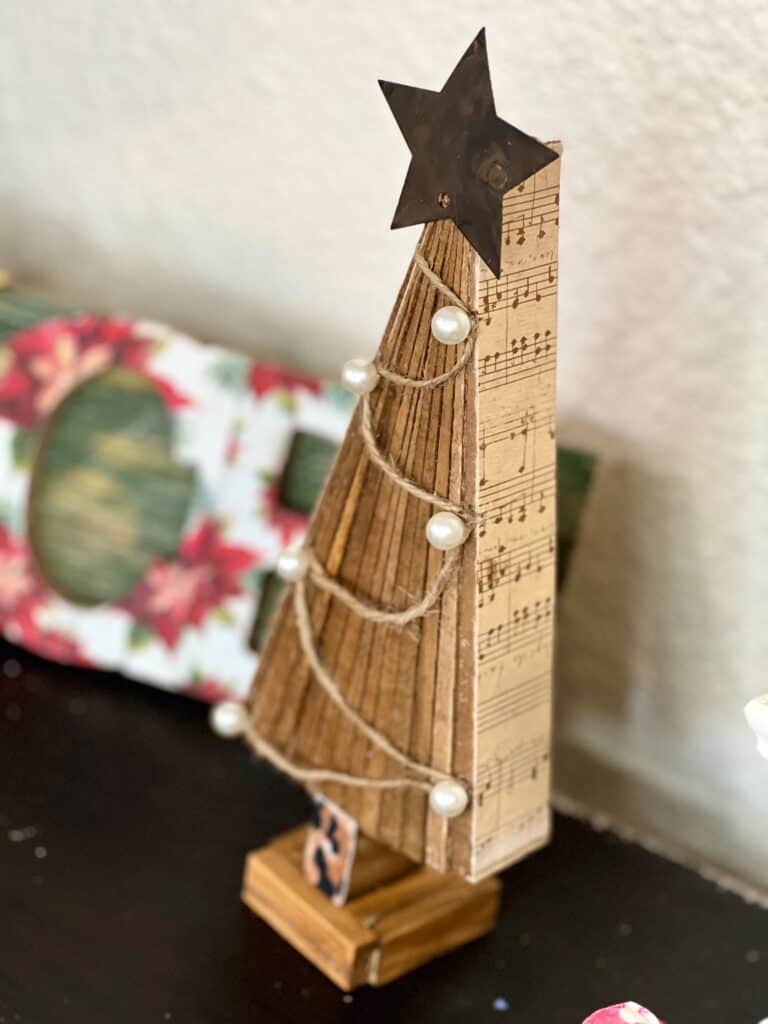
I made a totally different type of Wooden Shim Christmas Tree last year, but it was more of an A-Frame tree. This one is a Shim Christmas Tree as well, but it’s more of a tall standing tree.
Both are equally as cute.
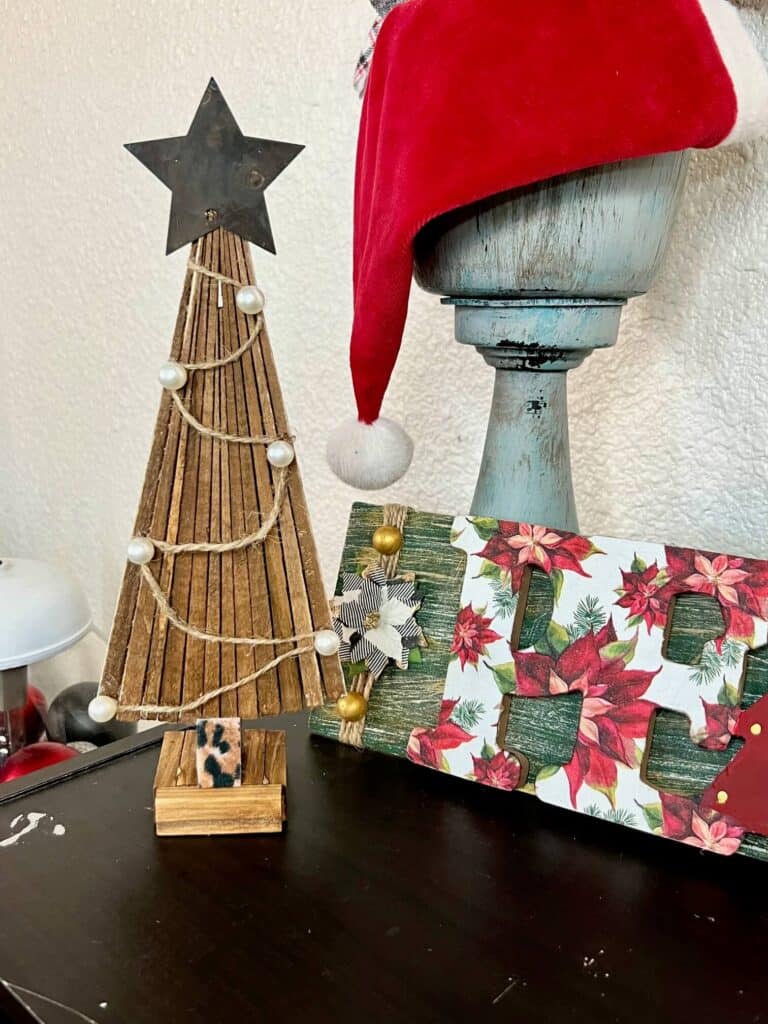
Let me show you how this Neutral Shim Christmas Tree was made. And don’t forget you can make this in ANY color or style or theme that matches your Christmas decor. It doesn’t HAVE to be neutral like mine. You could paint it red, or white, or green….the Craft Stash is the limit!
This post may contain affiliate links for your convenience (which means if you make a purchase after clicking a link I will earn a small commission but it won’t cost you a cent more!)
Supplies Needed to Make a Neutral Shim Christmas Tree
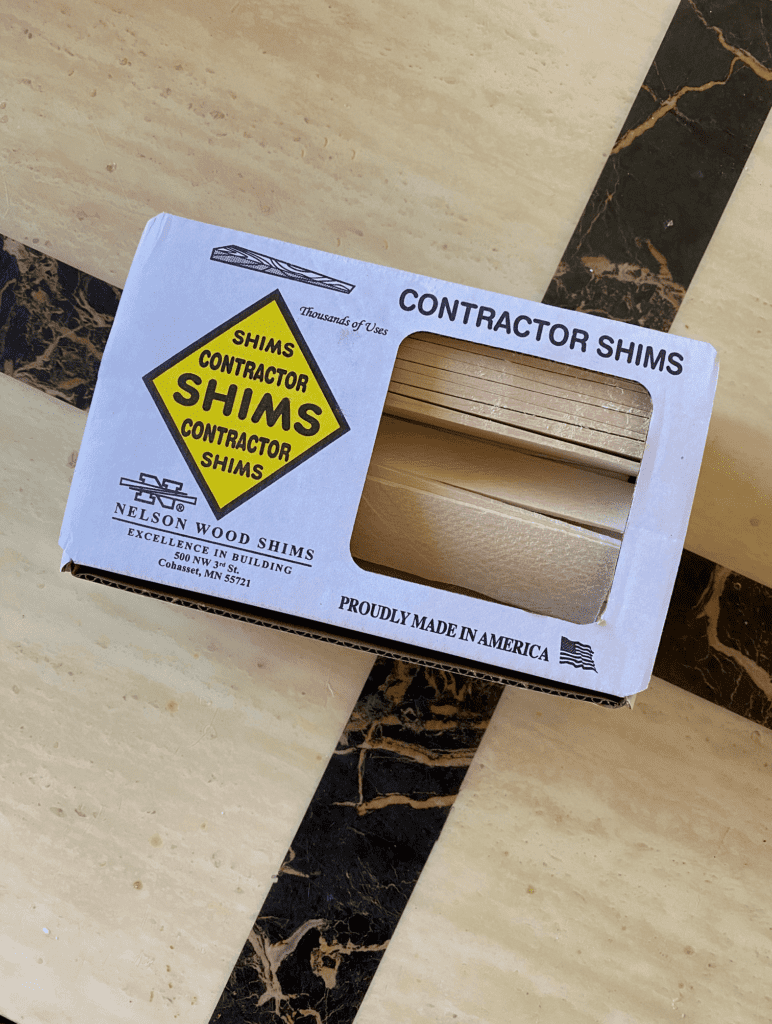
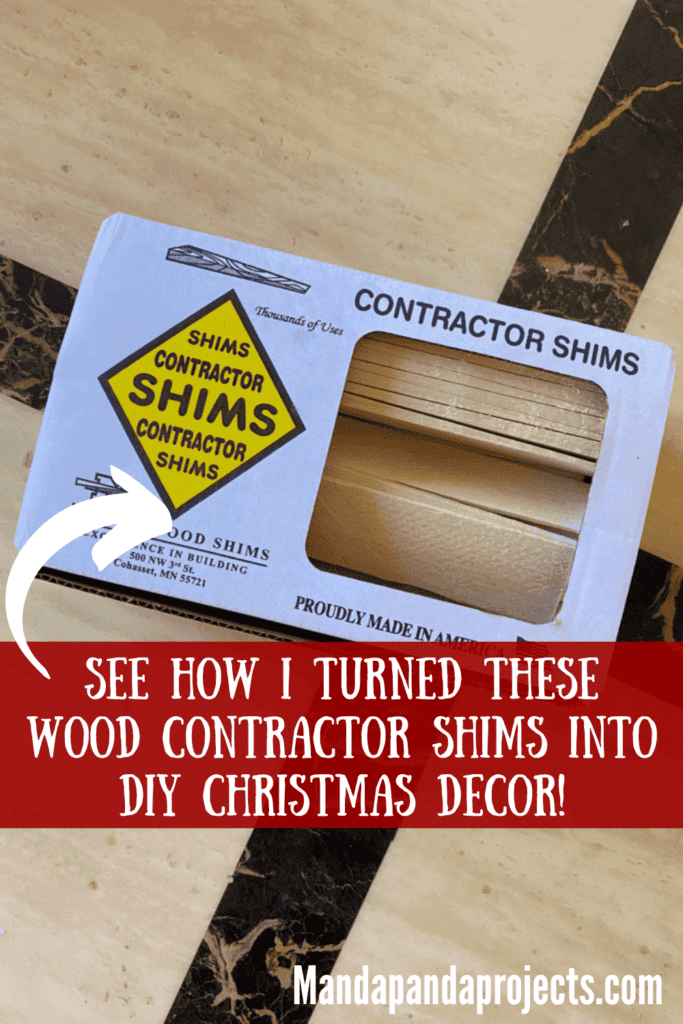
- 12x Nelson contractor Shims (8″)
- Twine
- 5x Jenga Blocks
- Pearls beads
- Music Sheet scrapbook paper
- Metal Barn Star
- Leopard print scrapbook paper
- Antique Wax
- Mod Podge
- Hot glue gun
How to Make a Neutral Shim Christmas Tree
I made this Neutral Shim Christmas Tree on video. So you can WATCH the tutorial by clicking below.

First glue two 8′ shims together with the thin ends touching and the thick ends touching. These will be the center, longer pieces of the tree that will come out of the bottom to be the tree trunk.
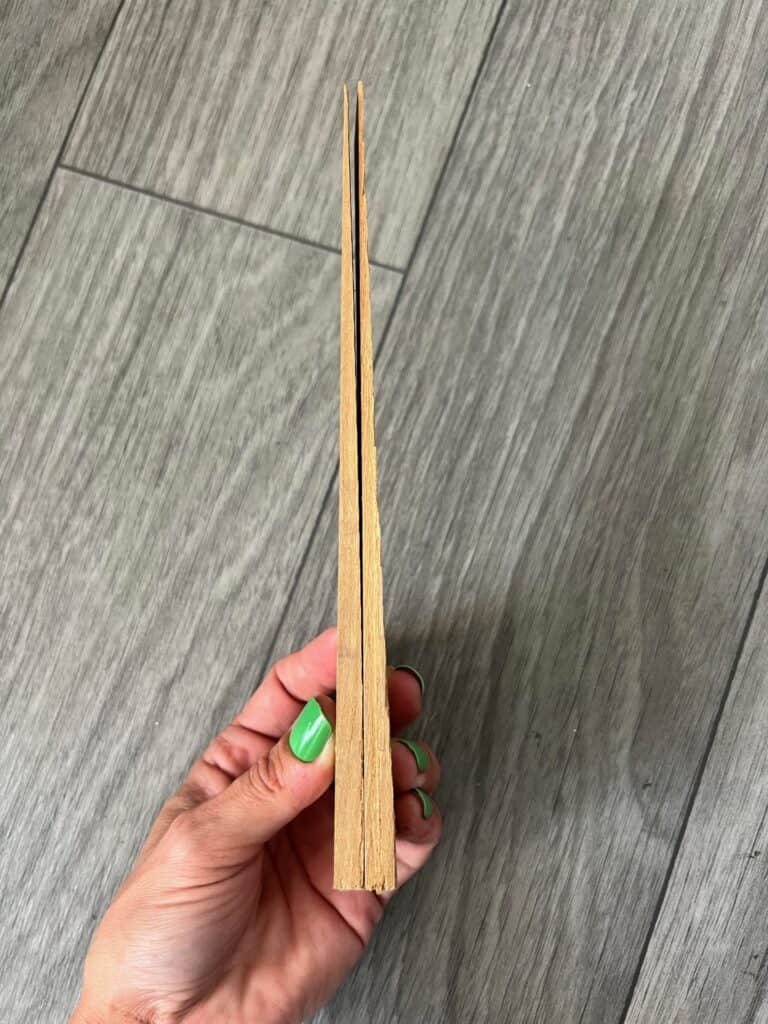
Next, start gluing shims to the left side of the shim trunk, but begin with the end moved slightly up from the bottom about 2 inches like you see below.
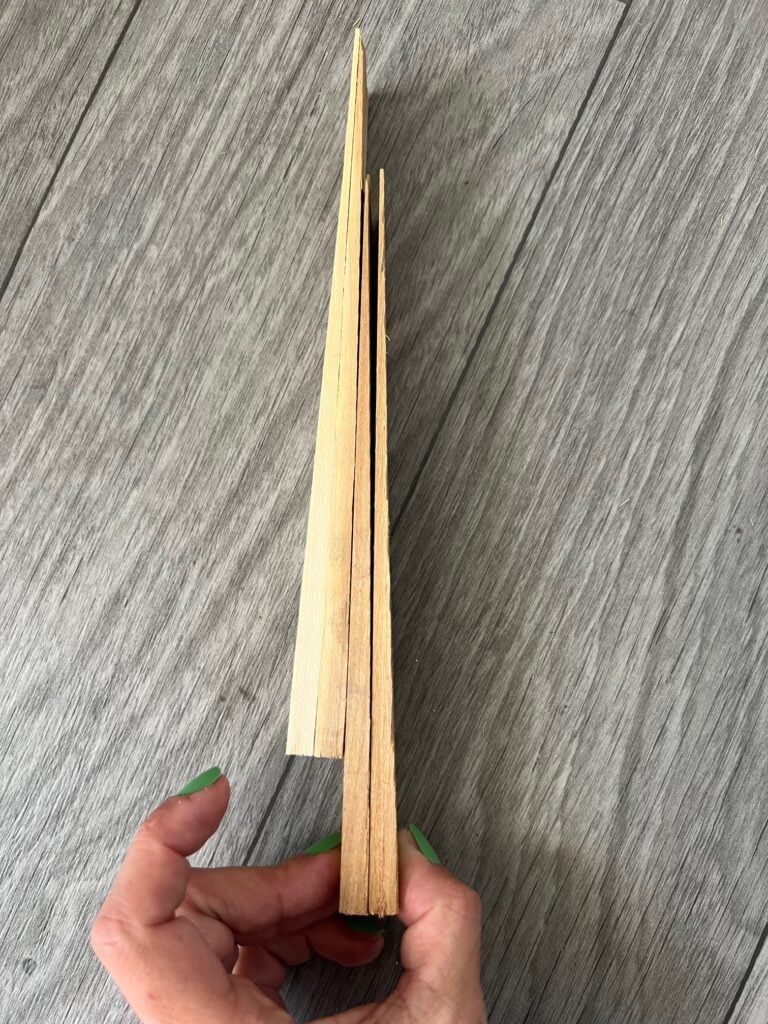
Continue until you have 5 shims on the left hand side.
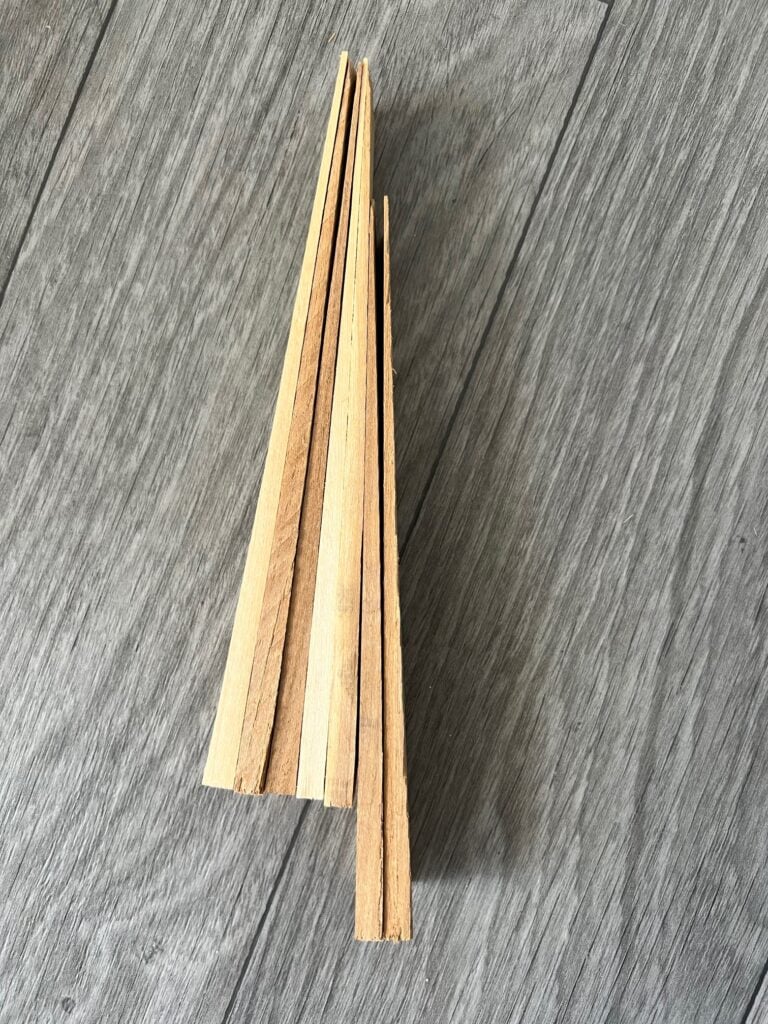
Then, continue the process on the right side until you have 5 on the right. So you will have 2 shims in the center as the trunk, 5 on the right, 5 on the left, for a total of 12 shims to make up your Neutral Shim Christmas Tree.
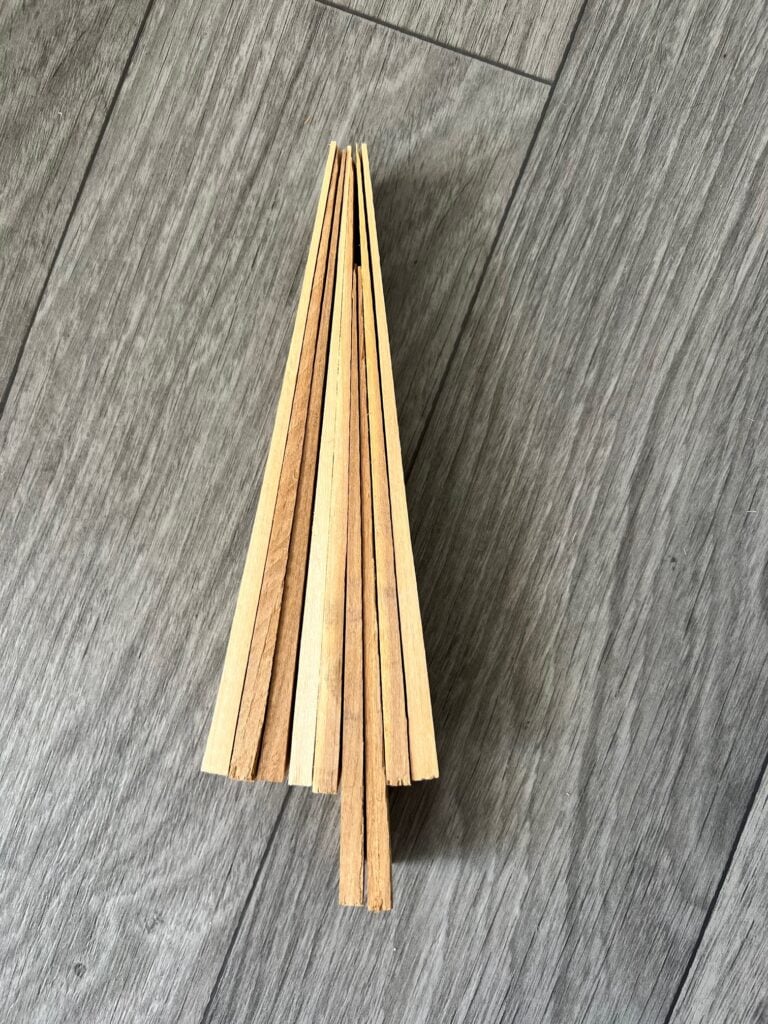
Now to make the base, you are going to glue 2 Jenga blocks to the left of the trunk, two jenga blocks to the right of the trunk and one to the front.
Here is how the base will look from the back.
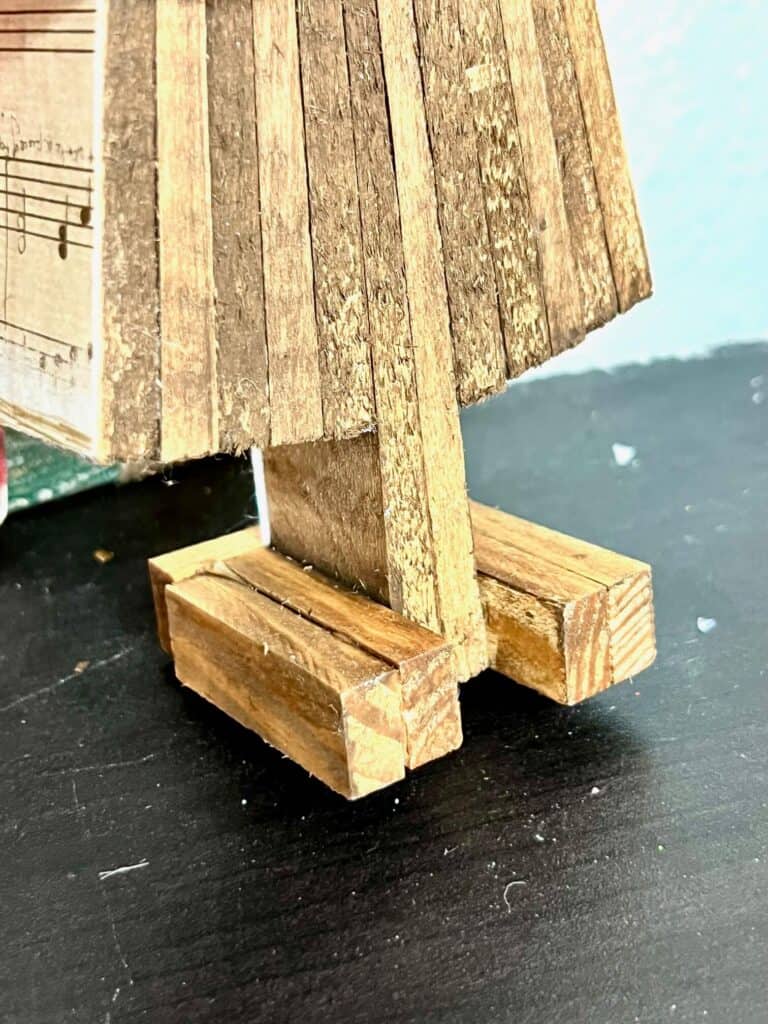
And here is how the base will look from the front.
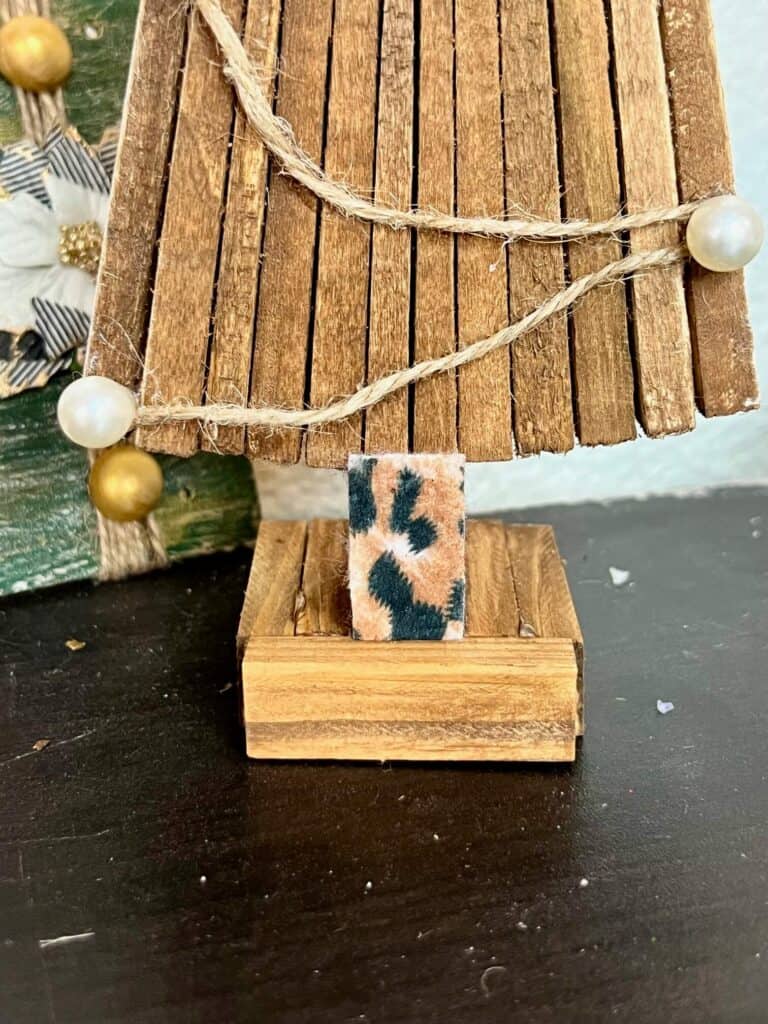
Then stain the entire shim Christmas tree and base with antique wax, and then Mod Podge a small piece of leopard scrapbook paper to the trunk (if you want).
Now, trace 2 shims onto the music sheet scrapbook paper, and then cut them out and Mod Podge them to the outer shims of the Christmas tree. Use a sanding sponge to sand off the excess paper.
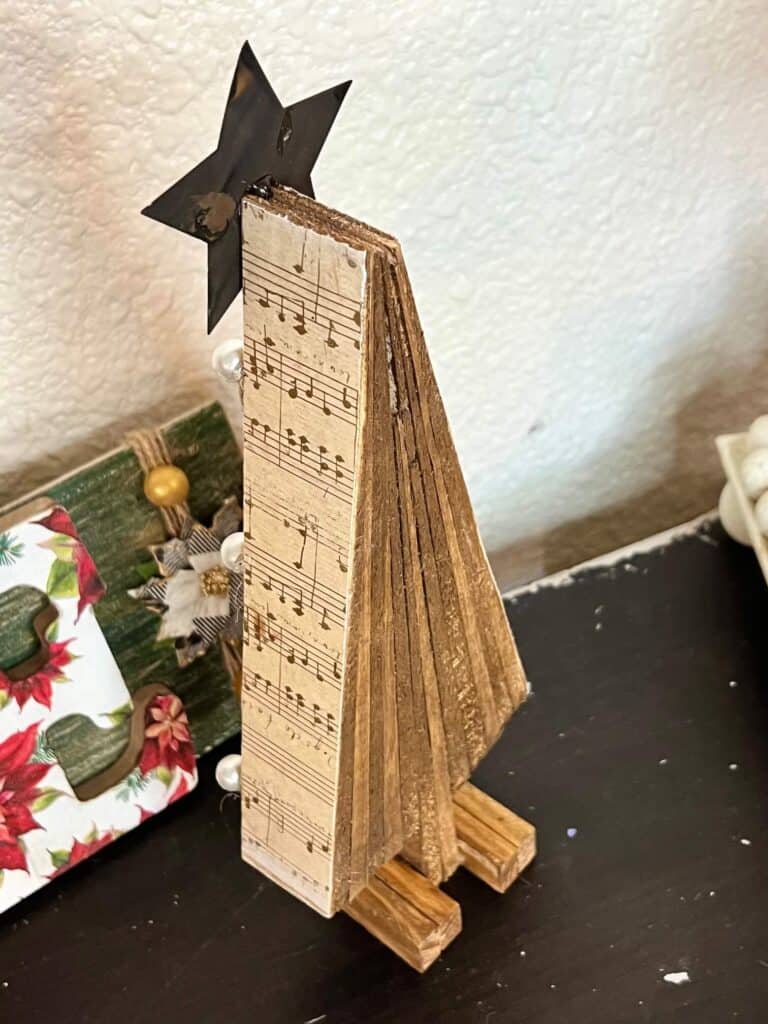
Hot glue the metal barn star to the top as the tree topper.
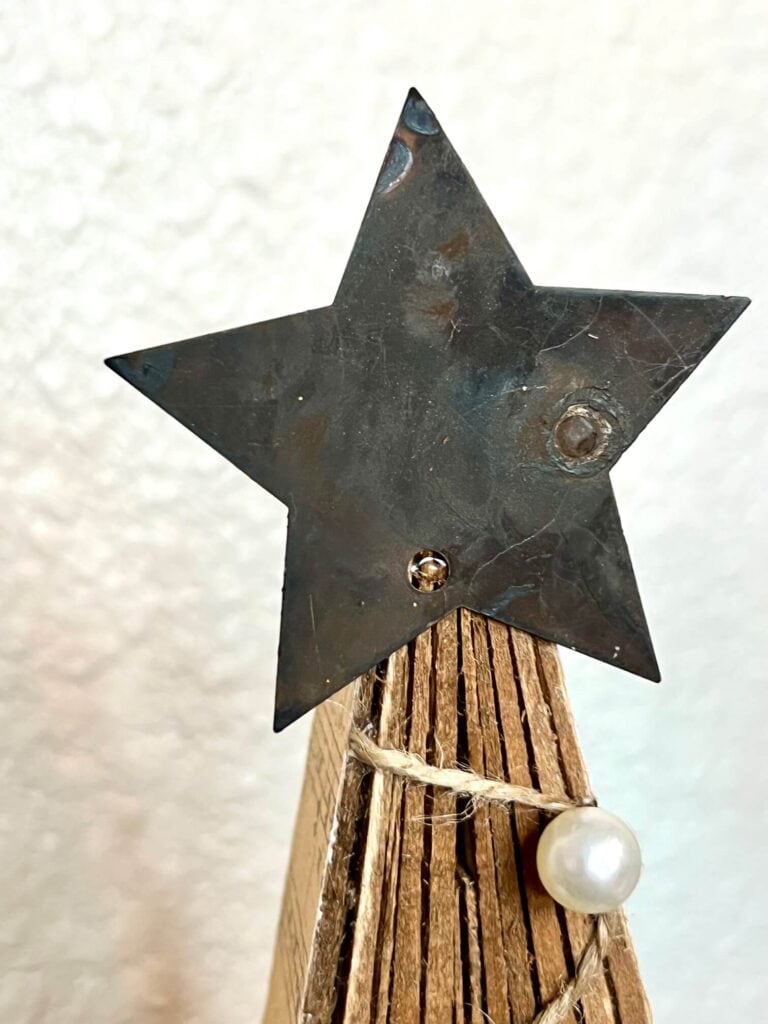
Finish it off by gluing twine across the front of the tree in a zig zag fashion, with pearls at each end, almost as if this was a pearl garland draped across our Christmas tree.
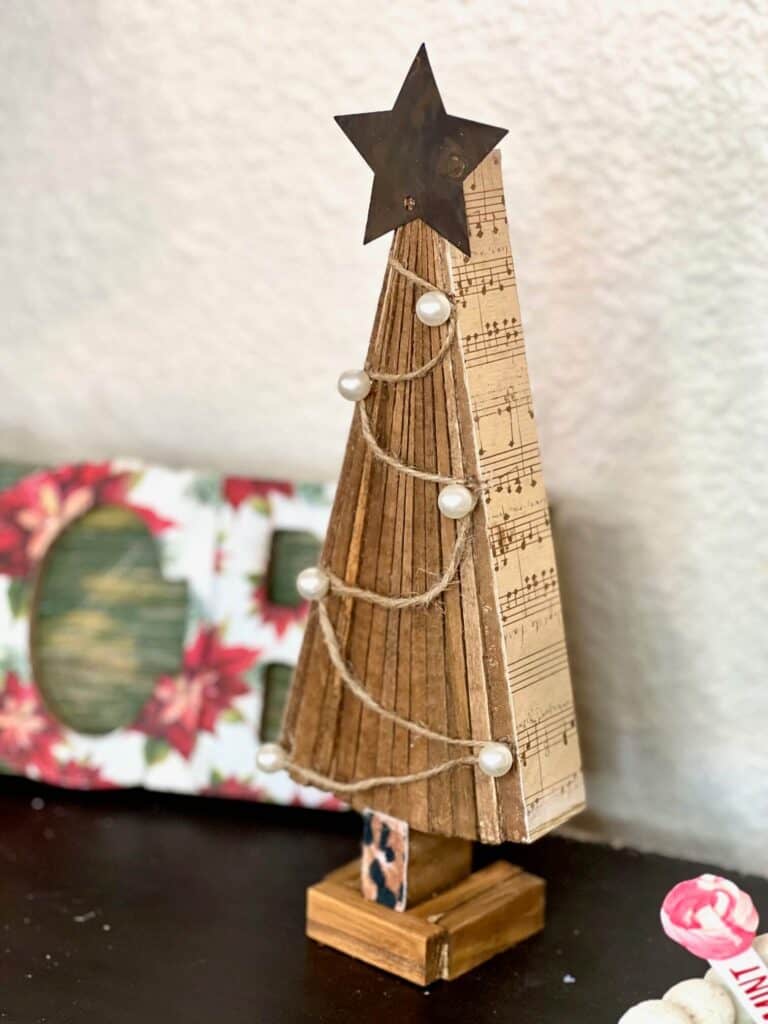
And there you have it! A gorgeous Neutral Christmas Tree made with wooden shims.
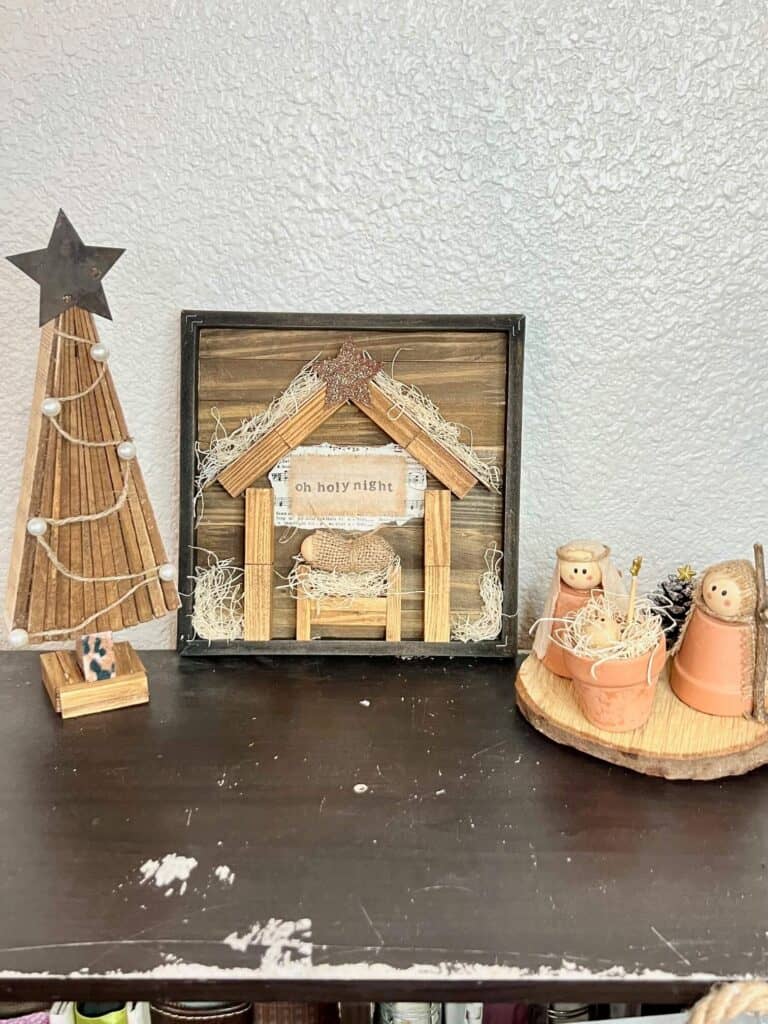
How darn cute does this look with both the Rustic Nativity and the Mini Terra Cotta Pot Nativity Sets that we made!?
Are you going to make a Neutral Shim Christmas Tree? If you do, I’d love to see it! Pop on over to our free Craftspiration Facebook group, and join in on the fun by posting a pic of your Tiered Trays, DIY’s and crafts. I just love to see all your creative and crafty creations.
If you’ve got a million projects on your crafting ‘to-do’ list like I do, than you need my FREE Craft Project Planner so you can plan to make *all the things*! When you sign up for the craft planner, I’ll also send you lot’s of fun, easy, and budget friendly ideas for you to fill it up with!

Free printable Craft Project Planner
Get organized, get inspired, and get crafting, with our free Craft Project Planner!
Until Next Time…
Stay Crafty San Diego!

Love this Neutral Shim Christmas Tree? Make sure to PIN it for later!
