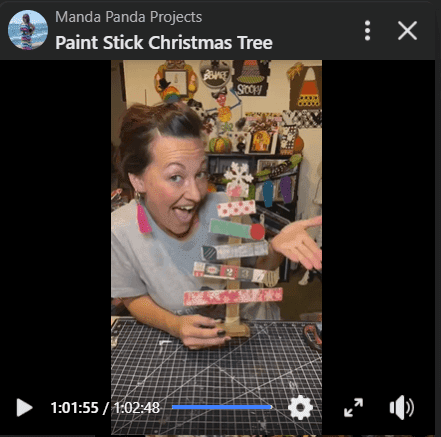
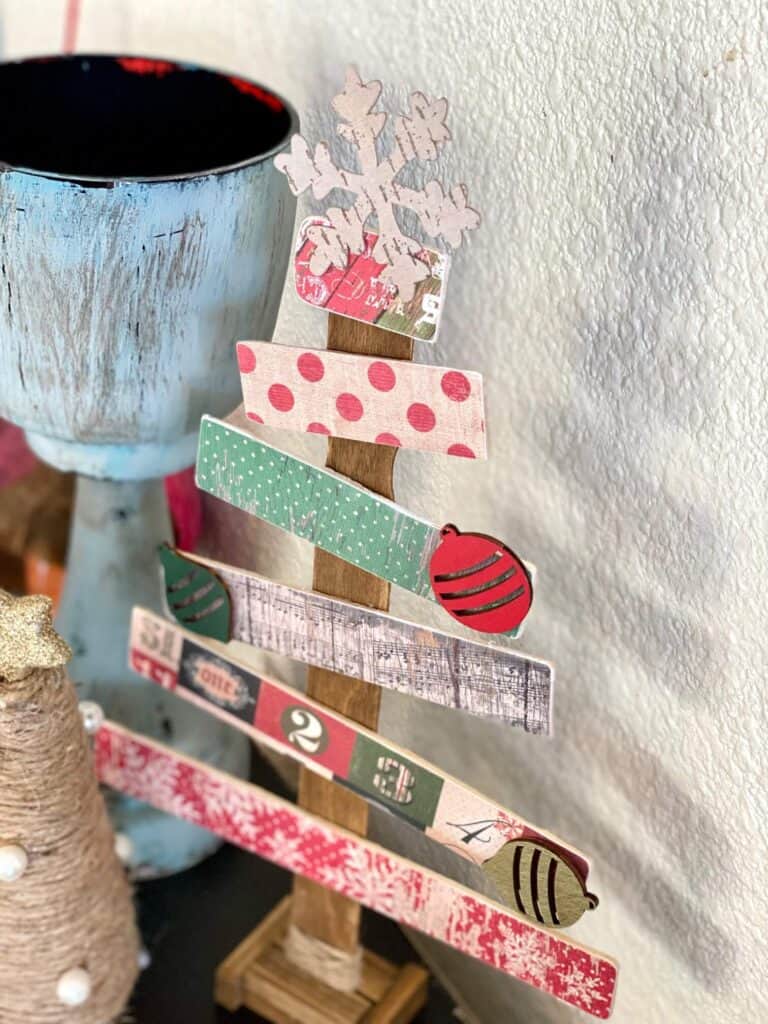
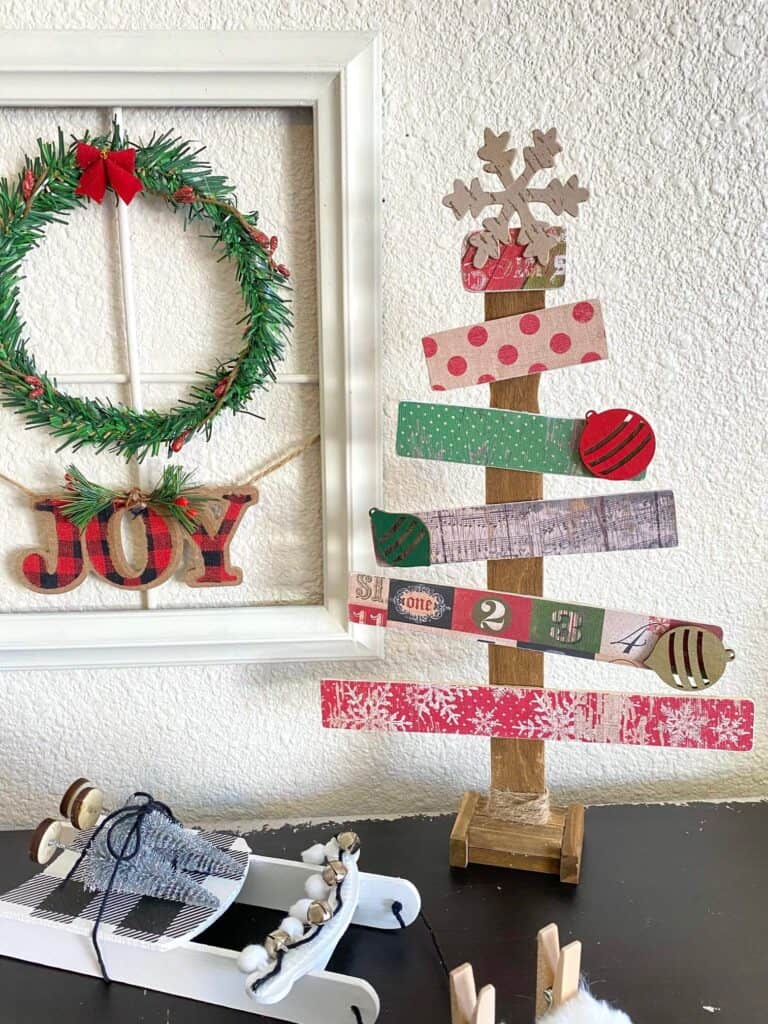
Tis’ the Season to get crafty with this gorgeous Paint Stick Christmas Tree! Grab some coordinating vintage Holiday patterned scrapbook paper, some 1 gallon paint sticks from your local Home Depot, and your trusty glue gun, and make this easy and adorable piece of DIY Christmas decor!

One of my absolute favorite things to do is to craft with regular household supplies like paint sticks! The best part about this one is that you can make it with literally just the paint sticks, some scrapbook paper and a wooden block base.
Sure, I added the wooden ornament embellishments, but you could totally get away without adding them! As long as you’ve got something to use as the tree topper for the Paint Stick Christmas Tree, that bad boy will look just fabulous!
It’s only November, but I’m feeling a little bit behind on my Christmas crafting this year! I haven’t made a thing since the Rustic Wooden Snowman I made for Christmas in July, so I’ve got a LOT of catching up to do!
This post may contain affiliate links for your convenience (which means if you make a purchase after clicking a link I will earn a small commission but it won’t cost you a cent more!)
Supplies Needed to make a Paint Stick Christmas Tree
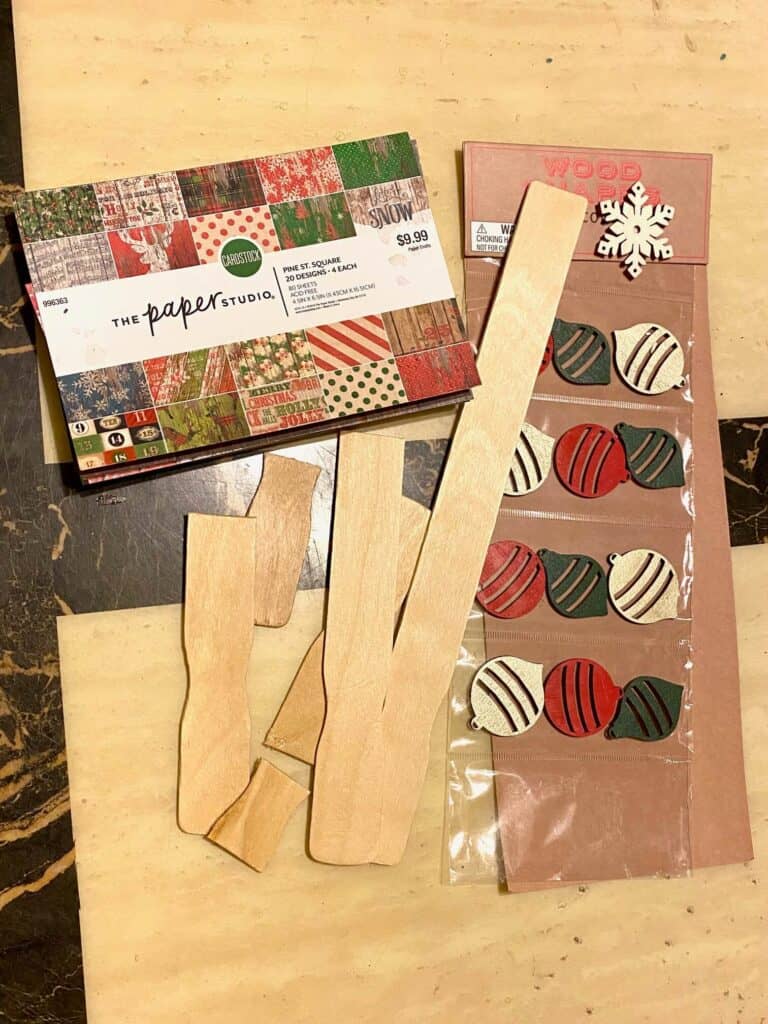
- Paint Sticks – 1 gallon
- Scrapbook paper of your choice
- Jenga blocks or large wooden block for base
- Wooden ornament embellishments
- Snowflake or something for tree topper
- Waverly Antique Wax
- Mini faux sunflower head
- Glue Gun
- Pruning shears to cut the paint sticks (unless you have a mini table saw)
How to Make a Christmas Tree with Paint Sticks
I made this beautiful Paint Stick Christmas Tree on video, so you can WATCH the step by step tutorial HERE or click on the picture right below.
First things first, cut your paint sticks into 6 sizes, each one a little it smaller than the last, so that you can make the shape of the Paint Stick Christmas Tree.
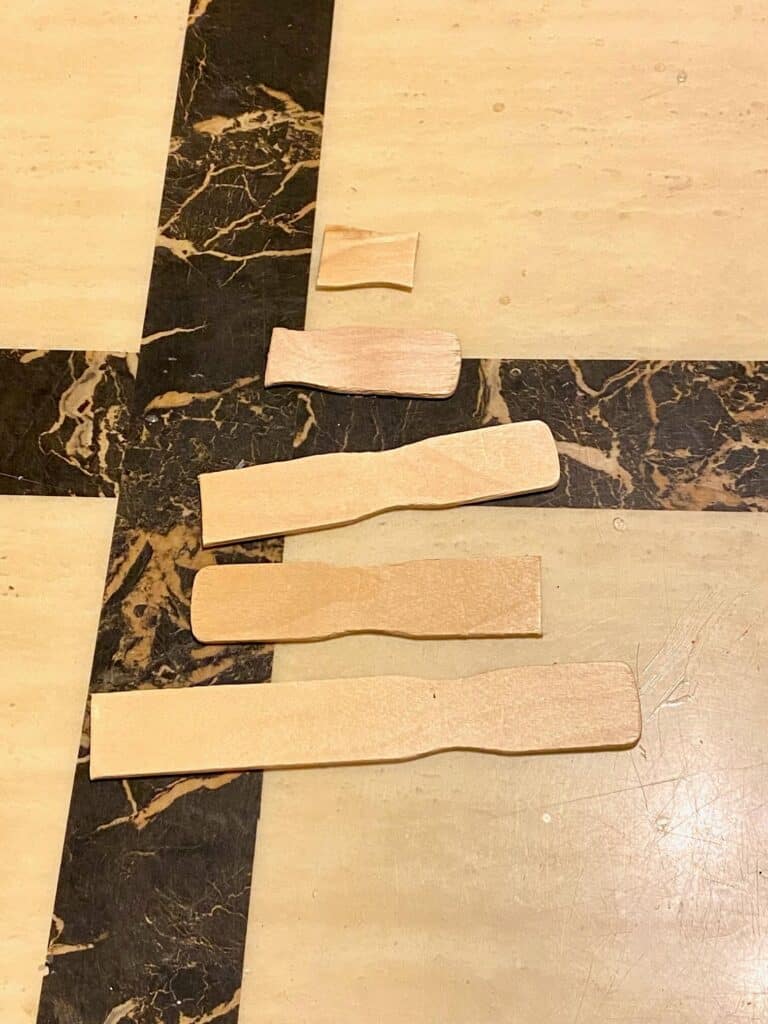
Next, trace the paint sticks onto the scrapbook paper that you want to use for each row, and cut them all out.
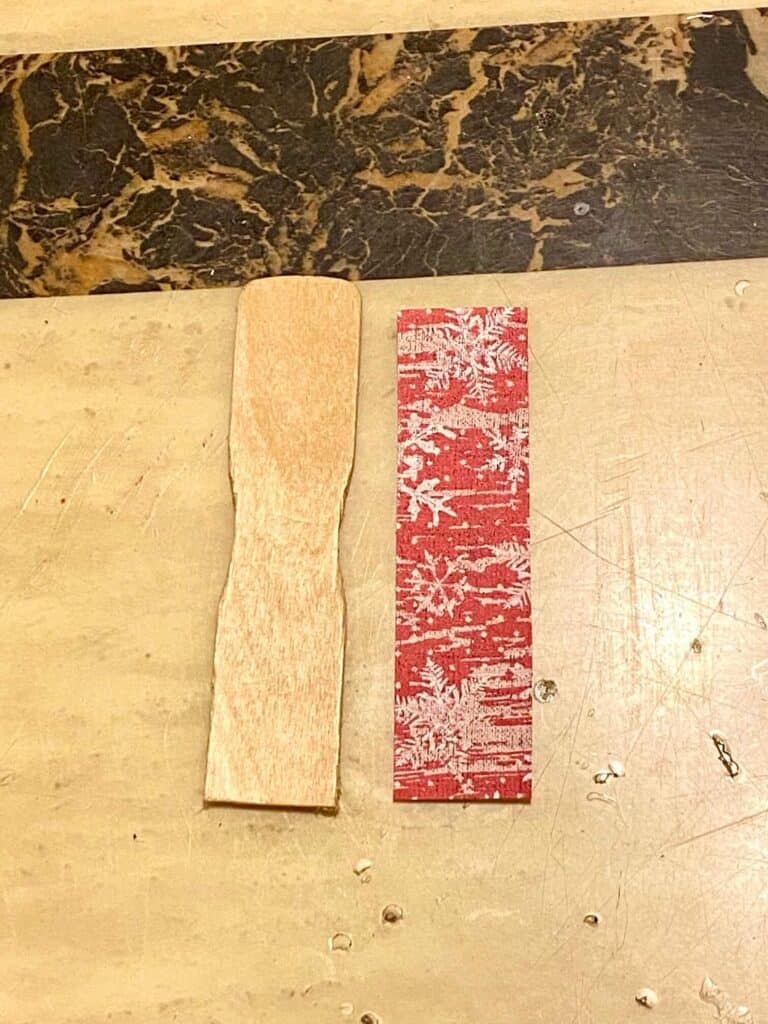
Mod Podge the scrap book paper to each of the 6 cut paint sticks. Now the main part of your tree is done!
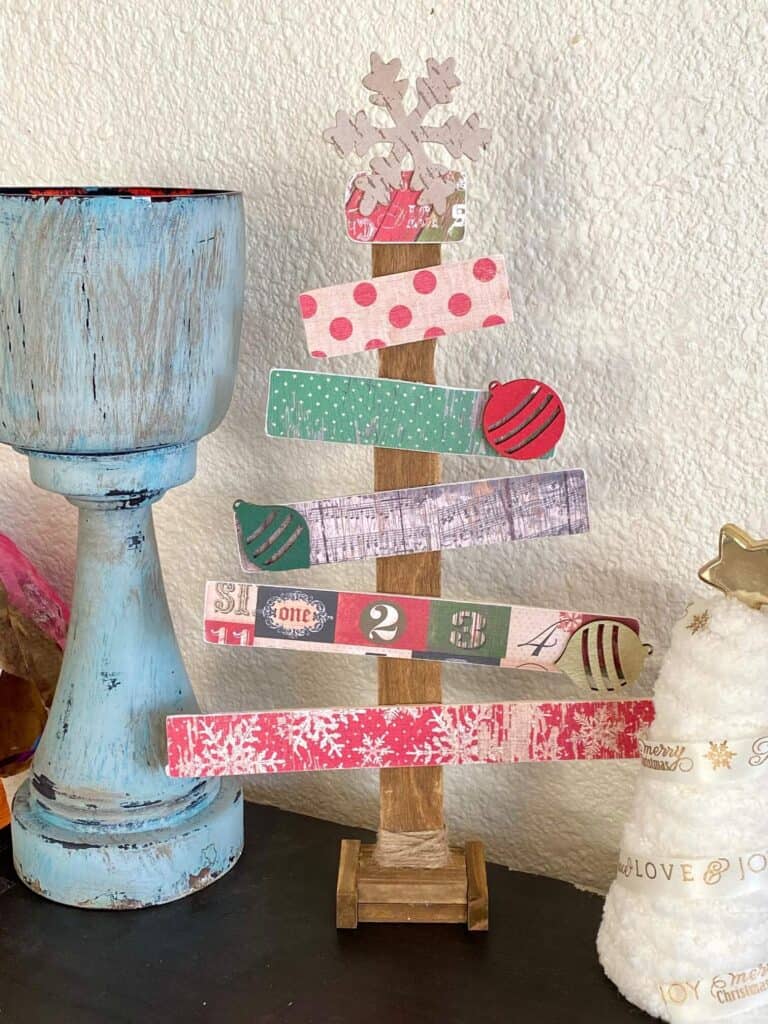
For the trunk of the tree, take a whole paint stick and stain it darker brown with Antique Wax or brown stain. You can even use brown paint mixed with water if you don’t have stain. Now glue the scrapbook covered paint sticks to the paint stick “trunk”. I glued mine kind of crooked and wonky and I think it looks neat like that! You could glue them straight if you like.
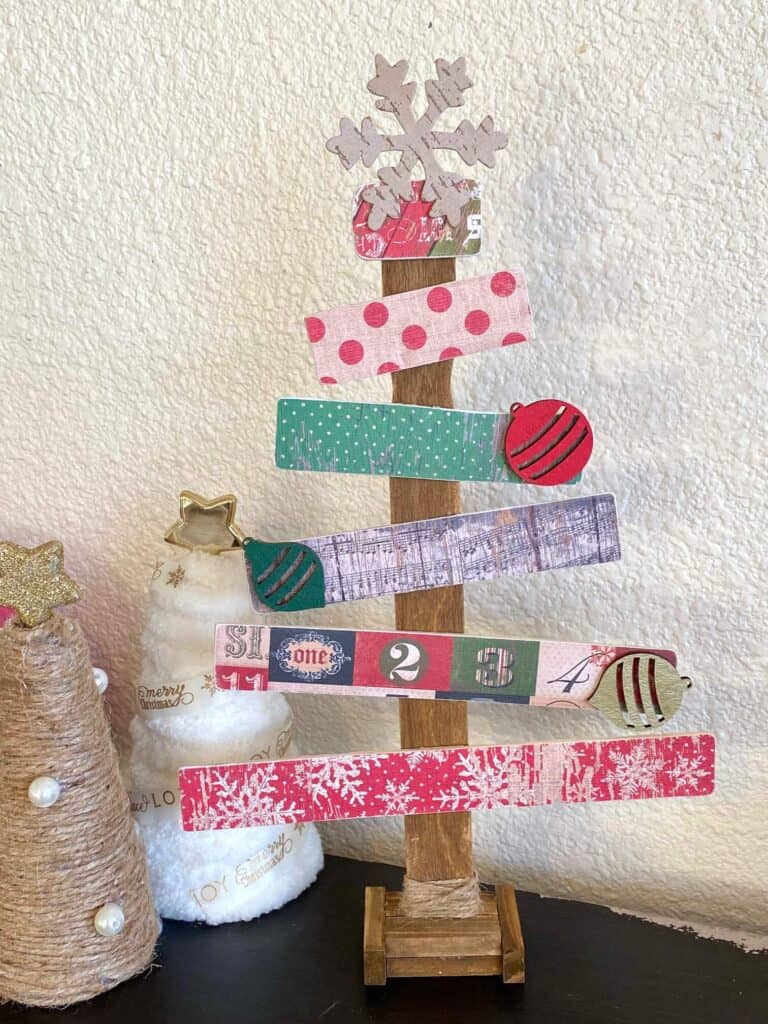
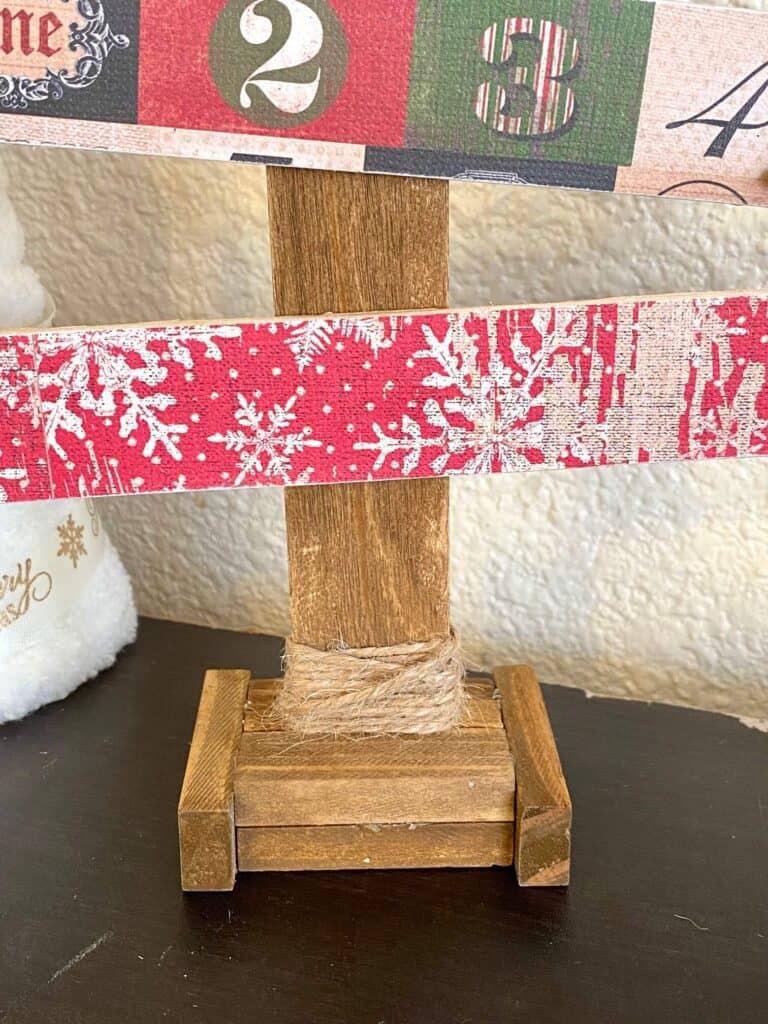
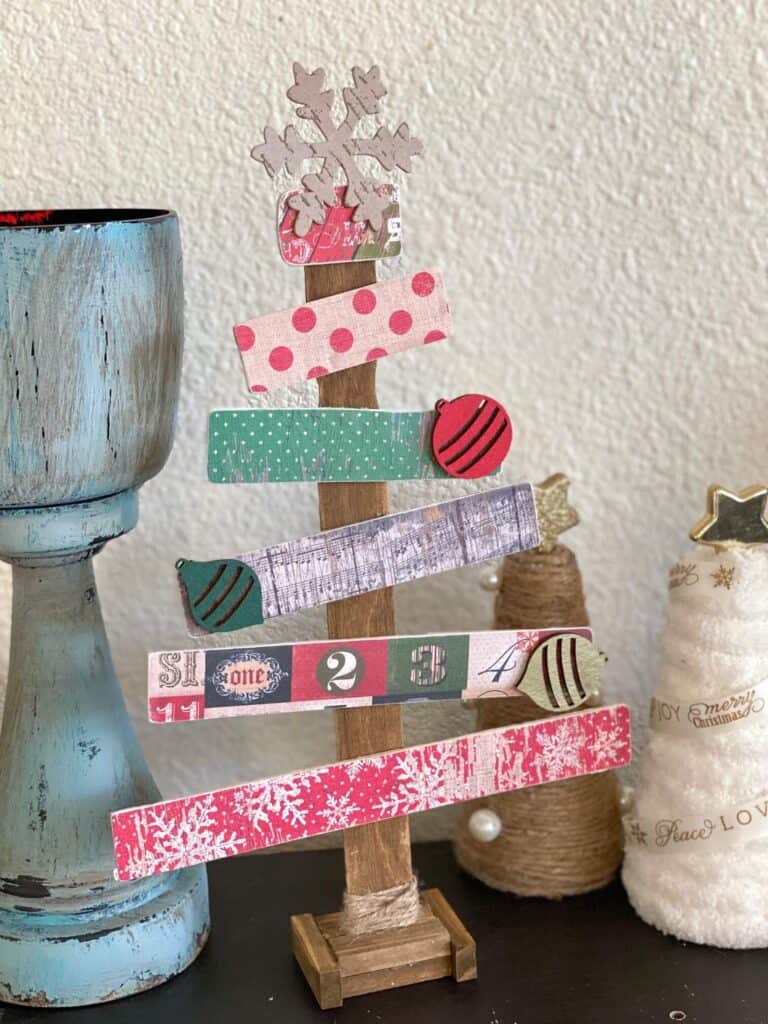
Stain a few jenga blocks to make the base, and then glue them together around the bottom of the paint stick trunk like I did in the below pic. Wrap a bit of twine around the bottom as decoration.
If you’re using the wooden ornament embellishments, go ahead and glue those on to the paint sticks.
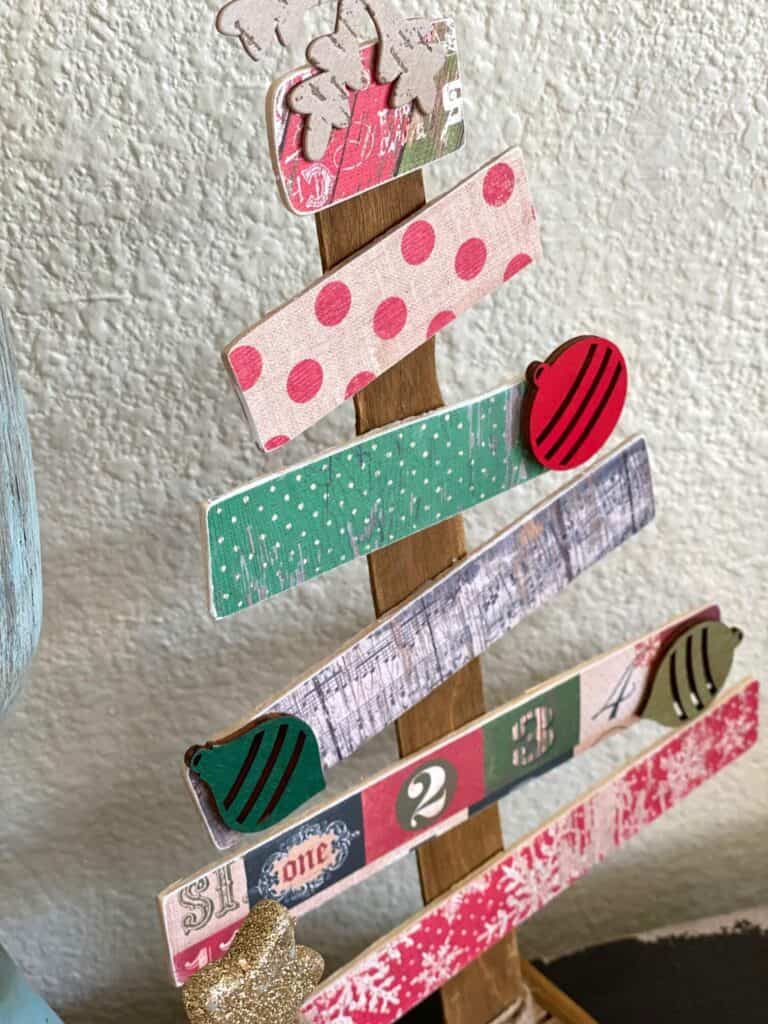
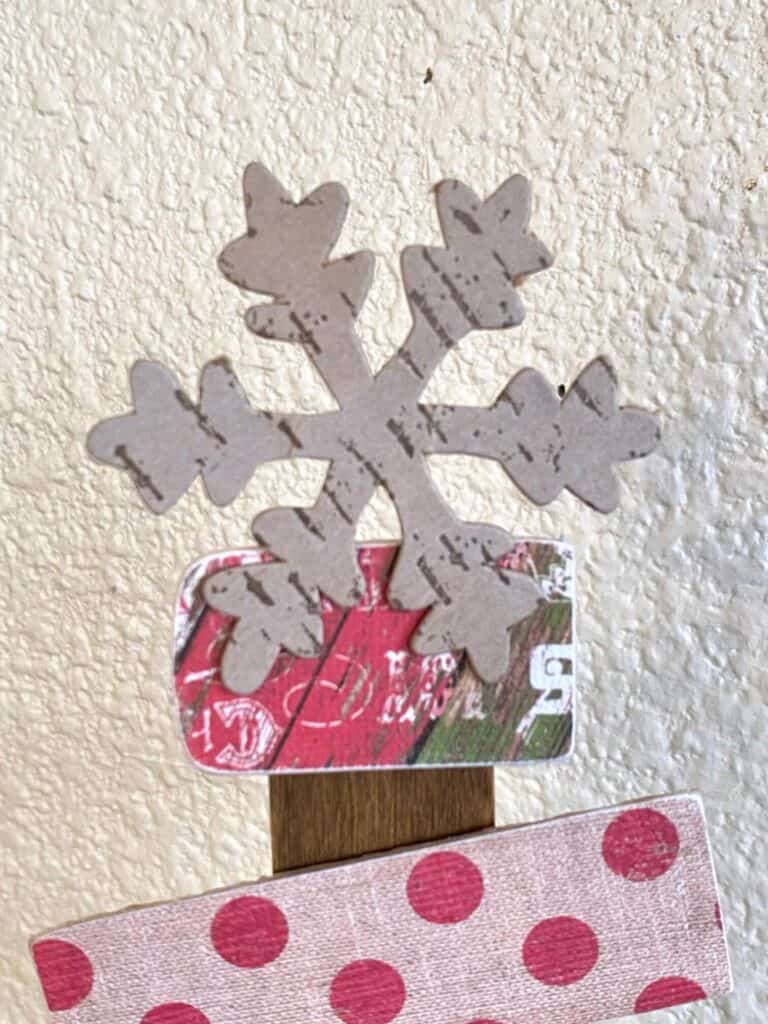
For the finishing touch, glue the Snowflake to the top! If you don’t have a snowflake, use a star or whatever you have in your craft stash.
How absolutely adorable is this Paint Stick Christmas Tree?!
Are you going to make a Paint Stick Tree for Christmas this year? If you do, I’d love to see it! Pop on over to our free Craftspiration Facebook group, and join in on the fun by posting a pic of your completed DIY’s and crafts. I just love to see all your creative and crafty creations!
If you’ve got a million projects on your crafting ‘to-do’ list like I do, than you need my FREE Craft Project Planner so you can plan to make *all the things*! When you sign up for the craft planner, I’ll also send you lot’s of fun, easy, and budget friendly ideas for you to fill it up with!

Free printable Craft Project Planner
Get organized, get inspired, and get crafting, with our free Craft Project Planner!
Until Next Time…
Stay Crafty San Diego!

Love this Paint Stick Christmas Tree? Make sure to PIN it for later!

