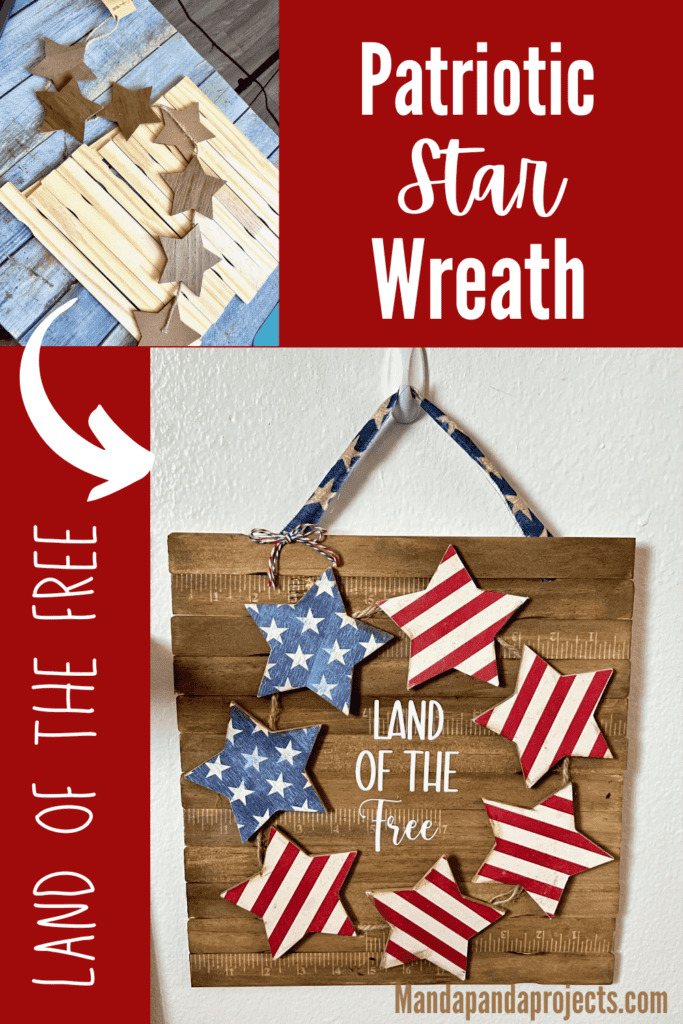
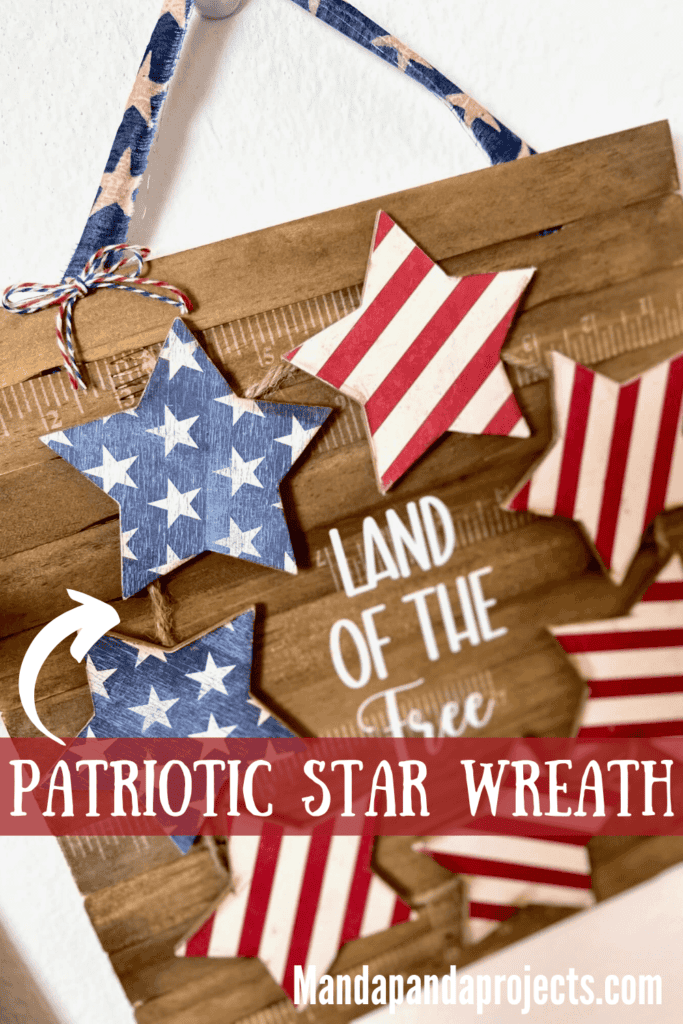
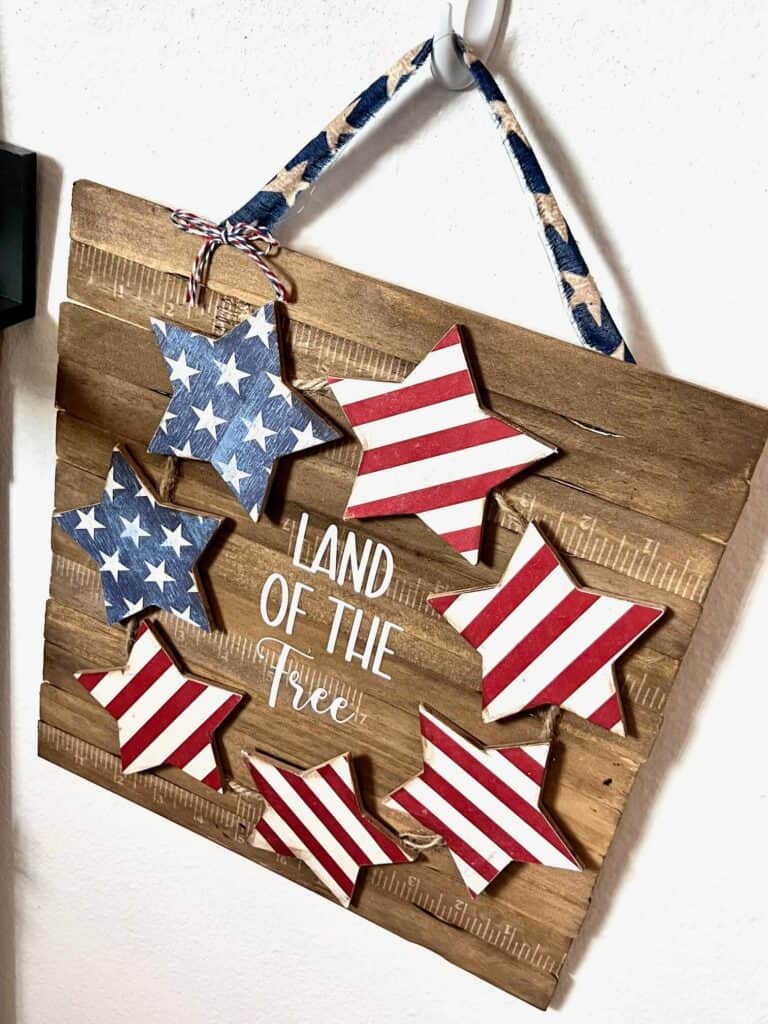
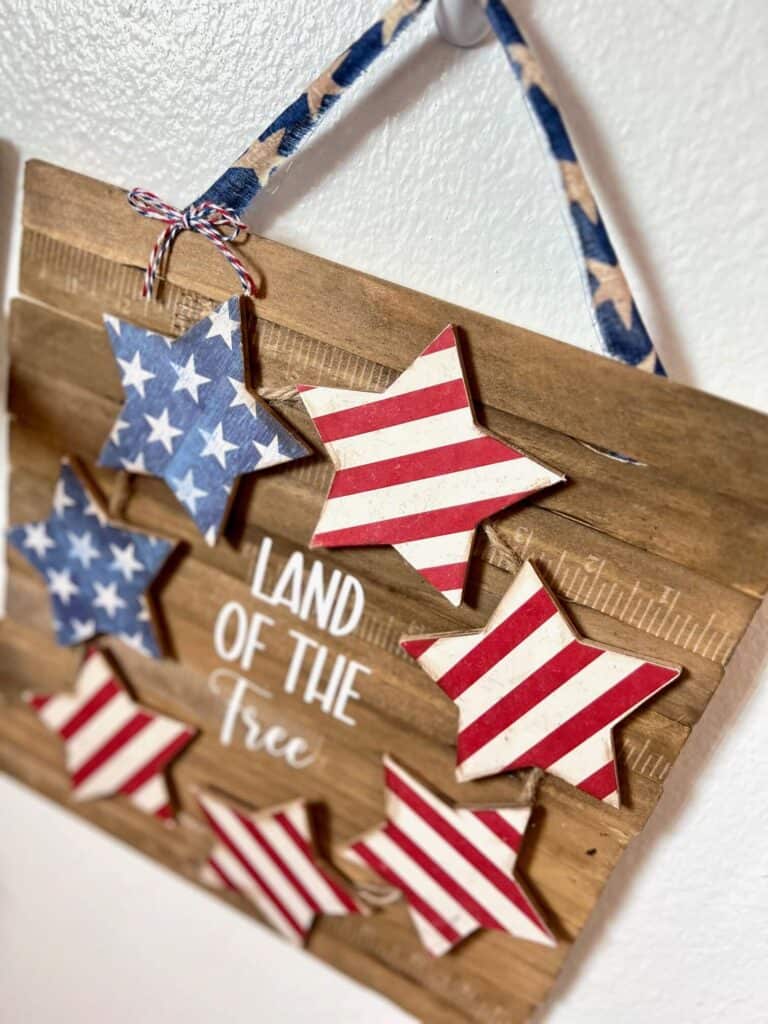
Craft and decorate your home for Memorial Day and the 4th of July with this DIY Patriotic Star Wreath Sign. This Land of the Free sign has the perfect message to put American Pride on display on your front door! And the Home of the Brave!
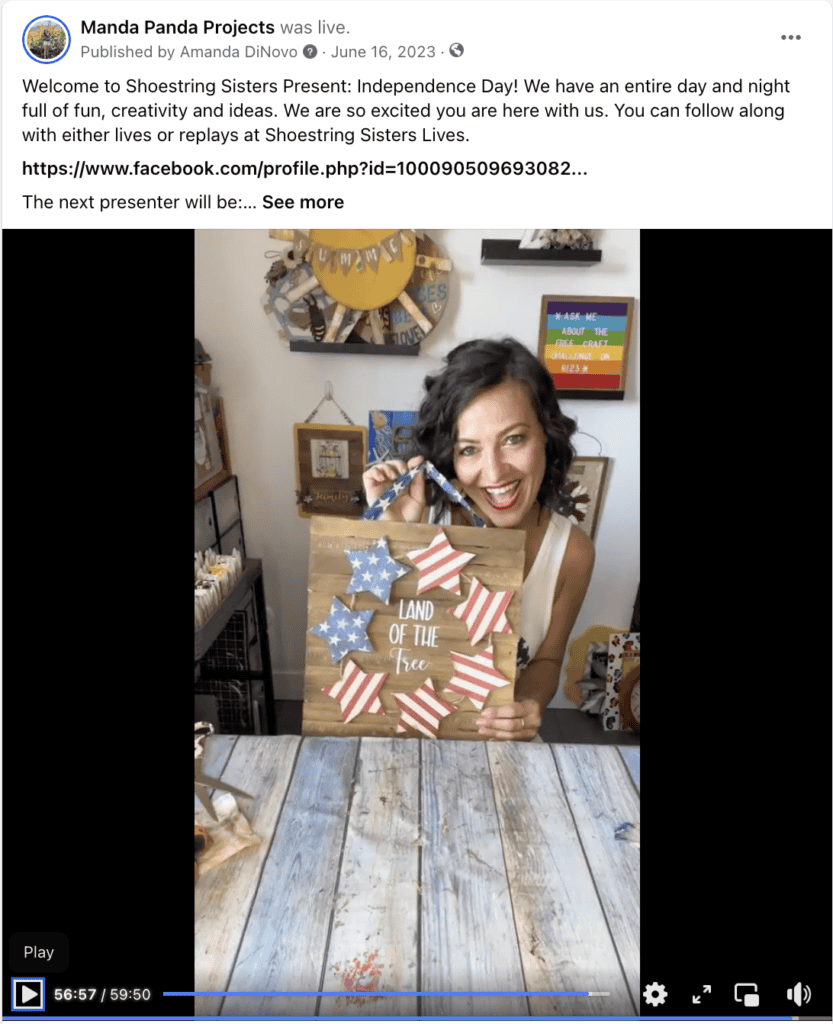
I was in a LIVE crafting event over on good ole’ Facebook called Shoestring Sisters Presents: Independence Day, and made this gorgeous Patriotic Star Wreath sign.

I mean technically it’s not a wreath at all, but the stars are in the shape of a wreath so ya know….if the shoe fits. (That’s code for “I didn’t know what else to title this one)
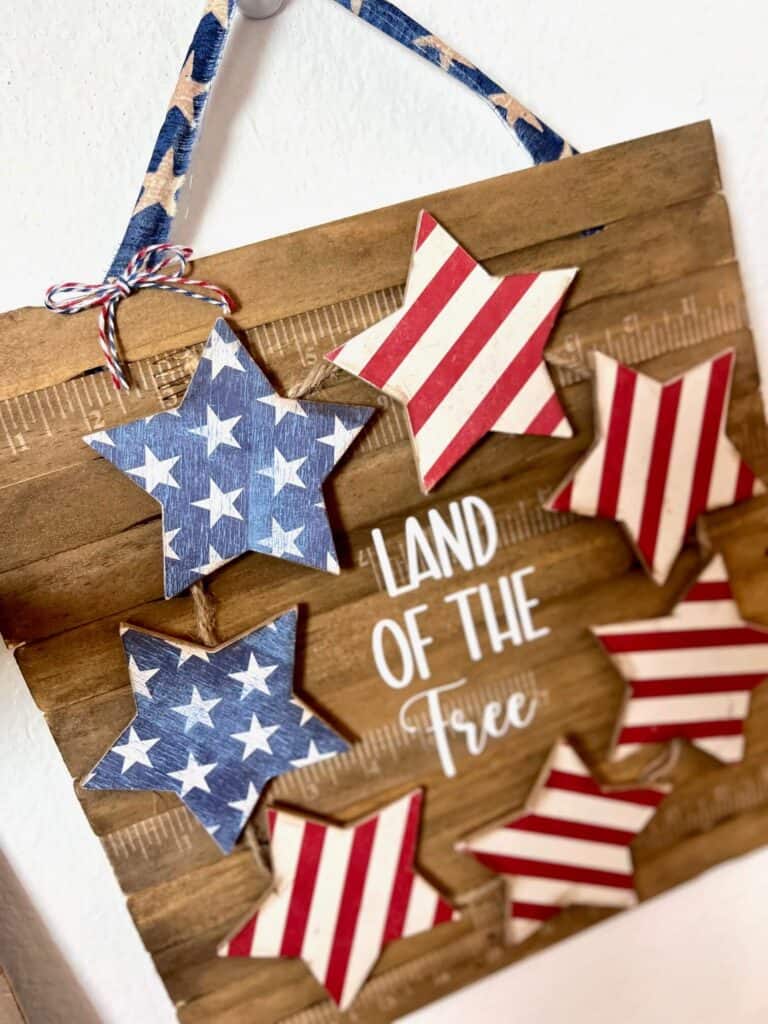
I used my Cricut to make the words for the center of this, but you could stencil them on if you don’t have a Cricut. Or you could even use some sort of rub on transfer or stickers. Get creative!
This post may contain affiliate links for your convenience (which means if you make a purchase after clicking a link I will earn a small commission but it won’t cost you a cent more!)
Supplies Needed to Make a Patriotic Star Wreath
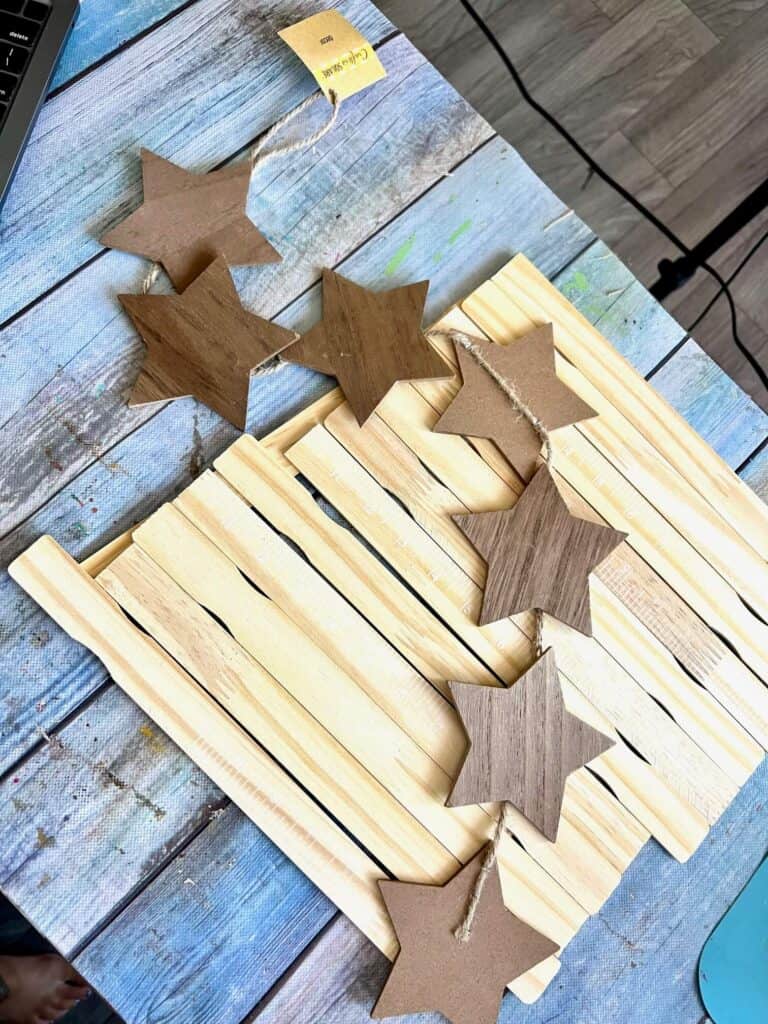
- 12″ Paint sticks (14-15)
- 3 ” Wood stars (7)
- Red and white striped scrapbook paper
- Blue and white star scrapbook paper
- Antique Wax
- Bakers Twine: Red AND Blue
- Blue and white star Fabric
- Twine
- White Vinyl word “Land of the Free” (You can order this from my shop if you don’t have a Cricut)
- Mod Podge
- Hot glue gun
How to Make a Patriotic Wreath with Wood Stars
I made this Patriotic Star Wreath on video. So you can WATCH the tutorial by clicking below.
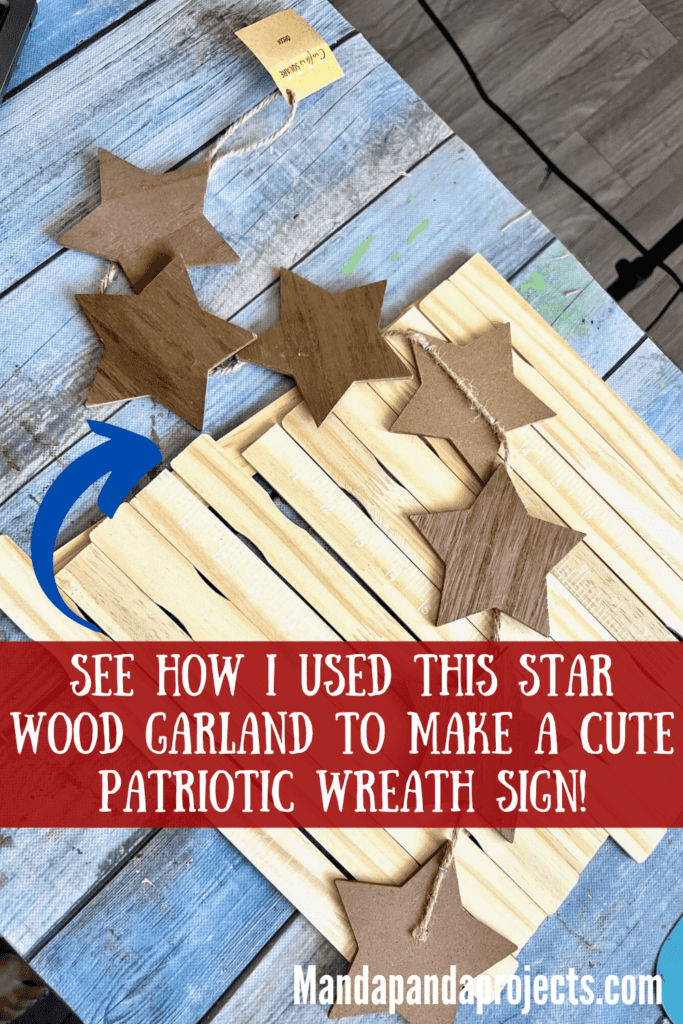
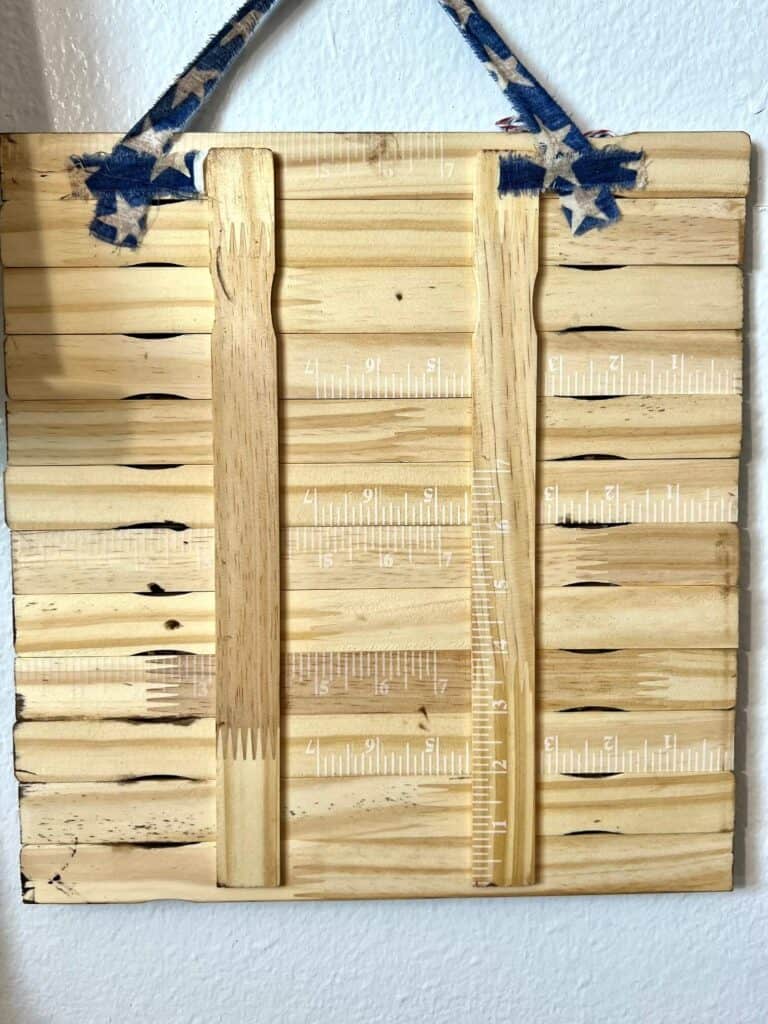
You could use any type of wooden background, but I chose to use paint sticks to make mine. First, line them all up with the handles alternating sides. Then brace them together by gluing 2 paint sticks across the back like you see below. (I chose to use the side WITH the ruler marks because it gives it character)
Then, stain the entire background using Antique Wax.
Trace 5 of the wood stars onto the red and white striped scrapbook paper and cut them out.
Then Mod Podge the paper to the stars and sand off the excess paper with a sanding sponge.
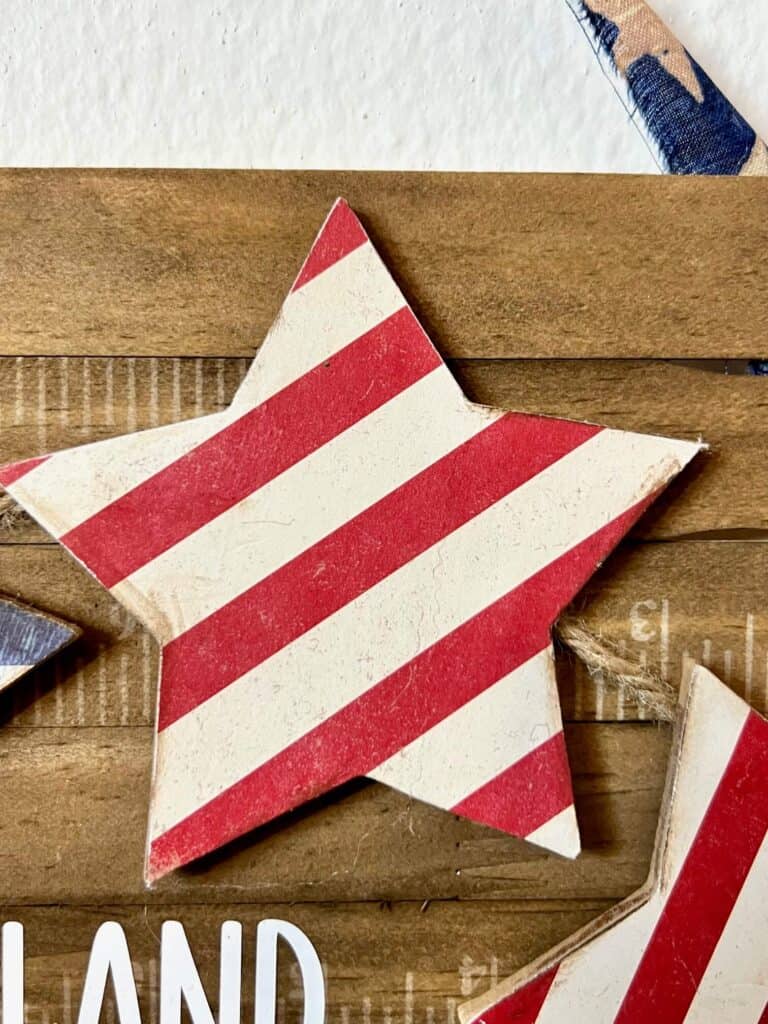
Do the same thing with 2 of the stars on blue star scrapbook paper. (You will have 5 red/white and 2 blue/star)
After the stars were done, I grunged them up using antique wax by going all around the edges with it. You don’t HAVE to do this but I like to make things grungy!
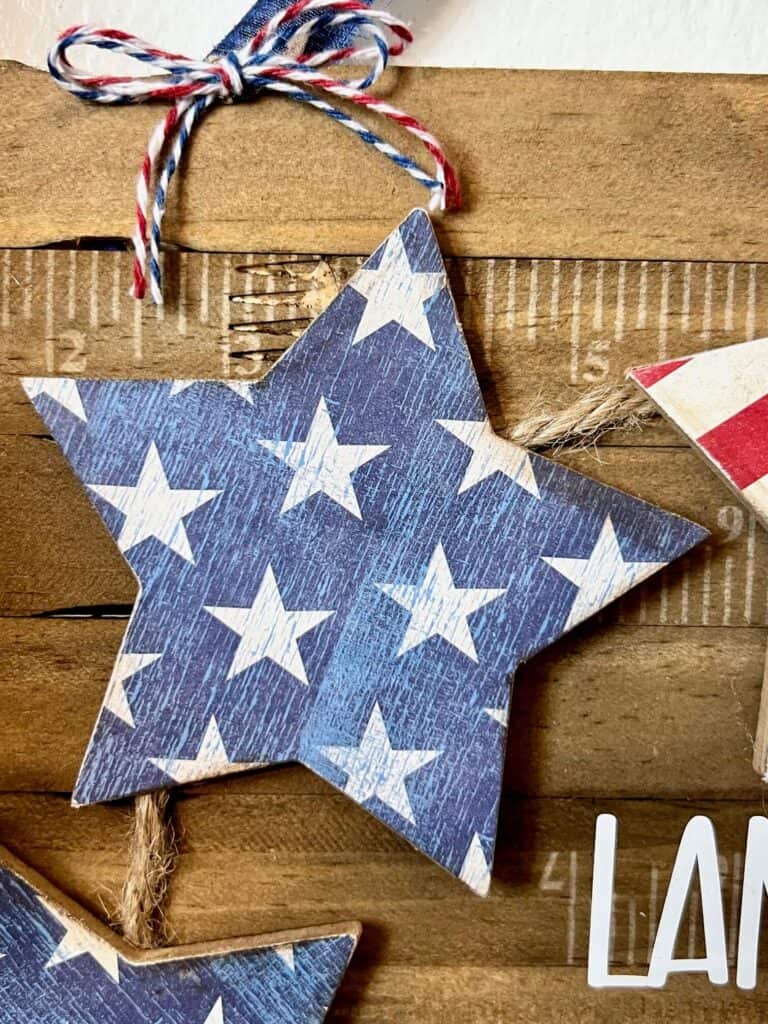
My stars were already on a twine garland, so I just glued them to the background in a circle formation, with the blue stars on the top left (like the American Flag)
If yours are not on a garland, I would first glue a piece of thick twine in a circle shape on your background, and then glue the stars on top of that.
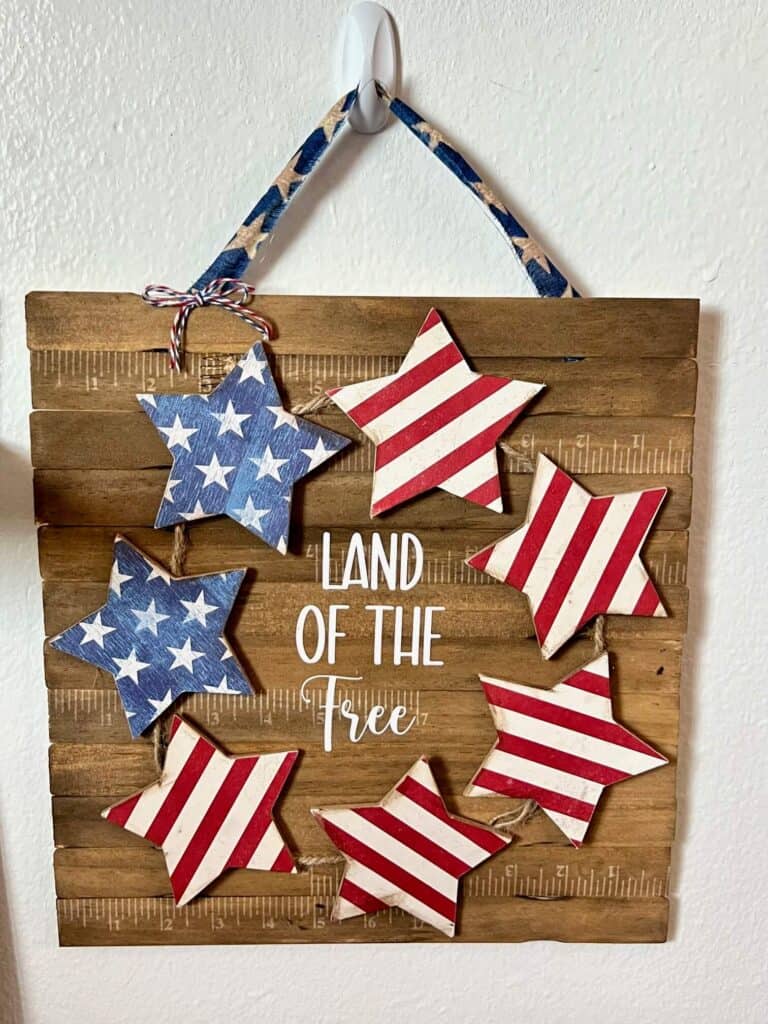
Use transfer tape to add the “Land of the Free” vinyl to the center of the sign.
You could also stencil this or use rub on transfers/stickers.
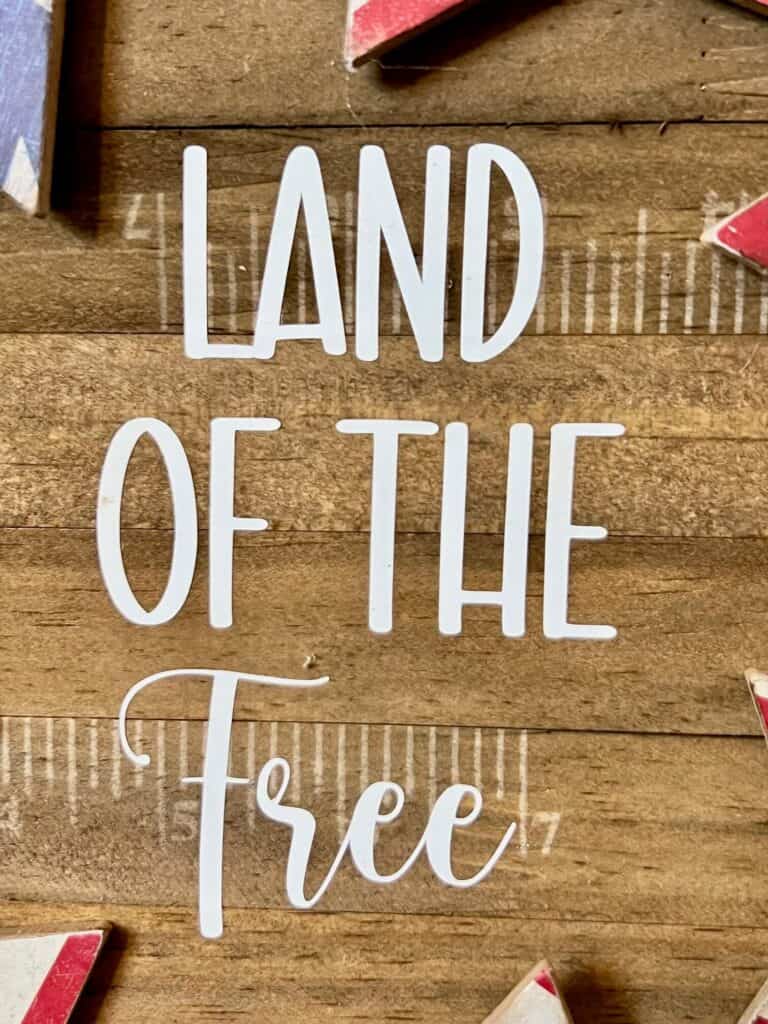
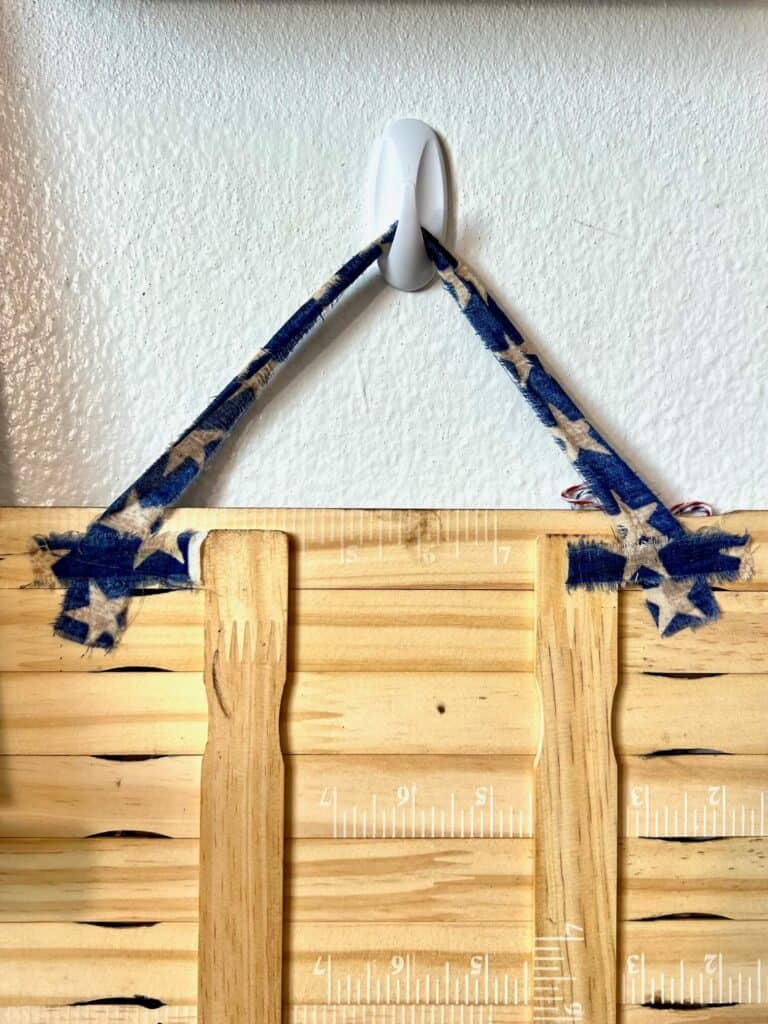
Cut a strip of fabric and glue it to the top as the hanger. Reinforce the hanger by gluing fabric horizontally across the ends where it meets the wood background.
This Patriotic Star Wreath looks like something straight out of Hobby Lobby! It’s my new fave. I love it even more than my old fave which was my USA Freedom Flag!
Are you going to make a Patriotic Star Wreath? If you do, I’d love to see it! Pop on over to our free Craftspiration Facebook group, and join in on the fun by posting a pic of your Tiered Trays, DIY’s and crafts. I just love to see all your creative and crafty creations.
If you’ve got a million projects on your crafting ‘to-do’ list like I do, than you need my FREE Craft Project Planner so you can plan to make *all the things*! When you sign up for the craft planner, I’ll also send you lot’s of fun, easy, and budget friendly ideas for you to fill it up with!

Free printable Craft Project Planner
Get organized, get inspired, and get crafting, with our free Craft Project Planner!
Until Next Time…
Stay Crafty San Diego!

Love this Patriotic Star Wreath? Make sure to PIN it for later!
