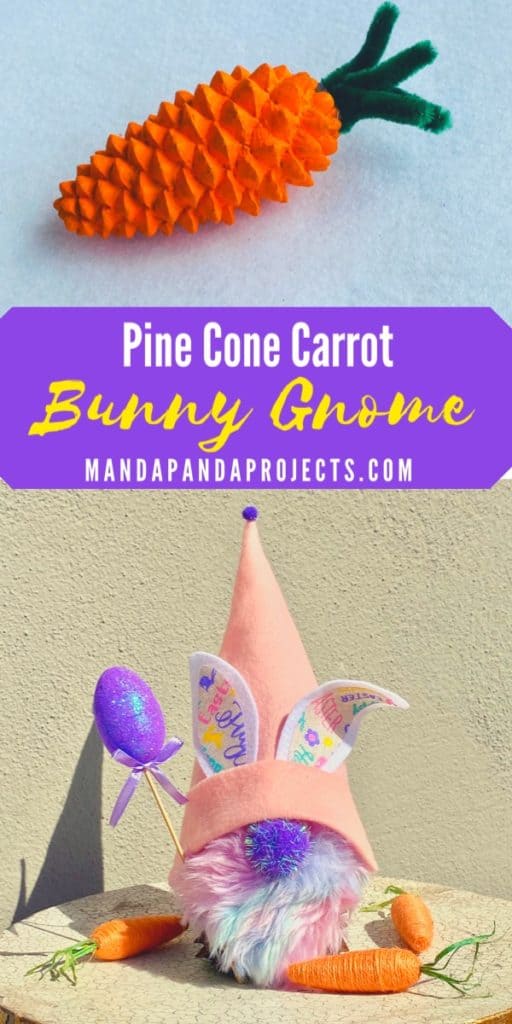
If you haven’t jumped on the Gnomewagon yet, this Pine Cone Bunny Craft is sure to get you on board. I have seen many Gnomes. I have seen many Pine Cone crafts. But I have yet to see an Easter Bunny PINE CONE GNOME!
When it comes to Pine Cone Creations, we made Pine Cone Peeps which were a total hit this year! We also made Pine Cone Leprechauns, and the classic Pine Cone Christmas Trees. But the Pine Cone gnome?? Complete with a Pine Cone Carrot?? We’re making History.
This super cute Gnomie resulted from a combination of desire for DIY Easter decor, a surplus of time due to quarantine, and an effort to use the bazillion pine cones we’ve collected from Mother Nature.
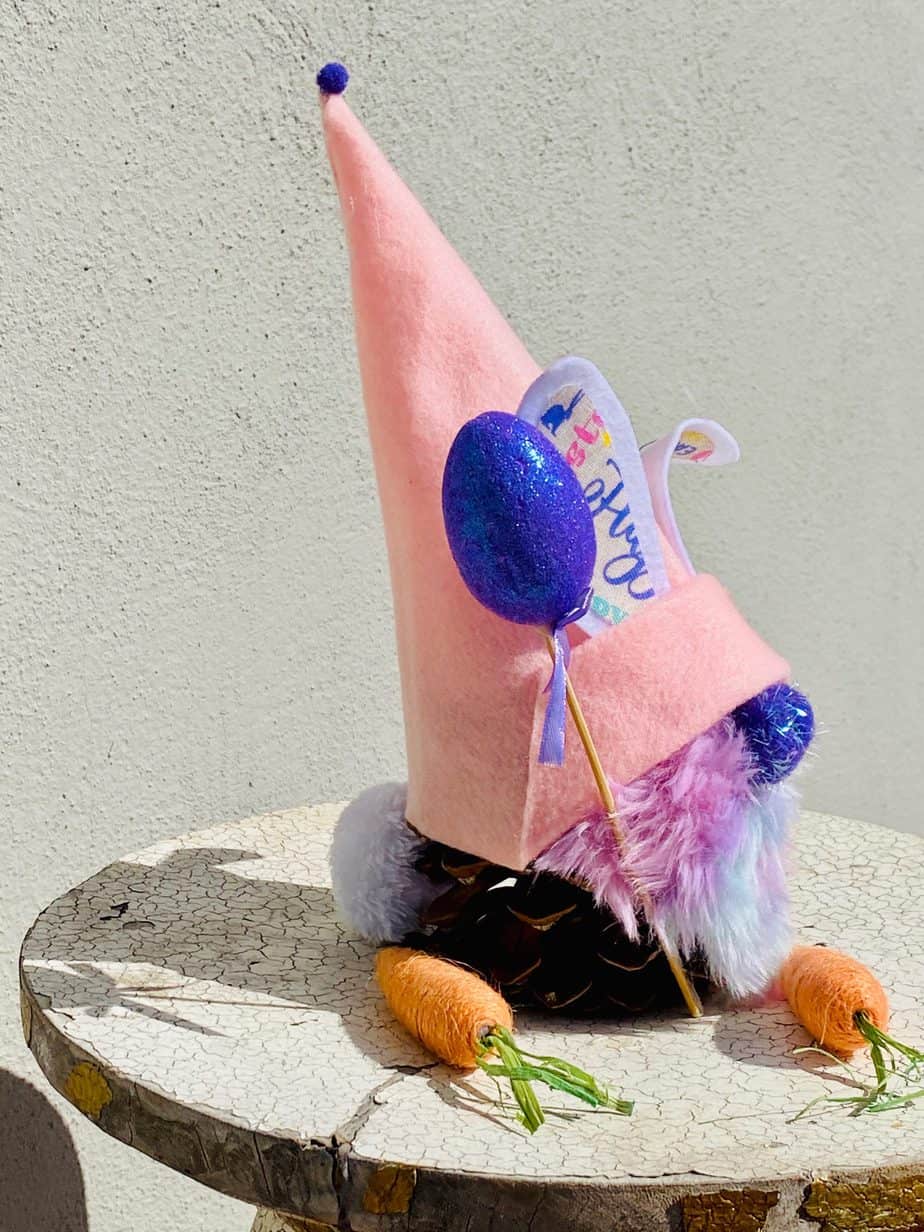
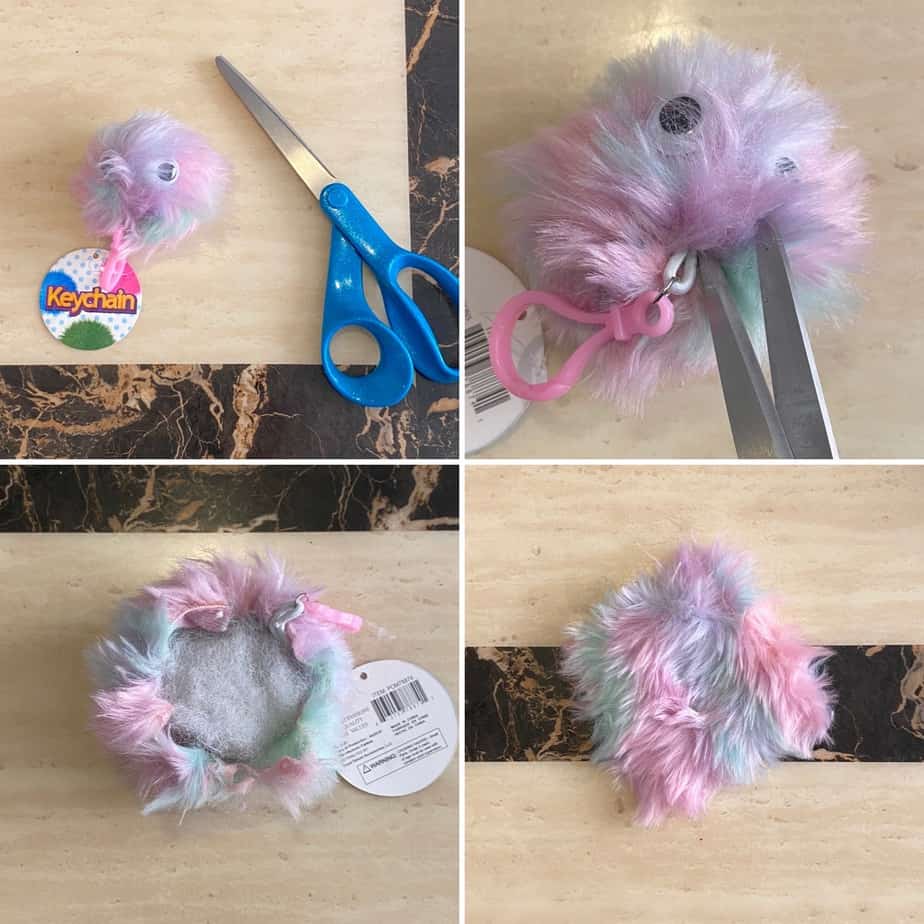
BONUS….Besides the Pine Cone itself, everything needed to make this ‘lil Gnomie came from Dollar Tree! Yup-even the “beard”. We used one of those furball ketchains that are found up by the register, and cut the outer layer off to make the perfect “Easter colored” beard.
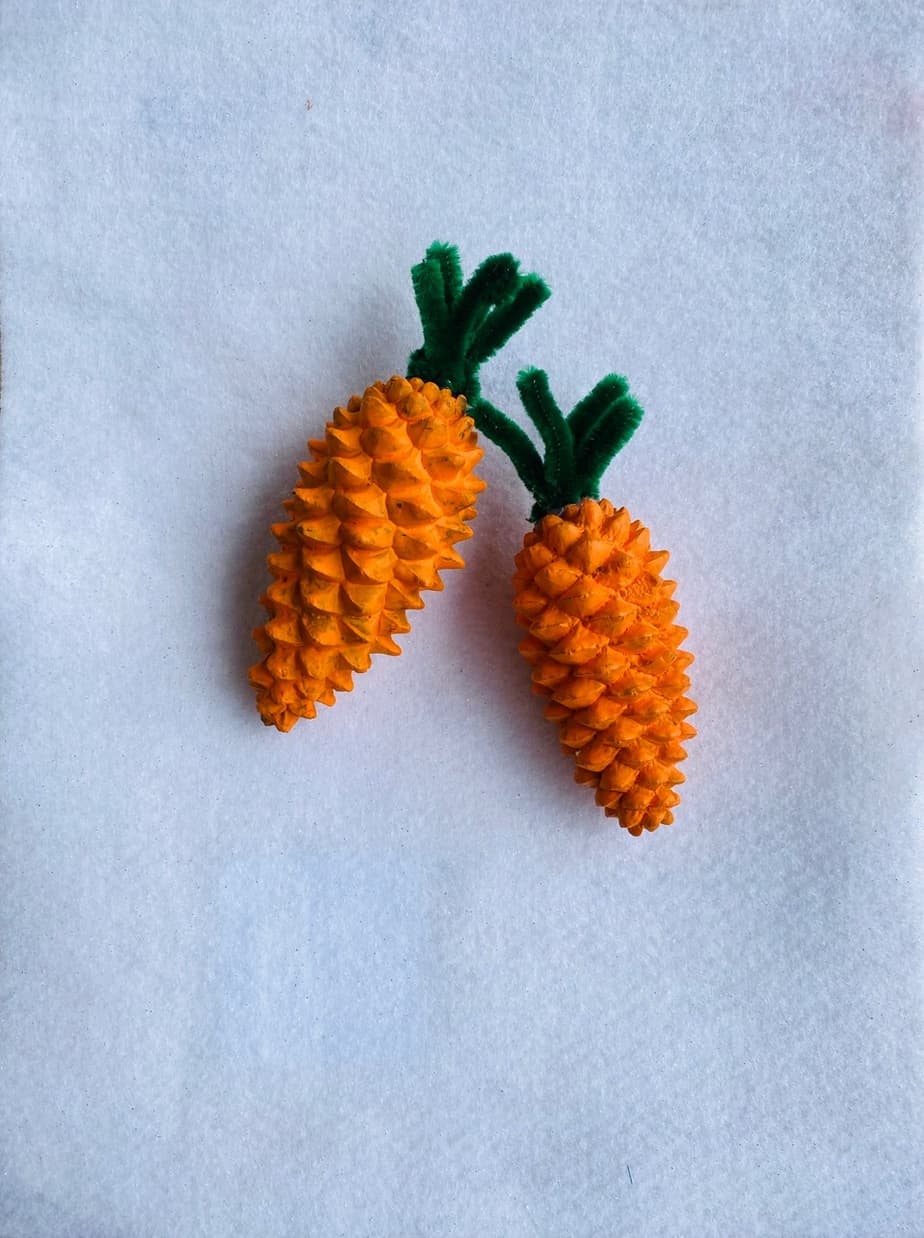
And to send this project flying off the cuteness scale, we even made a Pine Cone Carrot to go along with the Gnome. So Cute!
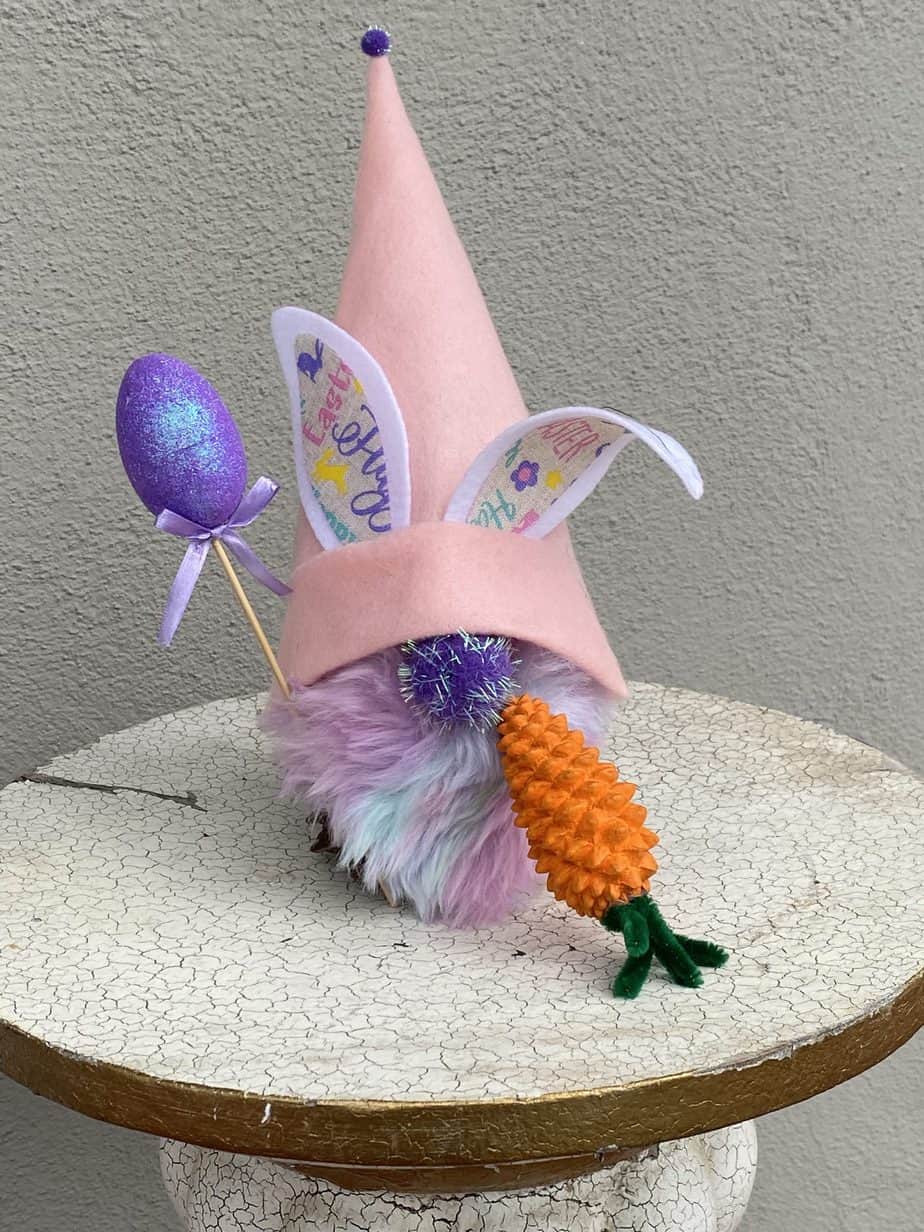
Now we were lucky enough to have collected a bajillion pine cones from nearby parks over the recent months. But if you haven’t been so fortunate, you can totally buy them at any craft store, Etsy or on good ‘ol Amazon. Granted I know it kinda defeats the whole ‘nature craft’ thing, but hey at least your still ‘ rollliiiin wit da gnommiieees’.
Now if you do choose to go the Au Naturale route, and use Pine Cones from the great outdoors, please please please make sure to clean and prepare them first. That is unless of course you don’t mind hosting a sleepover for a family of Daddy Long Legs.
I craft the heck out of some pine cones, so I made this post with the steps I use to bake the bugs out and as an added bonus, get beautifully bloomed cones. Definitely check that out if your using ones you collected on your own!
This post may contain affiliate links for your convenience (which means if you make a purchase after clicking a link I will earn a small commission but it won’t cost you a cent more!)
Supplies needed for Easter Bunny Pine Cone Gnome
It doesn’t take too many things to make this project and we were able to get them all at the Dollar Tree (except the pine cone). I will link to the Amazon version of each item here just in case you are not able to get to your local DT in this crazy time.
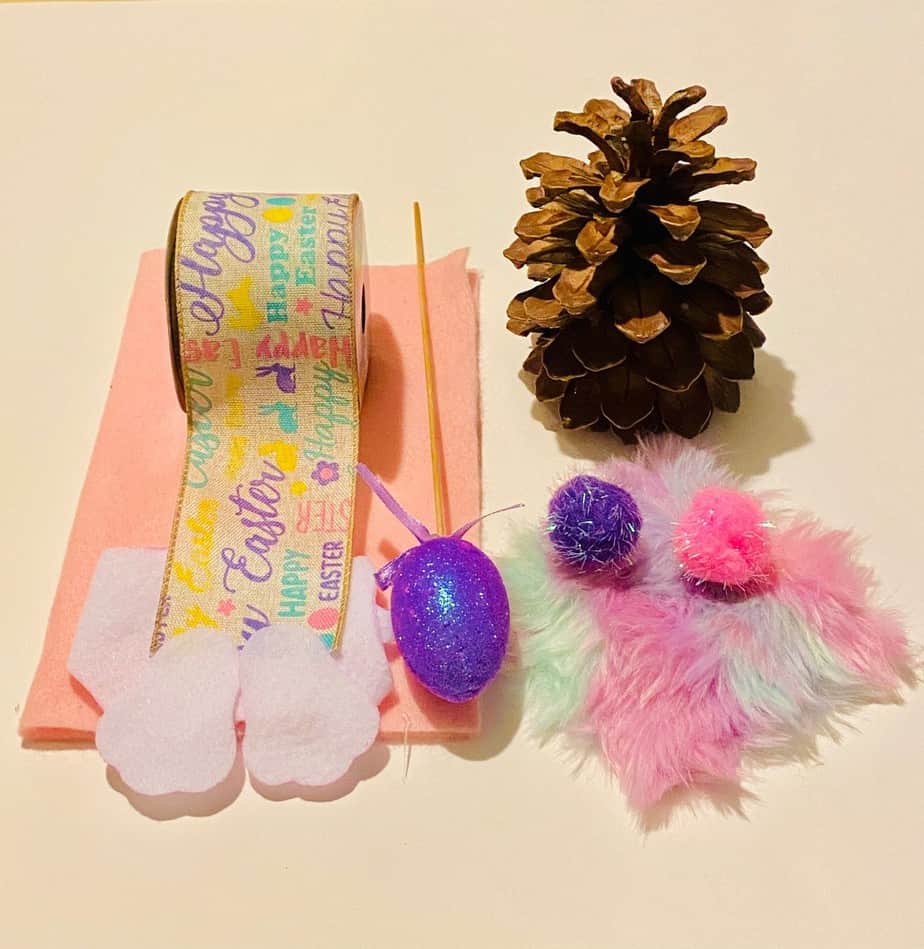
- Large Pine Cone (cleaned and prepared or store bought)
- Felt – 1 white and 1 pink
- Easter ribbon (you could use fabric too)
- Bunny Tail (or craft pom pom)
- Pom Poms-Purple (various sizes for nose and top of hat)
- Easter Egg pick
- Fur ball Keychain-pastel multicolored (or craft fur)
- Glue (we recommend this glue gun but if you don’t have one you can use this guide to choose which is best for you)
- Optional- Pine Cone Carrot (see this post for separate instructions)
Amazon is great, don’t get me wrong, but sometimes craft supplies can’t hold a candle to DT’s prices. So unfortunately the Amazon version of this project is nearly double the cost, but hey you know what they say about desperate times…
How to Make am Easter Bunny Pine Cone Gnome
Let’s start by making the Gnome hat.
Fold the edge of the pink felt over to make a perfect square and cut off the additional felt (like when you used to make paper airplanes as a kid). Don’t mind the oval cut out of my picture, that is the portion I cut off anyway.
*Alternatively you can measure a 9″x9″ portion and cut that out, but I think folding is much easier (and who wants to break out a tape measure for an easy project).
Apply a line of glue down one edge of the square where the dotted lines are in the below picture.
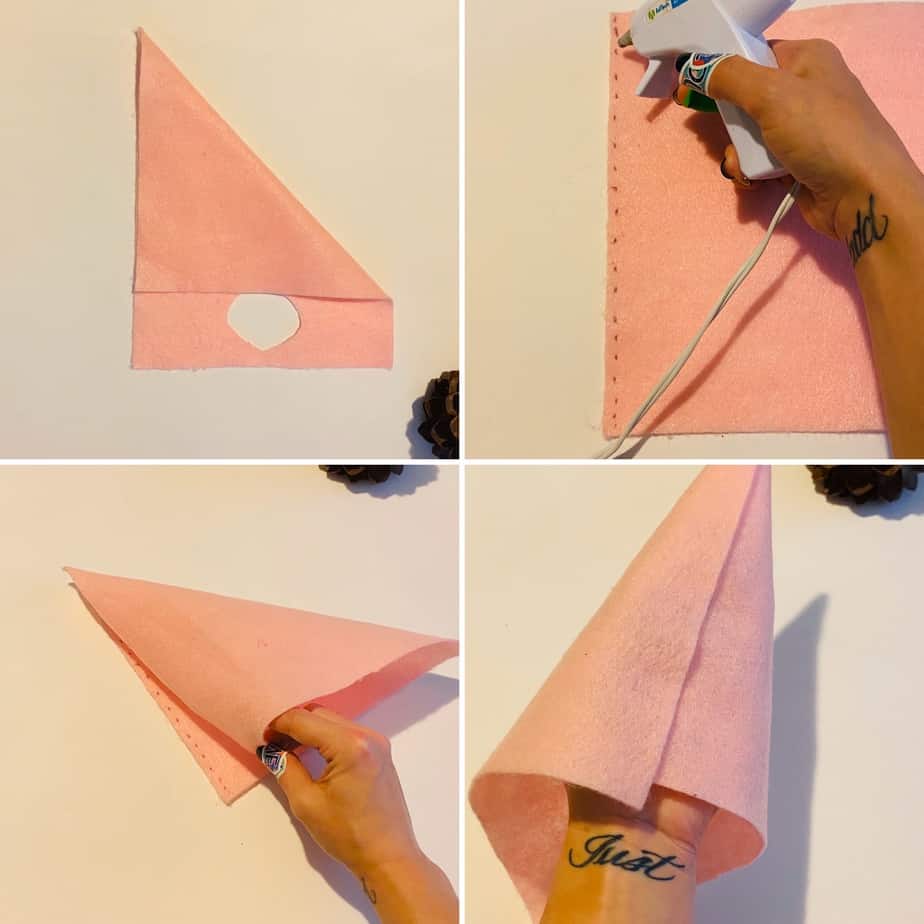
Fold and roll the felt over into a cone shape and attach the perpendicular edge to the glue.
You should be left with a cone hat that that comes to a point at the bottom.
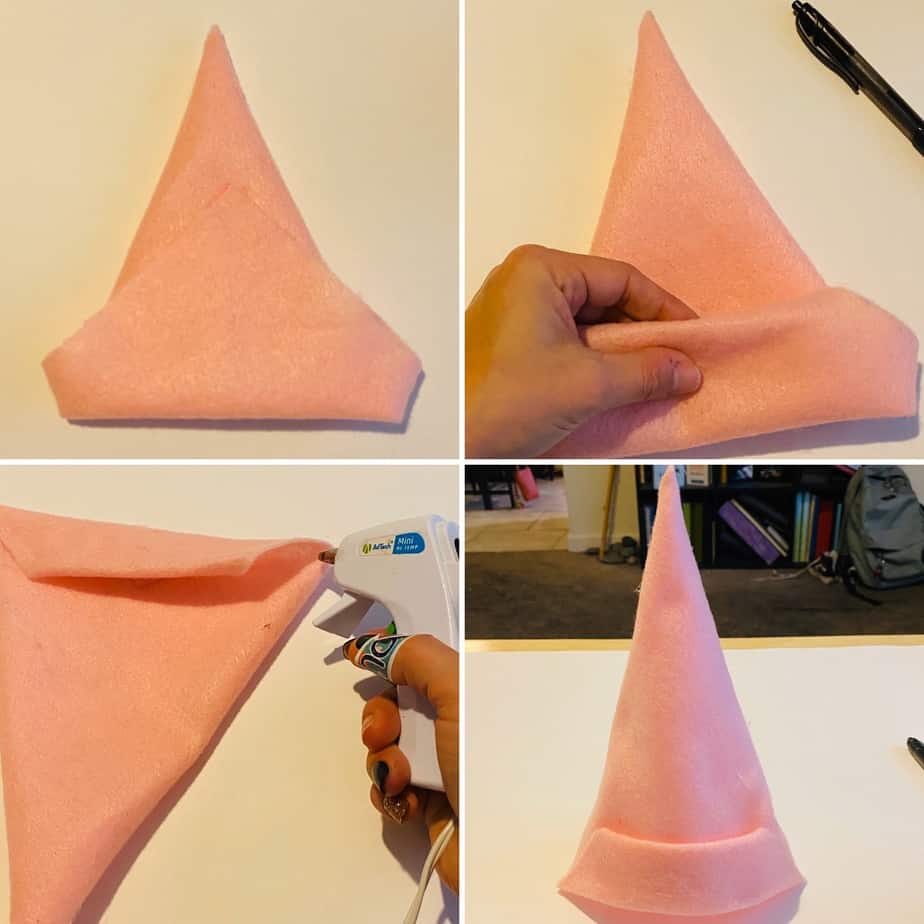
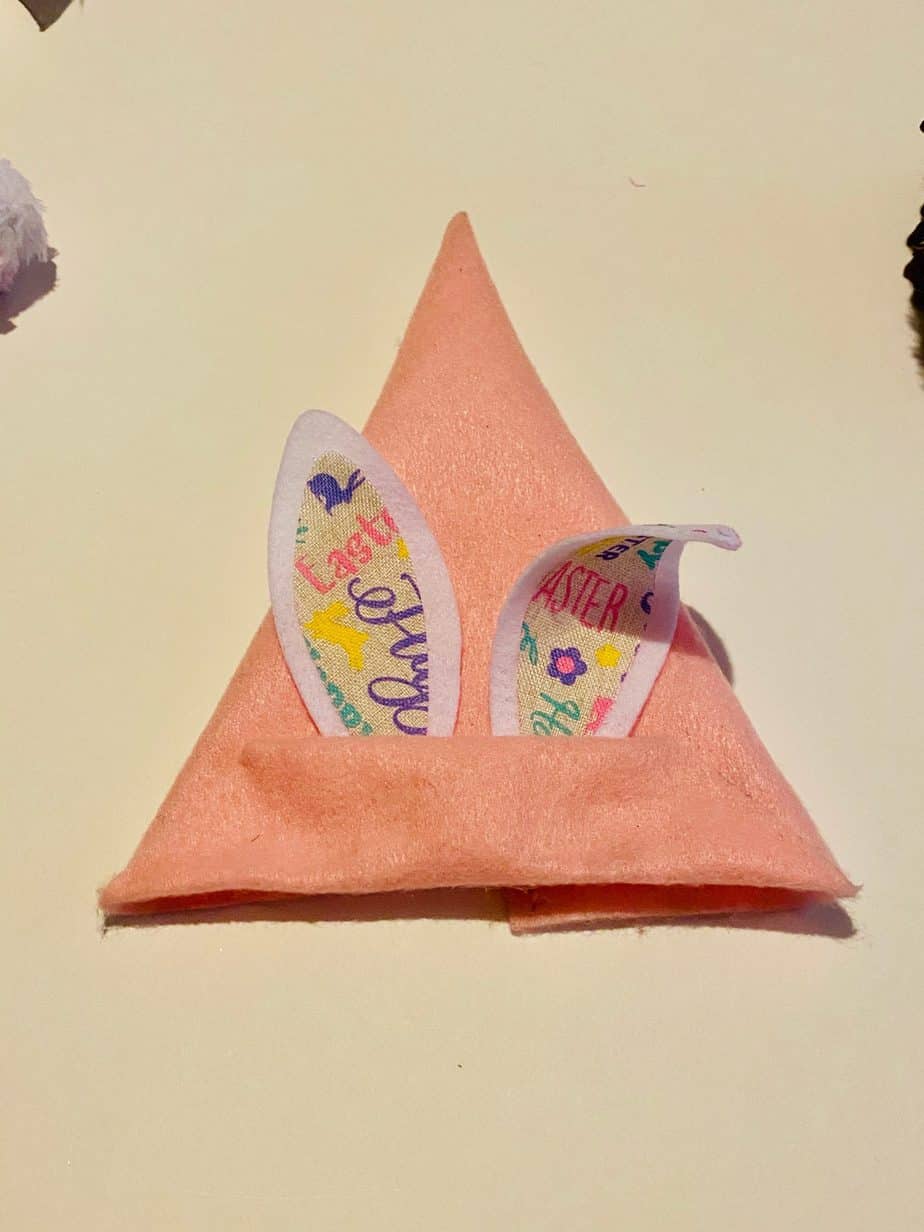
Next, lay the cone hat down so that the seam is in the back and the bottom part that comes to a point is in front. Fold the bottom up first, and then tuck and fold under the extra felt.
You should have about a 1-2 inch fold in the front of your hat.
Glue down each side to secure like in the 3rd picture below, but don’t glue down the top portion of the fold. We’ll need to have that open for when we add the bunny ears.
Depending on your level of drawing skill (I have NONE), you can make the bunny ears one of two ways.
You can freehand this, or if your a perfectionist like me you can download the template I created for this and other Easter projects.
You can get the template as a free little thank you gift by signing up for our newsletter on the form at the bottom of this post. Or you can click here to download it.
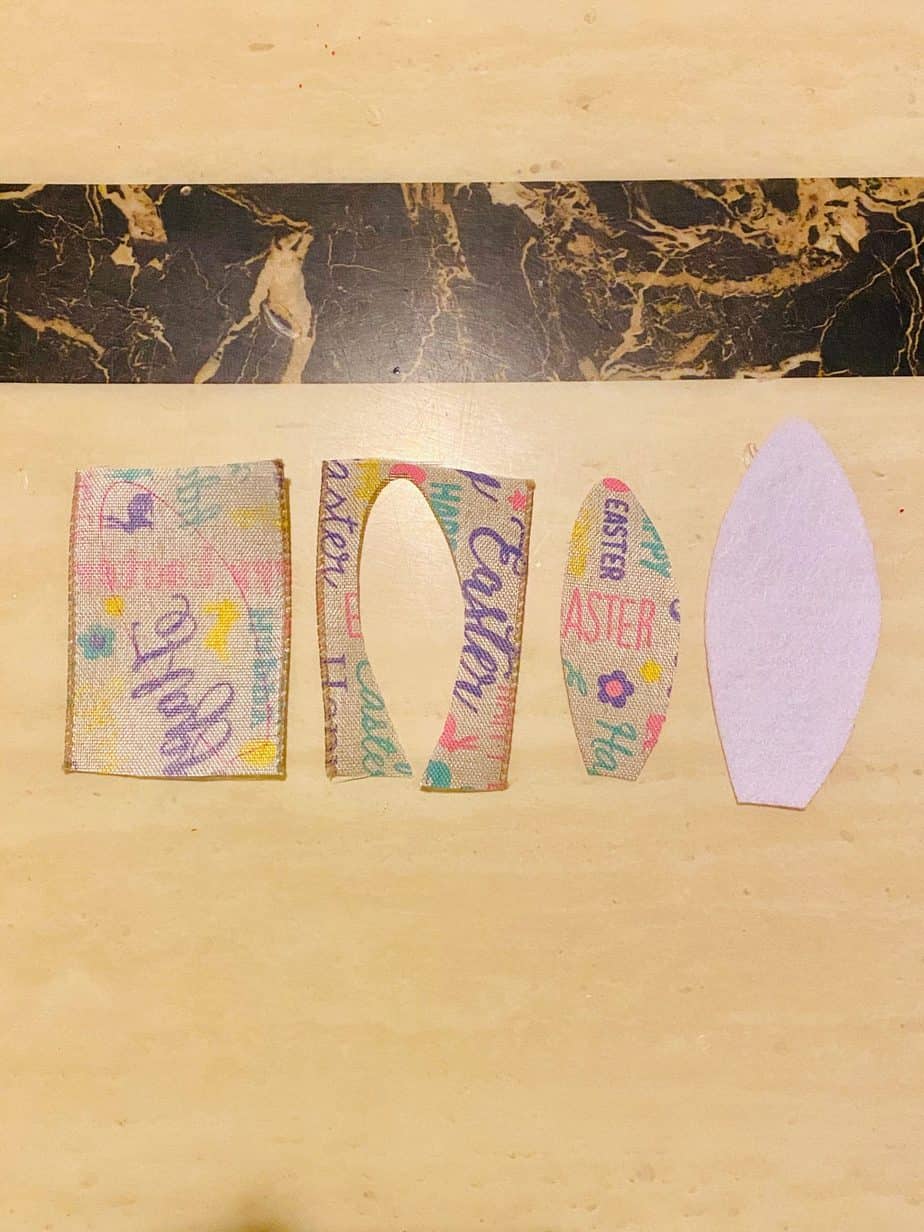
Trace (or draw freehand) the outer part of the bunny ears onto the white felt and cut them out.
Next, draw the inner parts onto the Easter color ribbon or fabric and cut those out.
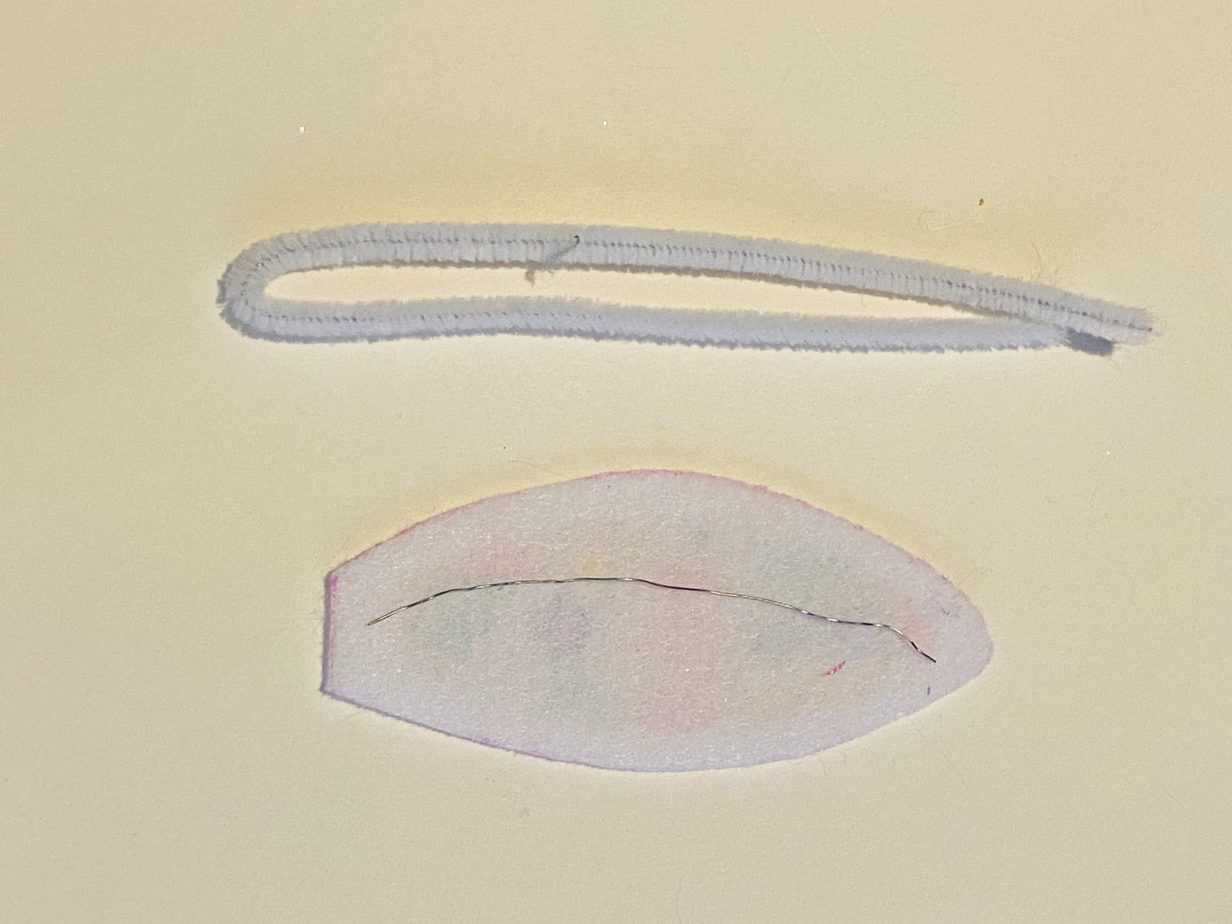
This next part is optional if you want to be able to bend the bunny ears so that one “flops” over.
Simply take a pipe cleaner and trim all of the fuzz off until your left with just the wire.
Glue the two parts of the ear together with the wire in between (I only made one ear “floppy”).
Now tuck the ears under the fold in the front of the hat that we left open, and glue to secure.
The hard part is over!
If you have regular craft fur you can cut a small square, depending on the size of your pine cone, to make the beard.
If you are doing it the DT keychain way like me, carefully cut a small snip in the top where the keychain part attaches to the fur ball.
Once you snip it open, it should open right up and you can discard the inner filling leaving you with a perfect size fur beard.
Position the square so that it is in a “diamond” shape rather than square, and glue the fur to the front of your pine cone.
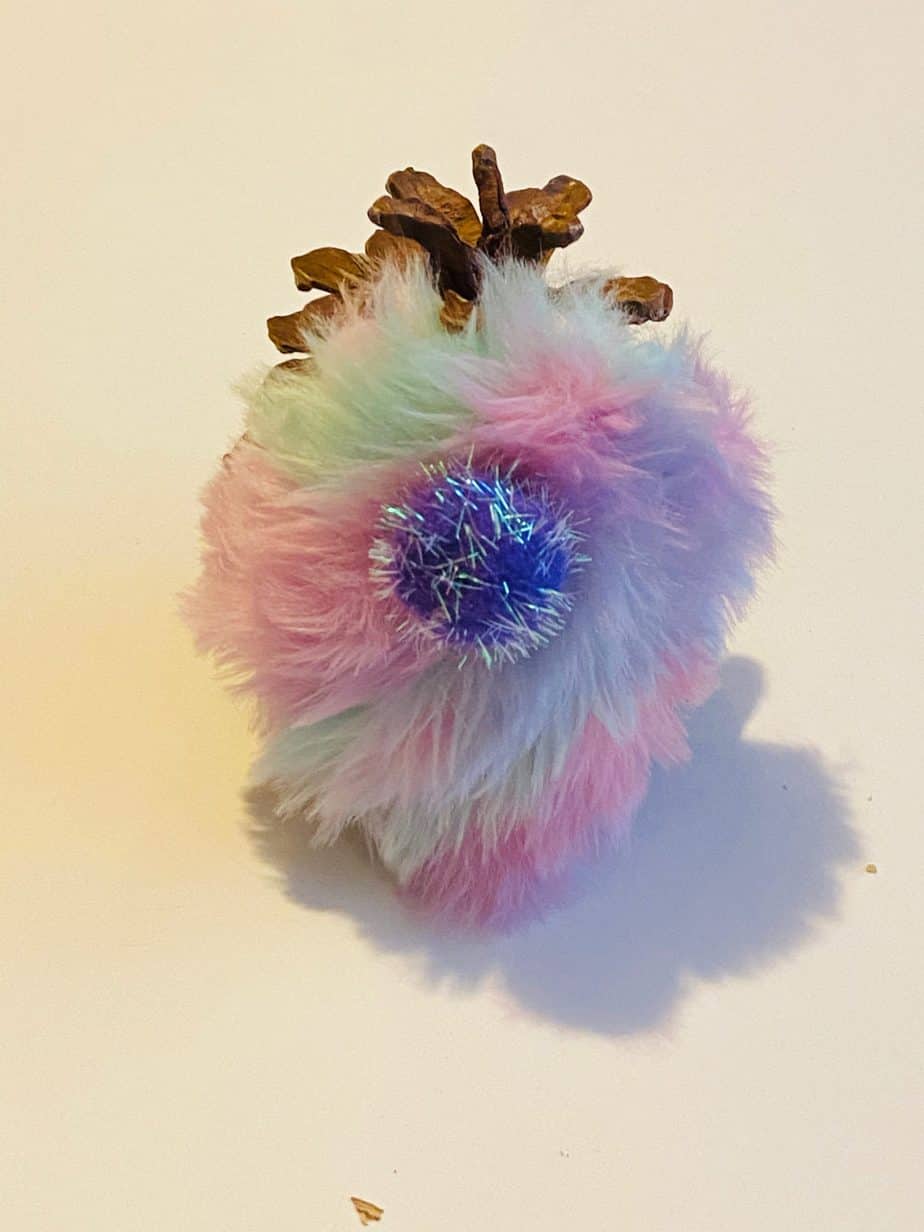
Glue the purple craft pom pom onto the beard just slightly higher than the middle.
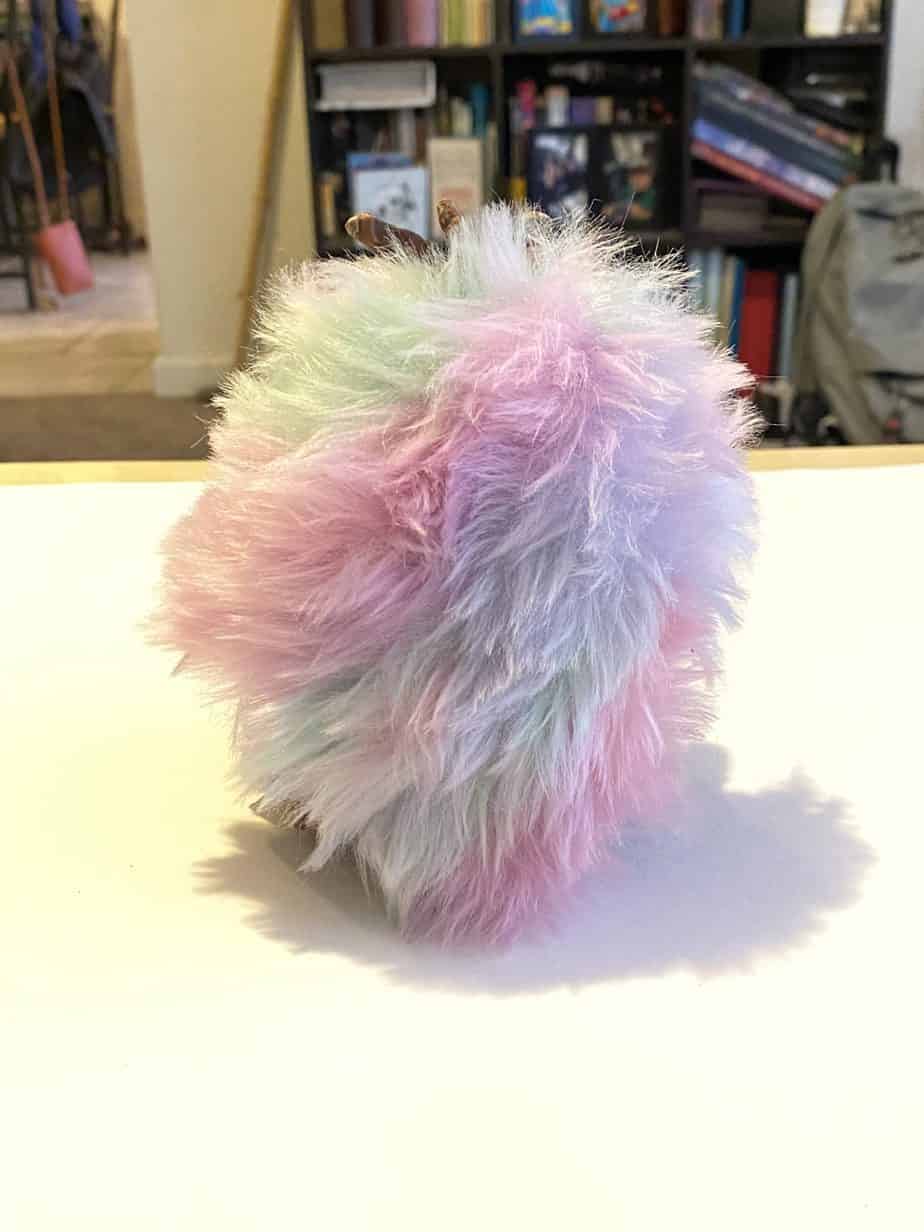
Here is what it should begin to look like from the side.
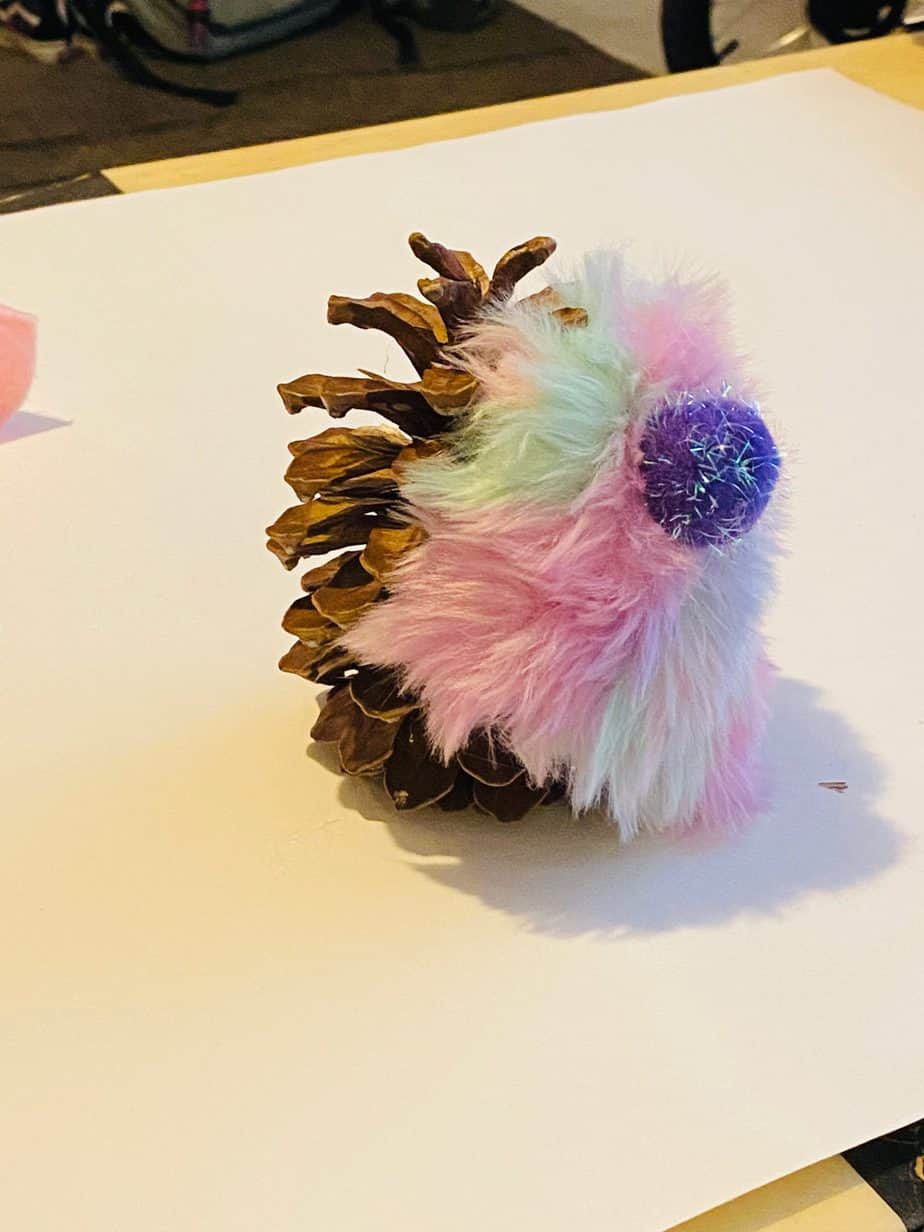
Now pull the hat on over the head and pull it just slightly over the nose and glue to secure.
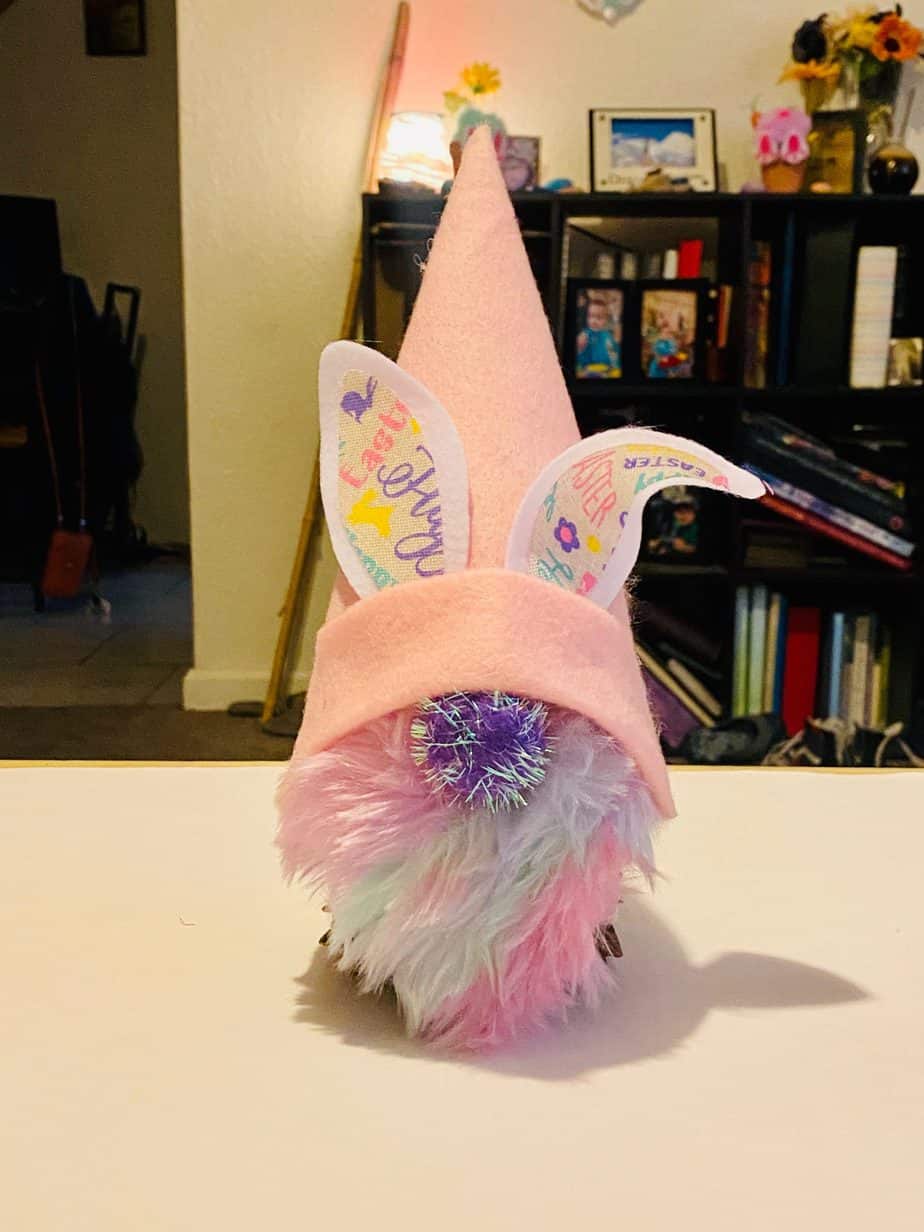
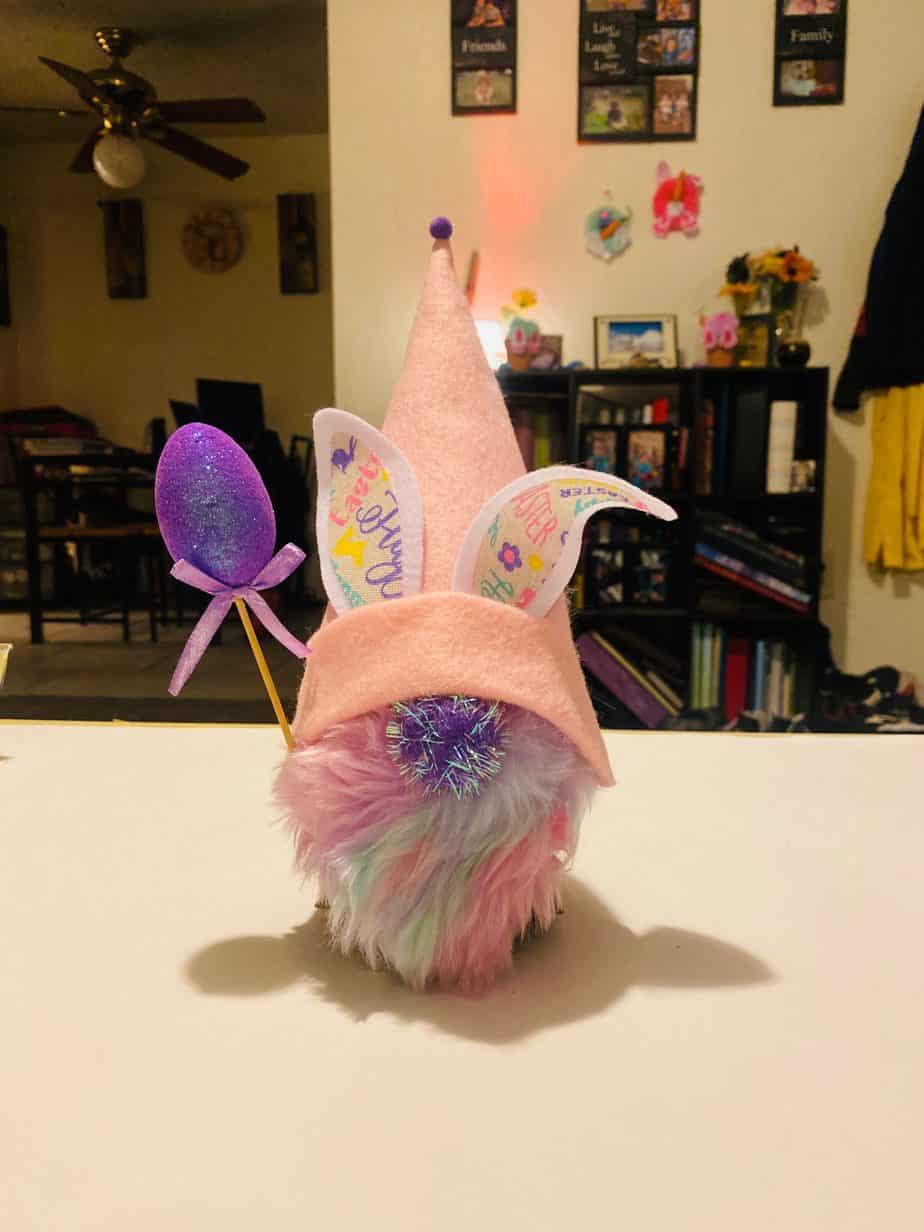
Next, glue the Easter egg pick onto either side. You will likely have to cut a few inches off of the wooden stick so it isn’t way taller than your Gnomie.
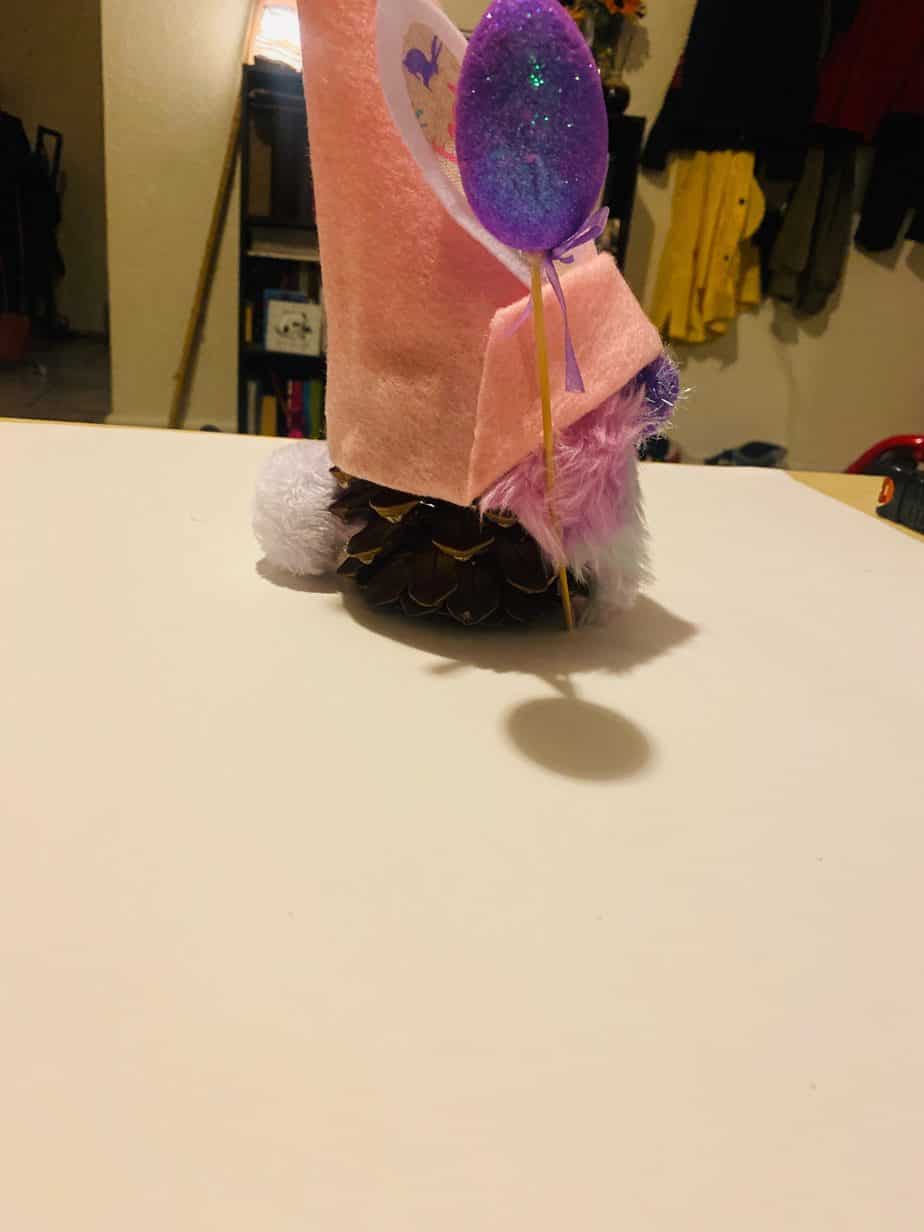
 Glue on the cute little bunny tail!
If you are feeling extra ambitious (or you just have waaayyyy too much time and nothing else to do like me), you can paint a smaller pine cone orange and glue a green pipe cleaner to the top to make a Pine Cone Carrot for your Pine Cone Gnome!
So if you weren’t Gnomesessed before this, chances are you are now.
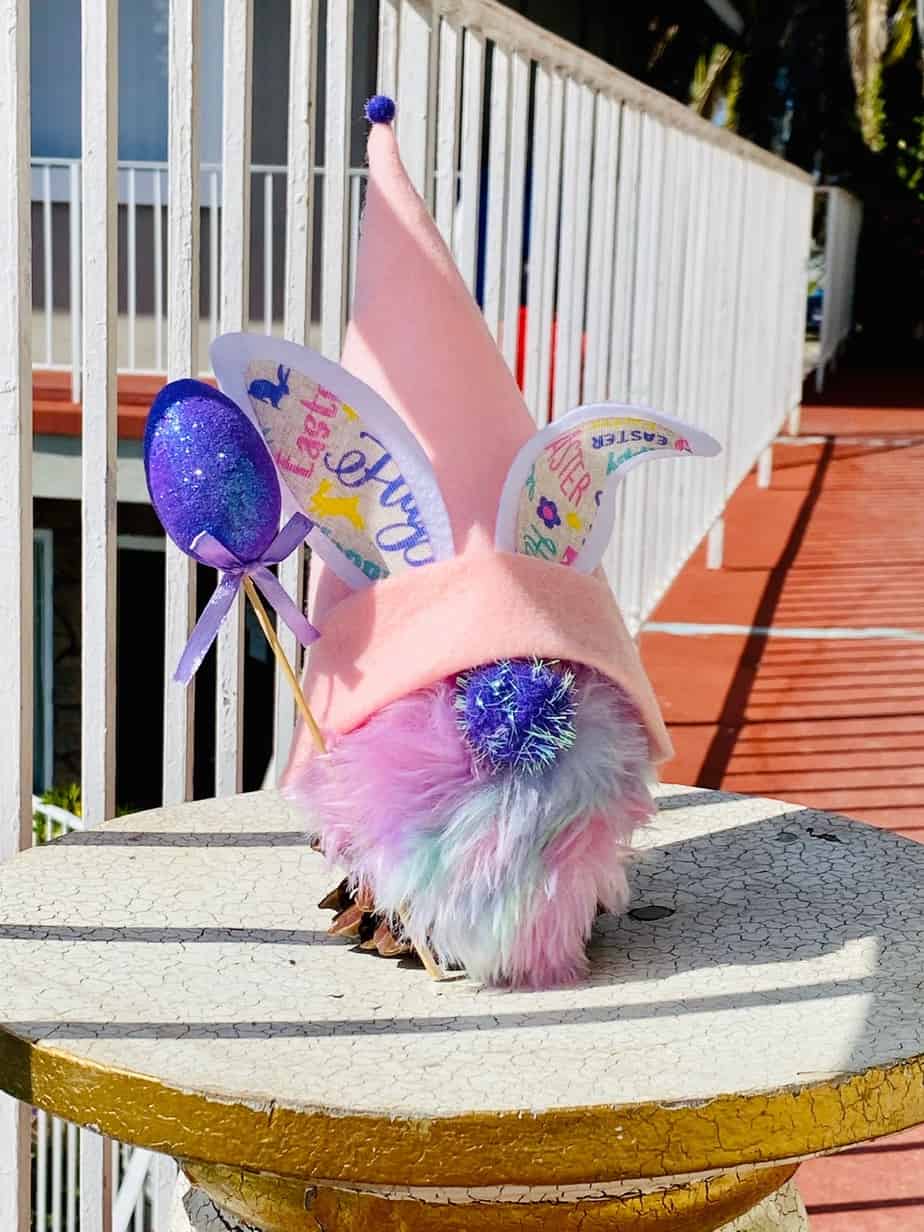
This little guy will make such a cute addition to your Easter decor, and can totally be adapted of other Holidays, or even a year round Gnome!
If you still have some time to squeeze in another Easter craft and you’ve got some pine cones left, make sure to check out these Pine Cone Peeps. The kiddos go wild for these.
Excuse me while I go hangin’ wit my Gnomie!
If your totally in love with this nature craft, make sure to Pin it for later!
Until Next Time…
Stay Crafty San Diego!


